When you click on links to various merchants on this site and make a purchase, this can result in this site earning a commission. Affiliate programs and affiliations include, but are not limited to, the eBay Partner Network.
It was our pleasure to welcome Jeff here and to get involved in his project. The business went on a 1 week vacation so I could spend the time doing things again with my hands. I don't get to do this stuff much anymore and it was fun. I miss the times when this work was simpler and fun. Fun and the passion for this stuff is inversely proportional to the stress level involved.
Steve, I will be calling you to pick your brain on how to repair the cam housings. These have gone way past expecting an O ring to seal. Not sure exactly how the O ring used actually seals, anyway. The installation doesn't appear to crush the O ring enough to seal.
They need a sleeve pressed in and re machined back to the correct size. The idea is simple enough, but the actual "doing " it is not. Our smallest bar is 0.900" in dia. Figured you may have done this in the past and I know it would be well engineered.
So glad to see this level of repair. But on the cam towers, I've probably got 30-40 pairs, both 3 and 4 bearing, in the junk pile. Let me know where you want what's probably a virgin pair shipped?
(Actually sorting through the junk pile, as I'm closing on a nice little commercial building next week and have to sort through everything for the move.)
I wanted to bring all of you up to date on what and why Performance Developments became involved in Jeff’s project.
I’m personally jealous of the time and passion Jeff has devoted to such a project. I do not have the time any more to be hands on, in such a project. My day to day work has taken me away from the very reason I decided on this occupation. So, I and PD decided to help and make a small part of Jeff’s project partly ours. In the spirit of Jeff doing all of this himself, we offered for Jeff to become involved in the work we normally are asked to do and do a lot of it himself.
Over the years doing this work, I have questioned many decisions by both owners and pro shops. Many times, I have read where certain parts are purchased and directions taken both repair work and hot rod work without a real understand of why. Often, I think people decide to do certain things because someone else did, but without knowing if it is the right way to go.
Becoming involved in Jeff’s project will give us not only the opportunity to tell why we do certain things but also show how we approach certain issues, what parts we will use and why. Too often I read where parts are over sold, over bought, when not required and certain critical areas are often left undone.
We have posted this project on our web site under our current projects. I will try to keep it current as best I can. I will go through the reasoning and the engineering of why we do certain repair operations, what parts are required and what parts are not.
Hopefully give you a better understanding of when and why to use certain parts, like fancy Head Studs verses OEM, OEM Rod bolts verses aftermarket, aftermarket connecting rods verses stock. When to include dual ignition and why it’s often wasted money. Why certain assembly procedures are extremely important etc.
I hope to de bunk the myths that are all too often used. The ‘while you’re in there” reasoning, or the “it’s not necessary, I have never had a problem before” statements. I’m sure most have heard these before. There are many shops offering great work and services. We don’t pretend to know it all nor do we think we are the only ones. What we hope to achieve is to show the differences between production level work and the level of work we feel is required to rebuild these engine correctly.
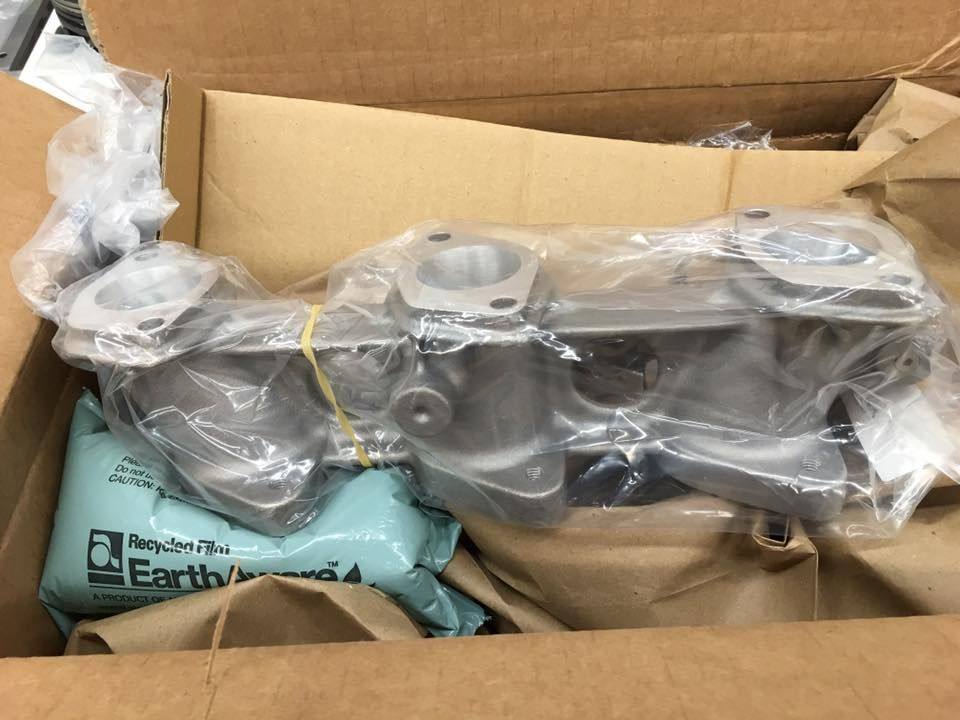
Parts for my engine build are slowly trickling in.
As I mentioned in this weeks video I am also looking for a 2.7 cylinder which is suitable to be bored and recoated. I need it to replace one I have which is not repairable. Let me know.
Want to bring this project up to date. A lot has happened since Jeff returned home. It has being a little disjointed as this is a fun project for us and we are doing this work in our free time. These air-cooled engines remind us of the time when this work was fun and not a brain cell killer. We have taken on another similar project (Manuel’s Project Stork) so that we can cover Jeff’s hot rod project and Manuel’s stock rebuild.
We intend to show how we approach this work, how we do the machine work and how we go about the assembly. These projects will show our twist on certain things. It’s our way but not the only way. Maybe some will see something that inspires them to do it this way or at least understand why. Removing the mystery out of this work is another objective in doing these projects. There is too much un necessary mystery that creates fear in the minds of many.
We are going to use as many off the shelf parts as possible where we feel the parts are up to our standard of quality. This may help others in their choice as well. We are developing some new parts as well. Some parts like the connecting rods are being reused, but rebuilt at a different CCL so we can shorten up the compression height and remove much of the pivot mass from above the pin centerline.
A new Piston design has been completed and these are currently in production at Mahle. We are currently testing the Valve seat shapes on a test head to find the optimum flow across the seat insert without going nuts with port shape and volume. Once we have this info we are going to design new lobe profiles that will allow us to use more modern features in a camshaft for these older engines. Hopefully lighten up the spring forces typically used often beyond what is required.
Jeff’s plan is to use ITB’s for the Intake and we have selected a capable system from the aftermarket. We are going to assemble a complete plug and play EFI system for this engine including the CDI Ignition system we currently supply. There are many systems to choose from and we have selected one that we feel offers the best control without going overboard with features these engines will never use and not breaking the budget.
I hope we can update our web site with current info and photos soon after the July 4th holiday.
I should have added in my last post what the new parts we are developing for these early engines. All very well baiting the hook but you do have to put the hook in the water to be fishing.
Here is a short list of what we are developing and or using.
Use of current anti friction coatings, including DLC and other PVD coatings. For engines that produce somewhere between 180- 250 HP, a gain of 5% is money well spent. If it also adds life to the engine is also money well spent.
Hollow Center Case dowels for through holes so new holes and solid dowel pins are not required in case webs.
Aluminum Roots Style Scavenge gears for Oil pumps for high scavenging efficiency, less aeration and lower oil temps.
New 92.0mm Mahle Piston with smaller pin size and shorter compression height using low tension narrower ring packages.
New Camshaft lobe profiles. More modern designs allowing for lower spring rates to be used for same RPM limits.
Crankshaft Damper with serpentine drive for Alternator. Will use some existing aftermarket parts in this kit.
Electronics. A plug and play EFI system of quality that will not be overly complicated with features that are not required to run these early engines. Good control, easy to understand and install without losing sight of the objective, which is to upgrade from the CIS or carbureted systems. Jeff’s engine will use existing aftermarket hardware for the ITB style manifolding, but we will make parts to retain the original manifold with adapters to fit the electronic injectors. The Distributor will be retained for Ignition distribution to keep the Ignition side simple and most powerful. Adaption of existing OEM ECCS dual trigger for 6 Cylinder engines driven off Camshaft making system triggering simple and easy to install by the DIY. The EFI system can have features added at any time to include Oil pressure warning and engine stop, crank case pressure and other analog or digital functions. It will be sold in its most basic form and can be customized from there if required.
Engine running condition and data logging system. This will use an existing inexpensive but quality logging dash to read and log the engine condition. The purpose of this is for the owner to be able to watch the condition of the engine while its running at temperature. There are only 4 input channels with 2 spare dedicated to EGT or other temps. This will be something that can be purchased in its most basic form and built on up to its maximum of 6 recorded channels. The basic system will read and log engine speed, (RPM), Crankcase internal pressure, (Piston ring and cylinder wall sealing condition, oil pump scavenging efficiency) and Oil pressure with an alarm function, and Oil temperature. The data can be down loaded, saved with a date and mileage to record and engine degradation that could be occurring. This is a standalone system that can be fitted to any car not using any other form of engine electronics. For owners tracking their cars with CIS or Carburetors that want to know the condition of their engine before and after an event, this is a good simple inexpensive device to keep track.
Exhaust system. A well-known exhaust manufacturing company has offered to develop a new exhaust system in conjunction with our other project, project “Stork”. We will offer support with engine engineering data so that this new design will maximize performance and sound.
The air-cooled world for us is like going back in time. We are very fortunate to have a working relationship with some of the most regarded air-cooled engine experts around and have used their knowledge and experience in shaping our direction and product development.
Thanks to all of you especially Steve at Rennsport Systems who has given most generously his experience and wisdom.
Well I have been away in the US for the past few weeks, and while I was there I dropped back in to Performance Developments so I could bring home some bits and also give you all an update on what is going on with the engine.
I have just arrived back home after a very packed, amazing week in Los Angeles. I spent the bulk of the time at Performance Developments, where Neil, in the spirit of my build, got me on the tools so I could do a lot of my own machining.
His knowledge is amazing, after spending 12+ years working in the Brabham Formula 1 team building engines, leading to 2 world Championships. Then moving on to Andial (the predecessor to Porsche Motorsport in the US), and TRD.
I have learned so much, in one week, and have gained a much better understanding of what good engine machining and building entails.
Here is my video of the week. It is a bit longer than usual, but I just had so much to cover. https://www.youtube.com/watch?v=KCOS4weqDdw
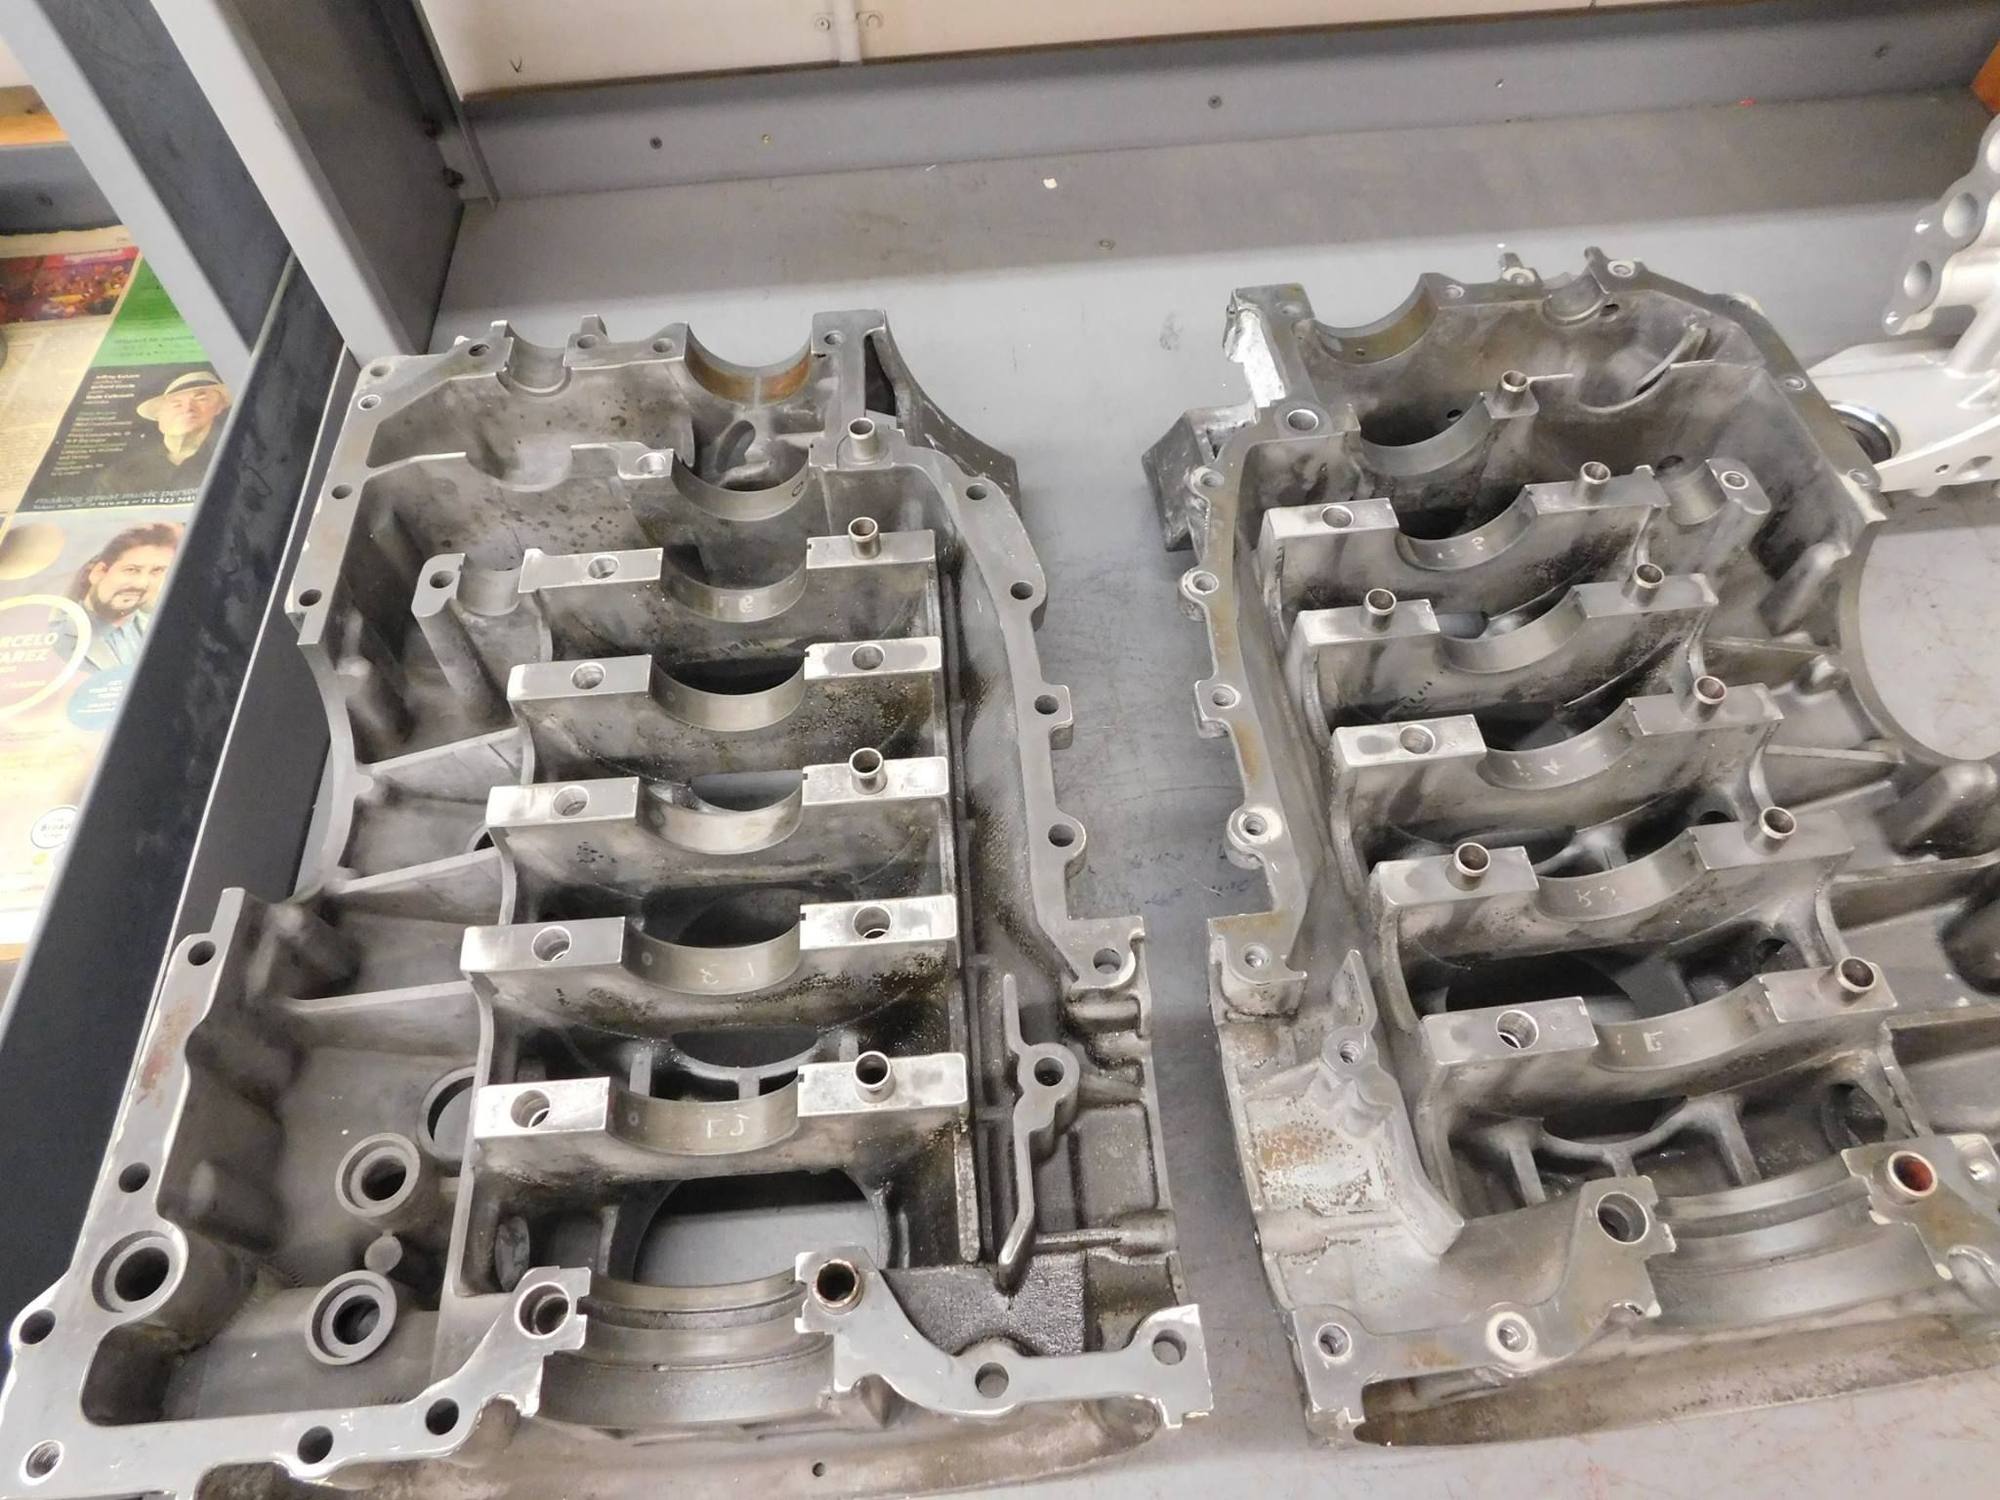
Neil at performancedevelopments.com has been very busy working on my nightmare nightmare engine. He has now finished the work on the case. After repairing all of the pulled and mangled studs, he has gone through and added dowels. Many will just add dowels in the journal face next to the through bolt holes, but Neil actually puts sleeves into the through bolt holes.
The crankshaft has been magnufluxed, staightened, and the oil plugs removed and threaded for plugs.
The cylinder heads have been repaired and twin plugged. New valve guides have been fitted and new valve seats have been made and fitted with multiple angled bevels for better flow. Neil also found that after fitting the new valve guide on one of the heads, it was cracked on the edge of the guide housing. Again, instead of just throwing the head away, the crack was re-welded and repaired.
New Cams have been designed.
Neil is now working through the Cam decks, working out a better method to prevent leaks from the bores. I will post up the pictures when it is done to show the results.
Many of you have been asking me what is happening with the engine and Neil is putting in a crazy amount of hours on this. Particularly on developing new, upgraded, methods of repair and improving on the almost 50 year old design of these engines.
If you have any detailed questions head over to Performancedevelopments.com and talk to Neil, as most of this is way over my head.
I don't think there is such a thing as a simple build when you go thru it as you have. However, you will know exactly what you have at the finish line.
The engine shop vid is excellent....what an education that was.


 05-13-2017, 04:48 PM