When you click on links to various merchants on this site and make a purchase, this can result in this site earning a commission. Affiliate programs and affiliations include, but are not limited to, the eBay Partner Network.
Some good work here. Some additional thoughts/tips:
1) I see you had to kinda bootleg the fix on the KLR banjo line. Poly/Nylon tubing suitable for pressure applications at 6mm (5/16") OD 4mm ID will work as a excellent replacement and isn't very costly.
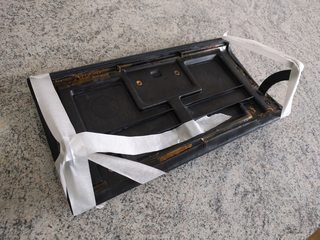
2) The fuel tank strap cradle strap from the factory had a layer of thin weather stripping style material on the inside edge. Likely to keep it from scratching and making any weird noises. When I refurbed mine I used some typical frost king branded stuff. Here is where I wrote that up with pictures. https://dave951.blogspot.com/2016/07...ap-refurb.html
Some good work here. Some additional thoughts/tips:
1) I see you had to kinda bootleg the fix on the KLR banjo line. Poly/Nylon tubing suitable for pressure applications at 6mm (5/16") OD 4mm ID will work as a excellent replacement and isn't very costly.
2) The fuel tank strap cradle strap from the factory had a layer of thin weather stripping style material on the inside edge. Likely to keep it from scratching and making any weird noises. When I refurbed mine I used some typical frost king branded stuff. Here is where I wrote that up with pictures. https://dave951.blogspot.com/2016/07...ap-refurb.html
Good luck and keep up the quality work.
Hey thanks for the tips I have some foam weather strip that I used for the inside of the pump cover where the original factory strip was, when I'm refitting the rear ARB I will stick a strip on the strap.
Will replace the KLR line at some point I just wanted a temporary fix so I didn't have to go crawling under the dashboard
Wow been a few weeks since my last update - you might have guessed I've been locked away in the garage sorting the car out! :lock:
Gave the torsion bar a coat of electrox primer and some halfords satin black (will get a proper restoration when I drop the rear suspension).
Refitted the rear cross member, fuel pump, filter and cover.
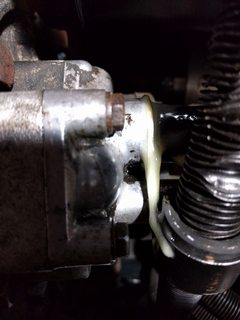
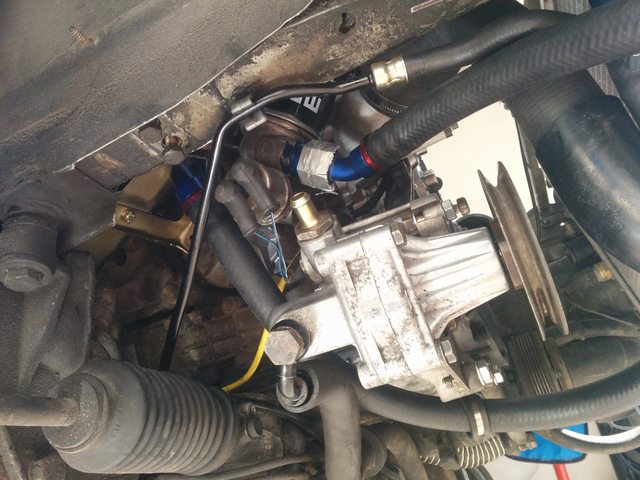
Right finally fixed the leaky gearbox once and for all, took out the oil cooler pipe from the oil pump and found that the fitting on the end wasn't looking like it was supposed to so was allowing a bit of a gap where the oil was leaking out even with a new o-ring. Not enough time to sort something more original so I reached for my araldite and sealed the edges of the pipe and it is now bone dry.
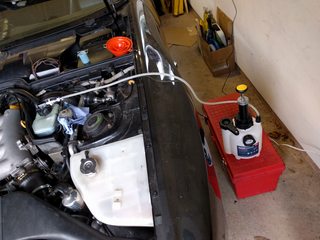
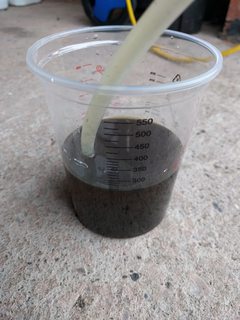
Bled the brakes, changed the rear pads and found that a couple of the nipples had rounded off when I tried to use a 12 point spanner... so ended up getting a full set of replacement nipples from Bigred in Worcester for �7.50. Bled the clutch and found the fluid was terrible (see pic below), I can't remember it ever being bled in my 12 years of ownership... nice firm pedal now
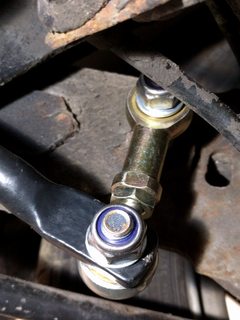
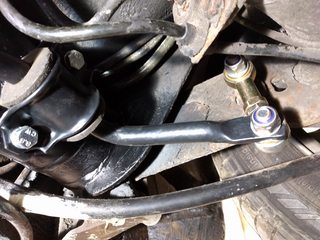
Fitted the new rear drop links to the powder coated ARB.
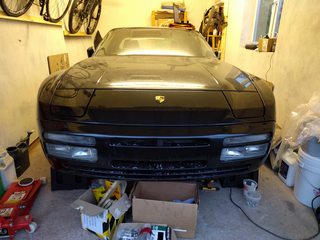
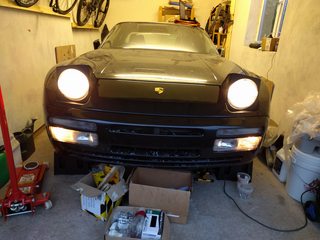
Got the front bumper and badge panel back on and spent an age adjusting the pop-up headlights (hours literally).
Took her out for a short test drive - a bit wobbly at first but could feel it getting better as she warmed up. Might have some small coolant leaks (perhaps from the turbo cooling circuit).
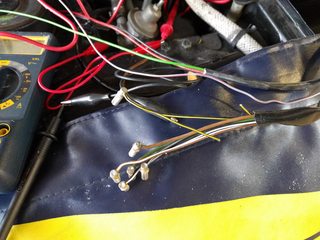
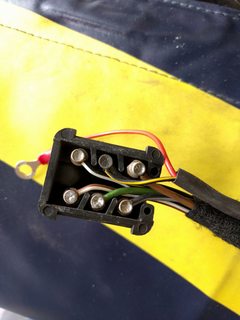
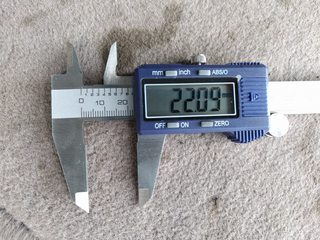
Fixed the dodgy wiring for the heated washer jets and also checked my clutch wear - pretty happy with that as I've never replaced the clutch so it may have been done prior to my ownership as not showing much wear at all - between 22-24mm between the plate and the slave cylinder.
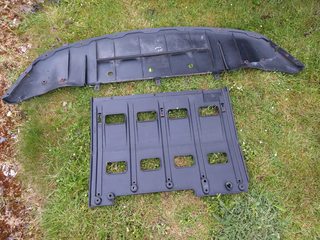
Now sorting out some final tidying jobs and hopefully getting the MOT booked sometime next week. Fibreglass underbody protection came up like new after some Surfex HD and the pressure washer. Just need to install the interior door panels and number plates.
Hopefully will get the car MOT'd later this week, been busy when I've been able to!
First of - repaired the broken hinge on the glove box lid with my favourite Araldite. Did a heath robinson style affair of masking tape to hold it still whilst the araldite set.
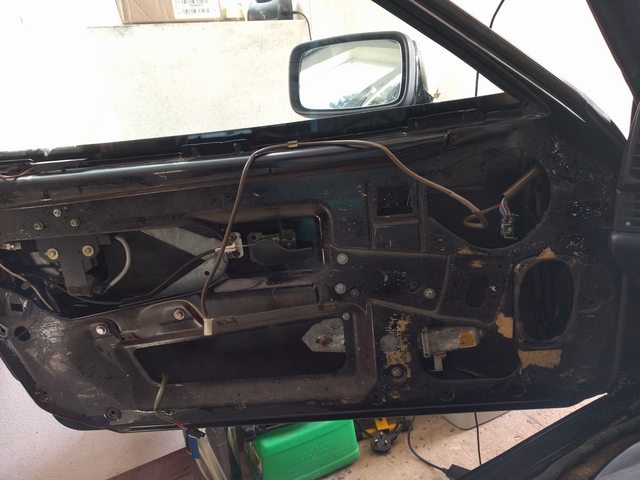
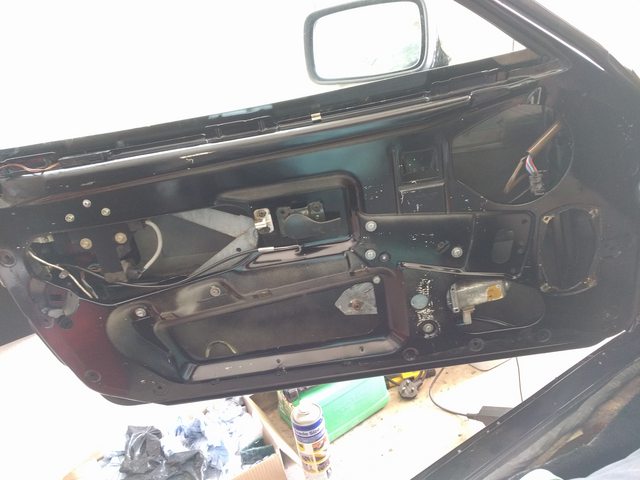
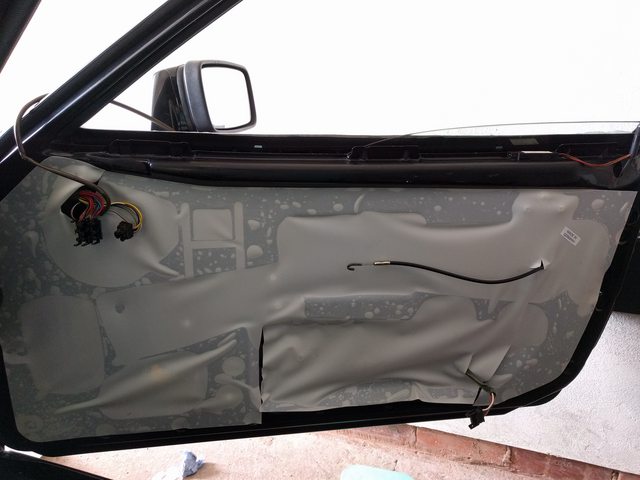
Next I set upon sorting out the interior a bit more and before I could fit a new moisture cover on the door I had to remove all the old glue. WD40 did this job superbly and dissolved the glue nicely with the aid of lots of paper towels. Then a quick wash with some Surfex HD to get rid of any WD40 and remaining gunk.
BEFORE
AFTER
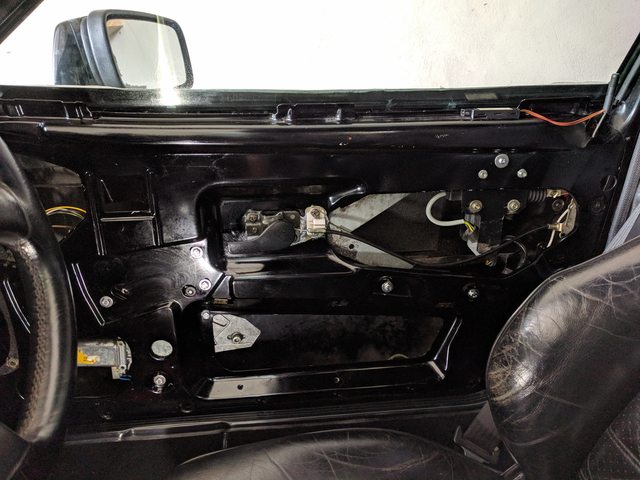
Got the drivers door cleaned up as well and managed to fit the membrane on - haven't finished the passenger side door as I need to fit the door catch still.
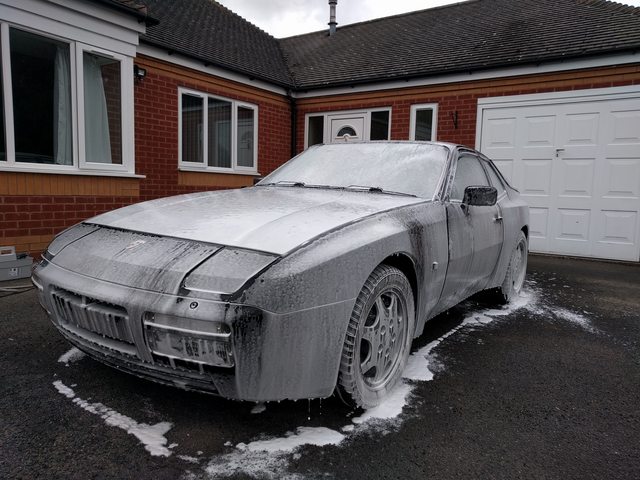
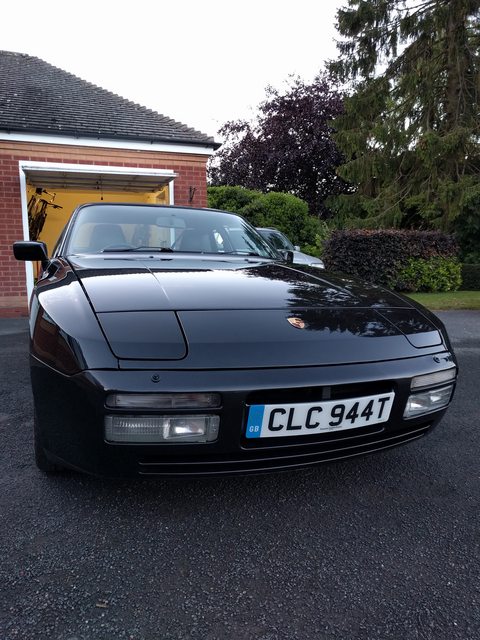
And then yesterday the car got some pampering and a good wash and degrease with some Surfex HD followed by a hand wash with BH Autowash. After this I was able to fit the new number plates from Porsche Exeter and took it for a quick trip to the village hall (to dry the brakes off).
I also bled the cooling system after I'd replaced the water with some G48. Got the cap and bleed valve mixed up and opened the cap first by mistake and the car then wet itself on the drive, managed to stop it quick when I realised my mistake.
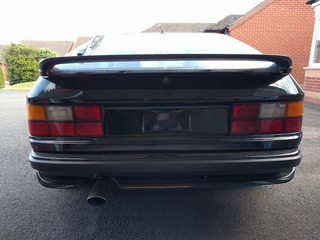
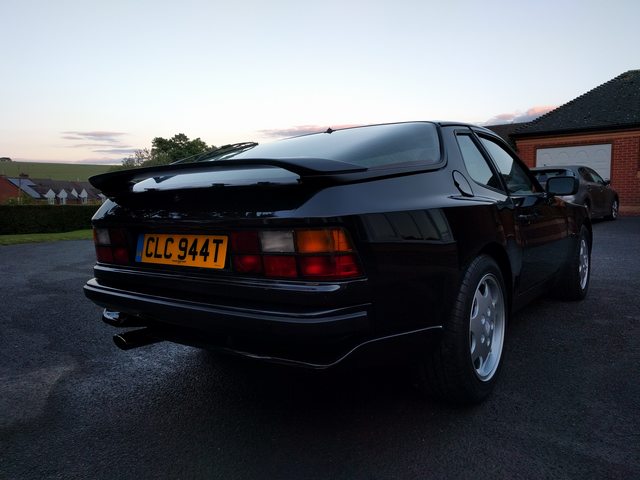
No pictures today but I've fitted all the standard stone chip protection, rear turbo badge and rear lower spoiler trim piece (with new seal). Also a bit of polishing of various light scratches from being in the garage.
Also realised I hadn't repainted the rear wiper arm!
Missed it completely as it was on the back of the car so that will need to come off at some point as it is letting down the rest of the car!
Looking forward to getting the doors finished, MOT and longer journey.
dlknight, awesome thread and thank you for all the photos and descriptions! Beautiful car you have. I'll be referring to your thread often as I go through my car.
dlknight, awesome thread and thank you for all the photos and descriptions! Beautiful car you have. I'll be referring to your thread often as I go through my car.
Thank you you are welcome - do you have a thread of your own car?
dlknight, thanks for taking the time to share your progress with descriptions and photos. Amazing car, amazing thread, and very educational. Have fun and good luck.
Hi dlknight, yes, I started a thread on my clutch replacement here: https://rennlist.com/forums/944-turb...placement.html I'm a newbie to 951 ownership and am struggling through all the stuff. My main goal was to "own" my car and understand it as I work on it. I'm a mechanical engineer with experience working on American and Japanese cars, but the 944 Turbo is by far the most complex car I've worked on. I'm continually amazed how the Porsche engineers were able to stuff so much hardware under that pointy little hood.
Also, thank you to finally! for posting the thread on the venturi delete project. That will be really helpful.
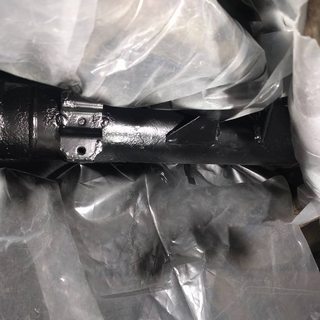
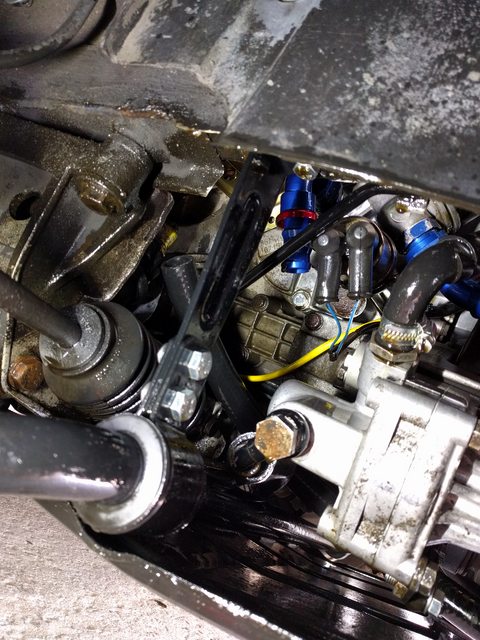
So I was on the way to get the car a fresh MOT today and the oil cooler hose decided to blow off at the oil filter housing. Luckily I was just bimbling out of a village and first sign was a cloud of smoke and then the 0 oil pressure reading on the dash. I stopped the engine which sounded fine and coasted luckily down the hill into a driveway for recovery.
The hose and fittings were new and purchased from Motamec so I'm a bit concerned how they would fail in this manner. The engine bay and underneath of the car is a bit of a mess as its now coated in oild that should be in the sump...
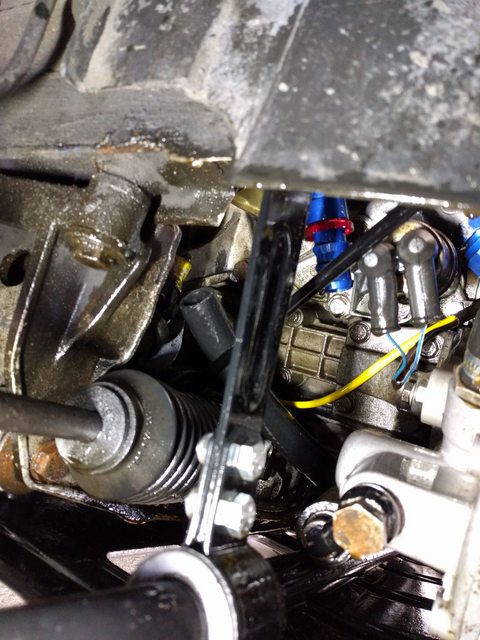
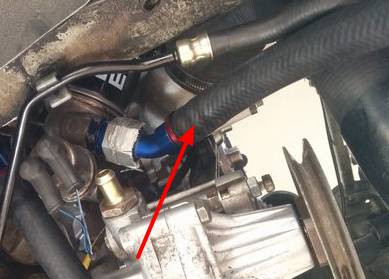
Looking around I quickly found the culprit - see below, I understood that these hose and fittings were fine for oil coolers and saw the same setup in a thread on rennlist.
As you can understand I'm pretty scared to use these hoses now I've had a failure (luckily I've still got the original Porsche hoses if I decide to refit them).
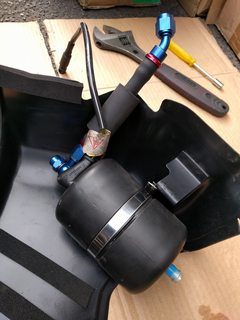
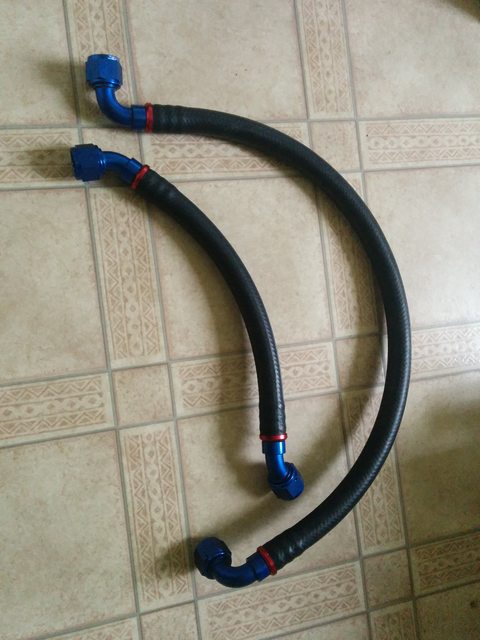
These were the original pictures of the hose assembly...
I've emailed the shop I bought the fittings from as I'm not sure they should fail like this...
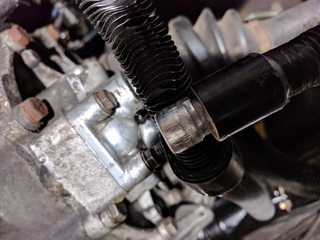
The rubber hose part was just pushed on the metal fitting like that? That doesn't seem right. Shouldn't there have been a clamping there like on hydraulic hoses? What keeps the rubber hose from pulling off the connector fitting? Those little ridges? By the looks of it, you probably could have pulled the hose off the fitting with your hands
The rubber hose part was just pushed on the metal fitting like that? That doesn't seem right. Shouldn't there have been a clamping there like on hydraulic hoses? What keeps the rubber hose from pulling off the connector fitting? Those little ridges? By the looks of it, you probably could have pulled the hose off the fitting with your hands
Yes they are push-fit fittings and shouldn't come apart unless you cut the hose off - I used @lart951 post on oil cooler hoses as he had made some similar using both braided hose and push-fit hoses.
Yes they are push-fit fittings and shouldn't come apart unless you cut the hose off - I used @lart951 post on oil cooler hoses as he had made some similar using both braided hose and push-fit hoses.
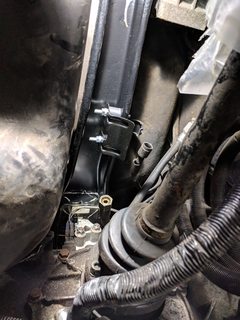
Call me old-fashioned, but I'll stick to the regular hoses with outer clamping... like the little hose just above

 05-24-2019, 03:14 PM
 I have some foam weather strip that I used for the inside of the pump cover where the original factory strip was, when I'm refitting the rear ARB I will stick a strip on the strap.