When you click on links to various merchants on this site and make a purchase, this can result in this site earning a commission. Affiliate programs and affiliations include, but are not limited to, the eBay Partner Network.
Yes sir - my "to do" list is growing but head gasket and rod bearings have been added. I realize I am succumbing to the 'WYAIT' bug, but luckily the PPO had purchased a lot of the needed parts so I am only having to buy the WYAIT stuff...
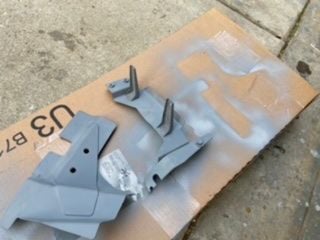
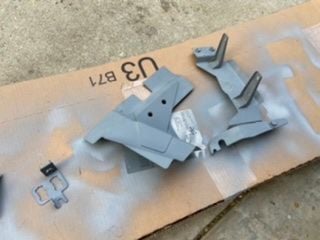
Blasted a few of the brackets, etc. and primed for protection. I think I have a lead on a local place that will replate everything that needs it for a good price, but if not I may try the metallic silver - metallic gold - pink treatment for a faux finish.
If you are looking to save time, I would consider dry-ice blasting everything in-place. I just did this to a pair of my cars (a 930 and a 931) and the results were phenomenal and fast. The trick is finding someone local to you with the equipment.
Have not found anyone yet with the dry ice equipment so still working by hand...this weekend involved more cleaning as well as removal of a couple of brackets. Also retrieved a bunch of already removed parts as well as new parts that the PPO had purchased to redo this motor.
Some cleaning pics...
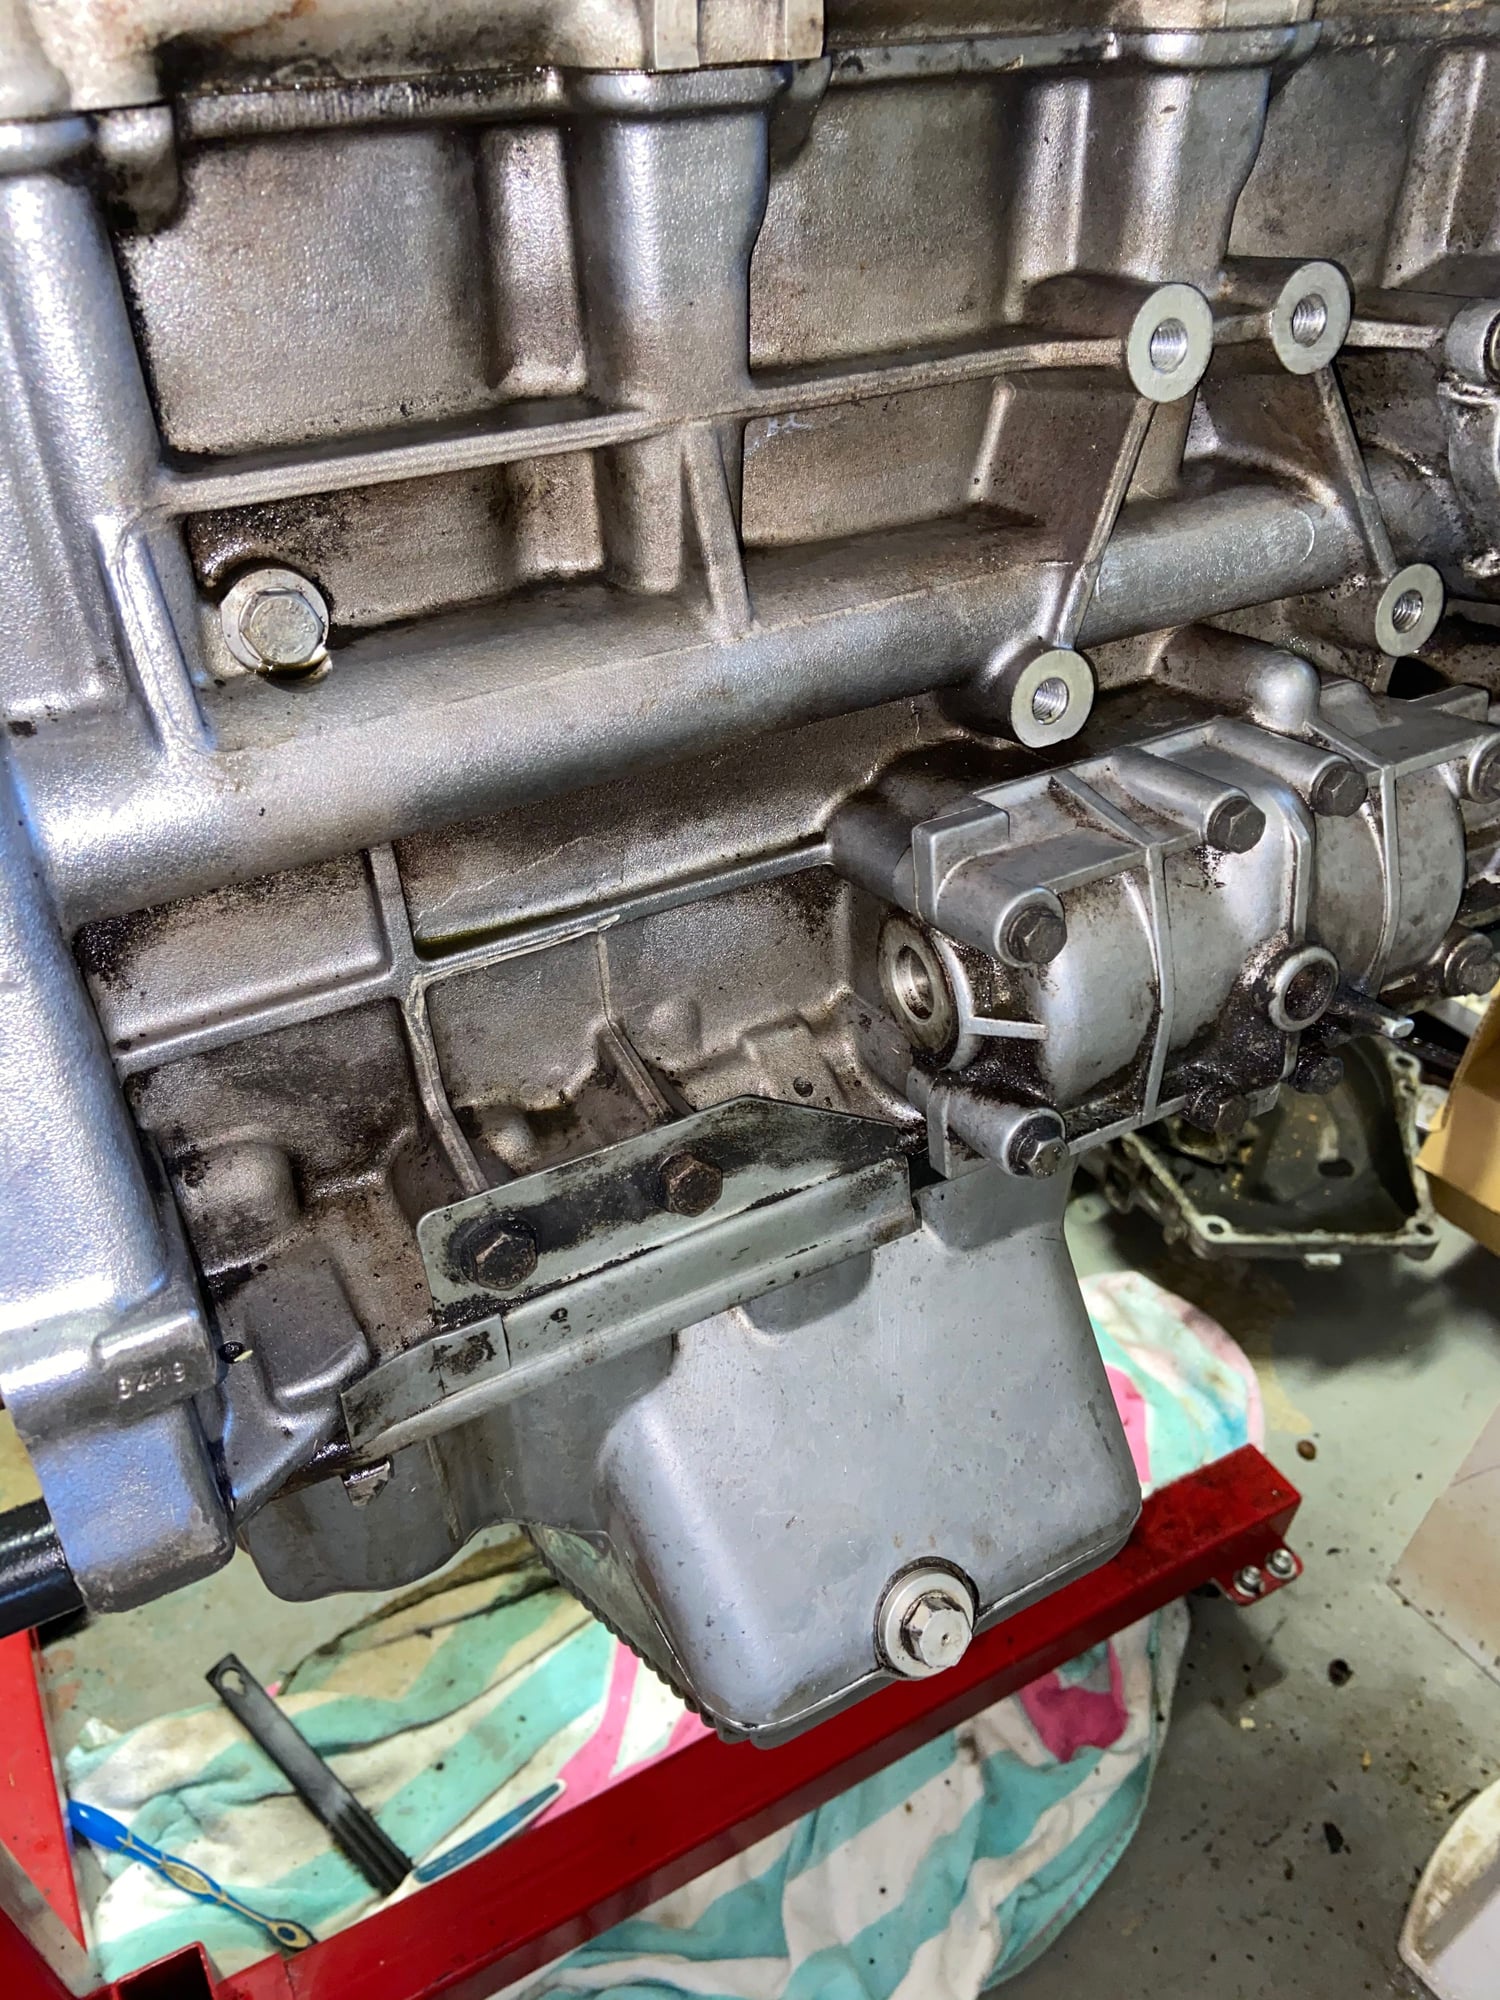
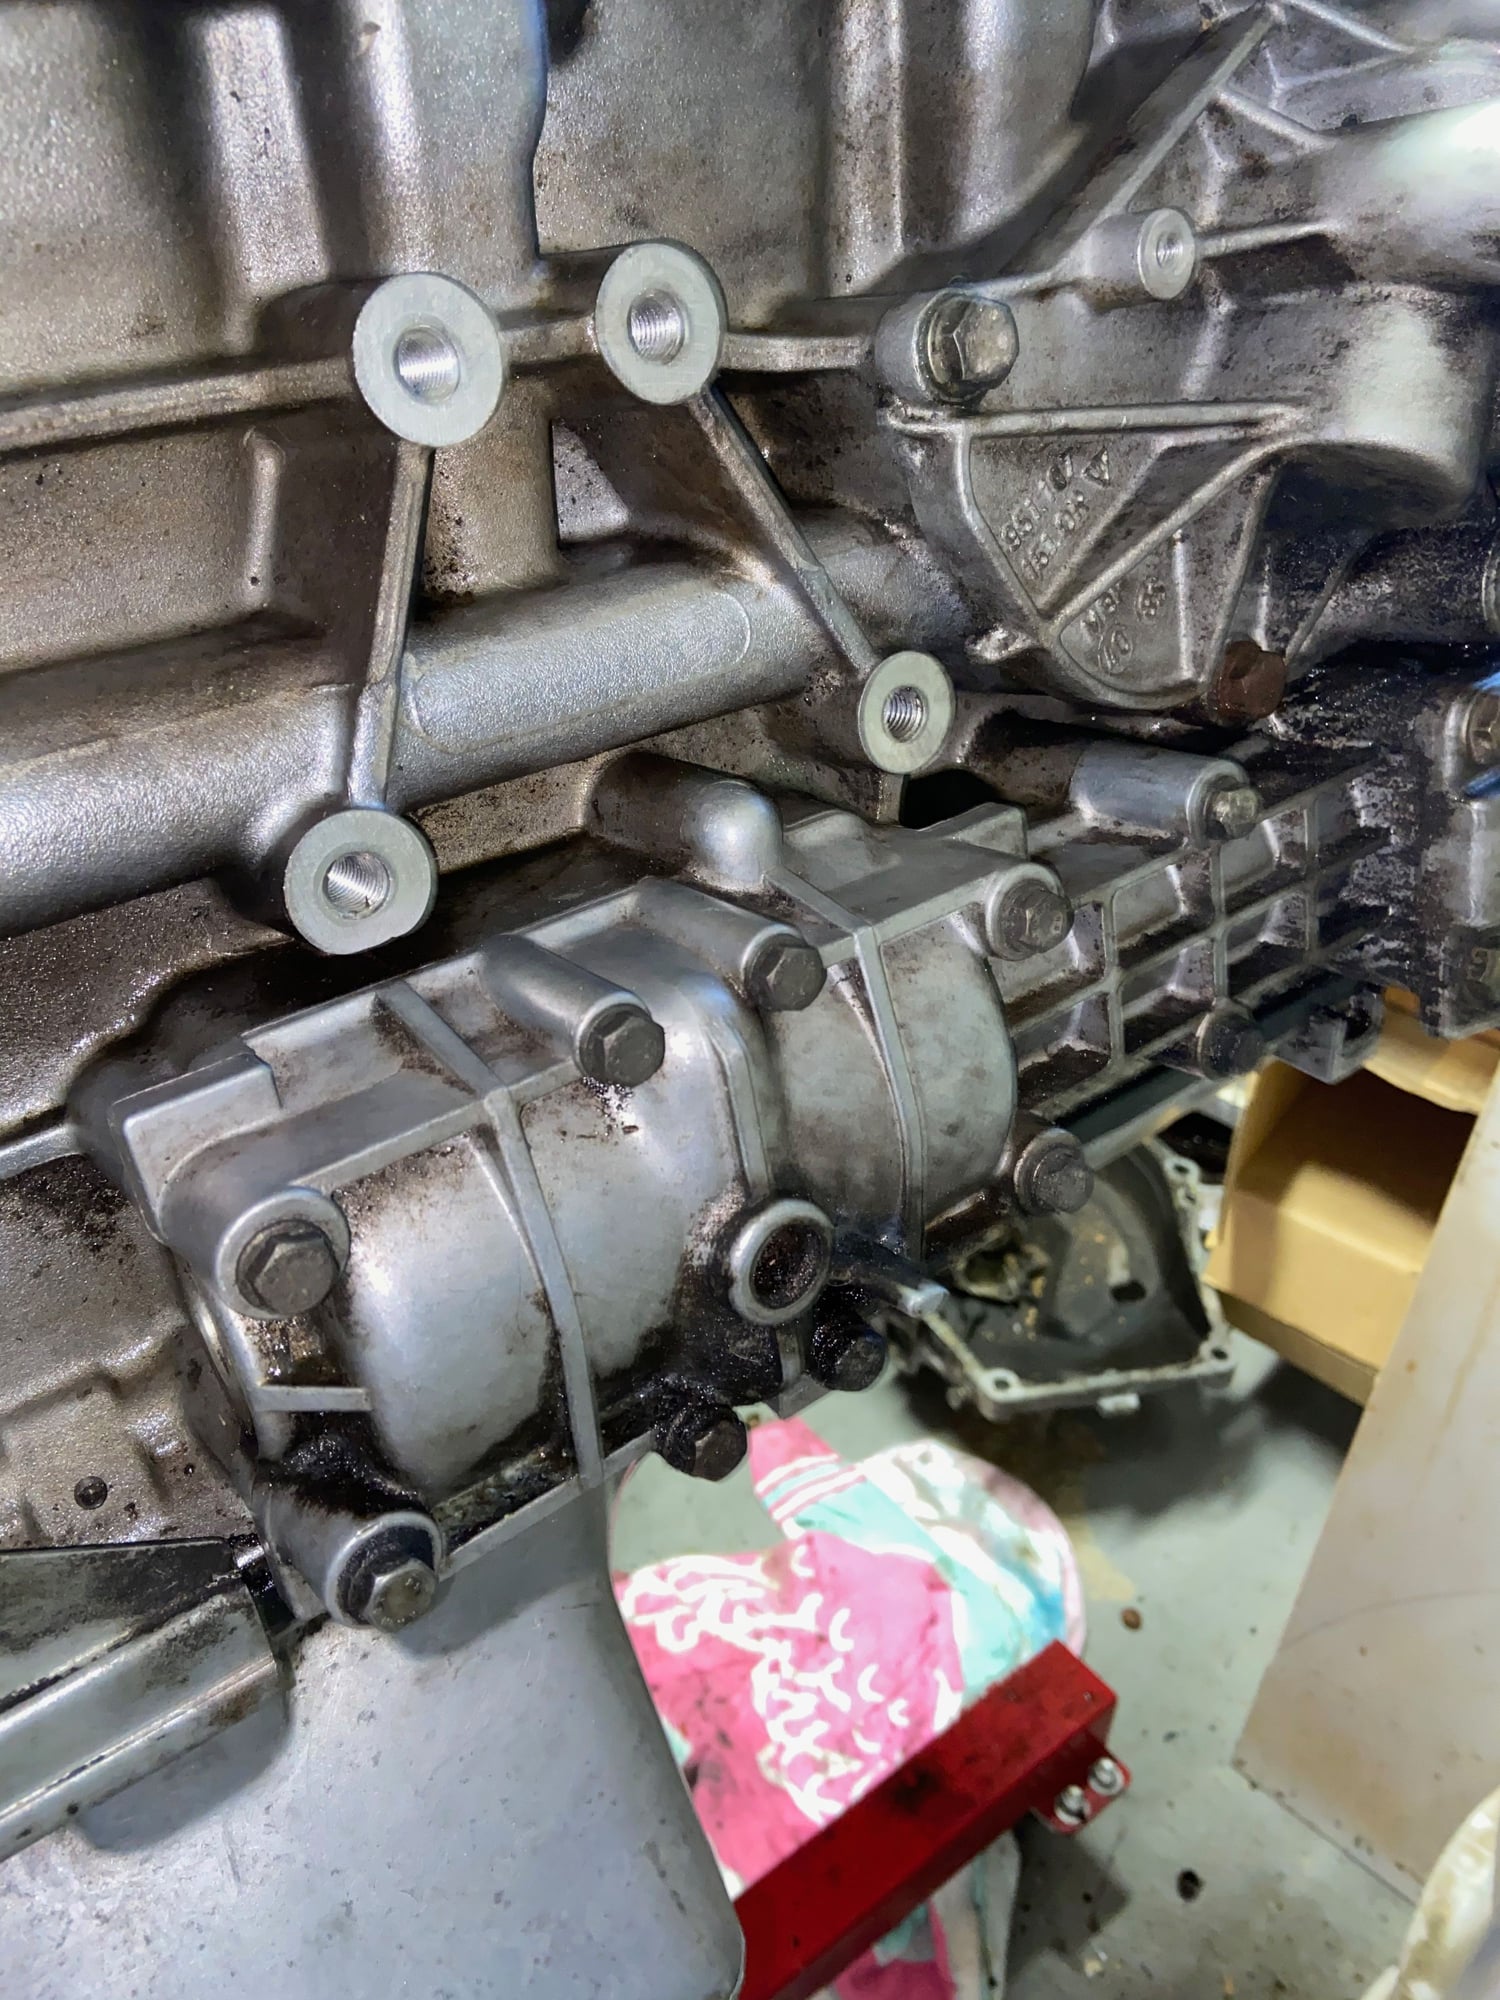
Pass side after initial cleaning. Still a lot of nooks and crannies to go. PPO had already purchased O-rings and gasket for oil cooler mount so it is coming off and will be cleaned in the parts washer. Oil pan little cleaner now - but coming off anyway for bearings.
Progress going slow but putting my new to me $10 homemade parts washer to work. Don't know how I have made it without one of these. Still have some stubborn dirt to remove but coming along nicely.
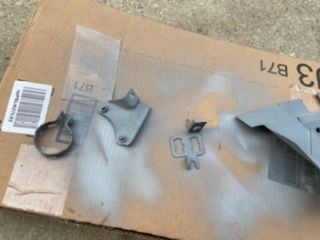
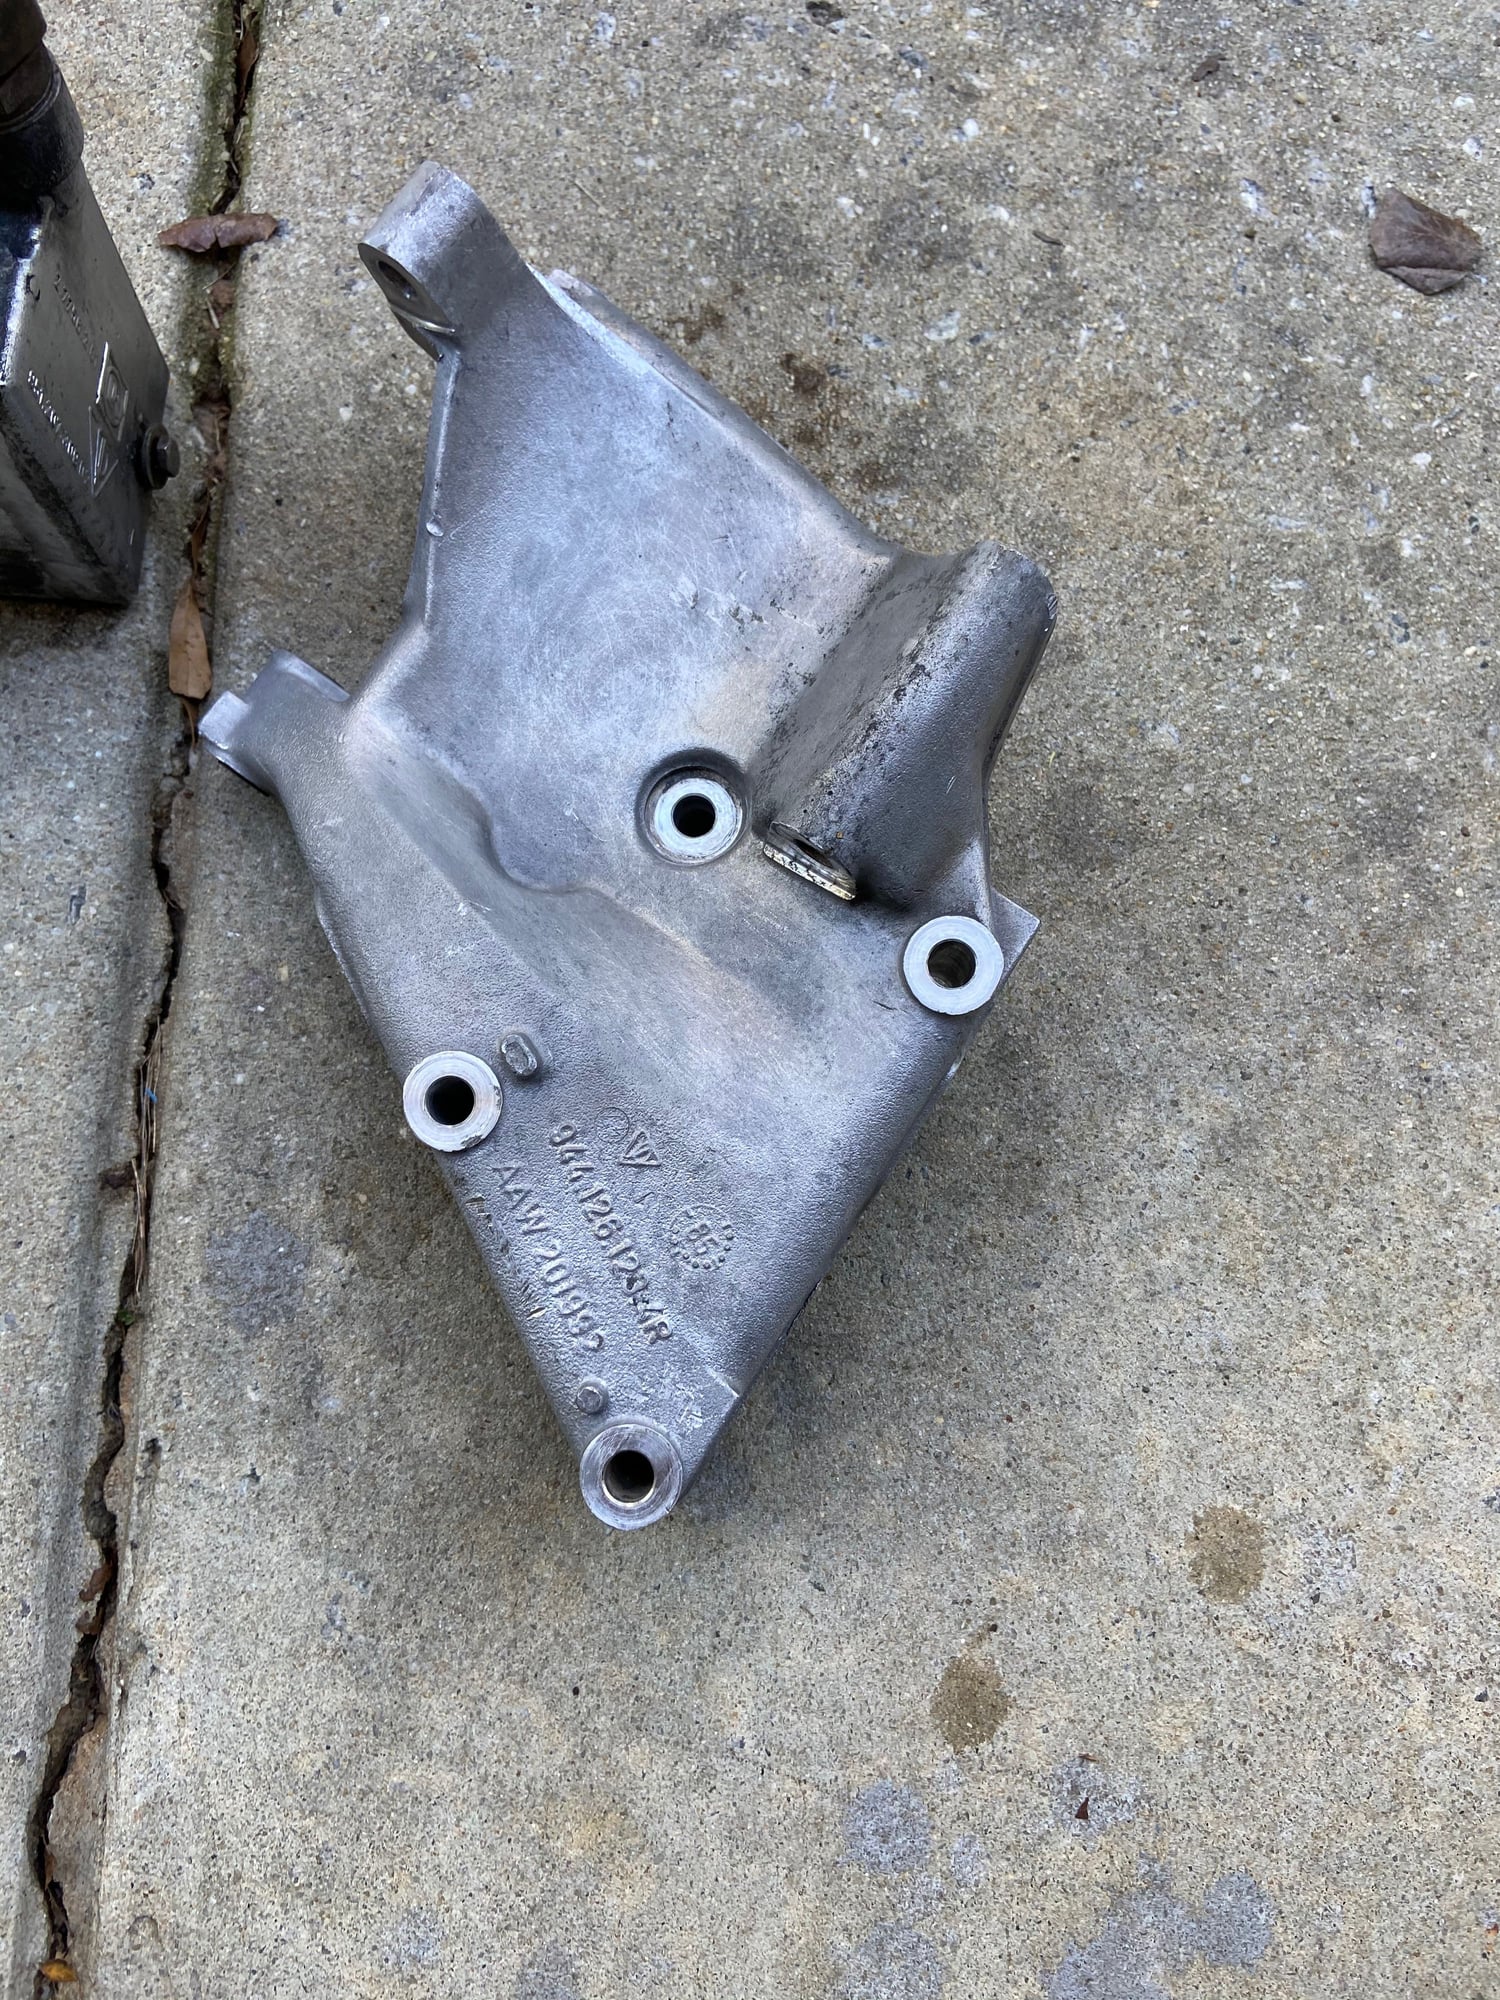
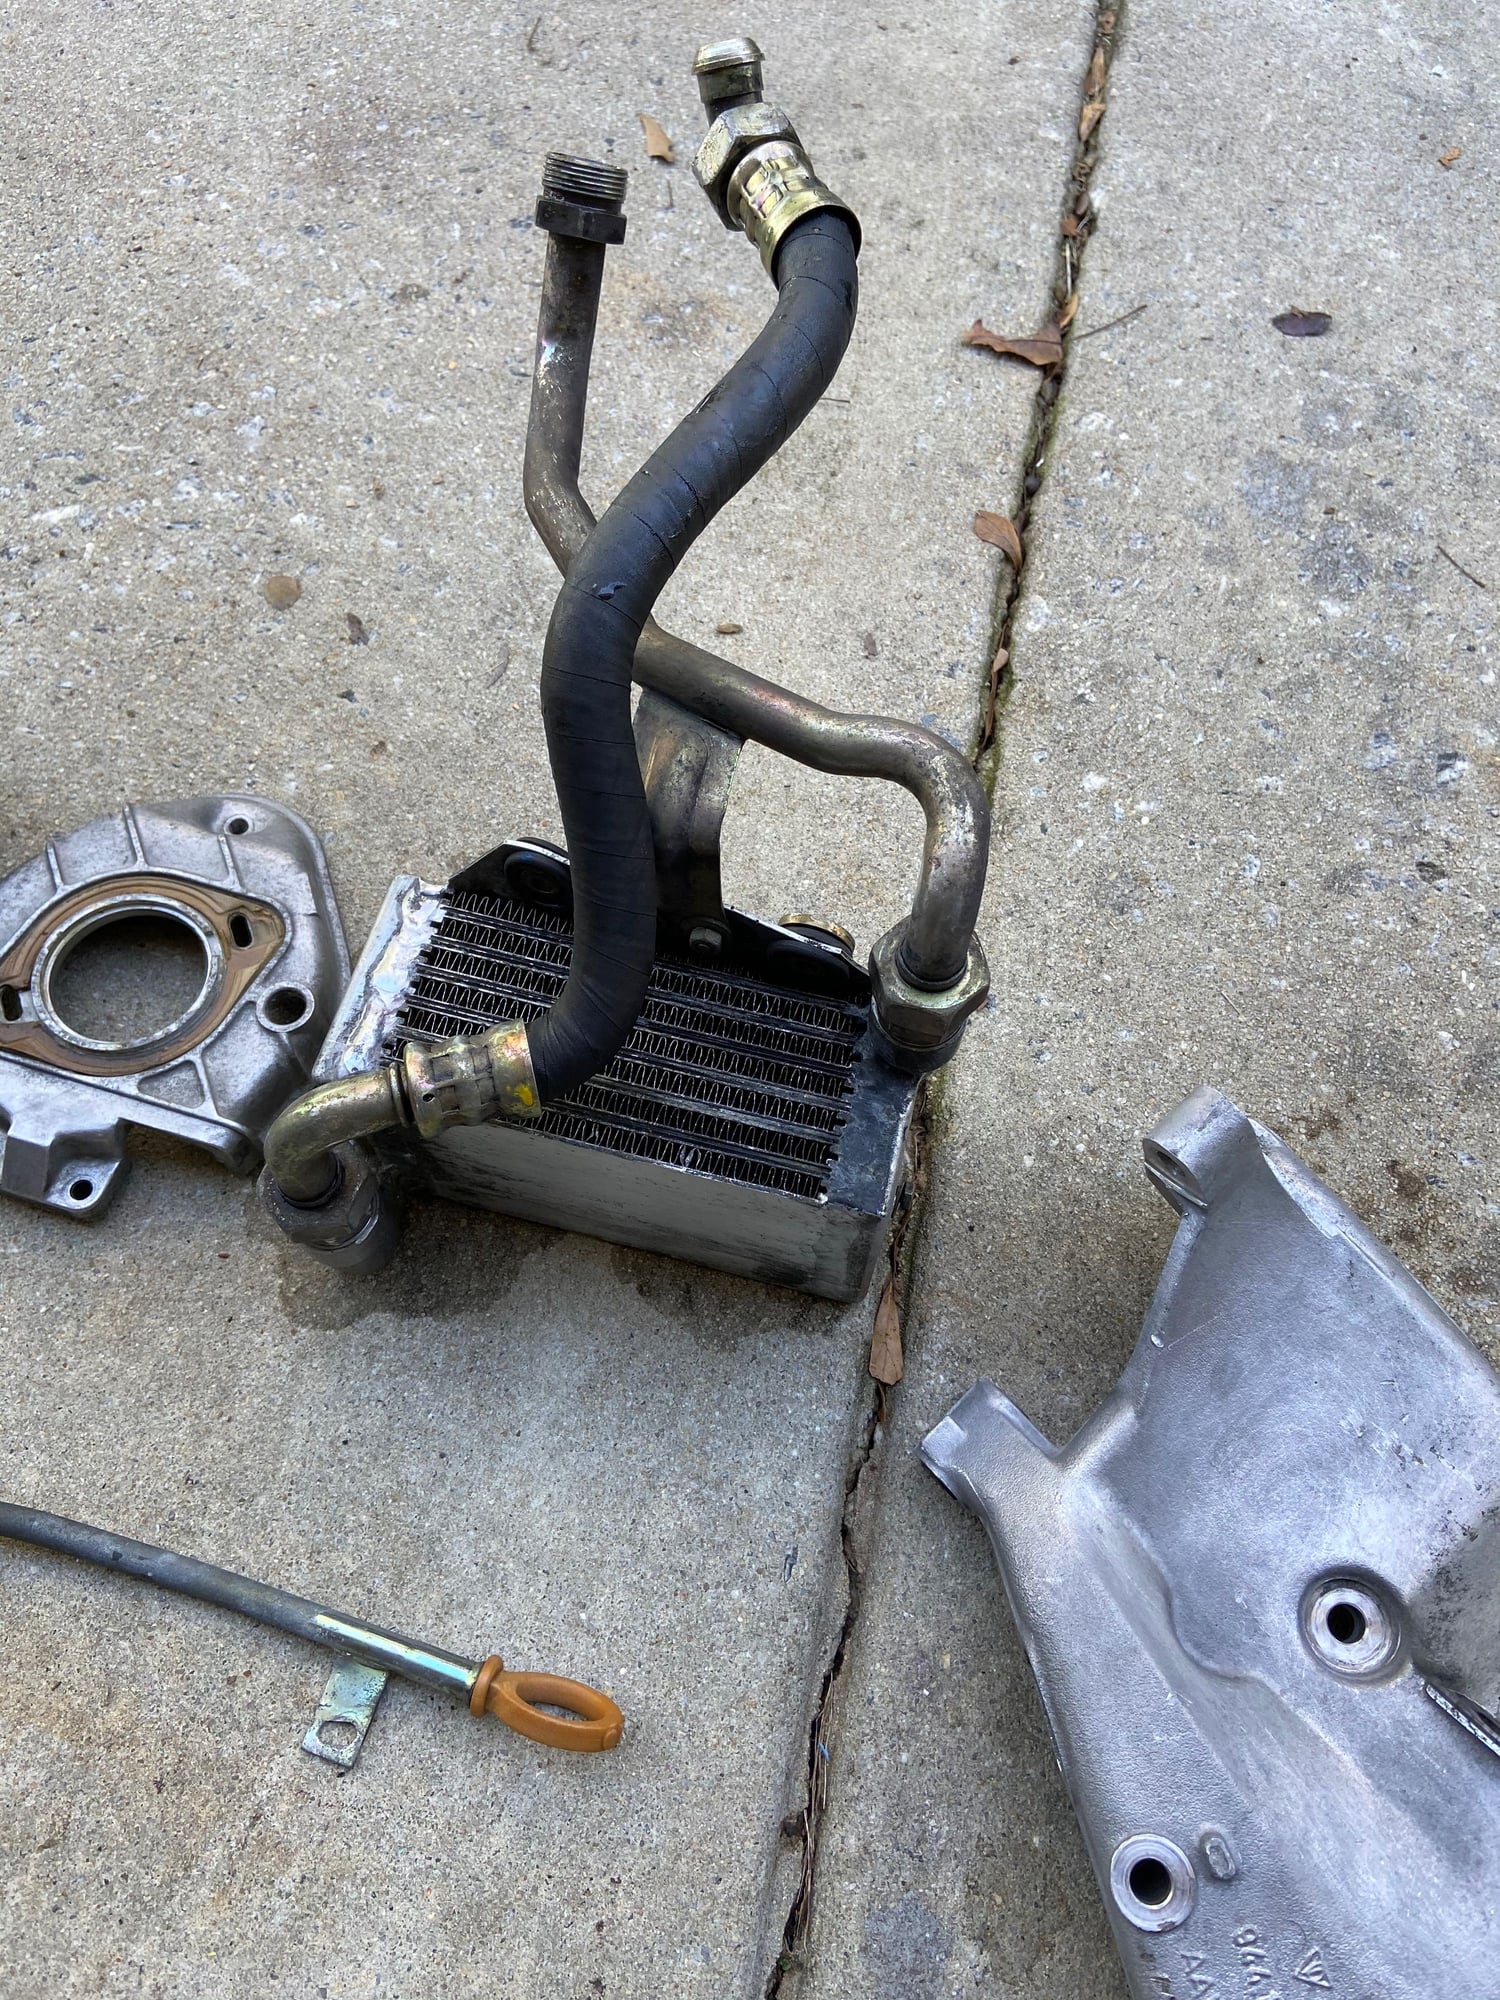
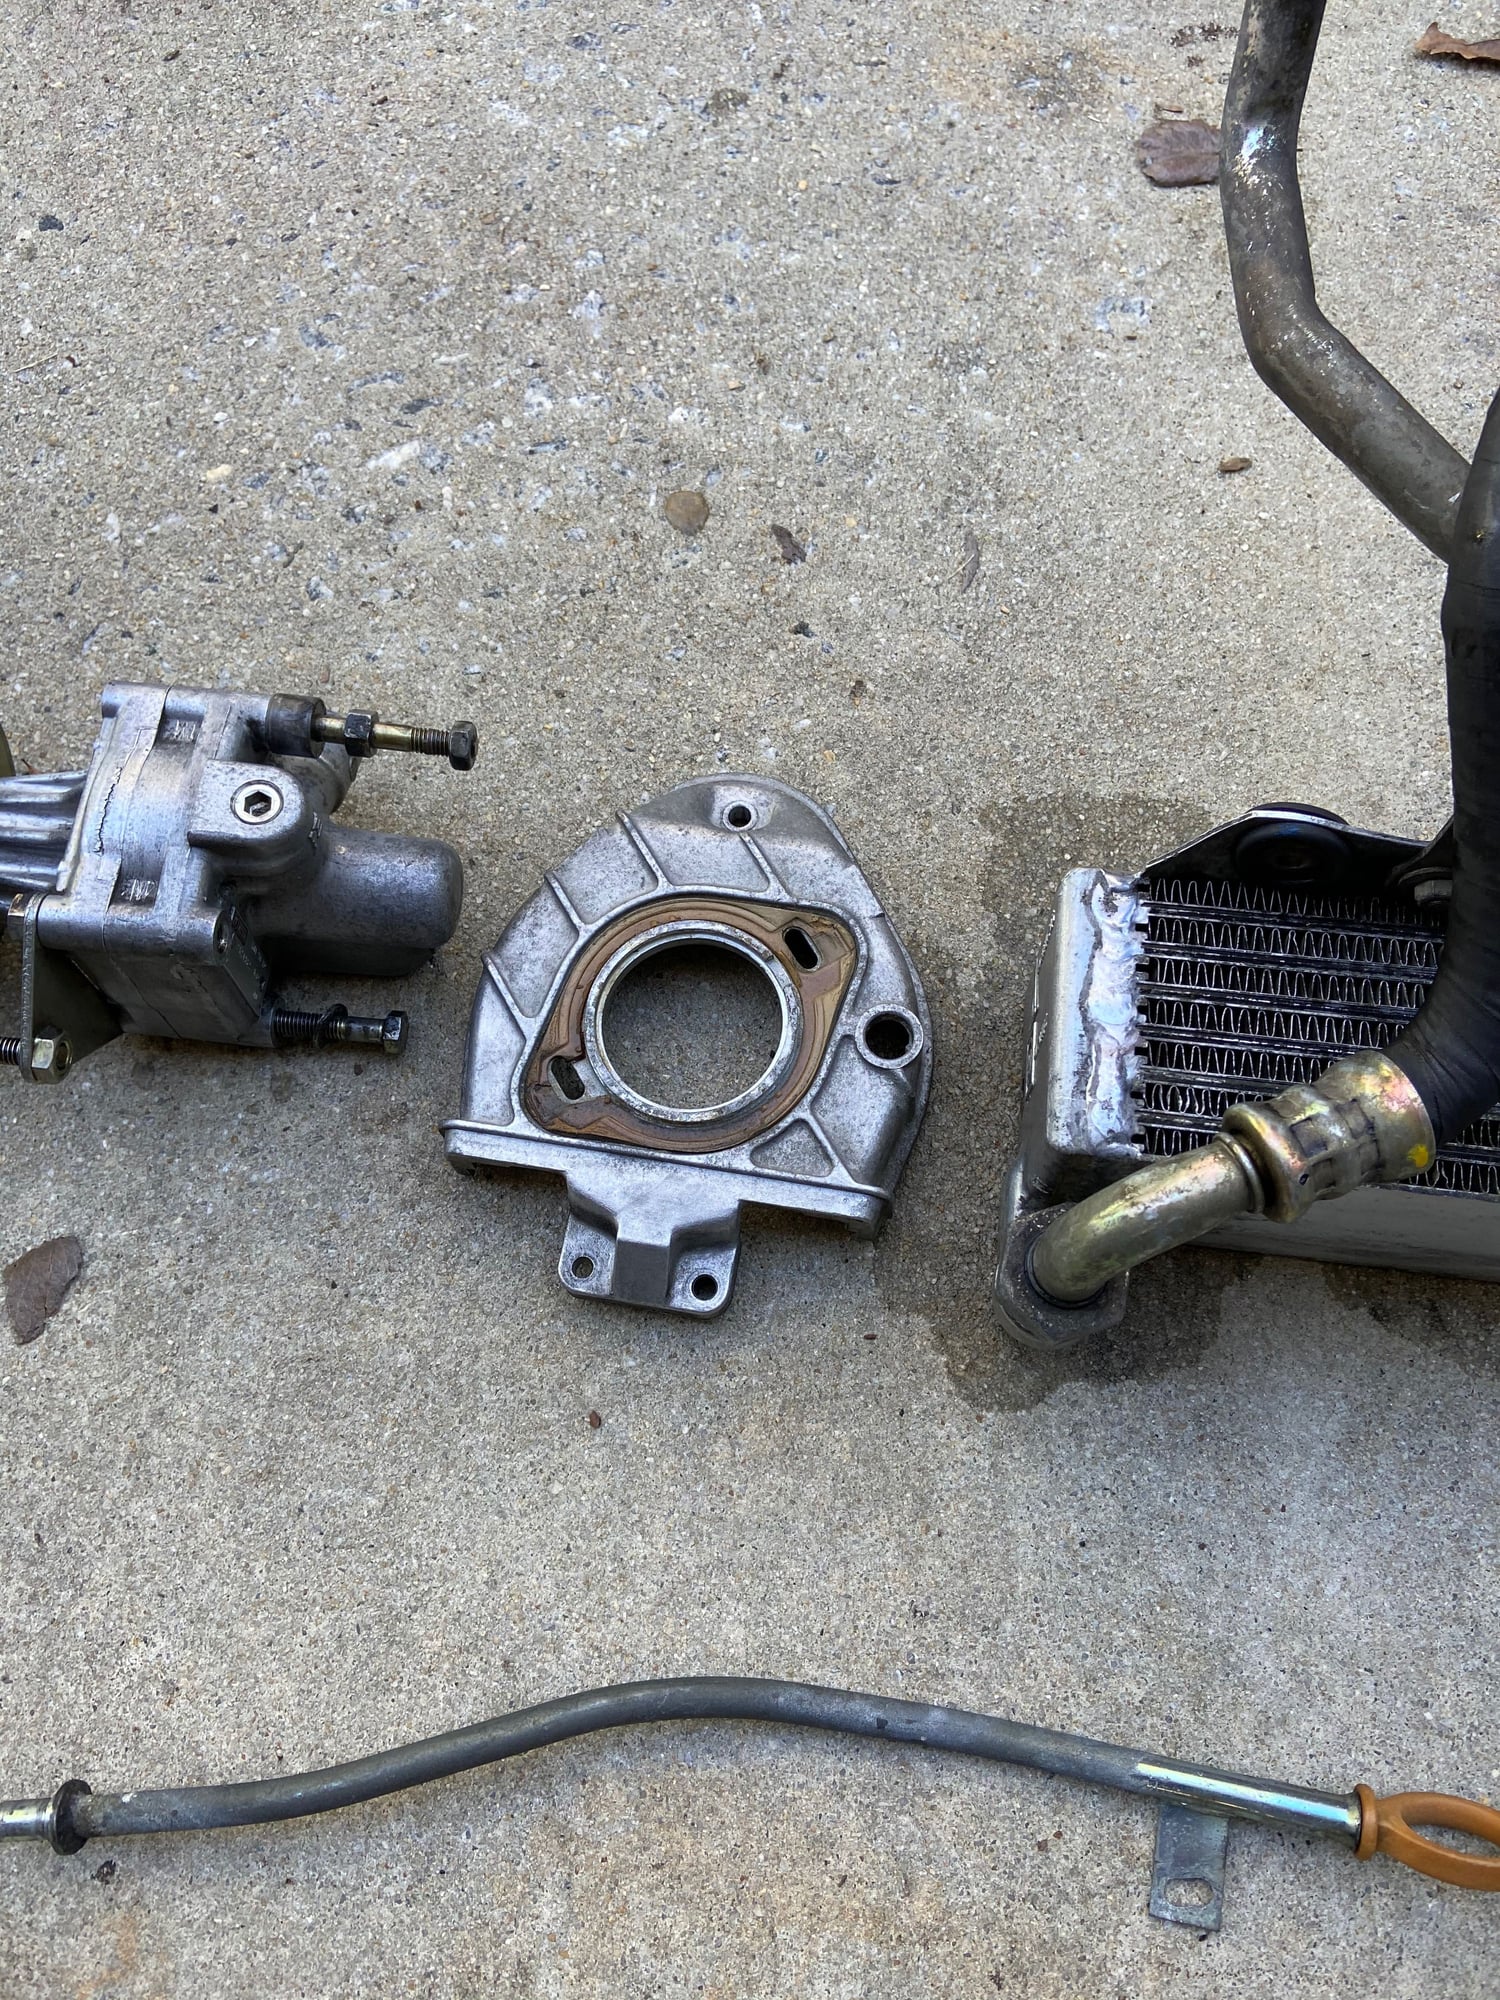
Here are some parts pics as they have been being cleaned.
Alternator bracket came out pretty good. Still need to do more work on the oil cooler. Wish I could get the fittings back to the original finish by cleaning and not having to think about replating. We'll see what happens. Have not attempted the faux finish on anything yet. PS pump came out ok. Other bits pretty clean.
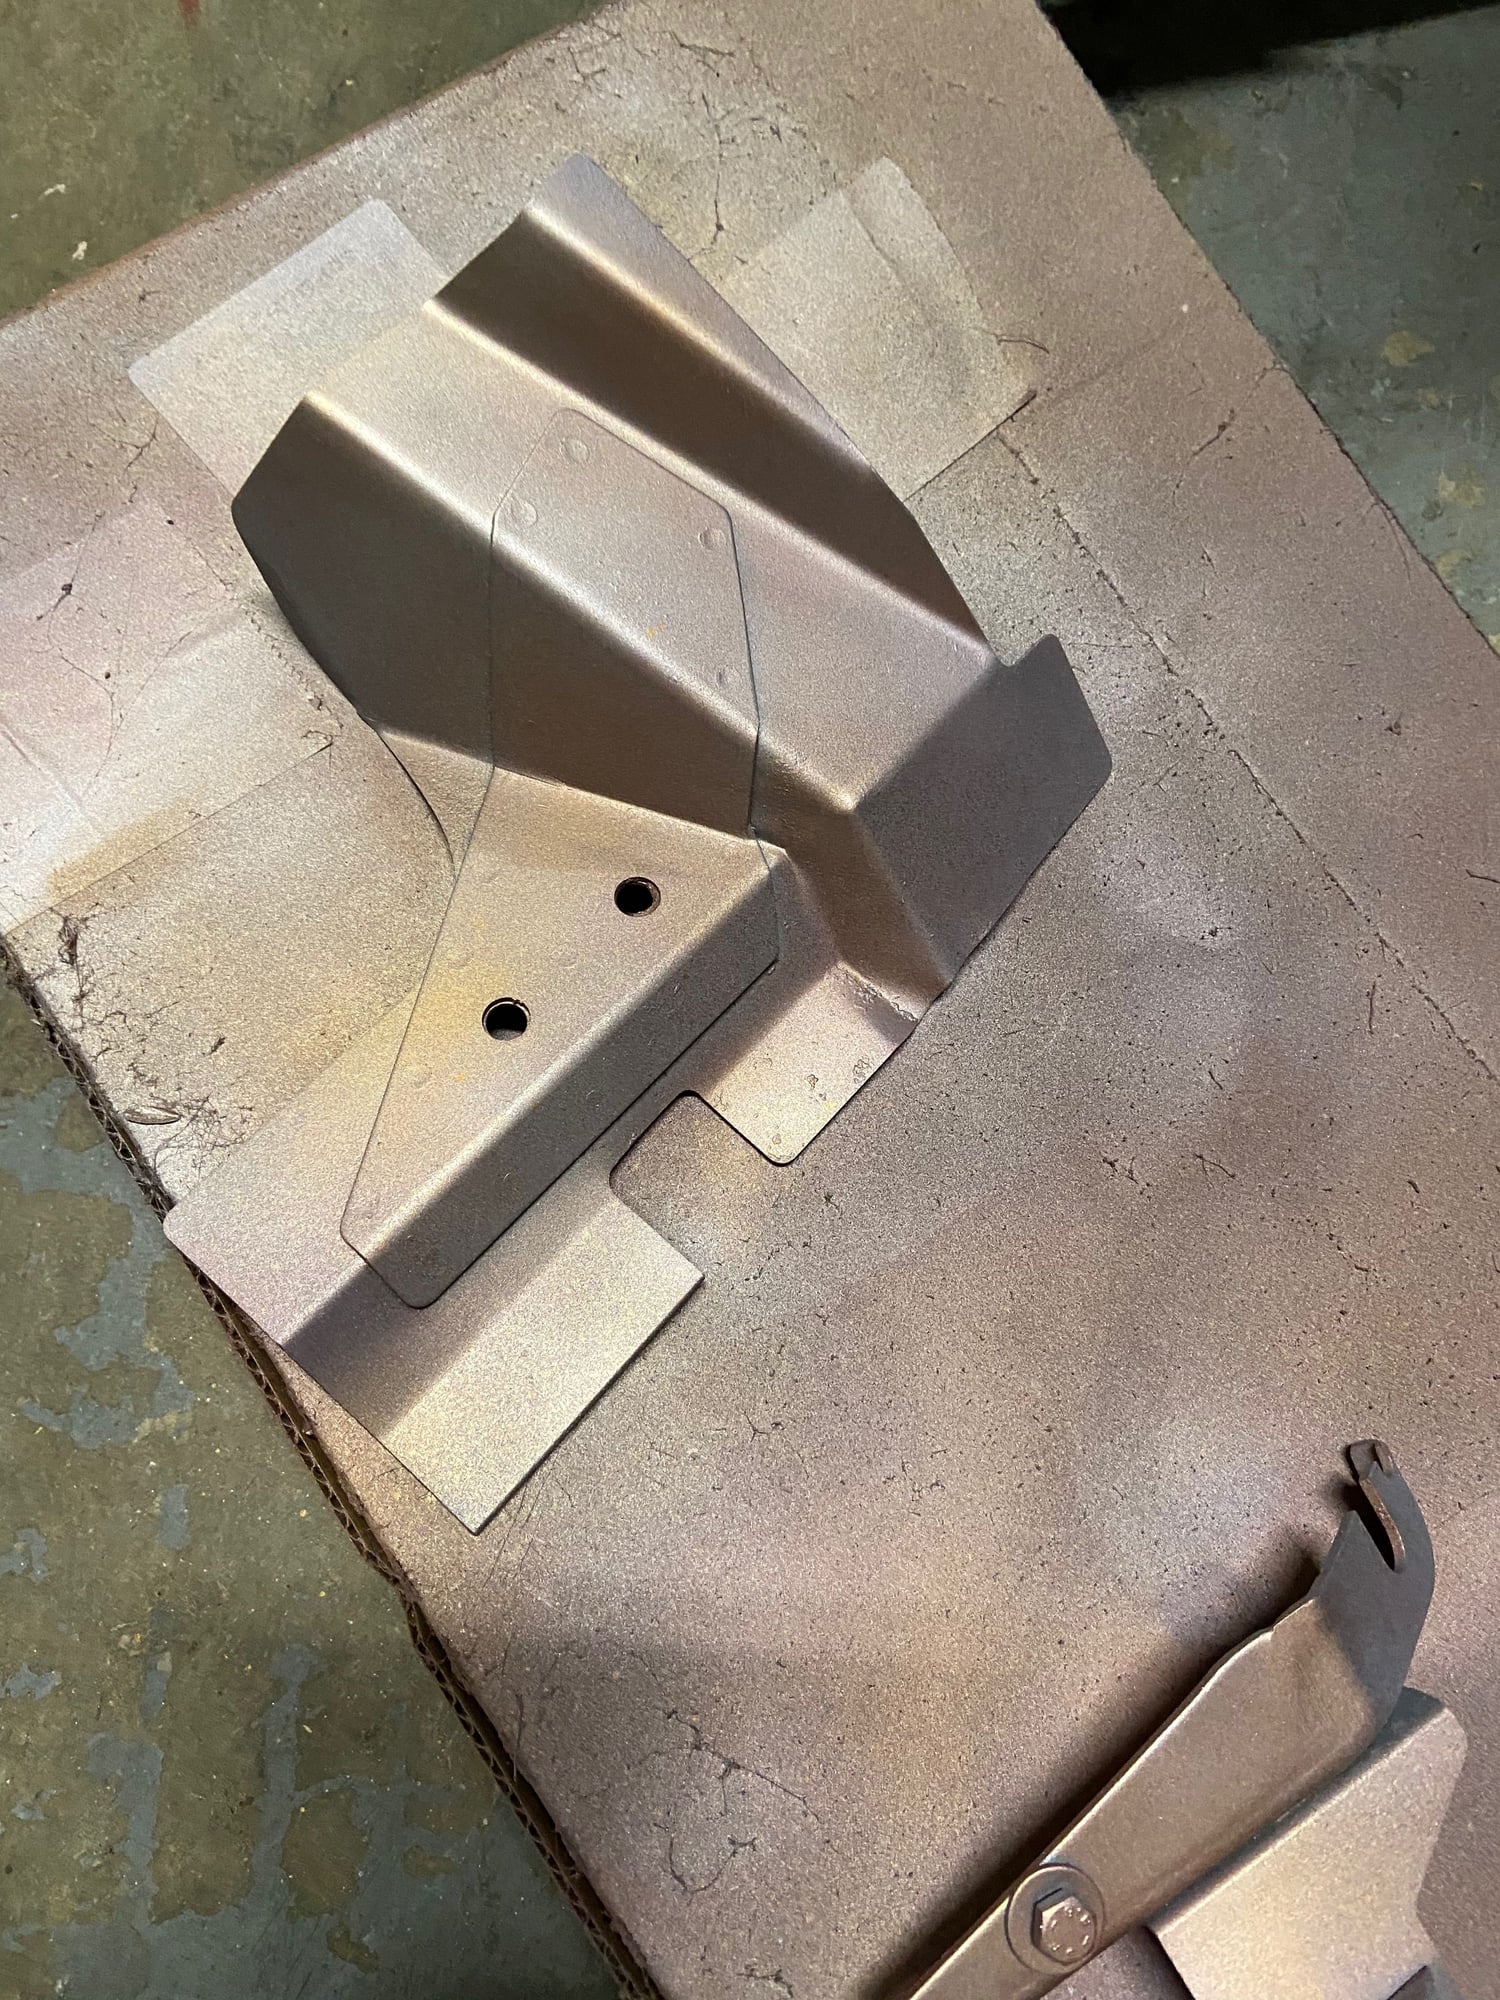
So I wanted to experiment a bit with the faux technique I read about. I think it turned out ok - certainly better than the grungy stuff that was in there, but still not quite the look of yellow zinc or cad plating. I think it will look ok at a distance and be a nice contrast to the aluminum and black in the engine bay.
I may try a coat of gloss clear on top, but I think after curing we'll just leave it alone.
Well - I have continued working on the teardown of the 951 engine and have some updated photos below and some serious questions that I need advice on...my comments below the pics as usual.
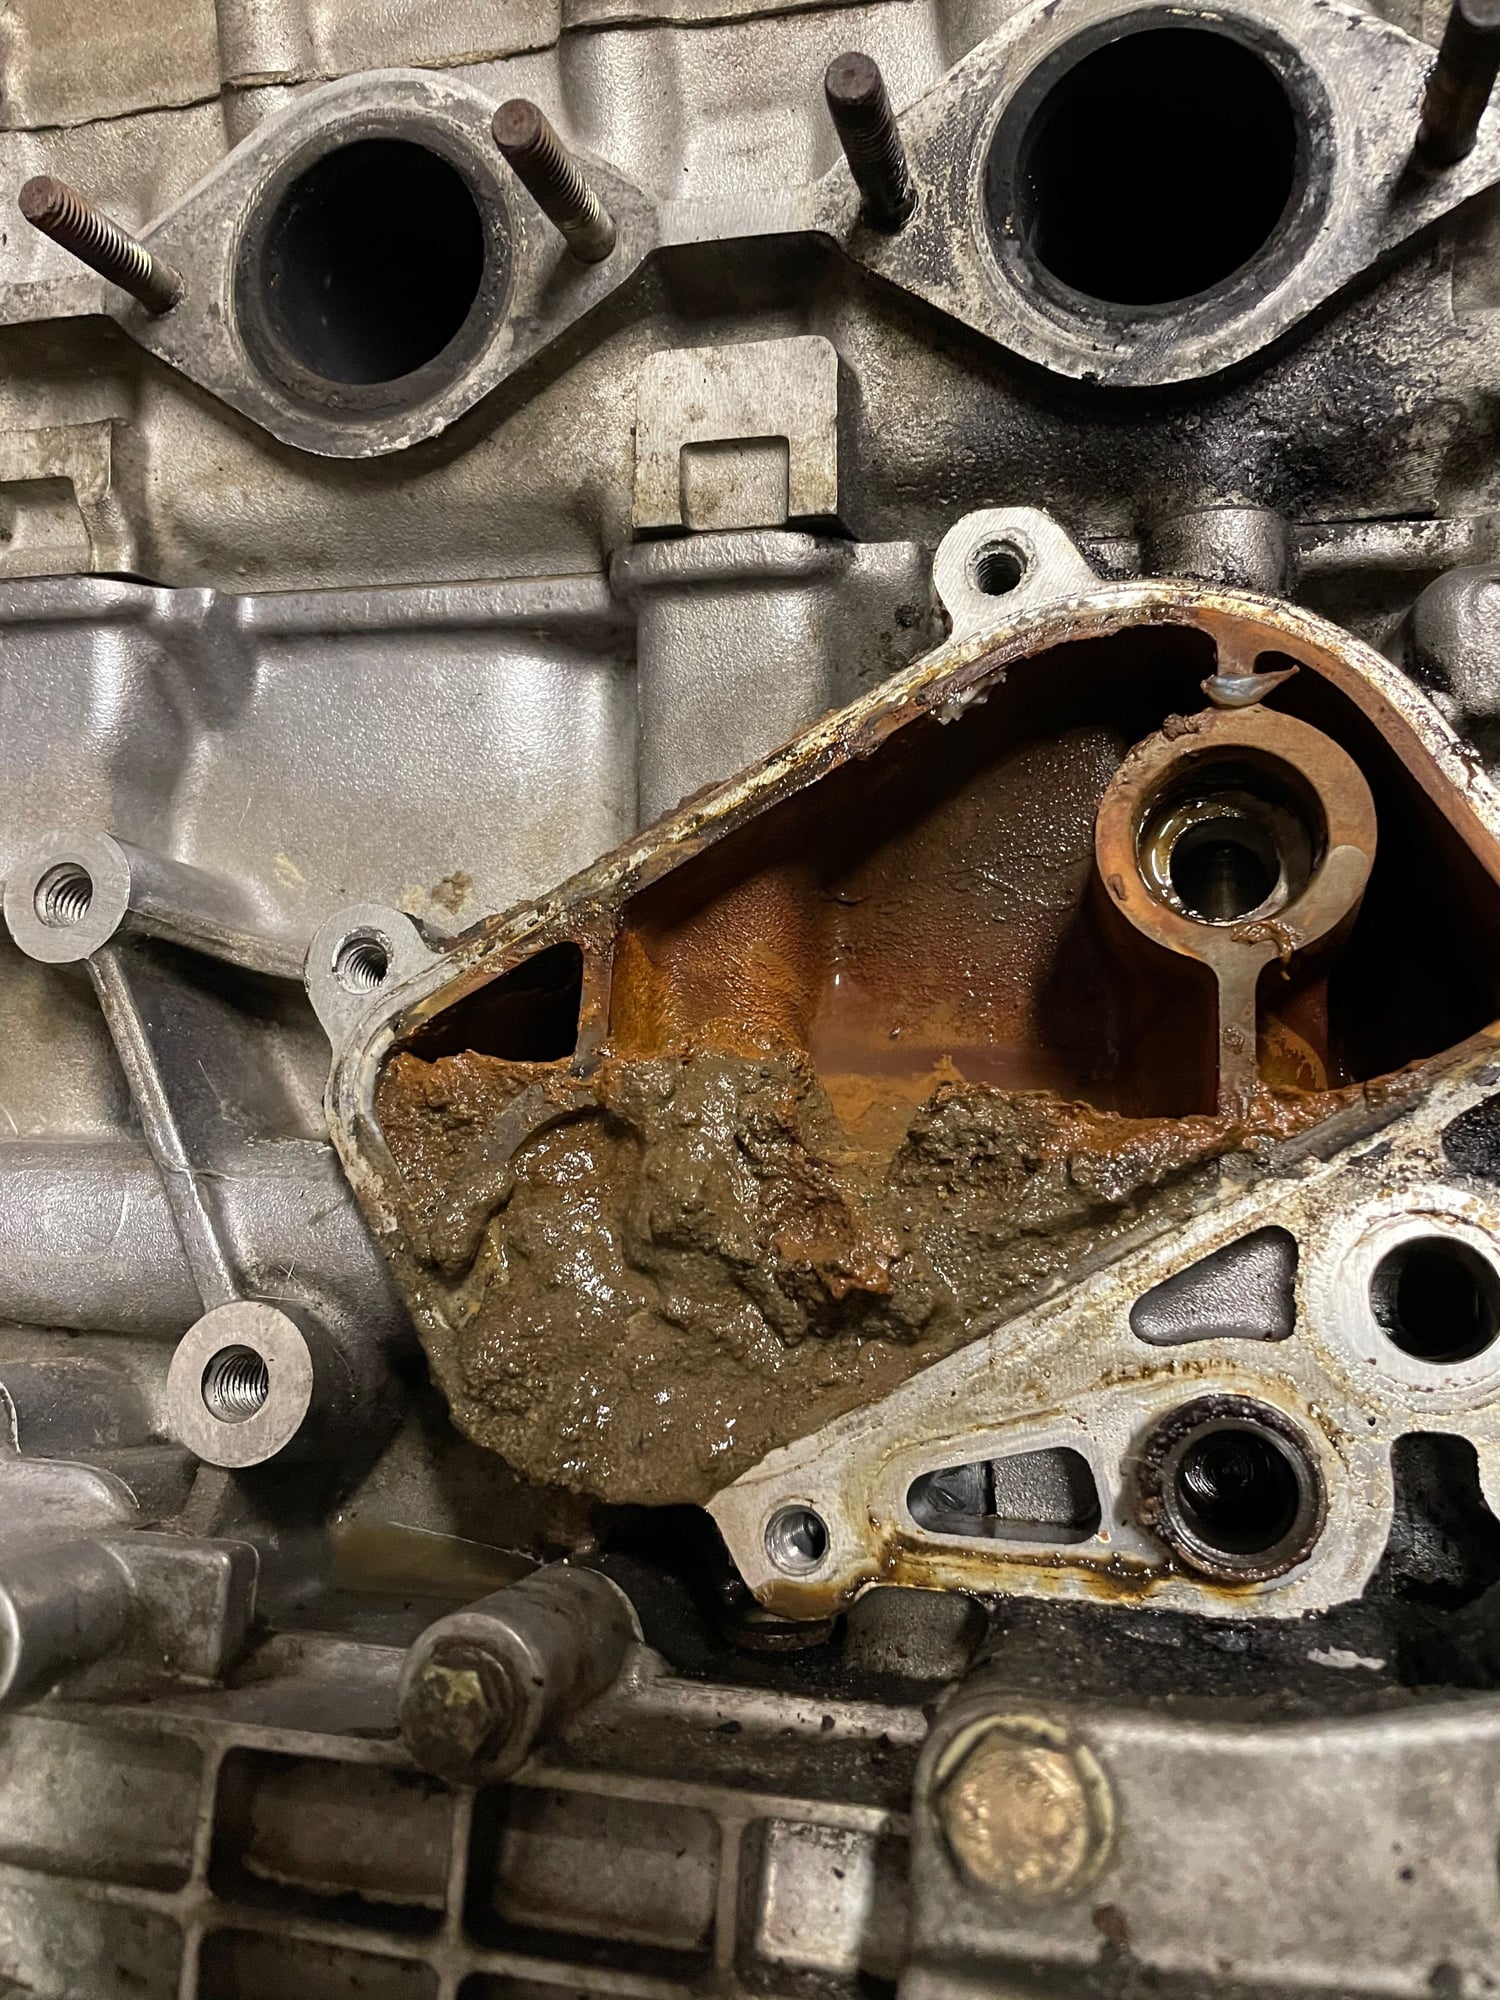
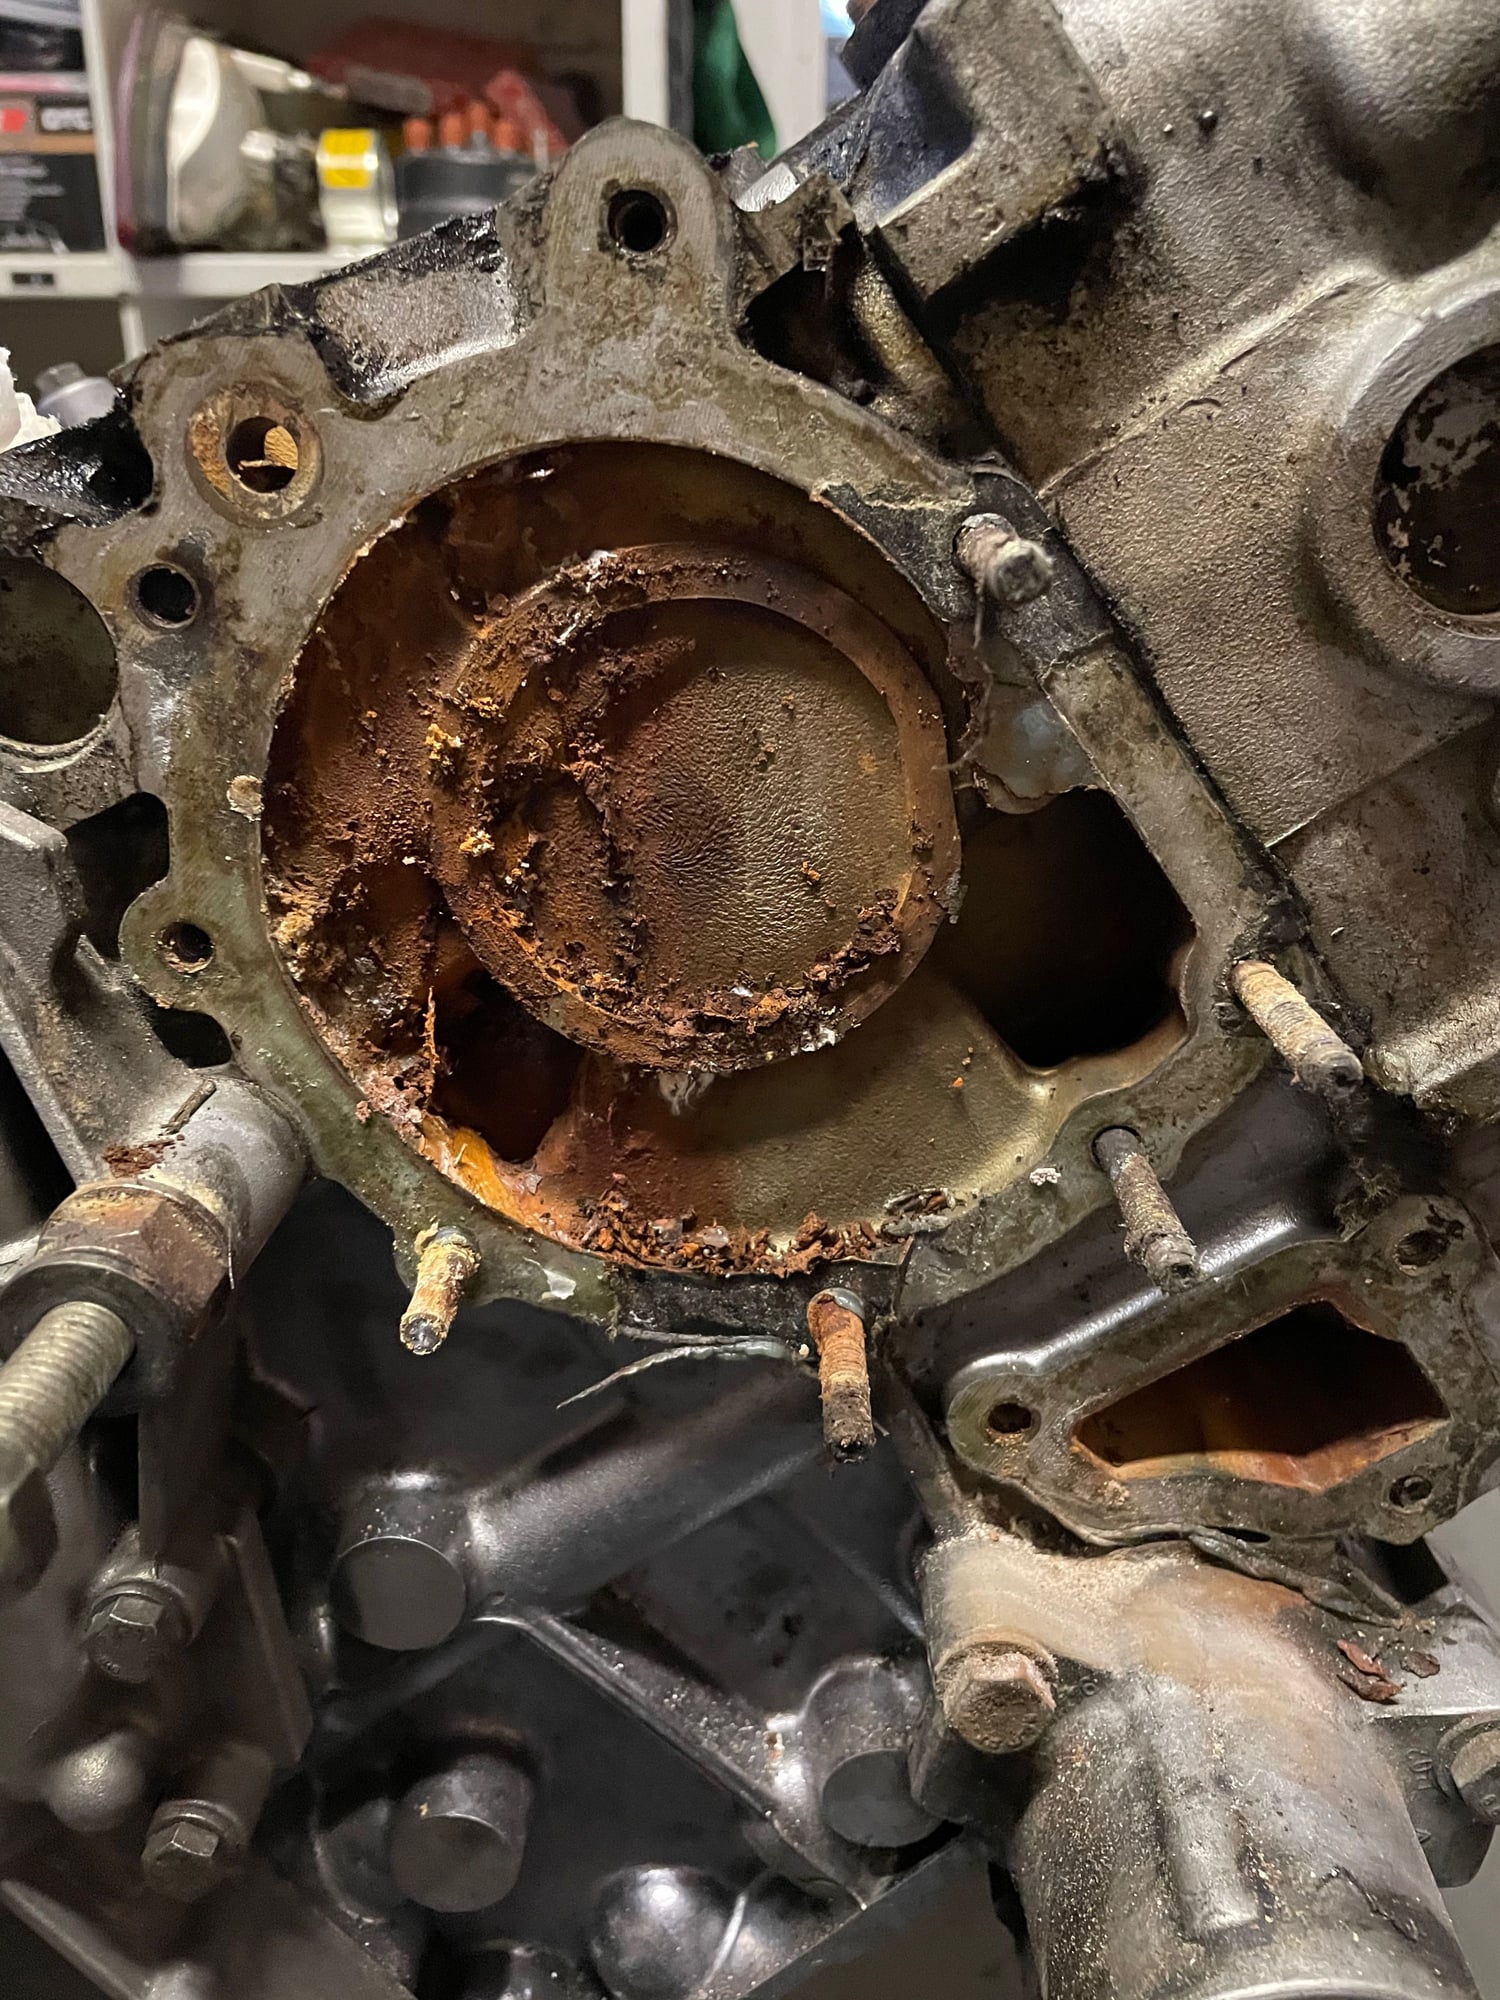
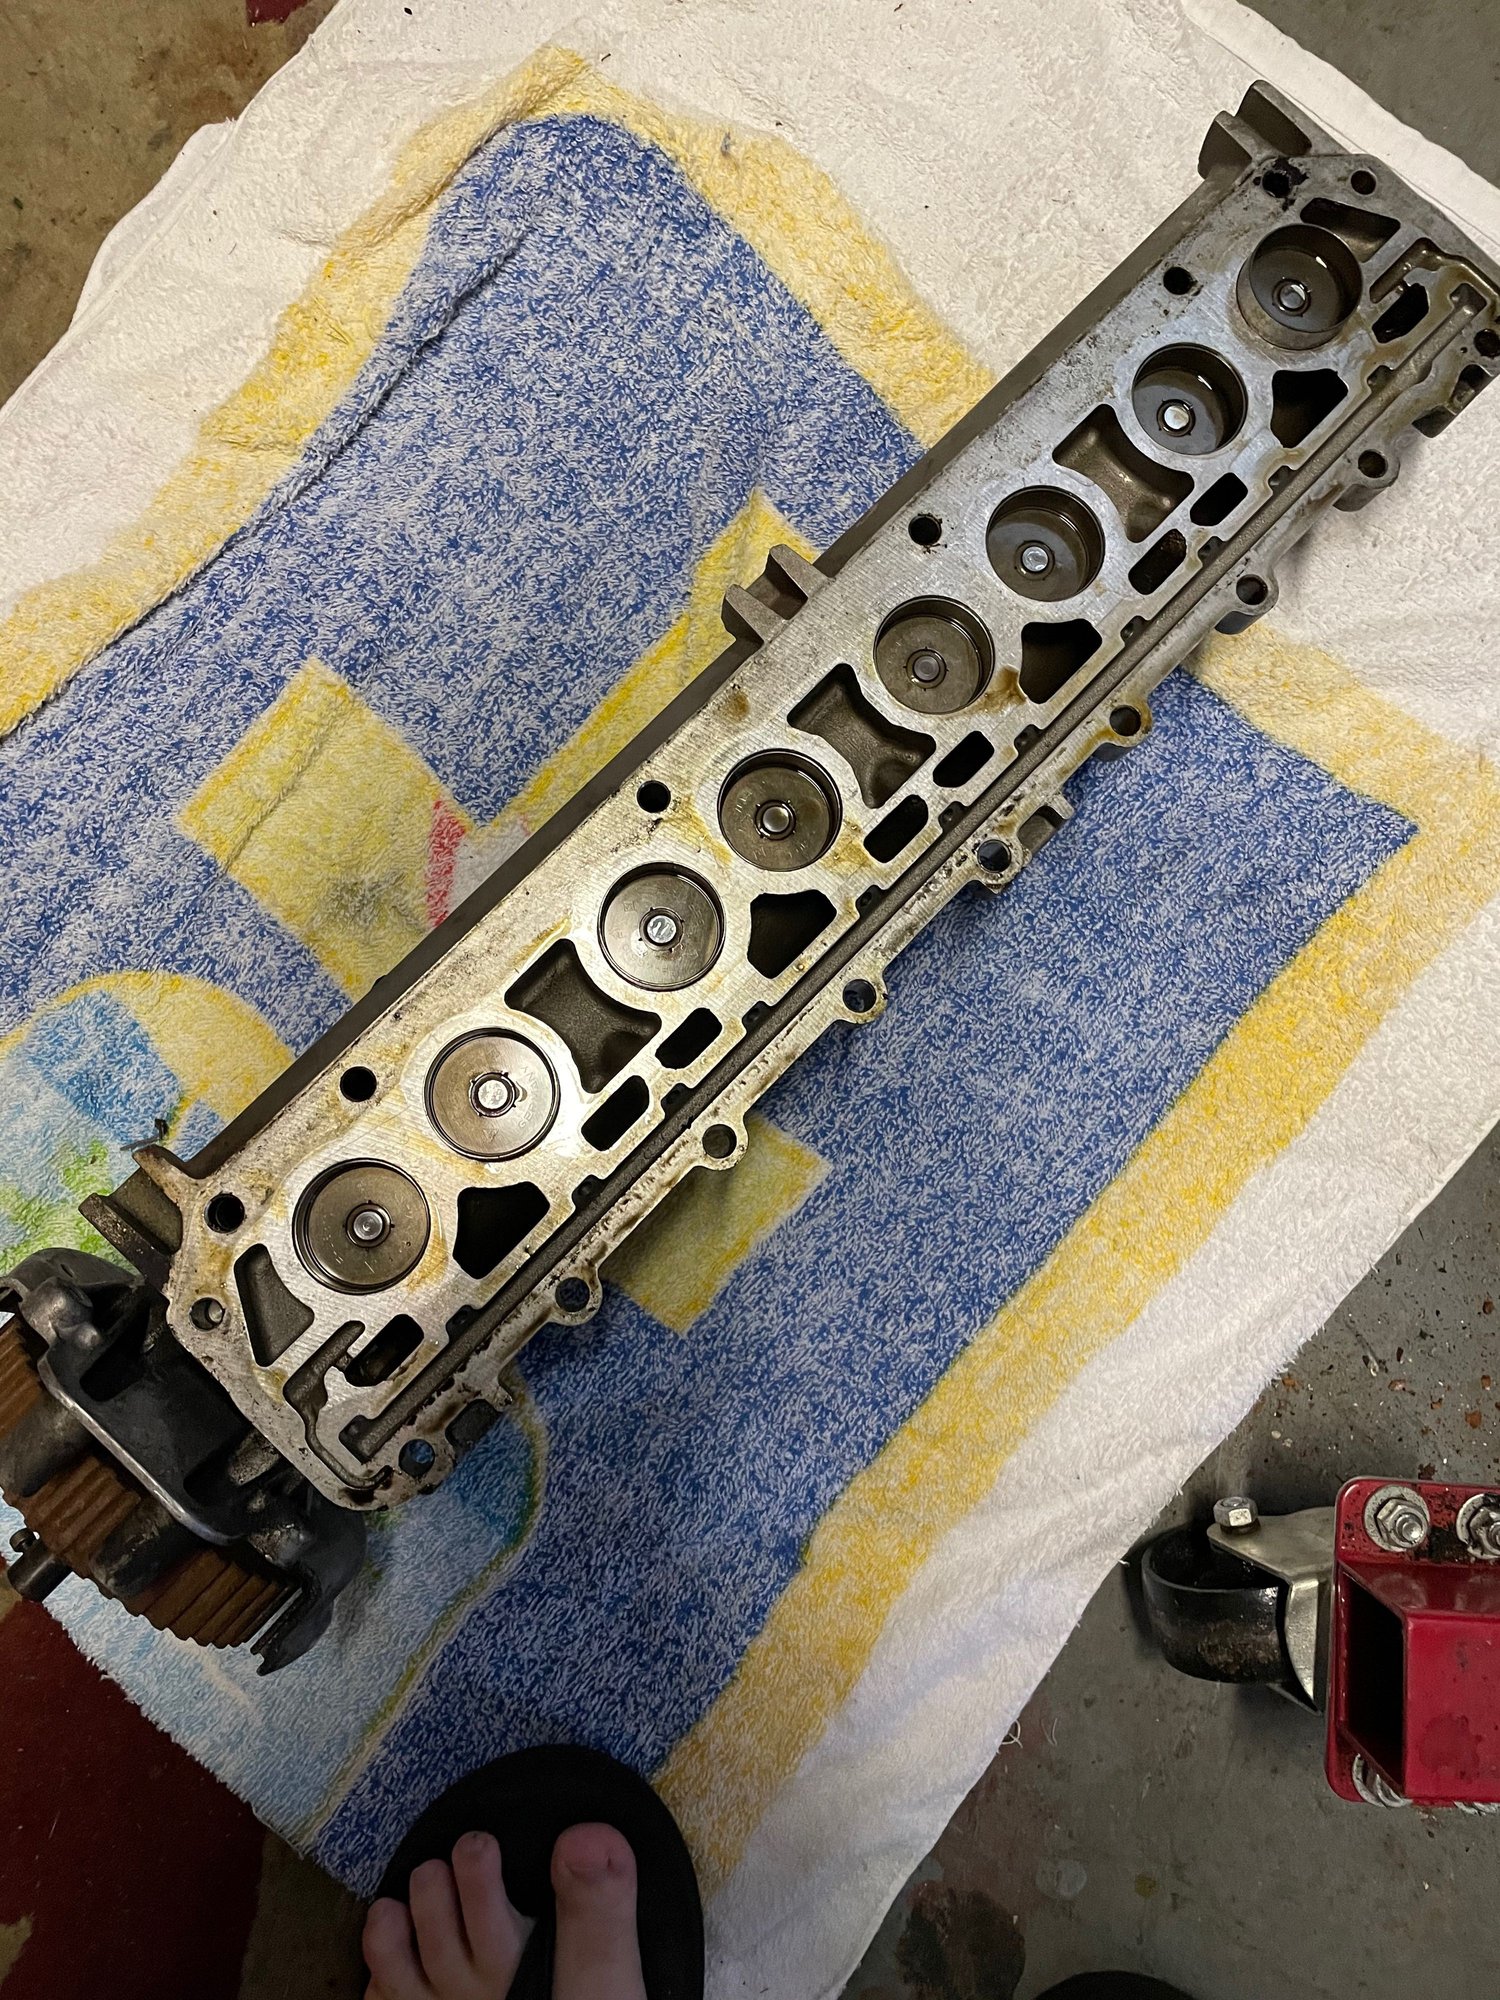
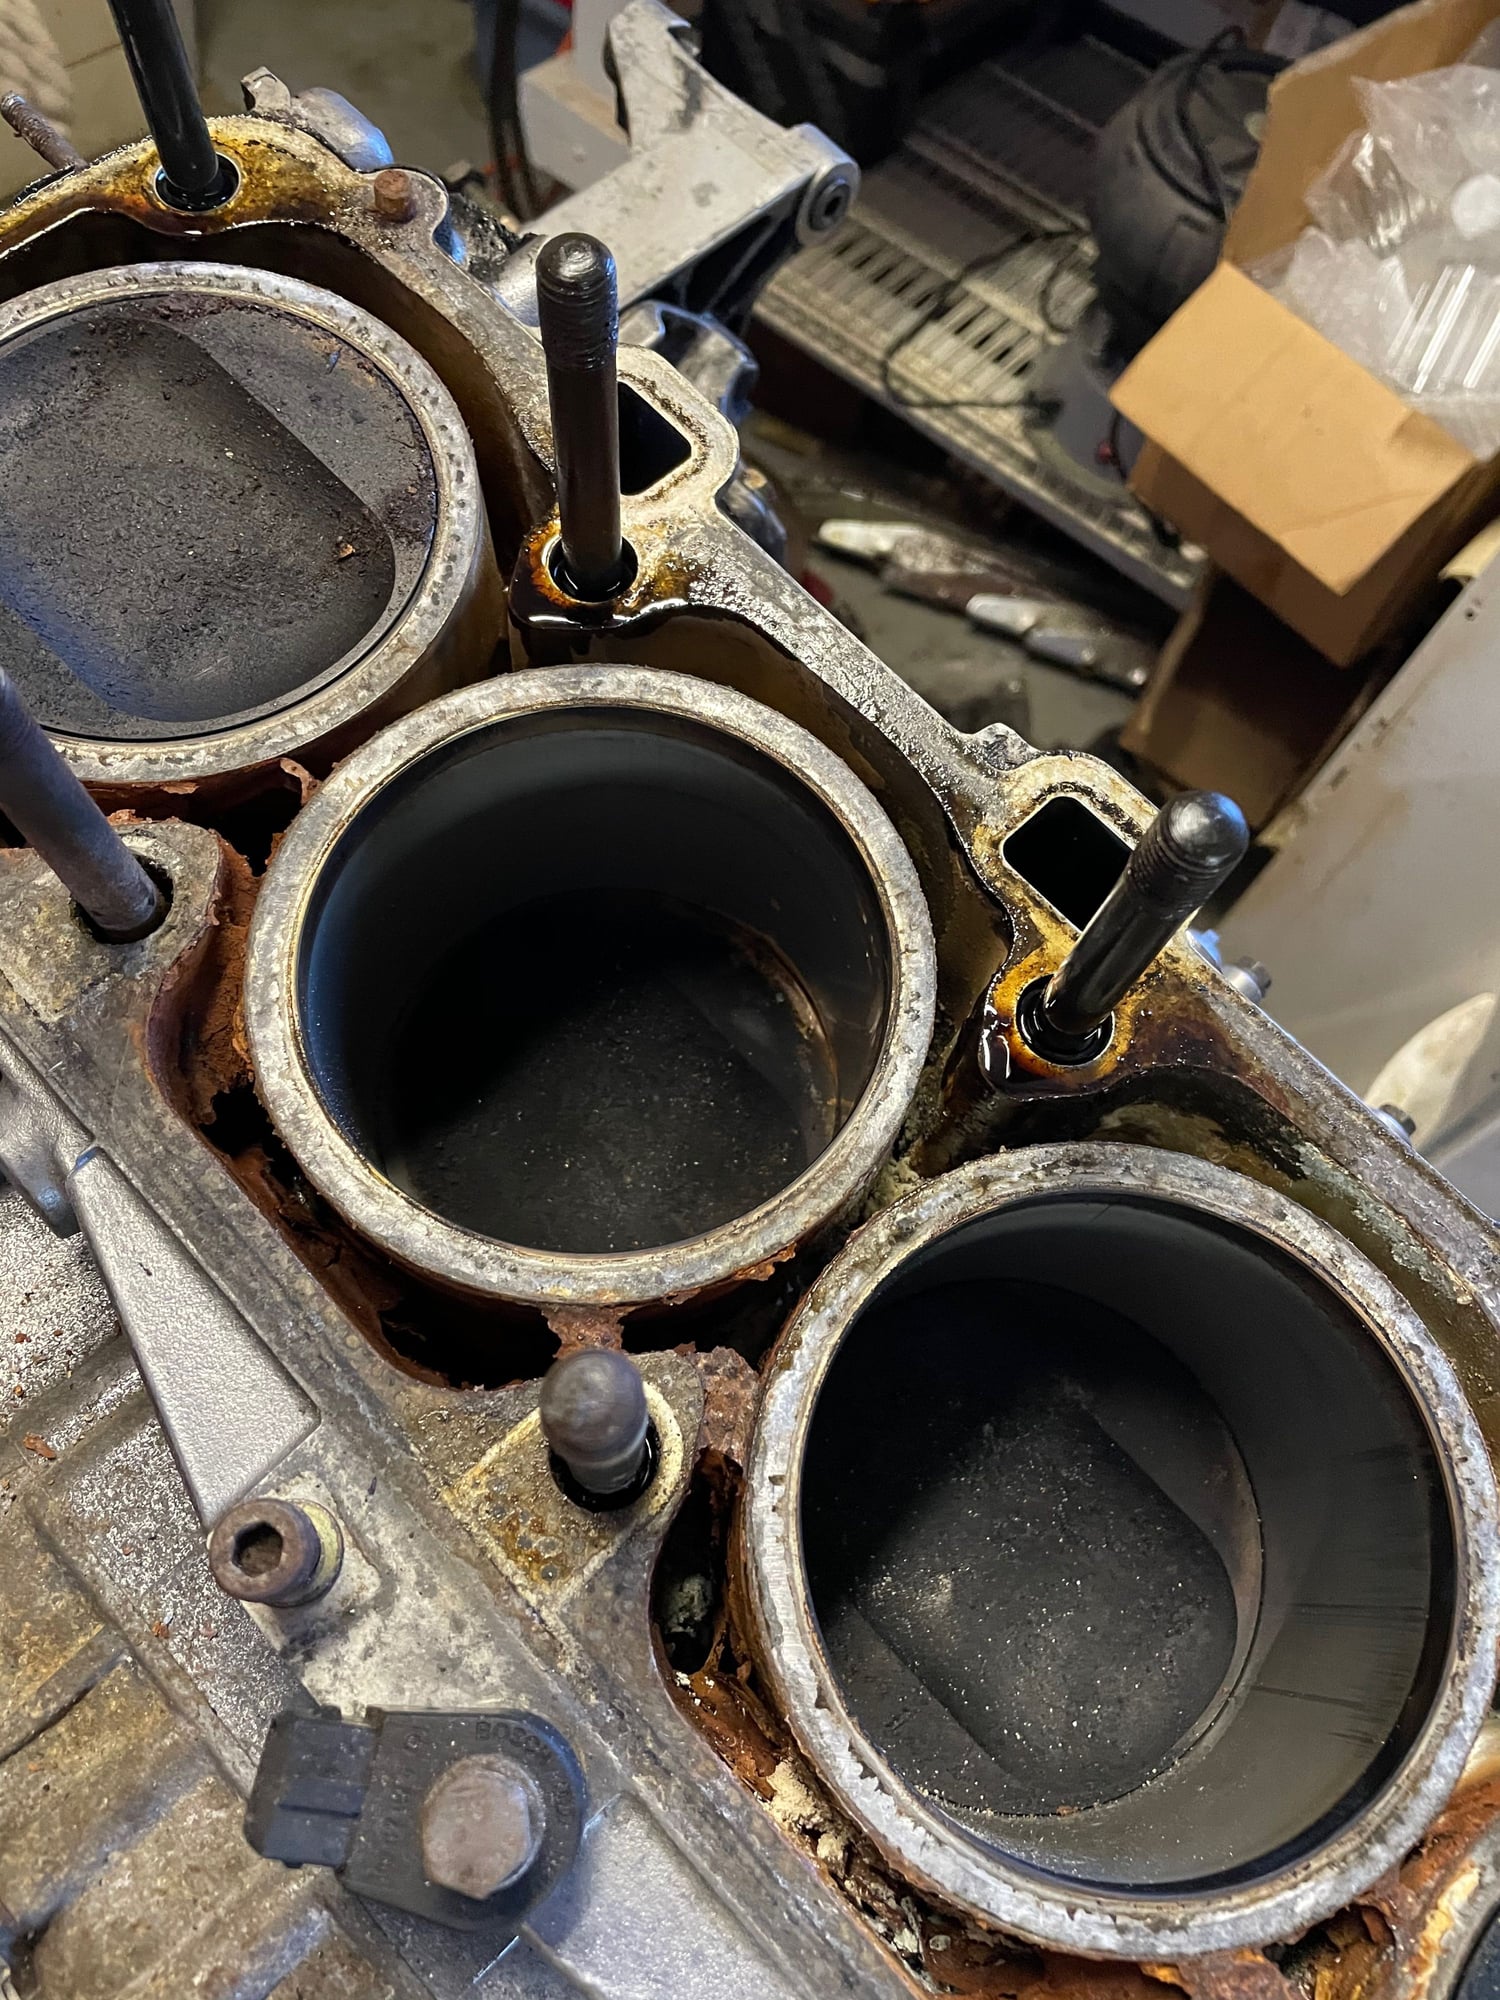
Here is what was lurking behind the Oil Cooler body. And the water pump...apparently coolant or water was left in here for all too long. I pulled the cam tower and was relieved to see no gunk at all, so I thought that pointed to oil cooler o-ring failure instead of head. Perhaps all the gunk was confined to the water passages? Looking down into the head pre-removal...looks pretty clean in there. Then I pulled the head and found this. I was able to vacuum a good bit of the scale, etc. up. The white powdery stuff in Cyl 4 was almost top to bottom in the water jacket. The gasket itself lifted off in one piece but has some issues. After I got some of the scale and residue out with the shop vac. Pretty deep down in the jacket though. Looking from front to back across the bores. A little skeptical on the vertical marks - from what I understand that is bad.
So here is where the advice comes in. I believe I have two options: 1) continue pulling this engine apart and take the block to a machine shop and have the cylinders bored and wet sleeved. Option 2 would be to find a replacement block. With option 1 I know I would reuse everything (balance shafts, pistons, crank, etc.).
For option 1: Can I reuse everything with a different block? My understanding is I can use a N/A 944 block as this is a 1986 model. As long as I use the same crankshaft and balance shafts everything is ok?
FWIW this is the farthest into a 4 cycle engine I have been - so I am reading and learning as I go. Going farther is fine but we will have more questions (many more)!
Well the long Thanksgiving break provided some time to get some major work done. Step one was to get the rest of the car in the garage. Here are a few pics of moving day. Step two was inventory. Lots o' parts all over the place!
Have to get a new left hand fog lens cover Complete set of turbo tele-dials (with one brand new) to go on when finished.
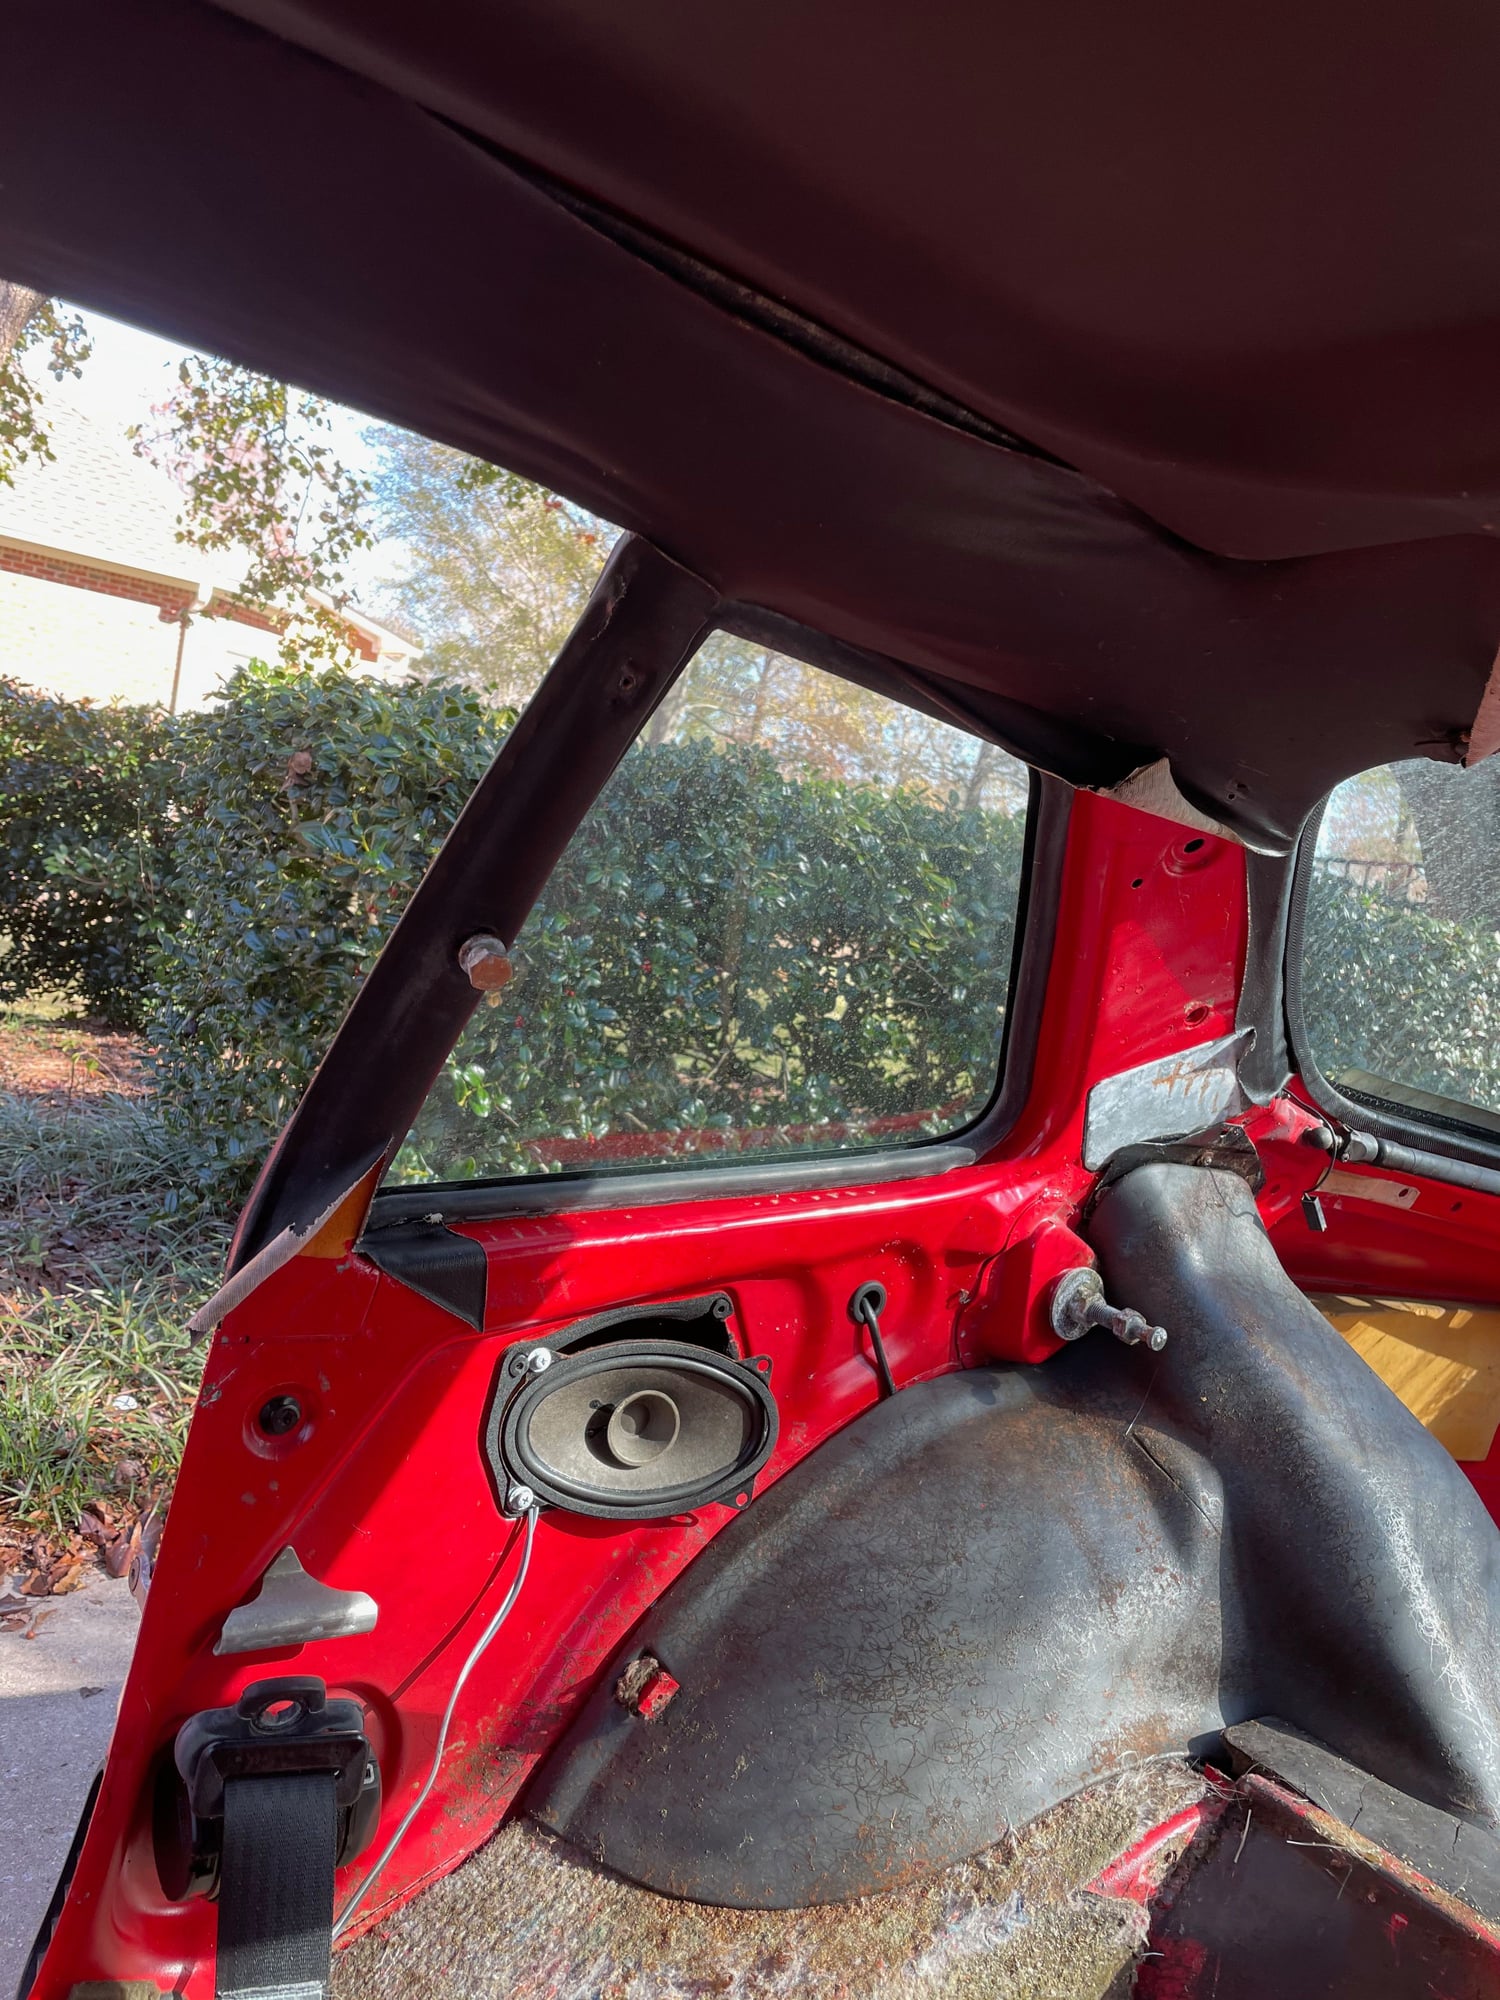
The main reason for parking the car was leaking battery tray, so that will be cut out and replaced - then the interior can start to be reassembled. Have to get some parts, as some of the old was so moldy and mildewed it was just trashed (e.g. door cards).
Heater box is about the only thing left in the interior. I have a spare but it needs to be May do some sort of rear seat delete in this one. Have not decided. I don't have any rear seats at this point anyway. Headliner is still intact. Do have a drivers' seat. I like the Porsche script material...wish it was not so expensive.
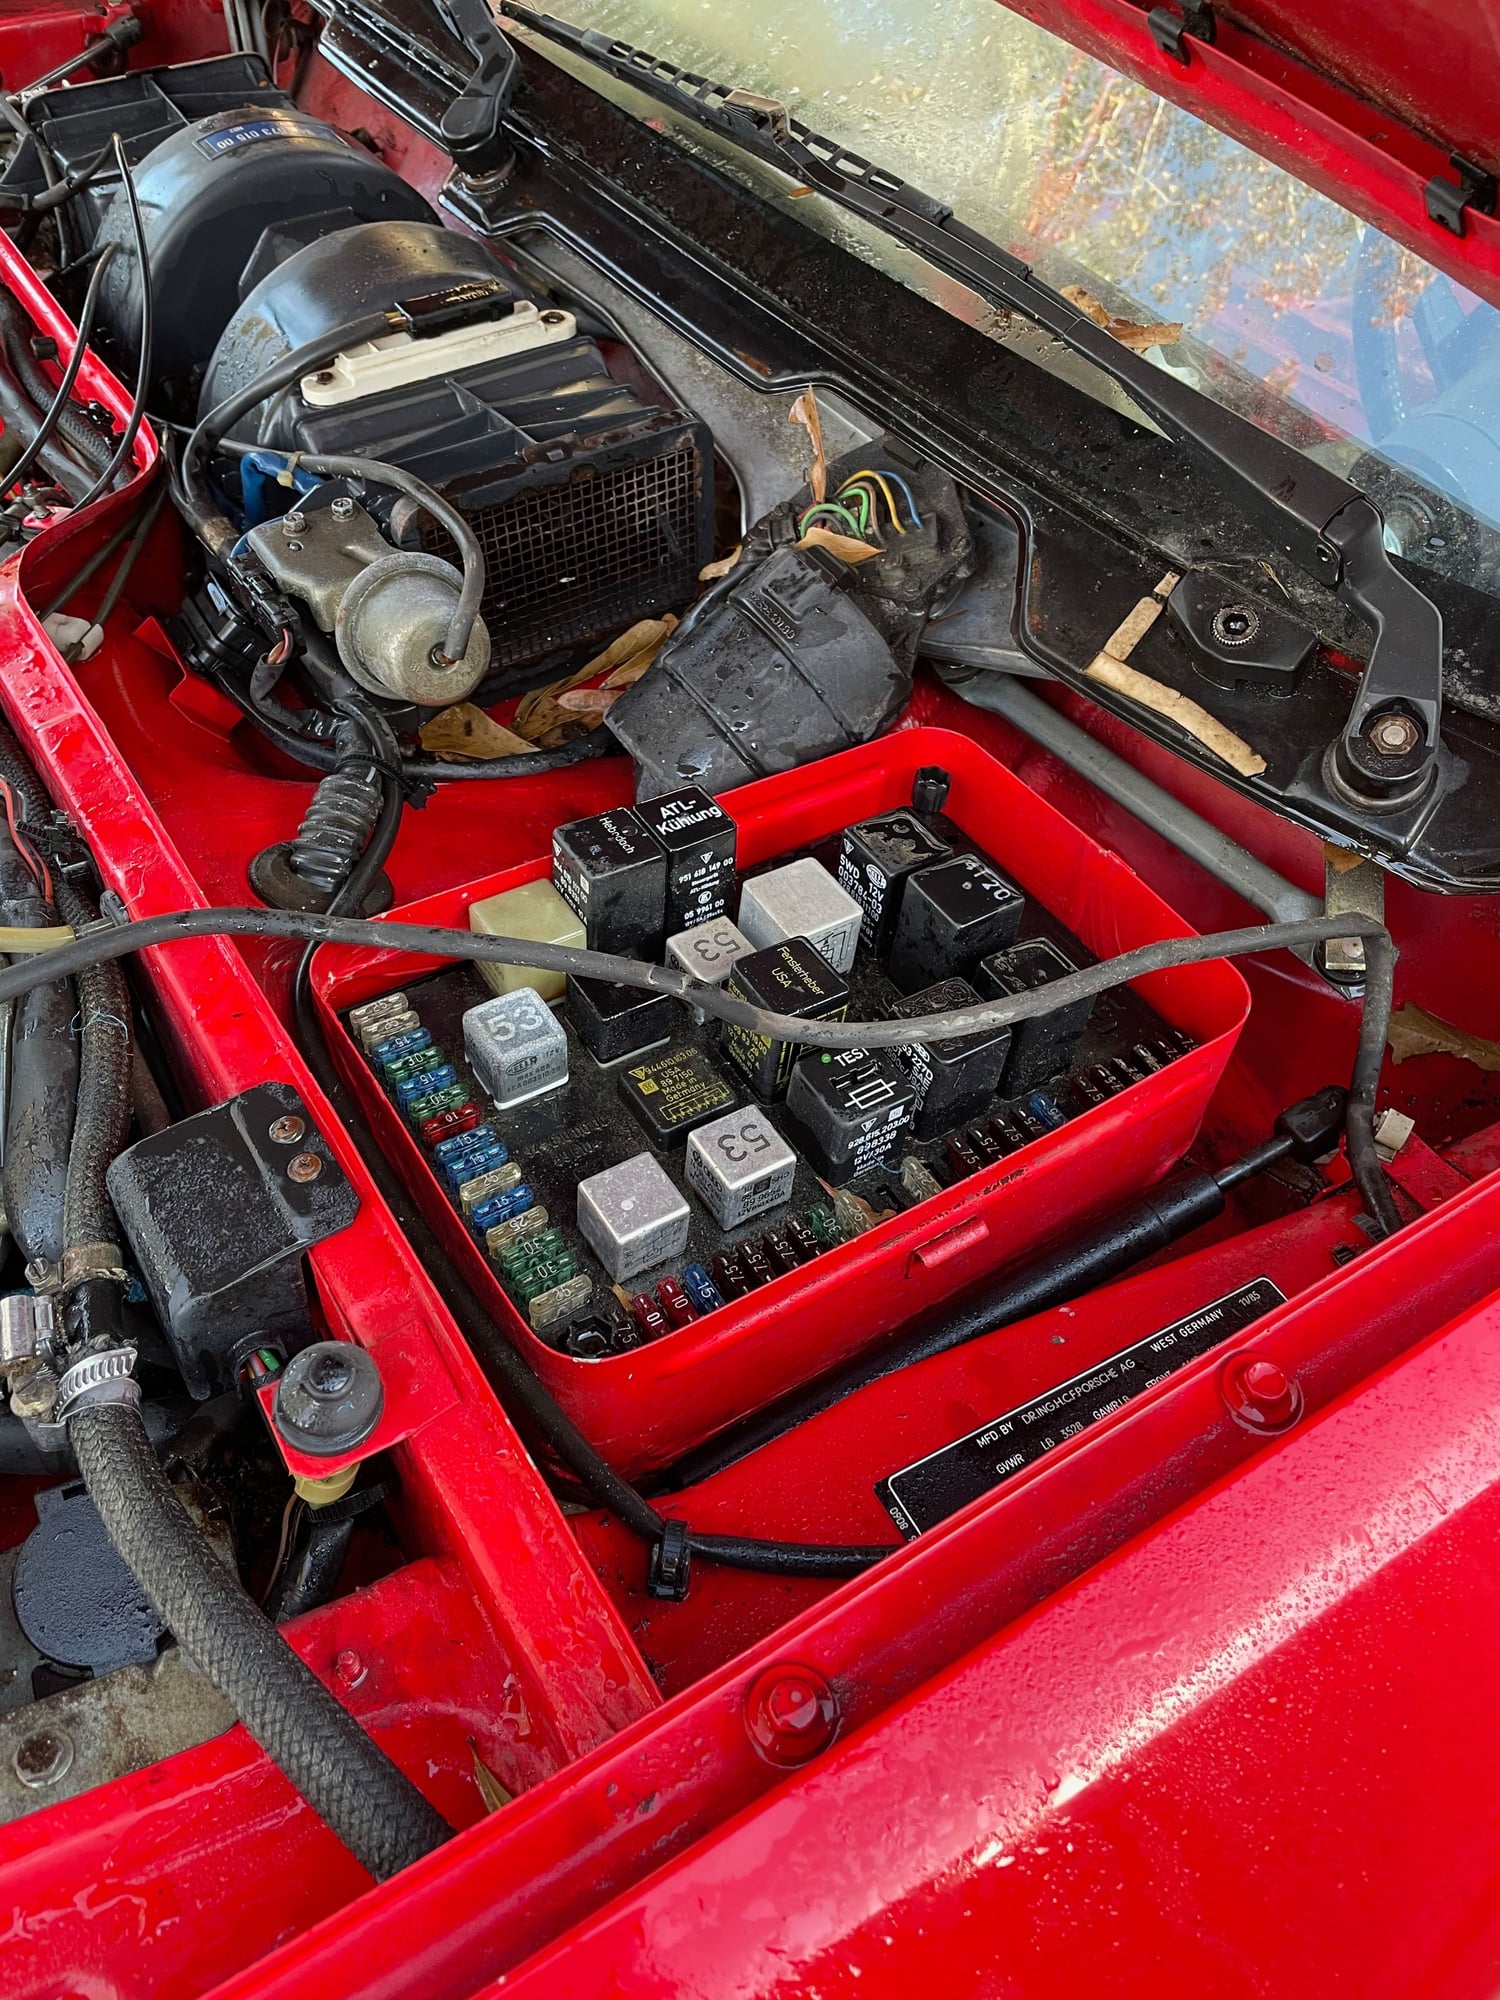
Here are a few before and afters of cleaning the engine bay...I did a little more work after these were taken to get the cross member and steering box a little cleaner.
Have an extra blower motor assembly as well - again, need to test both to see what is going on. Looks a little cleaner now. Before relocating to garage.
Still working on engine block disassembly and looking forward to getting block and head to machine shop. Thankfully PO had purchased most of the engine reassembly parts...I will have to get a few additional (e.g. rod bearings) that we did not have.
So ended getting a parts stash for about 1/2 price and a free car to go along with it. I'm excited!
 10-06-2020, 09:14 AM