When you click on links to various merchants on this site and make a purchase, this can result in this site earning a commission. Affiliate programs and affiliations include, but are not limited to, the eBay Partner Network.
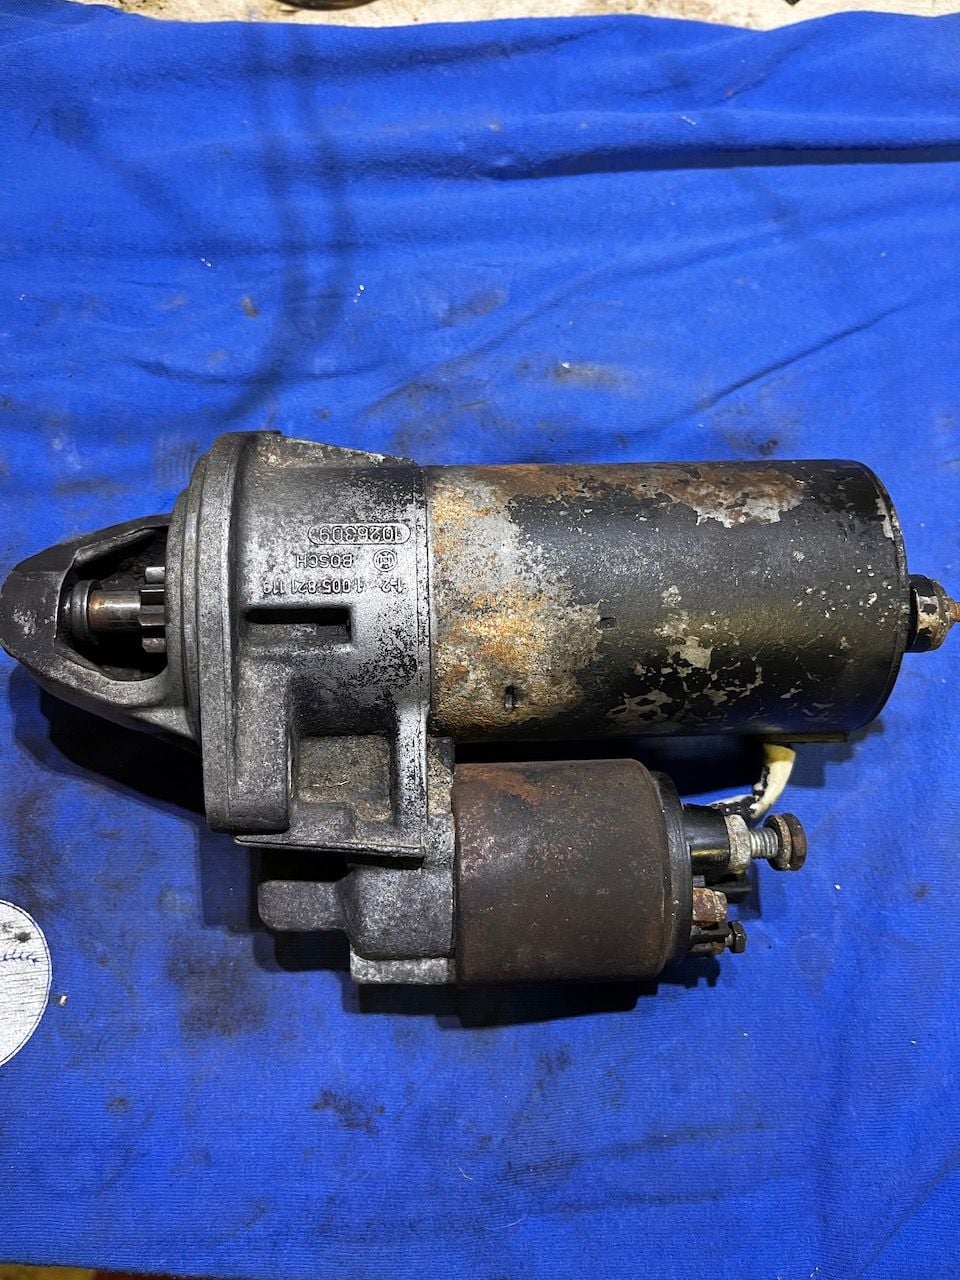
As promised, a documentary of the starter rebuild process for my 951. I put it in this thread as it is very similar to all Bosch PGRM model starters. Here are some of the disassembly photos with a bit of dialog and discussion.
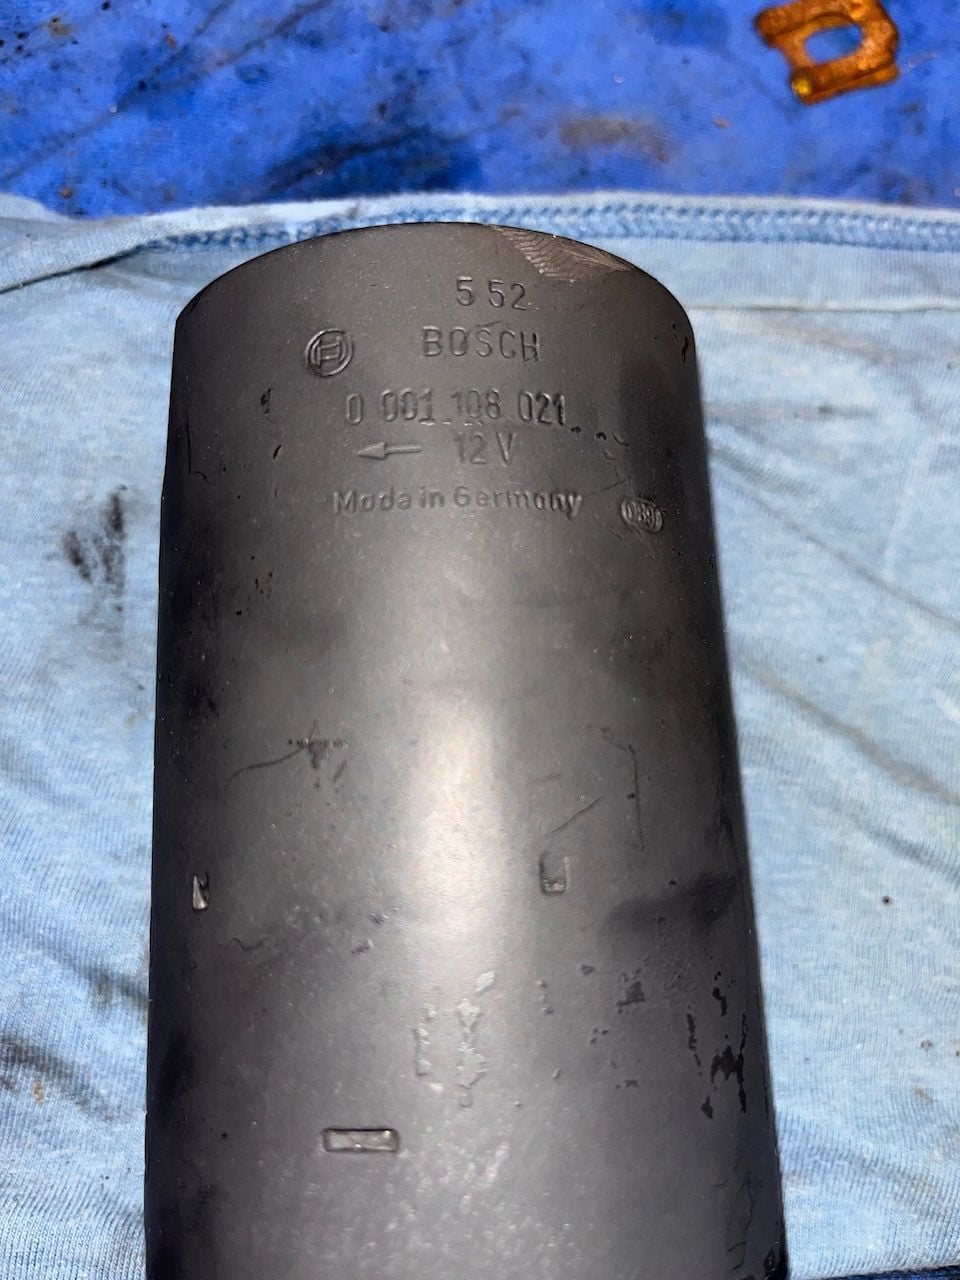
I could not find a great deal of info on the starter in general on the inter webs, and was actually surprised by that. Like my Distributor rebuild on the 928 (see thread here) however, Bosch made parts for many cars and the internals are often the same, just the cases are different - and sometimes shaft lengths. Hopefully this will help someone down the road.
From what I can gather we have what are known as Series 108 PMGR Starters (Permanent Magnet Gear Reduction). The magnets are mounted to the walls of the case and the gear reduction means the motor works through a st of planetary gears to increase torque.
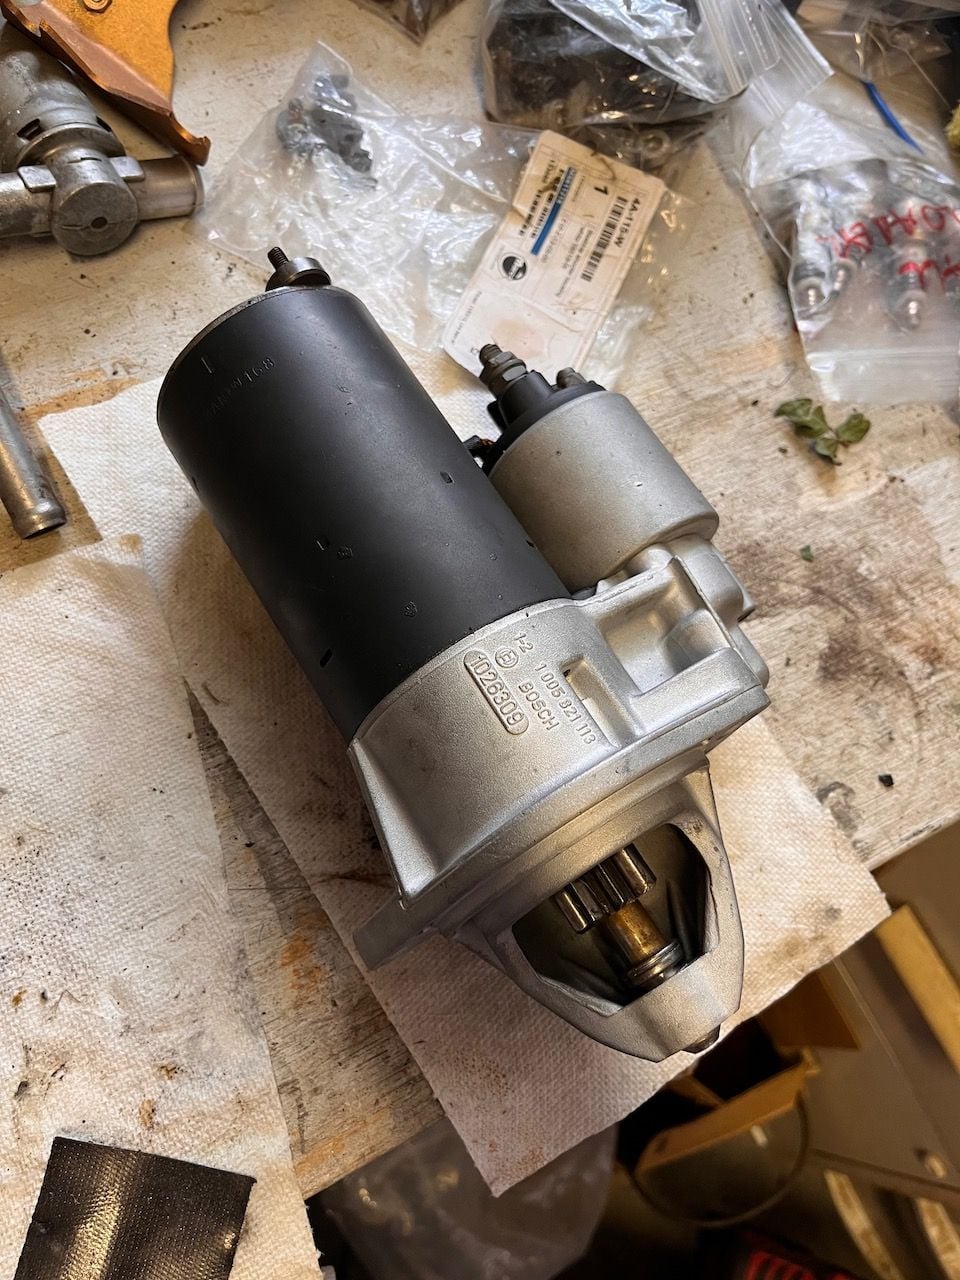
Starting with just some reference photos of the starter - always good to know how it goes back together! Step one was removing the 8mm nuts from the bolts that run laterally through the entire starter body. Then I removed the two screws that hold the rear cap in place and the cap comes off. Next, there is a clip (similar to an e-clip that needs to be removed from the back of the shaft, along with a washer underneath it.
The clip and washer from the rear of the shaft. Remove the washers from the long bolts Washers removed Note the washers fit down inside of the recesses in the rear cover. The bolts then unscrew and slide out. Rear cover removed and the backside of the brush assembly. Rear cover on the bench.
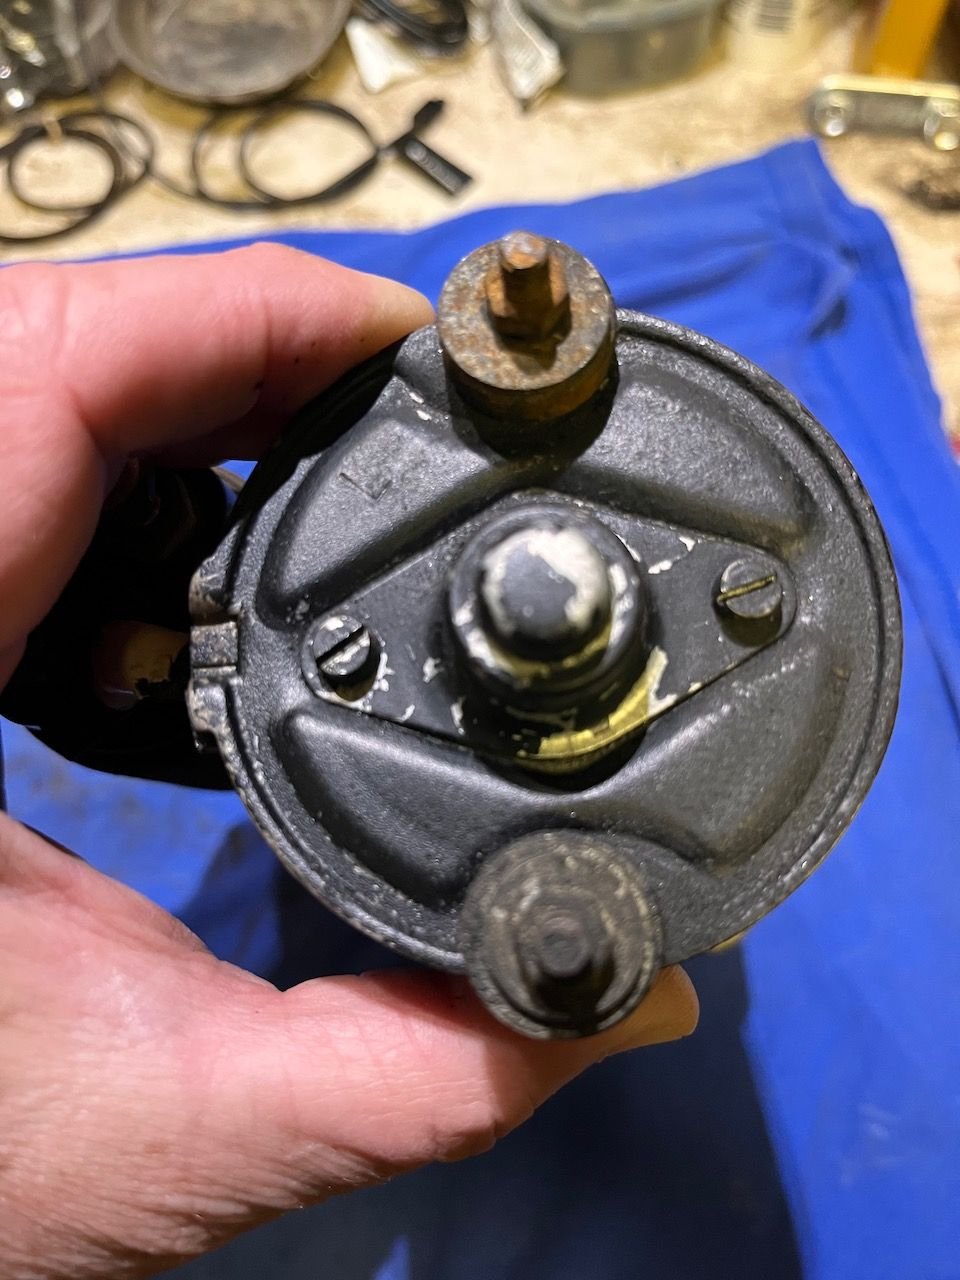
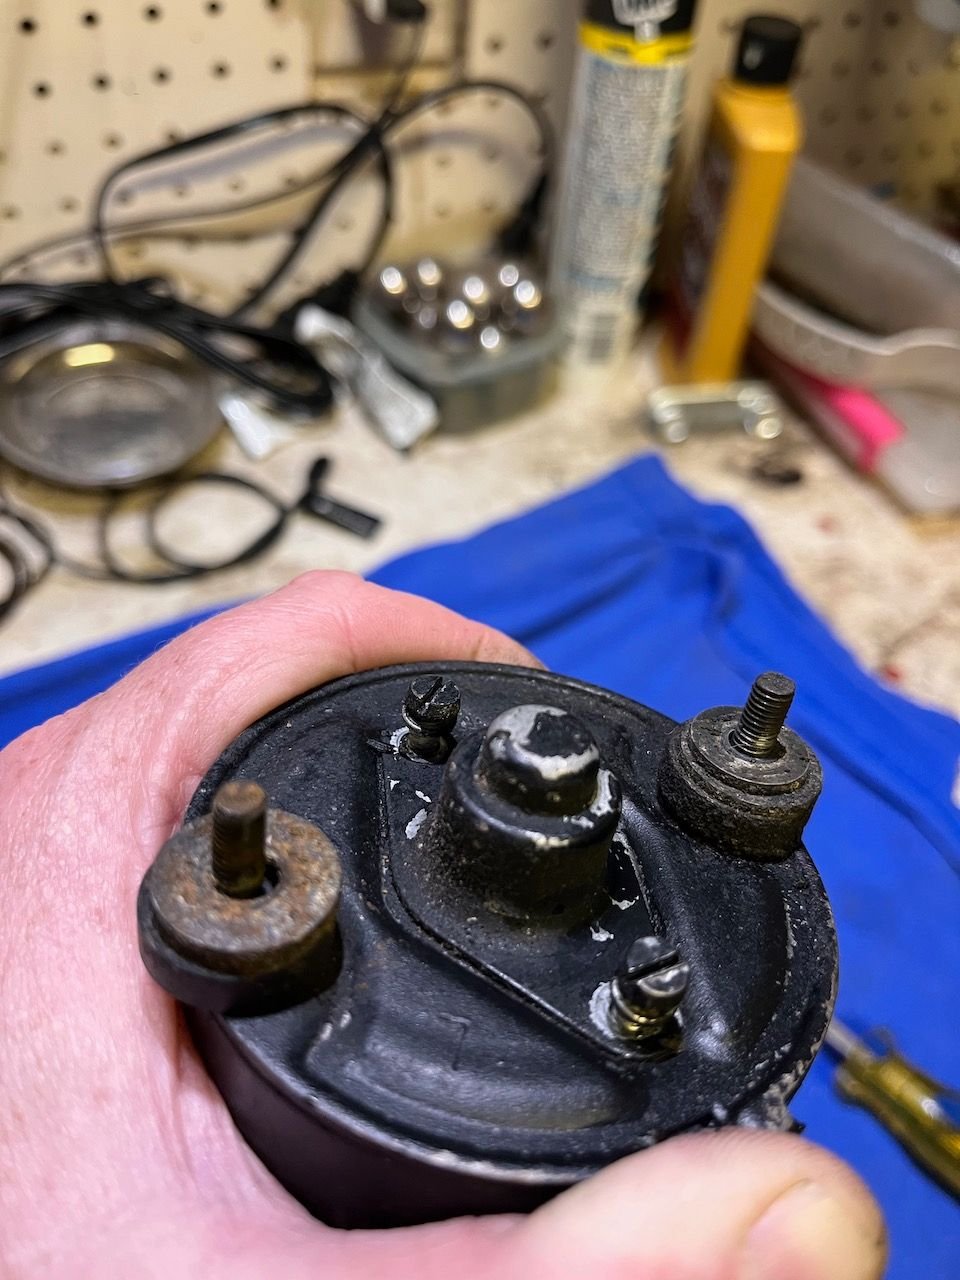
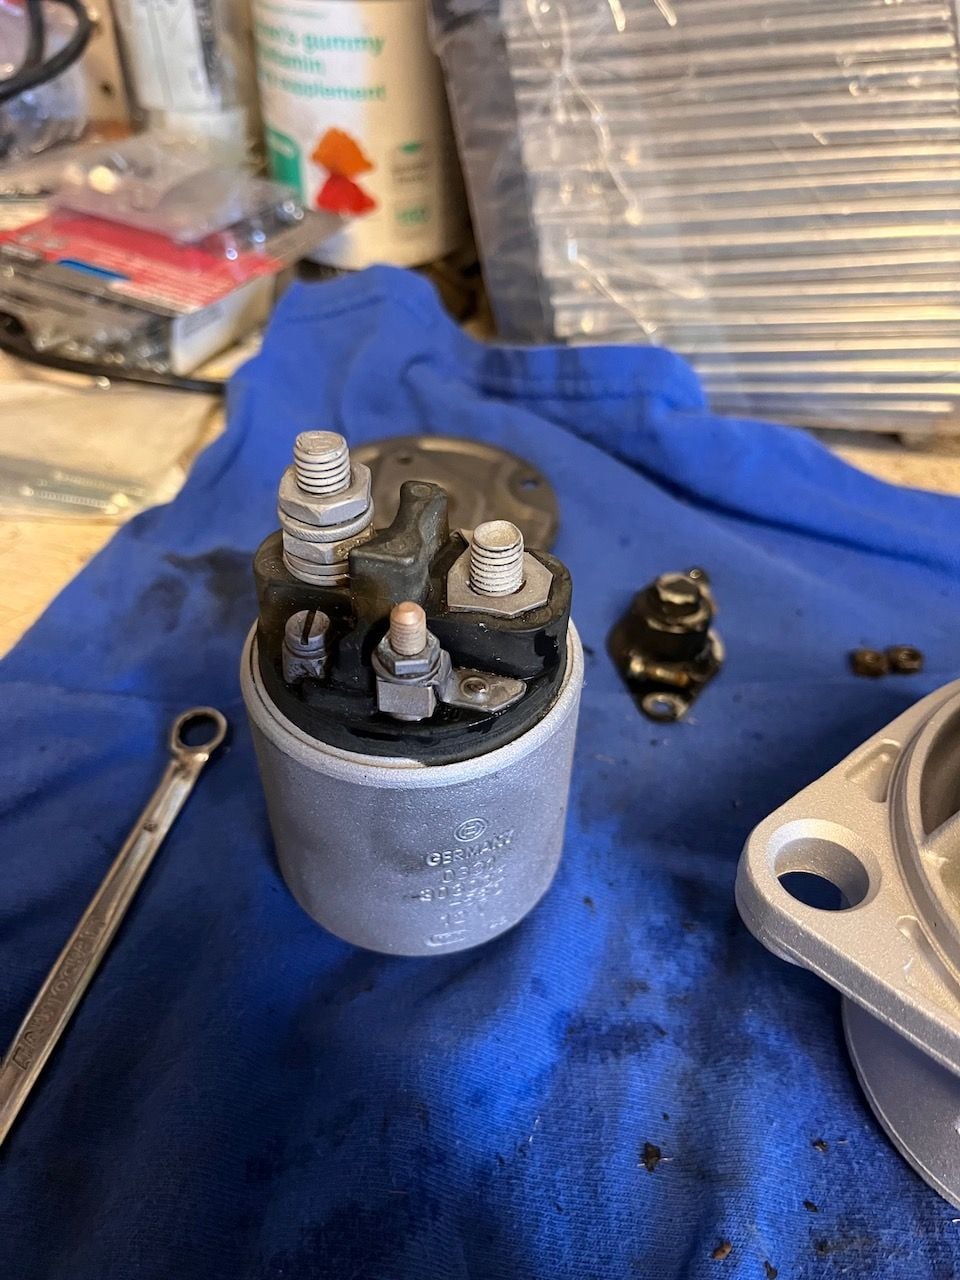
Removing the wiring connectors from the solenoid. I would imagine everyone over the years will probably have some variance in what they find here. A washer here, washer there, etc. The primary lead disconnected from the solenoid. Brush assembly removed. I have a brand new one so will not spend any time on this one. Some reference pics of the brush assembly. You can purchase an entirely new assembly or just get new brushes and replace (involves soldering).
Looking at the innards beneath the brush assembly. I should have taken more photos of this process. The three Phillips screws that hold the solenoid case together (and the solenoid to the main case) were frozen solid. Tried penetrant, heat over a couple of days. Ended up having to drill out all three screws. Reference photos of the inside of the upper housing. Here is the bottom of the solenoid prior to removing the rest of the screws, which, by the way, just twisted right out by hand. I hate chemistry and physics sometimes!
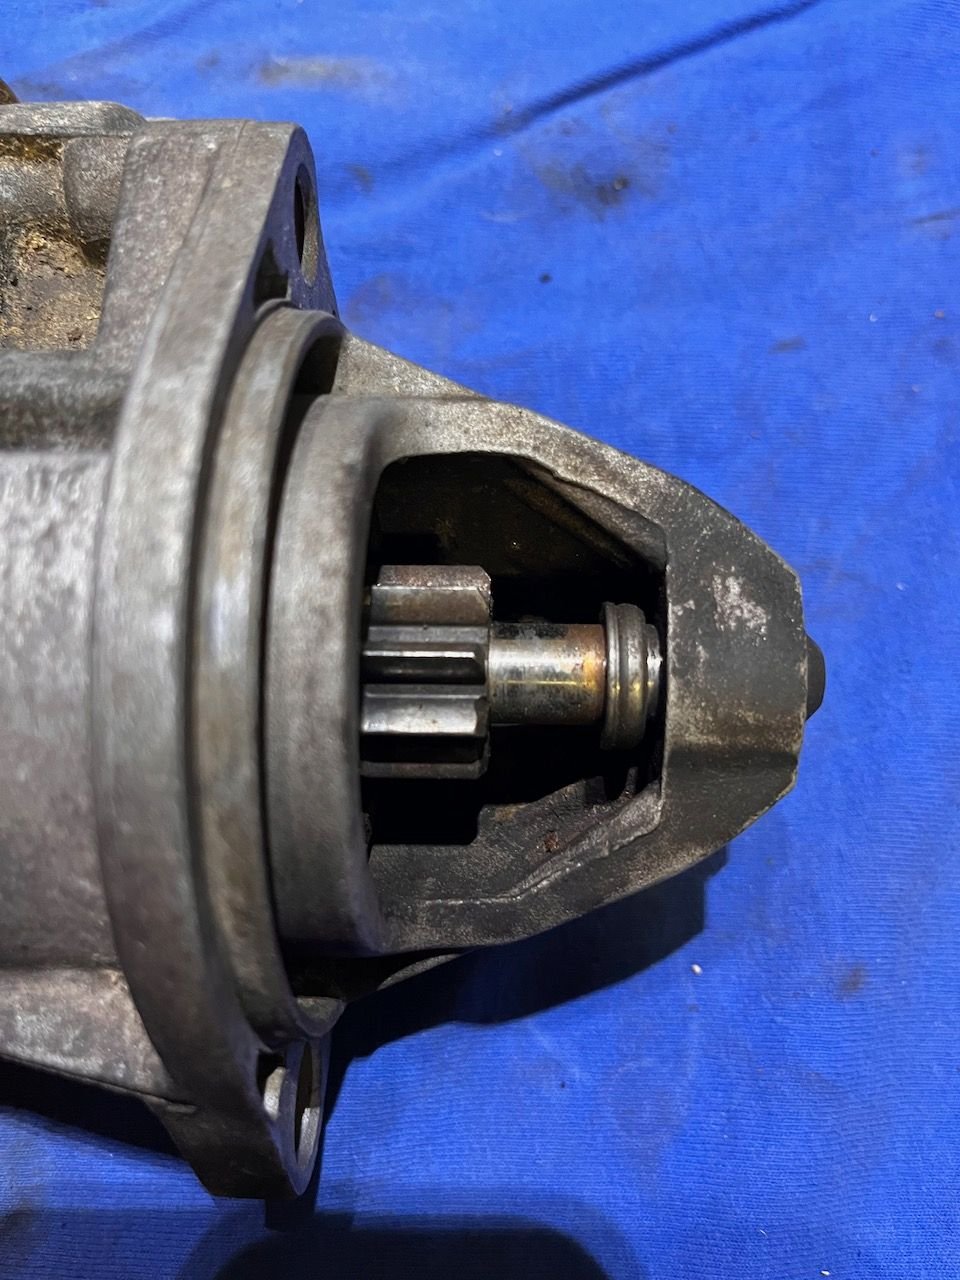
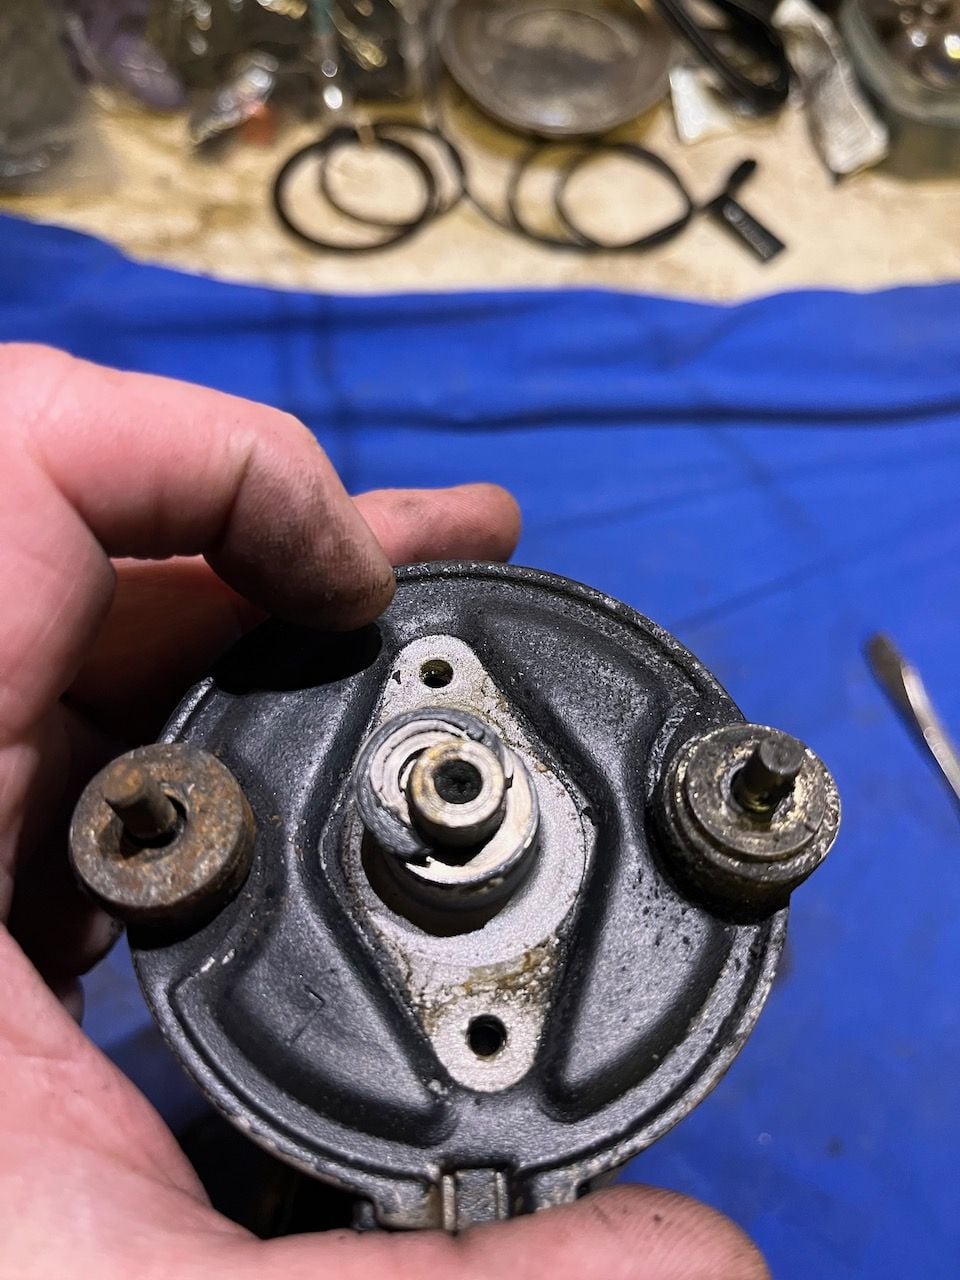
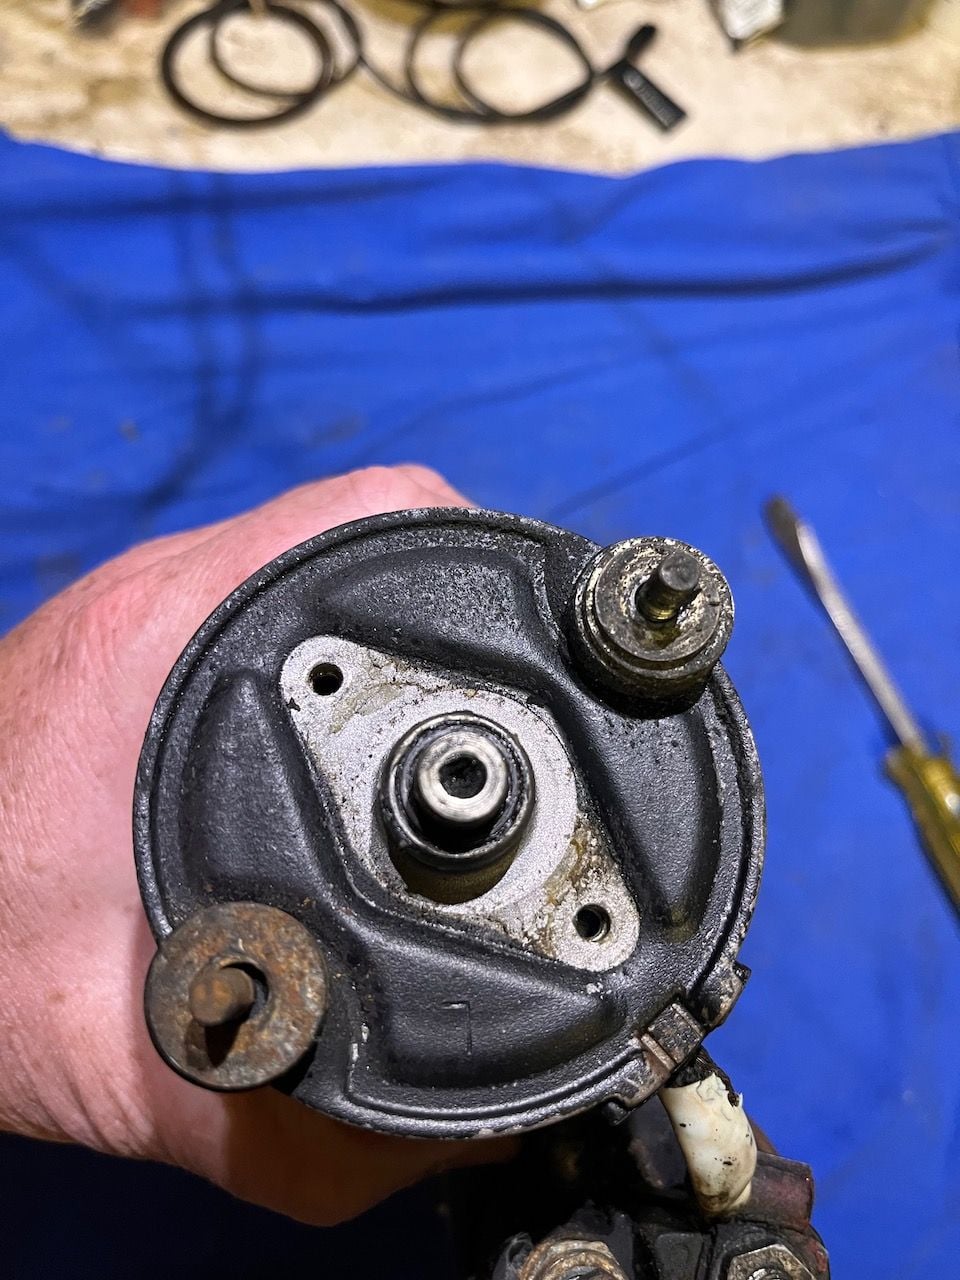
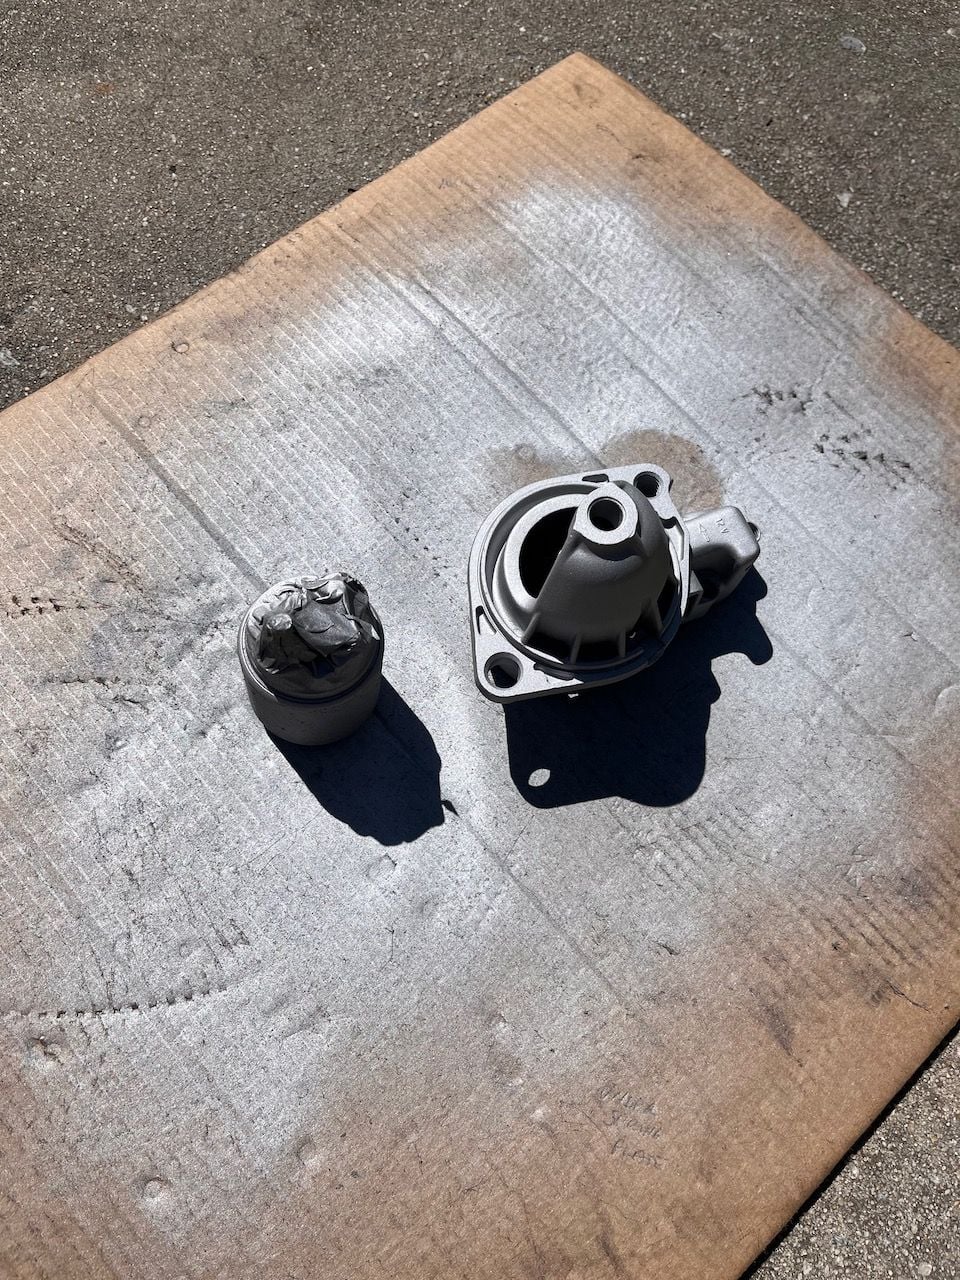
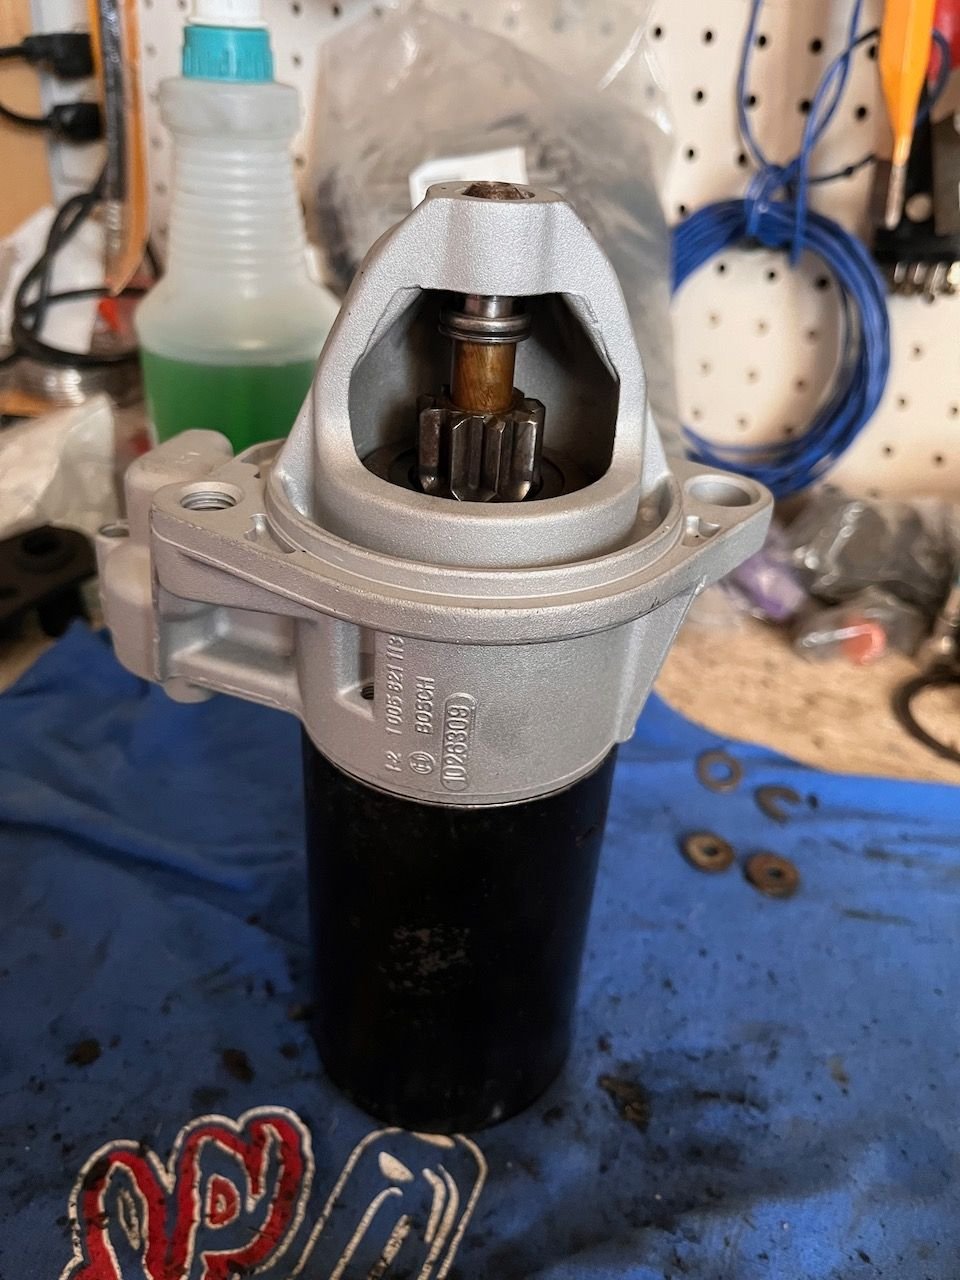
The plunger inside of the solenoid. Coils in pinball machines work the exact some way, so I do have some experience here! There is a return spring underneath the plunger. This is the business end of the main starter body. The plastic bracket is what the solenoid pulls down to engage the drive gear with the ring gear on the flywheel. This rubber bushing is part of that assembly. I did not purchase a new one to replace, but I would recommend that be purchased for other folks. The plastic assembly scares me but mine was in good shape and nothing broken. The planetary gear assembly is underneath the grey plastic cover at the bottom of the drive assembly.
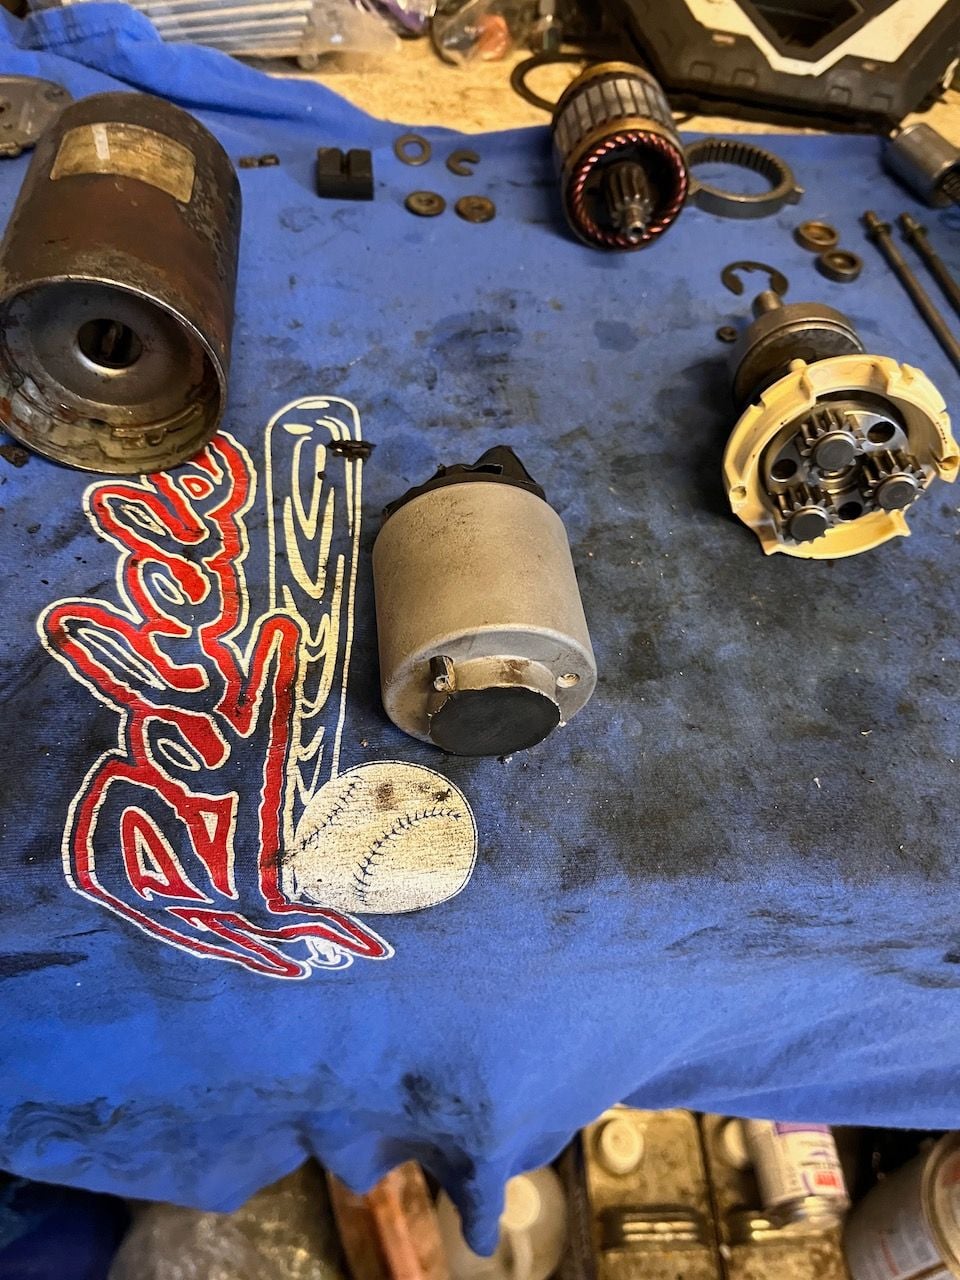
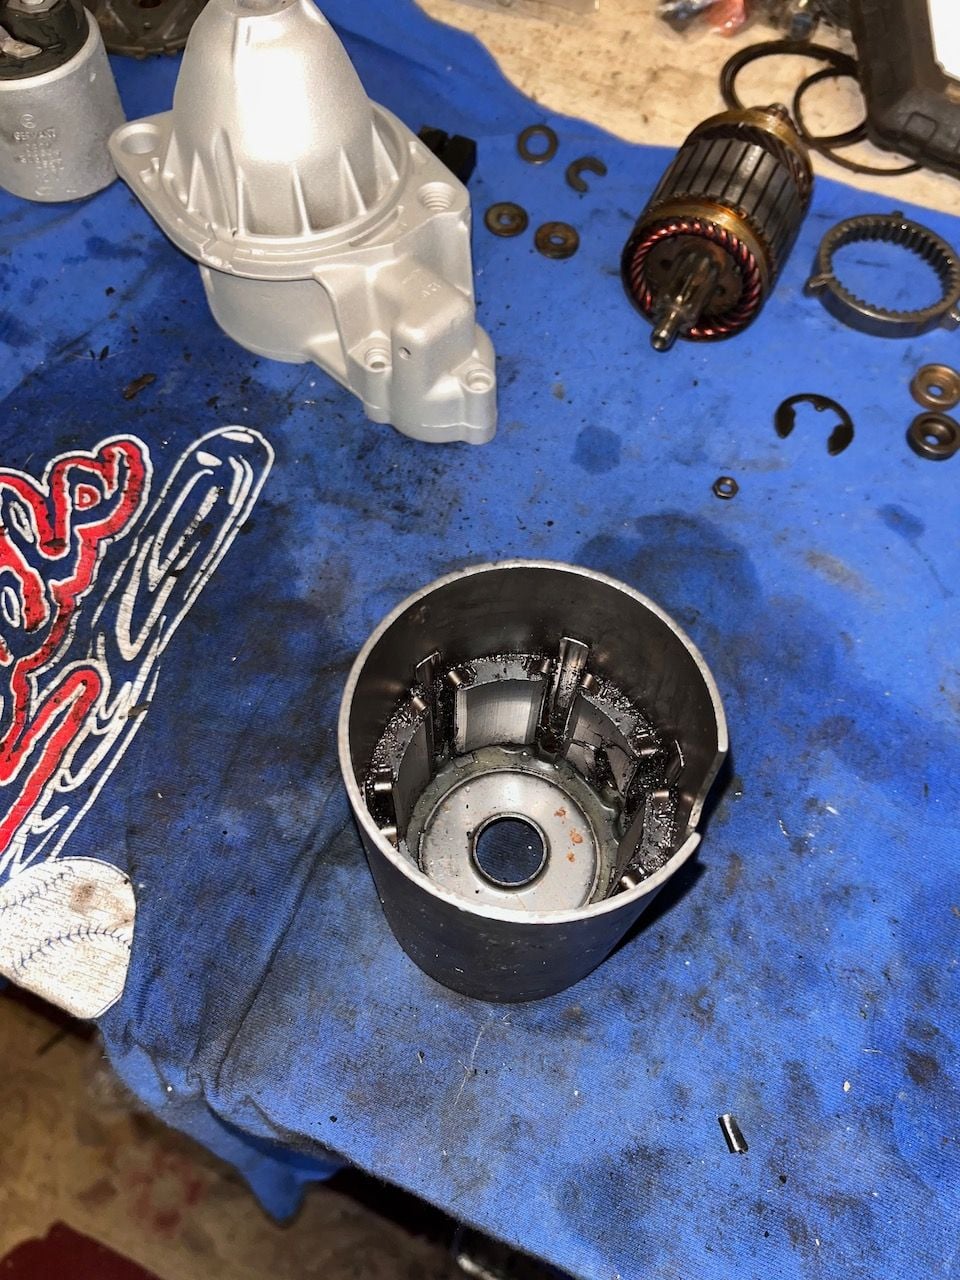
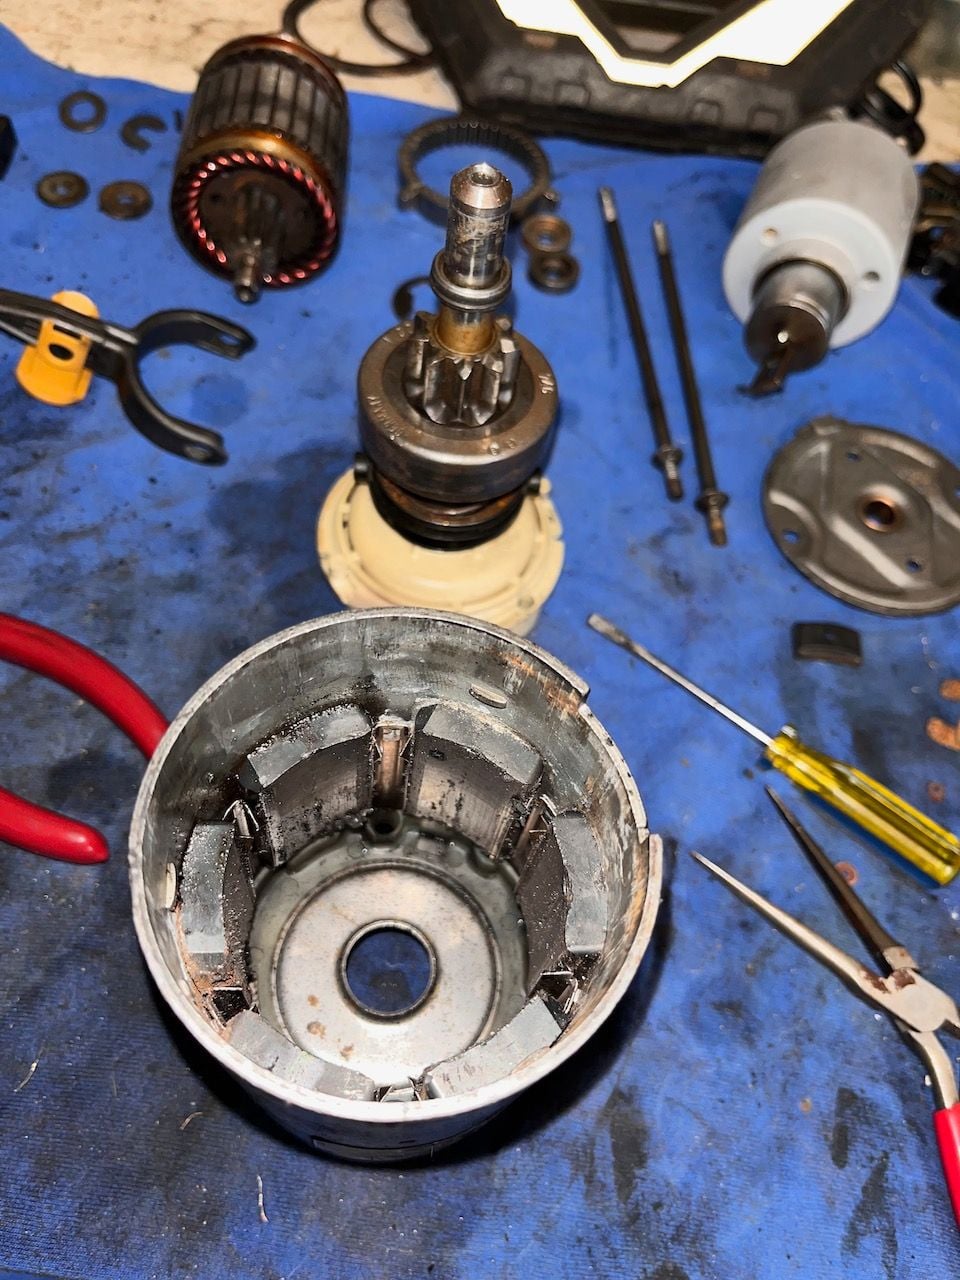
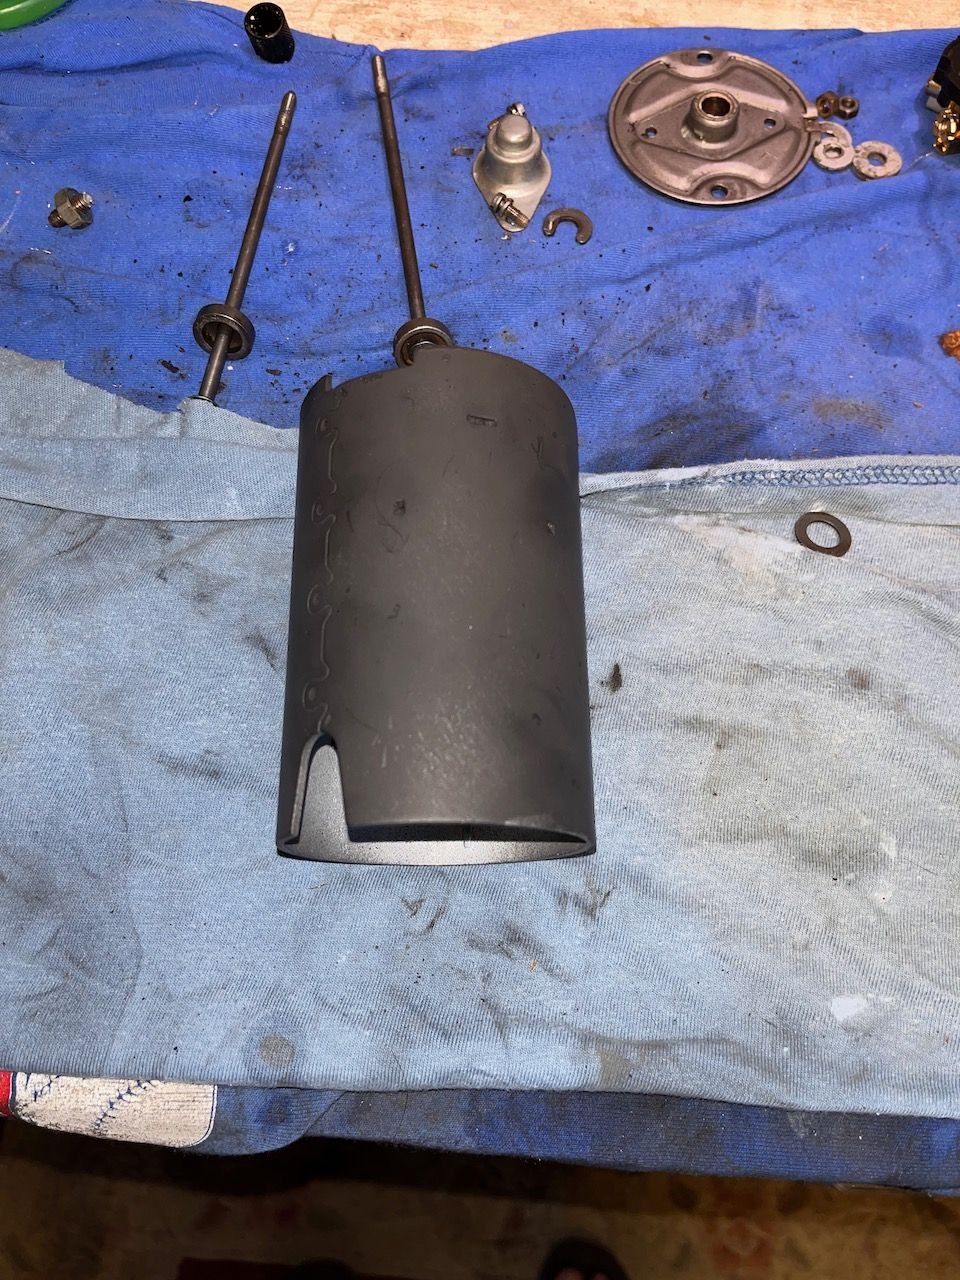
The motor shaft assembly can now be removed from the rear. Looking down into the case with the permanent magnets ringing the side. I have one magnet in there that is trashed. I am trying to figure out how to disassemble the drive gear. More on that later. All the parts laid out on the bench so far. Now the planetary gear and drive gear assembly slide off of. the top of the case. Inside the planetary gear housing. Lots of old grease in here (really it is all over everything).
Better view of my trashed magnet. From what I can see there are a series of clips that hold the magnets in place. I have also found the magnets online, but they are purchased as either a South or North magnet. I believe I need to pull this one and first determine which polarity I need to replace it. Now the drive gear will engage with me moving it. Underneath the drive gear assembly is another head that is attached to the planetary gears. After a first round of cleaning in the ultrasonic.
A big THANK YOU for this starter disassembly, with extensive pictures. I have a spare (salvaged) starter under my work bench which I am planning to rebuild. While I rebuilt starters in HS, I've never did a Bosch so this is very useful info. The technology hasn't changed much from the looks of it.
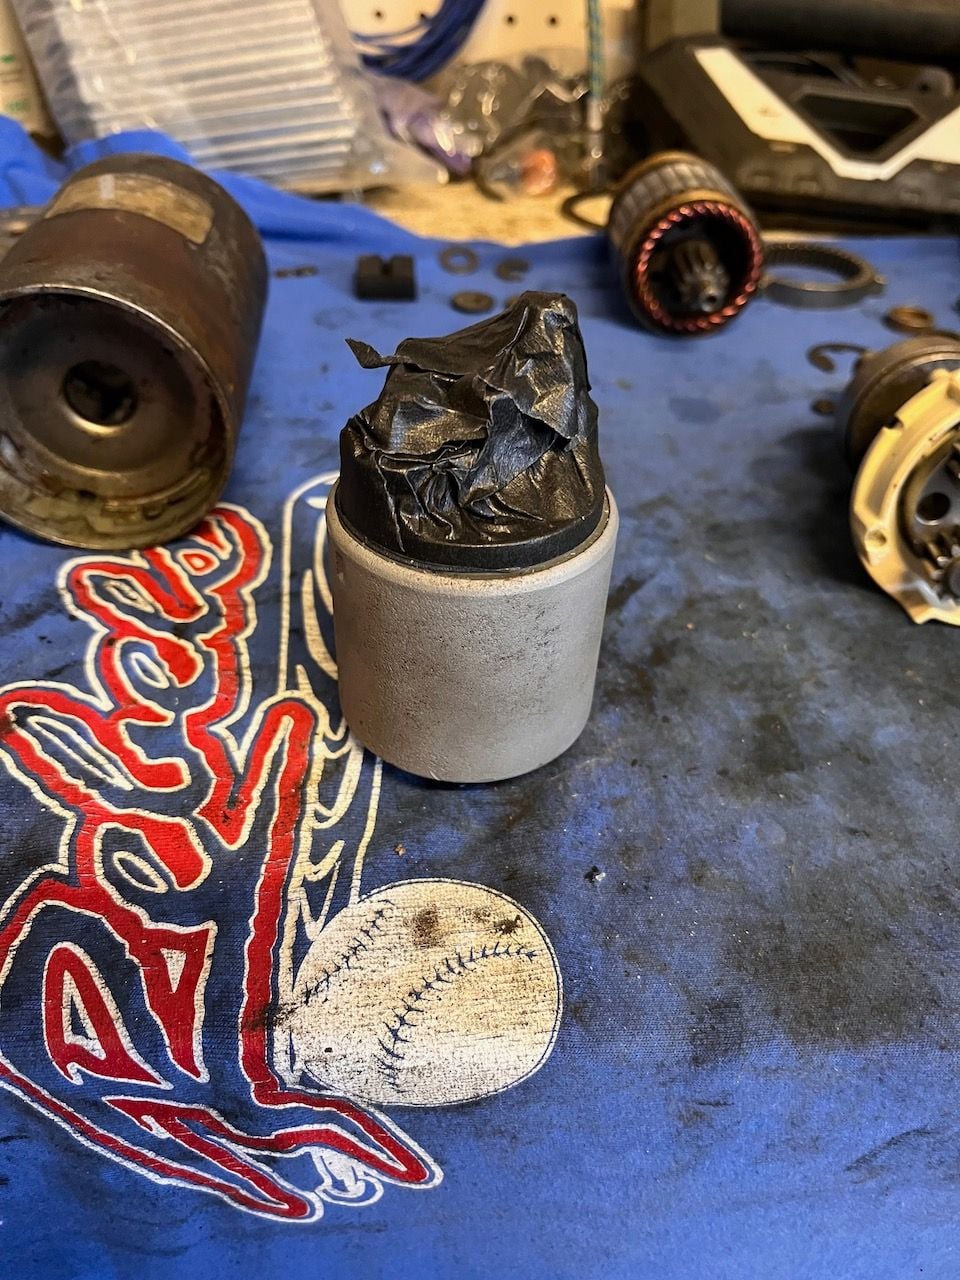
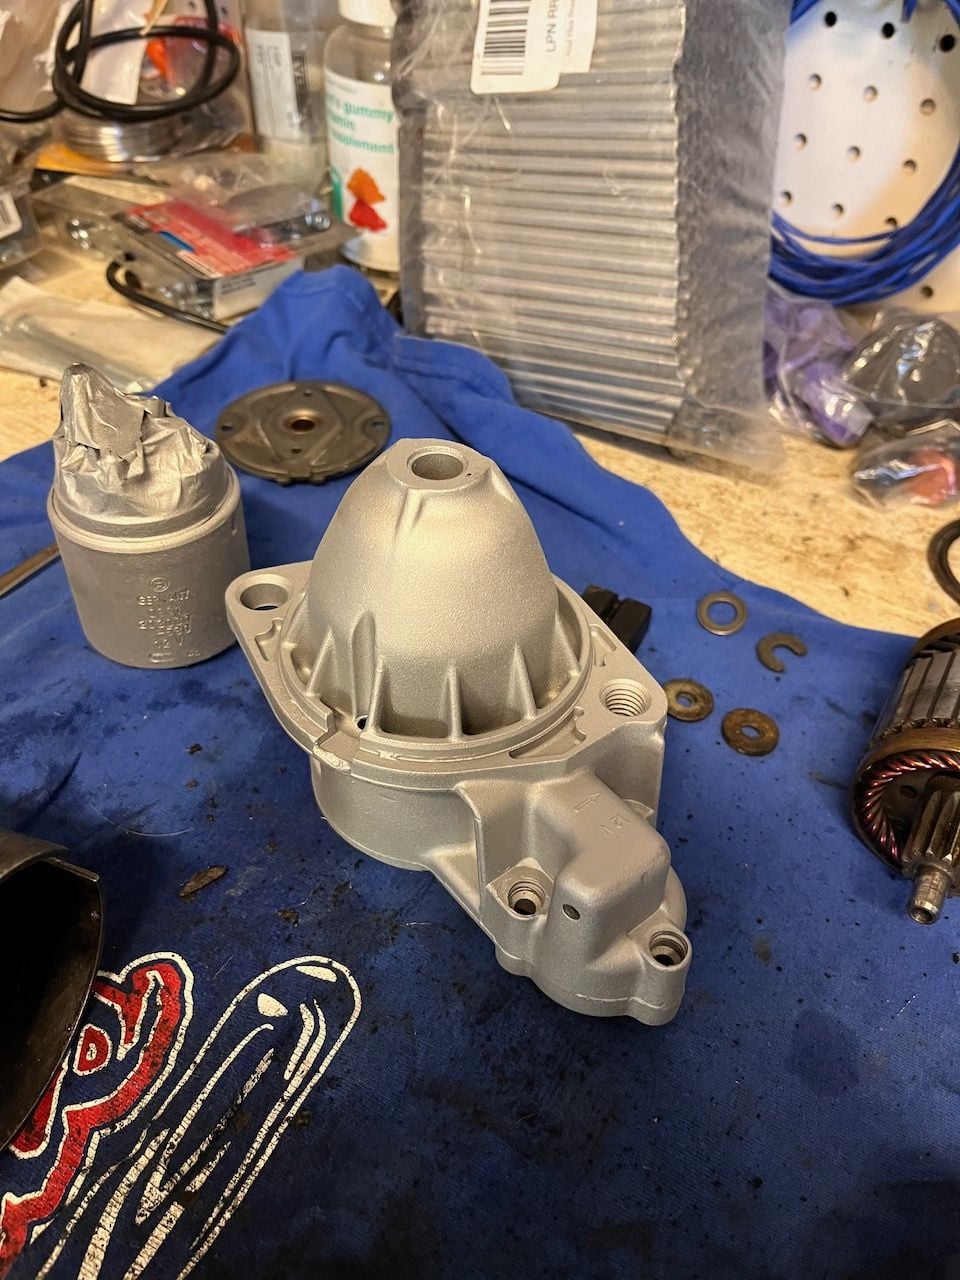
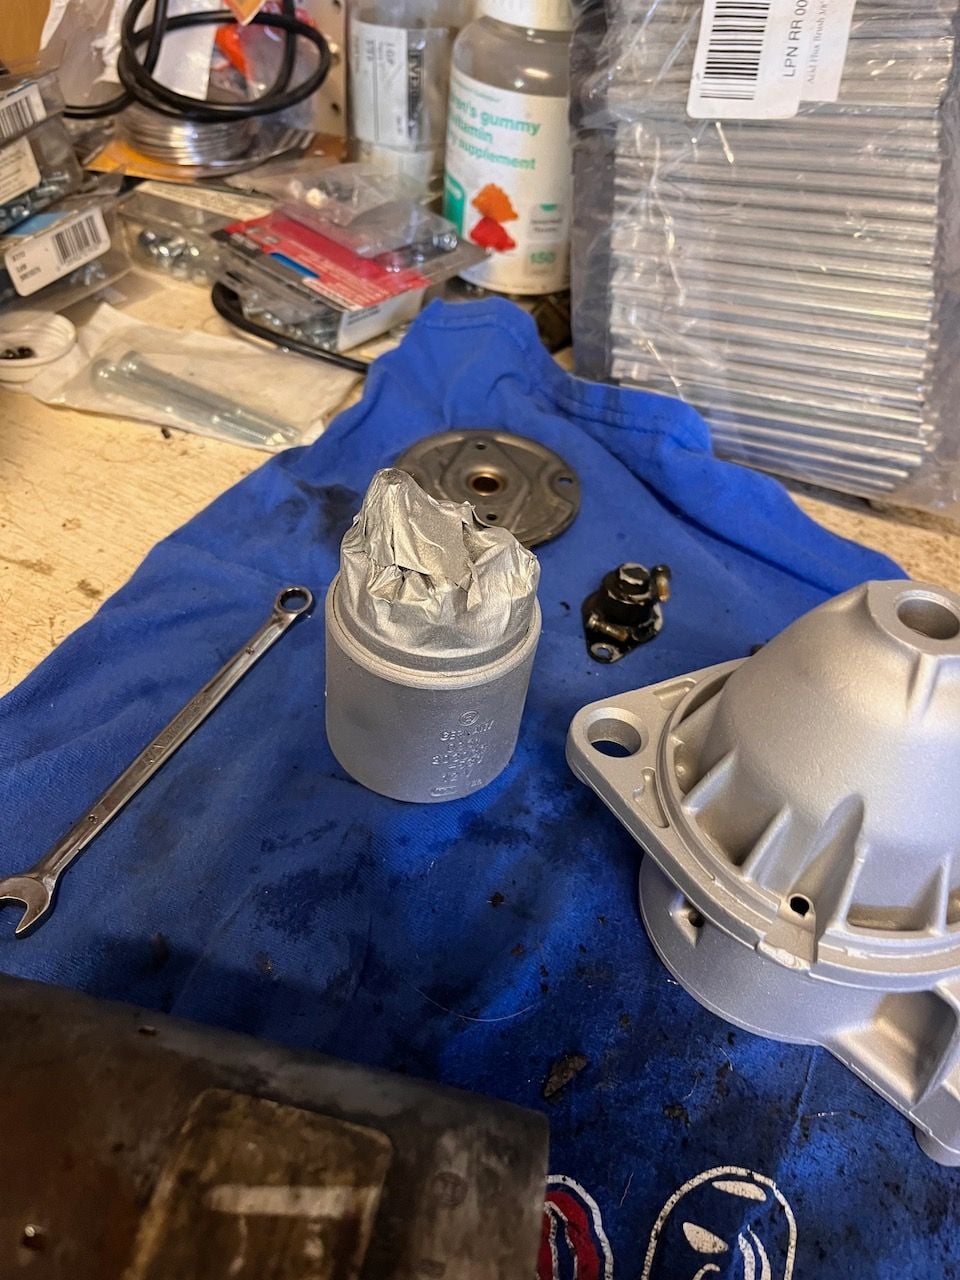
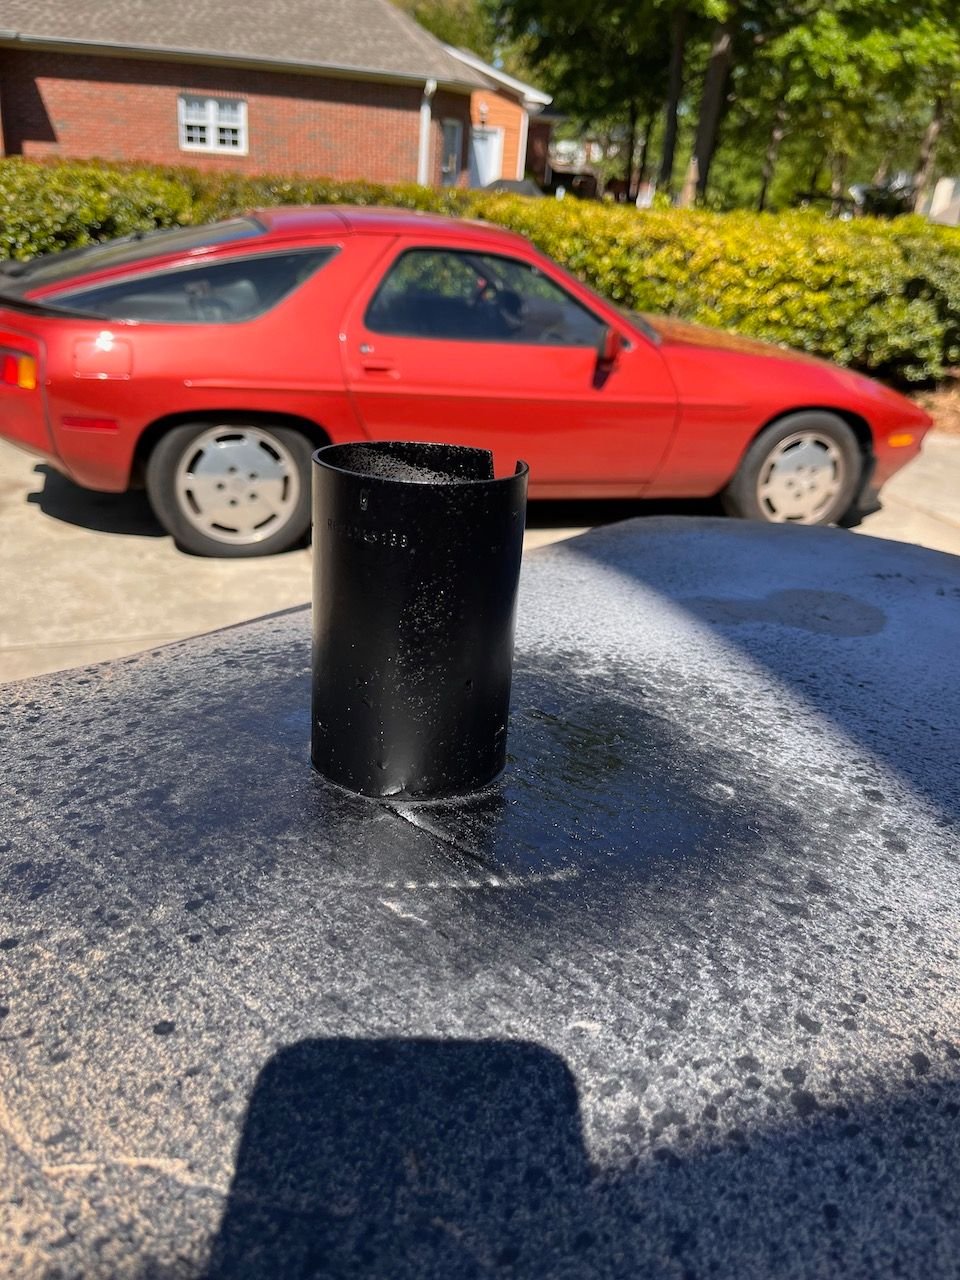
A little more work done this weekend... Taped up the solenoid and put it in the blaster to remove the rust (glass bead). Came out pretty mice. Did the same thine with the top housing. Taped up the plunger side as well to keep the glass bead residue out of there. Cleaned and ready for high temp silver. Painting finished and looking pretty good. Ready to remove the tape. Here are the connections after cleaning all the grease and grime off. Main housing. Def needs a good cleaning Inside after the cleaning process. Used simple green at first and then acetone on a rag. I did not soak in the parts washer as I was not sure what that might do to the magnets. Now it is very easy to see the damaged magnet. Need to get that out and replaced. Main housing repainted in high temp black. Ol'Copper approves in the background.
Wow, I have never seen a broken permanent magnet in a motor before and I worked on many car starters, electric car/scooter/trike motors DC and brushless motors, etc. What happened? Did someone hammer the starter too hard trying to get the car to start?
Well, I finally found an outlet for replacement magnets. It was surprising how difficult it is to find parts for these starters - I realize they are old and were discontinued long ago, but A LOT of cars used the same internals of these PMGR assemblies - the outer case and mounts seem to be what is really different. Also surprising that some internal parts are much more readily available than others. Who knows. Anyway, I was able to get new magnets and have some extras if anyone needs them.
Magnet replaced. These are somewhat difficult to get in place. There is a little metal spacer that helps hold the tension of the magnets against the housing wall. Tricky to slide a new magnet in but after futzing around with it its back together. Test fit of top housing.
The magnets and inside of the housing will get another clean and wipe down to remove the rest of the little magnet fragments that you can see in the pic above. What a mess.
Also got new socket head bolts (M5x0.80 - 40mm) to attach the solenoid to the upper housing.
Well couple of final notes to end with. On reassembly I noticed that the armature would not turn like I thought it should (once the housing was put into place). Remember these points on reassembly:
1. The housing has a small flat notch at the solenoid end and a larger V-cut at the back end. The small flat notch fits around the rubber block under the solenoid actuator.
2. The Plastic carrier for the ring gear also has a flat beveled section that fits in the same place. This is how these pieces align on reassembly. The Plastic carrier has guide notches that will also slip in place.
3. The 2 long bolts that hold the entire assembly together slide between two permanent magnets.
4. Note the alignment of the holes in the plastic carrier, cap, and headpiece when you put everything together.
Now back to the first aha. Turns out I did not clean inside the starter housing well enough and had a lot of "crushed magnet residue" in there from the broken magnet. I took it all apart again and reclined everything, pulling ALL the magnets this time along with their retainer springs. I cleaned the springs and the housings in the ultrasonic and then re-blasted the housing. This time I repainted the inside and outside.
Clean on the inside. The retainers have a hole cut in one end that fits over a small notch in the housing. I replaced the magnets one at a time and one retainer between at a time. It was much easier the second go. The retainers now sit flush against the housing with no magnet residue in there. Outside repainted Finished.
 04-22-2022, 10:55 AM