When you click on links to various merchants on this site and make a purchase, this can result in this site earning a commission. Affiliate programs and affiliations include, but are not limited to, the eBay Partner Network.
Very nice work! I particularly like your idea of using the reinforced plastic hose (looks like the windshield washer type) to mimic the protective "jacket" on the brake lines.
Very nice work! I particularly like your idea of using the reinforced plastic hose (looks like the windshield washer type) to mimic the protective "jacket" on the brake lines.
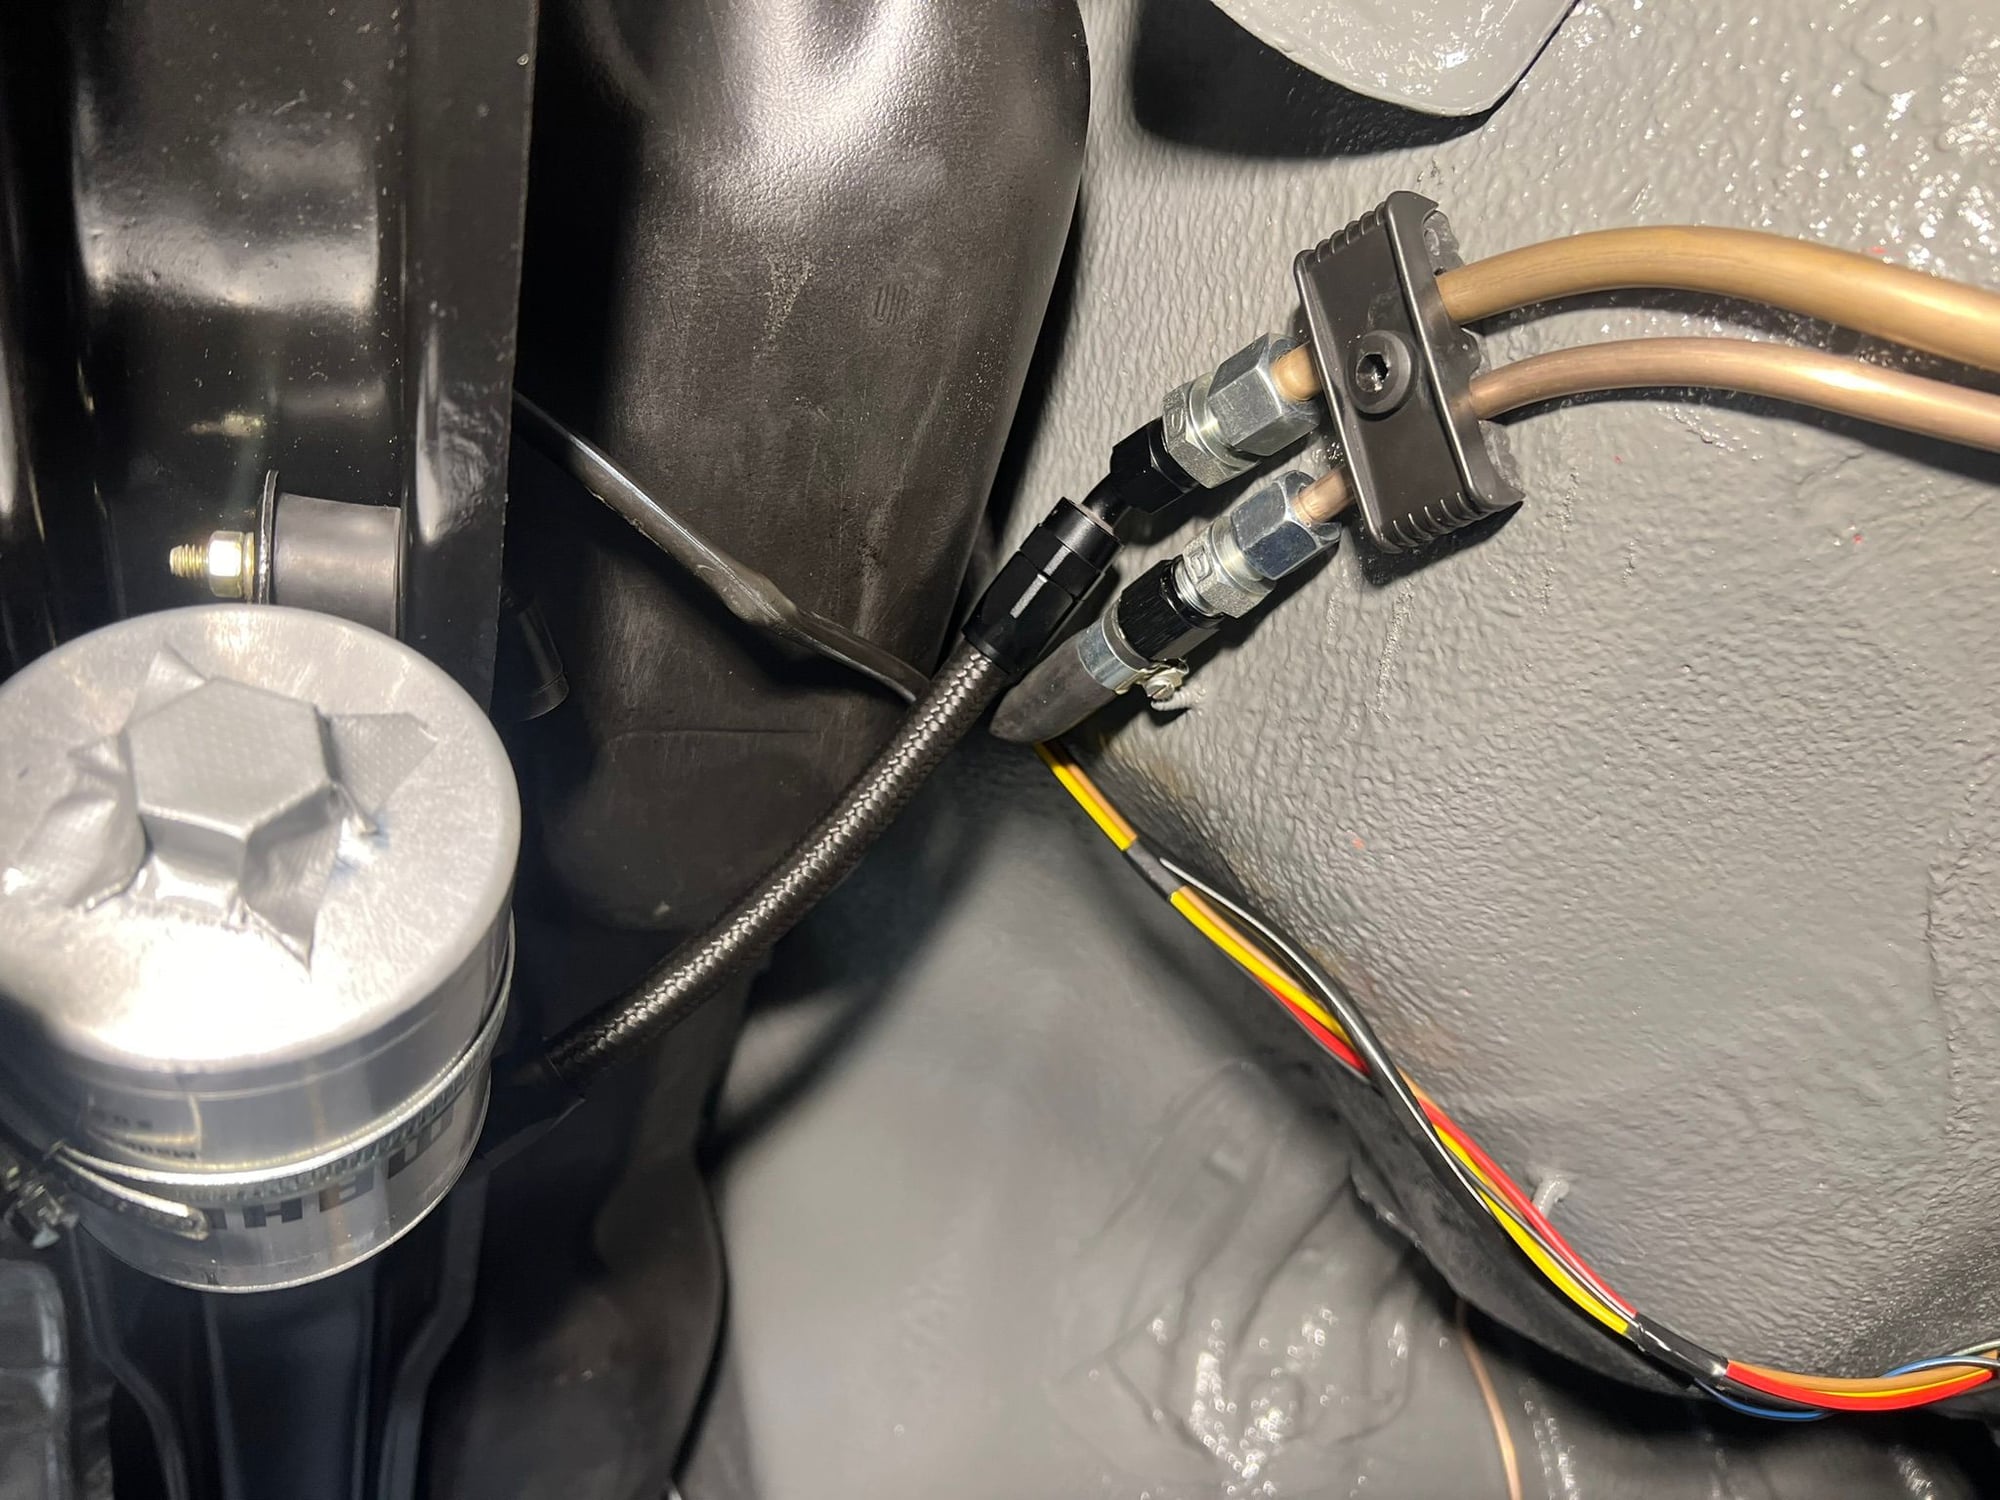
Thx! The fuel and main brake line is one continous length from front to rear, so it was difficult to get the 10-12 bends per line correct. Messed up slightly a couple places, but nothing that would be a safety or reliability issue. I should have put a protective jacket on all tubes coming from under the car and up. But when I got the idea with the jackets, the flares on the long lengths were already in place... If it becomes an issue I'd have to cut and join on the middle and re-create the rear sections. The spray from the wheel is mostly towards the outside. So I think it will be OK.
It is quite cramped in the rear right area. So it looks a bit like a spagetti bowl One can clearly see that this is caused by the evolutionary approach Porsche had to this chassis platform.
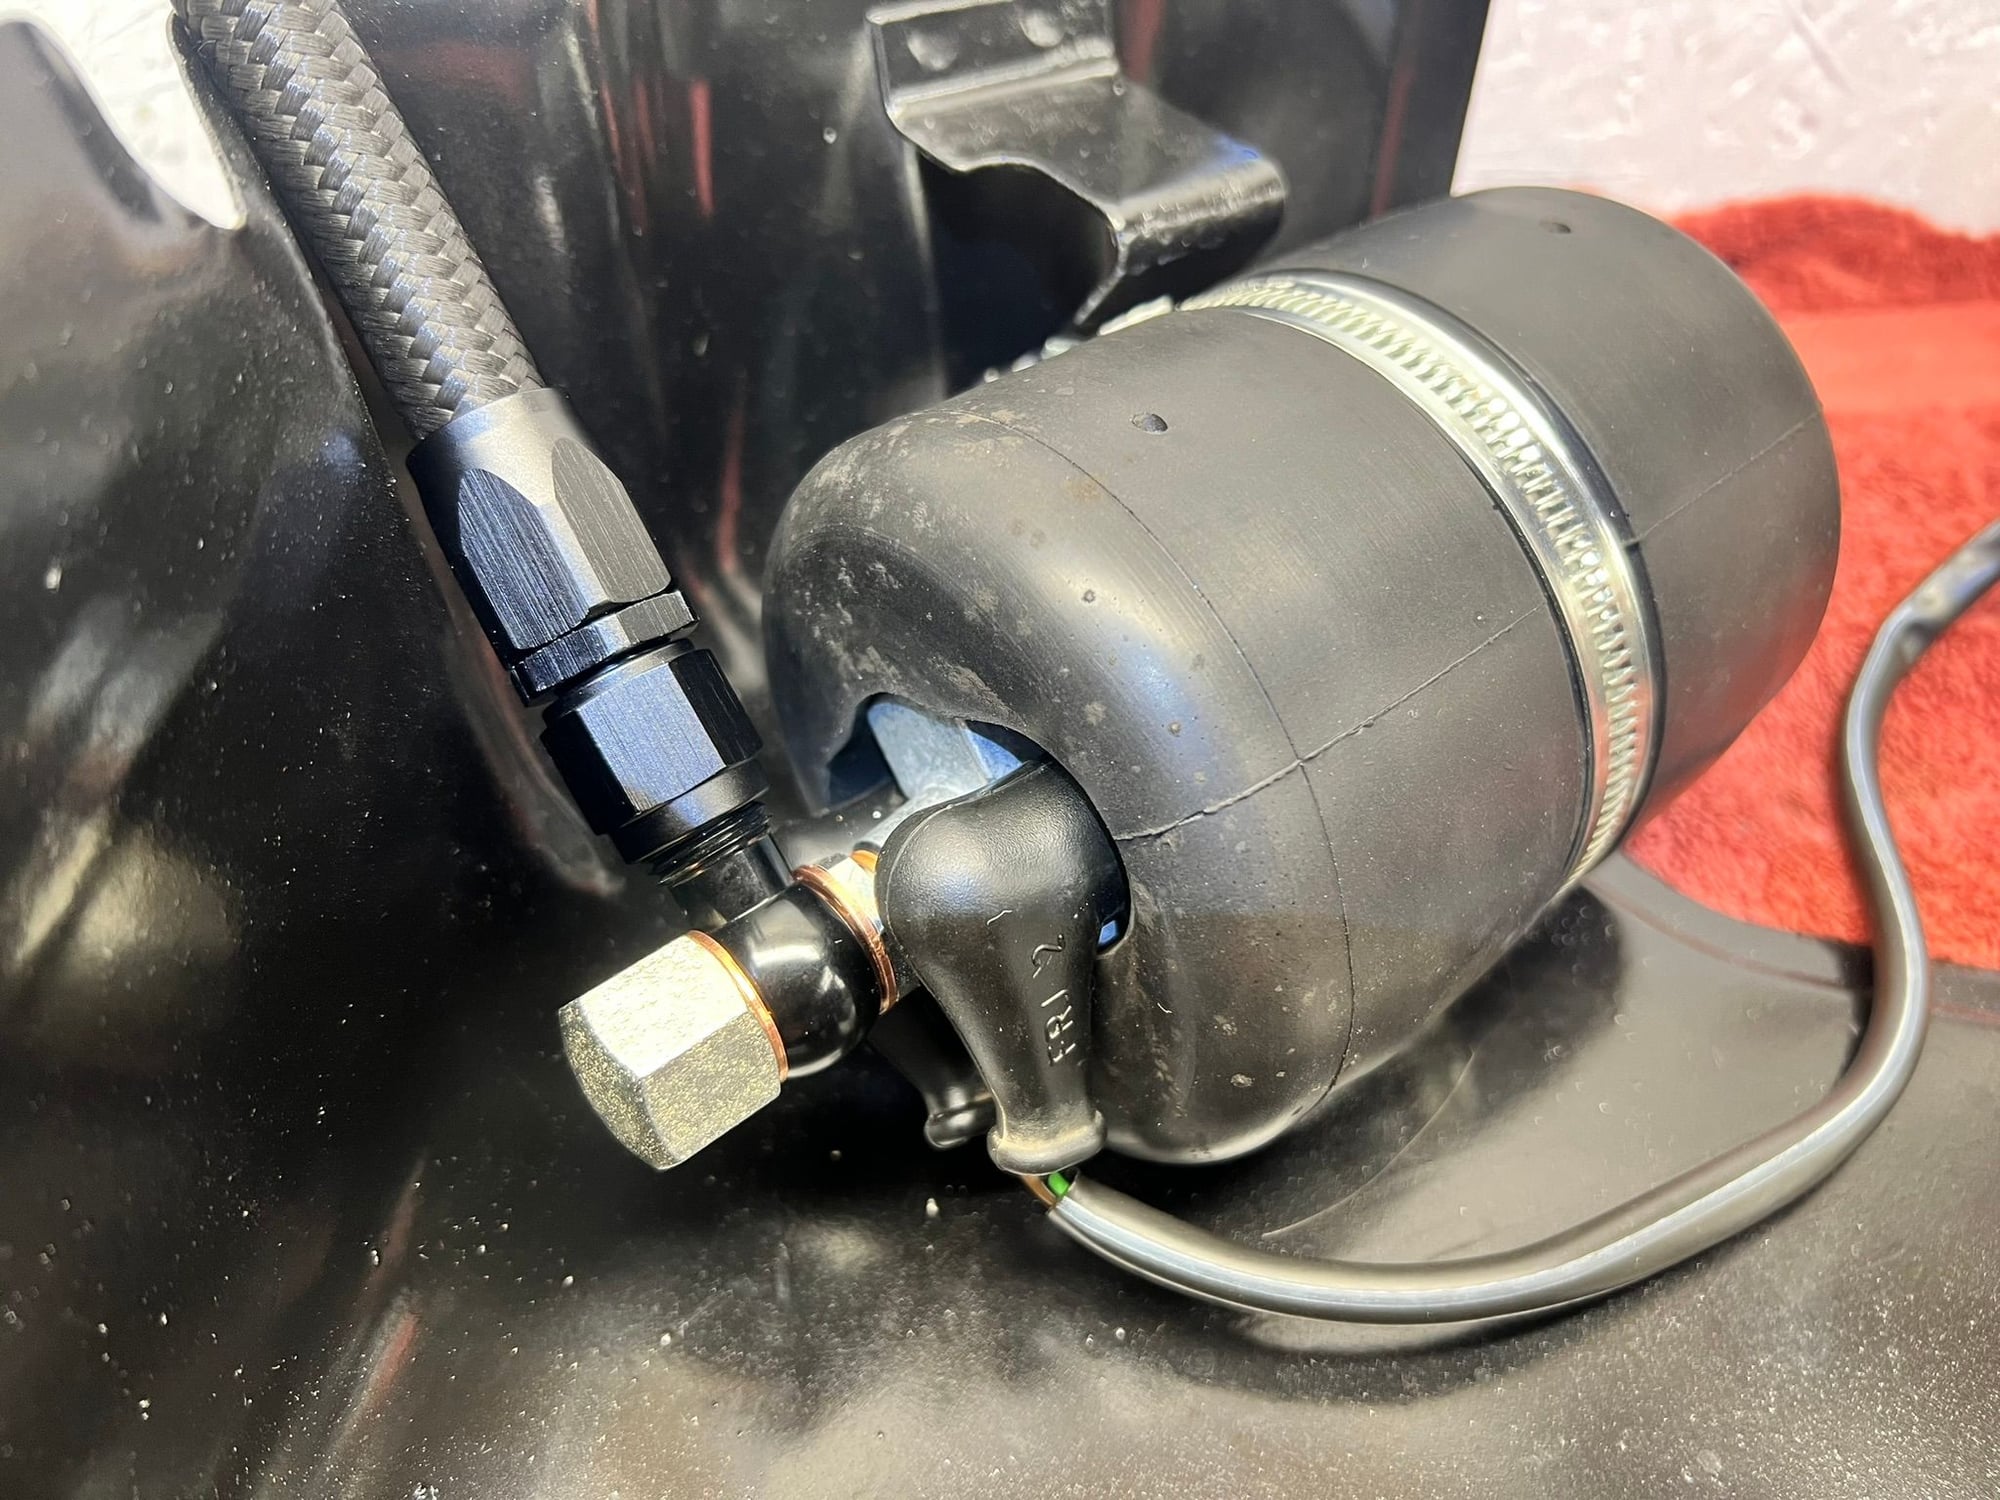
Tank and hose in place at the rear. Fresh rubber hoses are all ethanol safe. Wanted a bit of racecar feel, so I opted for AN-style hoses and fittings between pump, filter and hardline. It's a bit tight so the AN fittings need the exact bend angles to make this work nicely. Thus I need to get a few more AN bits and pieces, to complete this 100%
I am removing the fuel vapor management system (charcoal canister and appendages). So after the tip-over valve, the fuel vapor hose just goes to a breather filter located at the far rear right corner of the car, behind the tank. (Not pictured)
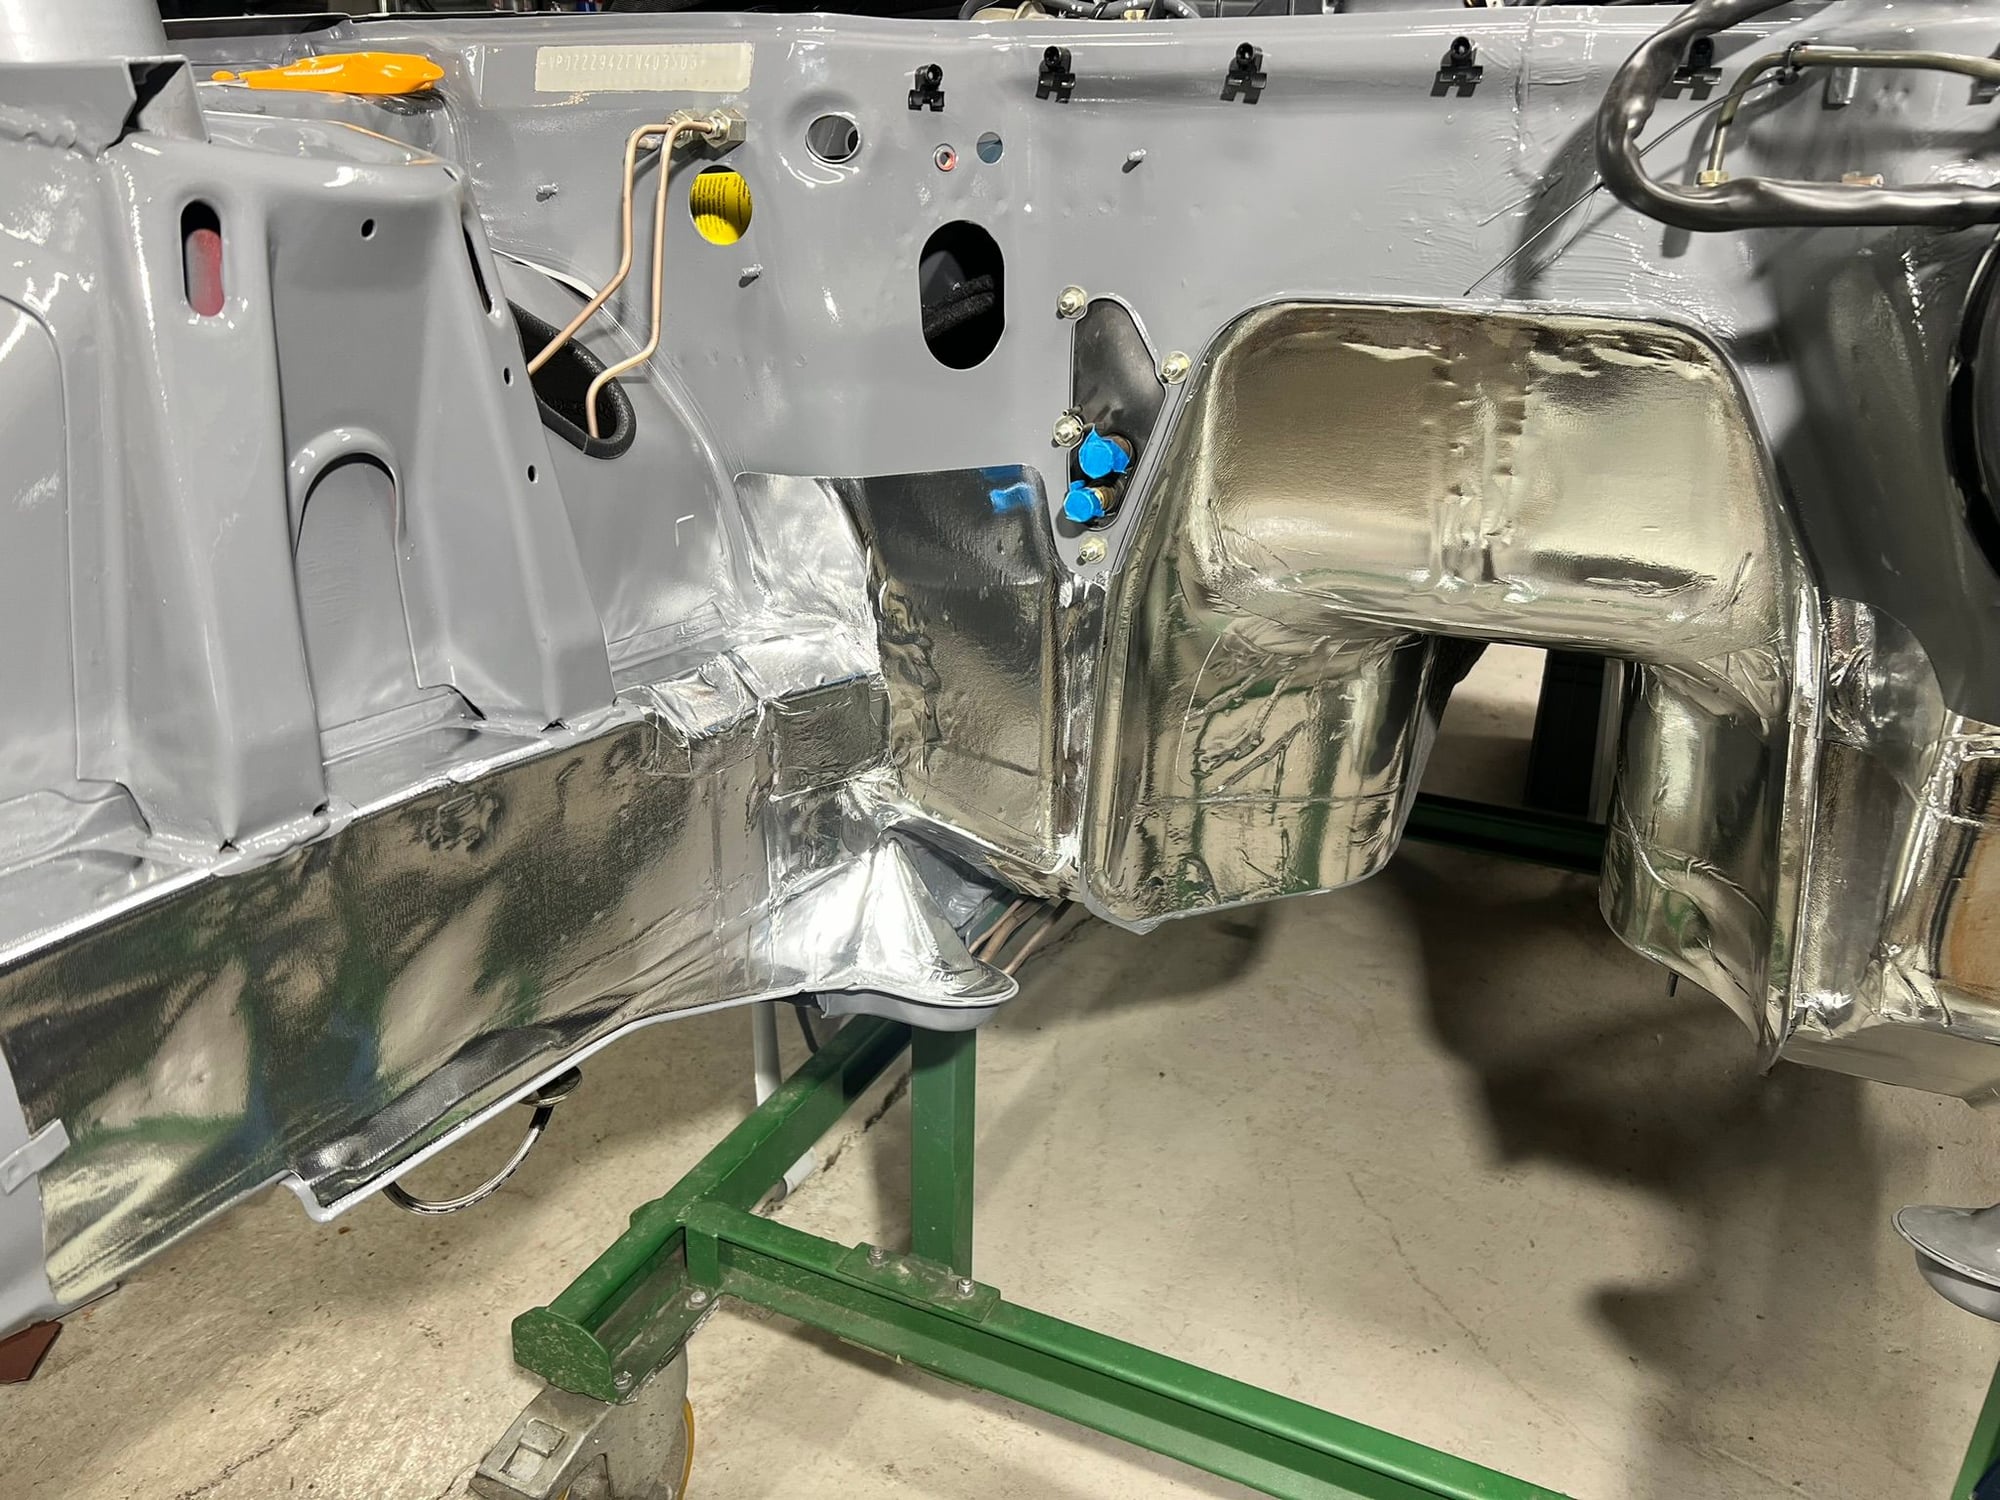
I planned on re-using the original aluminium heat shields in the engine bay, but they were a bit too damaged and rough for my liking. So I opted for reflective heat shield film. Reflect-a-cool from Design Engineering Inc.
I added a small aluminium shield to avoid the direct radiation heat emitted from the exhaust headers onto the brake and fuel hardlines. I just taped it in place using the (fiberglass backed) film. Hopefully it stays in place
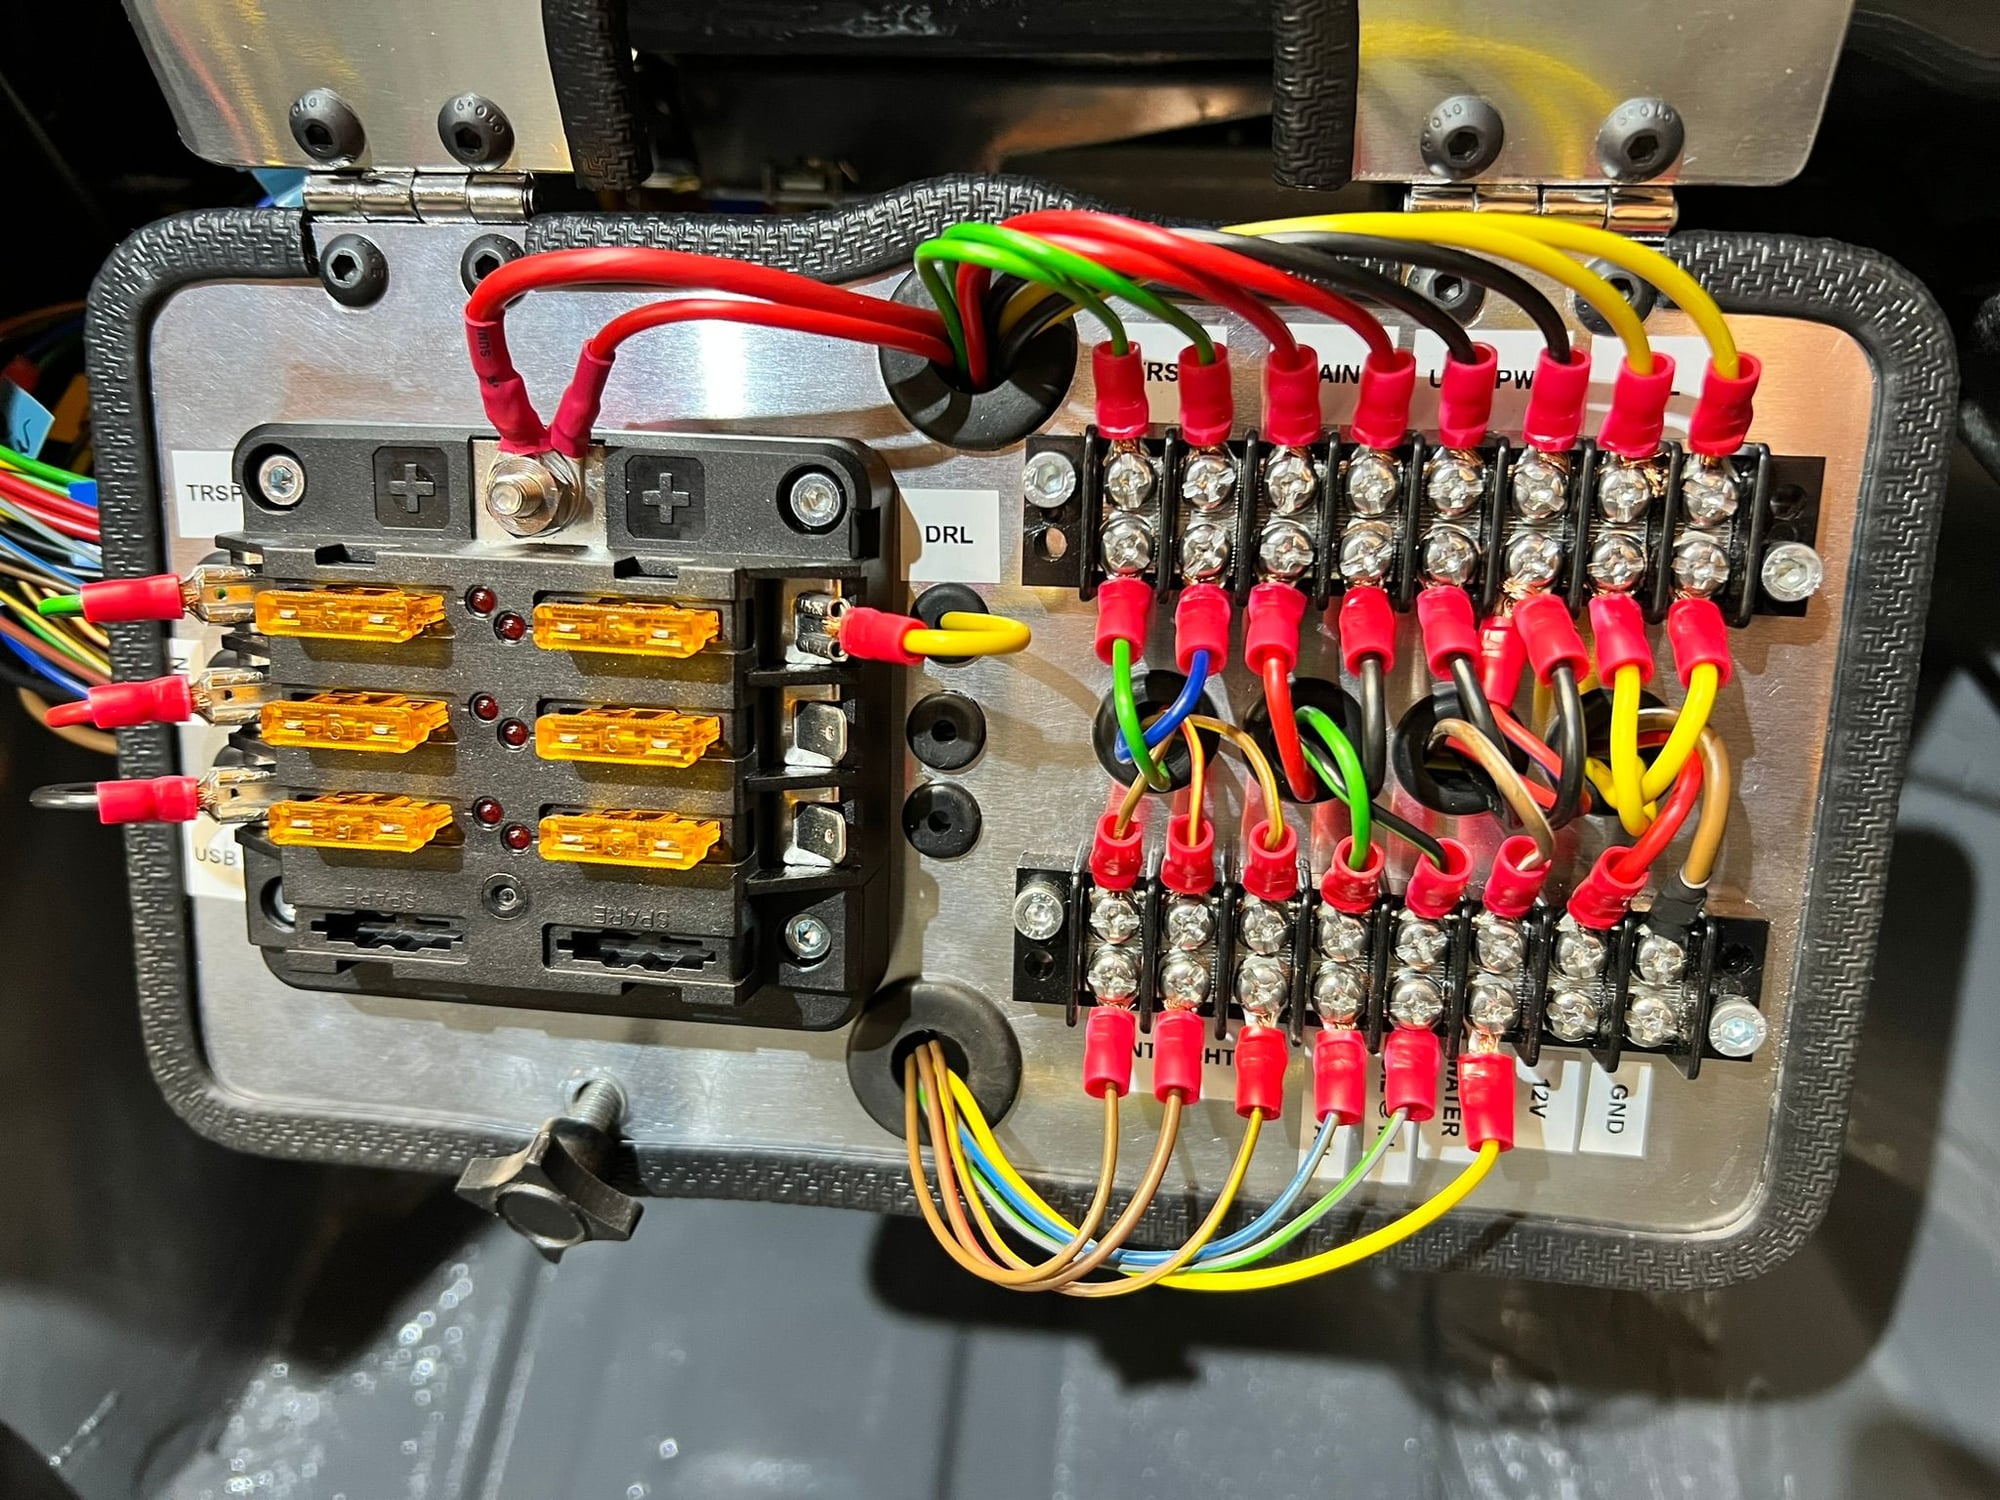
The racing-specific fuse and connection board is ready. Flip down for easy checking, and changes.
There are individual fuses and switches for the transponder, FIA rain light, USB power and racing DRL. I am establishing two extra instruments to monitor water and oil temperatures, and the sensor inputs are connected through the board. I also set up a new switch for the interior lights.
Added some wiring to the center console, that I had forgotten. Tested and adjusted the electrical actuators and flaps of the hvac. Finished the heavy gauge wiring around the battery and isolator. Made a bracket to hold the fuel anchillaries away from the engine itself. And created some funnels to connect a 50mm hose between the HVAC and my custom side vents.
The battery bracket and wiring enables easy switching between a small racing battery, and a regular sized battery for the road and trackdays.
On the fuel side I didn't like the idea of the clunky fuel pressure regulator and damper to be mechanically attached to the rail (only) by the 3/8" NPT adaptor. Hanging out on a "limb" and vibrating. With this setup there will be a hose between this fuel anchillary module and the rail. And a new hose to the fuel return hardline.
.
Are you keeping a functional defrost system on your race car ?
I had to pull out of a race a few times due to my windshield fogging up and only being able to wipe the area directly in front of me ... couldn't see anything out
of the right side of my windshield and it was too dangerous.
Nice and tidy work so far !
Are you keeping a functional defrost system on your race car ?Phil
Thx for the kind words!
It is not only going to be a race car. I am keeping the license plates in order to take it to trackdays and on frozen lakes in the winter. Also... 1 of 5 races in Norway are wet races. And in order to win the club championship you need to do well in the rain as well
 01-30-2024, 05:07 AM


 One can clearly see that this is caused by the evolutionary approach Porsche had to this chassis platform.