When you click on links to various merchants on this site and make a purchase, this can result in this site earning a commission. Affiliate programs and affiliations include, but are not limited to, the eBay Partner Network.
Are purchasable kits still planned for Q2 this year? Even if not, I'd be super excited if there are any cool updates to share.
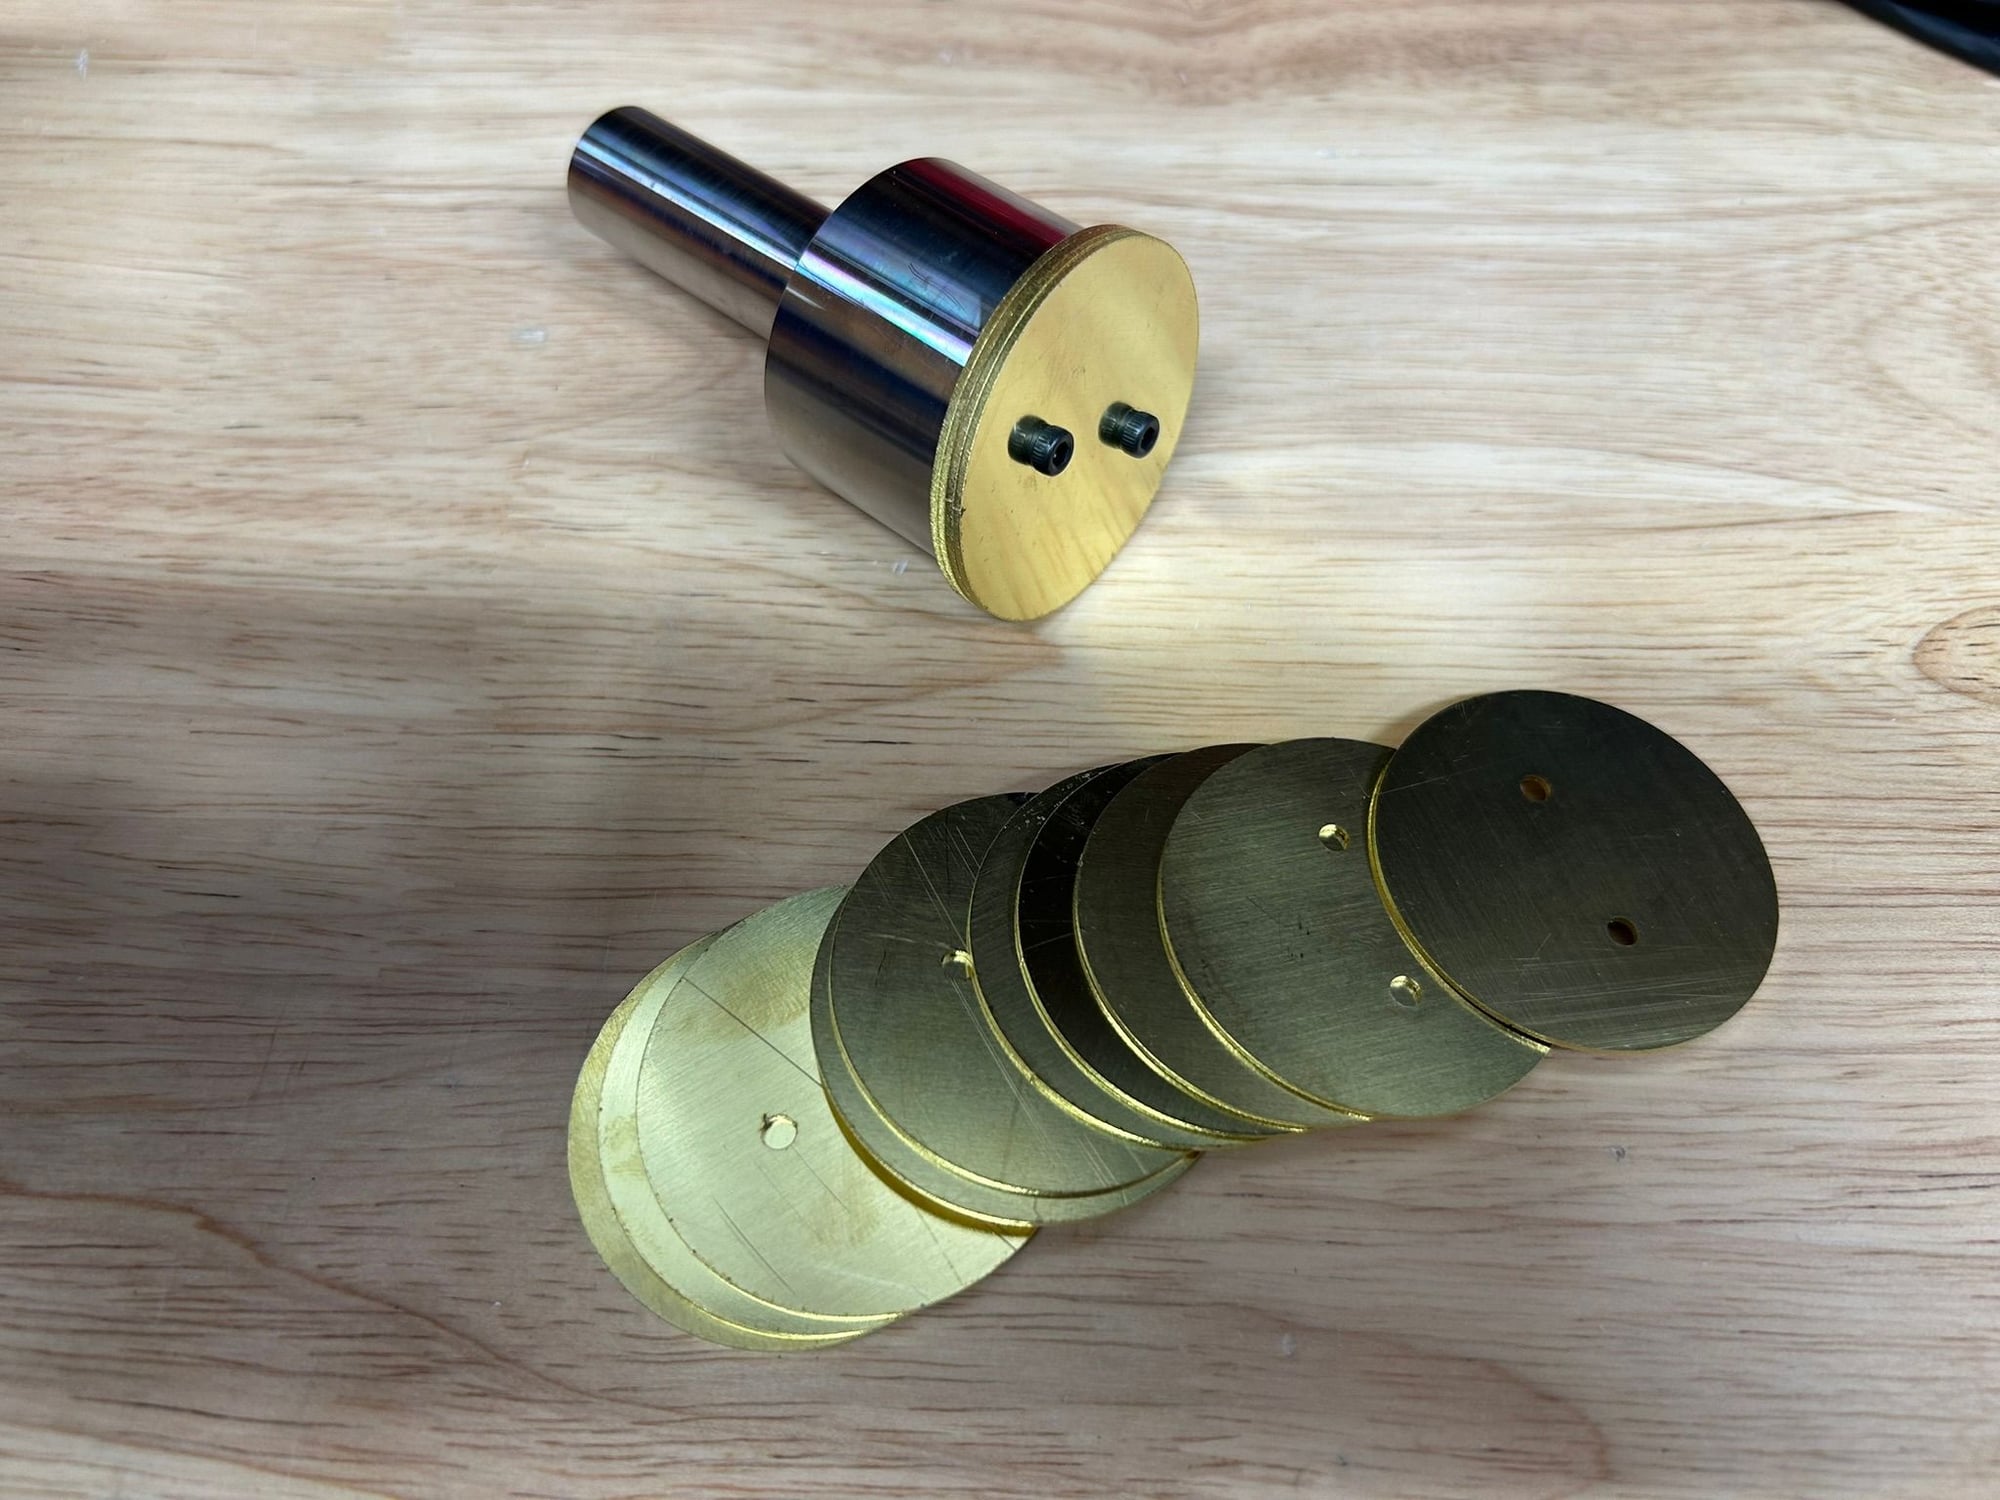
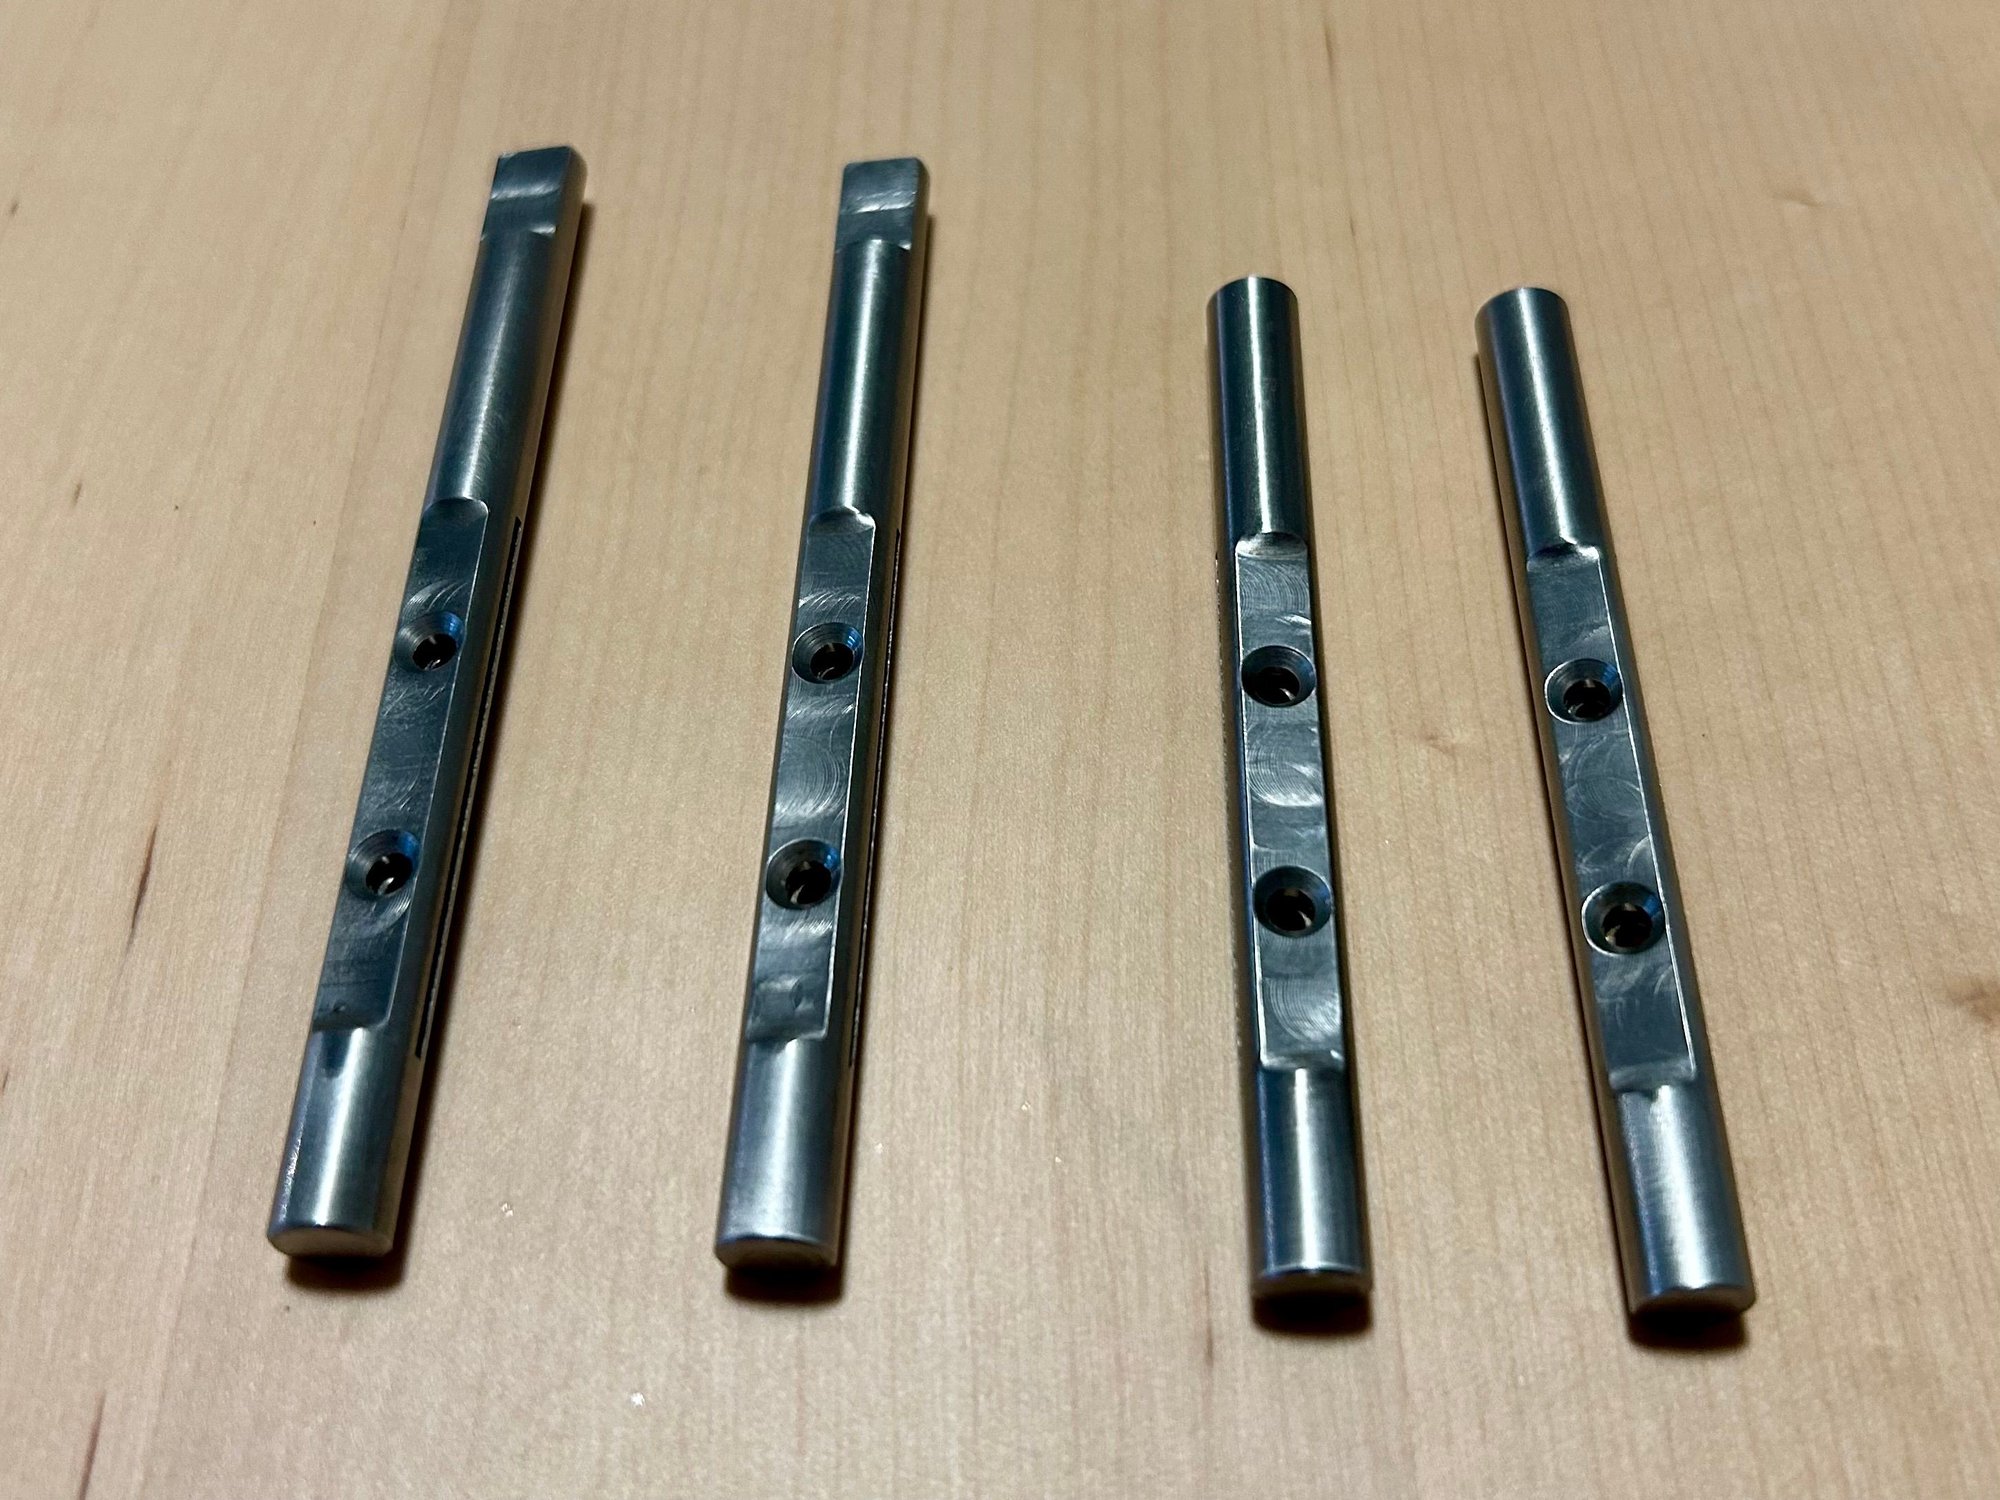
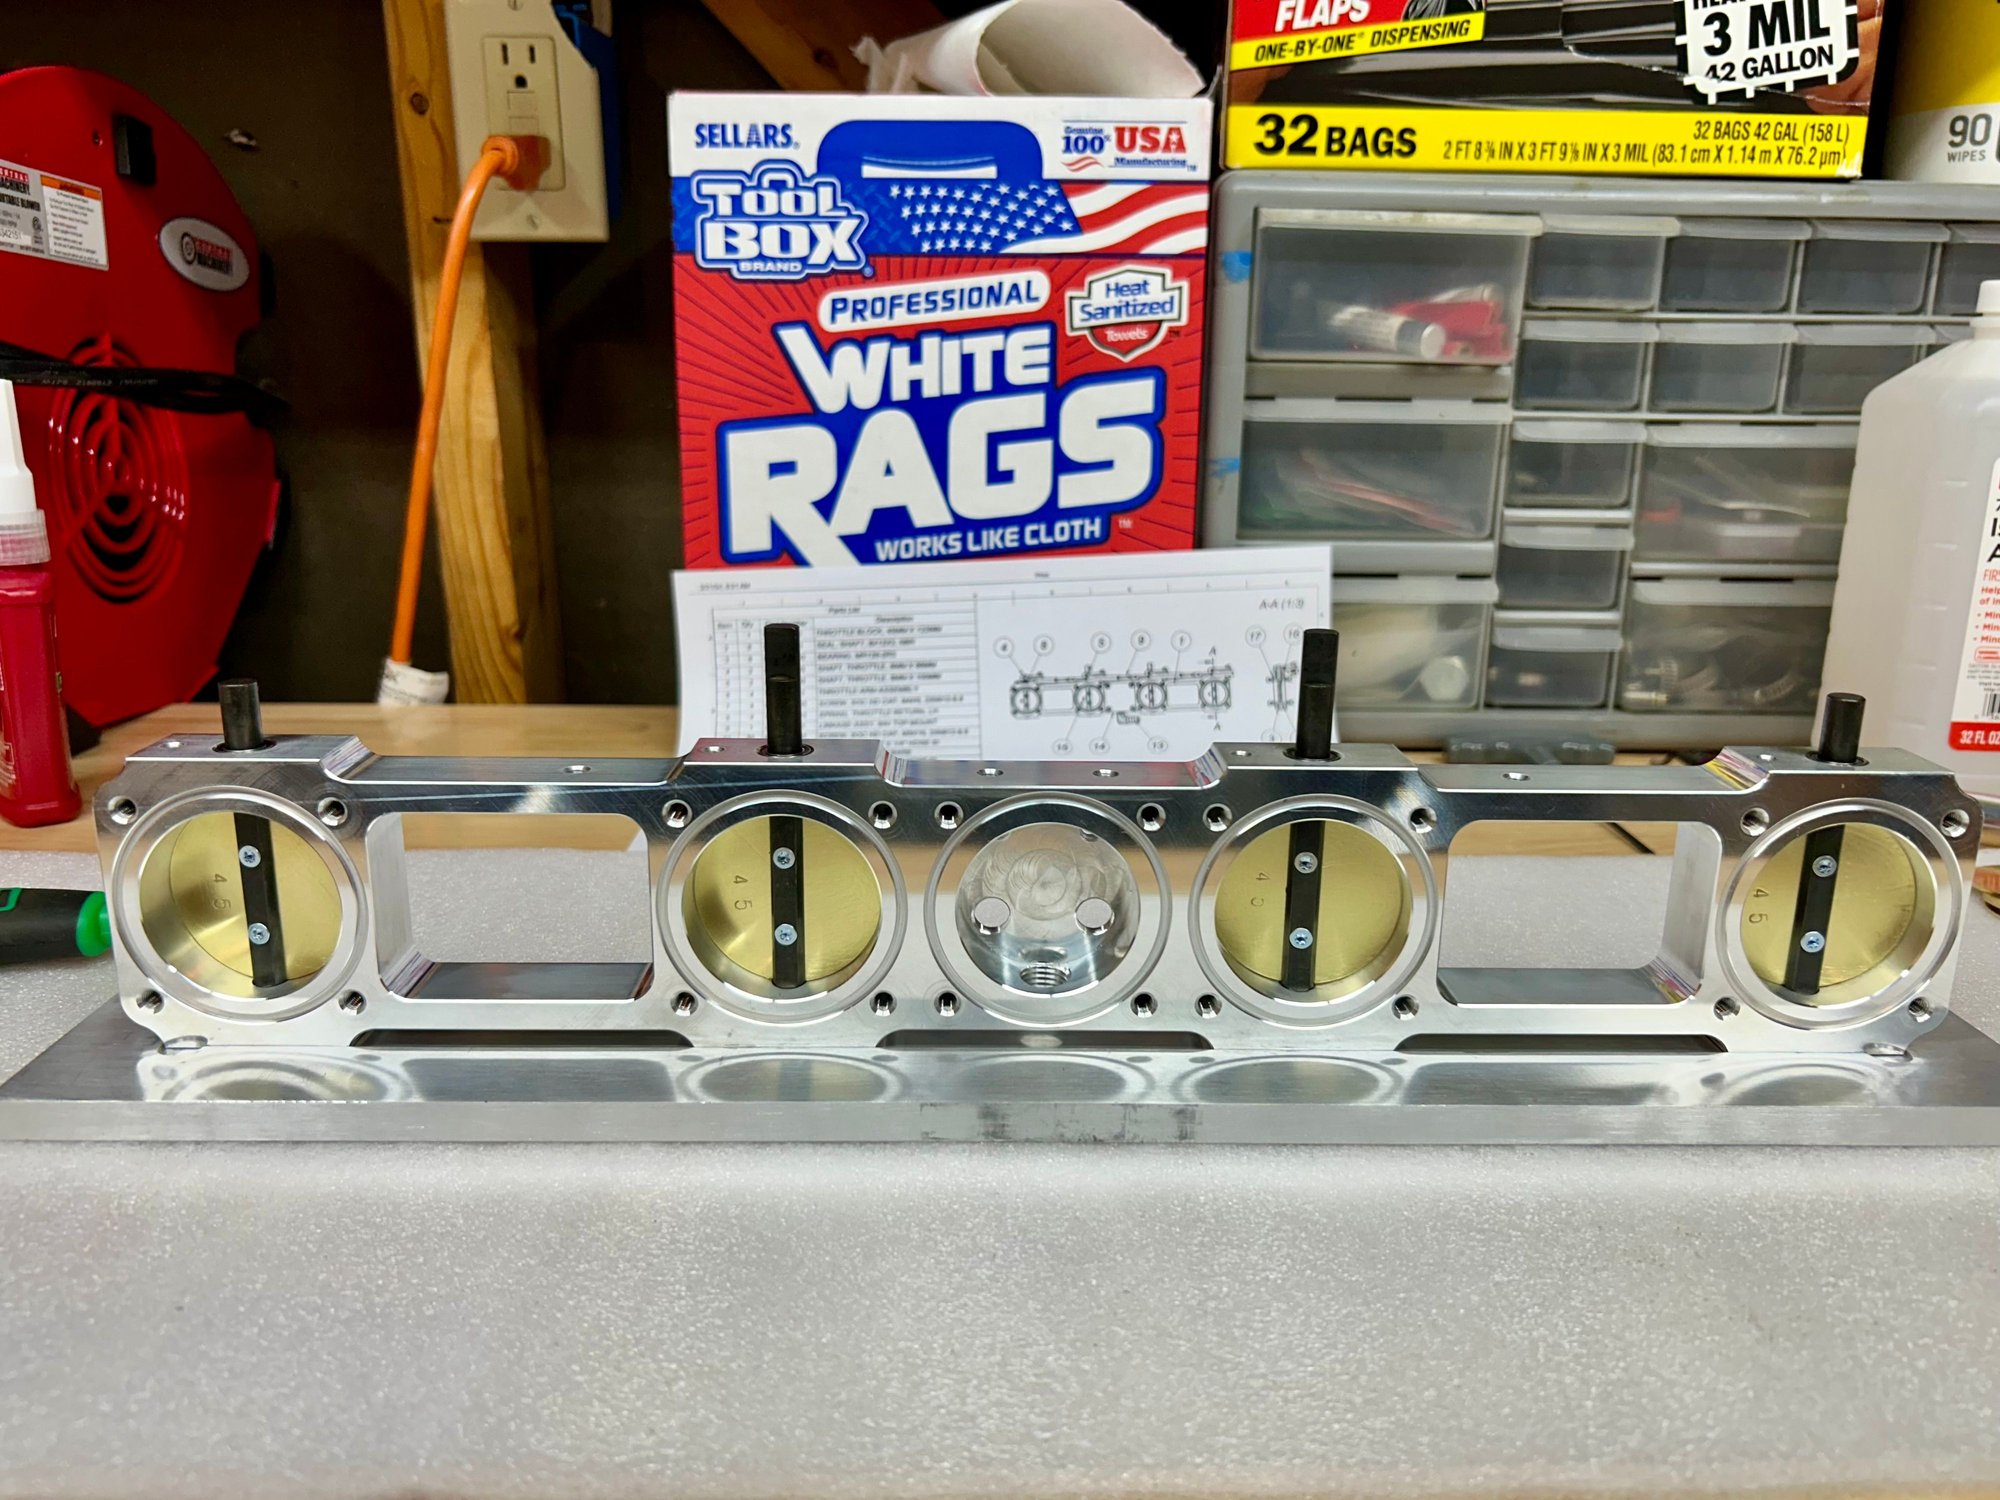
I just received the base throttle butterflies this week and I have a fixture I previously ordered that will be used to turn the butterflies to the proper OD on a lathe and get the necessary angle on the edges correct. I need to finalize a few of the component drawings and then get the parts on order in the next couple of weeks to actually build the throttle assemblies.
I originally intended to have more of this work completed by now, but back-burnered it a bit over the winter due to other priorities. Ya'll know how that goes...
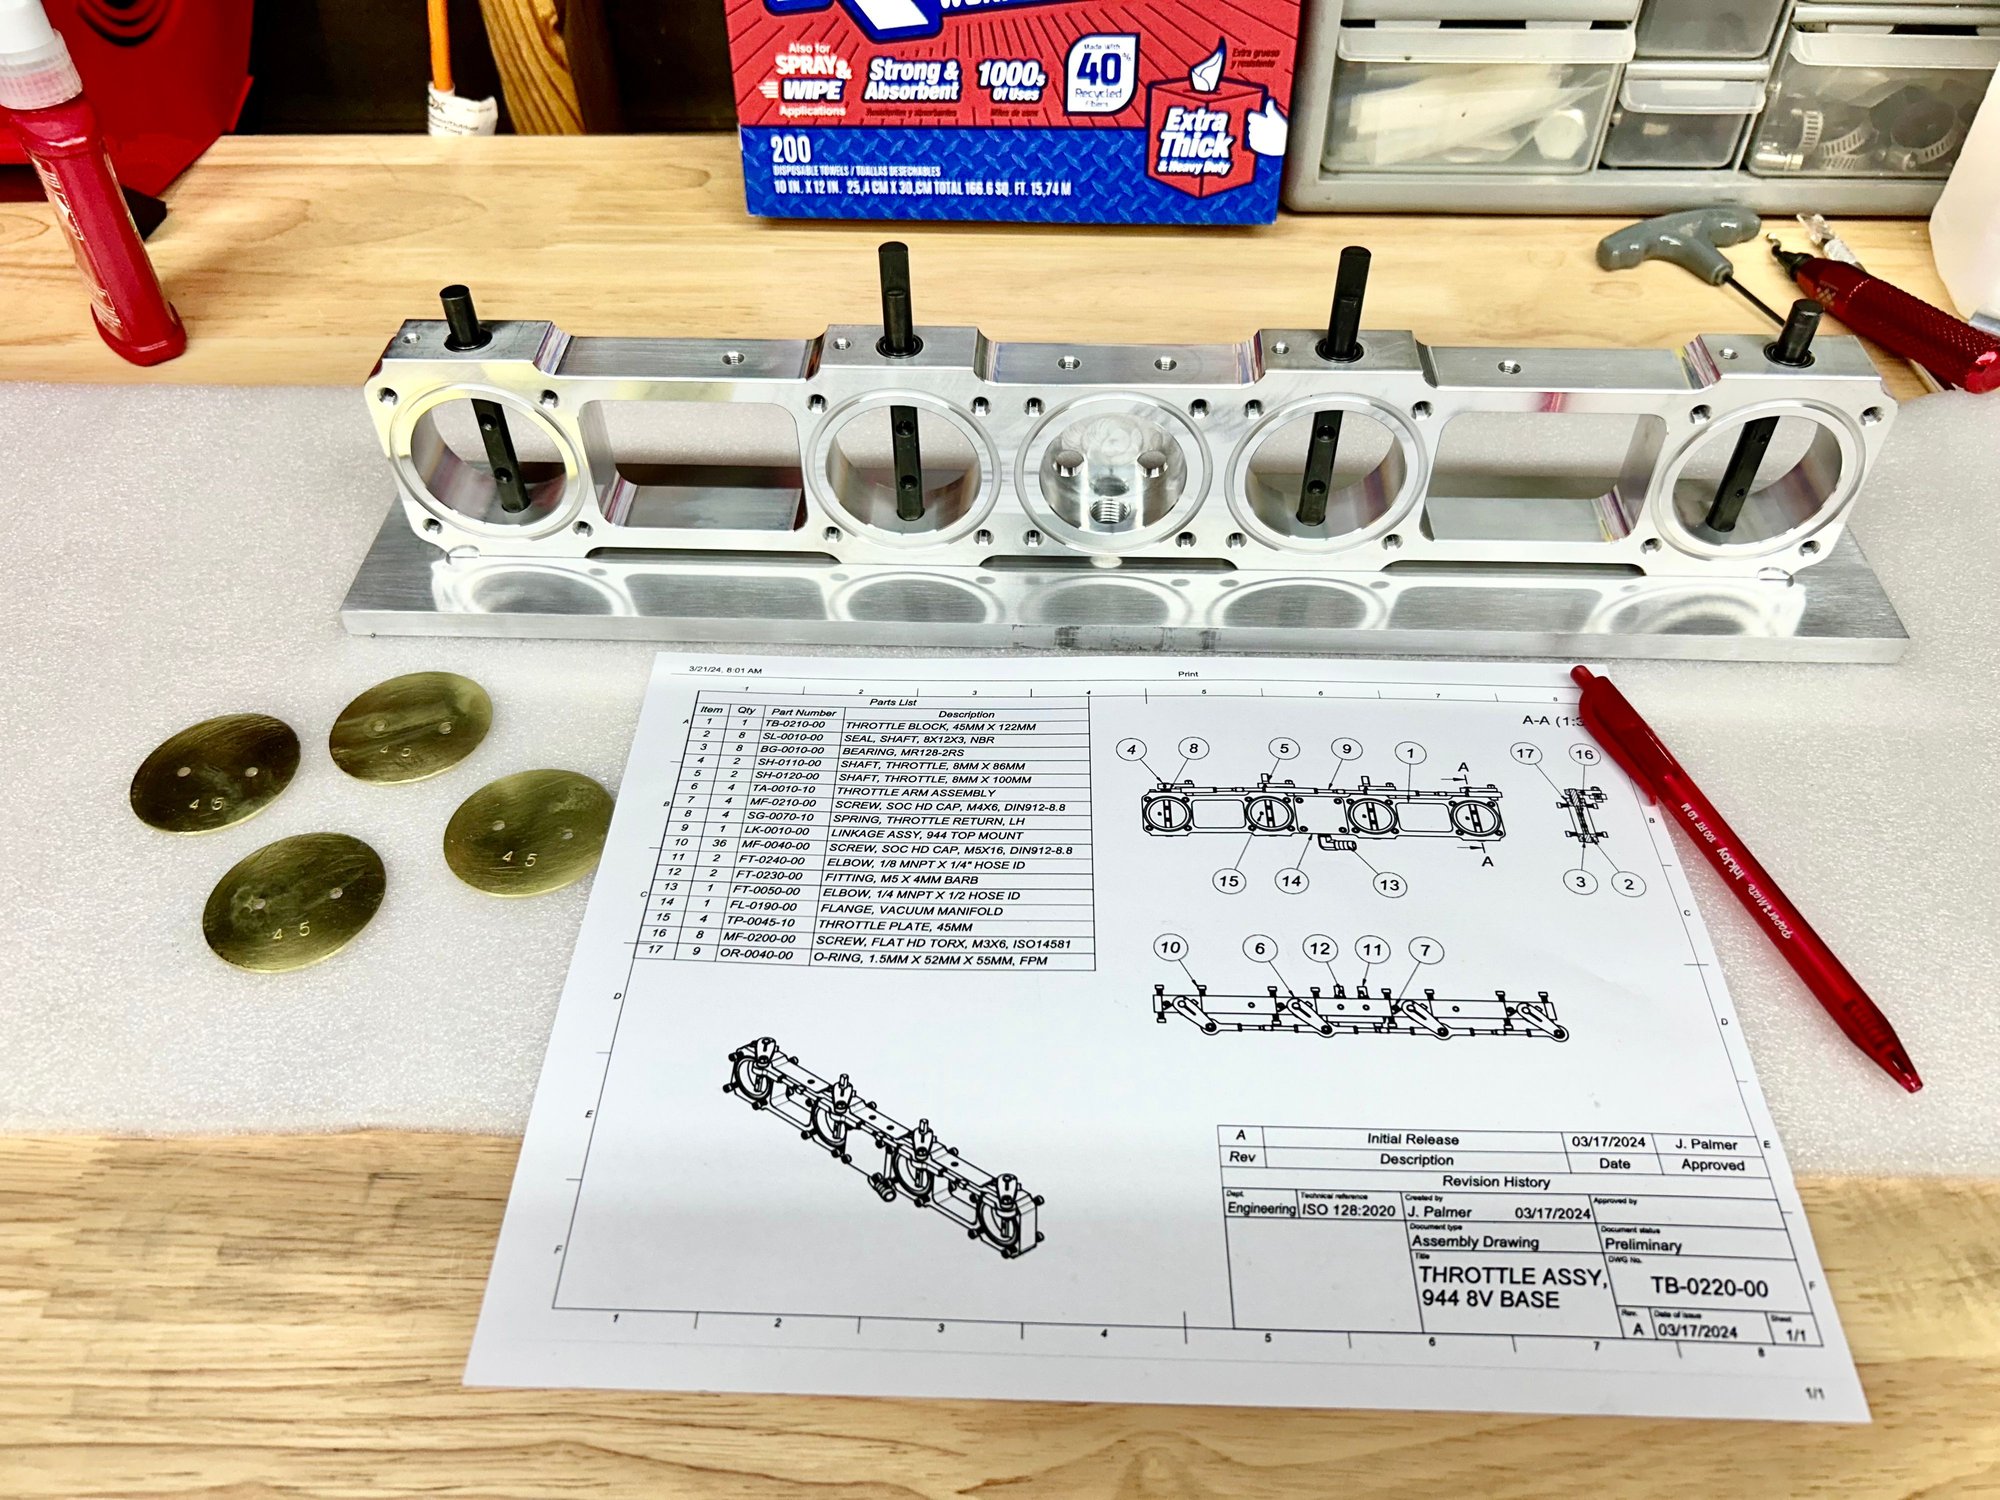
I ordered all my machined components and hardware this week to put together the throttle body portion of the assembly. It will be a couple weeks until I have everything, but I'm hoping to have that portion of the assembly together around the end of March.
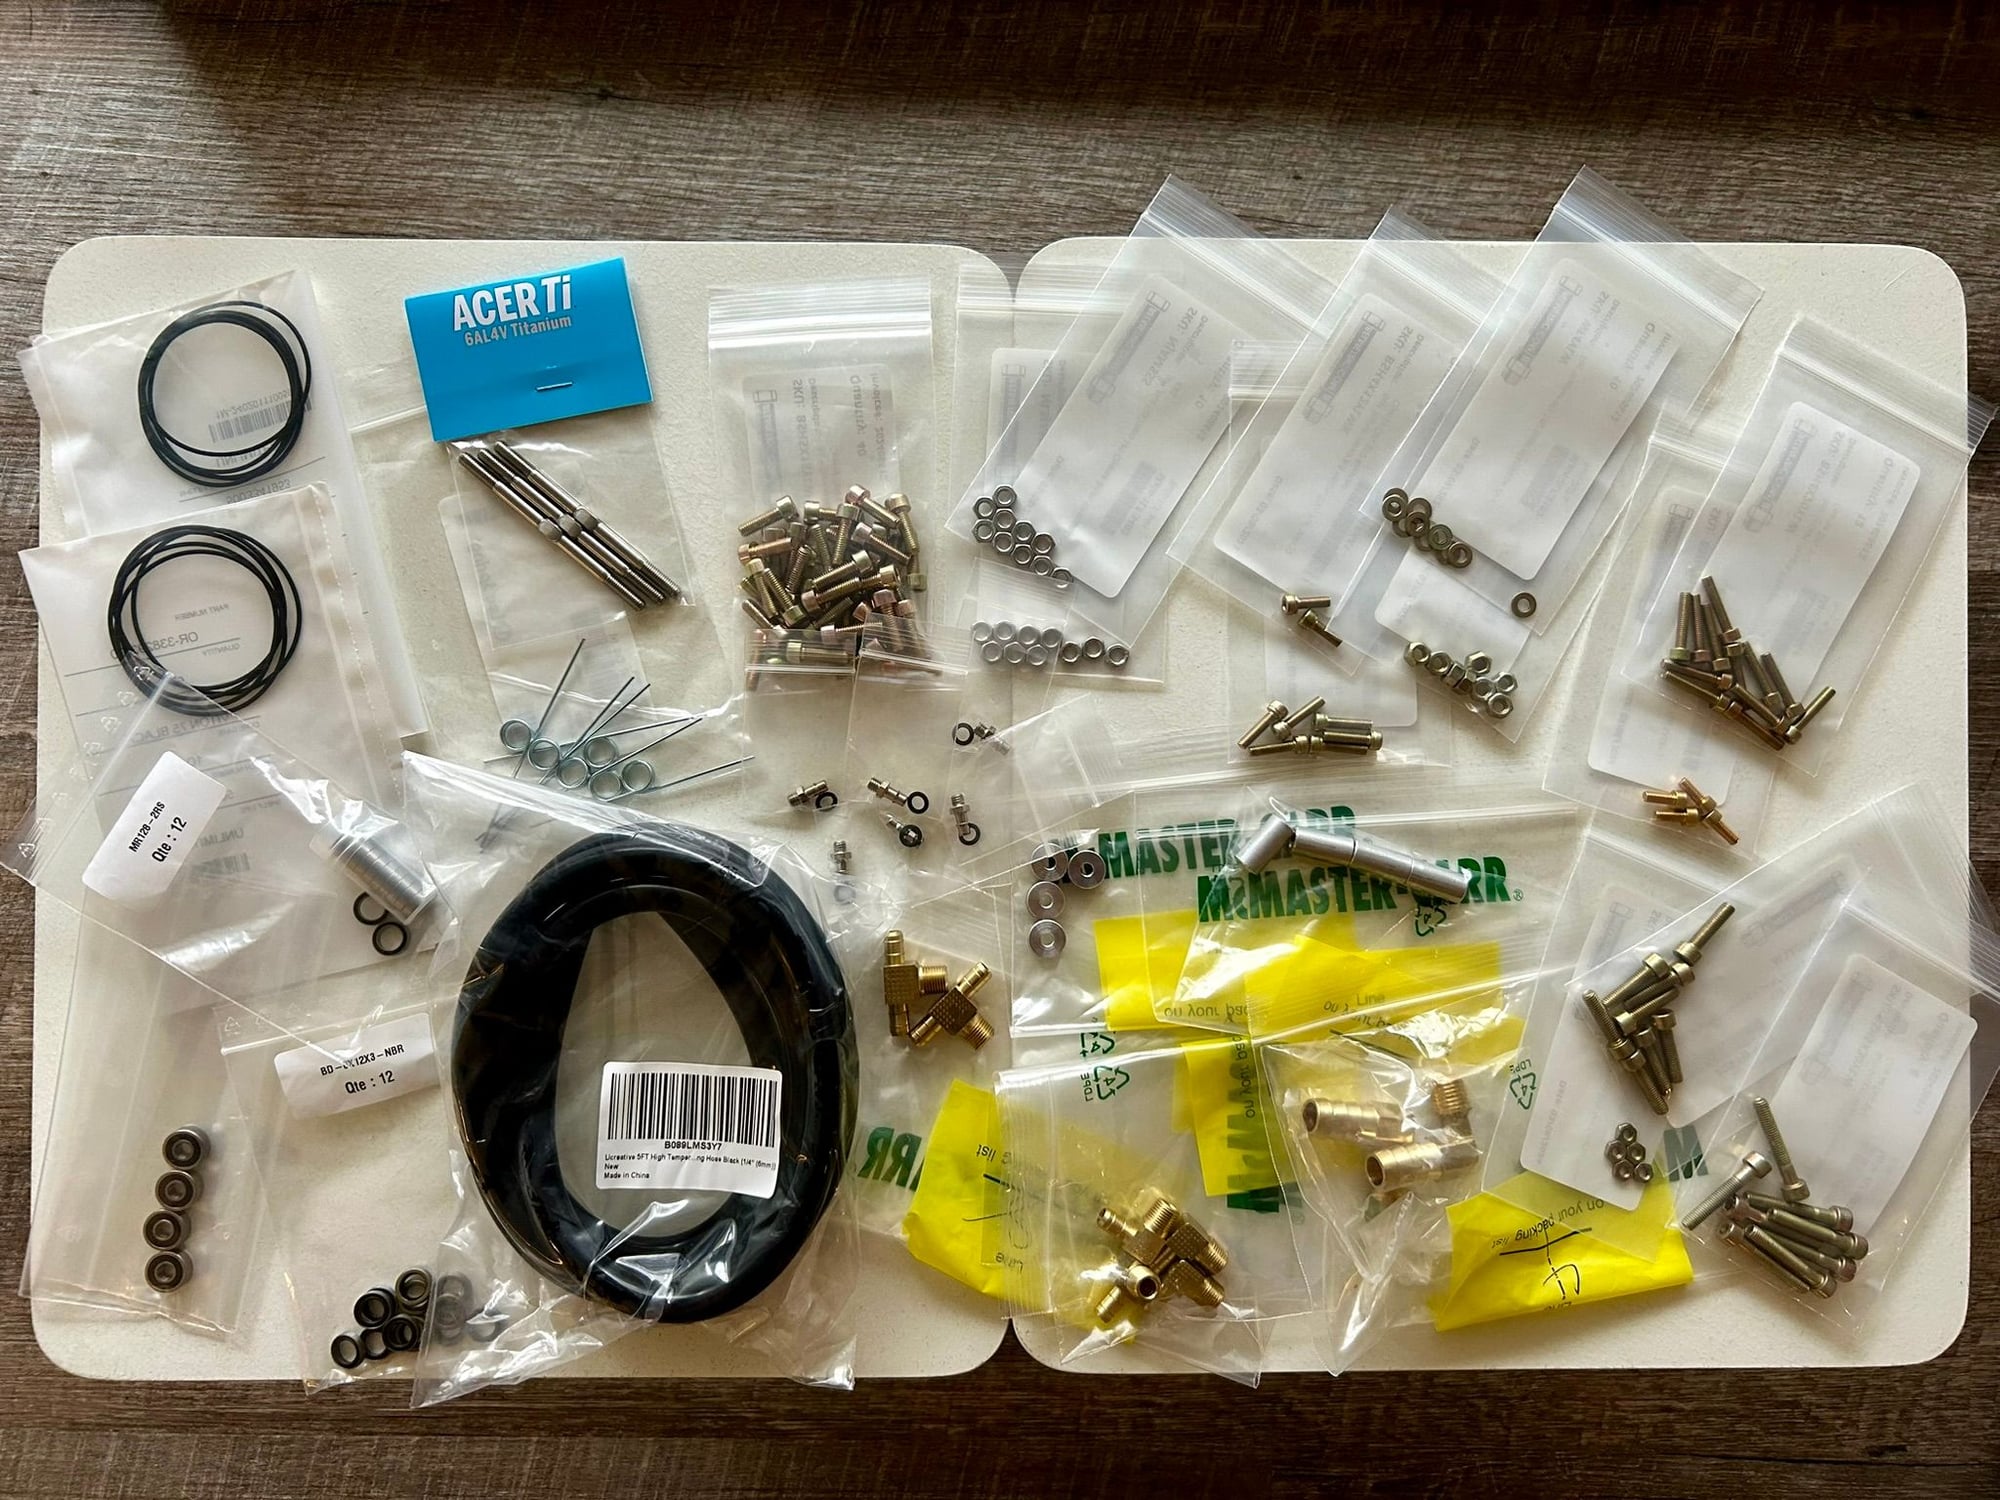
All of my fasteners and miscellaneous stuff came in a little while ago, so here it is organized semi-neatly.
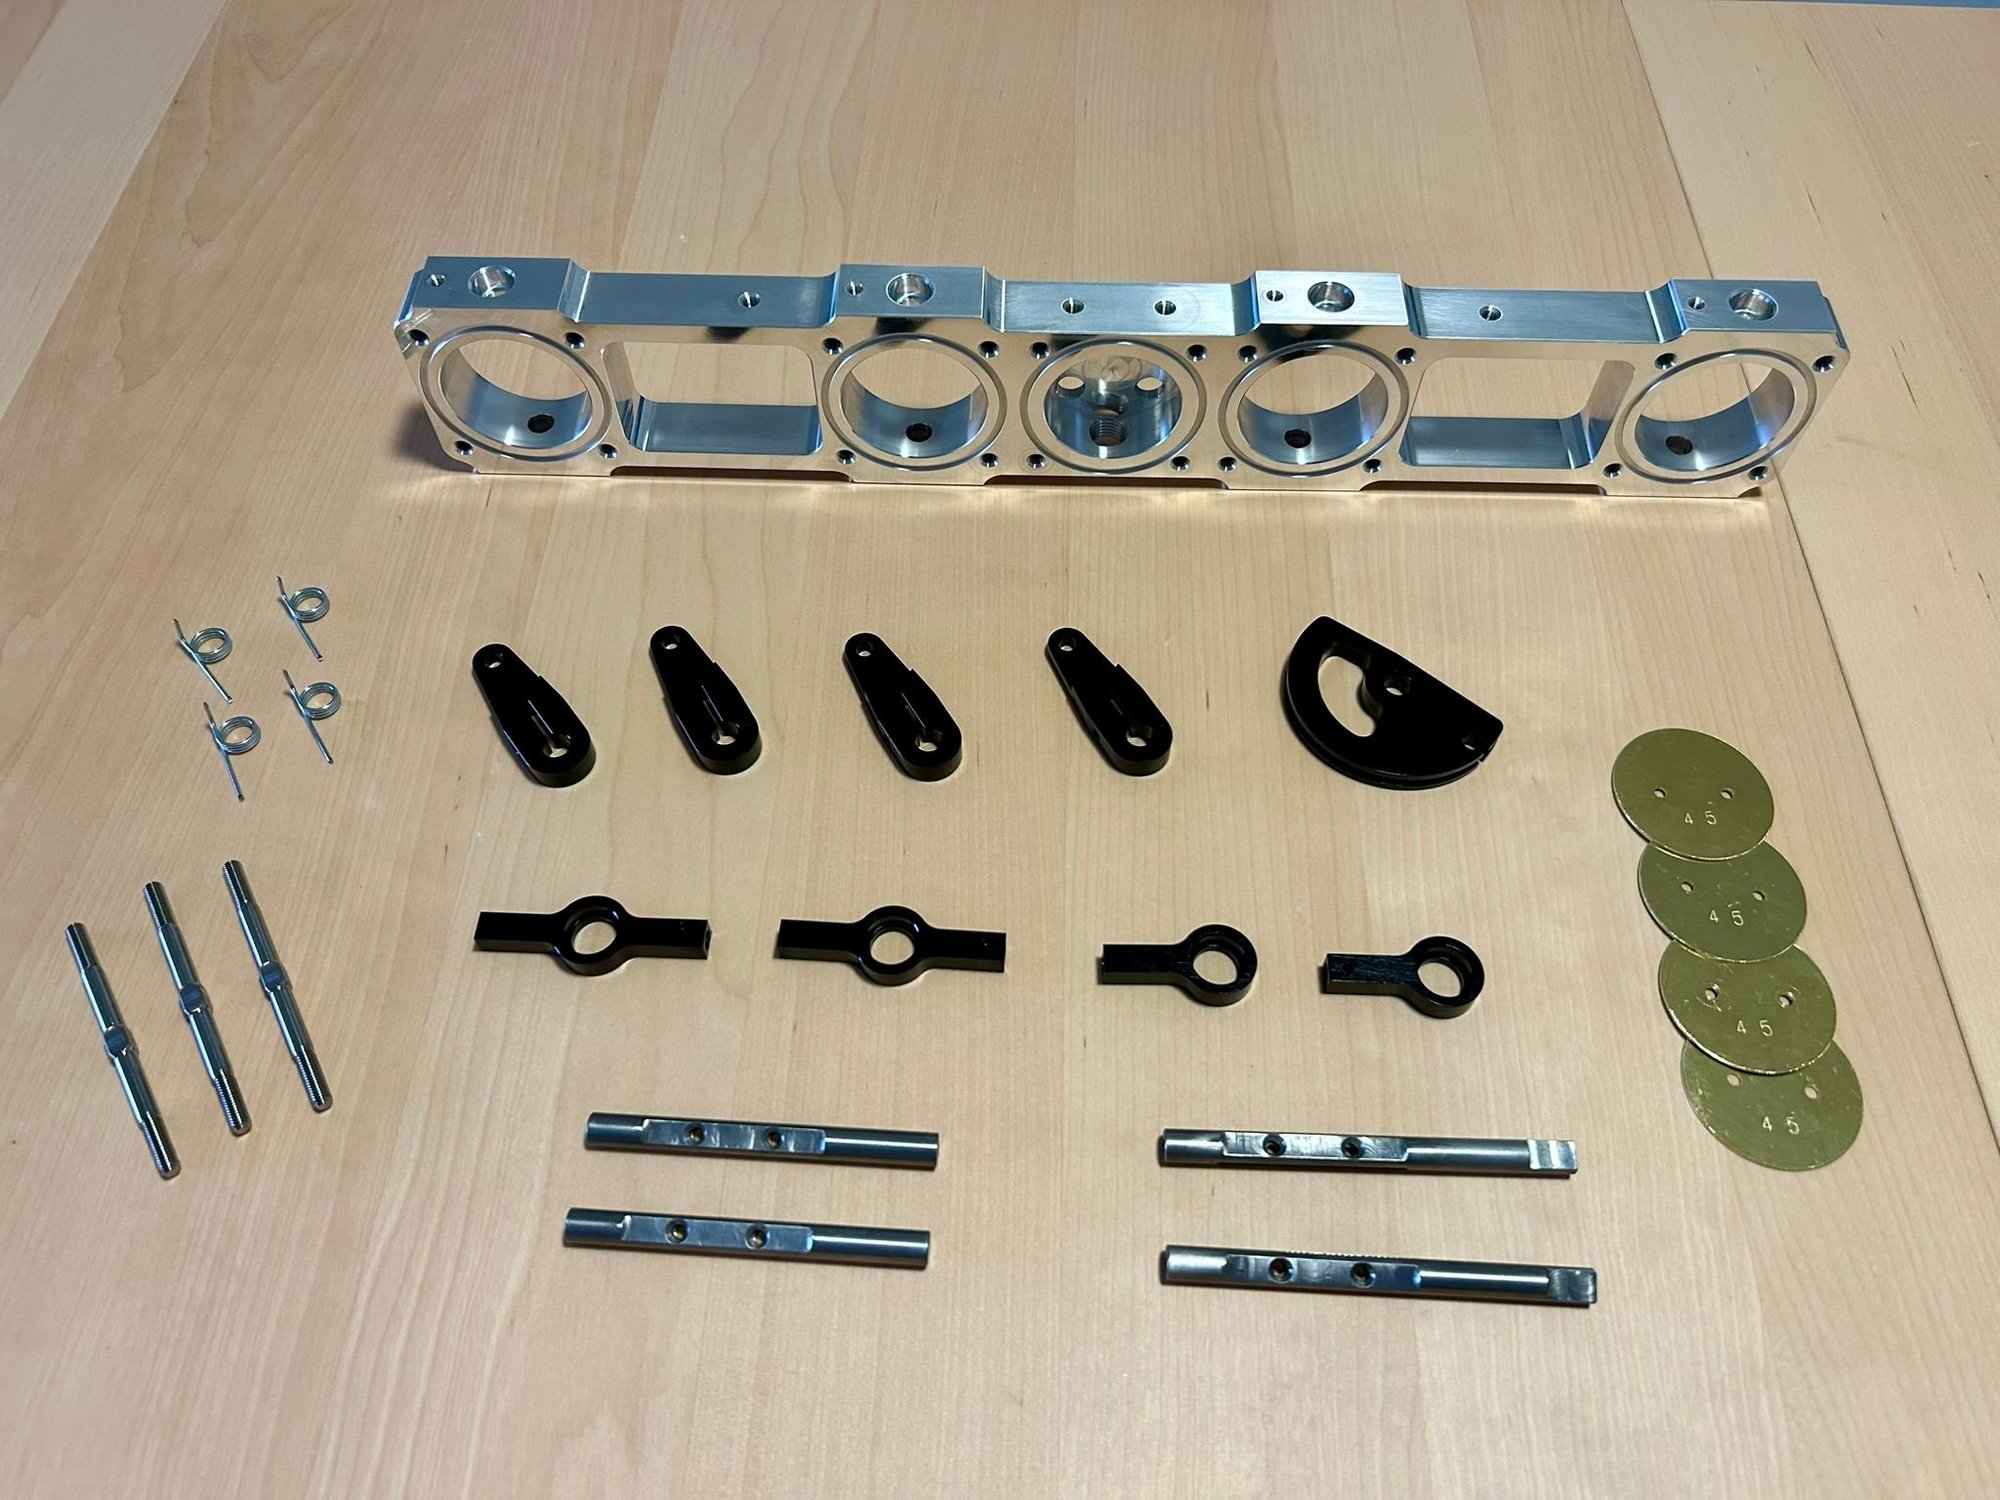
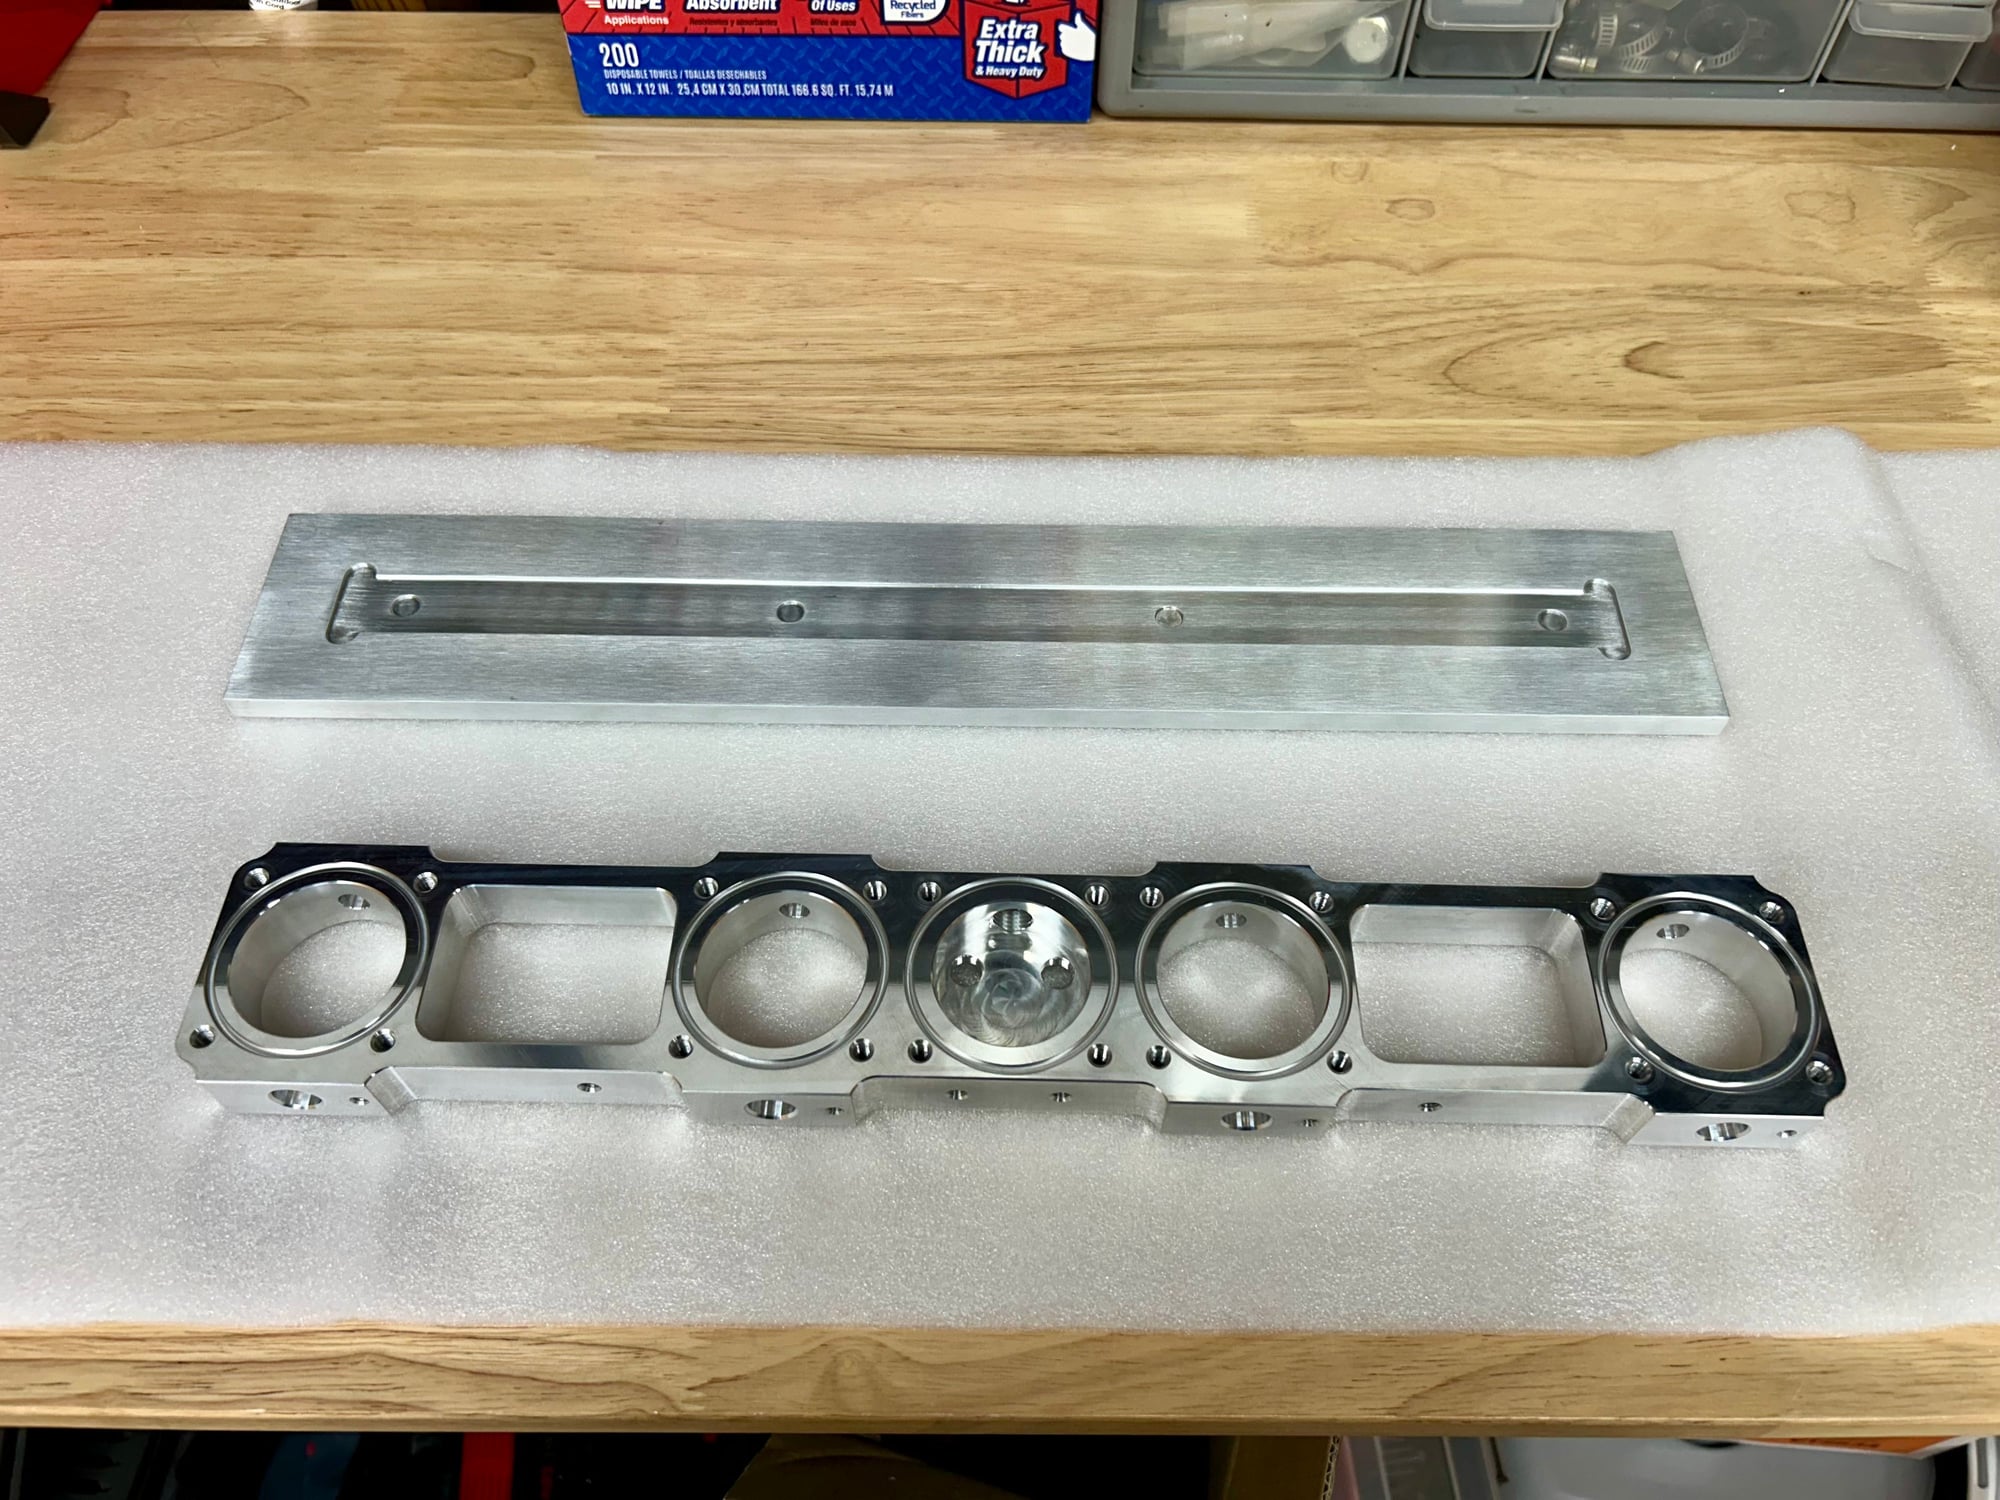
I got my throttle butterflies back from the machinist at work the other day and I received the rest of the machined components from the outside suppliers yesterday.
Unfortunately, there are a couple of minor issues that need to be dealt with.
When turning the butterflies in the lathe, they ended up way undersized in order to get all edges to clean up properly. My initial thought was that I didn't leave enough extra meat on the OD for the sheet cut parts and that was the root of the issue. I gave the machinist another set to try and see if we have any better luck the second time. However, when test fitting the bad butterflies with the shafts in the throttle bores yesterday, it kinda looks like the OD is offset from the mounting holes in the center. I'm wondering if the mounting holes in the lathe fixture ended up being slightly offset and that offset is now being transferred to my finished butterflies. I may need to just resort to purchasing some finished butterflies from EFI Hardware to make sure this goes together how I want.
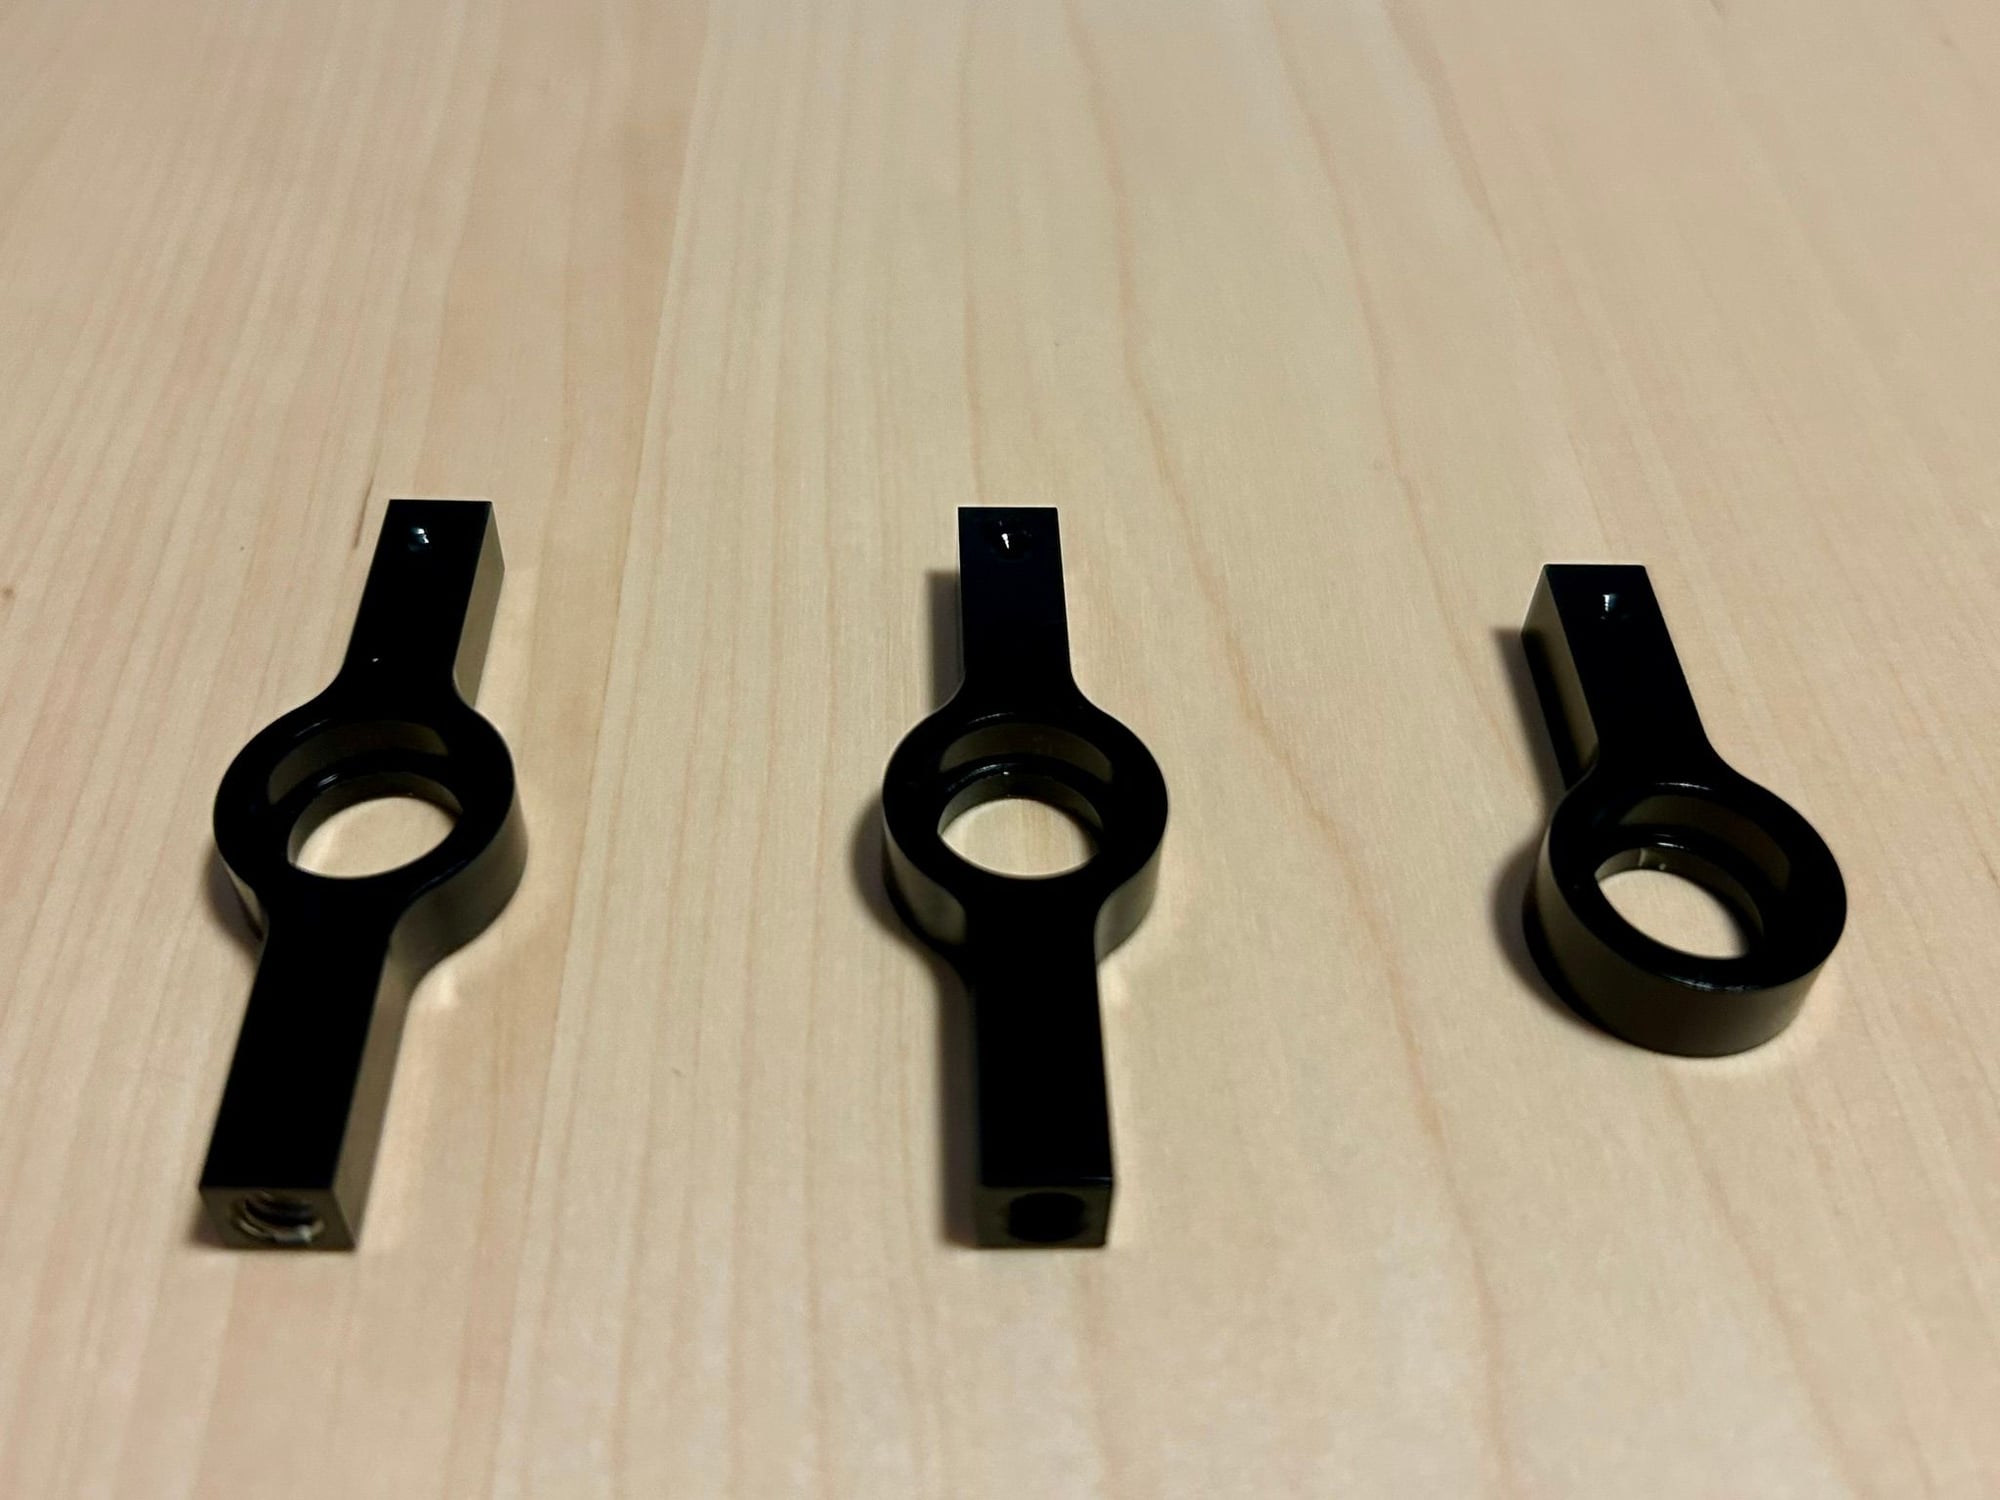
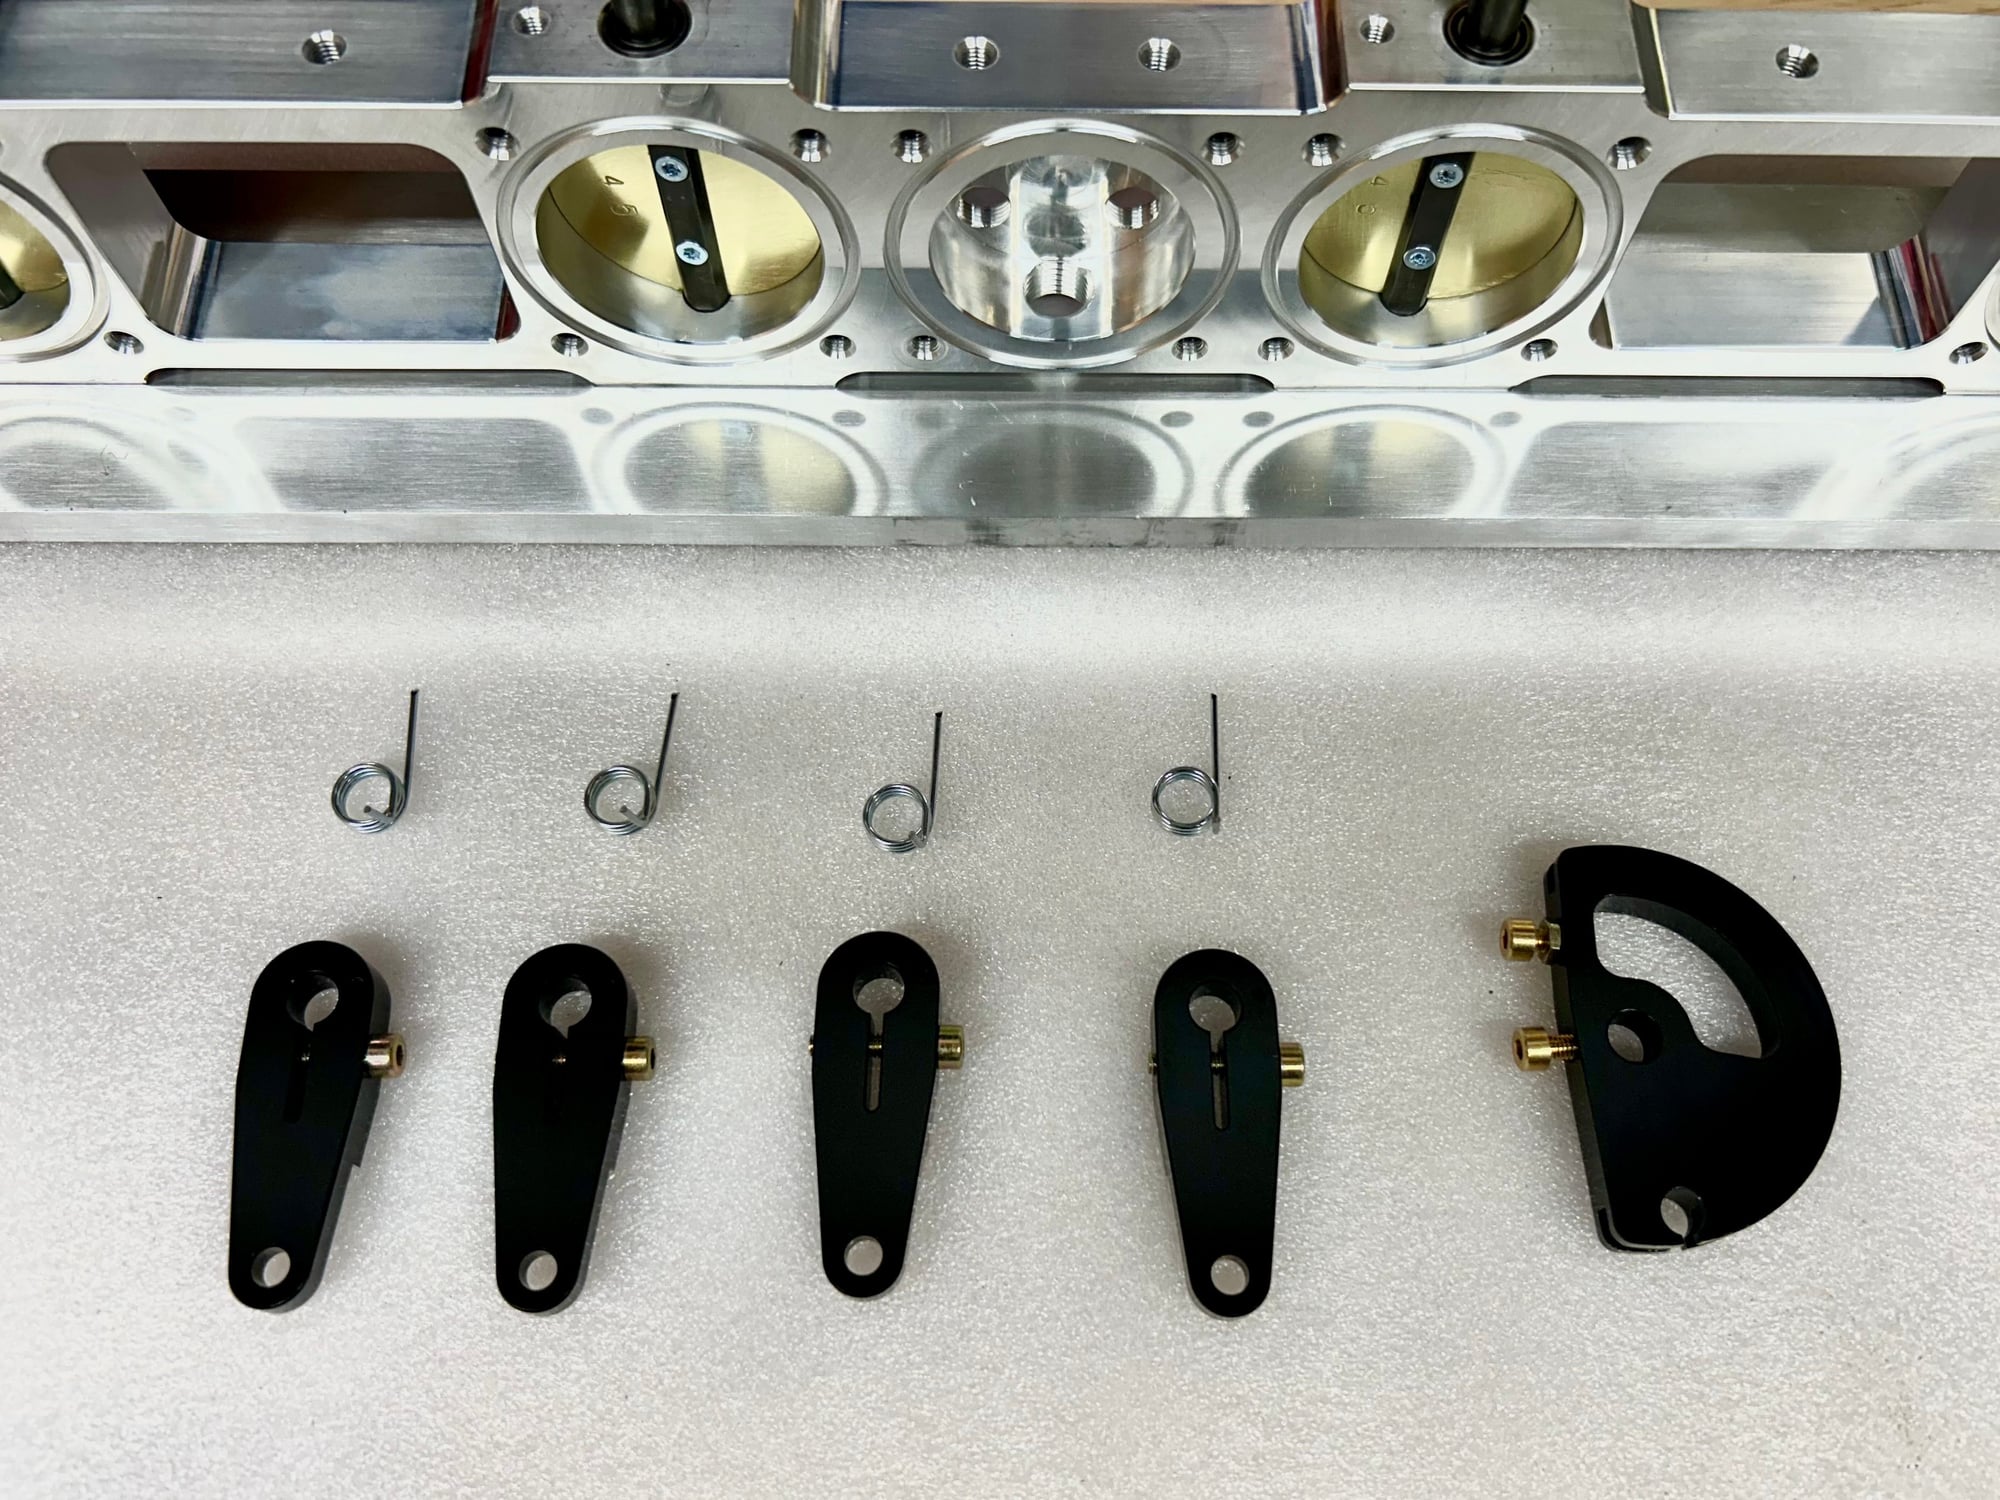
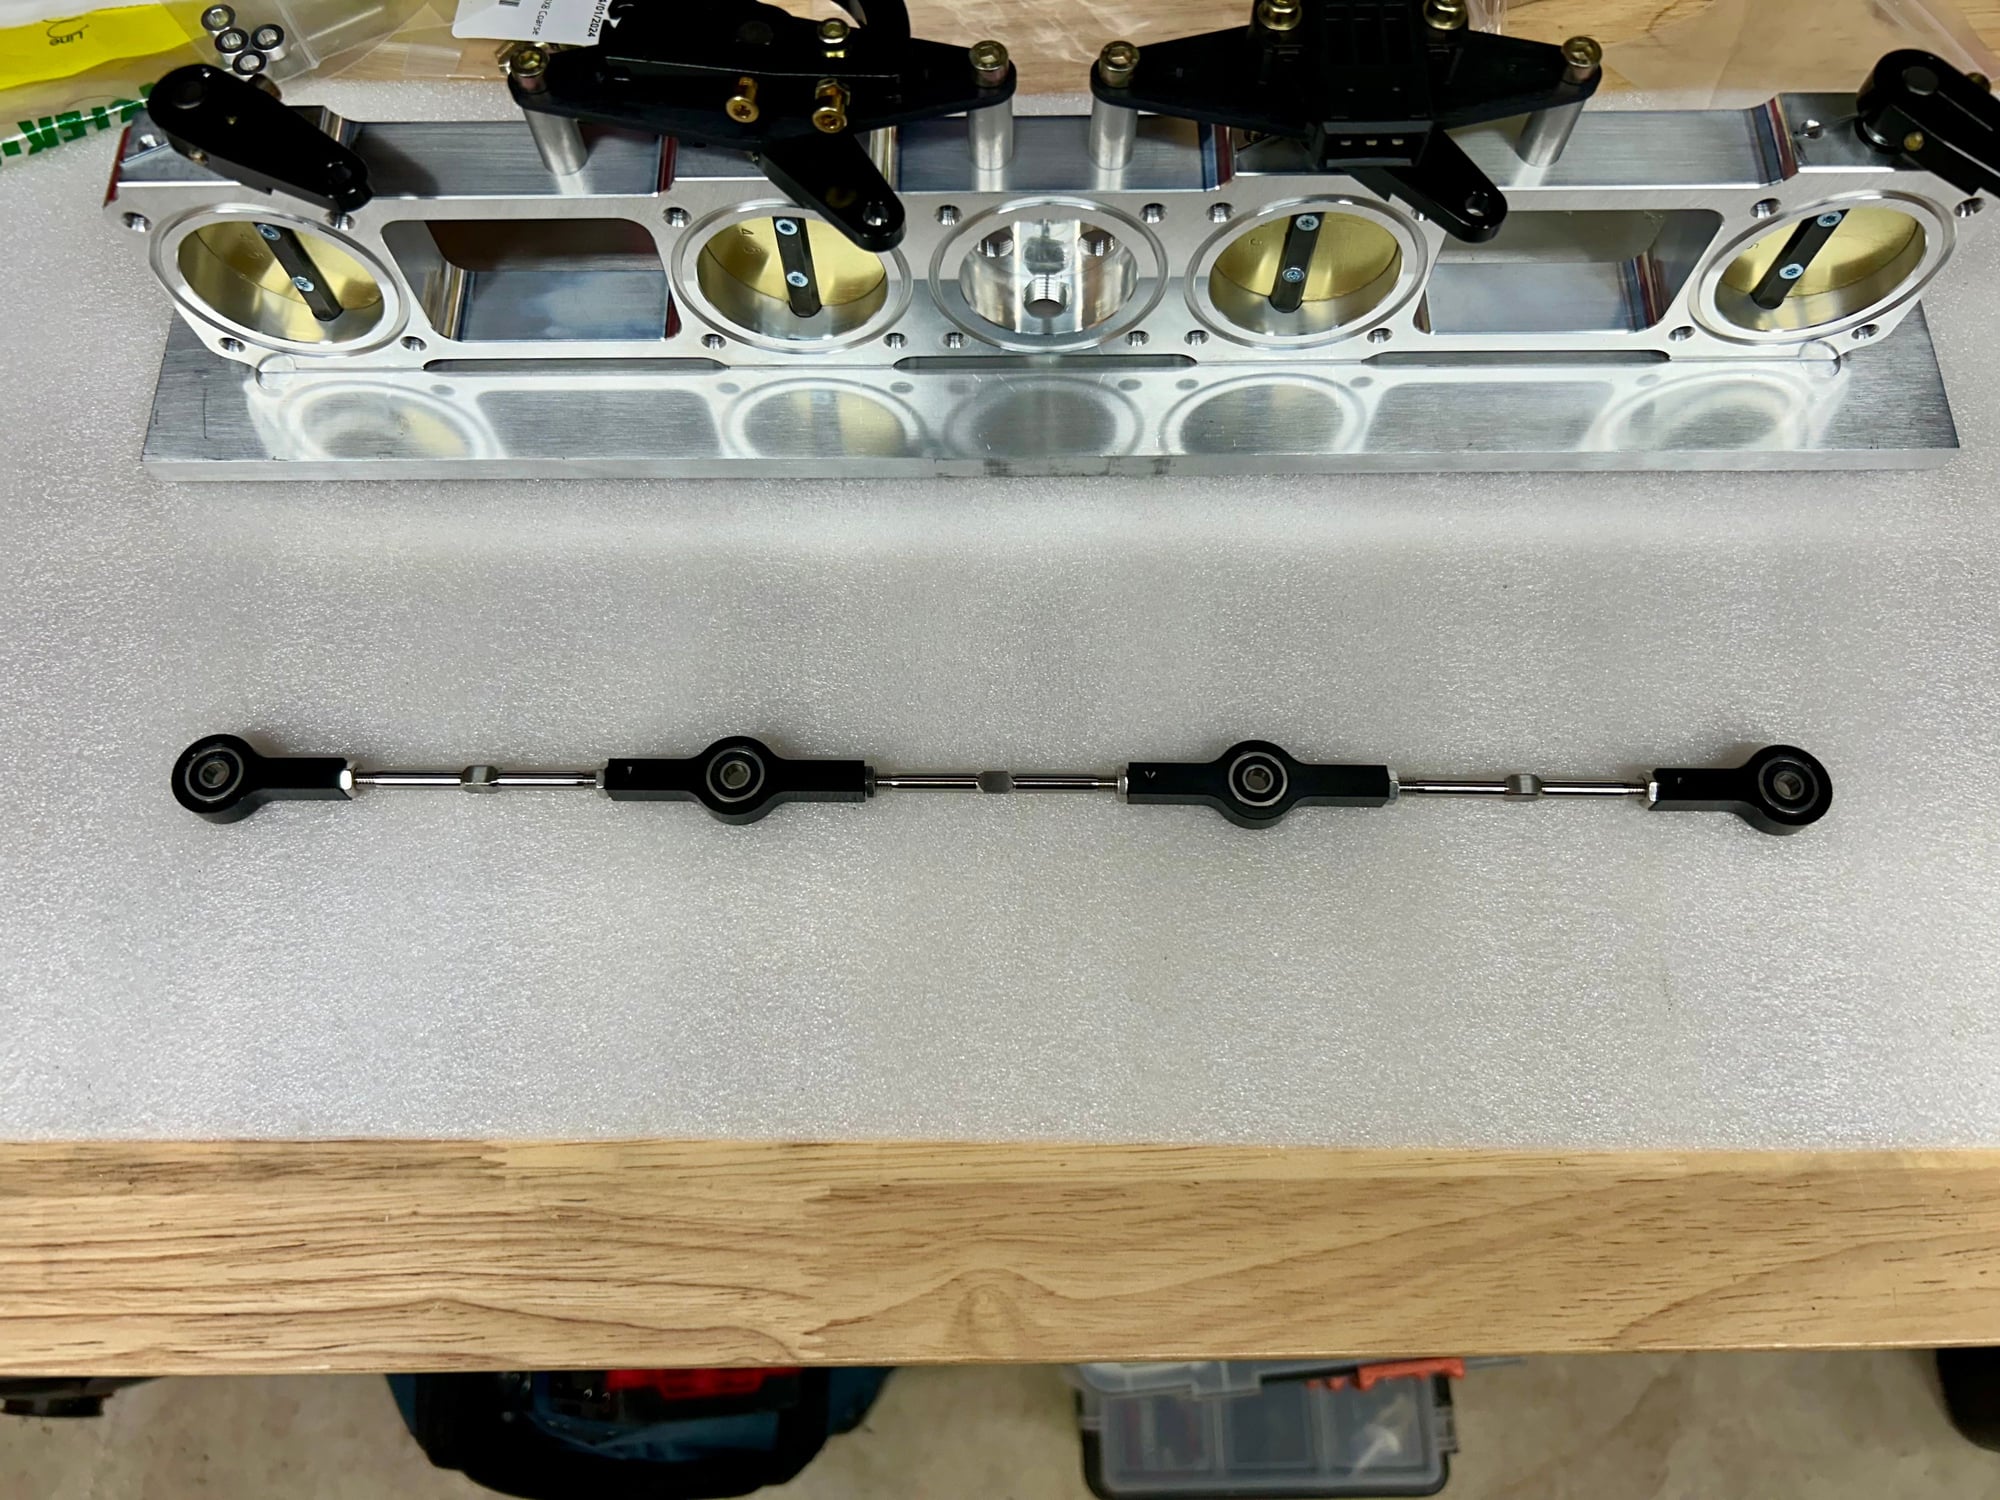
Some of the linkage pieces came back with incorrectly tapped threads. To make the turnbuckle adjusters work for synchronizing the individual throttles, we obviously need a left-hand thread on some of these pieces. Unfortunately the supplier tapped everything with right-hand threads, so the pieces shown below are useless right now. I have already reached out to them and requested they make another set (correctly this time) so we'll see what kind of lead time I'm looking at for the new parts.
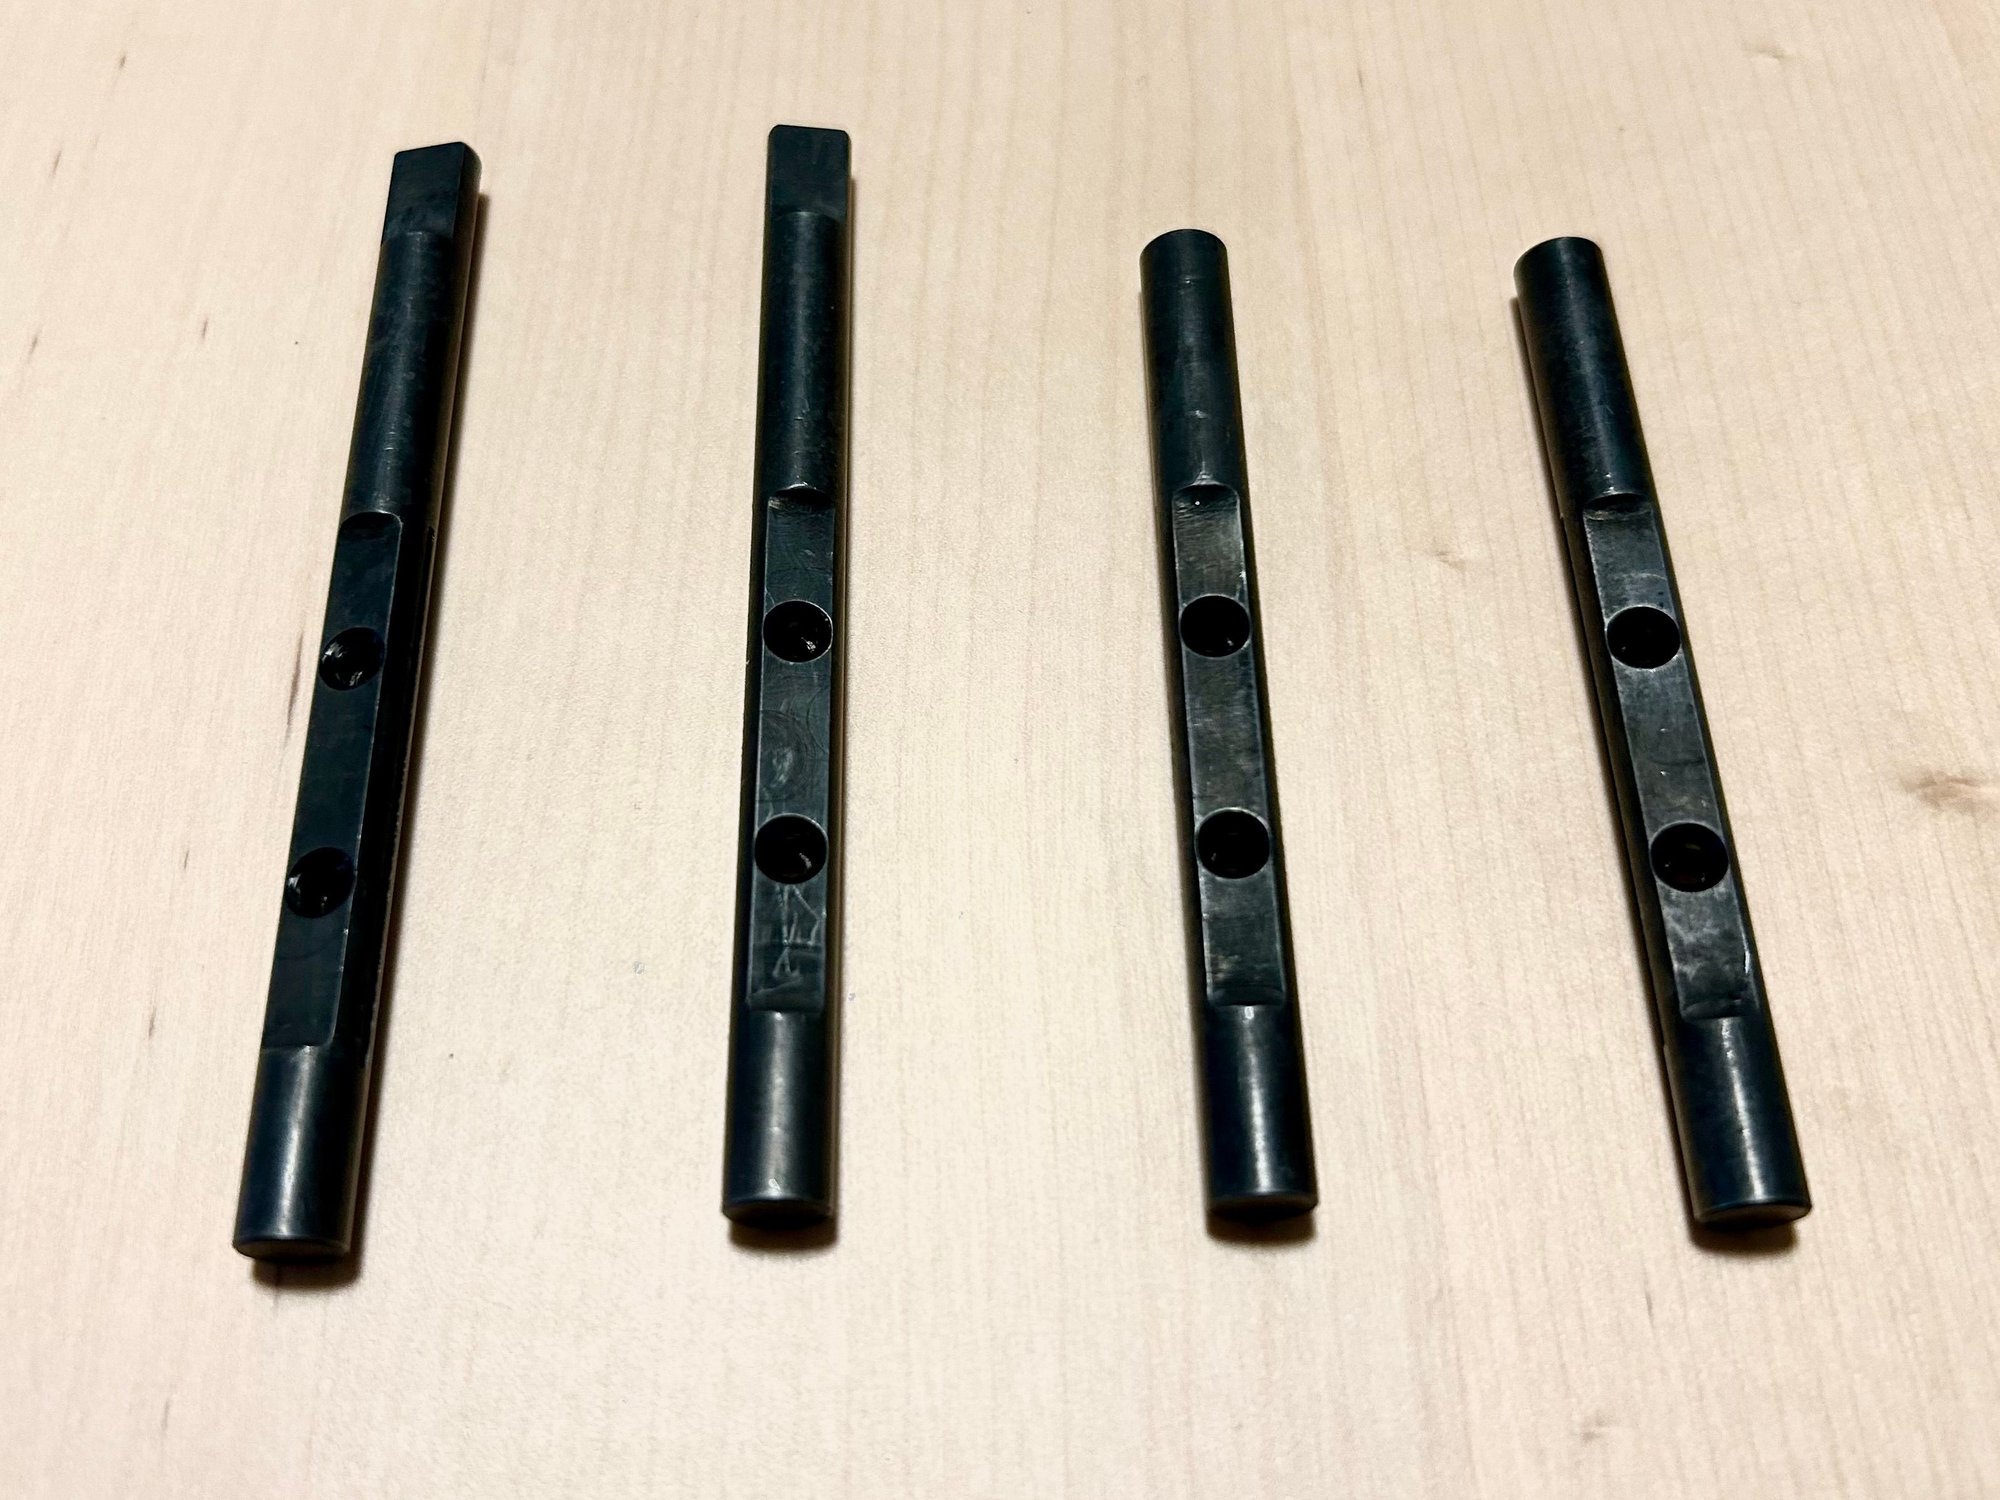
Otherwise, the quality of all the parts is very nice, especially the throttle block. I'll be black oxide coating the throttle shafts in the next few days with this kit I purchased from Caswell. It was cheaper than adding black oxide coating to just these few shafts for the prototypes.
More updates to come as I start test fitting everything together. I've already come across a few things that I will tweak in the design to improve it in the event I produce any of these for anyone else.
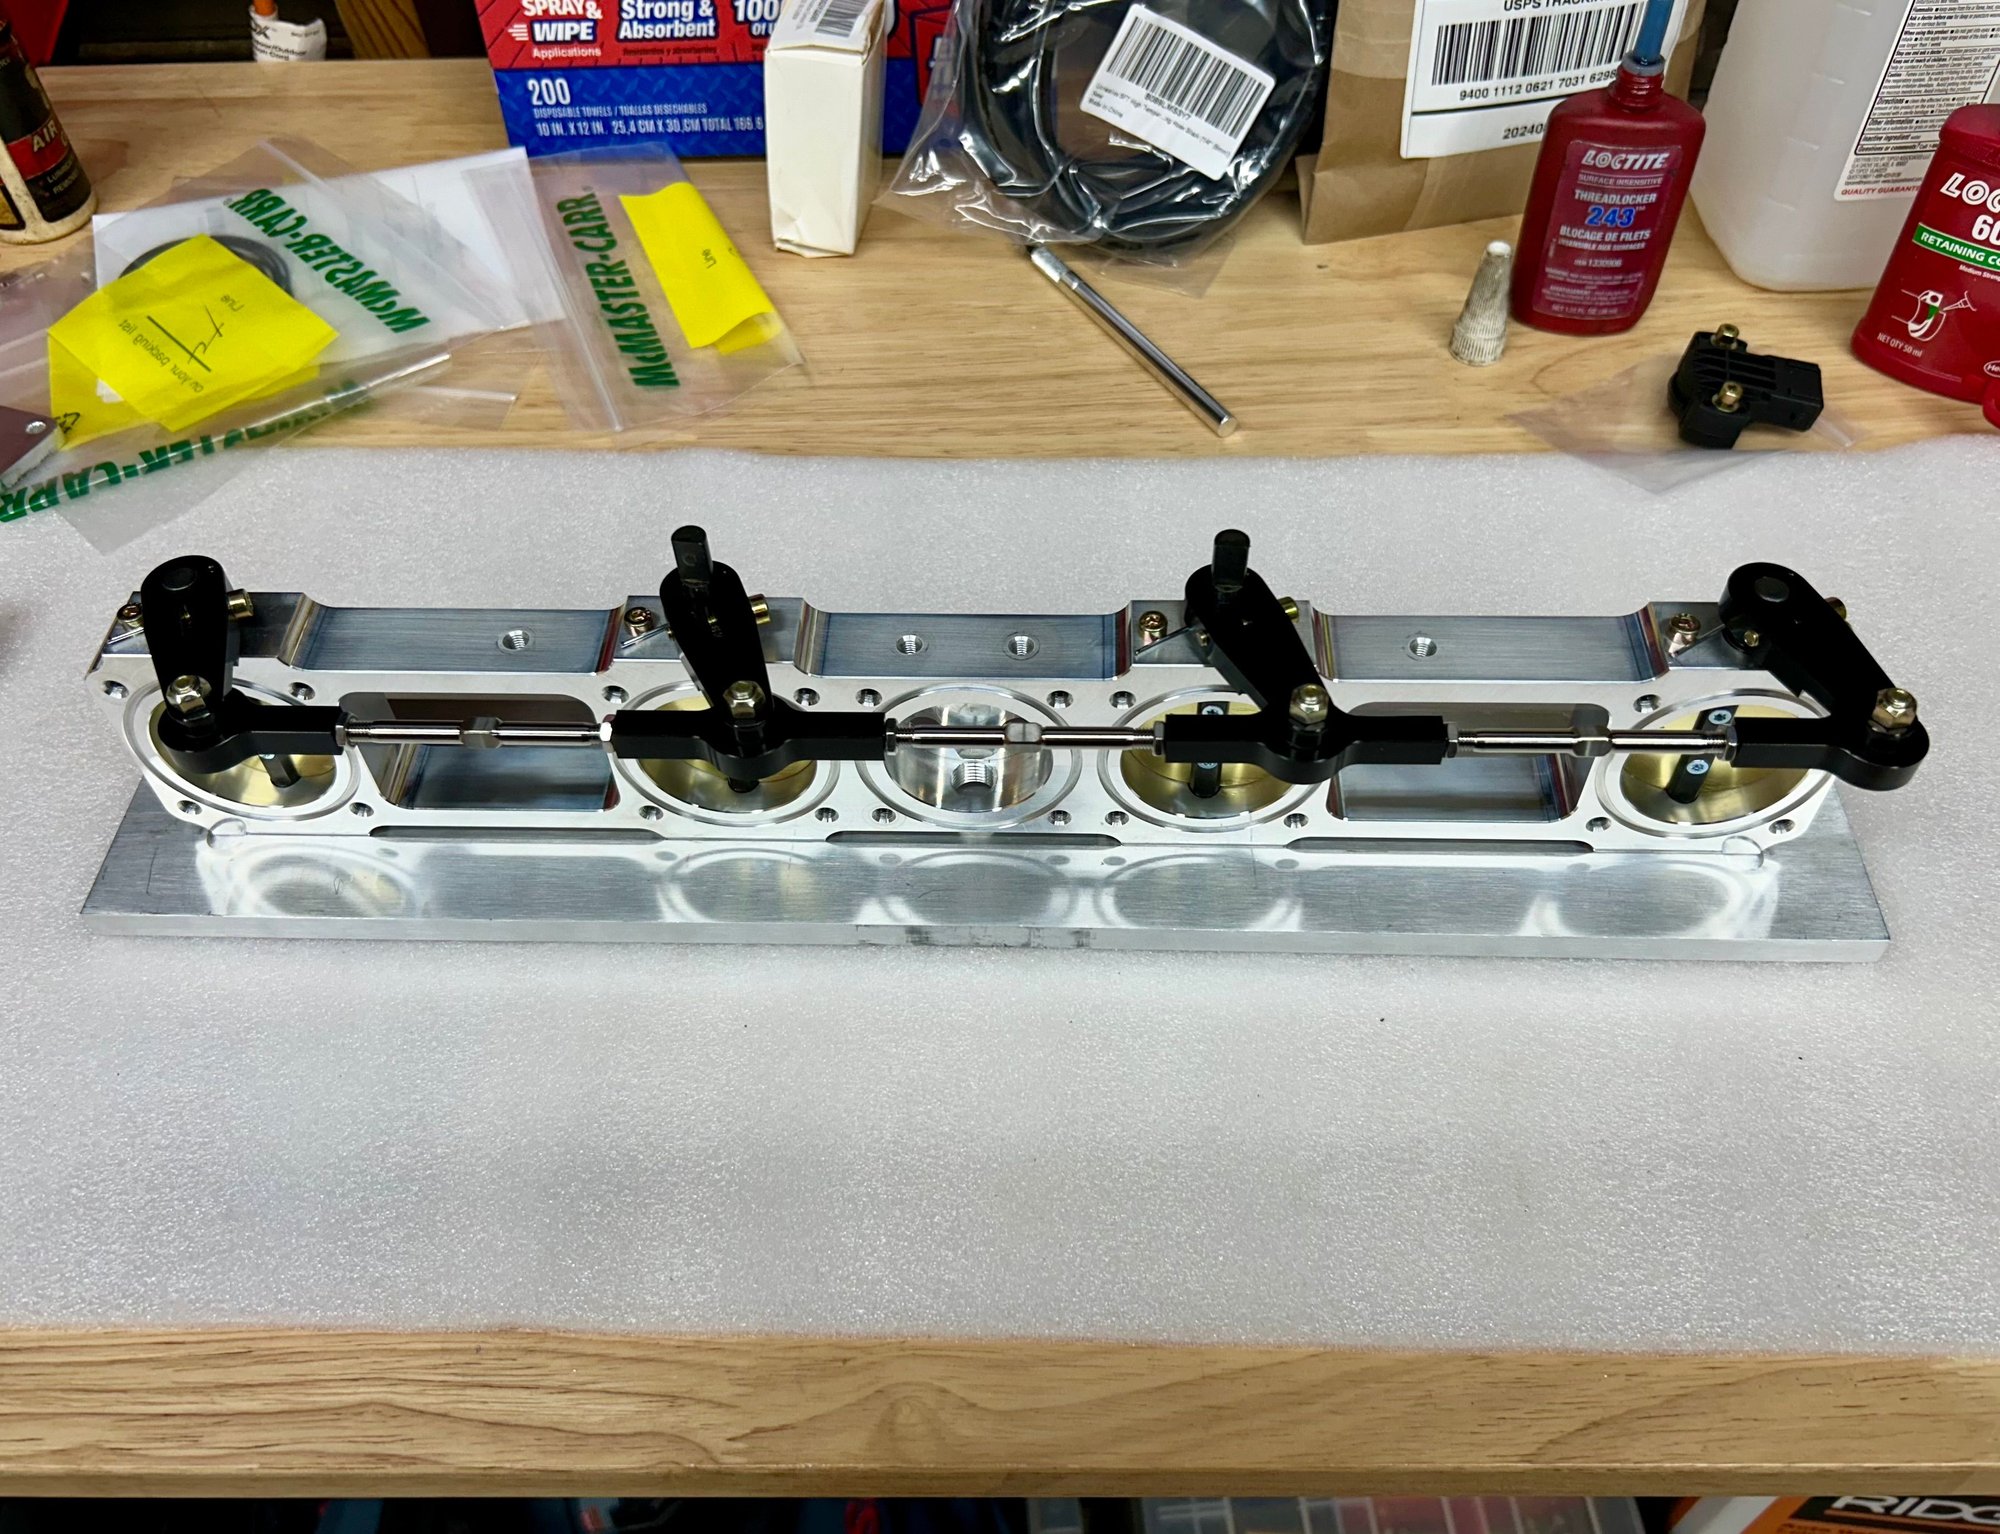
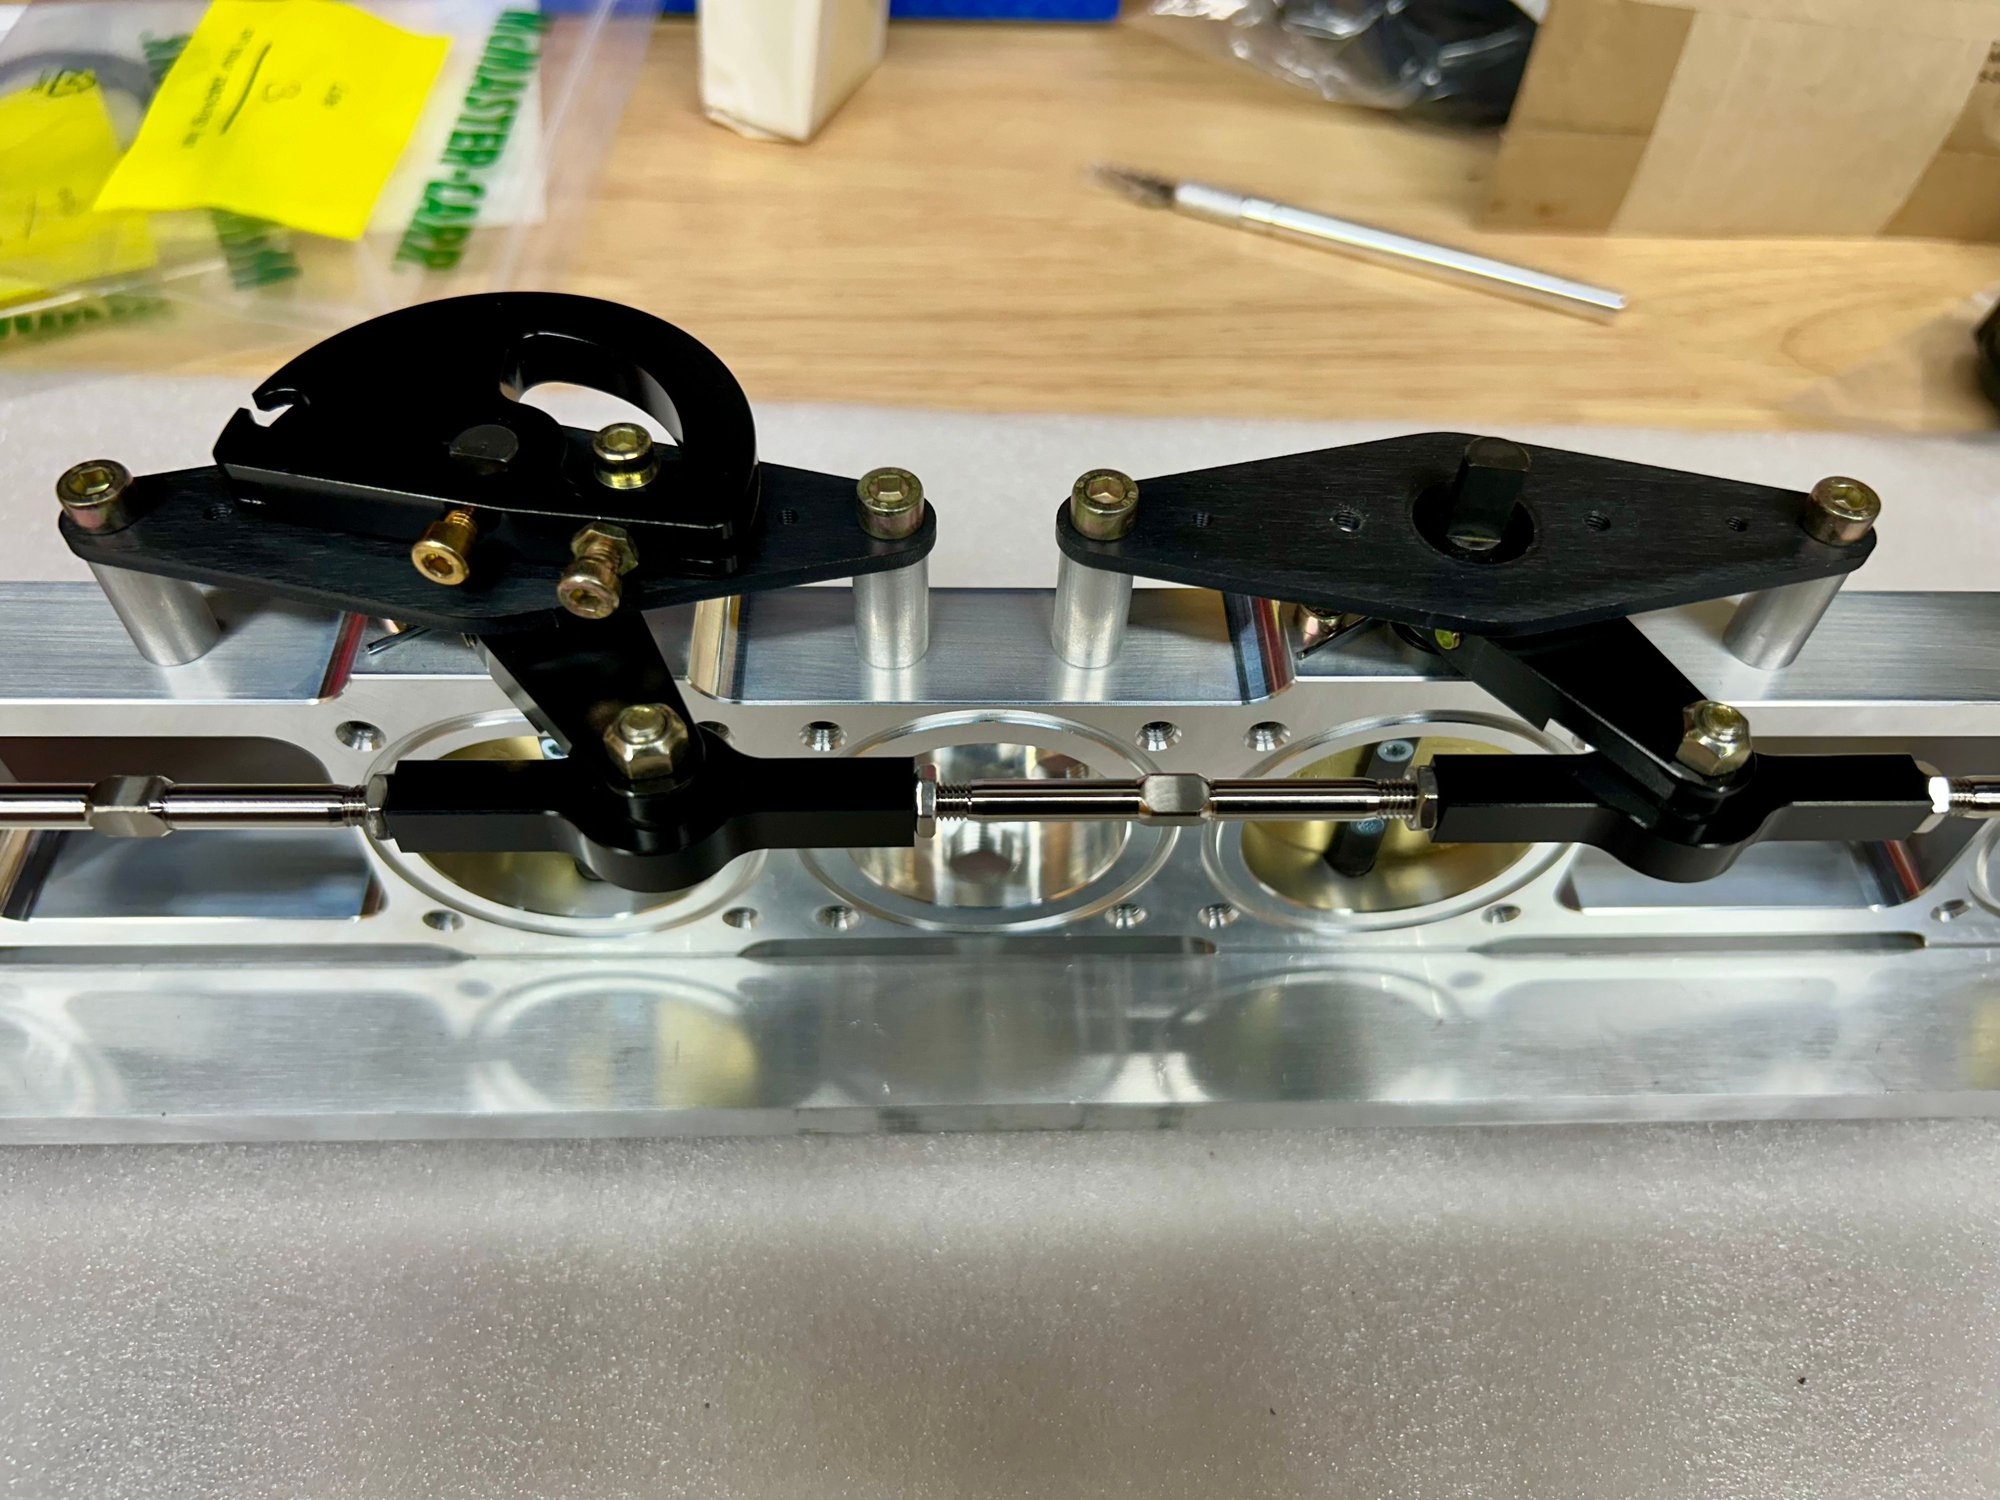
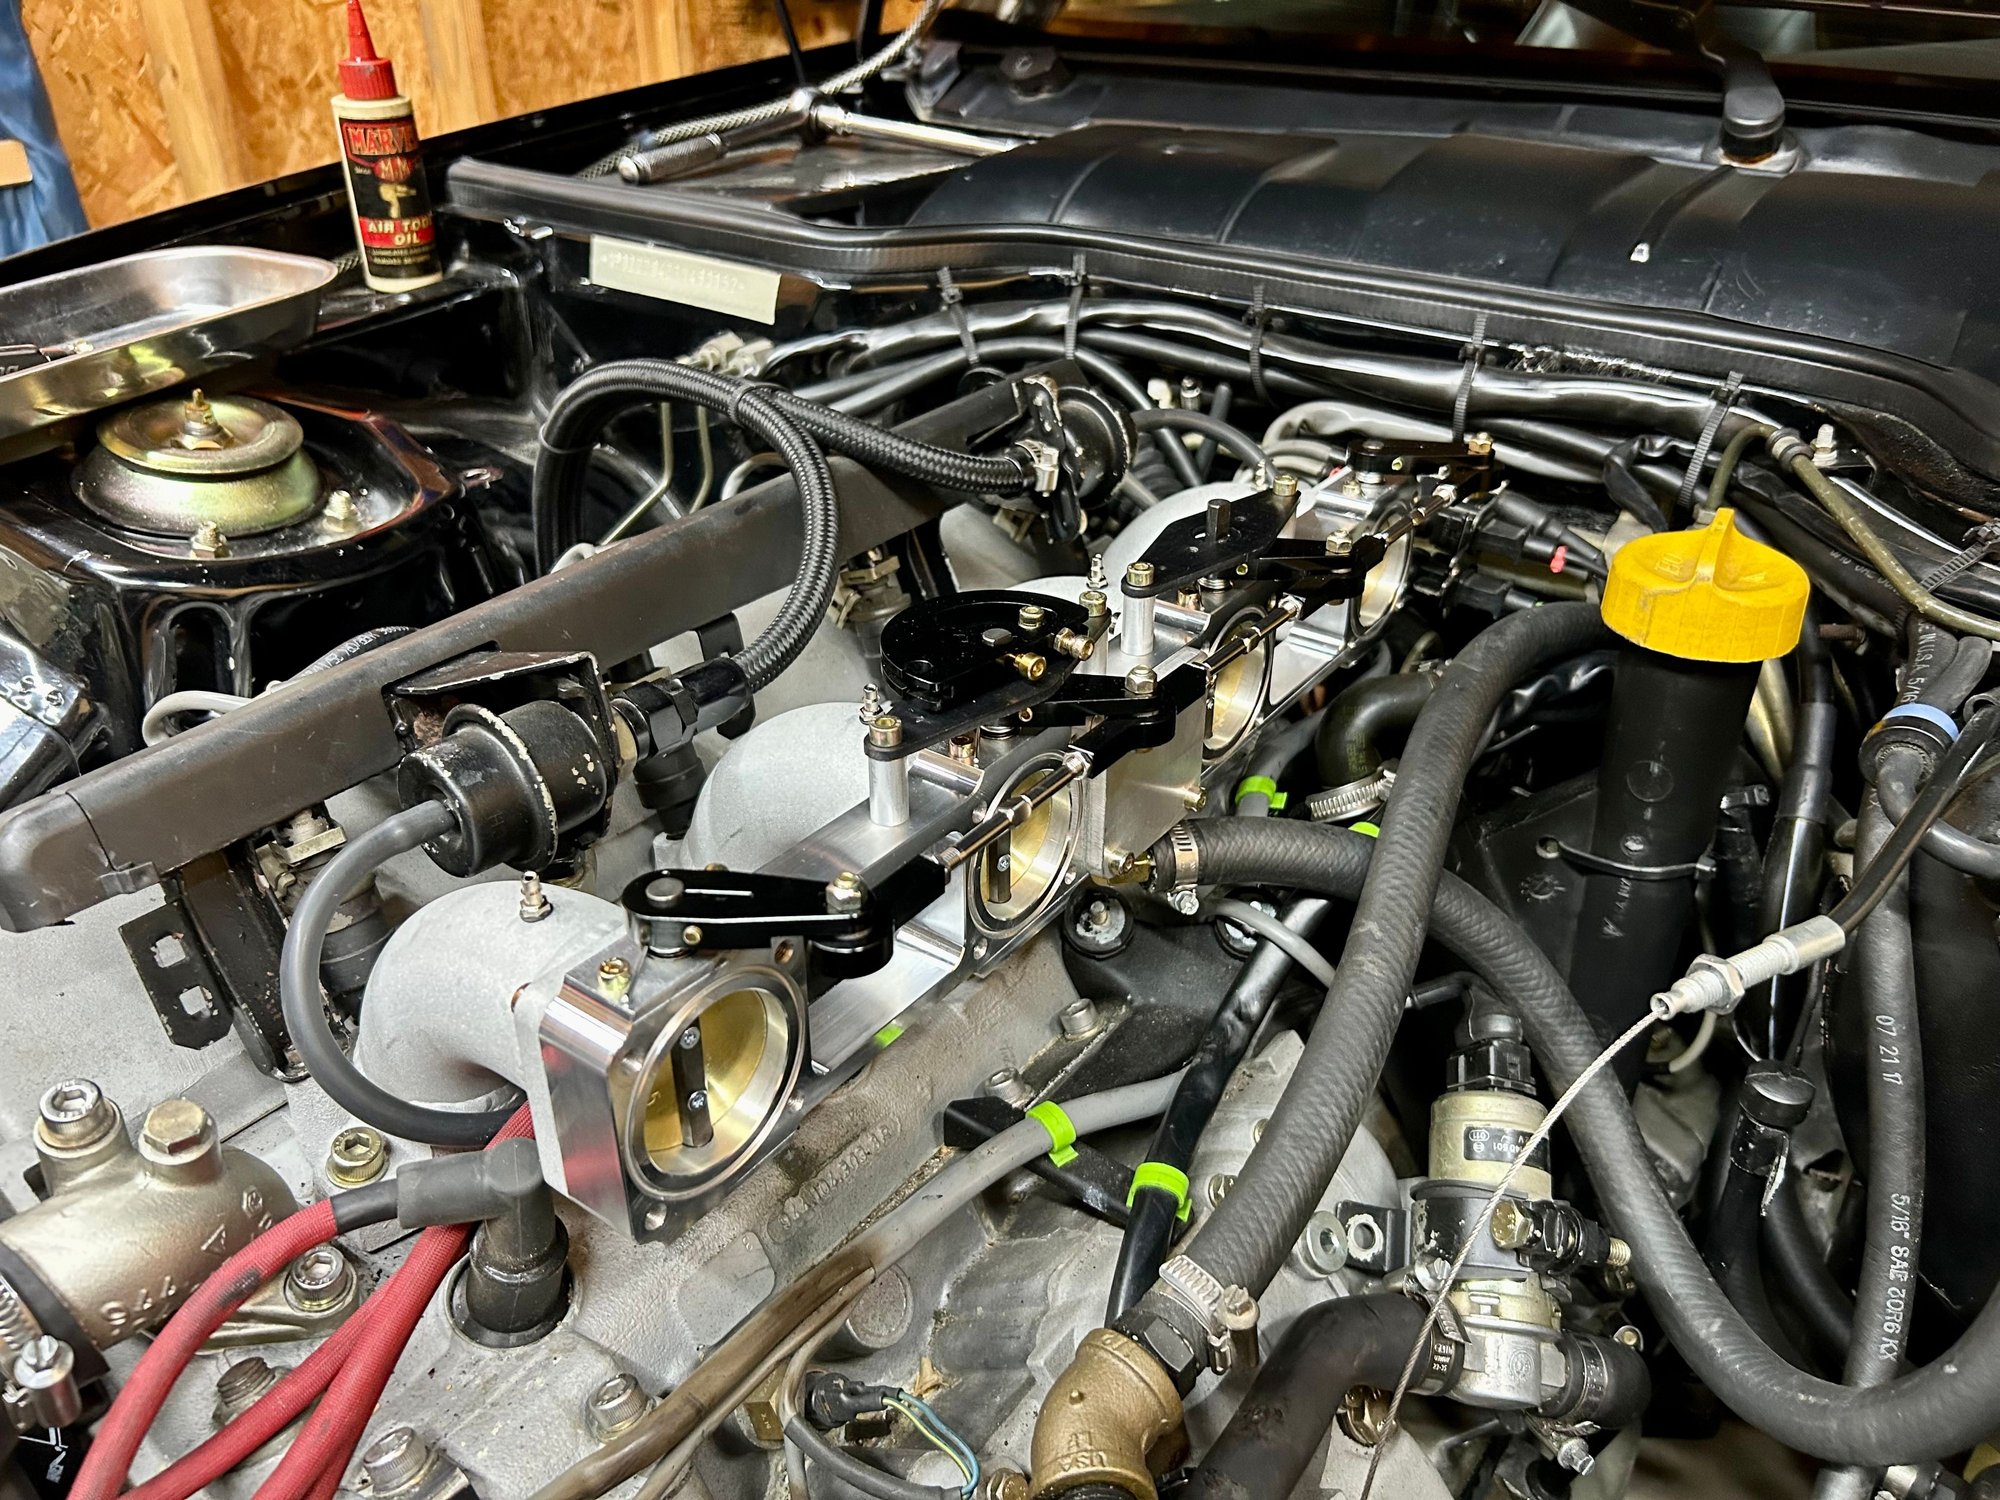
The throttle assemblies went together pretty well. I think I will "tweak" a few things for fitment purposes and whatnot, but overall I'm pleased with the turnout. The linkages worked the way I wanted them to, the springs feel pretty good and overall it wasn't too bad to assemble.
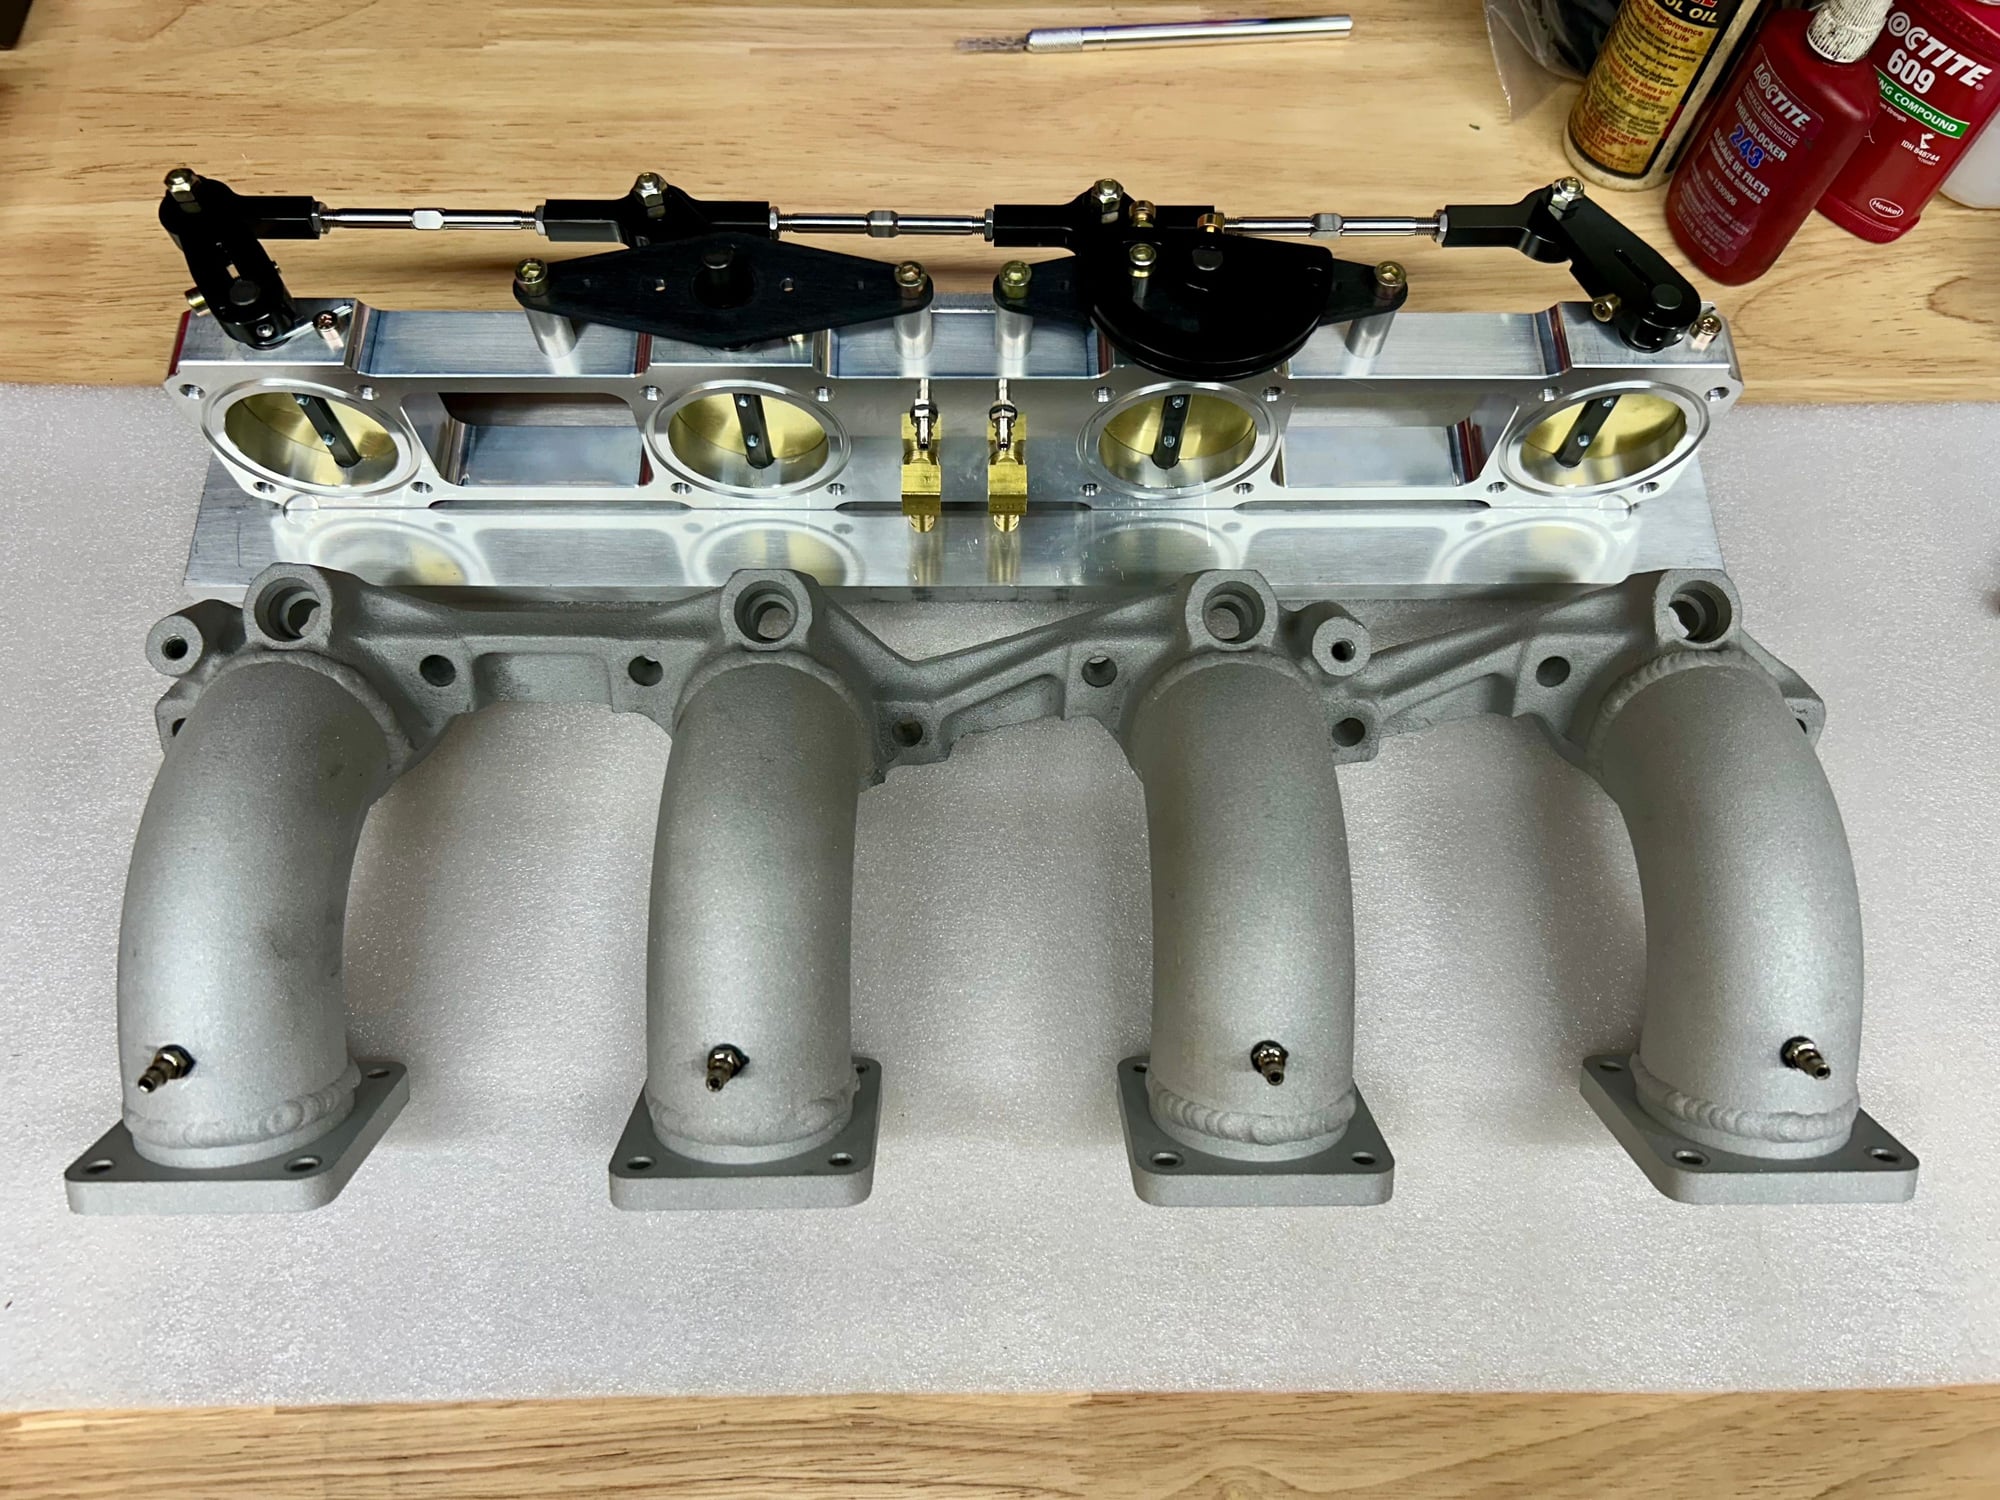
I realized a while back that I should add some additional vacuum taps to each intake runner for synchronizing once they're in the car. I decided to just drill and tap the elbows on the inlet manifold since the barbs are just an M5 thread.
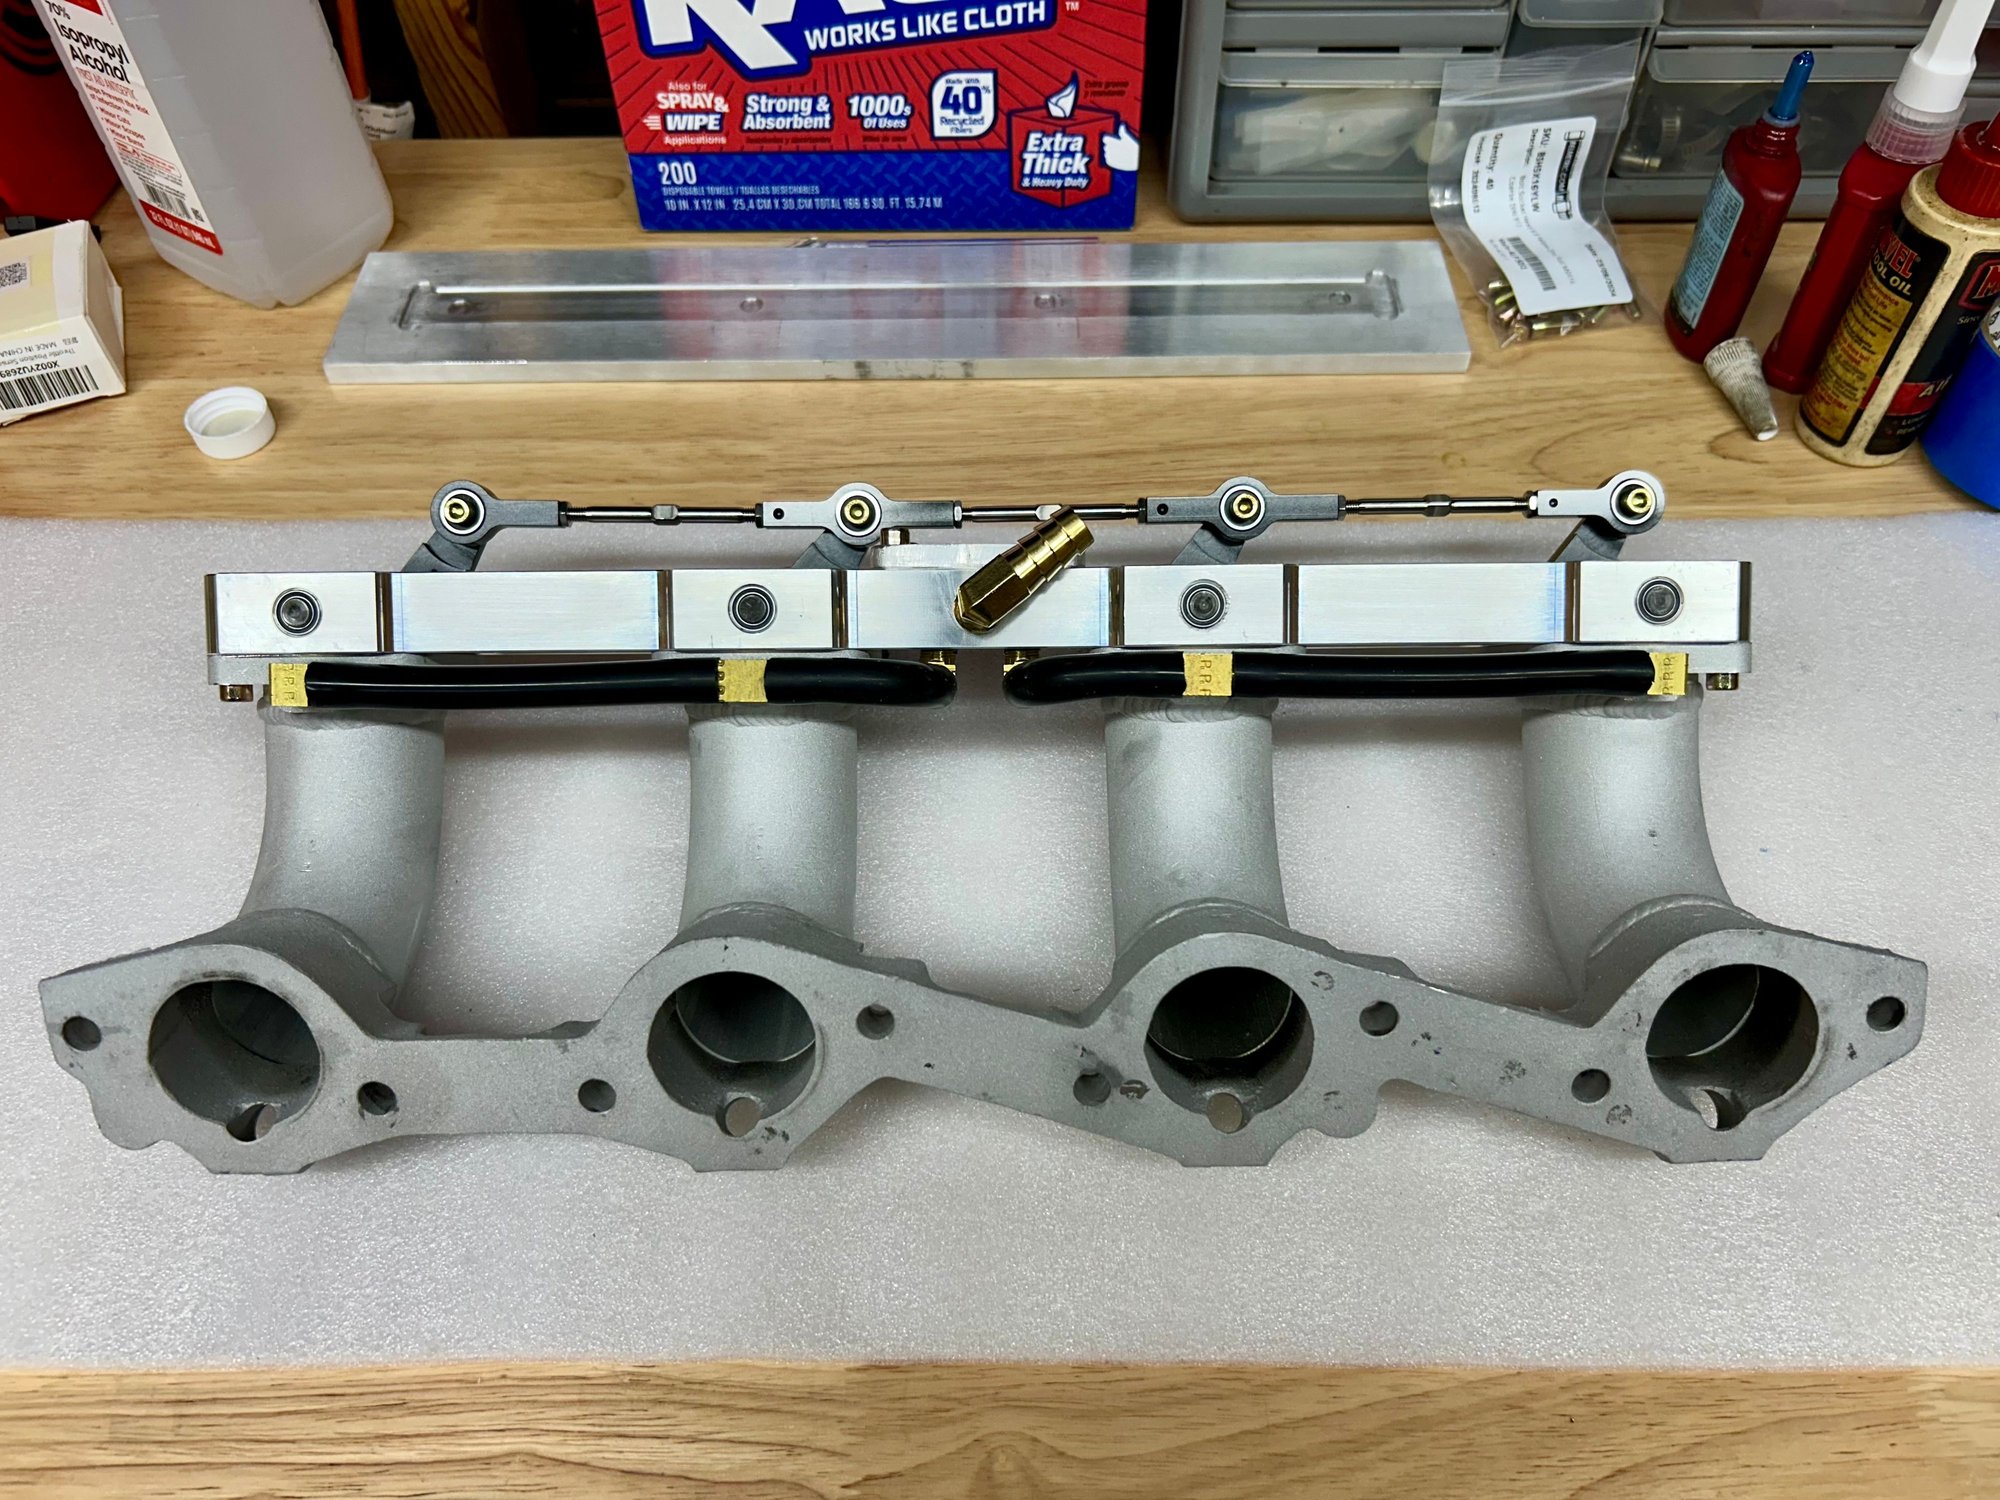
Ran my vacuum lines from each runner to the vacuum manifold in the center of the throttle assembly.
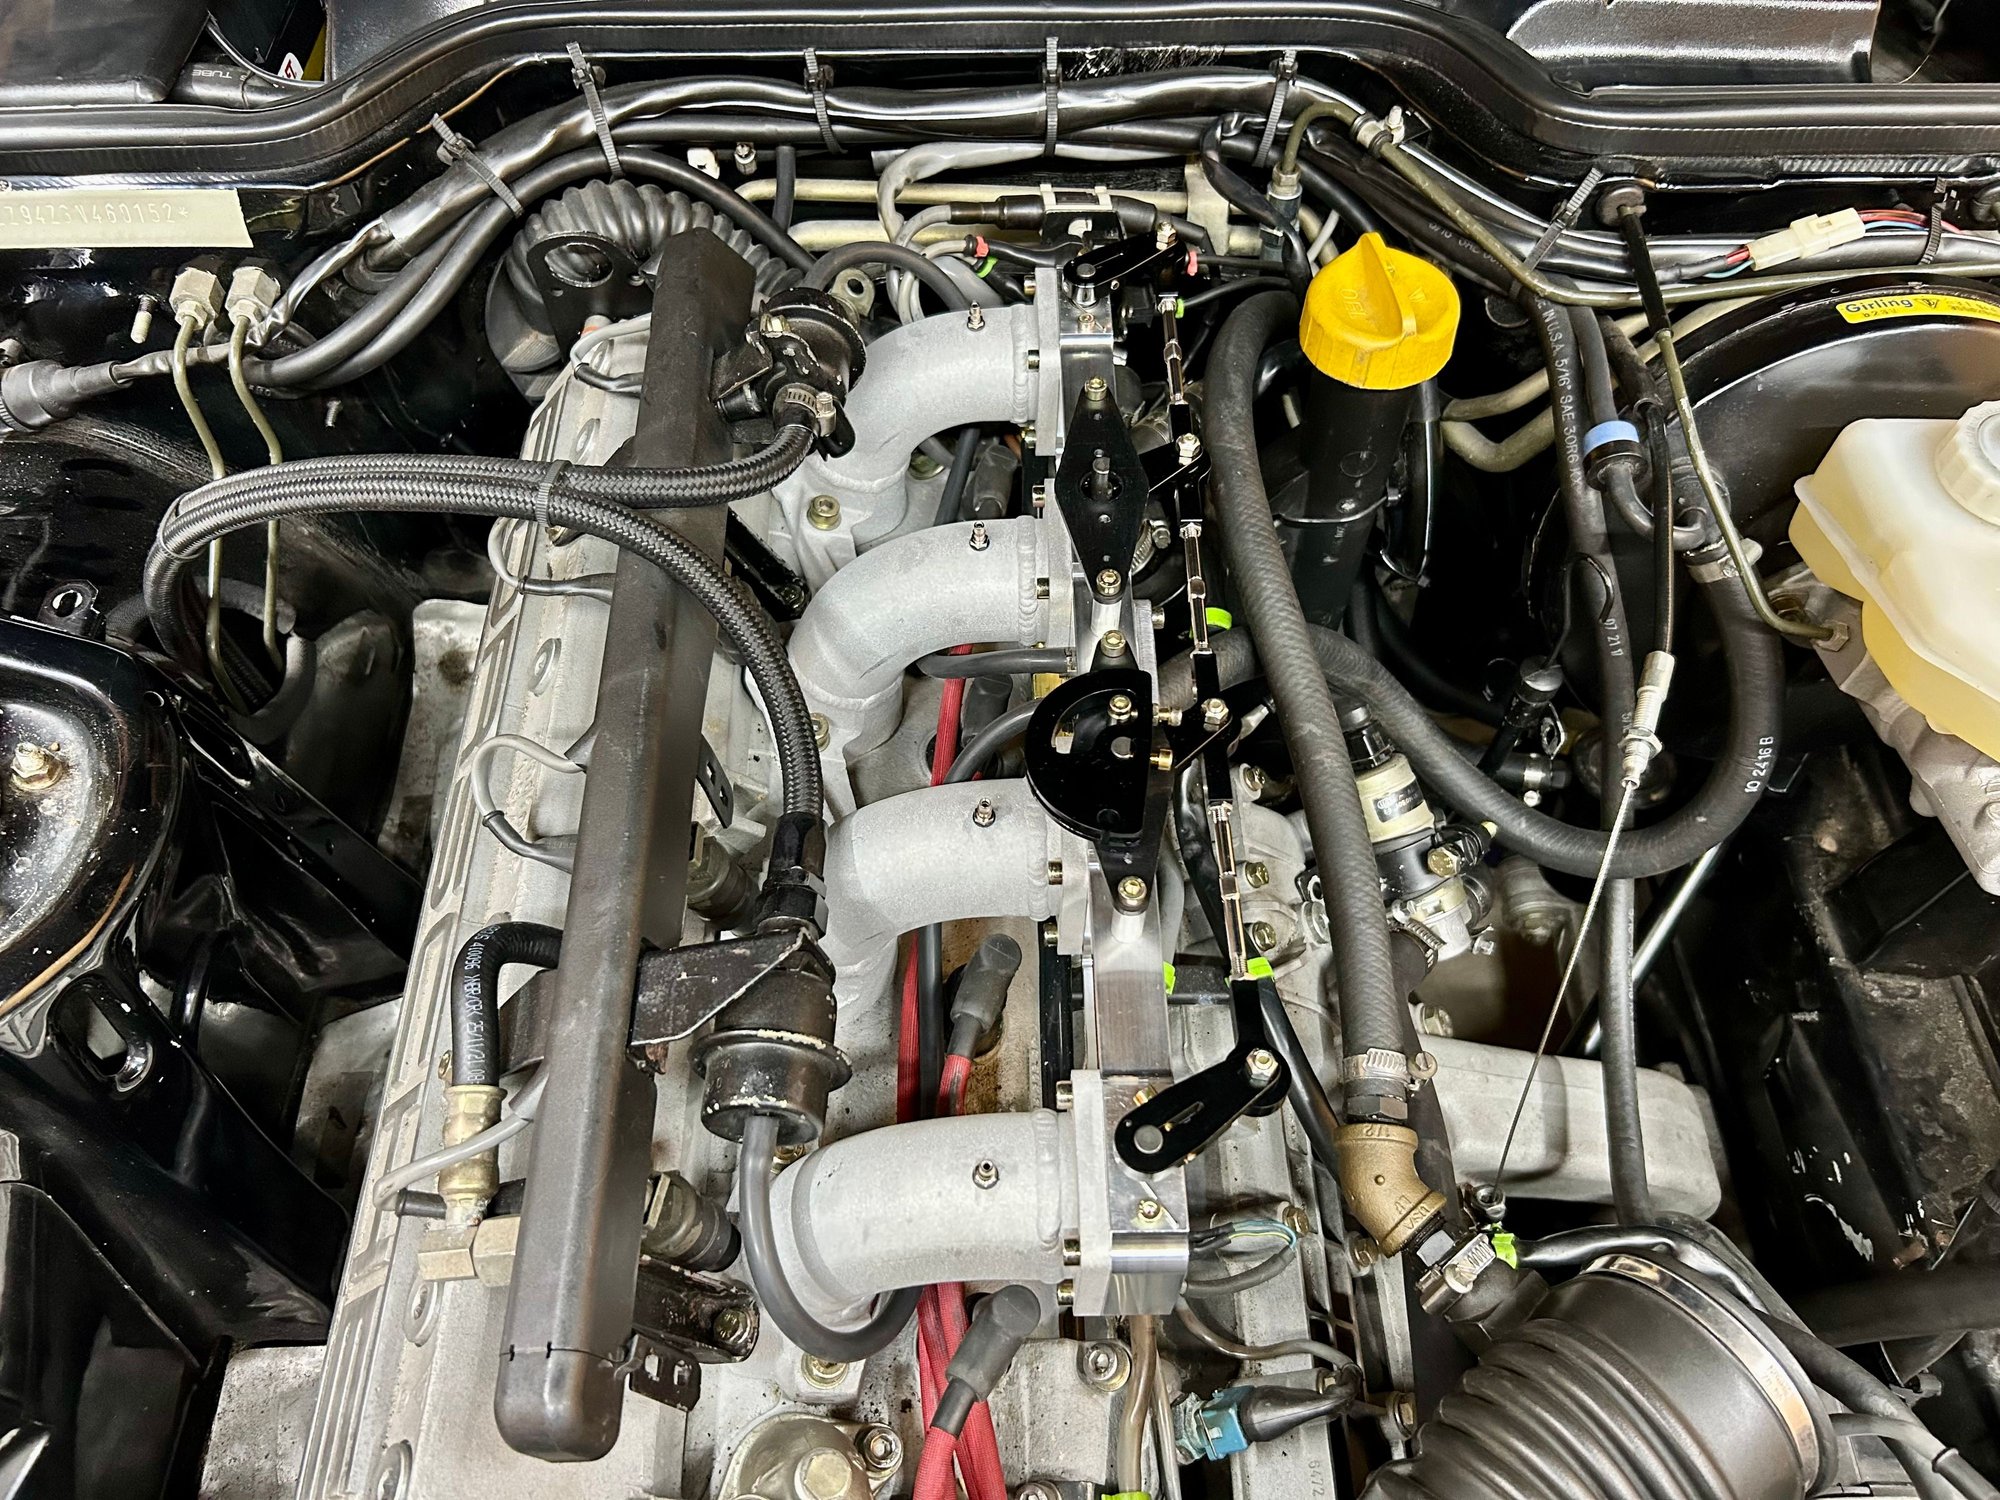
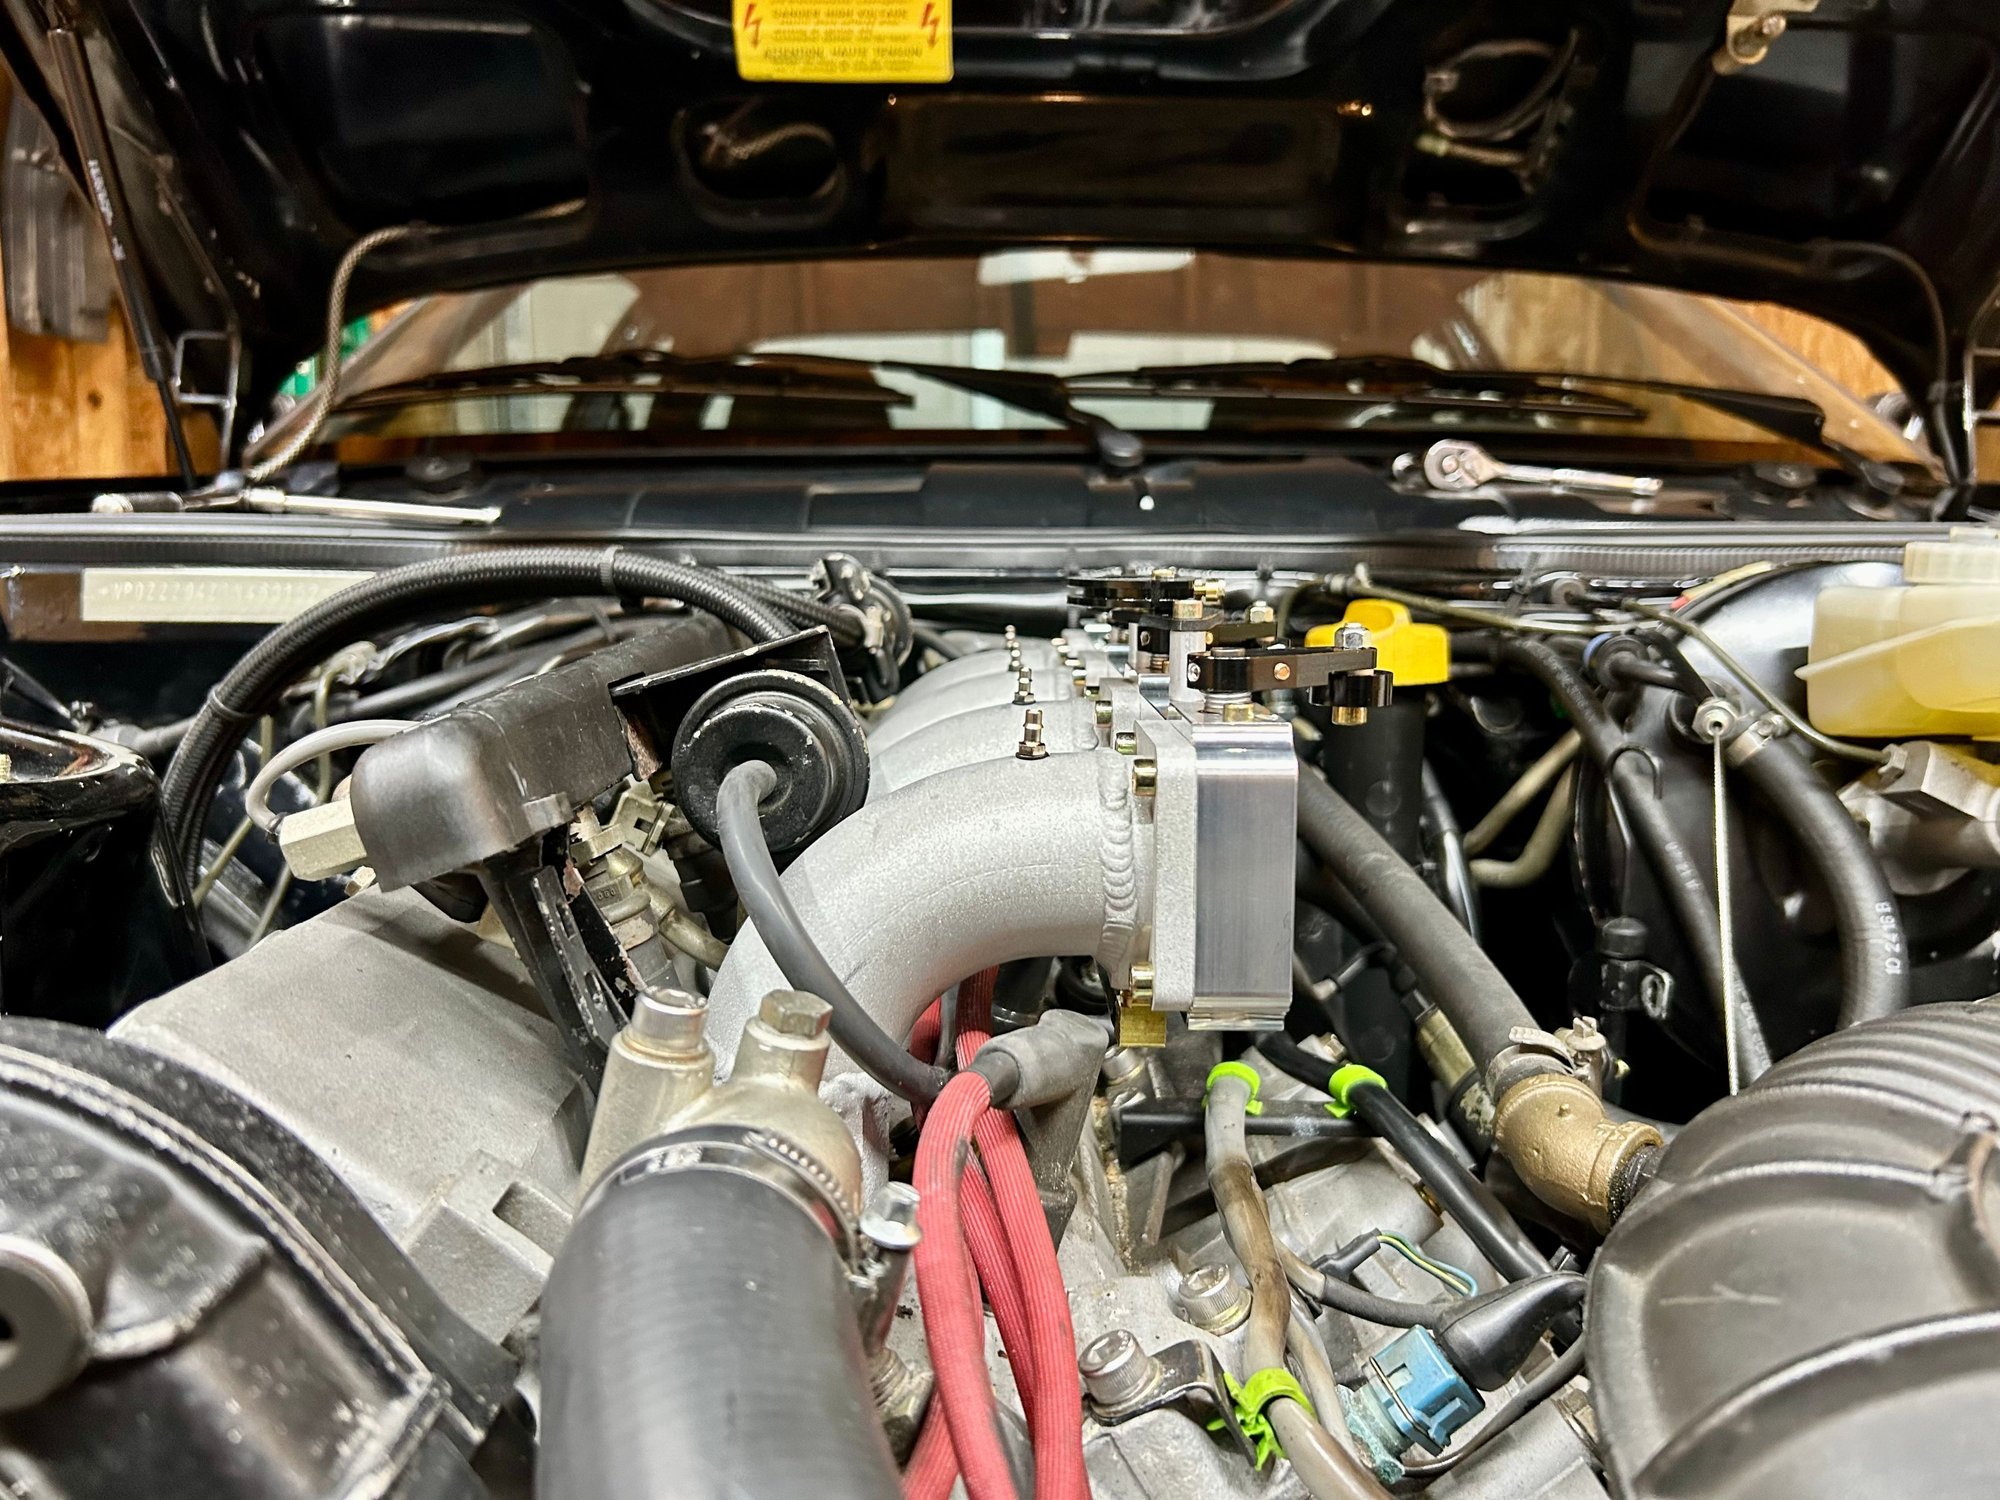
Installed it on the car so I can take some final measurements for the throttle cable bracket and the plenum. I picked up a 944S2 AFM mount from 944Online that I plan to use to relocate the AFM for a cleaner appearance and then I'll hide the filter inside the nose panel. I also picked up a spare AOS that I can cut down to relocate the oil filler.
The car starts, but it obviously runs like crap since I don't have the TPS connected and the AFM isn't actually metering the air just yet. I need to mount the TPS and make a new bracket to hold it in place at the proper angle. I bought some AMP EV1 3-position pigtails that I intend to make a jumper harness with. This will allow me to connect to the stock wiring for the TPS, but reverse the direction of the switch since I have it located on the top of the throttles while the stock throttle body has it on the bottom. The switch just goes from 0 ohm to infinite on either pin as it moves off the hard stops so I don't think it'll really care what direction it's rotating.
please dont choke your beautiful ITB setup with an AFM.
AFMs are only good for weighing down the bottom of a garbage bag.
MAP FTW !
The plan is to eventually go to a MAF or a standalone EFI. One of the goals of this project, though, was to make an almost drop-in type ITB assembly that required minimal other modifications to work on the car, kind of like what Dbilas Dynamic does with a lot of their street systems. Fully recognizing that the AFM will choke the flow, the thinking is that if the system is designed for the worst case, improvements like a MAF will be an added benefit.
I would like an 8 valve set up . I just bought a Link ECU
I Am very close to firing up my LINK ECU and new wiring harness on a 16 Valve race car. at the same time we are working on a plug n play for the 8 valve cars.
I have an instagram channel that follows 944_road_race
 03-02-2024, 07:45 AM