When you click on links to various merchants on this site and make a purchase, this can result in this site earning a commission. Affiliate programs and affiliations include, but are not limited to, the eBay Partner Network.
I tried vice grips and diags yesterday, and went out to buy about 4 more kinds of each today to try again. This key was very seized.
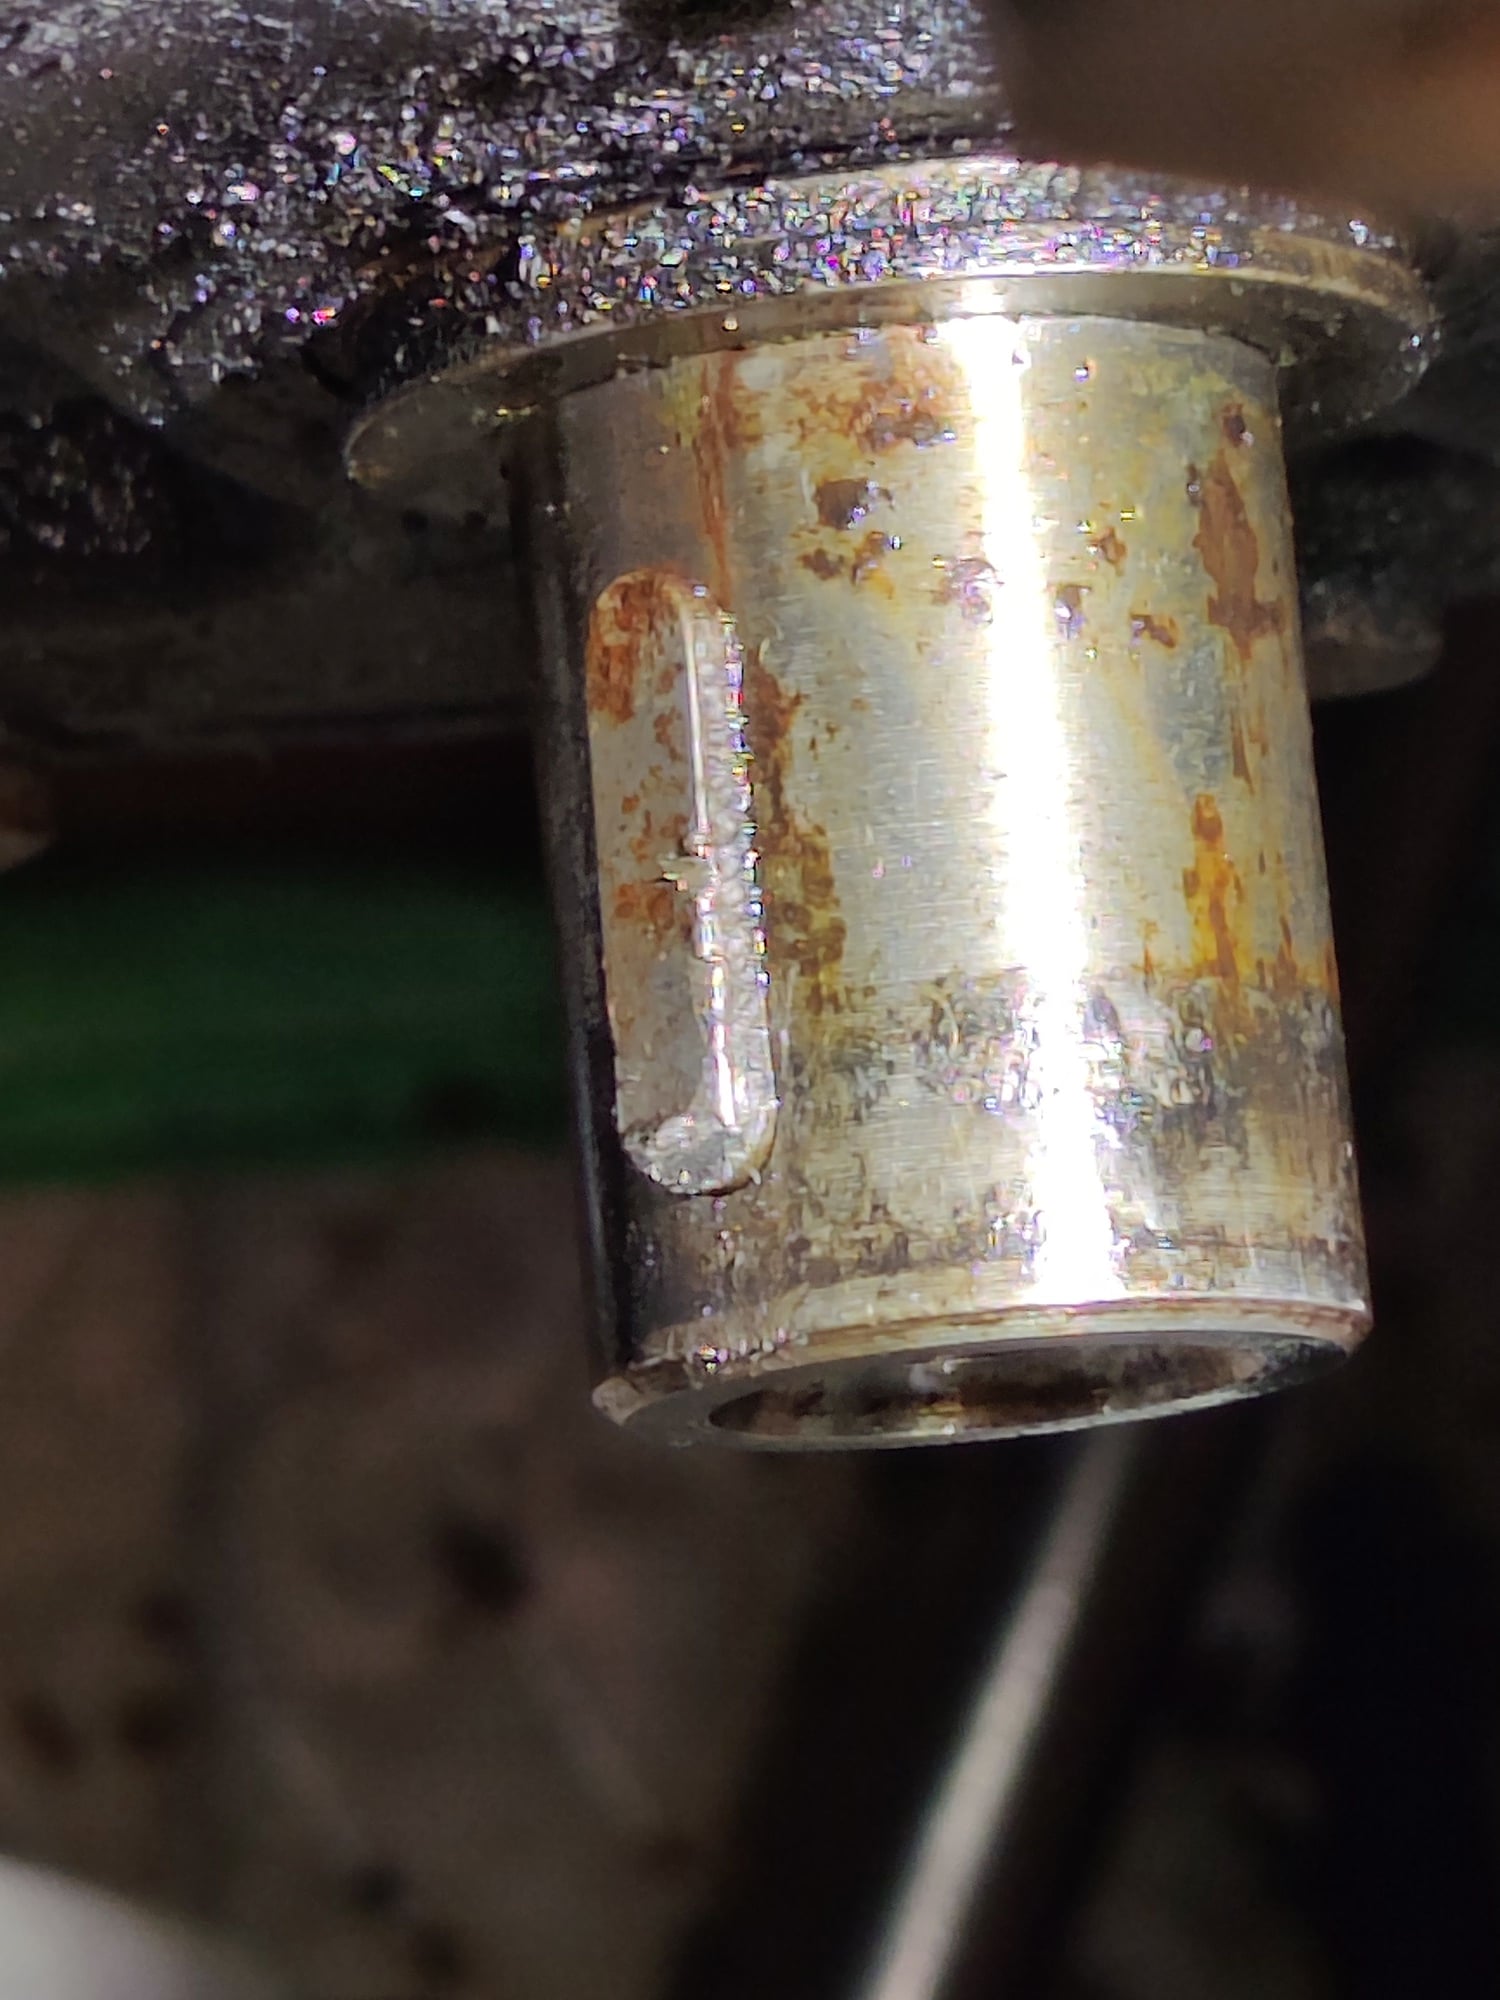
What ended up working in the end was going back to the cold chisel. Since the radiator is right there, I only had about 2" of space to operate my hammer in. After about 487,000 small taps, I realized that I might have seen a tiny bit of movement of the key. So I took a picture, did another 487,000 taps, took another picture, and compared. Sure enough, it had moved about 0.1mm. Now I knew the task was achievable. So I just stood there bent over awkwardly tapping until I finally got the key out.
A bit after I realized it's moving:
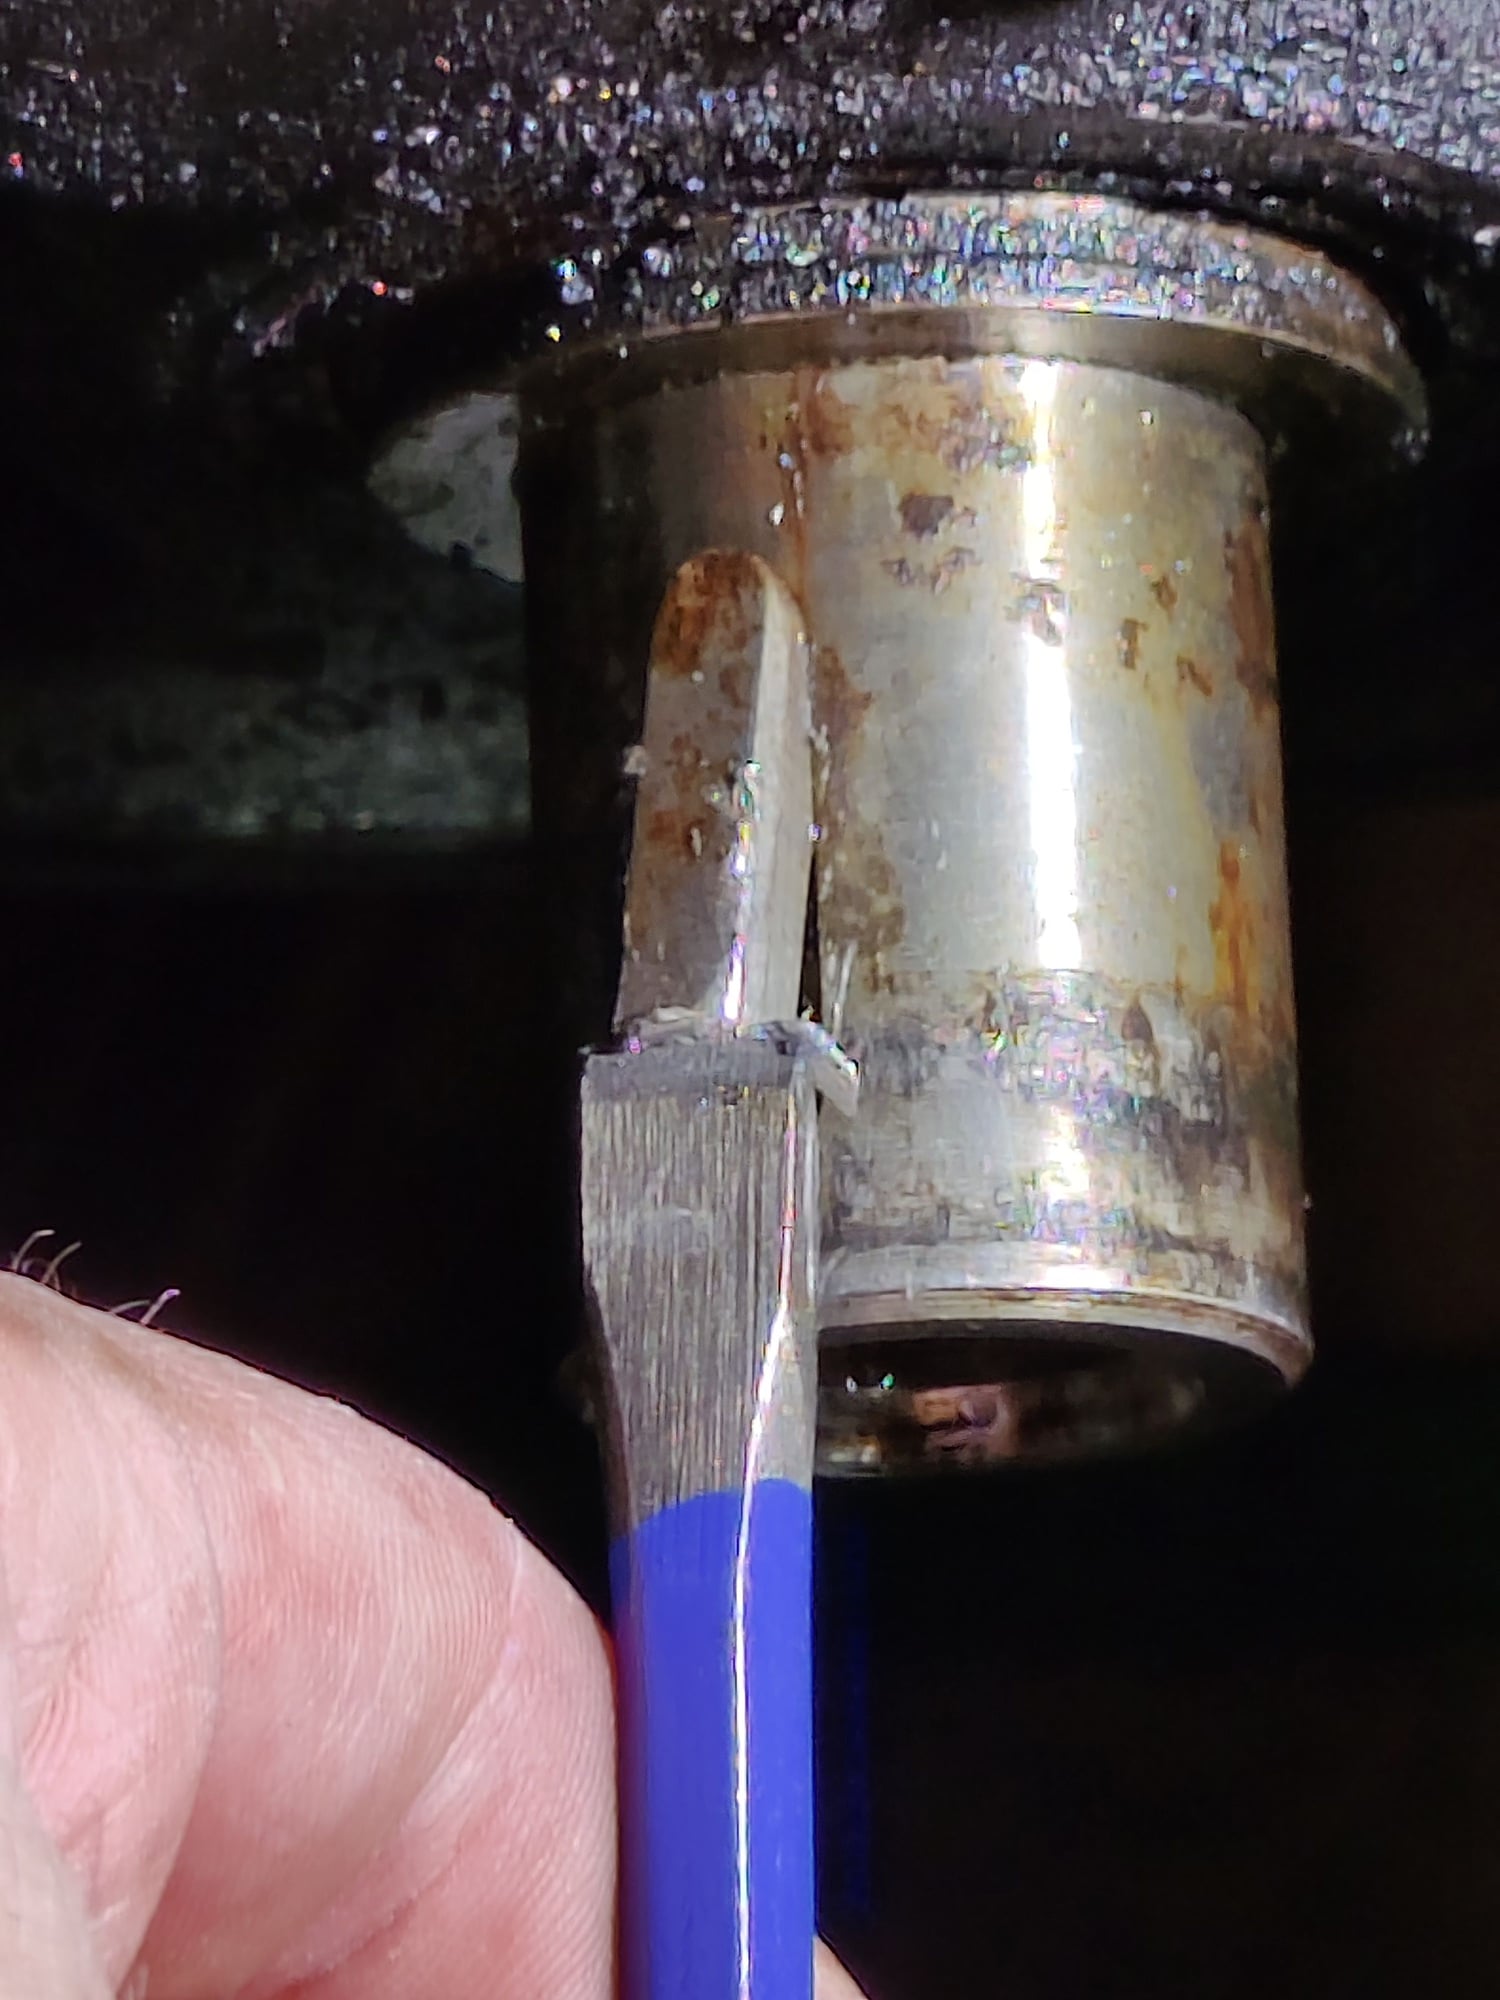
A bit more obvious now:
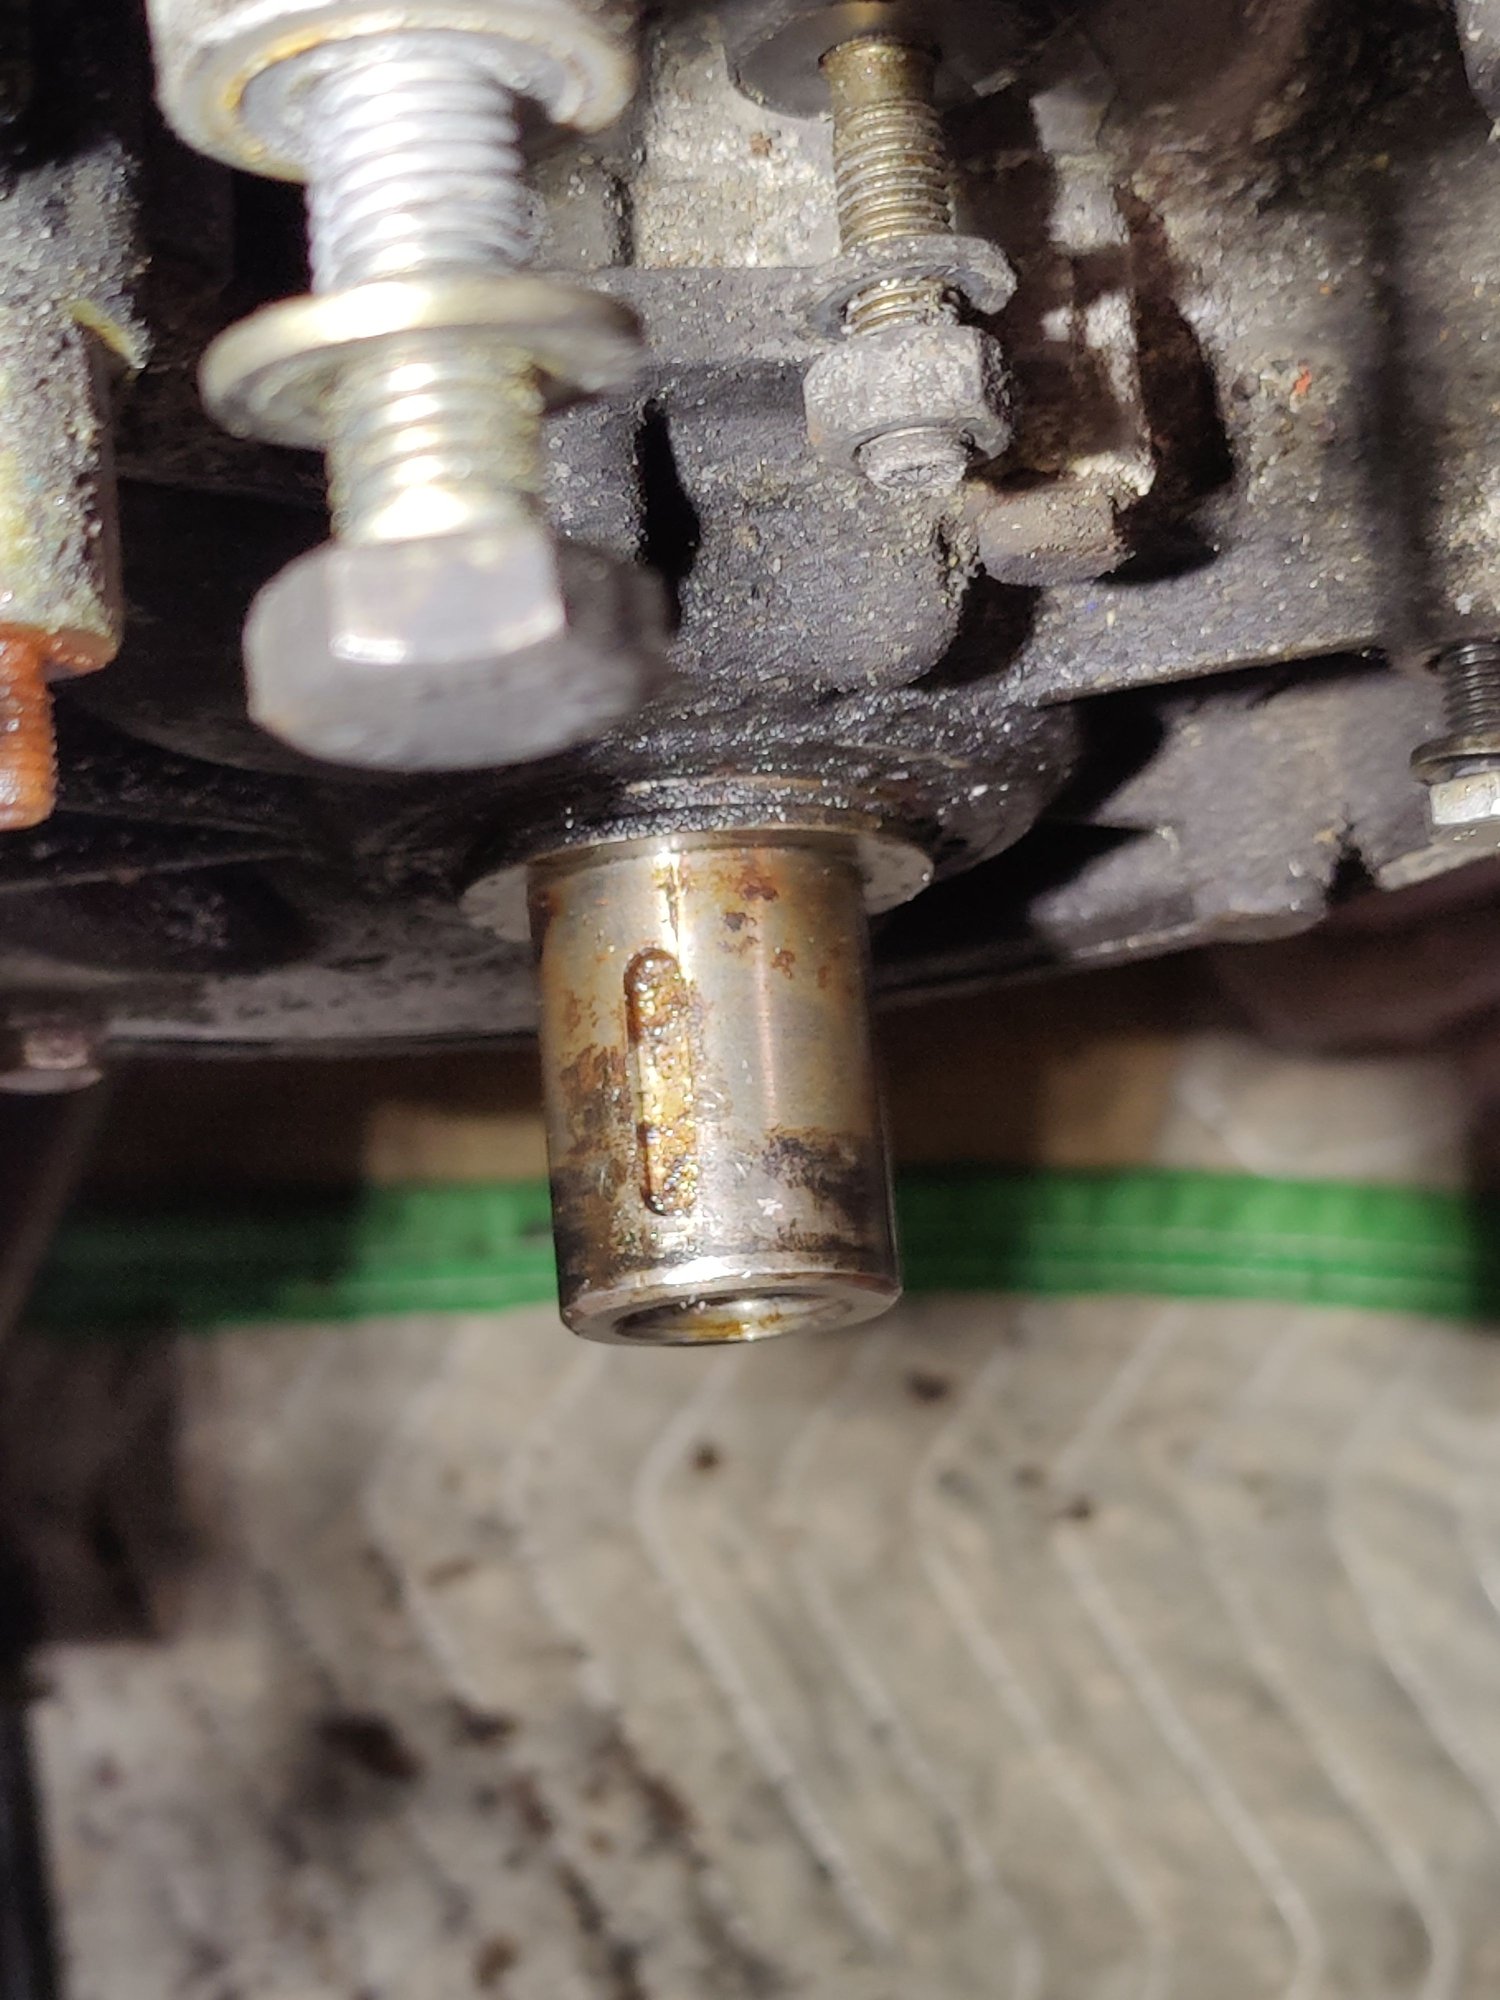
She's free, but I still can't pull the key out yet and have to keep tapping the chisel:
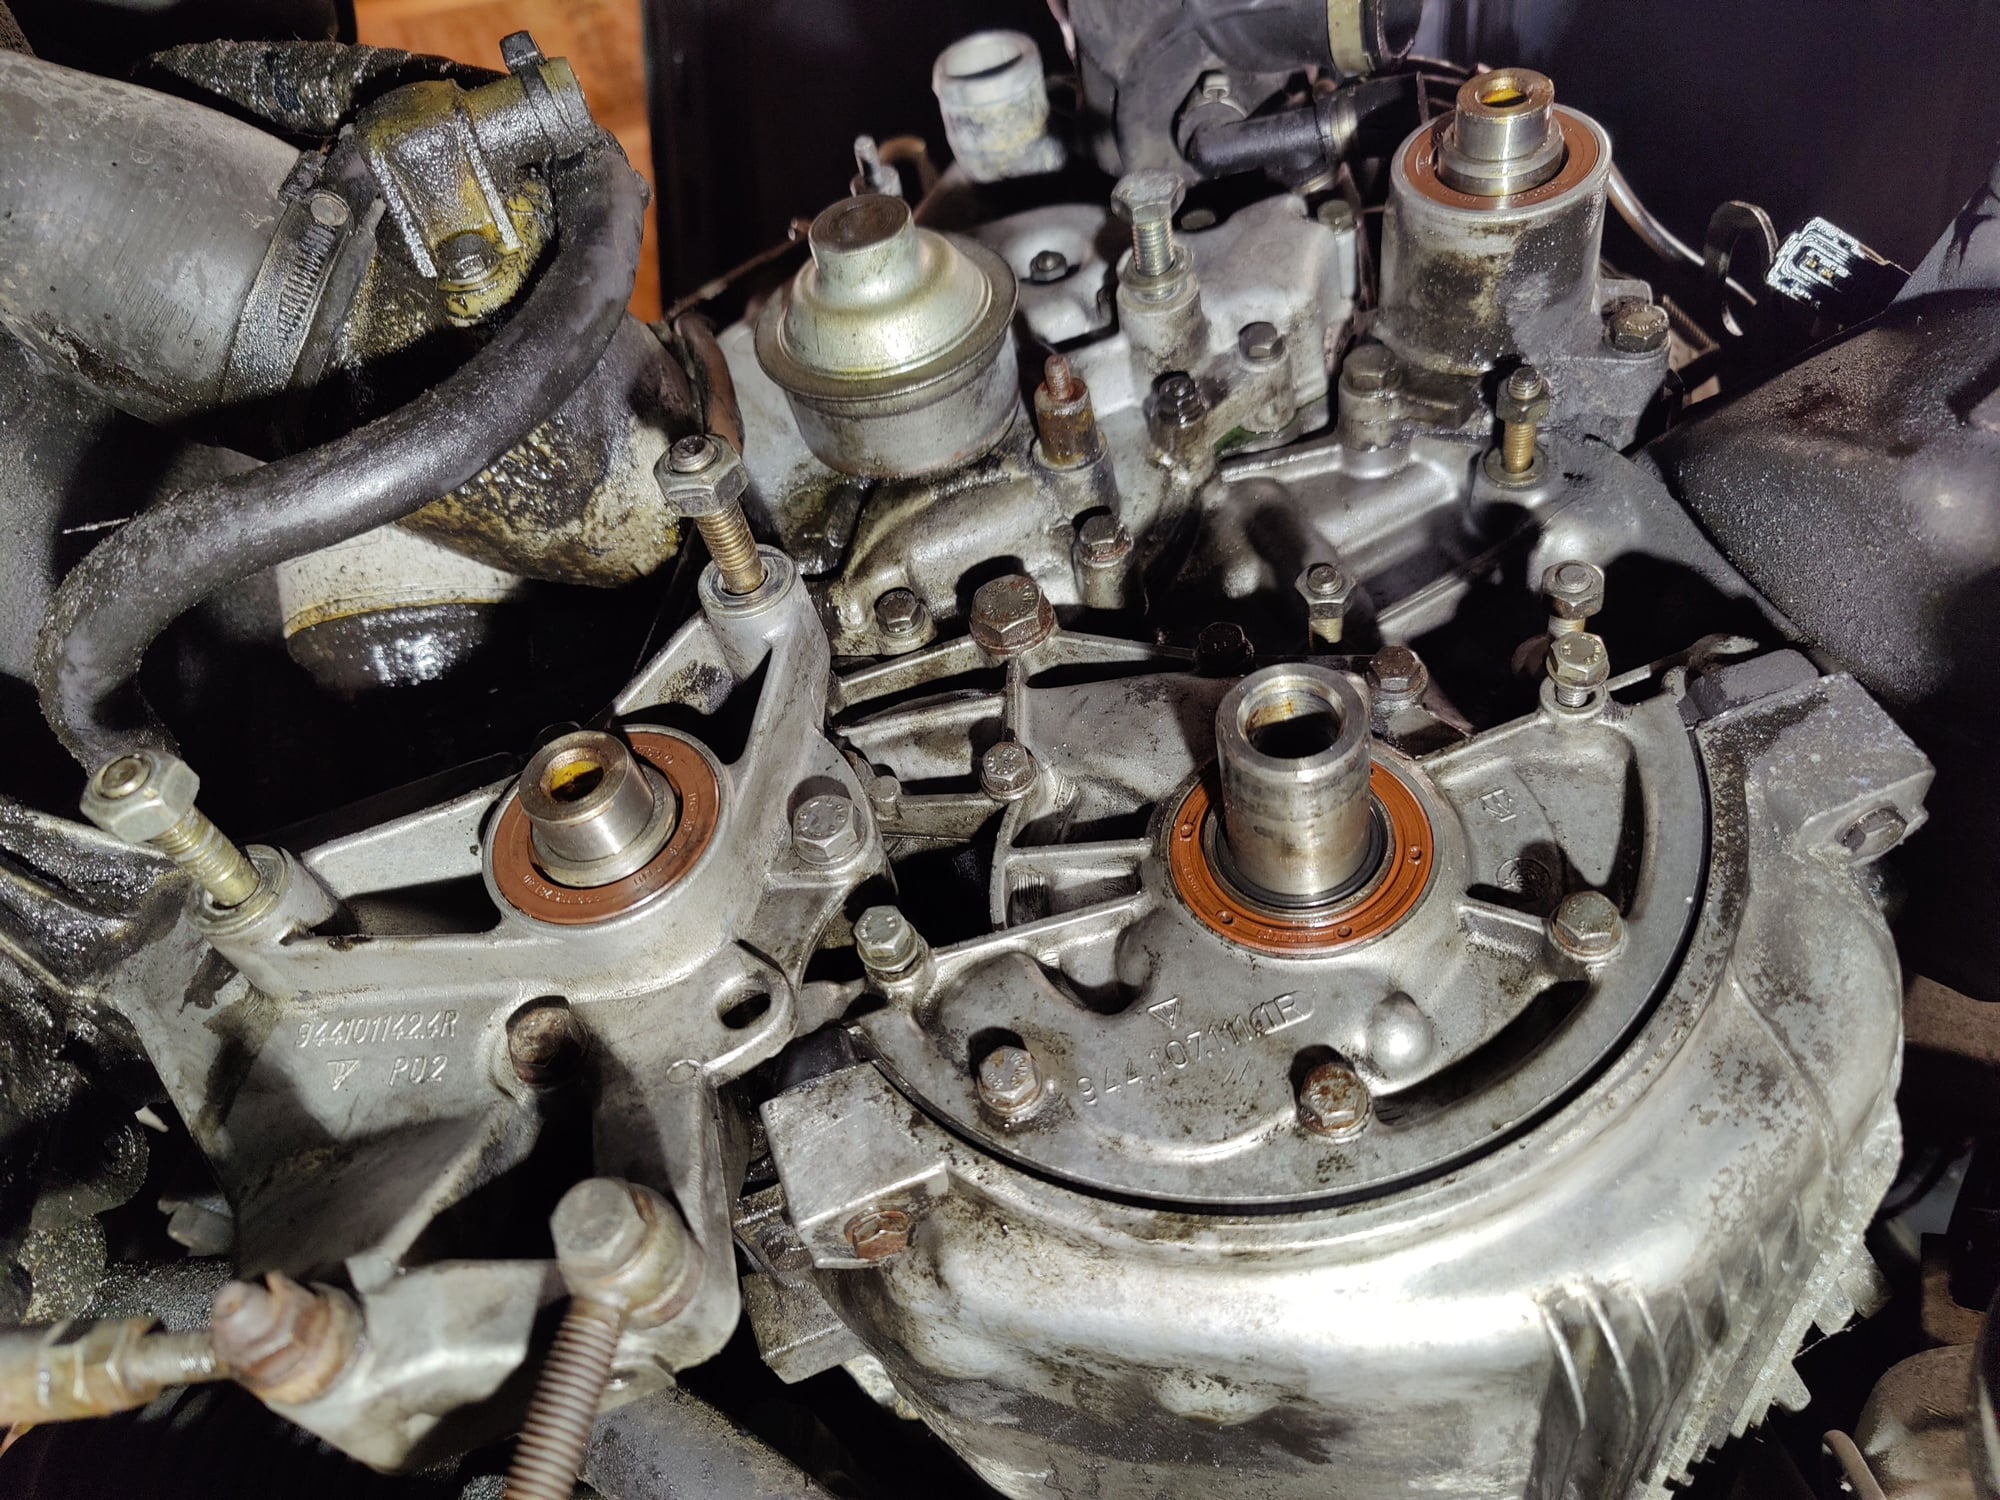
Since it's a good idea to clean around an area you're about to open up, while I was pondering the oil pump driver, I cleaned the bottom right half of the engine. I used a few cans of brake cleaner and a lot of Blaster, most of which cycled through my lungs, which is why I paused for the day:
This will also make it easier to figure out where things are leaking when they do start to leak as soon as I get this thing running.
I took the main seal off after the cleaning and tried a little more to get the gear, to no avail. Tomorrow I'll try the gear again and clean up some more around the P/S pump in preparation for doing those seals...
From memory...
There's an O ring sitting in the recess at the F of that drive gear?
Not 100% certain of that, but if there is one, pulling it out with a pick might free up the gear.
From memory...
There's an O ring sitting in the recess at the F of that drive gear?
Not 100% certain of that, but if there is one, pulling it out with a pick might free up the gear.
Go get 'em!
There was an O-ring, but pulling it out didn't help. Lots of blaster and lots of tiny taps alternating with grabbing it with pliers and twisting eventually got it to move a tiny bit. From there, it was a matter of using some very fine sandpaper on the crank to smooth the next spot the gear caught on, sliding it until it stuck again, sliding it back, and sanding again until it was all the way off. I used 1200 or 1500 grit and lubed it with blaster to keep everything shiny... The gear had a visible groove, but I couldn't feel it with my nail. Replacing anyway...
The upper balance shaft seal was pretty straightforward. The seal was absolutely stuck and I destroyed most of it with no success before I put it in a vice and pounded the metal sleeve out from the back with a piece of wood.
Took me a while to get the P/S pump out of the way, but did that. Then got the lower balance shaft cover off and had to repeat the wooden stick job to get that seal out. Started cleaning it up so I can put the new seal in tomorrow. Then I'll see what's next.
Got the lower balance shaft re-sealed and re-installed. Took the old water pump out and spent a few hours breaking stuff trying to get that snap-ring out. The funny thing is that I've always been able to get snap rings off in the past without owning or using snap ring pliers. This time I thought I should do it in easy mode and bought a pair. First time I had the proper tool, and first time I failed.
So I went and ordered presumably better snap ring pliers and the spiral style snap ring from McMaster. Today, the new pliers made quick work of the old snap ring, but I wanted to use the spiral one anyway. My car has the "late style" waterpump with a 4.5mm distance between the snap ring and the sealing face. The old thermostat had the thick sealing ring and no shim. The new water pump is also the late style with a 4.5mm distance between the snap ring and the sealing face. The thermostat came with the 2.5mm and 4.5mm sealing ring. Clark's Garage says the late style water pump has a 7mm distance and that the 2.5mm shim is required.
This is a bit confusing because the PET doesn't mention the shim. It says I should use only the the sealing ring with P/N 951 106 155 00. I don't know what thickness this one is. When I install the thick or thin sealing ring, I have thermostat play. This is dumb, so I'm going to install the thick one with my new spiral snap ring, and call it done.
Next up is to install the new rollers and pulleys, then reinstall the tensioner. After that, the cam housing goes on and the thing gets timing and belts. Probably next is figuring out where all the wires and tubes connect...
By the way, if someone has a cam housing out of the car but assembled, can you rotate the cam shaft by hand and tell me what it feels like? Mine doesn't feel smooth like a crankshaft or balance shaft, it feels a little rough...
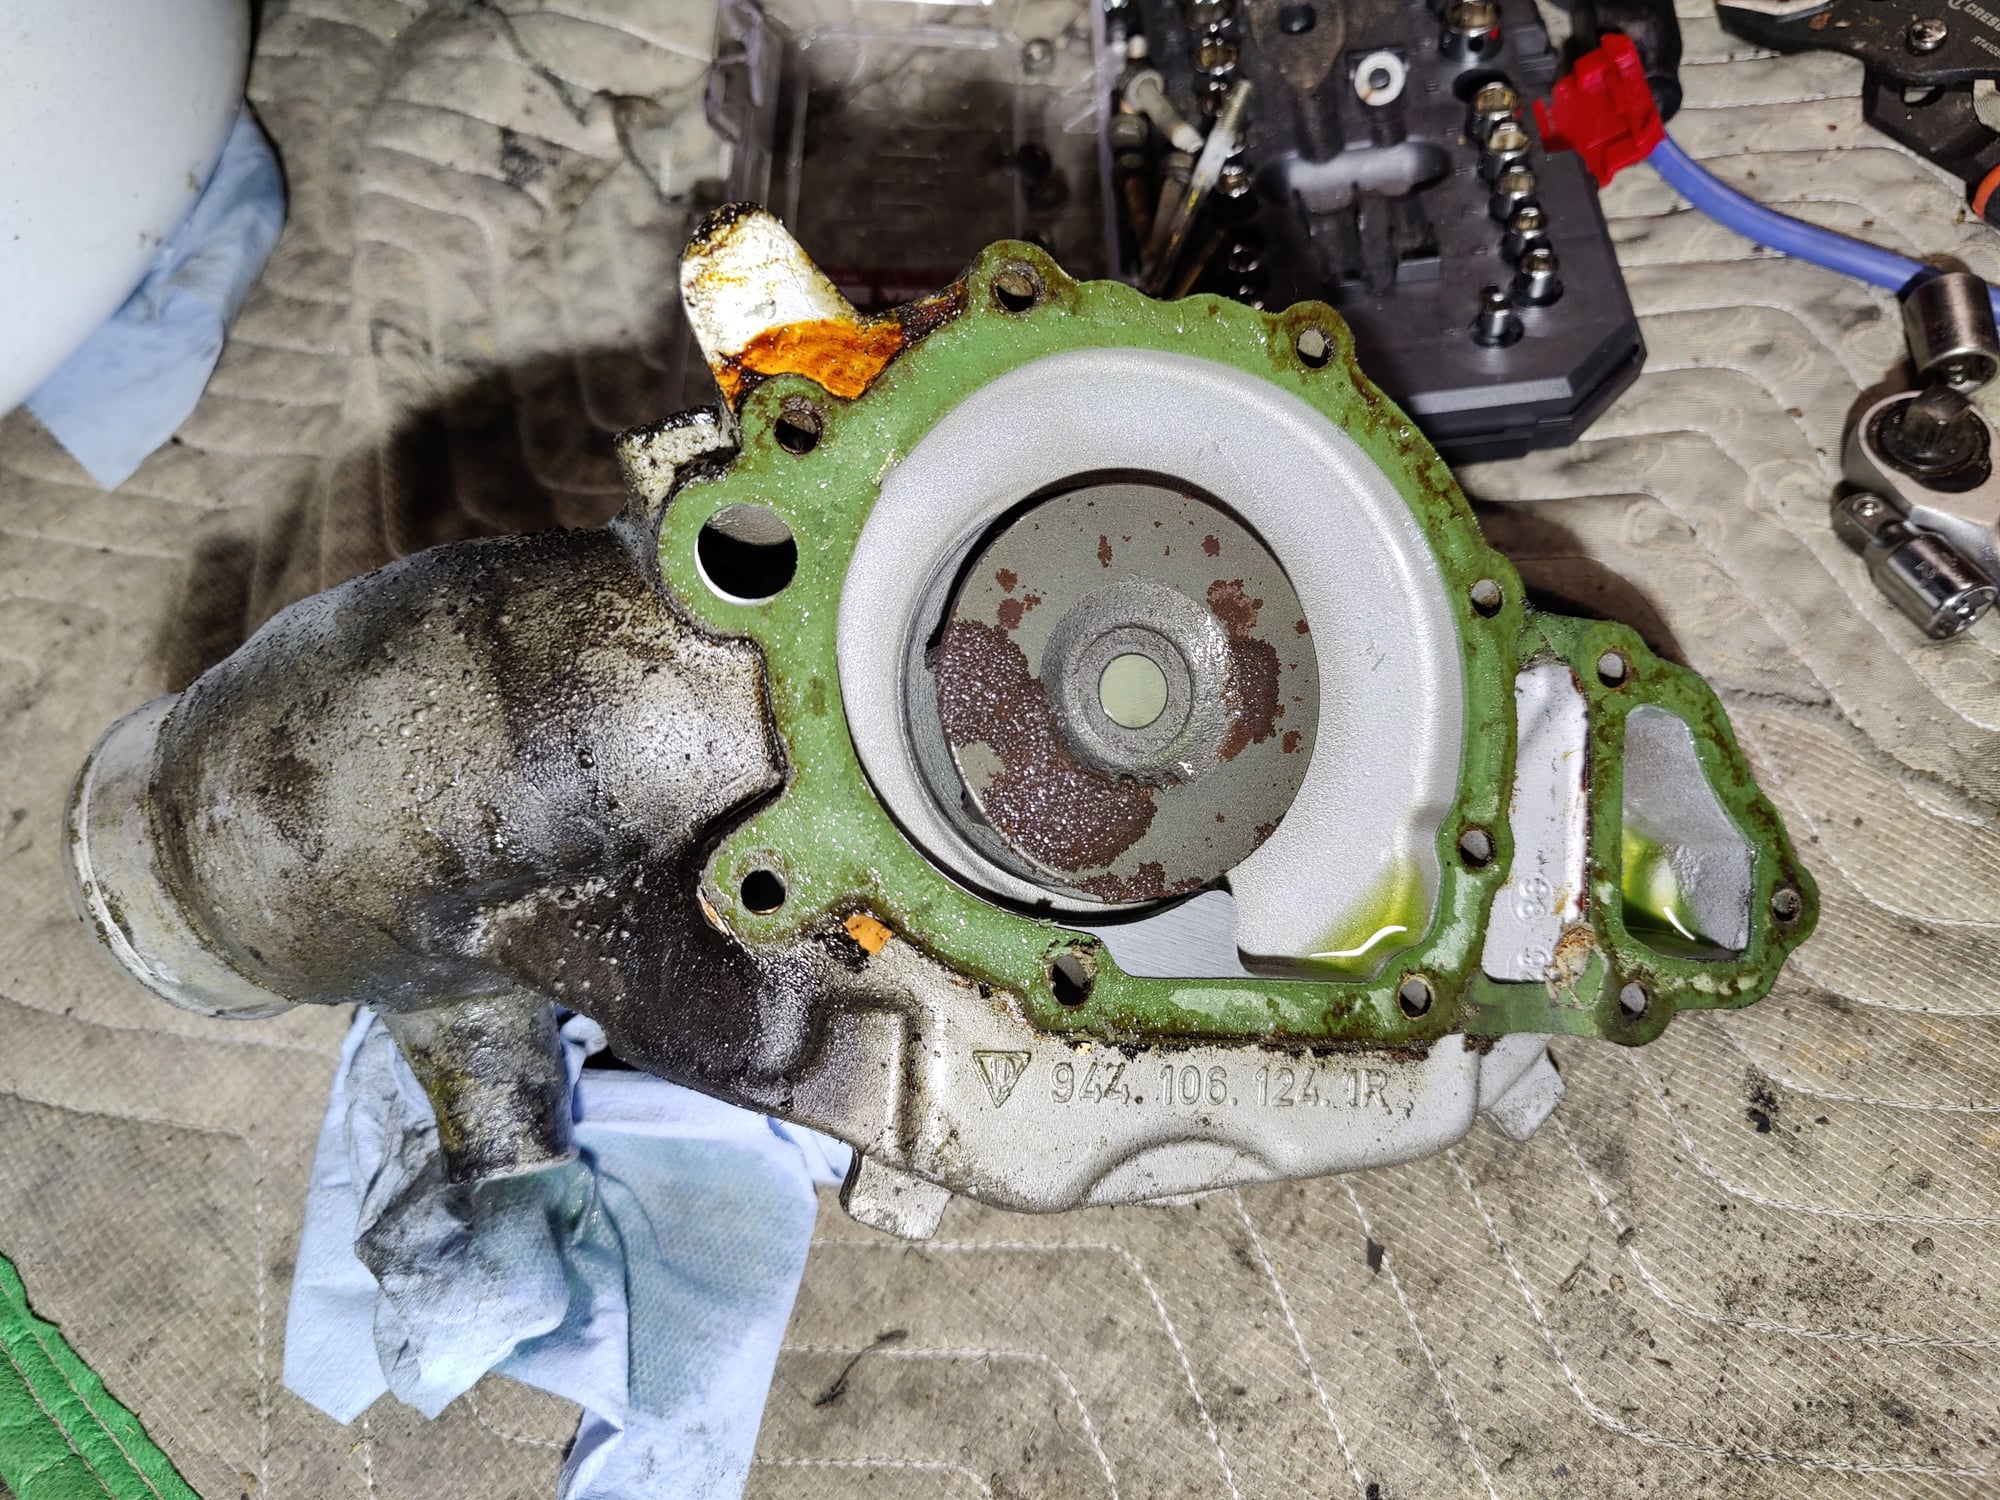
No great pics this time, but here's my old pump (note the part number doesn't match the PET or Clark's Garage) (Edit: apparently Porsche will cast numbers on a casting other than the part number, while not also casting the part number into it):
I've tried quite a few chemicals at this point and none of them are a magic bullet. I'm at the point where I'm slathering on gasket remover, waiting a couple hours, scraping off a few microns of gasket, and repeating.
I wouldn't get too aggressive as you can gouge or create low spots in the soft aluminum and cause a persistent leak...but using a white 3M Roloc bristle disc on an air angle die grinder works well to clean the sealing surface. Just be gentle & don't bear down on it. Sharp metal razor blade by hand is preferred but takes forever.
I finally got the gasket off using mostly just chemical action. No idea how many hours it took including waiting for each soak. I took some of that time to clean some more areas that were nearby. My P/S pump was disgusting, but the sequence: Blaster, brush, hose down with halogenated brake cleaner, brush, blaster, brush, brake cleaner, brush, brake cleaner is my current go-to cleaning process. I've probably filtered about 4 liters of that stuff through my lungs at this point.
That done, I replaced the water pump and gasket, installed the rear timing cover and the balance shaft gears.
Since my oil filter is buried behind some of the stuff I moved out of the way to do the water pump, I replaced that too.
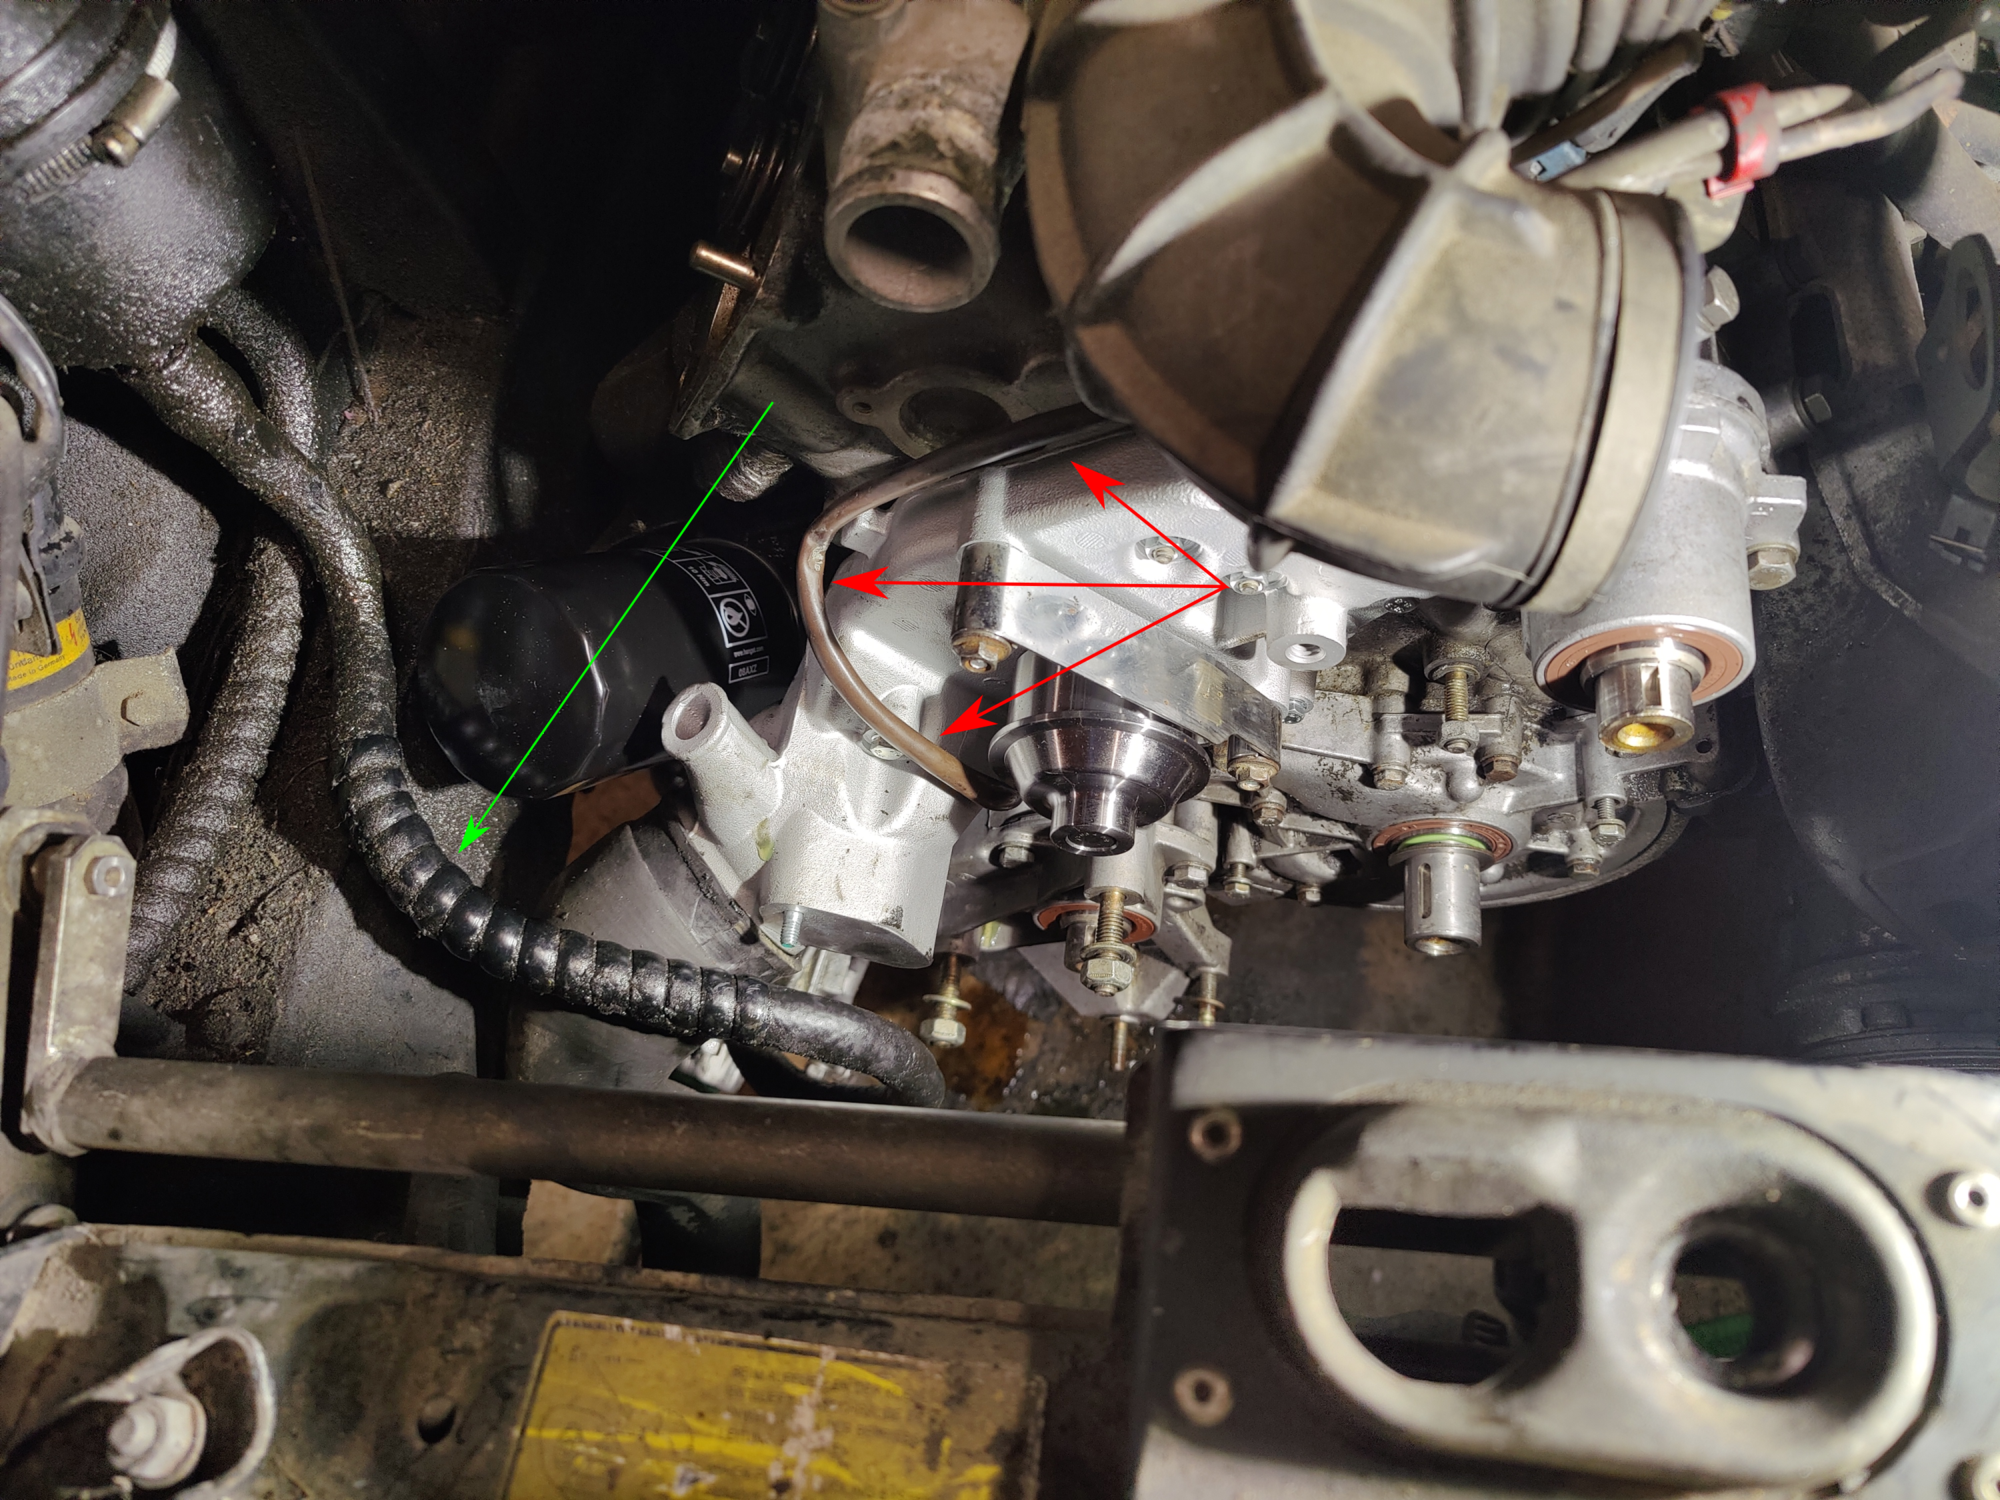
I questioned the routing of the wires going to my oil cooler and the P/S hose. Now would be a good time to re-route them if there is some better place to put them, but I have no idea what that place might be (the P/S hose was zip-tied to the fake hose connection on the water pump blockoff plate of the old pump, but I no longer have one of those. The wires are just draped around the water pump behind the rear cover):

 11-24-2023, 05:35 PM