xpost: DIY Projector HID Setup for ~$200
 11-10-2010, 12:15 PM
#1
Burning Brakes
Thread Starter
Join Date: Nov 2007
Location: Nuke City, NM
Posts: 872
Likes: 0
Received 0 Likes
on
0 Posts
It's getting to be that time of year again, and my headlights are pretty dismal, so after searching around and finding my choices were ebay junk ($70-90) or expensive ($500+), i was about to give up until i stumbled on the hidplanet forums: http://www.hidplanet.com/forums/
There weren't any good examples of a 6024 swap on there, but i saw enough swaps to get the idea, and here it goes! I used:
So, getting started! Here's what i have:
Headlights. I made sure to get glass ones that were "diamond cut". The rest doesn't really matter...

I removed everything from the back side:

ABS Plastic coupler (found next to PVC pipes):
Made to adapt 3" to 2" pipe. Has ~3.5" ID. Best picture, sorry:

Projector with shroud, shown next to headlight....that's not going to fit!

And...start cutting!
I put the ABS adapter over the back of the headlight and stenciled out a line, then brought out the dremel. Make sure to cut on a flat plane (as shown in the picture):

Once that's done, carefully fit the projector inside (you'll probably have to do a little more grinding to get it to fit). Take your time and make it a snug fit!

Now, cut off the small part of the ABS coupler:
Use your dremel to remove the shiny stuff from the part of the headlight you cut off, then use Plast-Aid to glue the back piece of the headlight to the coupler. I used a level to make sure that the back piece was installed perfectly:

Tip for Plast-Aid: I found it worked best when i let it set for about 10 minutes. I also recommend adding the powder first in the bowl, then adding the liquid. It's a little tough to get the hang of, but it works well.... EXTREMELY well (i spent almost an hour trying to get two pieces apart to make a modification!).
For my exact setup, i removed 3/8" from the large end of the ABS adapter to allow the projector to seat as deep in the housing as possible. This is because we have a limited amount of space in the headlight area, so you want the assembly to be as shallow as possible. If you're doing something slightly different...measure!
I had to grind out the inside of the ABS adapter a little to fit the projector (with shroud attached) inside. Mine is a snug fit:

I installed the projector completely in the ABS adapter using the adapters supplied with the projectors. Specifically i used the adapter and the nut. Using the nut to tighten everything down (draw the projector back into the ABS) prevents anything from moving, so i didn't feel like any further modification was needed to keep it in place.

So now, it's all looking good! Ready to put some glue on it. Notice that i used the dremel to remove the factory paint on the headlight--Plast-Aid sticks better to plastic than it does to paint. The same goes anywhere you use the stuff. Make ABSOLUTELY sure that the "top" of the projector is aligned with the "top" of the headlight!! (Actually, i guess it doesn't even matter, since you can just rotate the headlight if need be!)

Put some Plast-Aid on it:

And WHA-LA!

It's not perfect (you can see gaps around the projector shroud), but for the price, i'm very happy with it. I'm curious to see what else people come up with for ideas on this. I realize it's ugly on the back side (that plast-aid stuff is tough to get the hang of, but it works!), but once installed nobody will ever know. A final note: on all the plastic pieces i cut, i lapped them on a flat surface and a piece of sandpaper to make sure they were flat and would fit together tightly.
Tonight after work i'm going to install the HID portion of it and put it in the car. The red and black wires you see sticking out of it are for a solenoid that turns on the brights (it moves a metal gate that blocks half the light). The rest of the HID setup is just a positive and a negative. I'm planning to wire the HID portion into the low beam and the ground, and run the solenoid to the high beam wire and ground. Doesn't get much easier than that!
In case you're wondering the difference between a $90 ebay setup and these, the ebay setups aren't real projectors--they just use a curved lense to mimic a projector look. They also don't (and can't) have cutoffs, because of the bulb position. In short, if you buy an ebay setup, it will be just as bright...but nobody in oncoming traffic will be able to see a thing! These are real projectors, with real shrouds. They'll be just like an OEM setup (for that matter, theretrofitsource.com sells OEM projectors...they just weren't as compact).
The nice thing about this whole setup is that it still retains headlight adjustability--so if you screw up getting it all straight in the housing, then you can just install it and adjust the headlight screws until it's right!
I'll get some before/after pics once they're installed.
There weren't any good examples of a 6024 swap on there, but i saw enough swaps to get the idea, and here it goes! I used:
- Morimoto Mini H1 Projectors & shrouds - $120 Link
- Ebay 6024 Halogen housings - $11 (see pic below)
- DDM Tuning 35W H1 4300k HID kit - $35 Link
- ABS 3" to 2" pipe coupler x2 - $7 (source: hardware store)
- Plast-Aid 6 oz. Plastic epoxy (-ish stuff) - $20 (source: ebay)
So, getting started! Here's what i have:
Headlights. I made sure to get glass ones that were "diamond cut". The rest doesn't really matter...
I removed everything from the back side:
ABS Plastic coupler (found next to PVC pipes):
Made to adapt 3" to 2" pipe. Has ~3.5" ID. Best picture, sorry:
Projector with shroud, shown next to headlight....that's not going to fit!
And...start cutting!
I put the ABS adapter over the back of the headlight and stenciled out a line, then brought out the dremel. Make sure to cut on a flat plane (as shown in the picture):
Once that's done, carefully fit the projector inside (you'll probably have to do a little more grinding to get it to fit). Take your time and make it a snug fit!
Now, cut off the small part of the ABS coupler:
Use your dremel to remove the shiny stuff from the part of the headlight you cut off, then use Plast-Aid to glue the back piece of the headlight to the coupler. I used a level to make sure that the back piece was installed perfectly:
Tip for Plast-Aid: I found it worked best when i let it set for about 10 minutes. I also recommend adding the powder first in the bowl, then adding the liquid. It's a little tough to get the hang of, but it works well.... EXTREMELY well (i spent almost an hour trying to get two pieces apart to make a modification!).
For my exact setup, i removed 3/8" from the large end of the ABS adapter to allow the projector to seat as deep in the housing as possible. This is because we have a limited amount of space in the headlight area, so you want the assembly to be as shallow as possible. If you're doing something slightly different...measure!
I had to grind out the inside of the ABS adapter a little to fit the projector (with shroud attached) inside. Mine is a snug fit:
I installed the projector completely in the ABS adapter using the adapters supplied with the projectors. Specifically i used the adapter and the nut. Using the nut to tighten everything down (draw the projector back into the ABS) prevents anything from moving, so i didn't feel like any further modification was needed to keep it in place.
So now, it's all looking good! Ready to put some glue on it. Notice that i used the dremel to remove the factory paint on the headlight--Plast-Aid sticks better to plastic than it does to paint. The same goes anywhere you use the stuff. Make ABSOLUTELY sure that the "top" of the projector is aligned with the "top" of the headlight!! (Actually, i guess it doesn't even matter, since you can just rotate the headlight if need be!)
Put some Plast-Aid on it:
And WHA-LA!
It's not perfect (you can see gaps around the projector shroud), but for the price, i'm very happy with it. I'm curious to see what else people come up with for ideas on this. I realize it's ugly on the back side (that plast-aid stuff is tough to get the hang of, but it works!), but once installed nobody will ever know. A final note: on all the plastic pieces i cut, i lapped them on a flat surface and a piece of sandpaper to make sure they were flat and would fit together tightly.
Tonight after work i'm going to install the HID portion of it and put it in the car. The red and black wires you see sticking out of it are for a solenoid that turns on the brights (it moves a metal gate that blocks half the light). The rest of the HID setup is just a positive and a negative. I'm planning to wire the HID portion into the low beam and the ground, and run the solenoid to the high beam wire and ground. Doesn't get much easier than that!
In case you're wondering the difference between a $90 ebay setup and these, the ebay setups aren't real projectors--they just use a curved lense to mimic a projector look. They also don't (and can't) have cutoffs, because of the bulb position. In short, if you buy an ebay setup, it will be just as bright...but nobody in oncoming traffic will be able to see a thing! These are real projectors, with real shrouds. They'll be just like an OEM setup (for that matter, theretrofitsource.com sells OEM projectors...they just weren't as compact).
The nice thing about this whole setup is that it still retains headlight adjustability--so if you screw up getting it all straight in the housing, then you can just install it and adjust the headlight screws until it's right!
I'll get some before/after pics once they're installed.
 11-10-2010, 01:12 PM
#3
Burning Brakes
Thread Starter
Join Date: Nov 2007
Location: Nuke City, NM
Posts: 872
Likes: 0
Received 0 Likes
on
0 Posts
I'll have to get some "installed" pictures tonight (hopefully), but here's a picture from the website of the place that sells the projectors. These are real projectors that have a solid (and pretty) cut on them:

Last edited by LS1Porch; 11-10-2010 at 01:39 PM.
11-10-2010, 05:02 PM
#5
umm..i think you're going to have some issue with the headlight bucket. your projector sticks out ALOT beyond what would normally be on a 6024 housing. the rear of the headlight bucket is the painted metal cover when the headlights are in the closed position. there's definitely not more than 2-3 inches behind normal 6024 housing. yours looks like about 4-5 inches beyond.
11-10-2010, 05:12 PM
#6
Addict
Rennlist Member
Rennlist Member
Nice work, but I doubt this will fit in popup setup.
Besides I think xenon lights are not for classic cars. I'll use 100W H4 instead.
Besides I think xenon lights are not for classic cars. I'll use 100W H4 instead.

Trending Topics
11-10-2010, 06:11 PM
#8
Burning Brakes
Thread Starter
Join Date: Nov 2007
Location: Nuke City, NM
Posts: 872
Likes: 0
Received 0 Likes
on
0 Posts
umm..i think you're going to have some issue with the headlight bucket. your projector sticks out ALOT beyond what would normally be on a 6024 housing. the rear of the headlight bucket is the painted metal cover when the headlights are in the closed position. there's definitely not more than 2-3 inches behind normal 6024 housing. yours looks like about 4-5 inches beyond.
The funny thing is that it only interfered with the brackets that provide the "stop" for the headlights. The painted cover was not an issue, even when they were 3/8" deeper. I'll get some pictures up tonight...
The total depth of these projectors is 5.25". Add maybe another .25" for the glass headlight and the airgap between the projector and the glass, and these aren't really that deep--about 5.5" total. IIRC the stock headlight plus connector is about 4.5" deep.
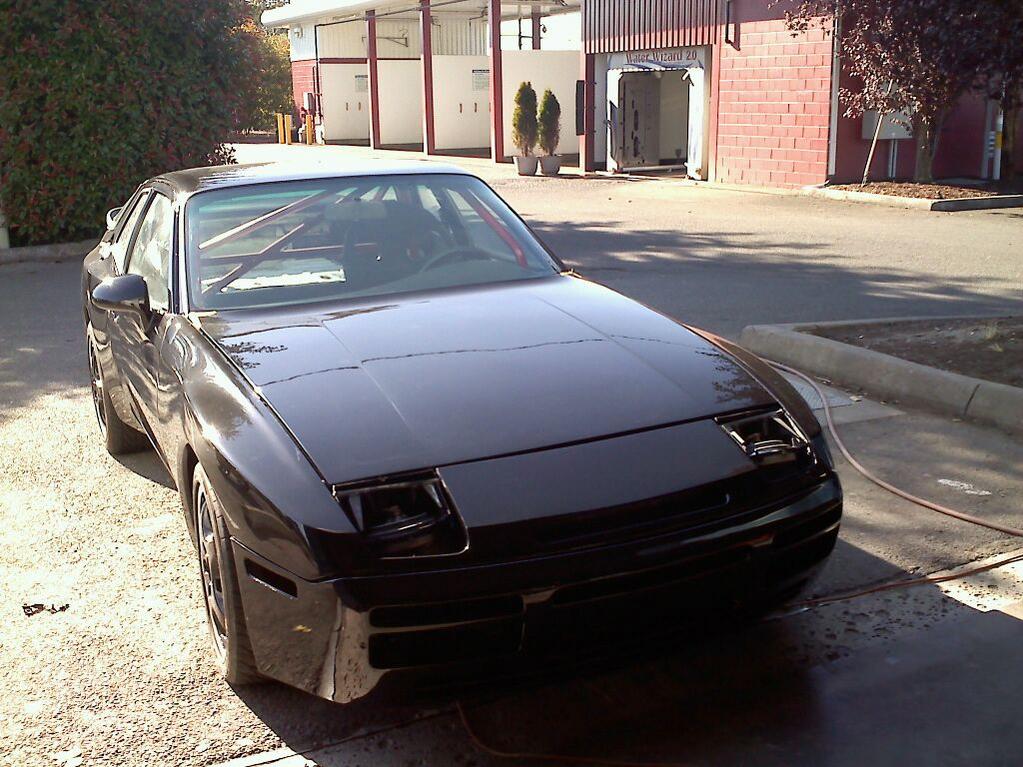
Stealing this picture from another thread, you can see how much room there is in the area:
 11-10-2010, 06:44 PM
#9
oh yea i'm all for this working. i've done alot of retrofits. i just couldn't find a projector that was shallow enough to fit. although i dealt exclusively with oem projectors in d2s bulb sizes. i might have to try out these morimoto's.
one thing that i didn't see you do was aim the projector center with the housing center. it's very critical that you do this. preferably on a jig of some sort. otherwise your projector could be aimed way off from the adjustable range on the housing.
another thing is because h6024 is a circular housing, you need to properly align the "top" of the headlight housing with the "top" of the projector. otherwise the angle will be off (which of course can be adjusted when u install the headlight in)
11-10-2010, 07:11 PM
#10
Burning Brakes
Thread Starter
Join Date: Nov 2007
Location: Nuke City, NM
Posts: 872
Likes: 0
Received 0 Likes
on
0 Posts
The morimoto's also come in d2s and they're specifically for retrofit. They were the shallowest (and best priced) projectors i could find, so that's why i went with them.
I lapped the headlight housing and all the plastic pieces, then used a level to make sure they were all straight. It's as close to perfect as i can get it! Fine tuning will have to be done by the headlight adjustment screws.
I made sure to align the tops, too, although i don't think it really matters since the reflector part of the headlight isn't actually being used. If someone didn't align the tops, they could just rotate the headlight in its socket to obtain a level cutoff.
Honestly my biggest concern is the plastic melting from the heat. I couldn't find the temp rating on the plast-aid, but the ABS adapter seems to be the least heat tolerant. This is only a 35w setup, so i'm not sure what kind of temps to expect. There are some pinholes here and there to allow airflow, though.
11-10-2010, 08:36 PM
#12
the PVC reducer won't have issue with heat. it's more the glue that i'd be worried about. on all my retrofits, i used bolts as primary securing method and just used permatex sealant to keep dust out.
another location with heat issues will be the clear plastic lens of the housing. but since that's dissipating heat to ambient air, i wouldn't think too much about it either.
35w isn't bad. 55w's are BRIGHT ****'s hehe.
another location with heat issues will be the clear plastic lens of the housing. but since that's dissipating heat to ambient air, i wouldn't think too much about it either.
35w isn't bad. 55w's are BRIGHT ****'s hehe.
11-11-2010, 01:34 PM
#13
Burning Brakes
Thread Starter
Join Date: Nov 2007
Location: Nuke City, NM
Posts: 872
Likes: 0
Received 0 Likes
on
0 Posts
Well, good news, and bad news. So we'll start with the bad news!
The bad news is that i forgot to take one little piece into account....the bulb! (D'oh!)
The assembly fits (under the cover and everything). When the bulb is installed, it adds another full inch to the back of the assembly, which i didn't take into account--I hadn't even looked at the bulb until now!
The good news is that i fired one up, realized how close i was and how much of an improvement this would be, and decided to put it in there anyways. I cut a notch in the top of the headlight bar. I was going to weld in some reinforcement on it, but after pushing and prying on it every way i could, the thing still doesn't flex or budge, and i don't think it's structural in any way.
I also ran the assembly for about 10 minutes in my garage (no moving air) to see what kind of temperatures i'd be looking at. So far, so good! It really doesn't get that hot. The main metal pieces were too hot to hold a finger on, but the plastic parts didn't even get warm to the touch on the outside.
So, here's some pictures:

(Yes, the cover fits over it)
Here you can see the notch:

I've only installed one so far, the other is still halogen:

I am also going to have to change the wiring. I didn't realize that the stock headlight turned *off* the low beam when the high beams went on. I'm going to have to figure something out here (i have some ideas, but i'm open to suggestions from the electric gurus).
I'm going to go finish up the install right now, so hopefully tonight i'll have some great "finished product" pictures to post up!
The bad news is that i forgot to take one little piece into account....the bulb! (D'oh!)
The assembly fits (under the cover and everything). When the bulb is installed, it adds another full inch to the back of the assembly, which i didn't take into account--I hadn't even looked at the bulb until now!
The good news is that i fired one up, realized how close i was and how much of an improvement this would be, and decided to put it in there anyways. I cut a notch in the top of the headlight bar. I was going to weld in some reinforcement on it, but after pushing and prying on it every way i could, the thing still doesn't flex or budge, and i don't think it's structural in any way.
I also ran the assembly for about 10 minutes in my garage (no moving air) to see what kind of temperatures i'd be looking at. So far, so good! It really doesn't get that hot. The main metal pieces were too hot to hold a finger on, but the plastic parts didn't even get warm to the touch on the outside.
So, here's some pictures:
(Yes, the cover fits over it)
Here you can see the notch:
I've only installed one so far, the other is still halogen:
I am also going to have to change the wiring. I didn't realize that the stock headlight turned *off* the low beam when the high beams went on. I'm going to have to figure something out here (i have some ideas, but i'm open to suggestions from the electric gurus).
I'm going to go finish up the install right now, so hopefully tonight i'll have some great "finished product" pictures to post up!