When you click on links to various merchants on this site and make a purchase, this can result in this site earning a commission. Affiliate programs and affiliations include, but are not limited to, the eBay Partner Network.
Not too much left to do before the engine installation, so I have turned my attention to things like checklists and hardware bags for various steps, with the torque specs etc. in the bag, to make everything flow nicely on installation day. Want to get the motor and front suspension on in one day, so that the car can sit on wheels. The third weekend of April is the target.
Over the next few weeks, I will continue these preparation steps.
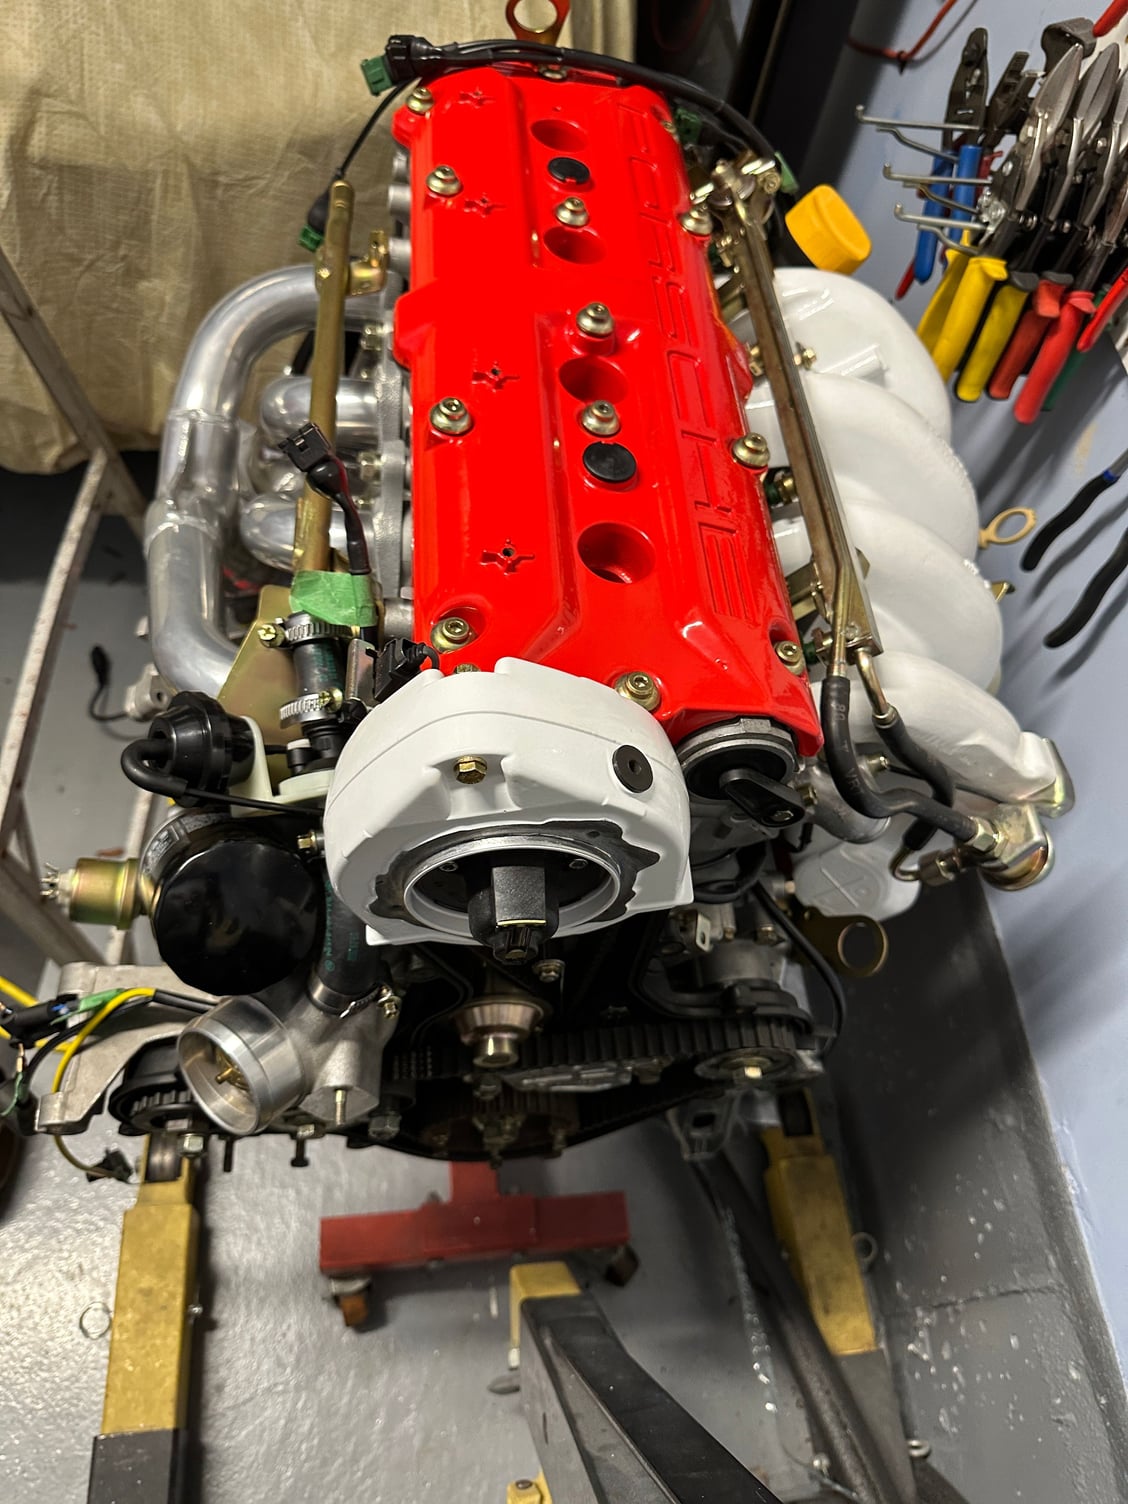
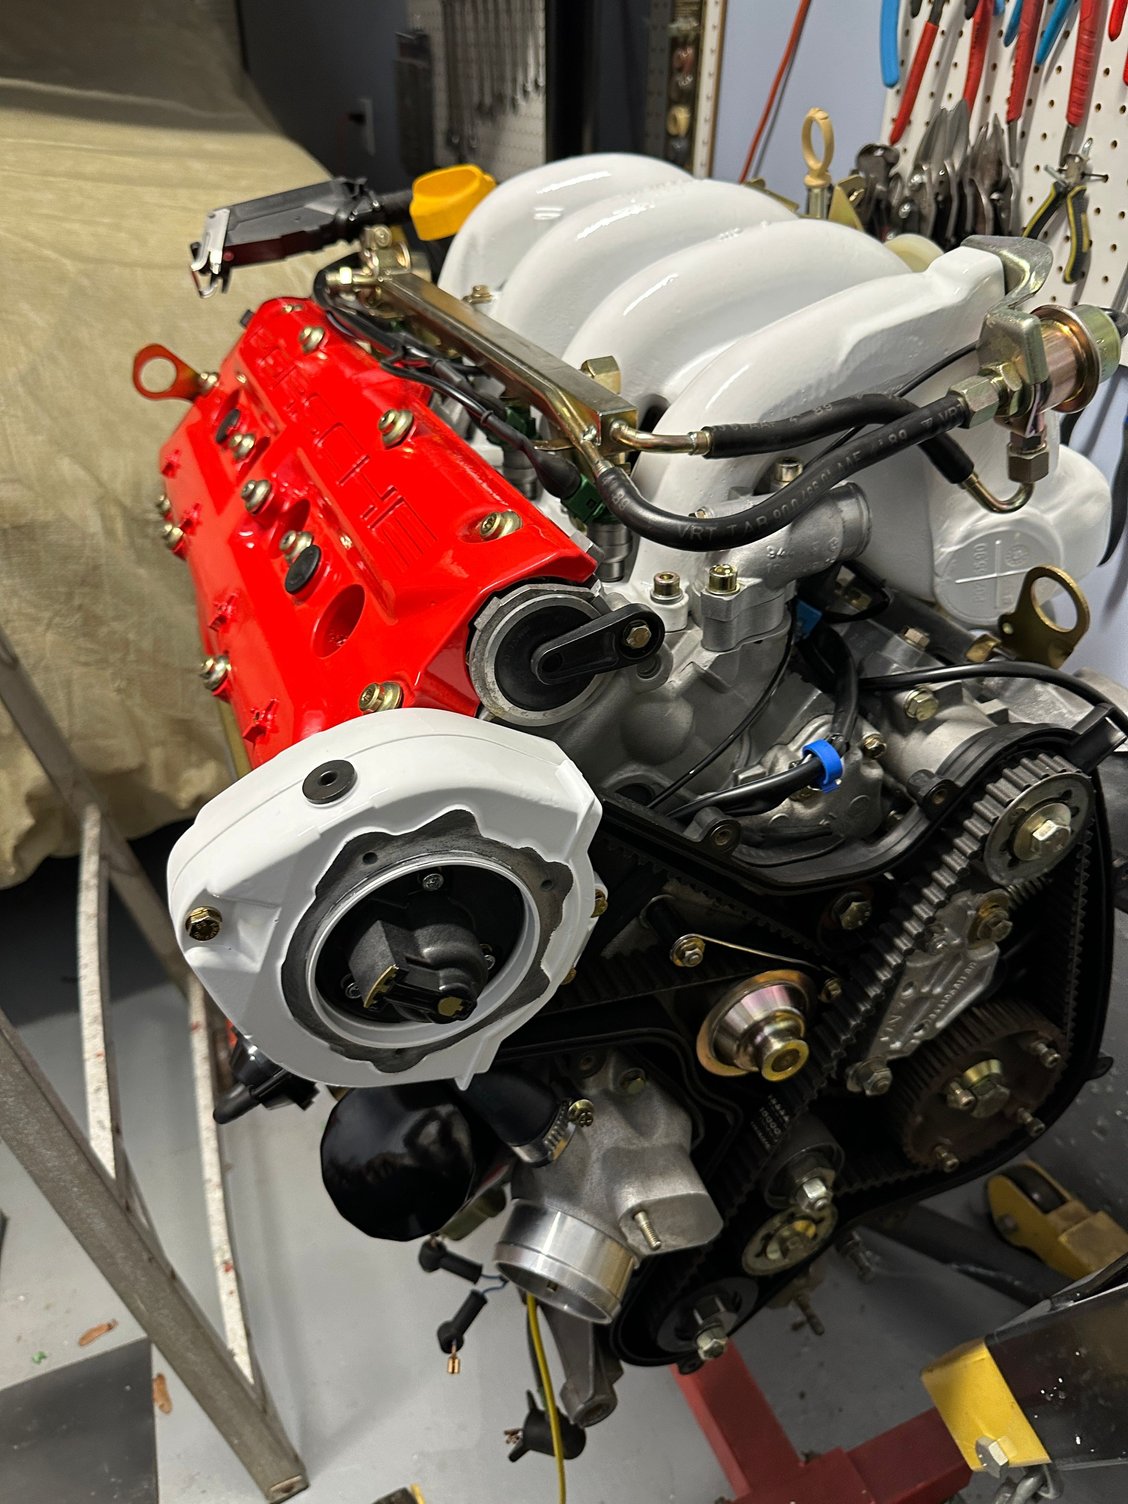
The one thing done on the car was putting in spark plugs (NGK BPRES6), a new rotor, and the front housing:
Prior to installation I still must finish connecting the rest of the wiring (such as fuel injectors etc.) which had been left unconnected in case things needed to be moved around etc.
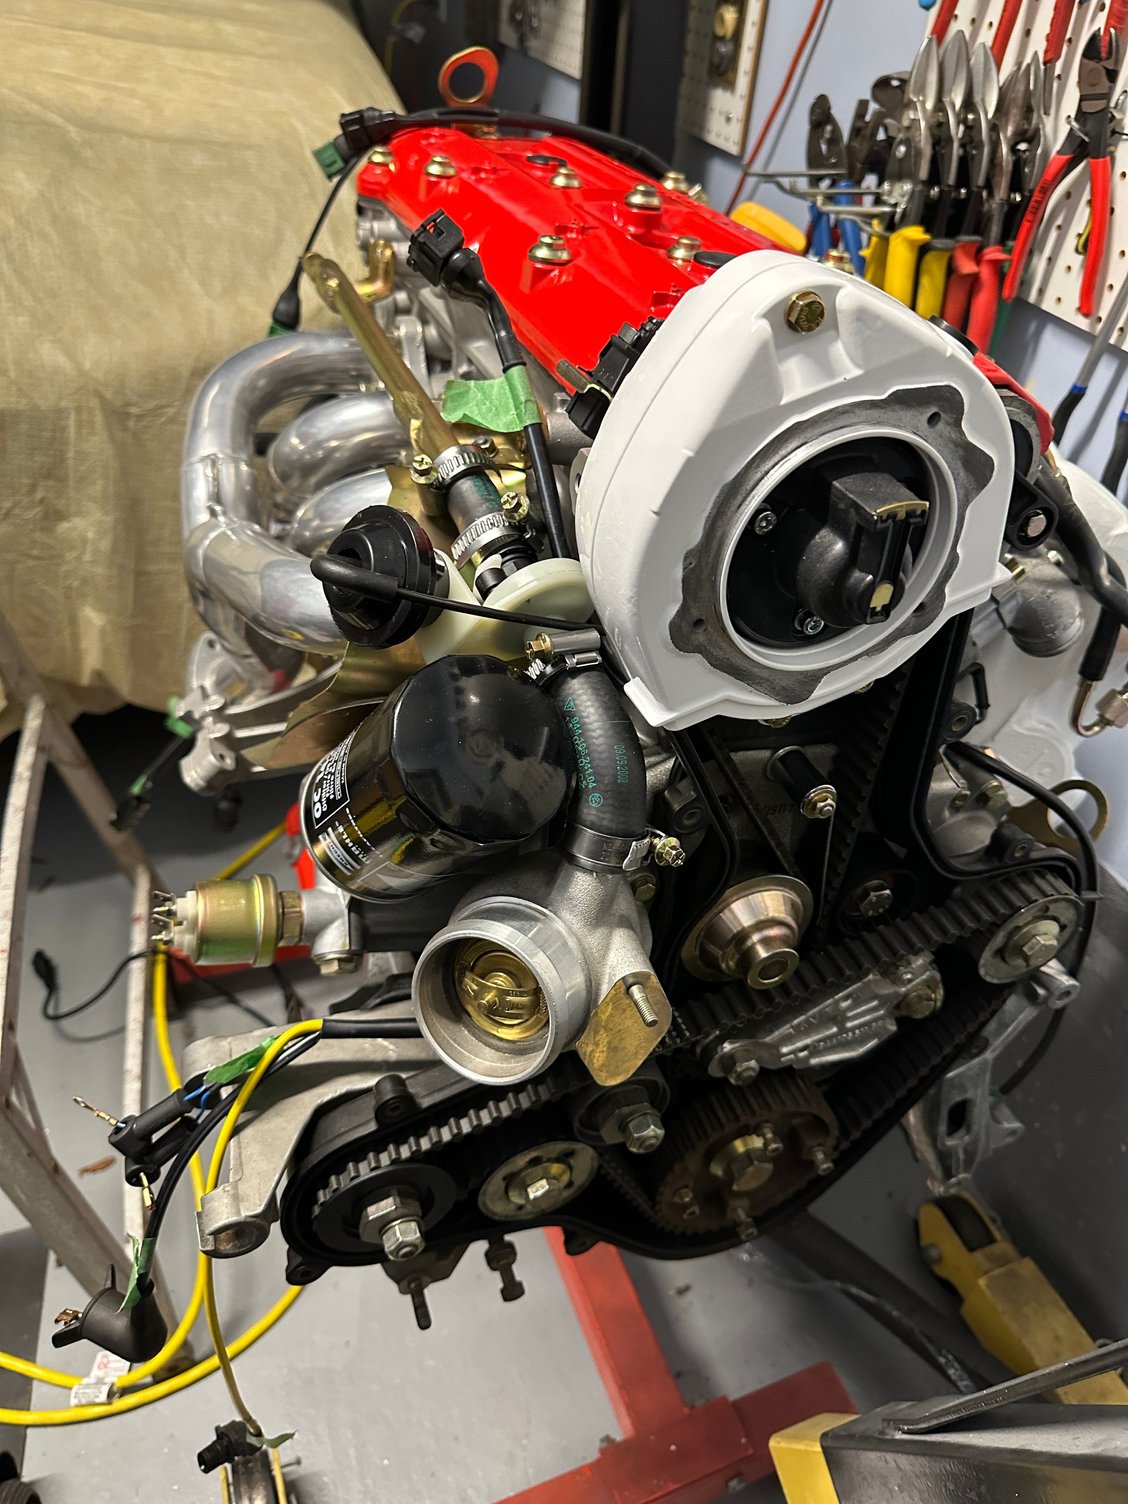
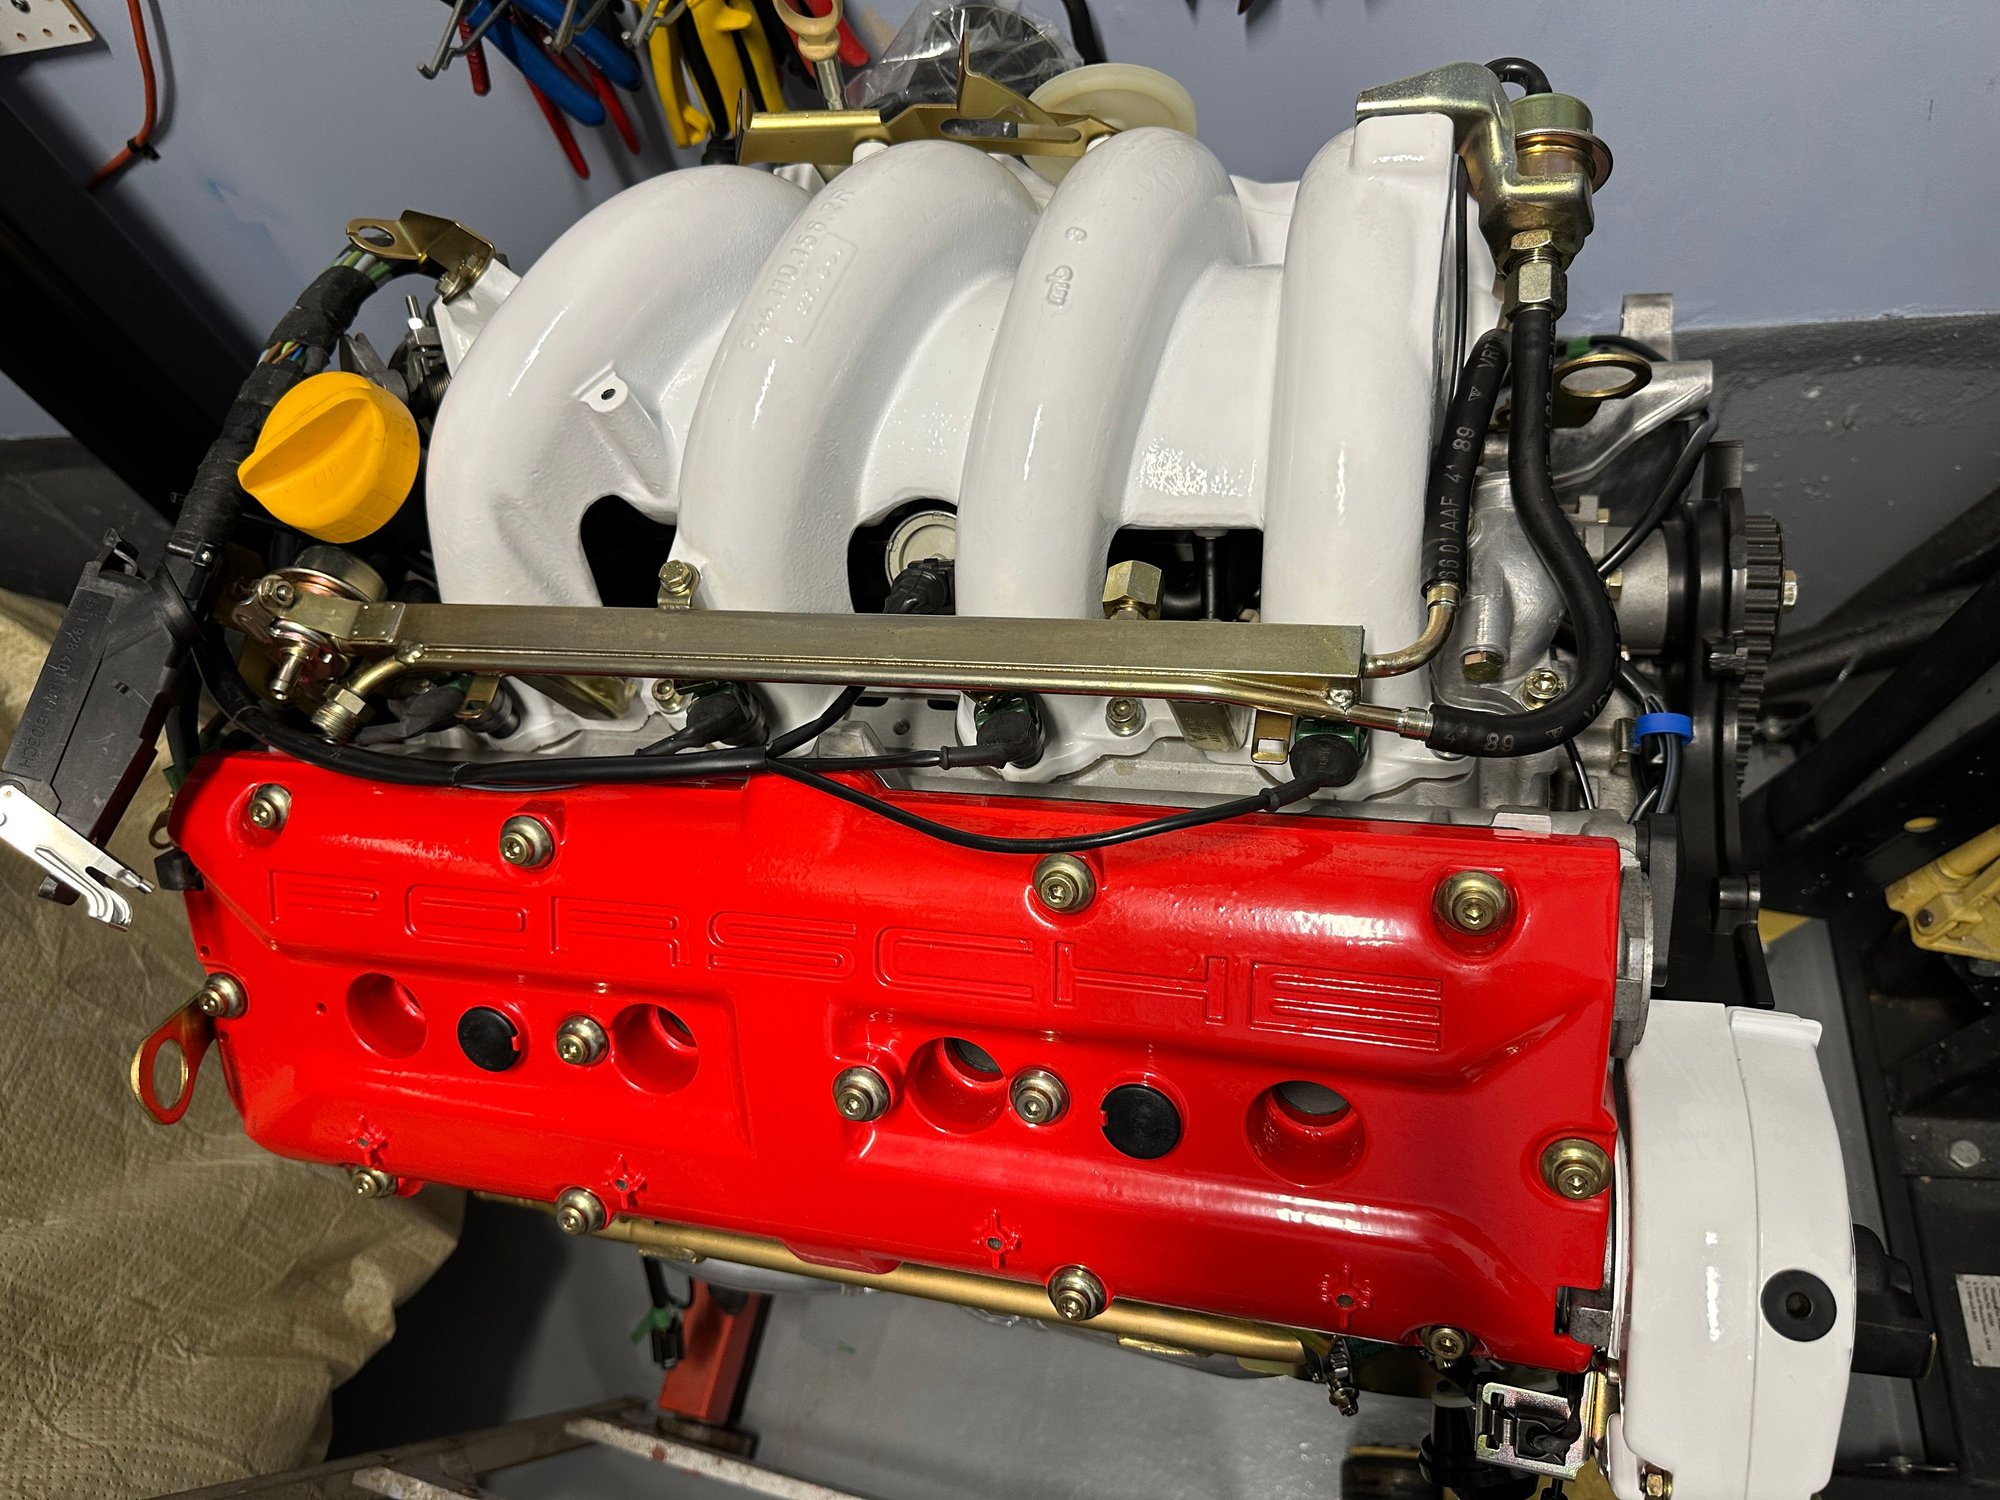
These latest engine photos show the balance belt tensioner tightened the wrong way. It was correct in earlier engine photos.
Should be tightened clockwise.
Fantastic work.
what are you going to do when it's finished?
Good question... I think I like working on cars more than driving them. I will try and drive it a reasonable number of times during the season, mostly with my son, but that is about all. I'm pretty stupid in that I get so obsessed with making things as perfect as I can that I end up with something I don't want to beat on.
Originally Posted by Gage
These latest engine photos show the balance belt tensioner tightened the wrong way. It was correct in earlier engine photos.
Should be tightened clockwise.
You are right... I managed to screw that up again. I think I got distracted trying to get the tension and clearance to idler right, and lost track of that. I will change, thank you for pointing that out.
[QUOTE=500;19356407]Good question... I think I like working on cars more than driving them. I will try and drive it a reasonable number of times during the season, mostly with my son, but that is about all. I'm pretty stupid in that I get so obsessed with making things as perfect as I can that I end up with something I don't want to beat on.
Do you know, that's what I was thinking when I have been reading your years long crusade on this perfect rebuild project.- you obviously just love working on something.
Although I have undertaken lots of projects on my 944 , I'm impatient to get them finished asap, and I say to myself that's it! But it never is. Having just changed the rear shocks and driveshafts and fitted a front splitter in the last few months.
Yours is too clean and shiny to even run out on a dirty road, let alone in the rain😀
This is an amazing thread here. The detail! Great to see this as a lot of the engine bay stuff are things I'm fiddling with on my rebuild. I'll never be at this level but awesome to see the great pics.
Two questions: I see Genuine parts labels on the right side engine bay heat shield but can't make out the full numbers and nothing comes up for me in PET or anywhere else. Do you have part numbers for that shield and the clutch tunnel shield?
Also the fuel lines coming from the front pressure regulator, are those crimped? Or they will be clamped? Hard to tell whats going on there.
Its been an education see the level of detail in your work. Also cool to see you're in Canada
Dave
Last edited by maybeillbuyit; 03-28-2024 at 12:09 PM.
Reason: spelling
...Two questions: I see Genuine parts labels on the right side engine bay heat shield but can't make out the full numbers and nothing comes up for me in PET or anywhere else. Do you have part numbers for that shield and the clutch tunnel shield?
Also the fuel lines coming from the front pressure regulator, are those crimped? Or they will be clamped? ...
Hey Dave, the side shield is 944 556 074 00 and the clutch tunnel one is 944 556 077 00. It was some years ago that I bought them, so I don't know if they are still available. If the are not, I would strongly consider making something up using materials from Design Engineering Inc., https://www.designengineering.com/pr.../heat-control/
The area in PET which show the shields is illustration 807-00
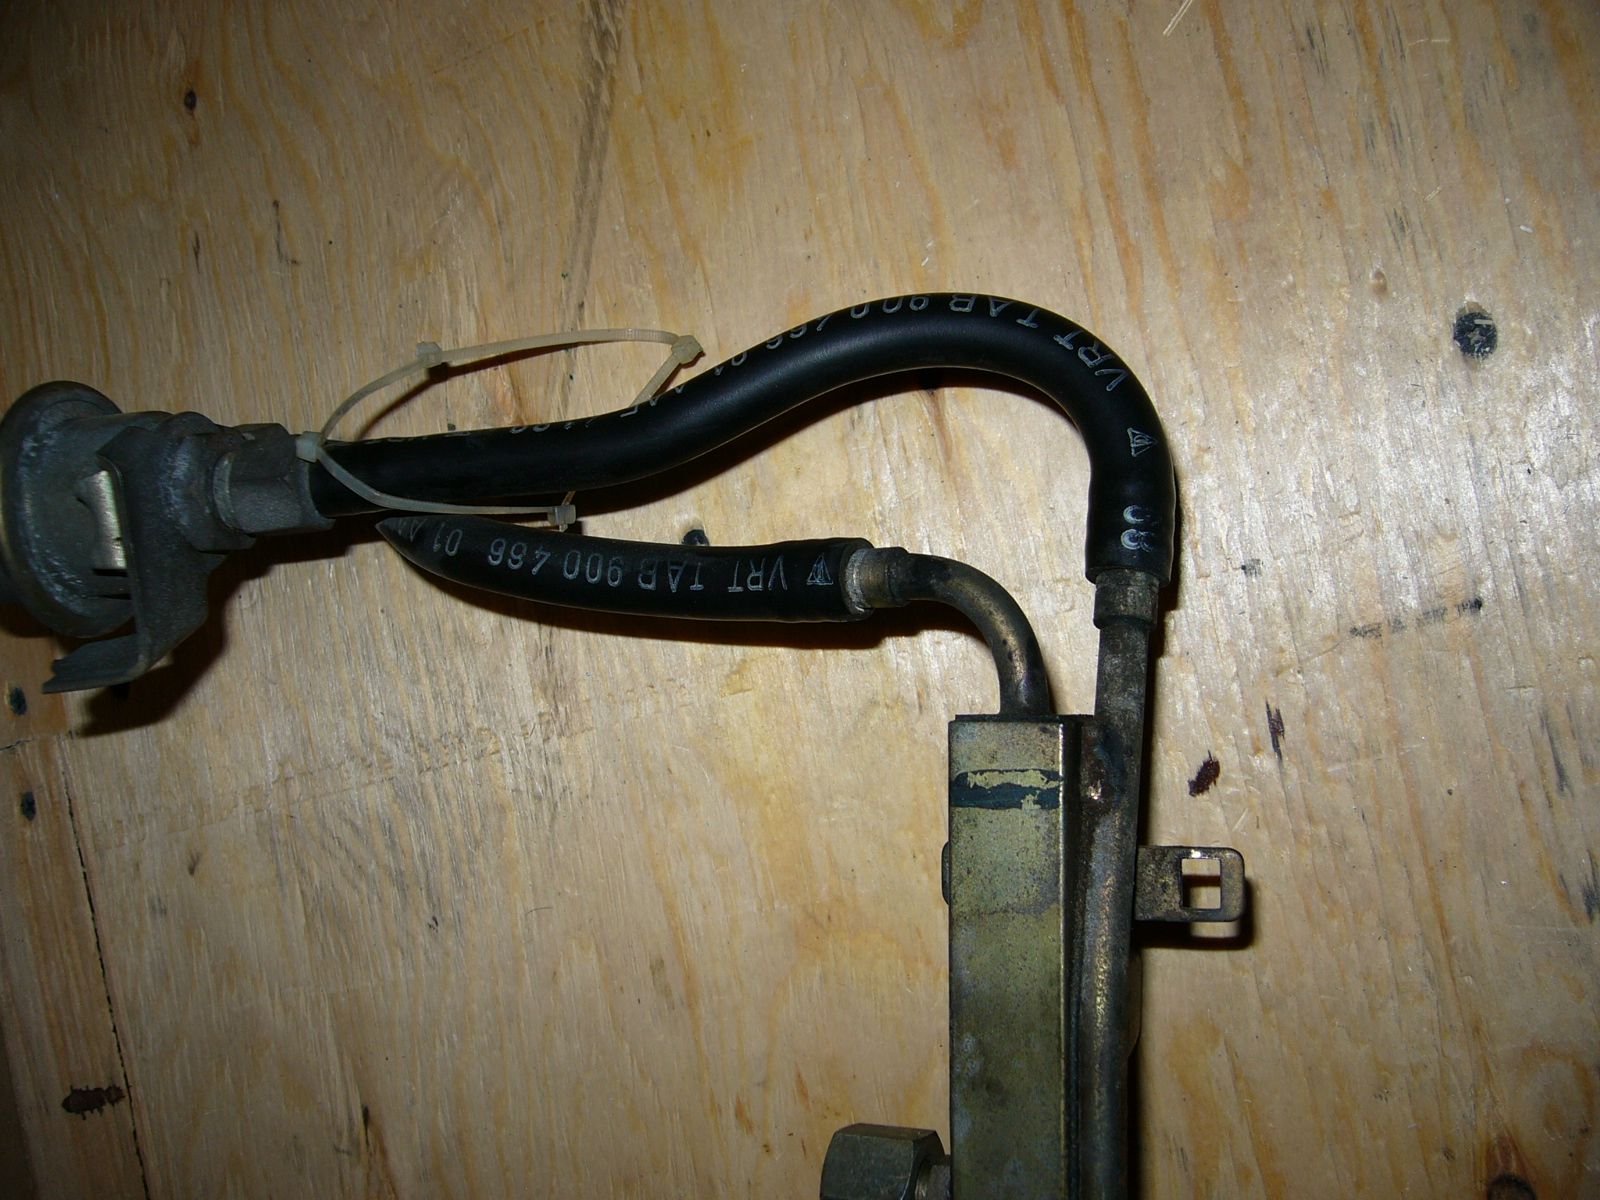
The two fuel hoses on the front between the rail and regulator are not crimped or clamped, but rather seem to be "shrink fitted" on. This is how the original was, and I purchased a new OEM fuel rail from the dealer, and it came complete with the hoses fitted in the same way.
Here is a detail of the original fuel rail:
and here is the new rail:
I ended up cutting the hoses off of the old rail and having the old rail and fittings re-plated to have as "spares" later on. The barbs are pretty substantial. If I was rebuilding, I would use SAE J30/R9 hose in the closest fitting diameter with S/S Oetiker clamps (I used this on the 911 fuel lines and have been very happy with the result. I had pressure tested them at the time to 150 PSI and were rock solid...)
Knowing what I know now, I would have rebuilt the original rail with the replated parts instead of getting the replacement new rail.
Last edited by 500; 03-28-2024 at 12:48 PM.
Reason: usual typos...
Hey, thx for the detailed response to my questions.
The side heat shield part no. doesn't even come up anywhere and the tunnel shield appears to be NLA. Oh well, such is 944 life. I already have metal/fiberglass type mat I epoxied on to the tunnel area and was going to do the same when I saw your nice OEM shields, never knew those existed. Design Engineering looks good, I'll check it out
I can imagine the price of that rail and hoses, yikes. I've done the same as you with my old rail, blasted and replated. I was going to use hose and Oetiker clamps well. I was just curious what you had done.
Again thx for the response. Keep up the great work, you've inspired me to try to get back to my project
Fixed the balance shaft tensioner this weekend. Spent some time rotating it both ways to internalize the difference in effect so hopefully I don't repeat the mistake again.
Also continued to connect various items, checking the continuity of each connecter against the wiring diagram as I went, even though it looked pretty obvious what goes where.
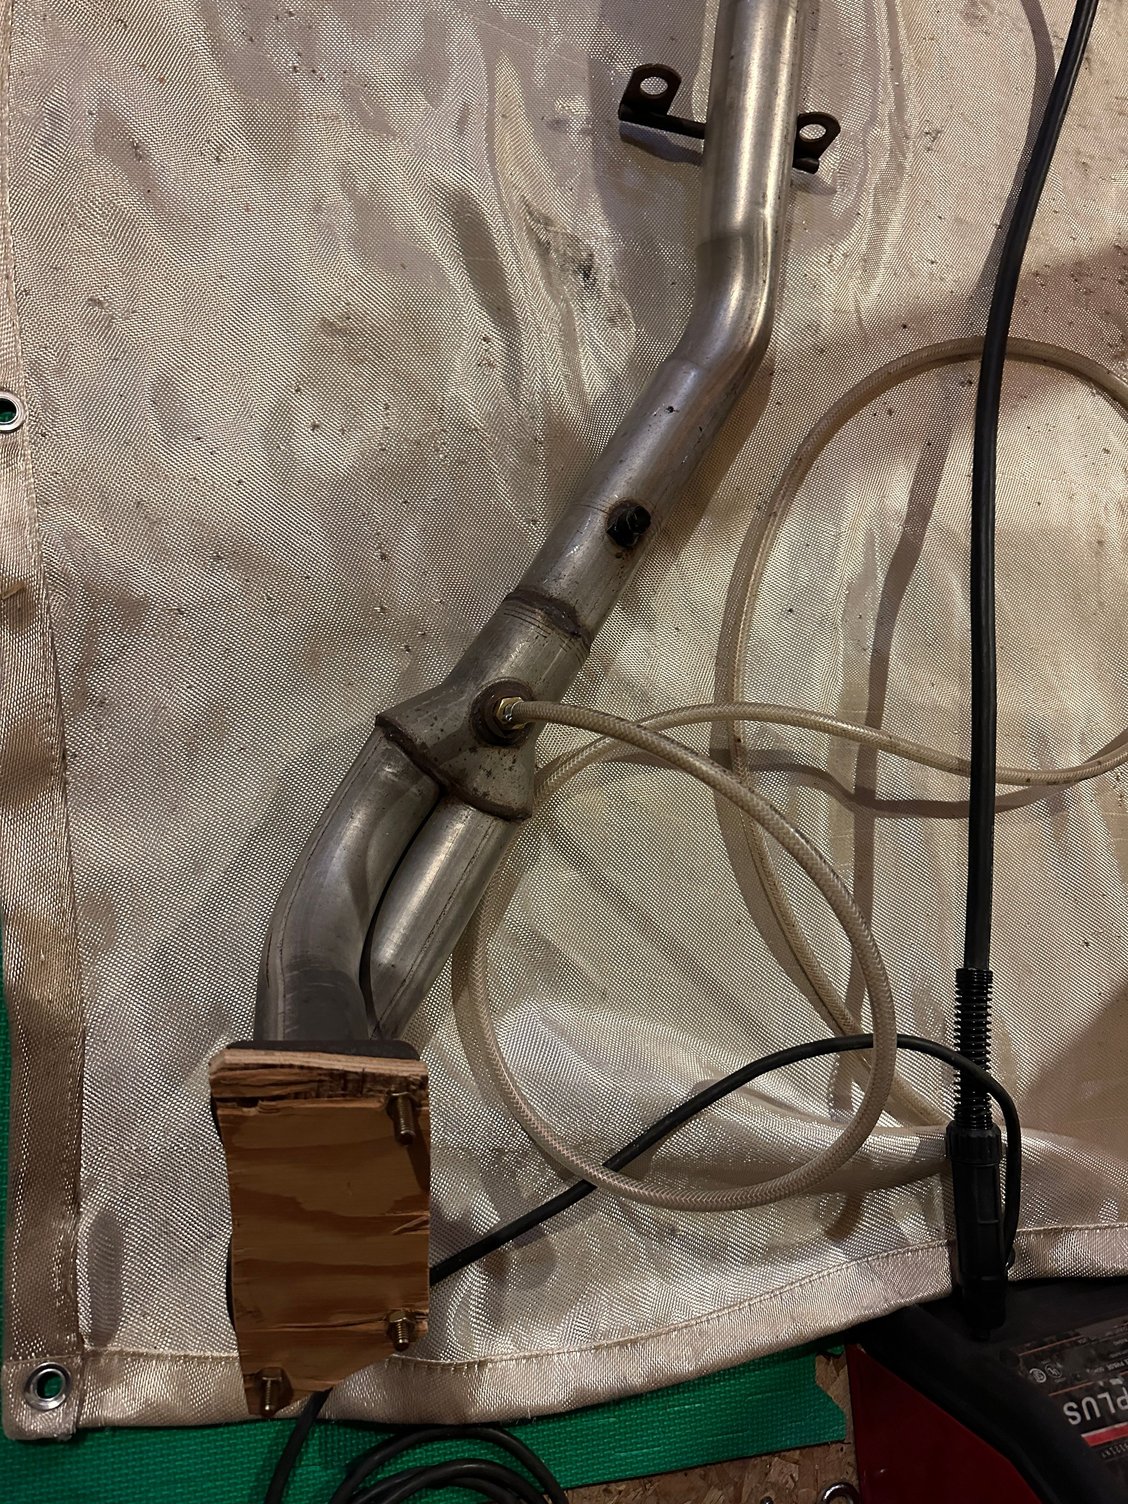
Also did the initial set up for continuing to repair the mid-pipe. The mid-pipe was broken in half when I got the car. I had previously butt-welded the joint as a first step, and am now getting ready to weld on reinforcements (which are sections of 304 S/S tube of two diameters).
I used to have a great TIG machine, but now only have a small MIG unit. For the S/S I use a flux core S/S wire, which works pretty well functionally, but is not all that great cosmetically, but I will see if I get it to a decent point.
The first part of the job is to set up the back purging, which is now ready. Only got as far as this over the past weekend, hopefully I will be able to do the actual welding next weekend.
Did not make the expected progress with the exhaust. Part of it was that I did not have much time on the weekend, but the real culprit is that I learnt that not only was my mid-pipe an aftermarket unit, but more importantly it was not the stock design at all, with much different lengths for the two tubes that feed into the "Y" section. I am pretty sure this would have some real impact on backpressure and maybe sound, so I really would prefer an OEM unit, so I am looking for one.
I may still weld up the item I have on hand, to use temporarily.
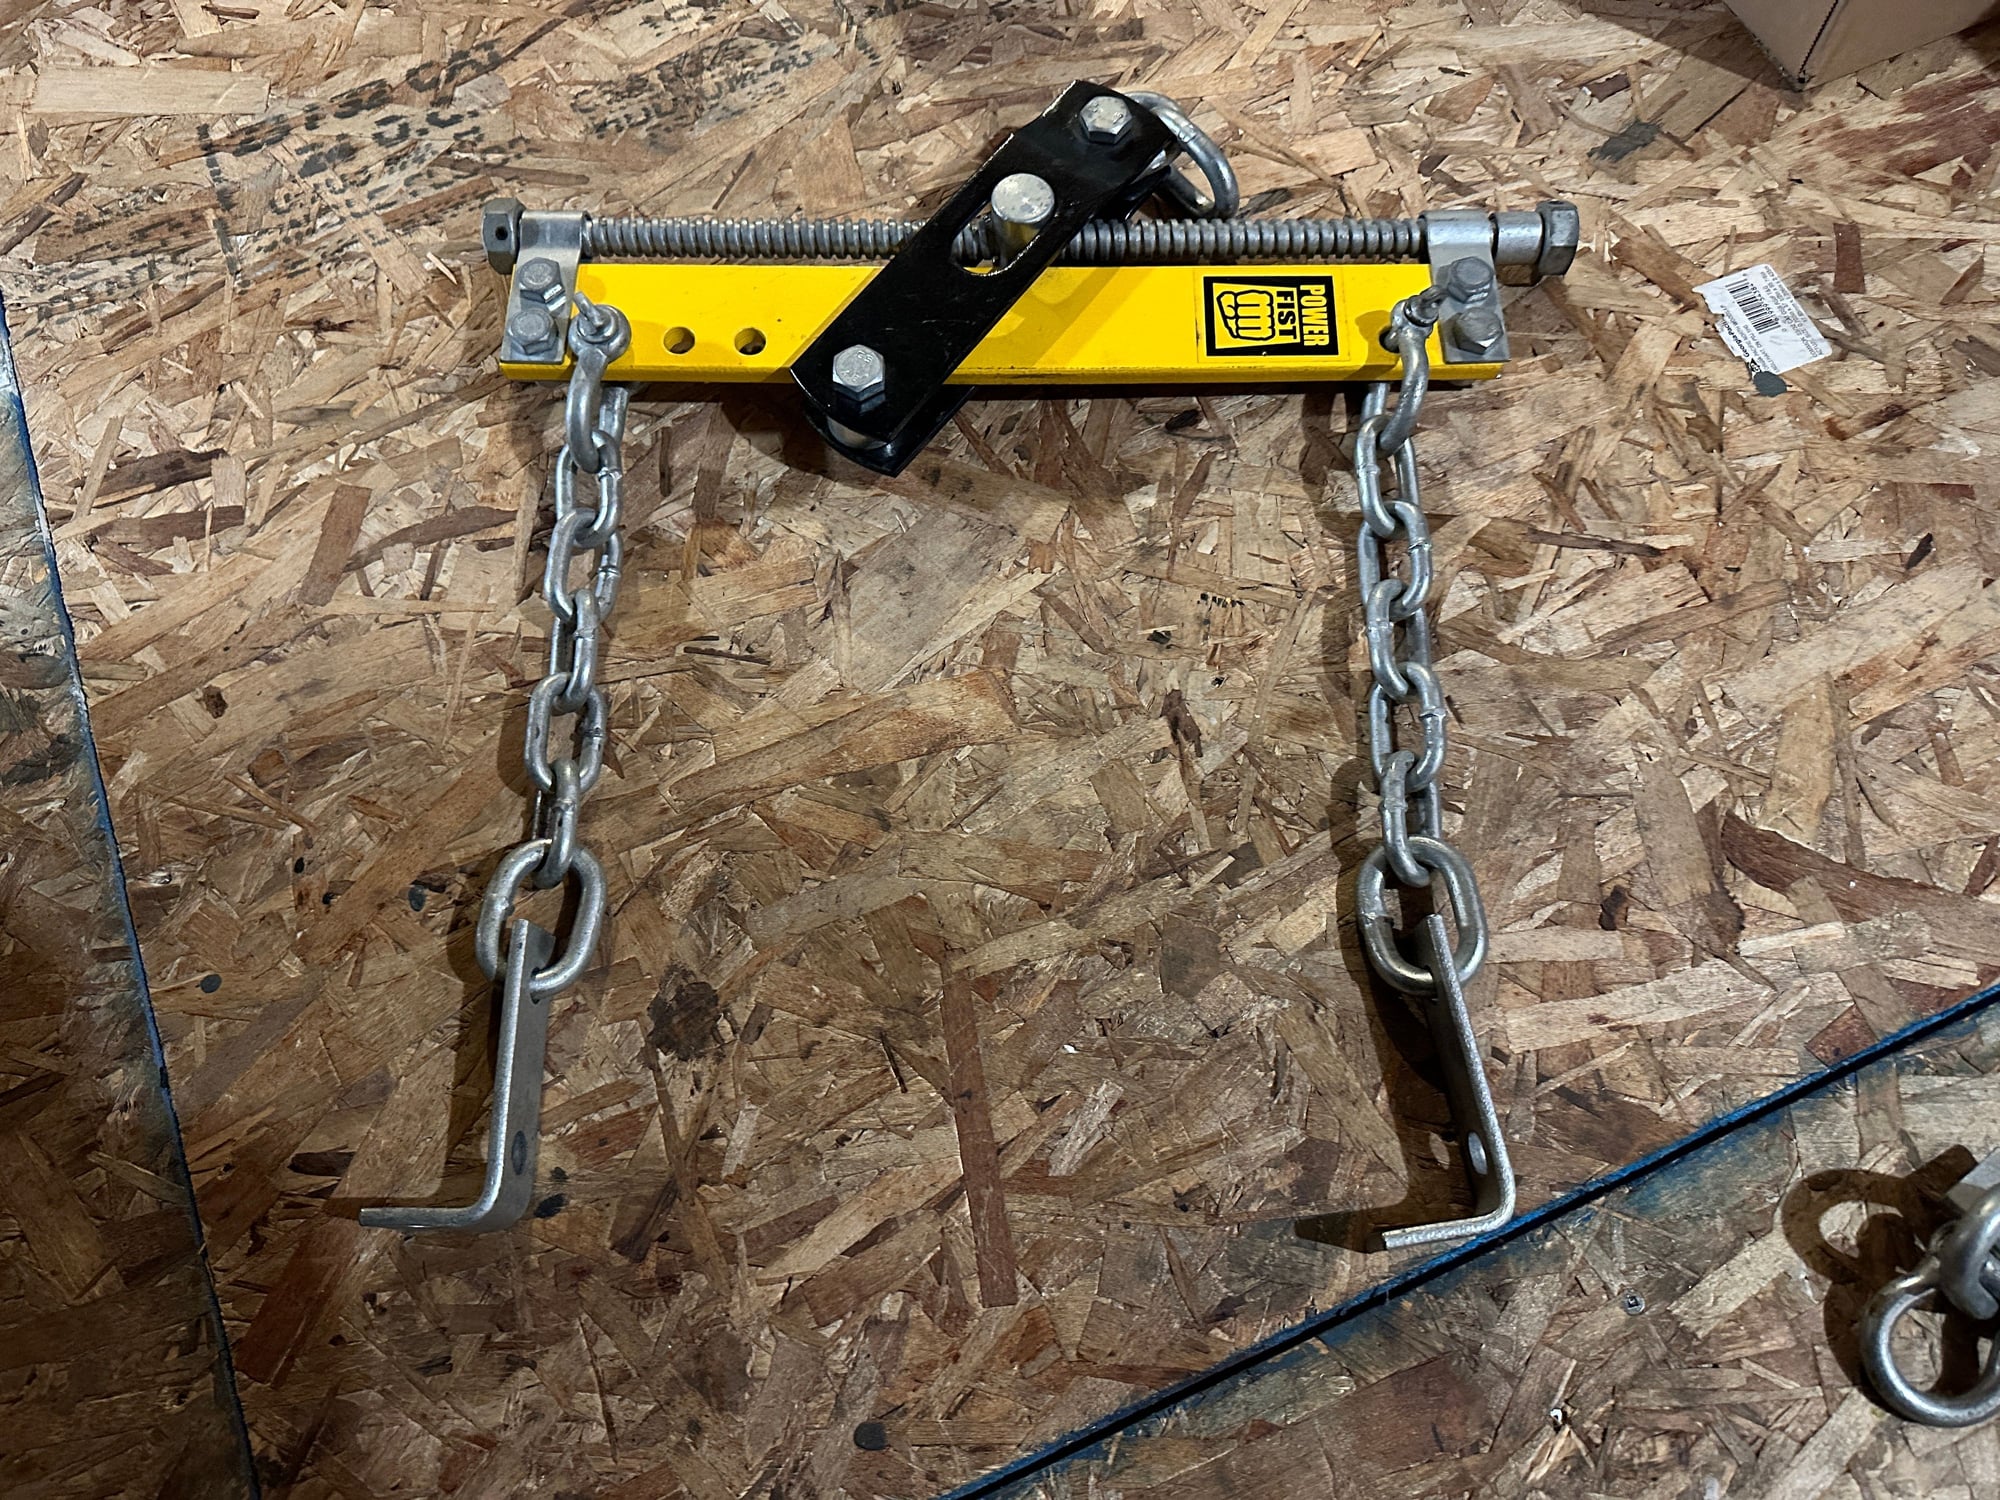
The one thing I did make progress on was a modification the the load leveler unit I will used with the engine hoist. The original one is quite short, so the chains would run at an acute angle and bear heavily on the FPR hose, intake manifold etc. When I removed the engine, it was not a big deal, as all that was getting either replaced or refinished. Now however, the situation is more "delicate" so I found a piece of cold-rolled structural plate to make a longer version. This was the original part:
Here it is after the extension:
However, I am concerned about lateral-torsional buckling. I did some calculations which suggest that I have a safety factor of approximately 1.5x based on the expected critical moment. That's a little tighter than I'd like, given that I am going to be under the load putting in the bell housing bolts, so I think I am going to weld on some additional stiffening element.
Still aiming for the weekend of April 20 to marry the engine back to the rest of the car.
Last edited by 500; 04-10-2024 at 12:41 PM.
Reason: usual typos...
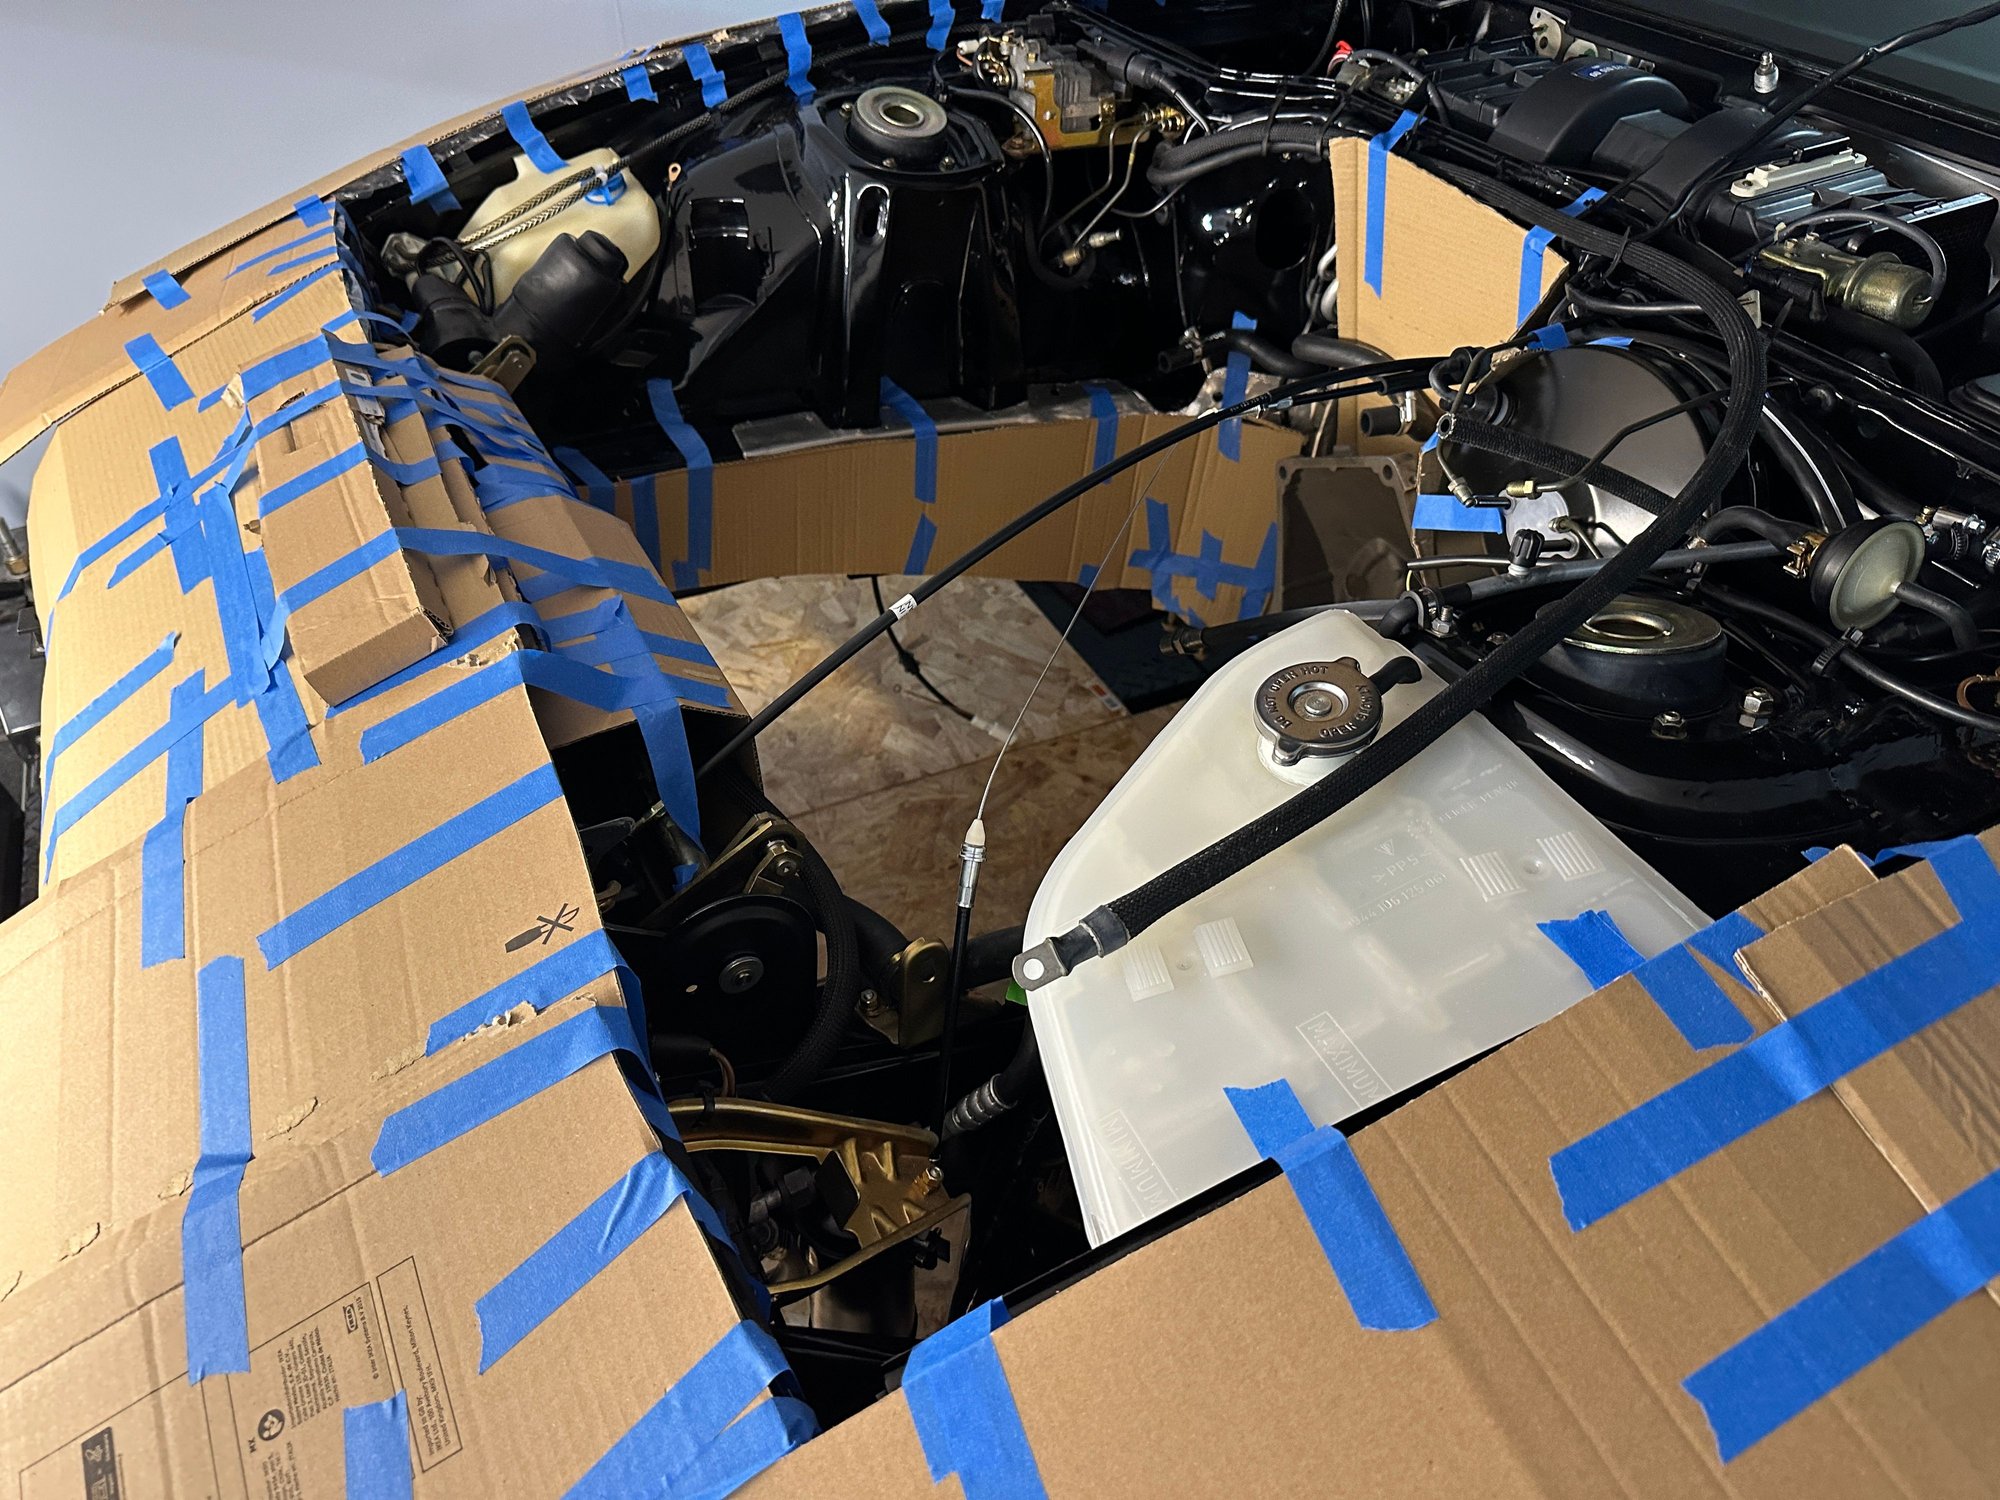
Did all sorts of things to get ready for the engine installation, which included dismantling the wood platform I had built to allow me to work on the car while it was up on the hoist. Everything looks ready for putting the engine in next weekend, unless some unforeseen issue crops up.
In between all that work, I did manage one small job on the car itself: New fog light lenses and bulbs are in. I had debated going with the polycarbonate lenses, but ended up going with OEM Hella.
Also went a bit overboard with bubble wrap and cardboard to keep things protected during the engine install.
Better to go a little overboard than to scratch something and regret it later. Great work!
 03-27-2024, 03:05 PM