When you click on links to various merchants on this site and make a purchase, this can result in this site earning a commission. Affiliate programs and affiliations include, but are not limited to, the eBay Partner Network.
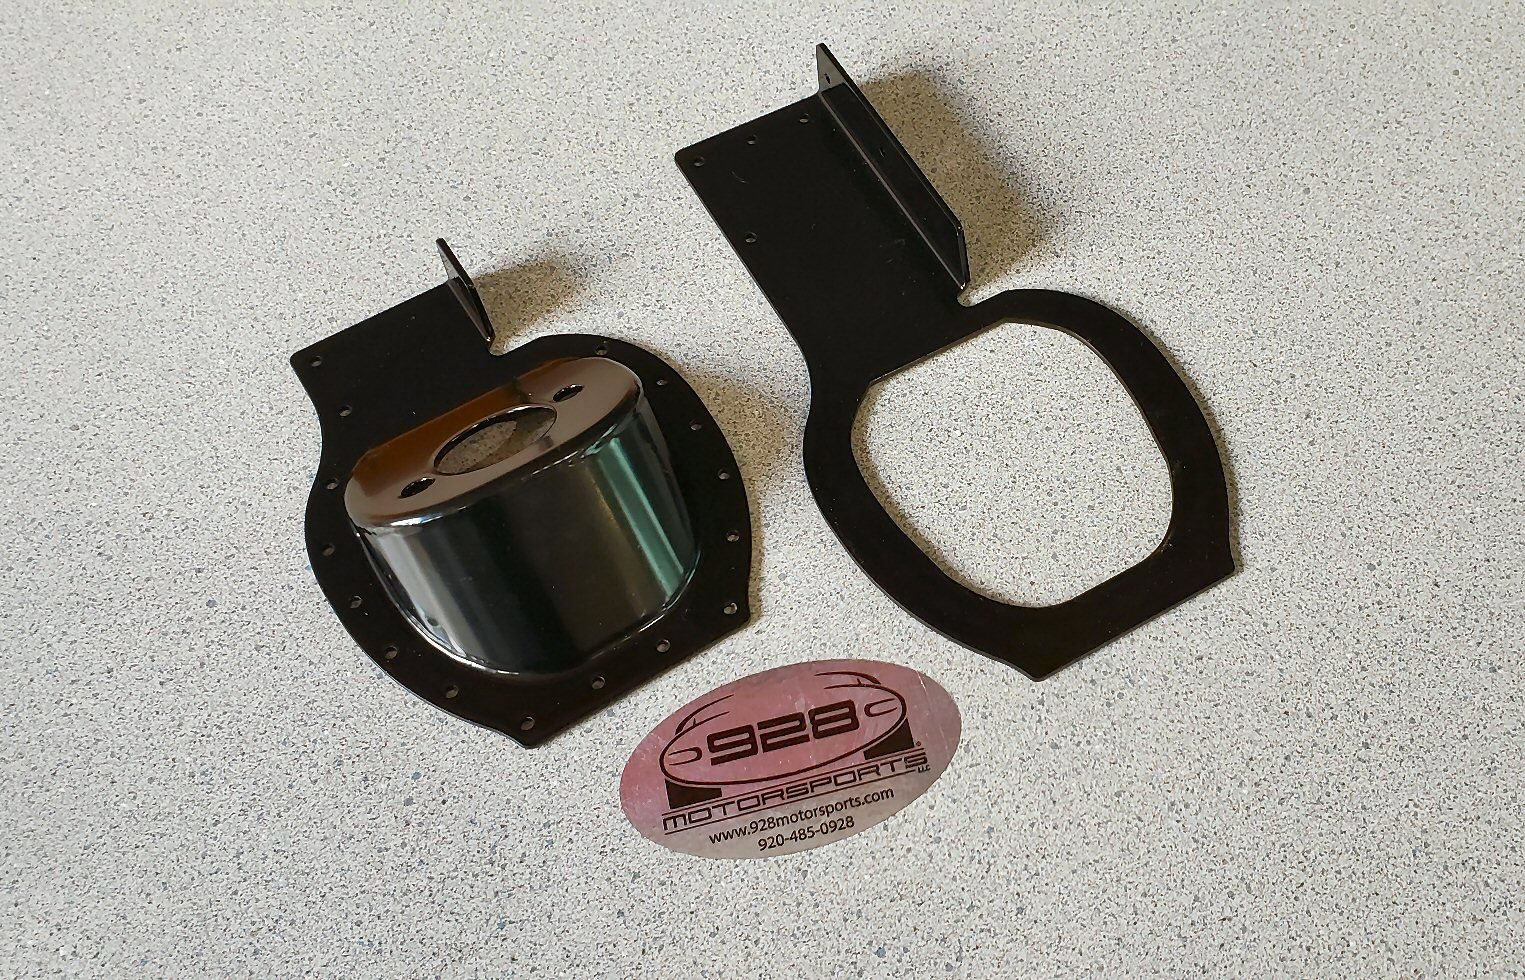
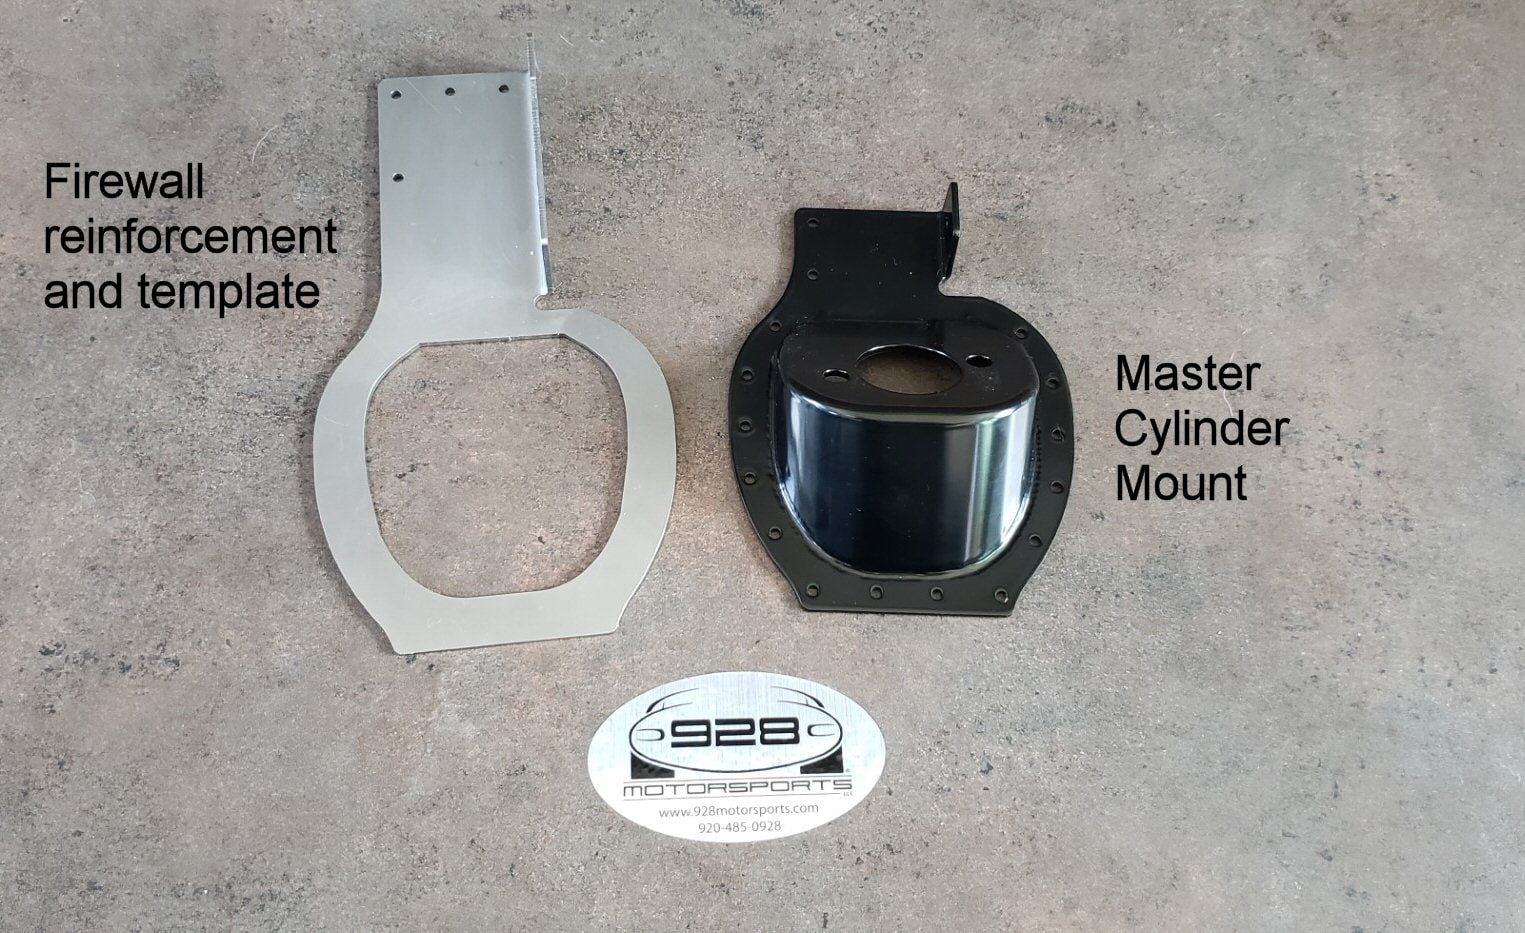
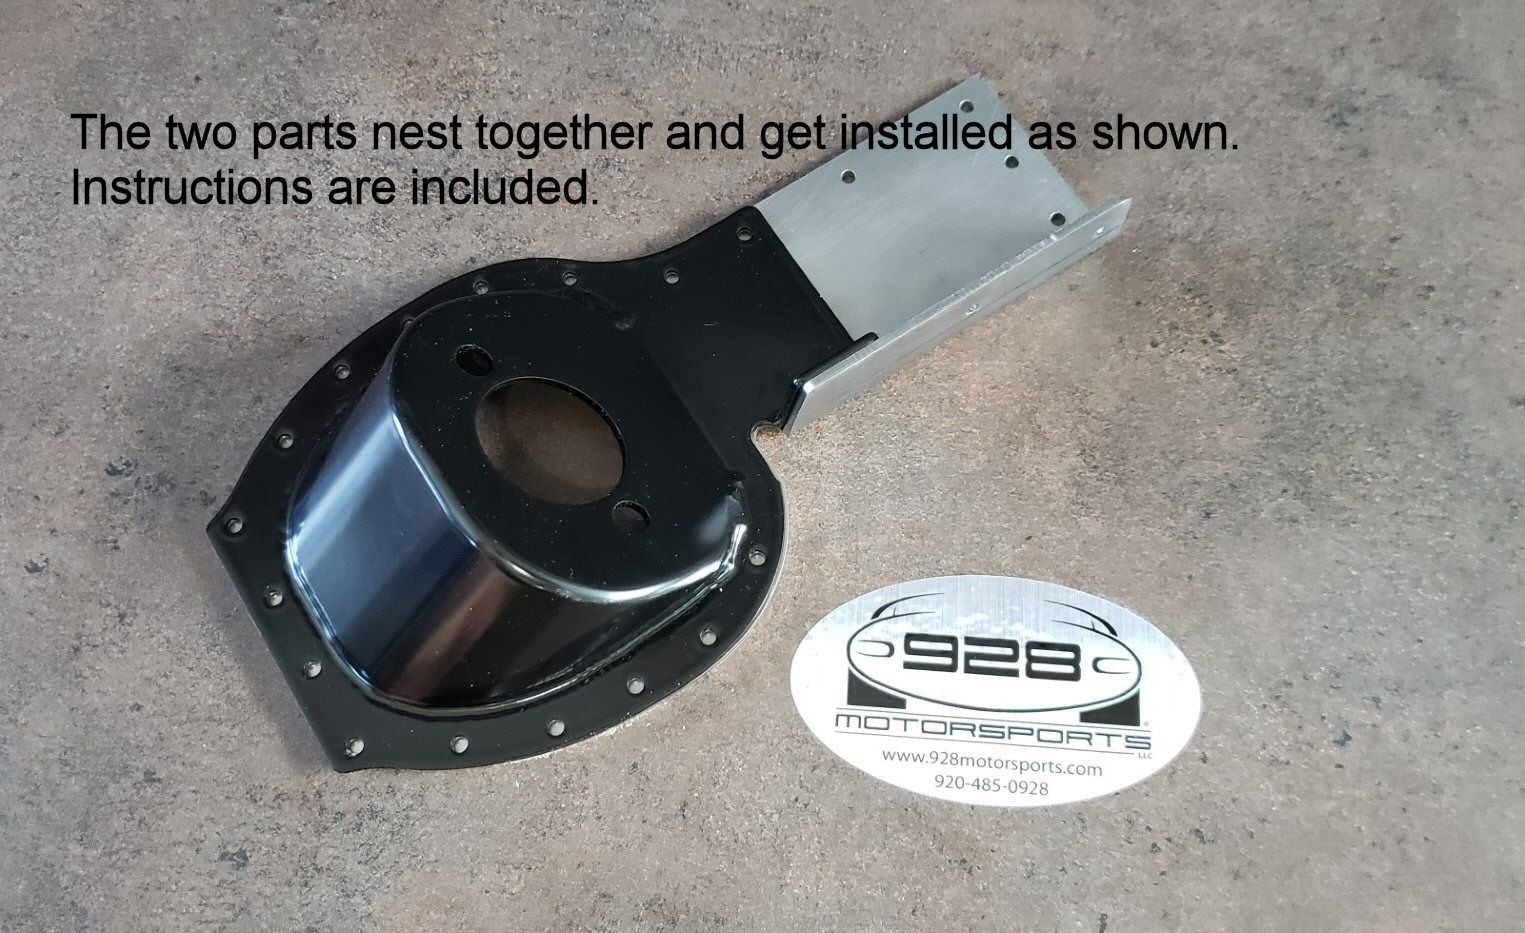
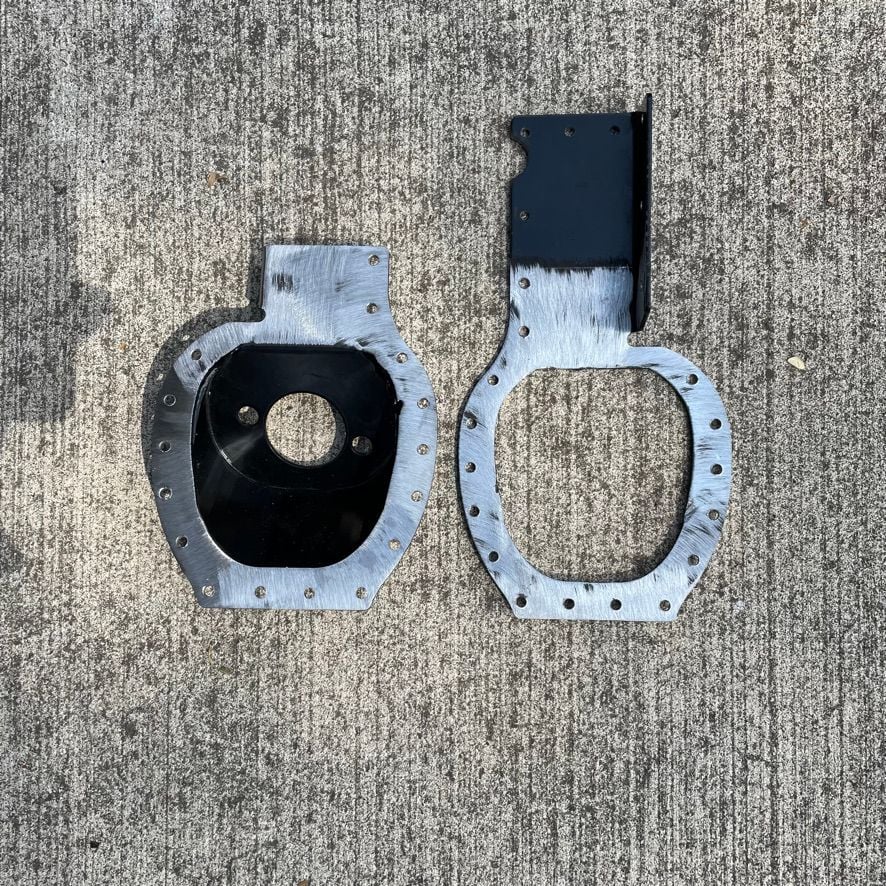
The template/reinforcement section of the master cylinder mount just came in from the powder-coater. Ready to ship; the template/firewall reinforcement, and the clutch mount that lays over it.
The template/reinforcement section of the master cylinder mount just came in from the powder-coater. Ready to ship; the template/firewall reinforcement, and the clutch mount that lays over it.
Semi-retired, as of Feb 1, 2023.
The days of free technical advice are over.
Free consultations will no longer be available.
Will still be in the shop, isolated and exclusively working on project cars, developmental work and products, engines and transmissions.
Have fun with your 928's people!
Spacing out the bracket is a difficult idea. I've seen a couple installations that have seen more rapid wear on the master piston due to this bracket being out of alignment to the clutch pedal.
I also don't relish the idea of Greg's about welding it in. The chassis is hot-dip galvanized and if you don't clean all that off the metal before welding, you could kill yourself from inhaling the fumes.....
Instead of sealing this plate with silicone, you really should suggest a panel bonding adhesive to help hold things together.
I've done a number of manual conversions both with the factory firewall bracket as well as doing a floor-mounted pedal (Wilwood). I've never seen a firewall crack start and have never been able to measure any movement on that bracket. I suggest that you have everything attached and set up on the car and then mount a dial indicator on the car and measure how much movement is there to know if you are really going to be seeing an issue or not.
Extending the bracket further down as the factory did is a wise idea, as is making the flanges much wider.
Damage from sheet metal flexing is a progressive problem....it's not going to happen the same day you install something that is too weak to keep the firewall from flexing and work hardening...it will take a few years.
Take a peak at what the 951 guys are doing to help keep their firewalls and pedal assemblies from ripping out of the car. (which they do on a routine basis, when they add a stiffer clutch...or allow the old stock diaphragm to get too stiff (work hardening.) It' a good lesson... since a 951 has the same sheet metal, same welding techniques, same galvanizing process, and the clutch master works in the same way a 928 does...perpendicular to the firewall. (And when the pedal assembly rips out of the car at the spot welds on a 951, the chassis is essentially junk....it's almost impossible to repair....the access absolutely sucks.) BTW....I just got done fitting in one of these "support brackets" for a 951 clutch master...I'm not sure what car it was made to fit (supposedly a 951), but it didn't. Hell, the stock master wouldn't even fit into it! I "cut", ground, and welded on this bracket to try and get it to fit, for hours....and finally it was so cut up and was so thin in some areas, that I took it over to my fabricator and told him what to build.
Getting into a 928 and running a short weld bead to make this area sturdy is absolute "cake" compared to fixing a 951 with broken sheet metal! Thirty minutes of removing flammable material and the seat, 15 minutes to make a heat shield above the welding area.15 minutes to remove the galvanizing (in order to get a good weld), 15 minutes to drag over the welder and get it setup ready to weld, 5 minutes of welding.
In the old days, the 911 crowd (including me) would install thru the chassis front sway bars (like a pre-1974 911 had), instead of a sway bar that was completely under the car and attached to the front cross member and the suspension. We did this, in order to get stiffer/adjustable sway bars. We would drill the hole for the sway bar to pass through and holes for the factory sized mounting bracket (the sway bar passed through the side chassis member and went behind the fuel tank.) Of course, none of these chassis had the factory gusseting for the "early" sway bar, so the builders of the sway bars (including me) would make a metal reinforcement plate for the inside and a metal piece with a bushing in it, for the sway bar to pass through. To visualize this, without ever looking at a 911, there was a pieces of sheet metal (just like the 928 firewall), which had the sway bar passing through it perpendicular and the pieces of sheet metal was sandwiched between two 1/4" plates, with a bushing in one of the plates, for the sway bar to rotate on. Worked great....for several years....and then we started to see cracking on the sheet metal....and these cracks grew. I've seen cracks that are 4"-5" long, radiating from the sway bar area. There's really no solution, short of taking the entire front of the car apart and putting in new sheet metal....it's easier to just "find" another tub!
A huge percentage of what I know and what I suggest comes from 50 years of being "there" and "doing it". There's no "book" to tell people how to do this stuff...just the "school of hard knocks".
I spend a huge percentage of my time, these days, trying to pass this knowledge on, to my son.
It will take years and years.
I'm really glad that Carl took my suggestions to heart and built, what appears to be, a good solution.
Sometimes it takes a community to see a problem and find a solution!
This is a great thread and I appreciate how the community has come together on this innovation. As I prepare my own manual swap adventure I plan to use this bracket as well. I have some questions about a few of the installation details using the riveted and boded approach:
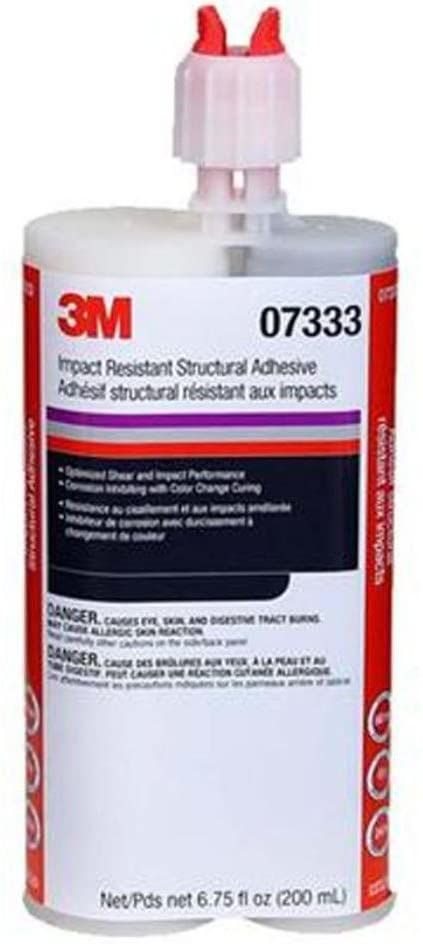
Rivets: I see the recommendation is to use 5/32" Stainless rivets. I am curious if it make sense to use a rivet with a wide flange? I came across these rivets and through the wider flange would offer more surface area to distribute load. Bonding: Secondly regarding sealing and boding the bracket to the firewall I am curious about what forms of bonding product to use. I see some folks just recommend using a sealant it would seam panel bonding would make sense here. I know nothing about these products but this 3M Impact Resistant Structural Adhesive seems to be qualified for the job. Seems to be as suitable as welding in reading the description. I'd appreciate comments on this as well.
If the 3M panel adhesive is the number I'm recalling, then I'm pretty sure this is the stuff GM was gluing truck doors on with starting in '88 with the new body style.. In all of my years working wrecks on the fire department, I've never seen a truck door "come off"..... My brothers have been using this stuff for years in various ways during our vintage racing. Scuff the surfaces, surgically clean with acetone, let dry 24hours..... I think the word "permanent" barely describes the results.... Ken
the inner and outer pieces of metal, ideally are not the same size, helps reduce shear at the edges, I've repaired a few race cars with sandwich brackets for Master cylinders (Holing the top swung tilton pedals) the cure was to make one piece or the other about 1/8 to 1/4 larger where you can..
And +1 on the panel adhesive,, warning do not get it on your hands and leave it.. It does not come off..
I haven't seen any posts of people who have actually installed this product on a car yet. So I thought I would post some updates of my own installation adventure on my 92 GTS LHD. First of all thank you forum members, vendors, and sponsors for this thread to develop this product. It has really helped to inform me on how to install this and what are some of the different pro/cons of the different approaches.
I purchased the latest iteration of the 928MS template and mounting plate. It's the two piece iteration. Following the instructions posted here I was able to remove the necessary insulation to get access to the firewall. The 928MS alignment template was fairly easy to set into position and trace the area to cut. Take a look at the photos below and the captions.
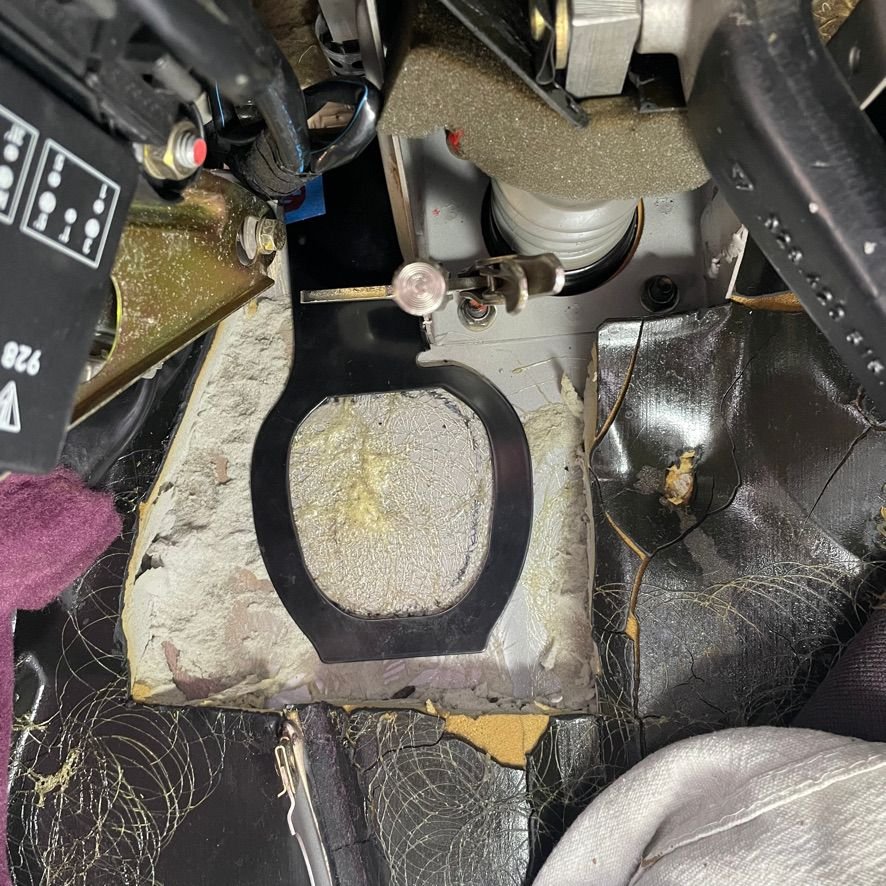
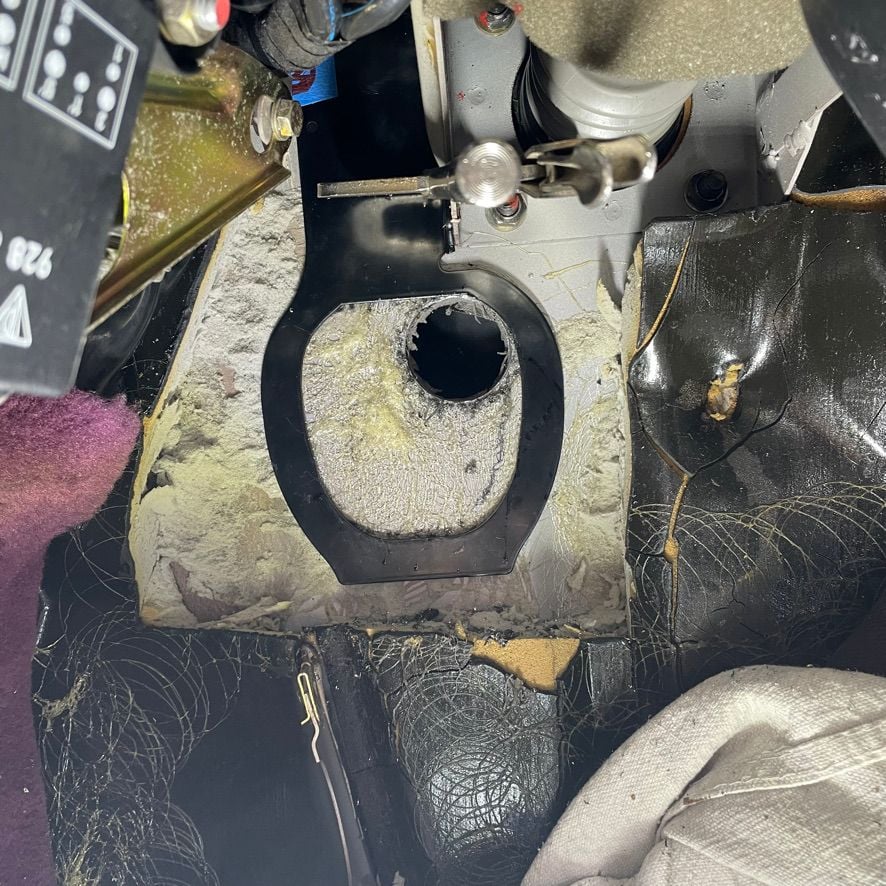
Here you can see the insulation removed Here is the template in position. If you look closely at the upper left corner of the template you can see it overlaps the panel grommet for the hood release cable. I removed some material from the template to clear that gromet. Template place, I traced the cut area. Clamping it into position shifted my cut area so I am glad I did that before I cut.
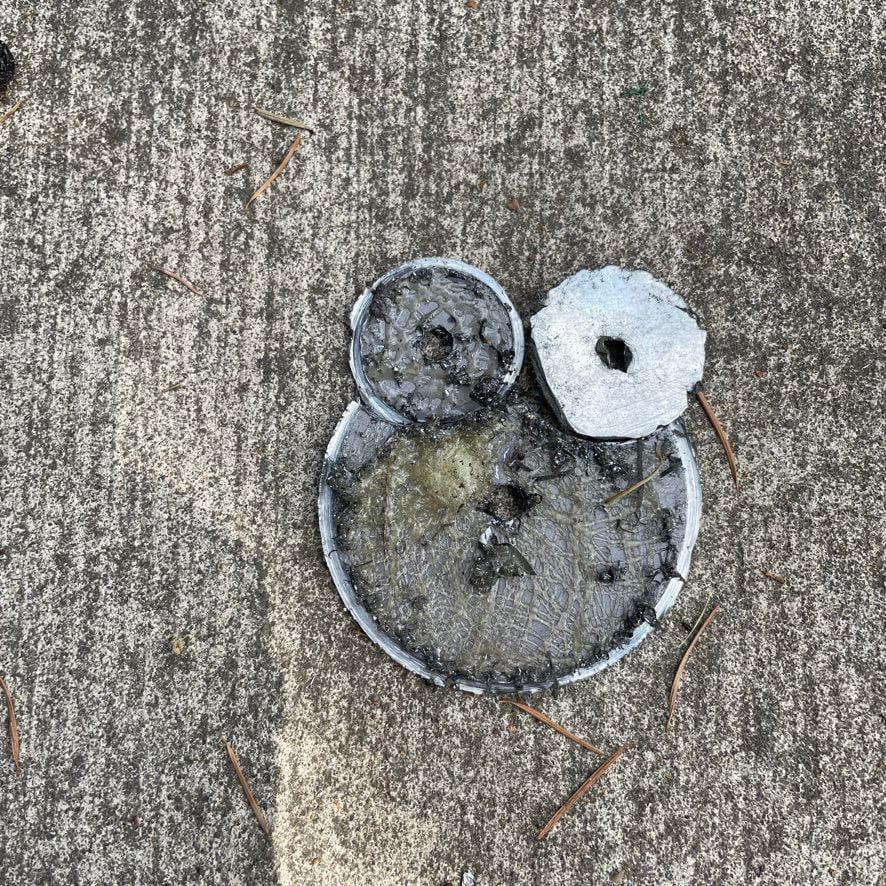
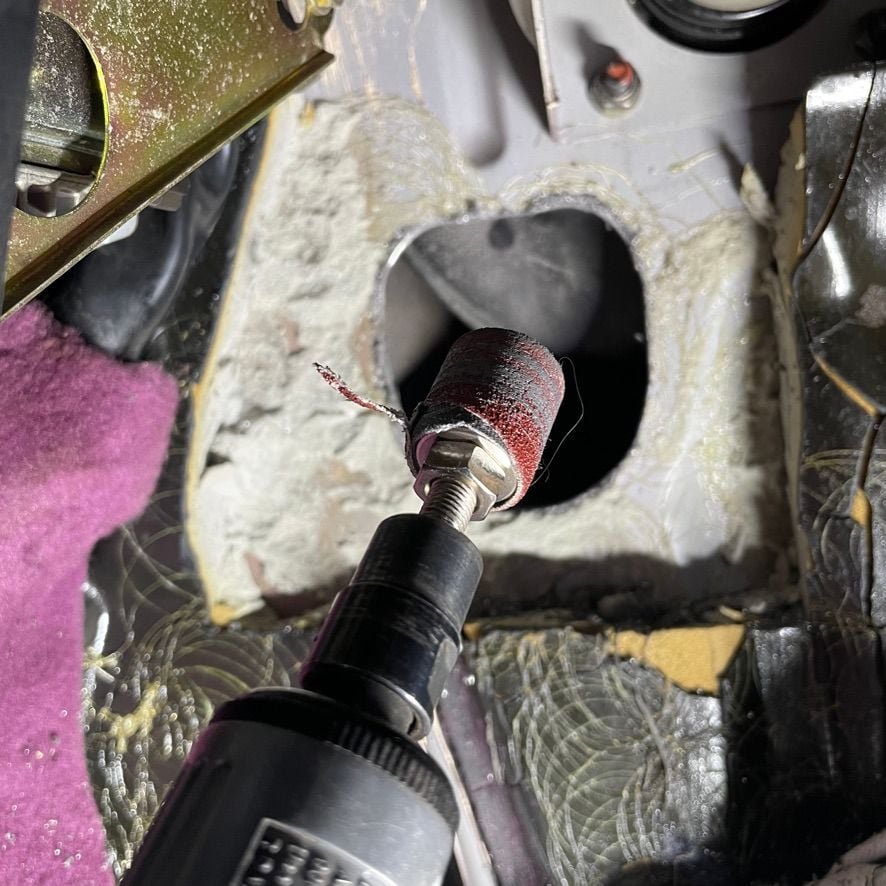
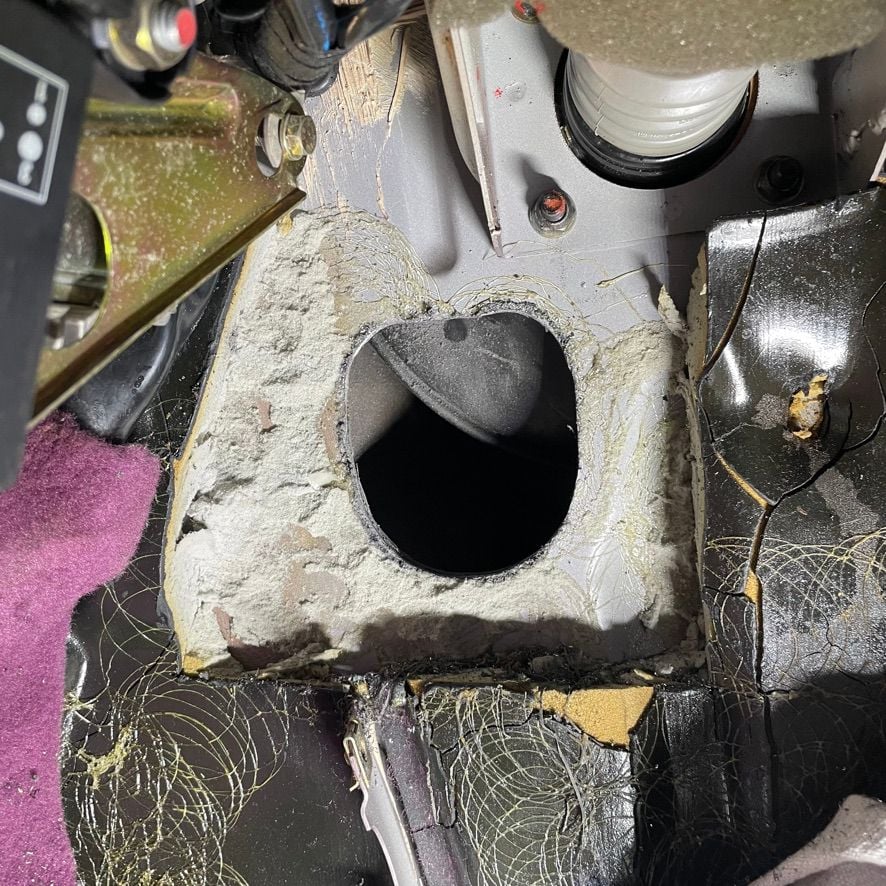
I decided to leave the template in place to use as a guide when using the hole saws. This worked really well. Also, I started with the two smaller holes so I had a pilot hole for each cut. here are the three cuts I made. You can see I have pilot holes for each. If you cut the big hole first, you done have a good surface or pilot hole for the smaller cuts. Here is the rough cuts. I left the template in place while I removed the excess material with a barrel sanding bit. I removed the template to take off the sharp edges. Finished cut, I ended up cleaning the mounting surface to bare metal because the panel bonding product I am using specifies use that way. Similarly I removed the power coating on the mounting plates and pre-drilled the holes. FYI the specification called for 5/32 rivets but the powder coating reduced the hole size so I cleaned them out to 5/32" Here is the test fit. I wanted to make sure the CMC was in correct position with respect to the clutch arm before moving forward with riveting and panel bonding. The good news is everything is perfectly aligned. Not that it need to be since the push rod for the CMC can be angled a bit to make up for slight variance. But in this case it was not needed. The rivets I am using are the oversized 5/32" Stainless mentioned above in this thread.
As I consider my implementation with the oversized stainless rivets and the use of the 3M high impact panel adhesive (mentioned above), I think the number of rivets are overkill and could have probable drilled fewer holes.
I am in a bit of a quandary of how to drill the holes that attach the template to the perpendicular reinforcing around the brake master. I would be open to ideas.
My next step is to get a flexiple drill extension and see if can reach my drill into the tighter areas on the upper section of the template.
I am thinking I will install the brake with the CMC, blue line, and Slave line attached since I wont have easy access to that area.
Last edited by Michael Benno; 09-04-2021 at 07:00 PM.
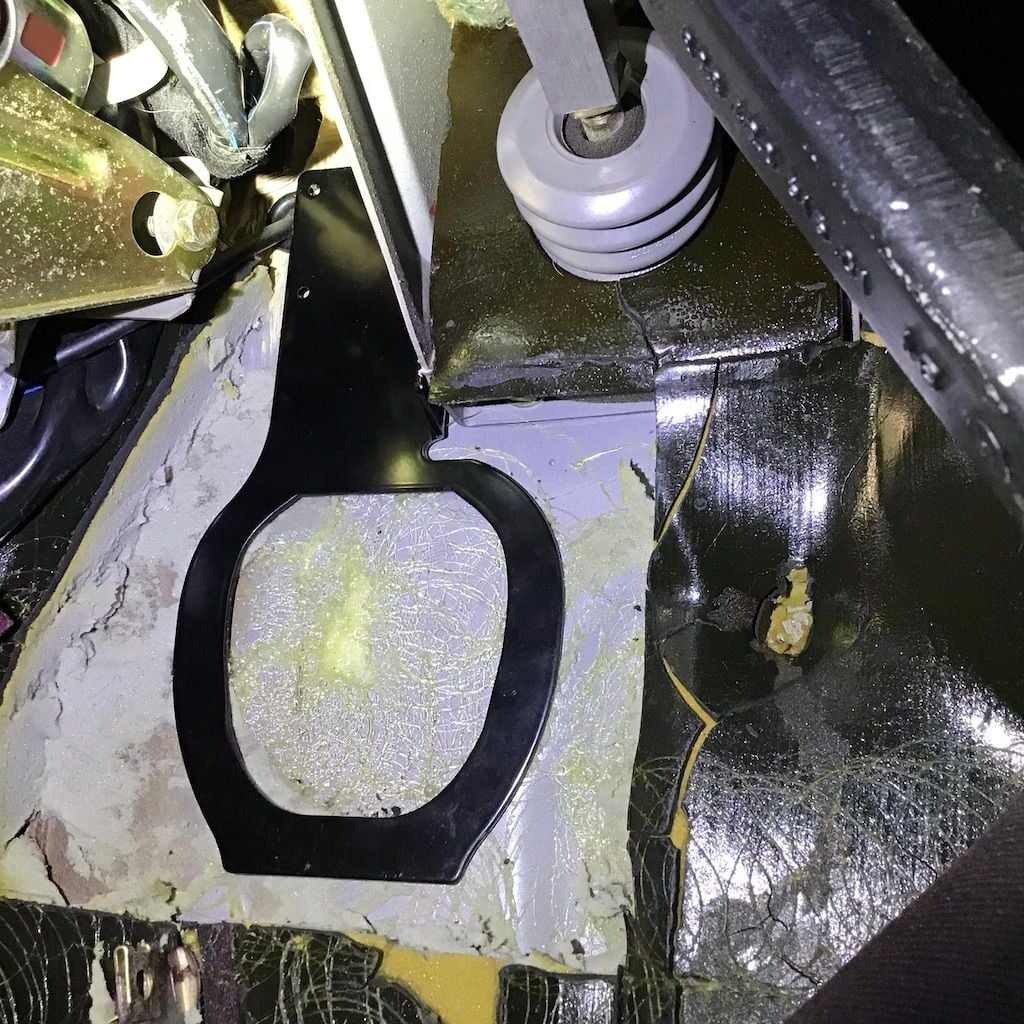
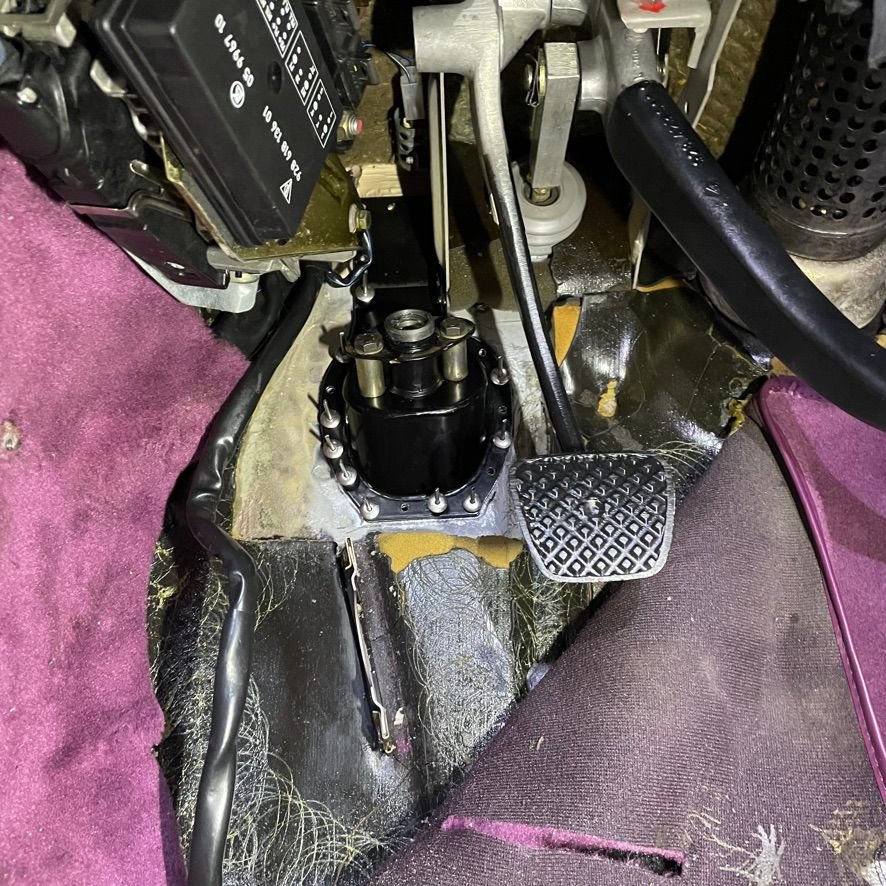
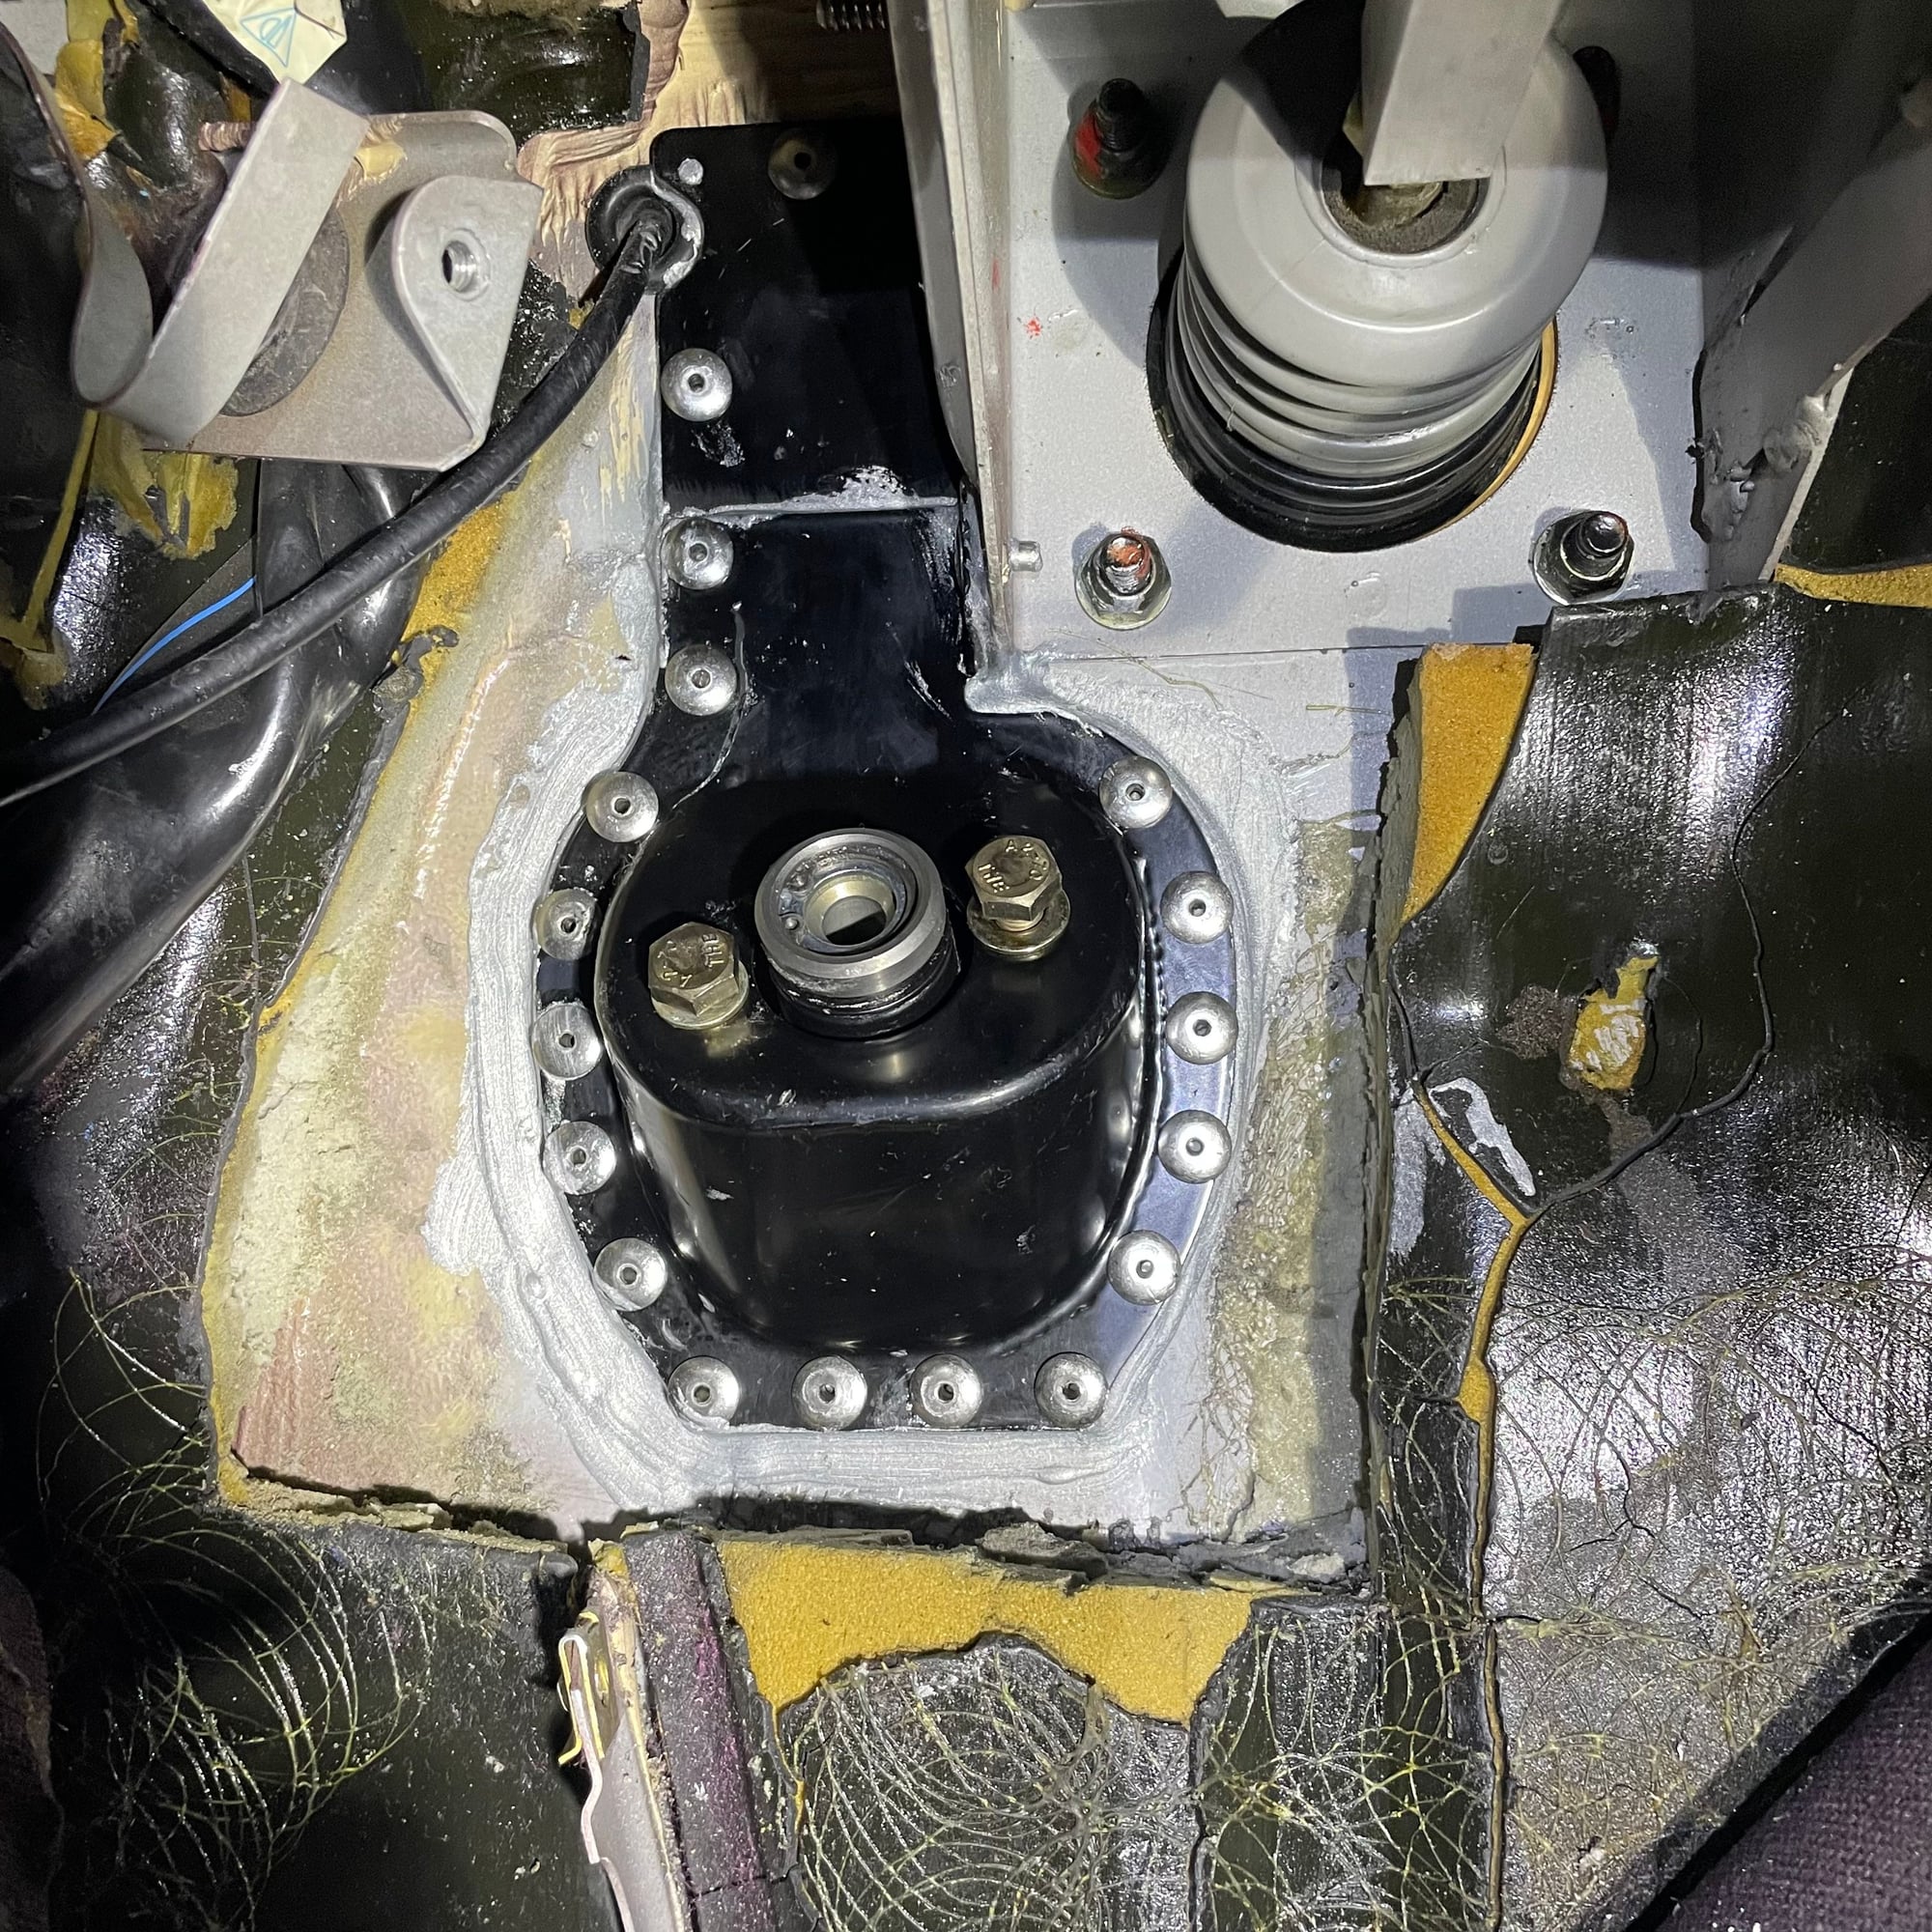
Well that was easier�. Sorta. Still a ton of work and details to work through but I�m feeling very satisfied with the final result.
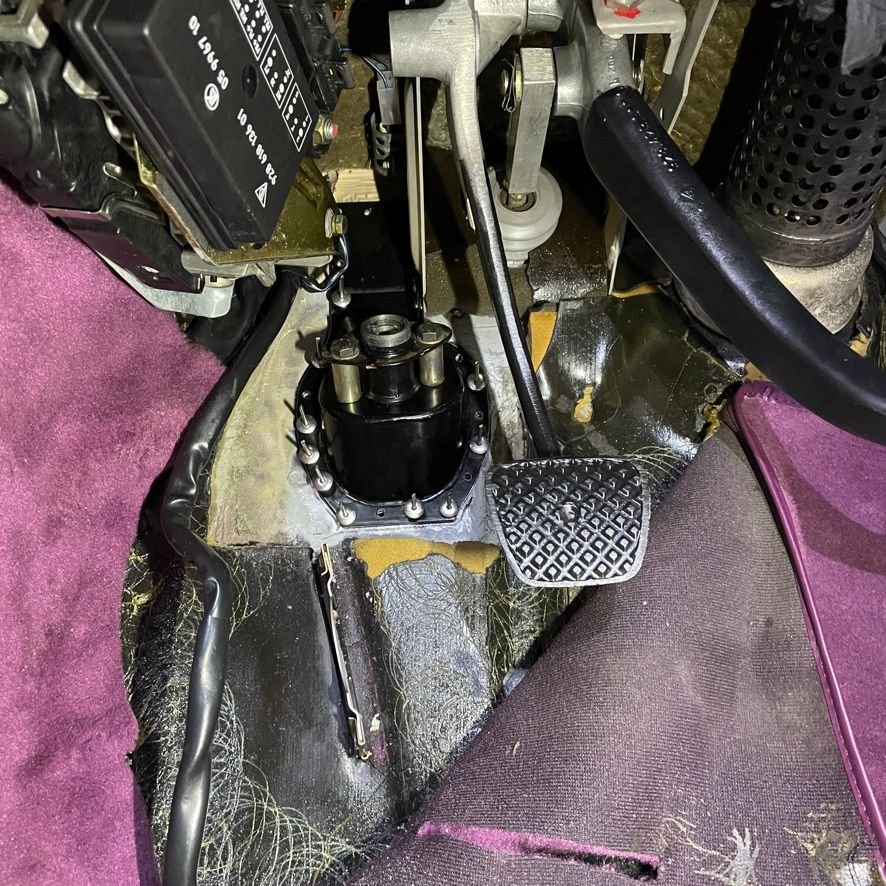
you will note the silver goop around the perimeter, that is the 3m panel bonding epoxy. That will turn violet when cured.
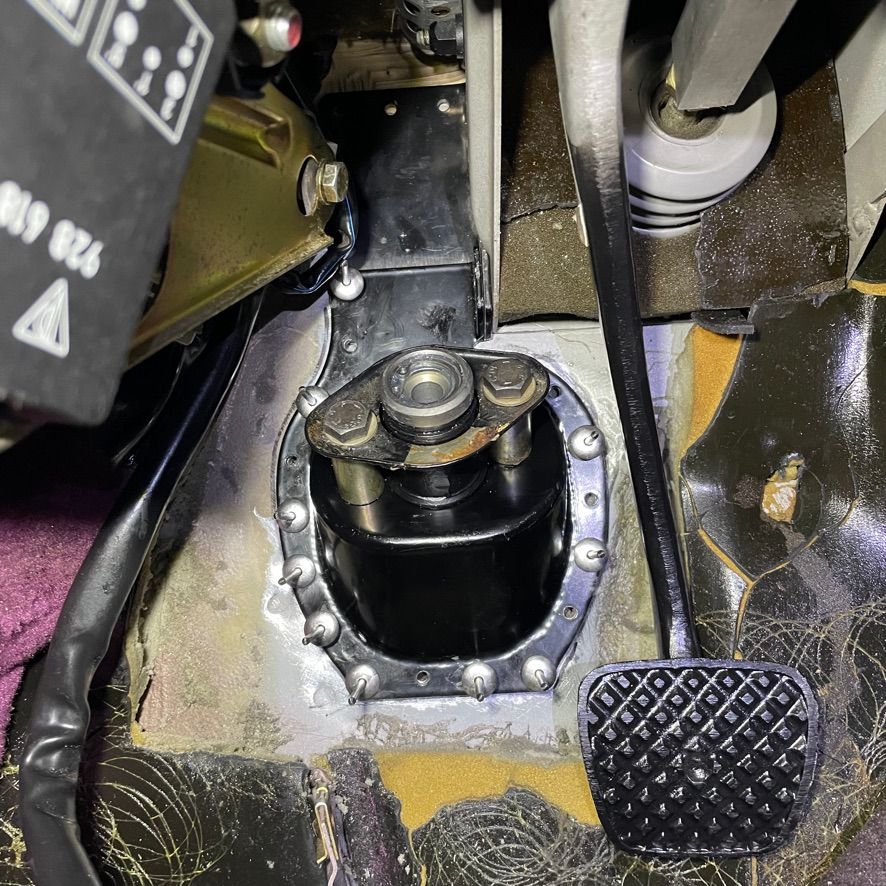
a couple thoughts, use longer bolts for the CMC. The stock bolts do not even protrude out the back. The 928ms bracket is a little thicker than the own firewall. Is recommended that you have at least three threads protruding from the back. So I used bolts that were 8mm longer.
also, I�m not sure so many rivets are needed if you are using a panel bonding epoxy.
make sure you use powered rivet tool. My hands and forearms are totally worked from all those oversized rivers
install the cmc with both hydraulic lines attached makes routing a snap!
im looking forward to the next stage of the conversion!!
This is great timing. I have a auto to manual swap on my to-do list for later this year. I already own a pneumatic riveting tool. Maybe the Milwaukee electric version is a better option. I assume you are doing this with the engine out? Kevin
Hi Kevin, I am not planning on removing the engine to do the swap, it's not required. In my case we will not need to swap the upper bel housing because I am planning on using the dual disk clutch (instead of the larger single disc clutch which requires a different bell housing.
Also, if you choose to go with the 3M panel bonding product I used, I have plenty of extra, I only used 1/3rd of the tube and I can send it off to you along with the the gun and mixing tip. I also have enough spare rivets to do another job, I can send those your way as well.
I'm not sure if I just did something wrong or if it's normal, but I did have to have the bolts loose for the upper bellhousing to be able to get the clutch in. It wasn't fun realizing this while laying on your back trying to lift the clutch up into place.

 03-20-2020, 05:54 PM