When you click on links to various merchants on this site and make a purchase, this can result in this site earning a commission. Affiliate programs and affiliations include, but are not limited to, the eBay Partner Network.
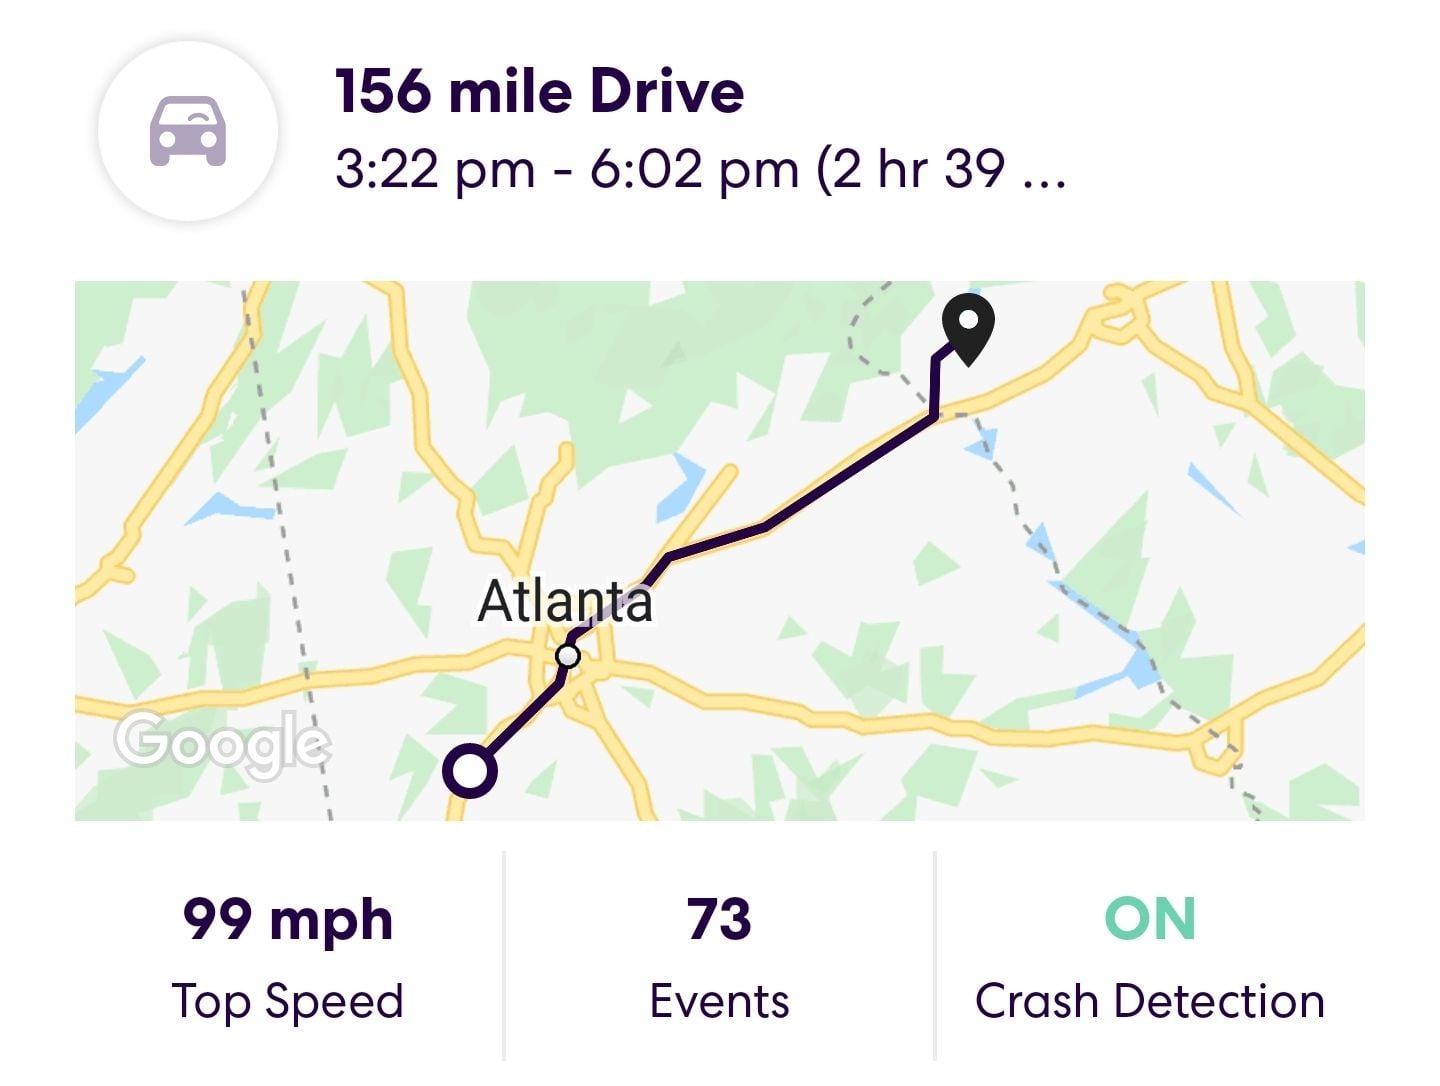
Just got back from about a 600 mile round trip i
over 2 days with the '84 which was a great shakedown run before the longer trips I have coming up in it. This car with the new seats and improved stereo is just a joy to haul *** in on the highway. Ran 90 most of the way when there wasn't traffic with some stints up around 110, and it's rock solid with just 1 hand on the wheel. Didn't burn any oil or drip any coolant. Even got caught in a deluge for 15 miles on the way home and the Nitto Invo tires were very sure footed, even through visiblw standing water.
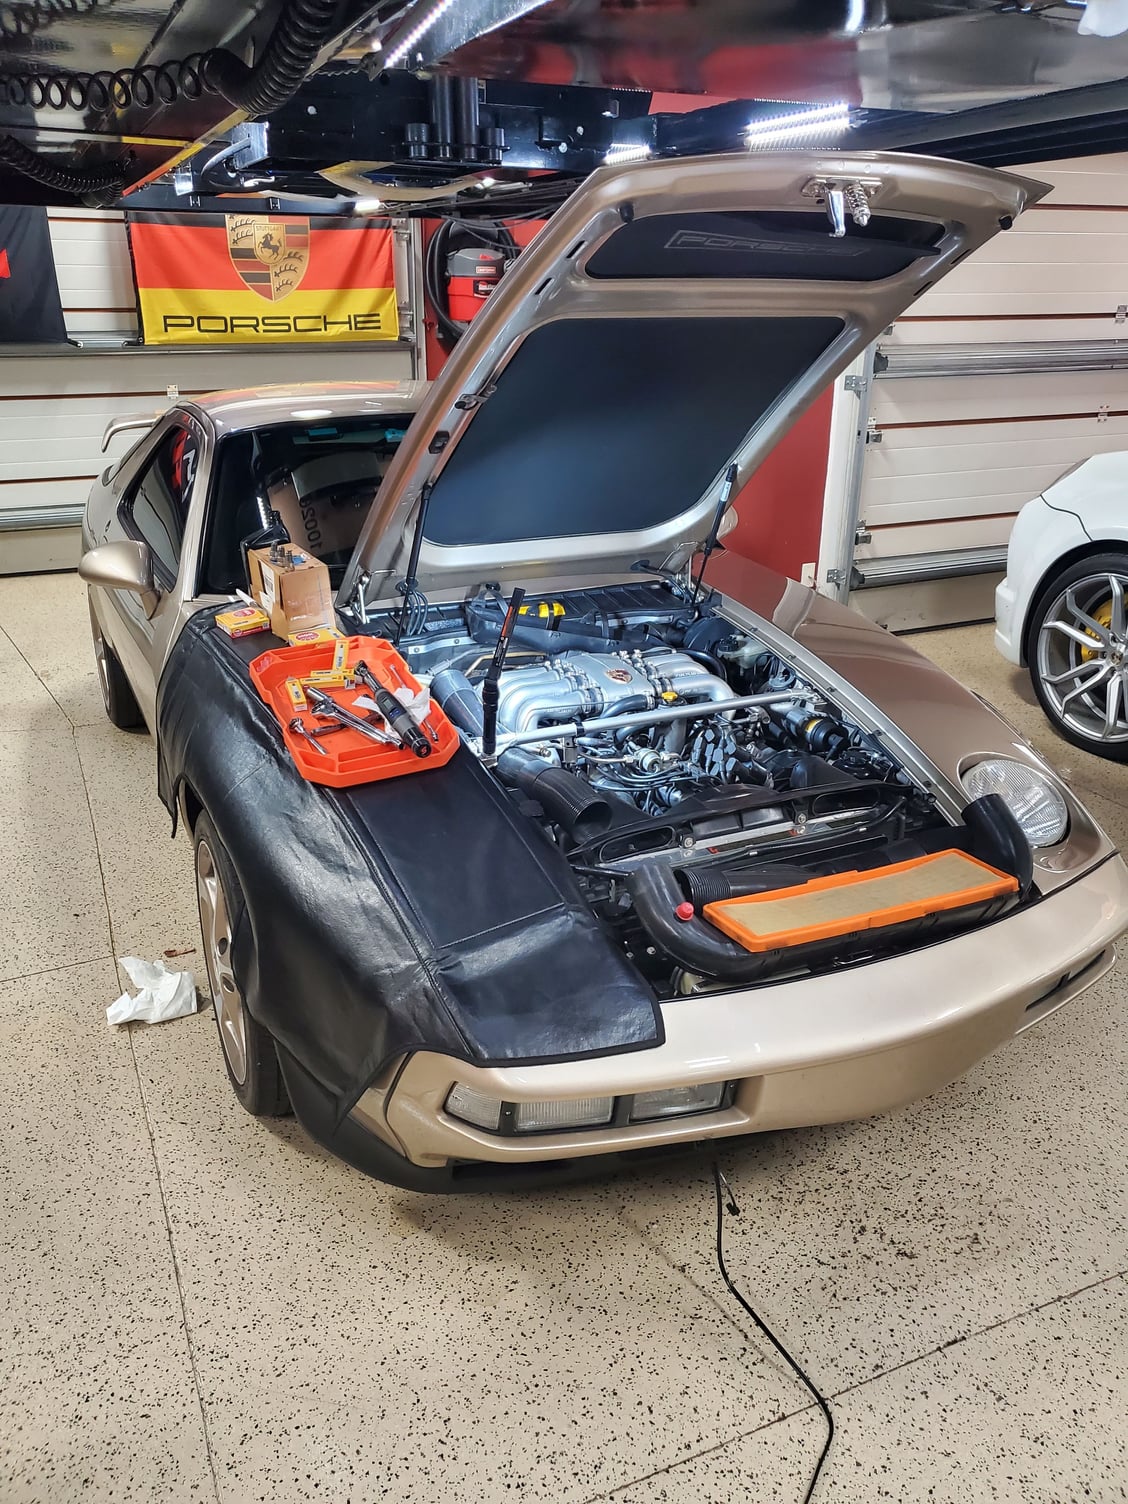
Did some maintenance in preparation for SITM. Wanted to change the plugs since I wasn't sure when they had been done before eventhough the car ran great.
They all looked really good - some burned up (ash) anti-seize on a couple of them which really shouldn't be used on spark plugs because it effects their ability to ground to the block. Some motor oil or Milk of Magnesia should be used instead.
These were Bosch WR7 plugs so I installed the proper NGK equivalents which I think we're BPR6ES gapped at 0.030. The high compression Euro S engines run 1 heat range colder than regular 928s.
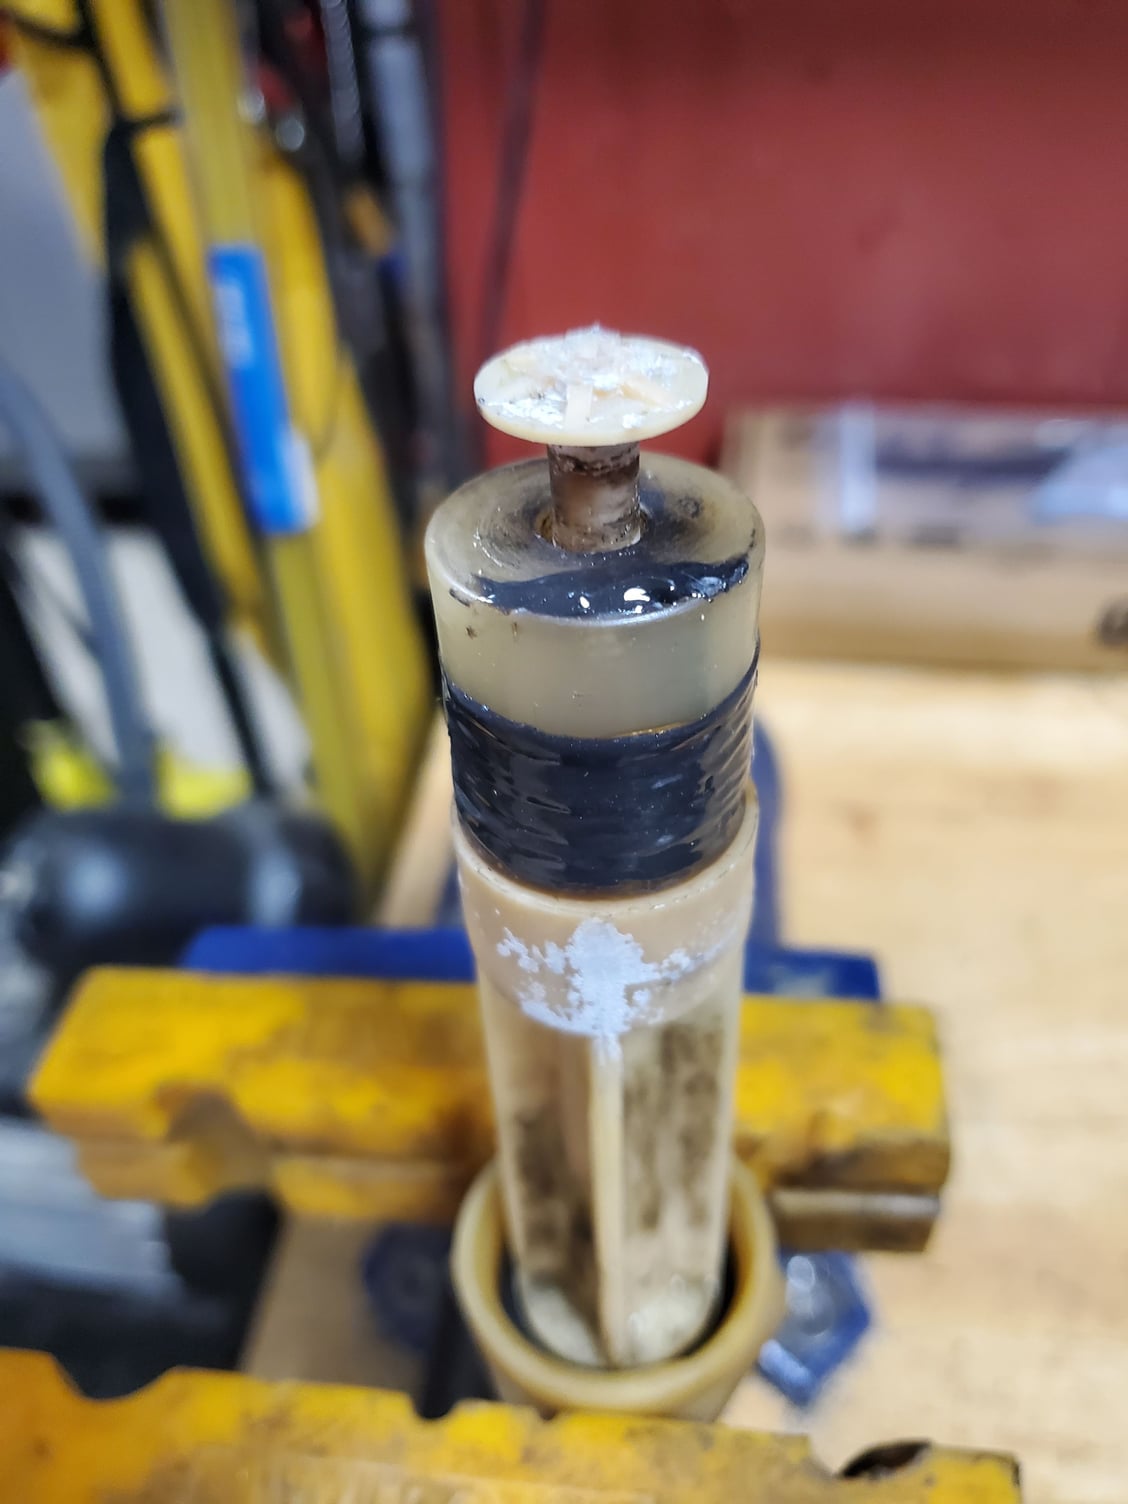
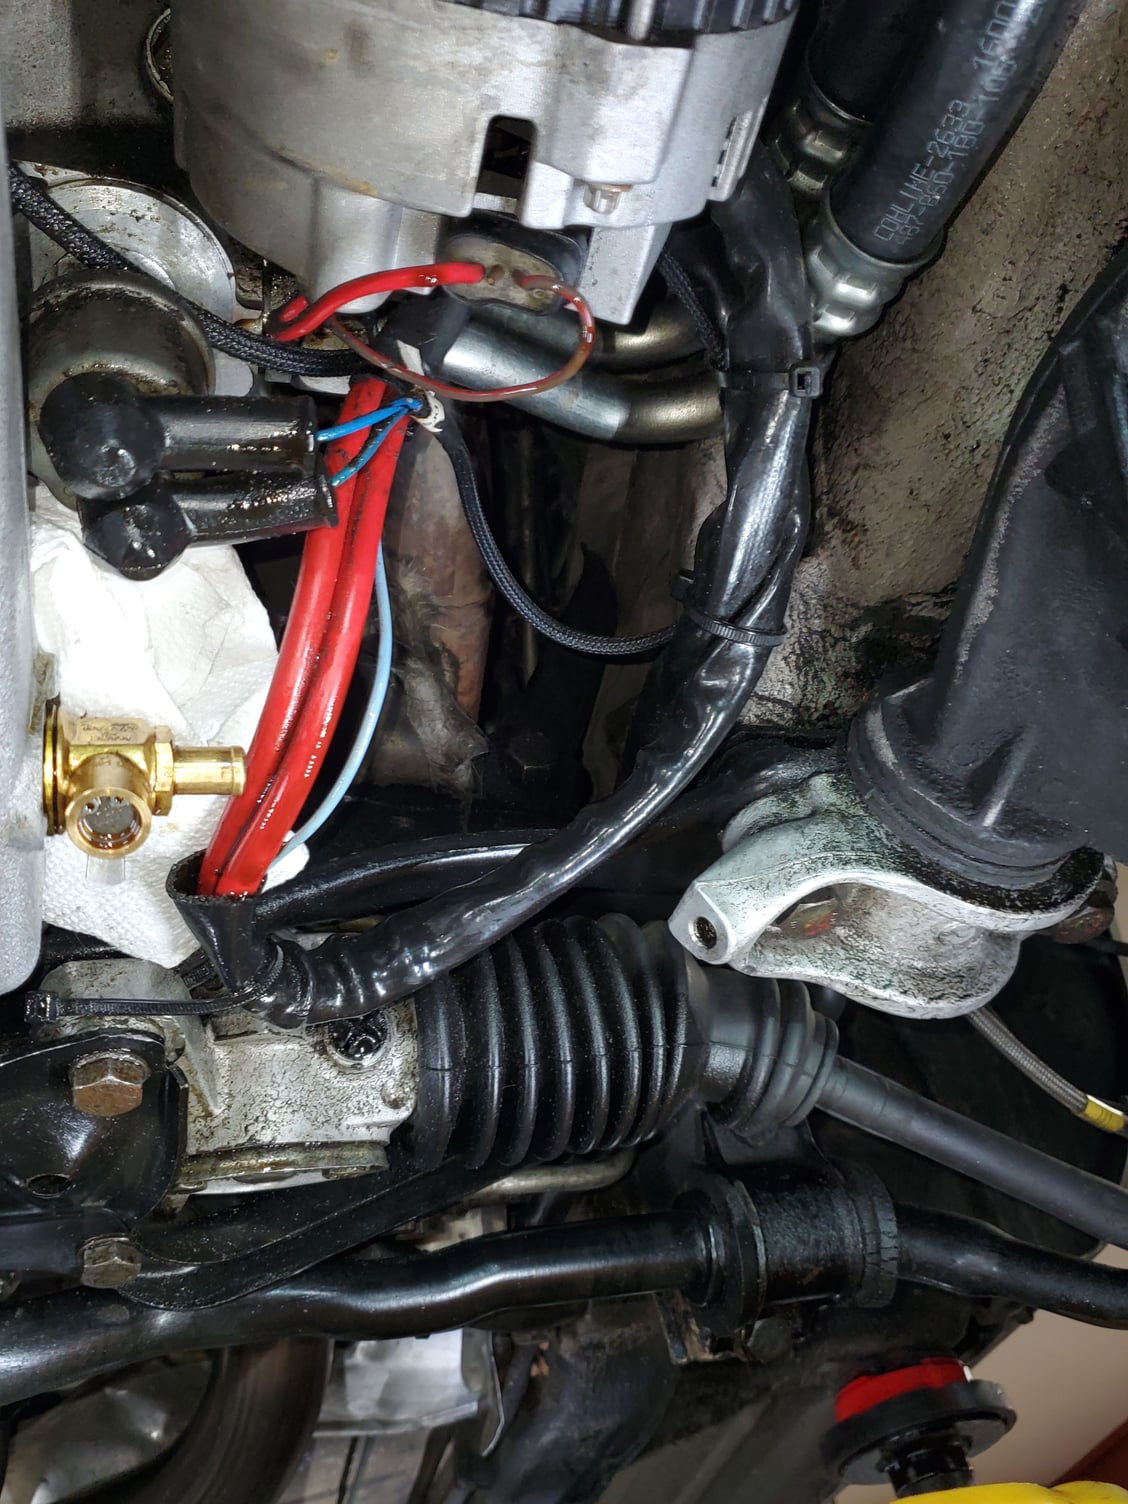
While doing that I noticed the coolant level sensor was leaking so took that out. Recently switched from a 13 psi cap to a 16 psi cap which made it worse.
I was able to remove the firewall mounting bolt, loosen the front one and pivot the tank out far enough to unscrew and remove the sensor without draining or disconnecting anything (I didn't install the 3rd bolt when doing the aluminum tank install).
On my trip last week I was also getting false coolant low warnings and figured it was corrosion on the connector, but once I had the sensor out, I noticed the float was actually full of coolant - doesn't float particularly well like that, which explains the warnings. I drilled a small hole in the bottom of the float, emptied it, mixed up some KwikWeld JB Weld, filled the hole and also smeared a thin coat around the float seam in case that's where the leak was. Let it cure for the 6 hours and reinstalled. Also used Deoxit D5 on the sensor terminals and the wiring harness contacts. We'll see if it works.
Also installed a new o-ring seal at the top of the sensor cap to hopefully address the leak. Put it all back together and will test it out tomorrow.
All that's left to do before SITM is an oil and filter change, check the A/C charge even though it works, top up the ATF from the slow torque converter and pan leak while it's on the lift for the oil change, and give her an interior and exterior clean-up.
Successful test completed. Car runs great, No coolant on top of the reservoir so new o-ring on the sensor assembly did the trick, and repair to level sensor float also worked - no warning light today. 3 for 3
On the way to SITM this year, my driver's side window stopped working reliably. I could always make it work by opening the door some amount and slowly moving it until the wiring made good contact and moved the window. Sometimes it worked with the door fully open, sometimes with it partially open, and other times with it closed, but working when closed was getting less and less frequent.
Drive it to SITM like this, then to FL like this, round trip to the PVGP and finally today got some time to figure out what was going on as I wanted it fixed for Frenzy.
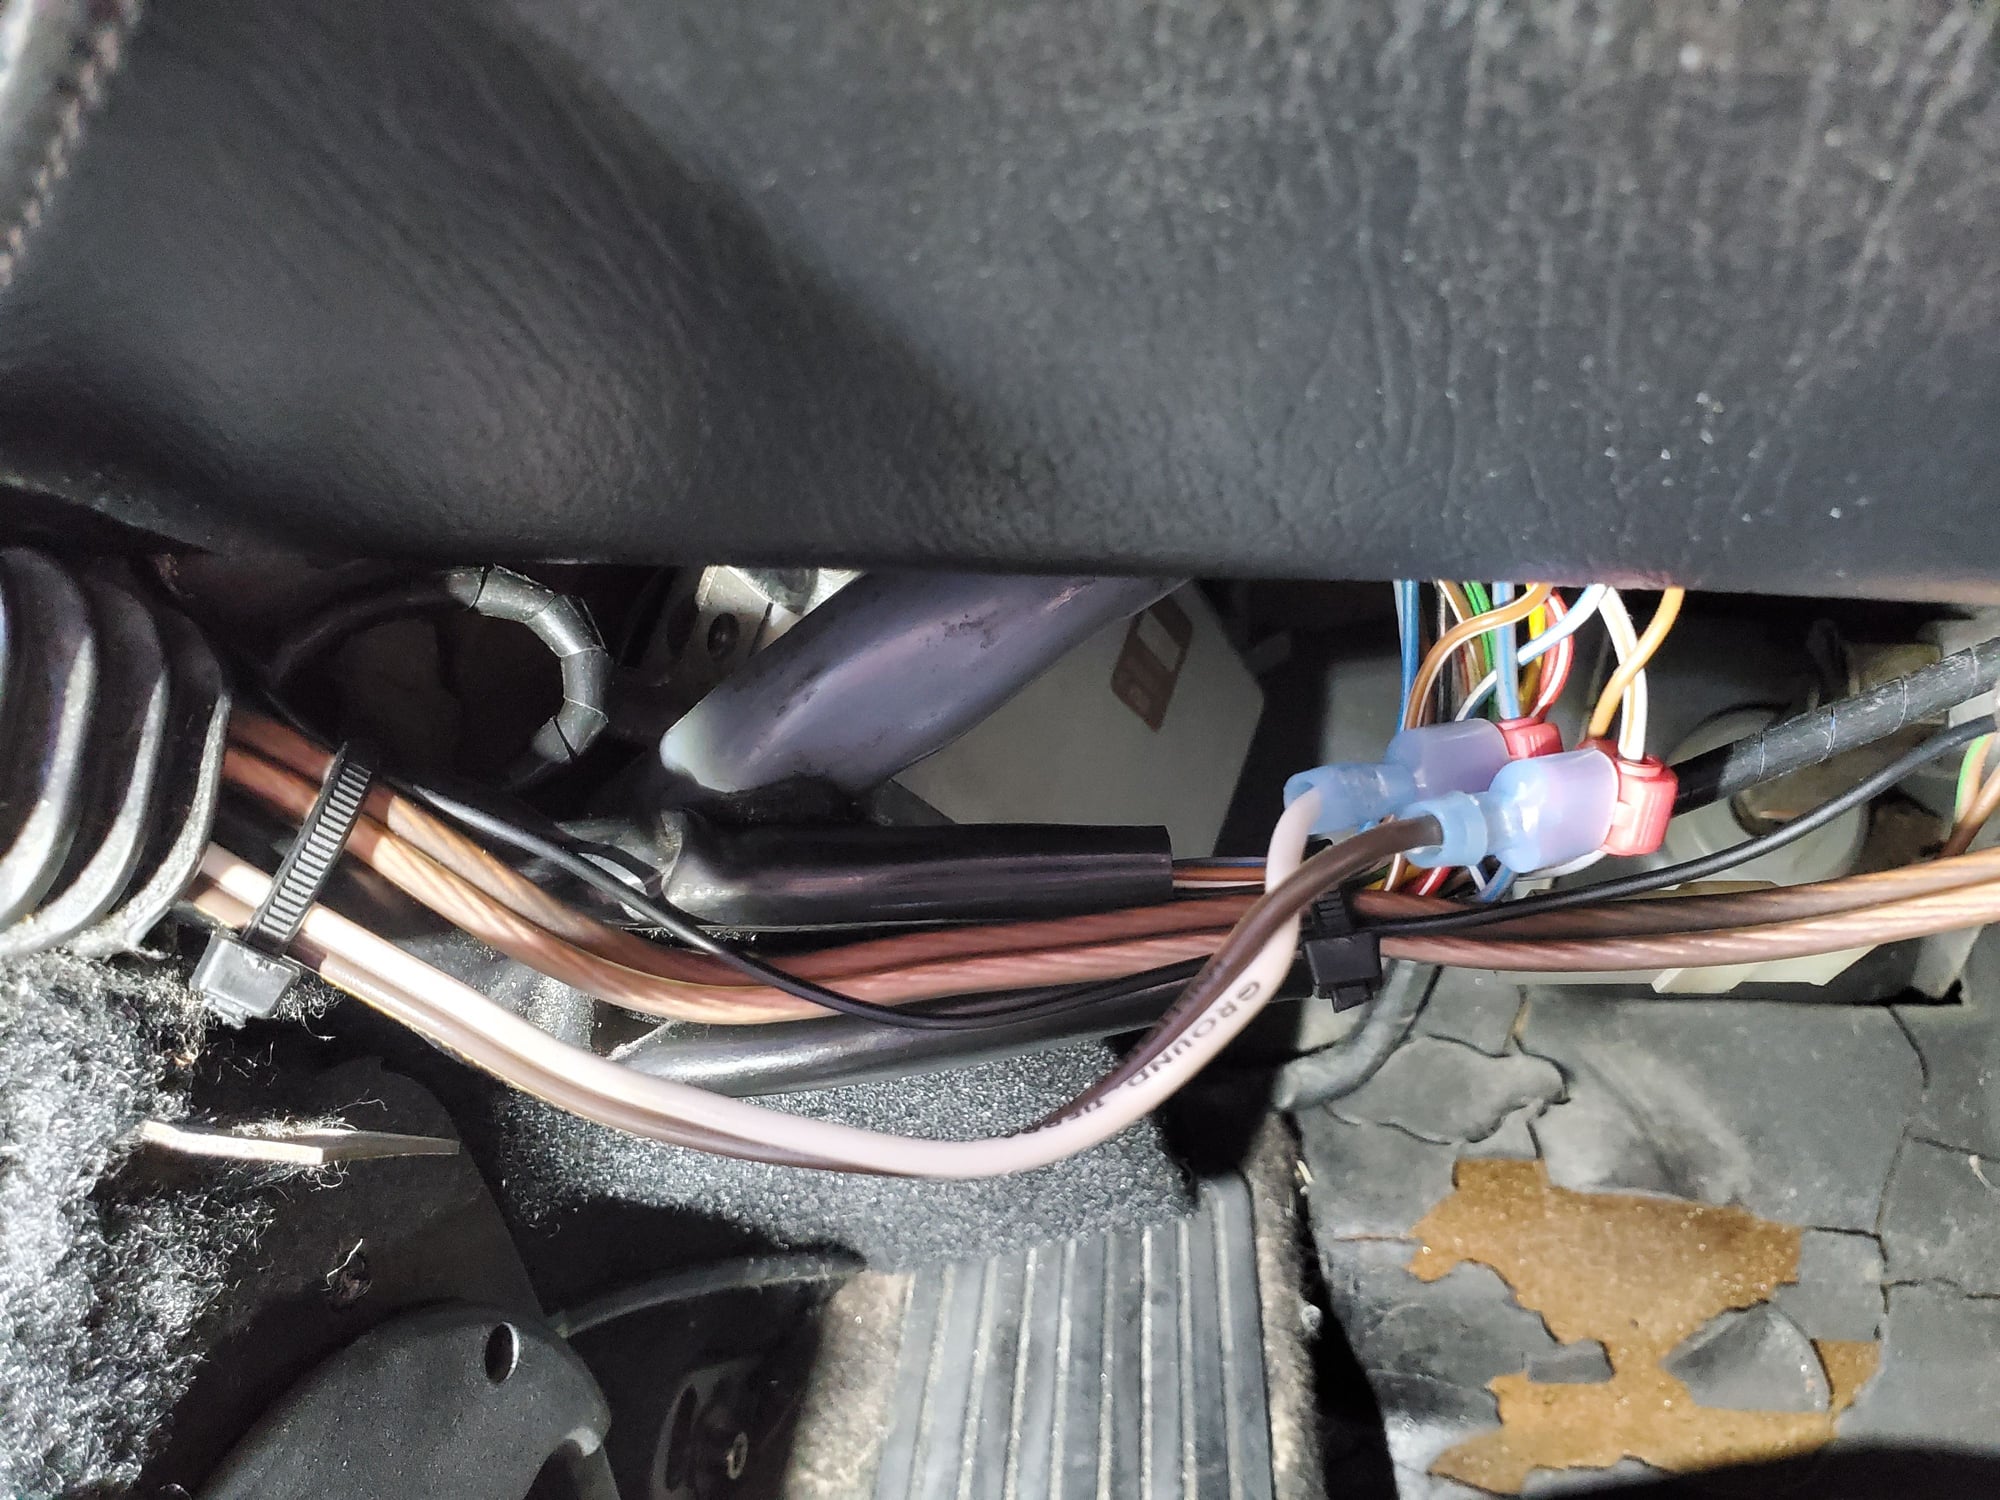
After removing the parcel shelf and checking the grounds, which were fine, and unplugging and checking the window switch connection wires which were also fine, I knew it really was in the door because of the behavior, so I dook the door apart. I tested the motor and it worked fine, I moved the wires around and was able to recreate the intermittent issue.
I decided the simplest thing was just to run a pair of new wires from the bundle above my knee to the window motor. Left the factory wires in there for originality, but tspes off and insulated the ends and used a couple scotch locks on the window wirws with spade connectors so if I hooked them up wrong, I could just swap the wires into the connectors (which I did end up having to do.
All fixed now and window works perfectly. Now I have to decide if I want to taxkle the A/C system replacement from the mixing of incompatible compressor oils before or after Frenzy...and thinking it will probably be after so I don't risk making the car undriveable with a complication diring that repair.
the windows working with the key off is normal on a Euro
Just a note from me, my 1983 Euro 928 does not have active windows when key is off. It might have been changed before it came to sweden in 1987. Has never been changed since then.
Just a note from me, my 1983 Euro 928 does not have active windows when key is off. It might have been changed before it came to sweden in 1987. Has never been changed since then.
My 81s didn't buy my 84s have. I actually find it very useful and there's a thread here on how to install a jumper to enable it on cars where it doesn't work. Might do that on my 79 too.
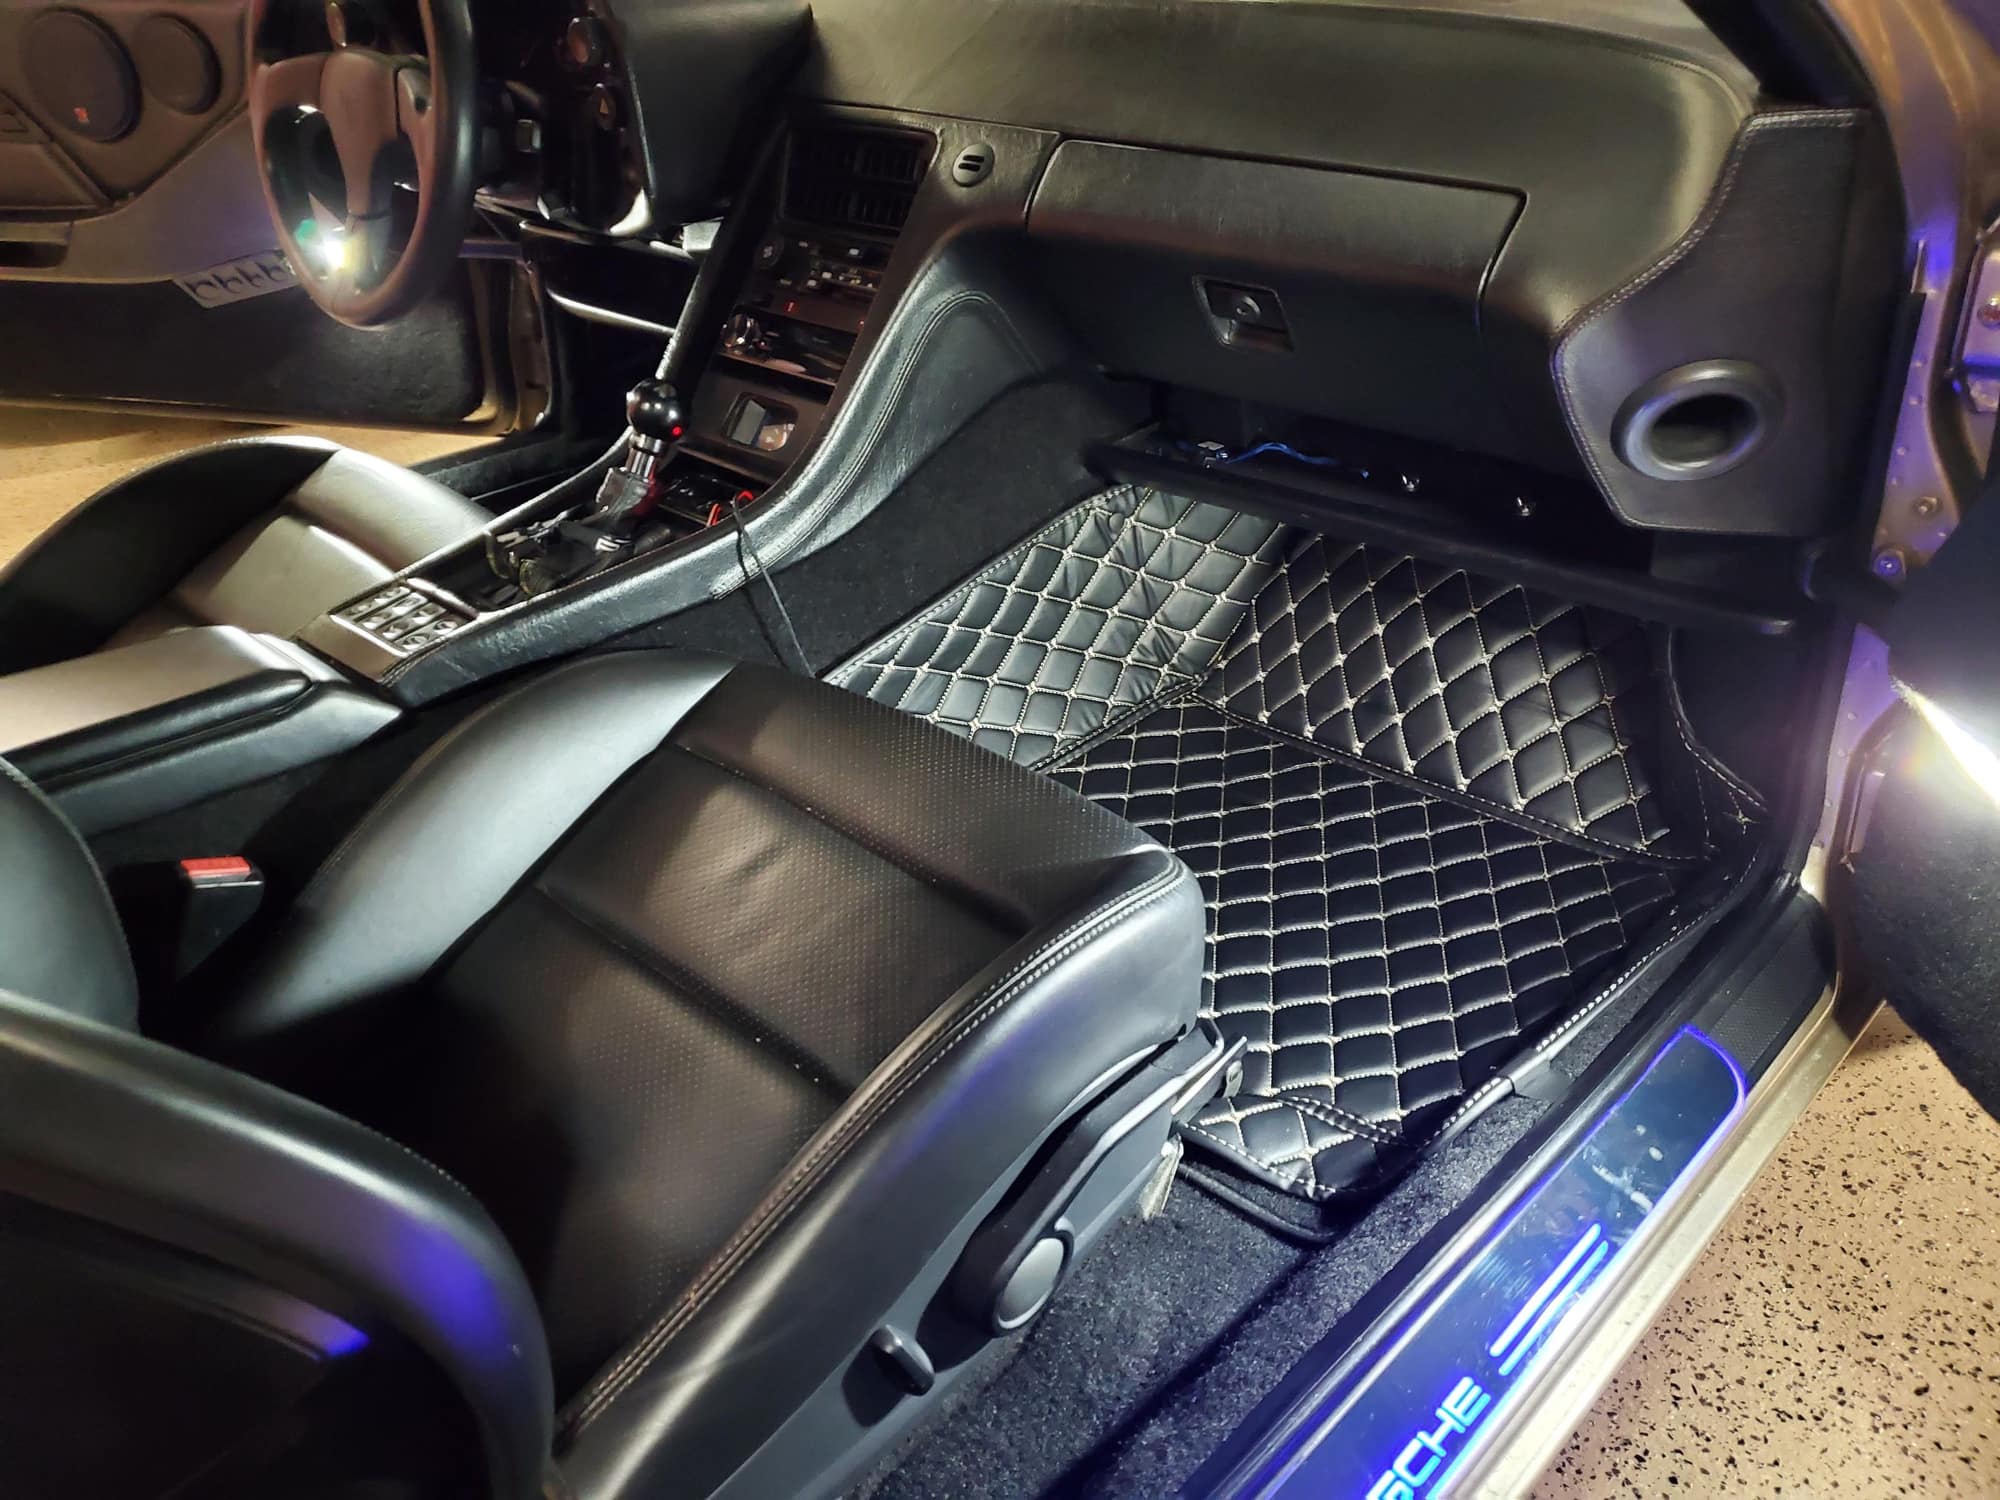
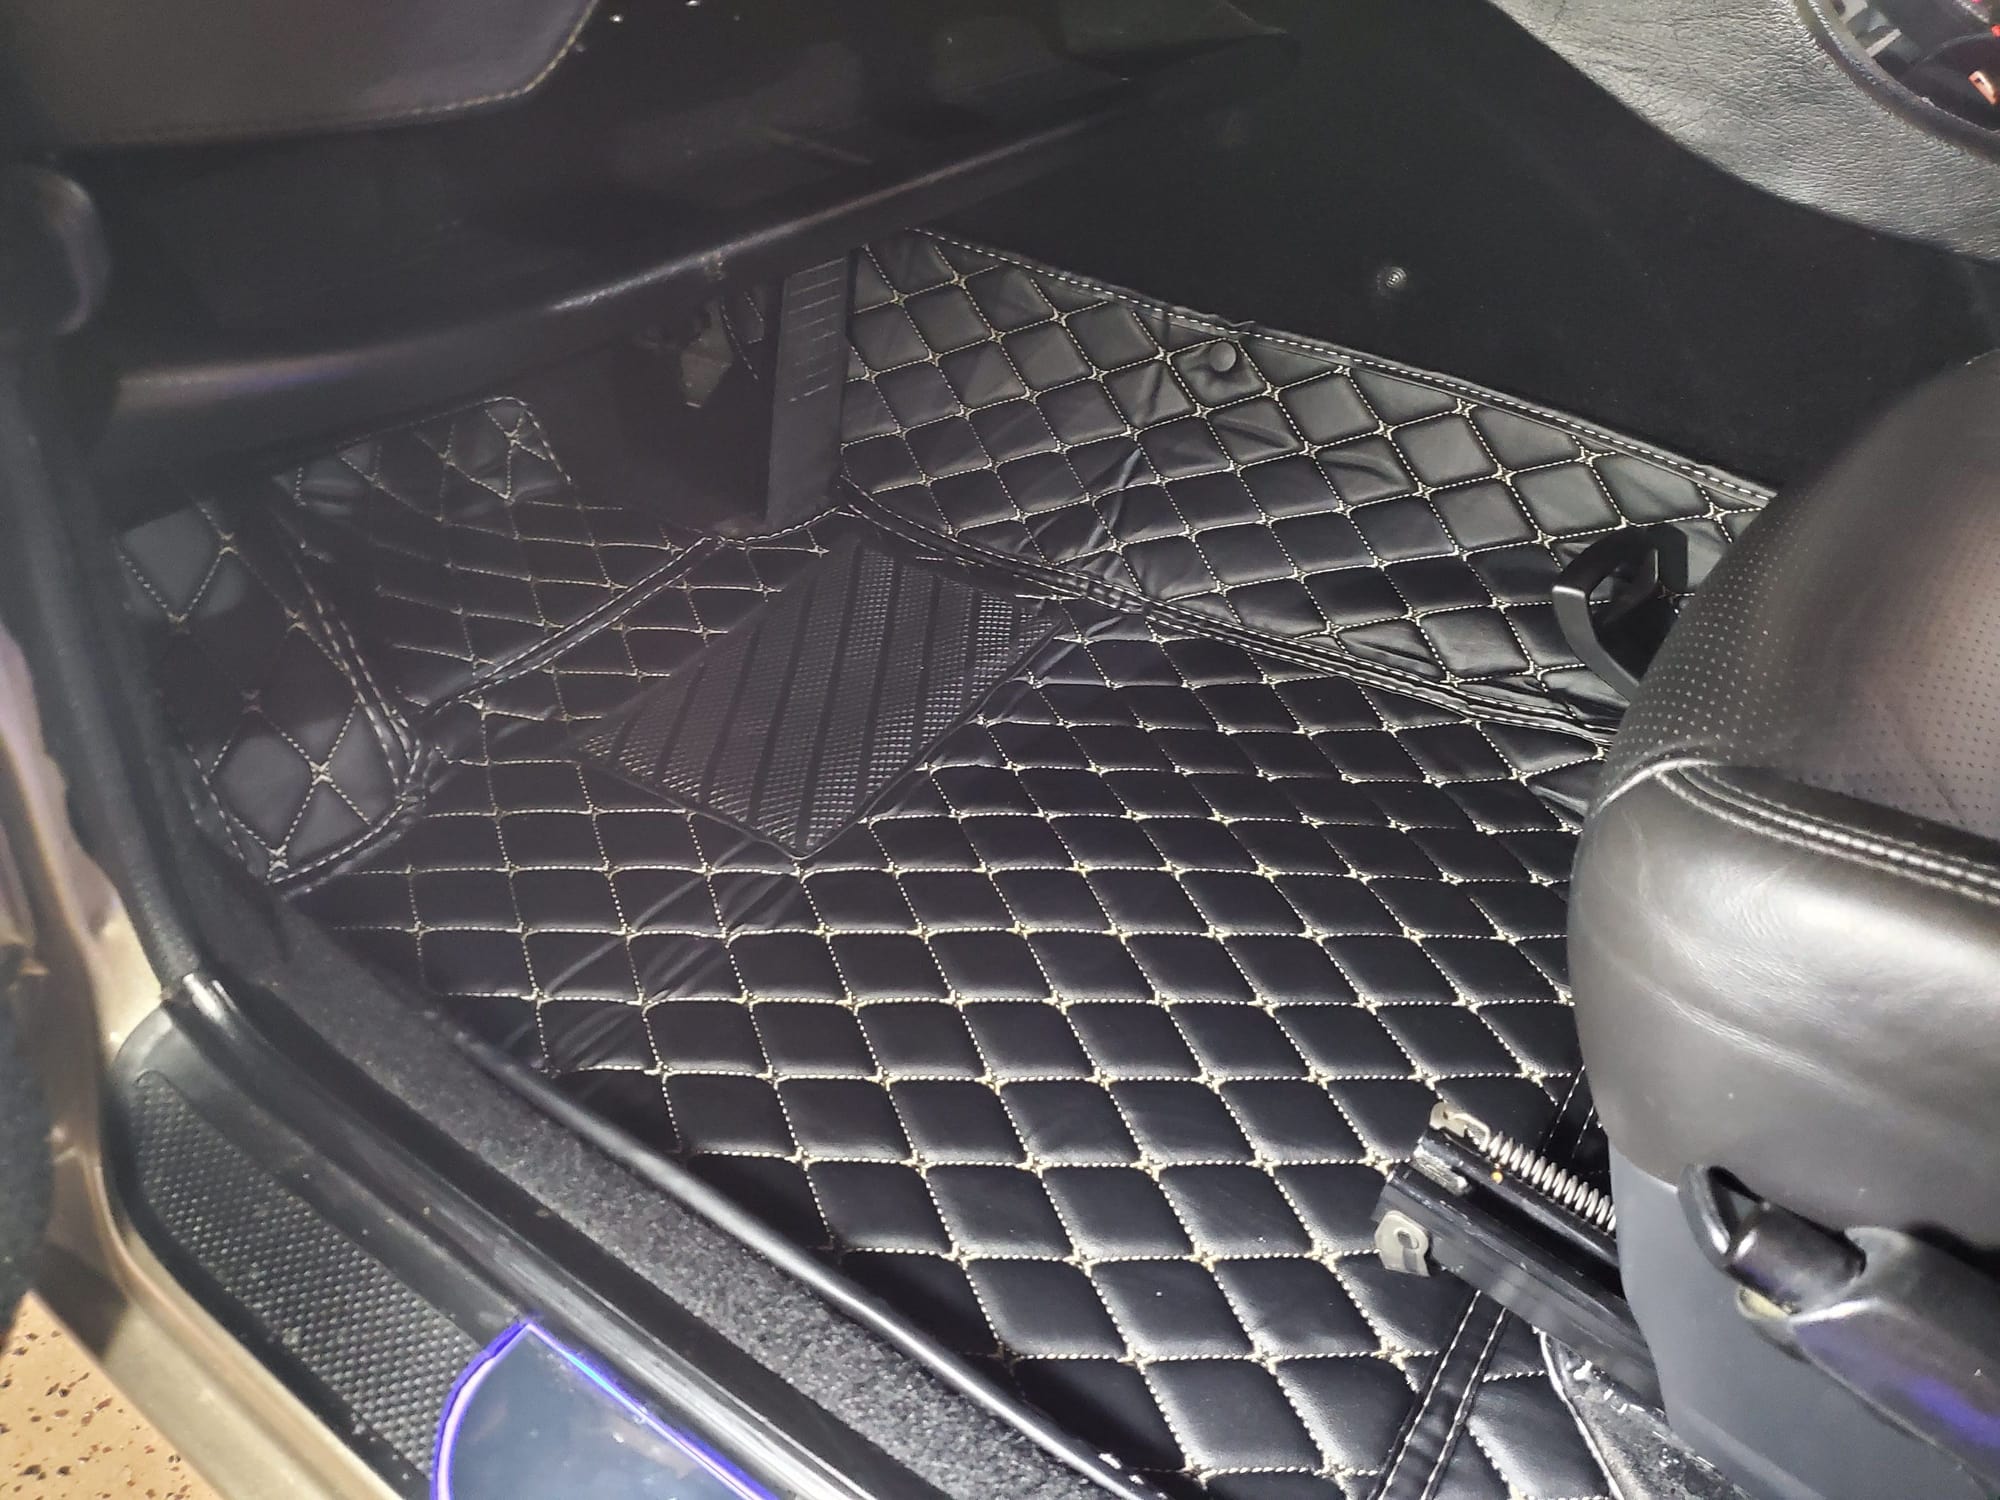
Installed some full-coverage diamond stitched floor mats into the 84 yesterday. Went with the beige stitching to tie them into the Hellbronze exterior color of the car. I have this style of floor mat in all my cars, but it has been very challenging to find them for the older classic Porsches and with Lloyd's not having their Porsche licensing anymore, didn't want plain mats. I had actually ordered 2 previous times from companies that said they would make them, so here are the companies you DON'T want to order them from since they'll never arrive - F1mats & Luxus Mats.
My go to source for these types of mats is Diamond Car Mats and their fit and quality is spot on, but they don't make them for the older Porsches and only go back as far as the 997 generation or so (have them in both my 997s).
These came from Car Mats Customs (www.carmatscustoms.com) and was the only place that listed them for my 944 and 928. Fit is decent, quality is decent, but neither is as good as the other company.
Still like that they protect more of the carpeting, and they'll lay-down and form to the areas better as some time passes and they sit inside a hot car in the summer. Came with some extra securing clips and some Velcro that I'll strategically position to hold them in place better too. I ordered the matching trunk mat as well. The rear mats don't actually fit my particular car because of the custom stereo system back there that changes the shape of the back wall, but I think they'd fit a normal 928 rear seat. The set I ordered for my son's 944 S2 did fit the rear seat area.
The best thing about this type of mat is that grass, dirt, and little stones don't get down along the edges and under the mats like happens with regular floor carpets, so these are much easier to clean and vacuum as all the junk stays within the molded shape of the mat. Wipe them with a wet rag and then use your favorite interior detailing spray and they look like new for years.
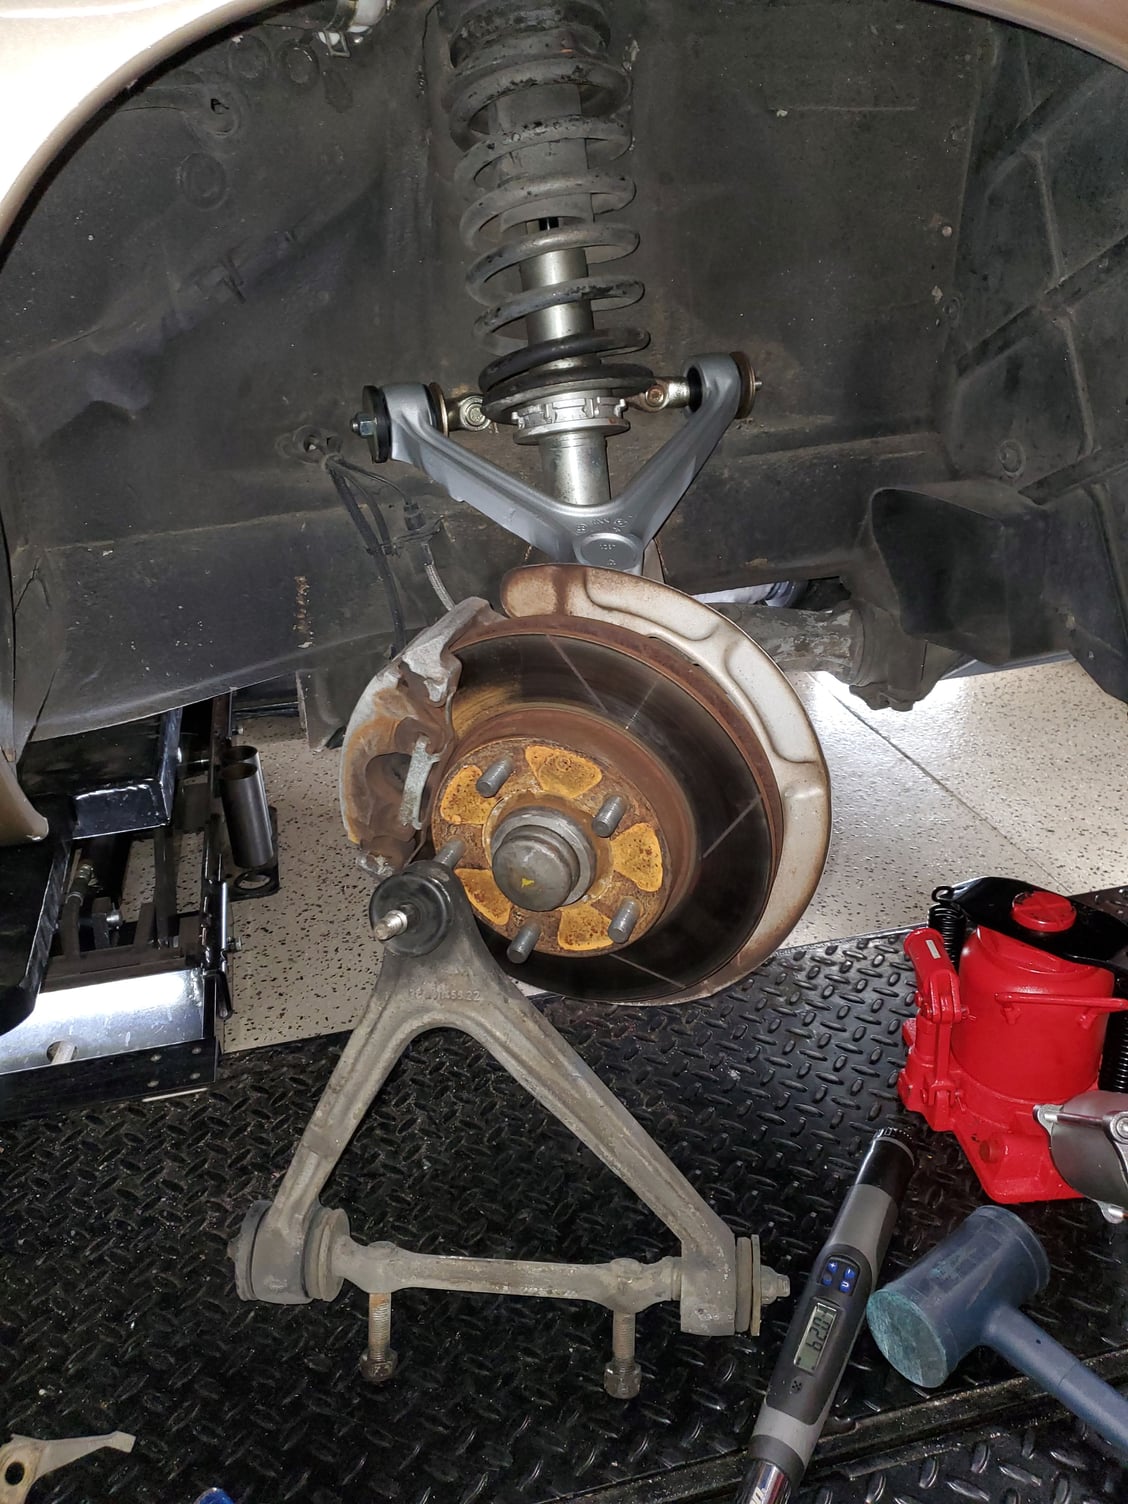
Completed the install of new.Upper Control Arms this weekend. Unfortunately, the USPS stayed true to form so my new shallow 19 & 22 mm sockets that were scheduled for delivery yesterday are now coming Monday, so had to do it the old way one more time.
On the passenger side, a regular 1/2" ratchet with 22mm fits the rear but if you put your arm in from the back pointing forward instead of from in the gap underneath. I used my max axess 22 mm craftsman ratchet with a pipe on the end to get the front one.
Removed the oil filter for better access on the driver's side - not much comes out and if you keep the filter upright you'll only have to add a little oil once the job is complete.
can't come from that backside to the rear nut on the driver's side since the steering linkage is in the way so it's a little more fiddly.
Having a ball joint separator tool eliminates a fair amount of frustration.
Both sides completed this afternoon.
Test drive went great. The clunk that has been in the front end since buying this car is now gone and the whole front end feels tighter on the road.
I'll drive it for a few days to settle the suspension, then schedule it in for an alignment check, but order is now restored in the garage.
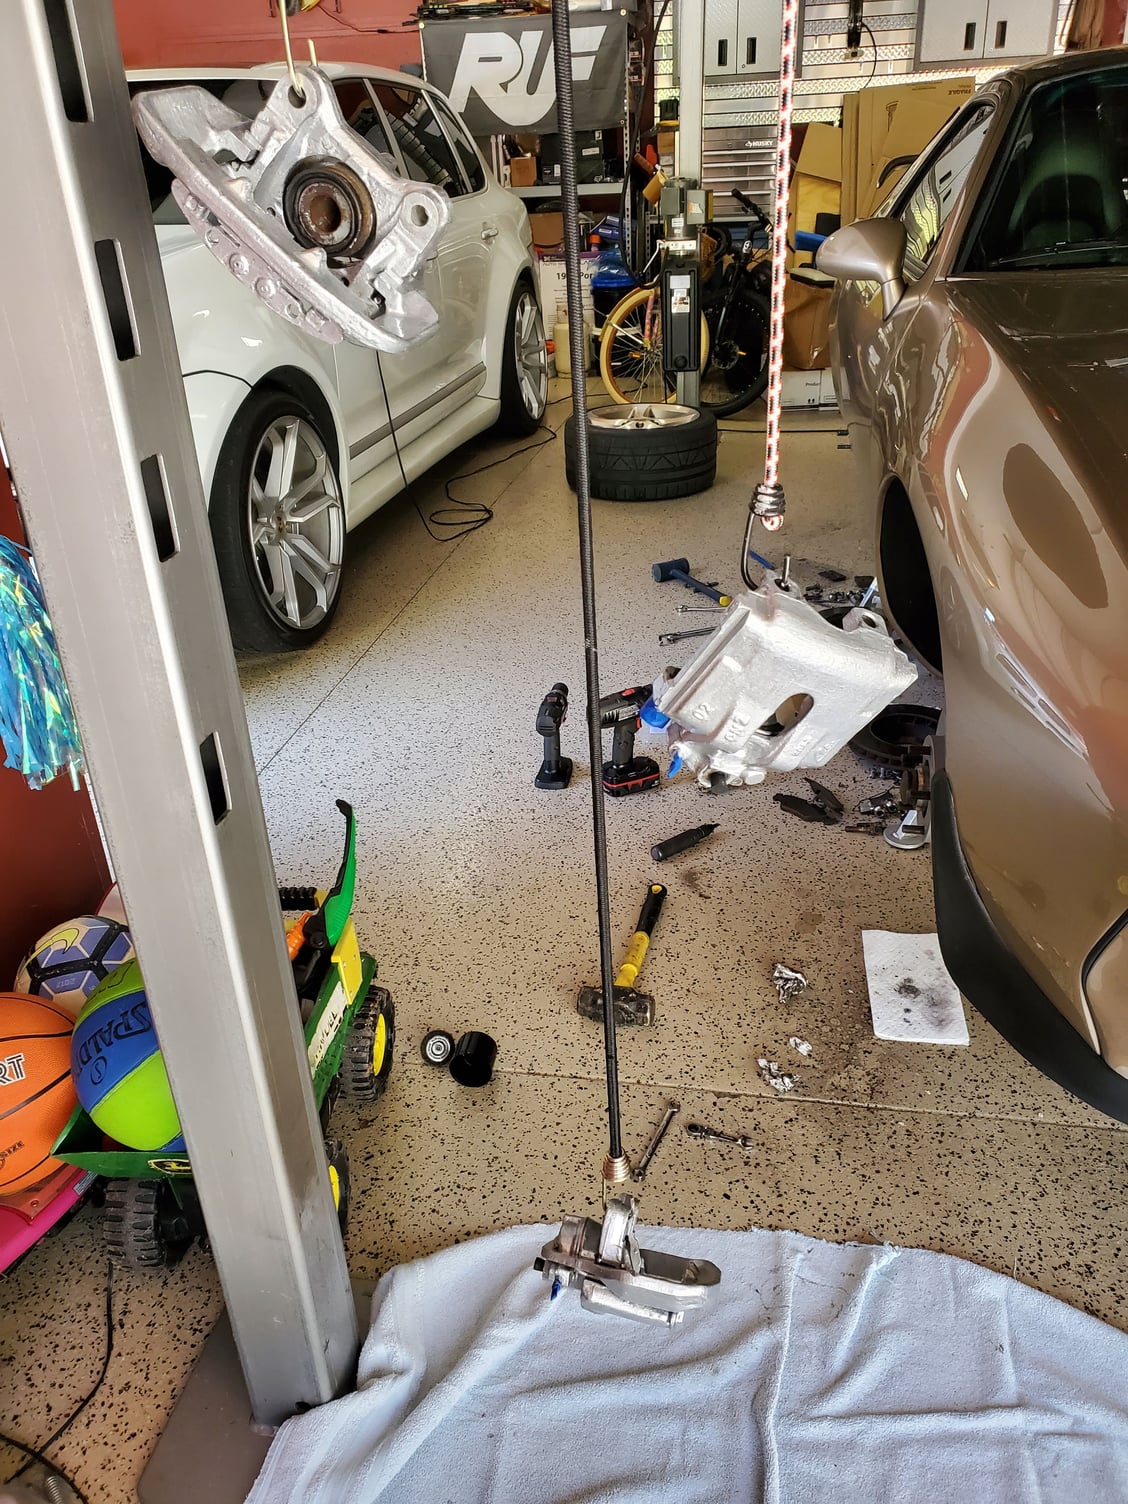
Brake refurb this weekend. Figure if I keep upgrading the ugliest thing on the car, eventually the whole thing will be gorgeous so checked off a decent one the last couple days and painted the calipers.
The car has had warped front rotors since I bought it, but because I wanted to pain the calipers whenever I did the brake job and knew I'd need 3-4 days in a row, I didn't find a window like that until this past weekend.
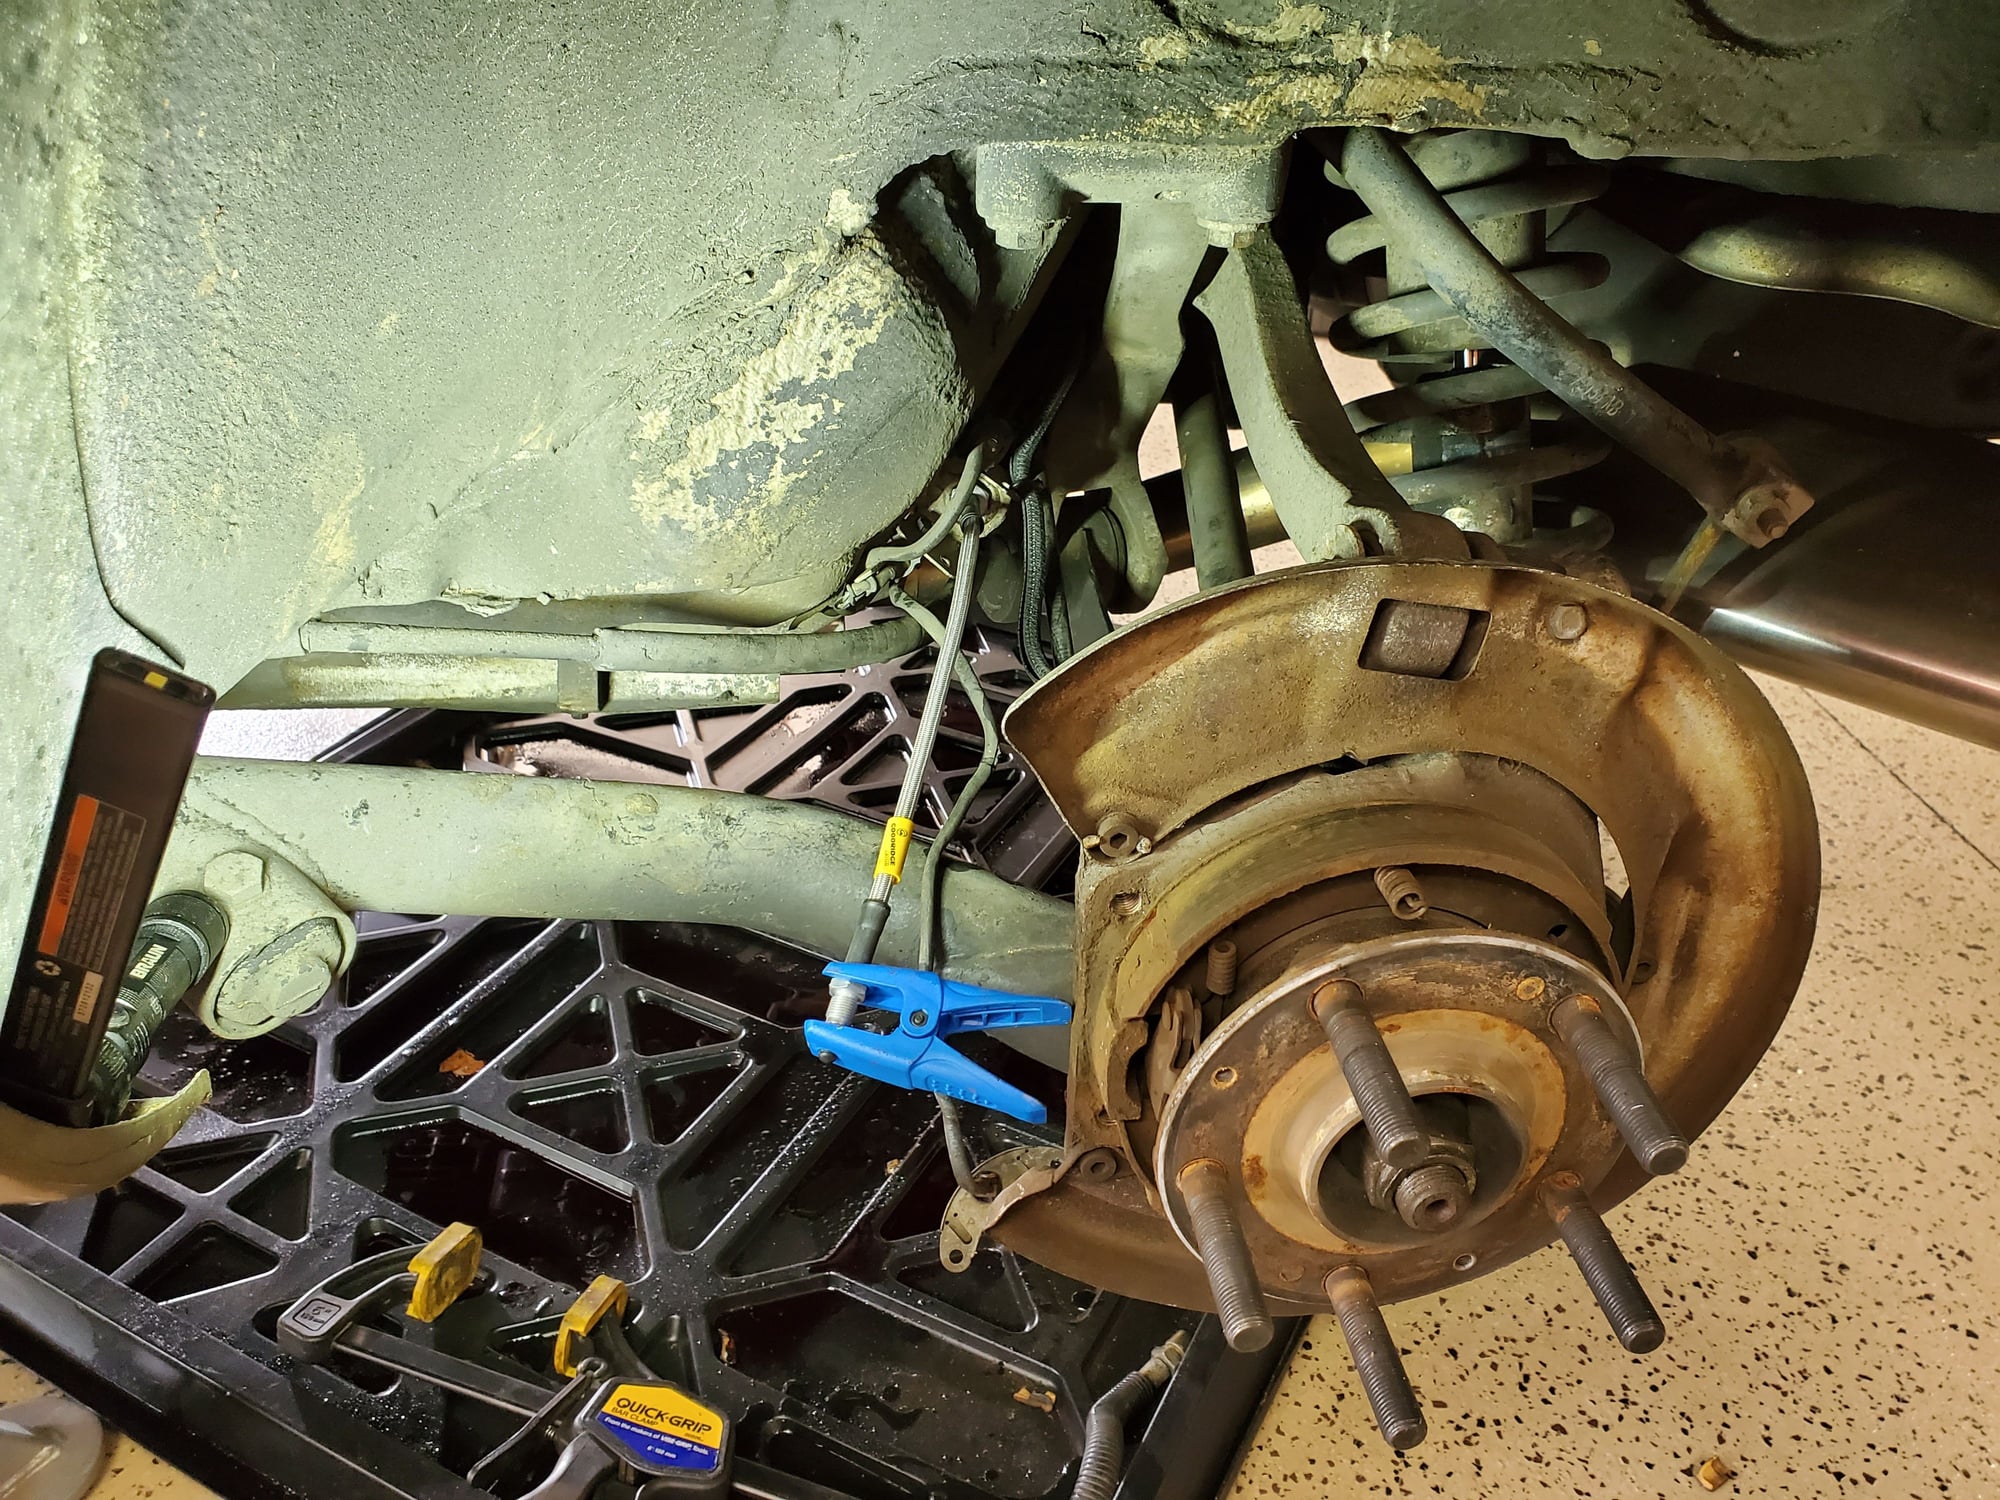
Installed new e-coated rotors with Goodridge stainless brake lines Front & Rear, new pads, speedbleeder bleed screws, and jumpered the pad wear sensors, a couple is which were broken.
Went with the metallic silver G2 2-part paint that's I've used many times in the past and they turned out as well as my previous ones, and this stuff lasts for decades, unlike the spray can versions that reactivate with brake fluid, brake cleaner, or gasoline.
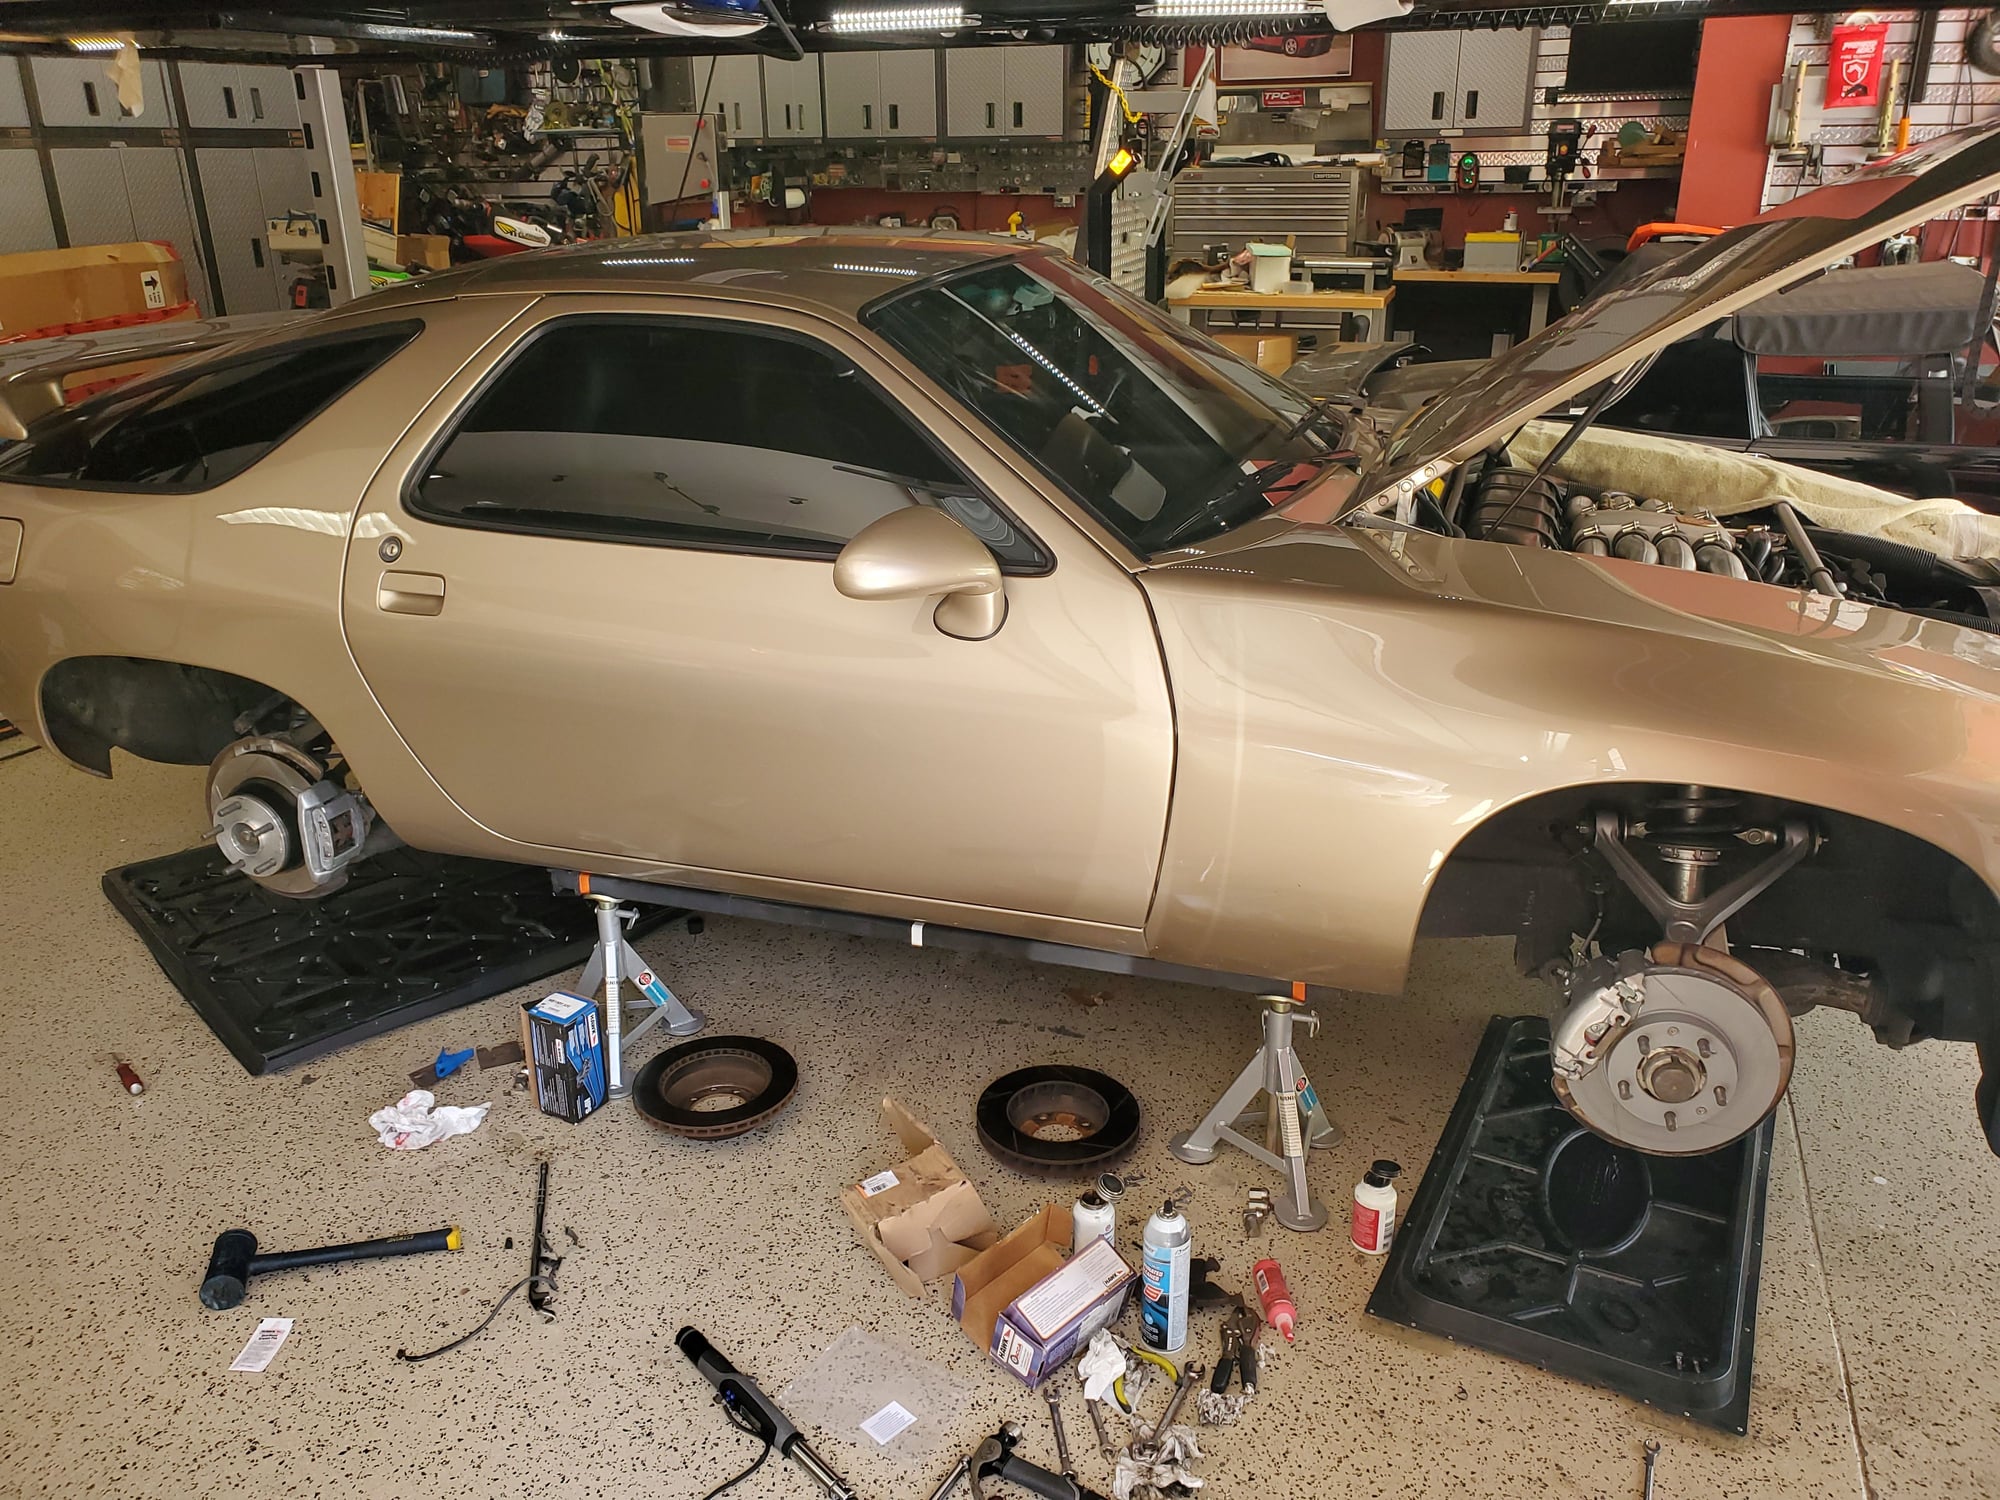
Put the car up on liftbars with Esco jackstands with the saddle tops - rock solid.
I have these neat brake line clamp off clips that prevent fluid leakage when removing a line from rhe caliper. There are two types for compatibility with threaded ends and banjo ends.
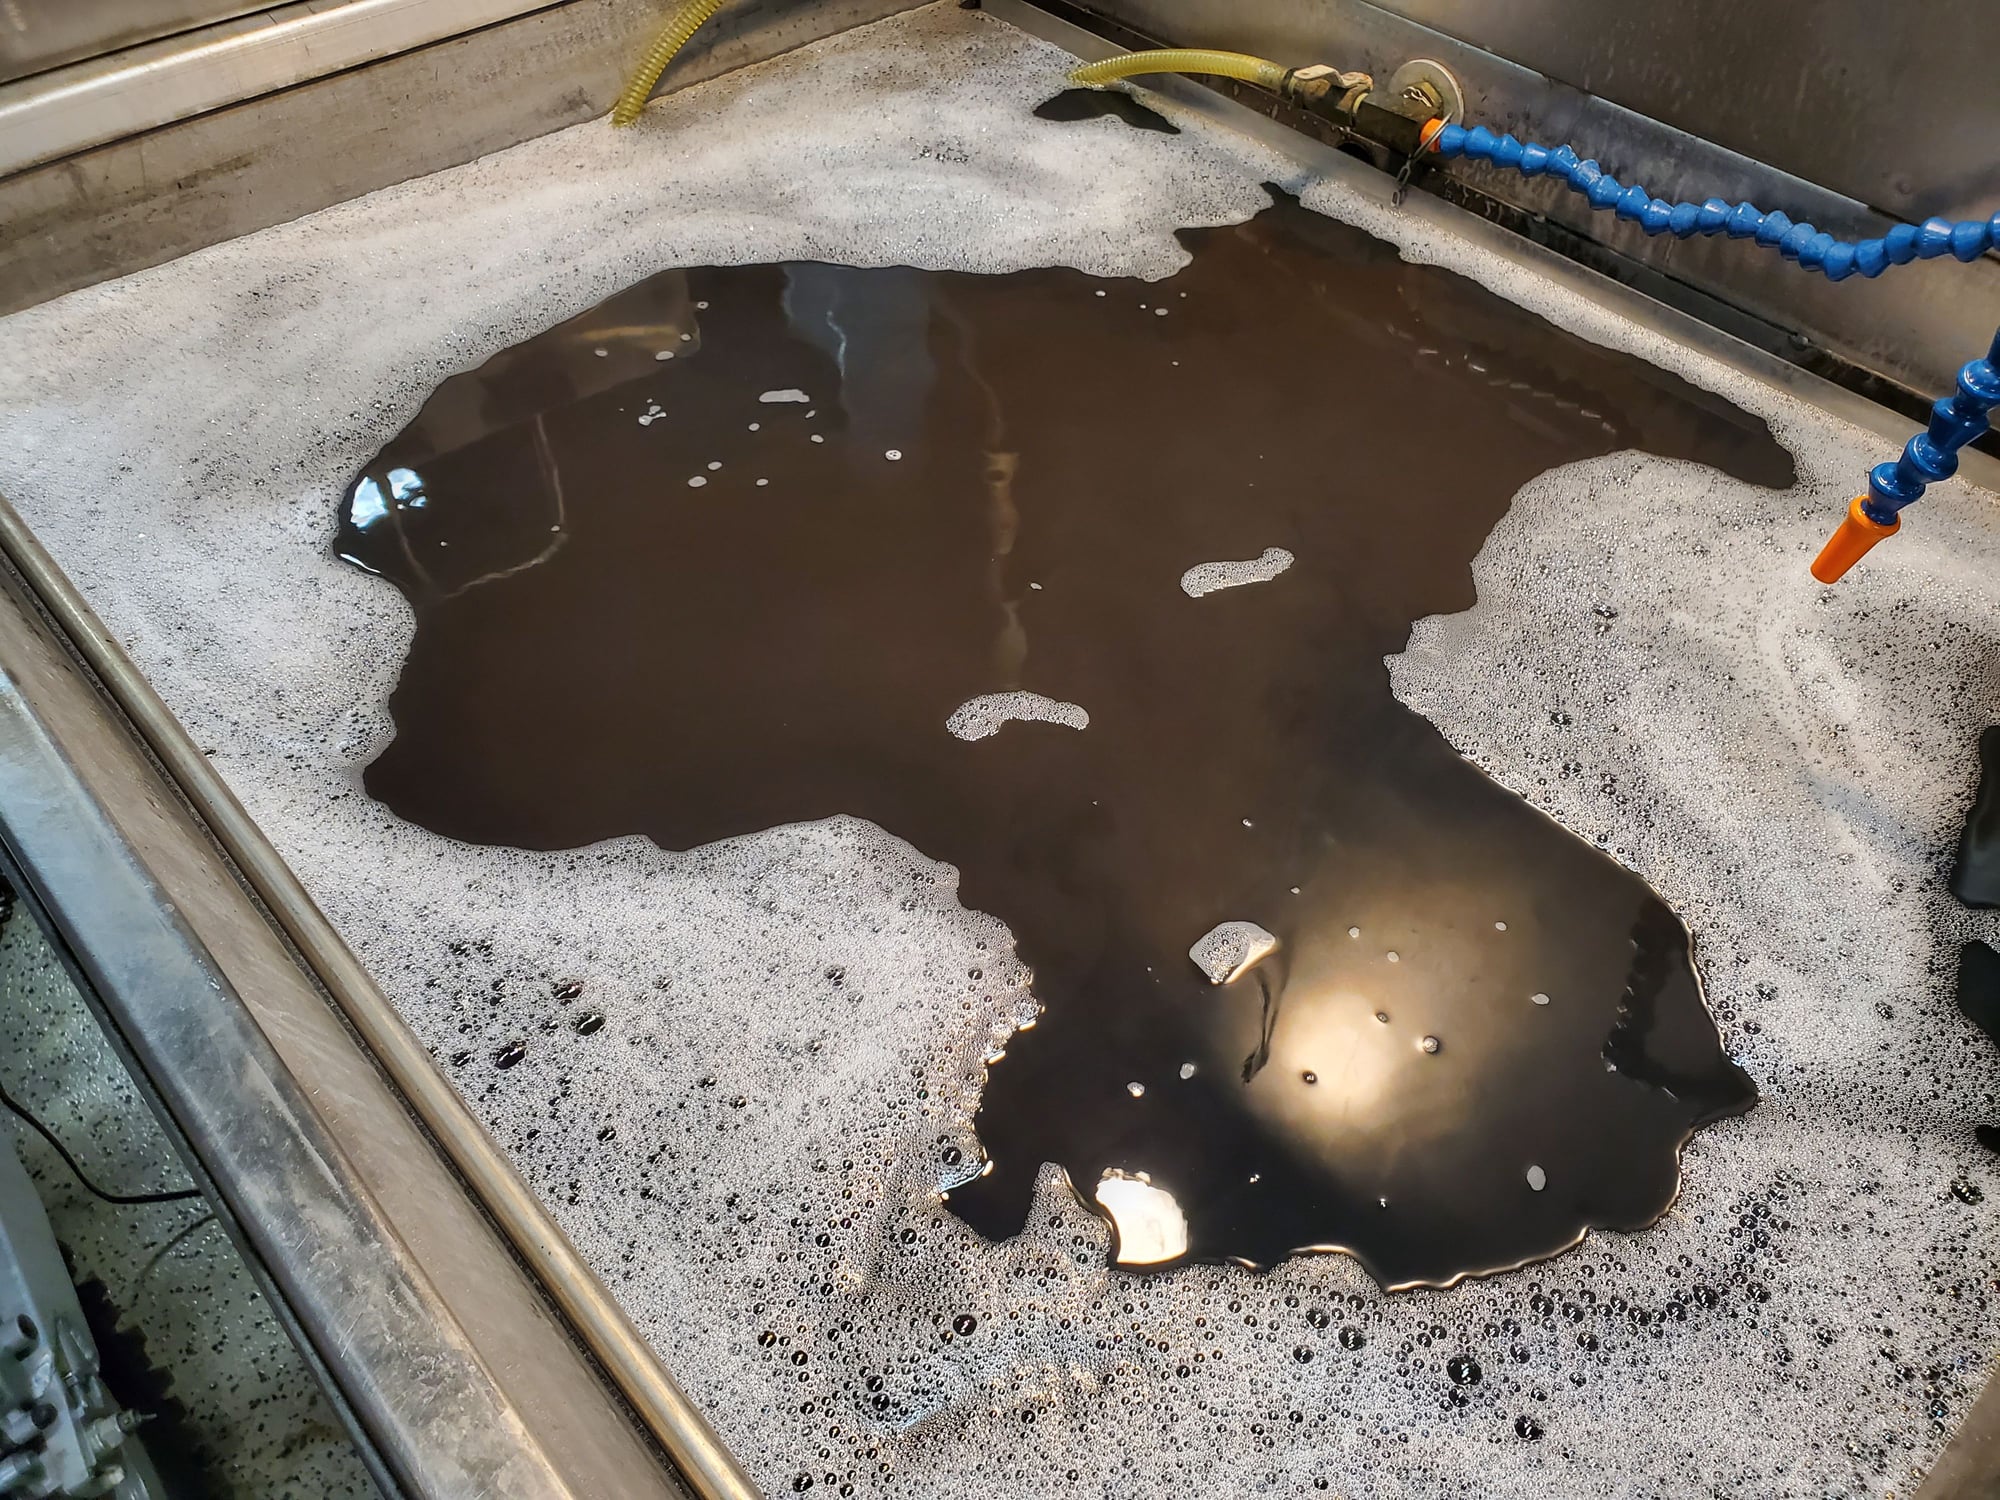
This is what the calipers looked like when removed from the car and placed into the heated ultrasonic parts washer - dirty raw metal. Plugged the line connections with rubber stoppers to prevent fluid ingress.
Ultrasonic vibrating years of crud off (togh to see the clouds of dirt being released).
Out of the cleaning bath, wiped down further with brake cleaner, stiff taped off and ready to paint. This paint lays down very thin for a really smooth finish, but takes 2.- 3 coats to achieve the solid look I like
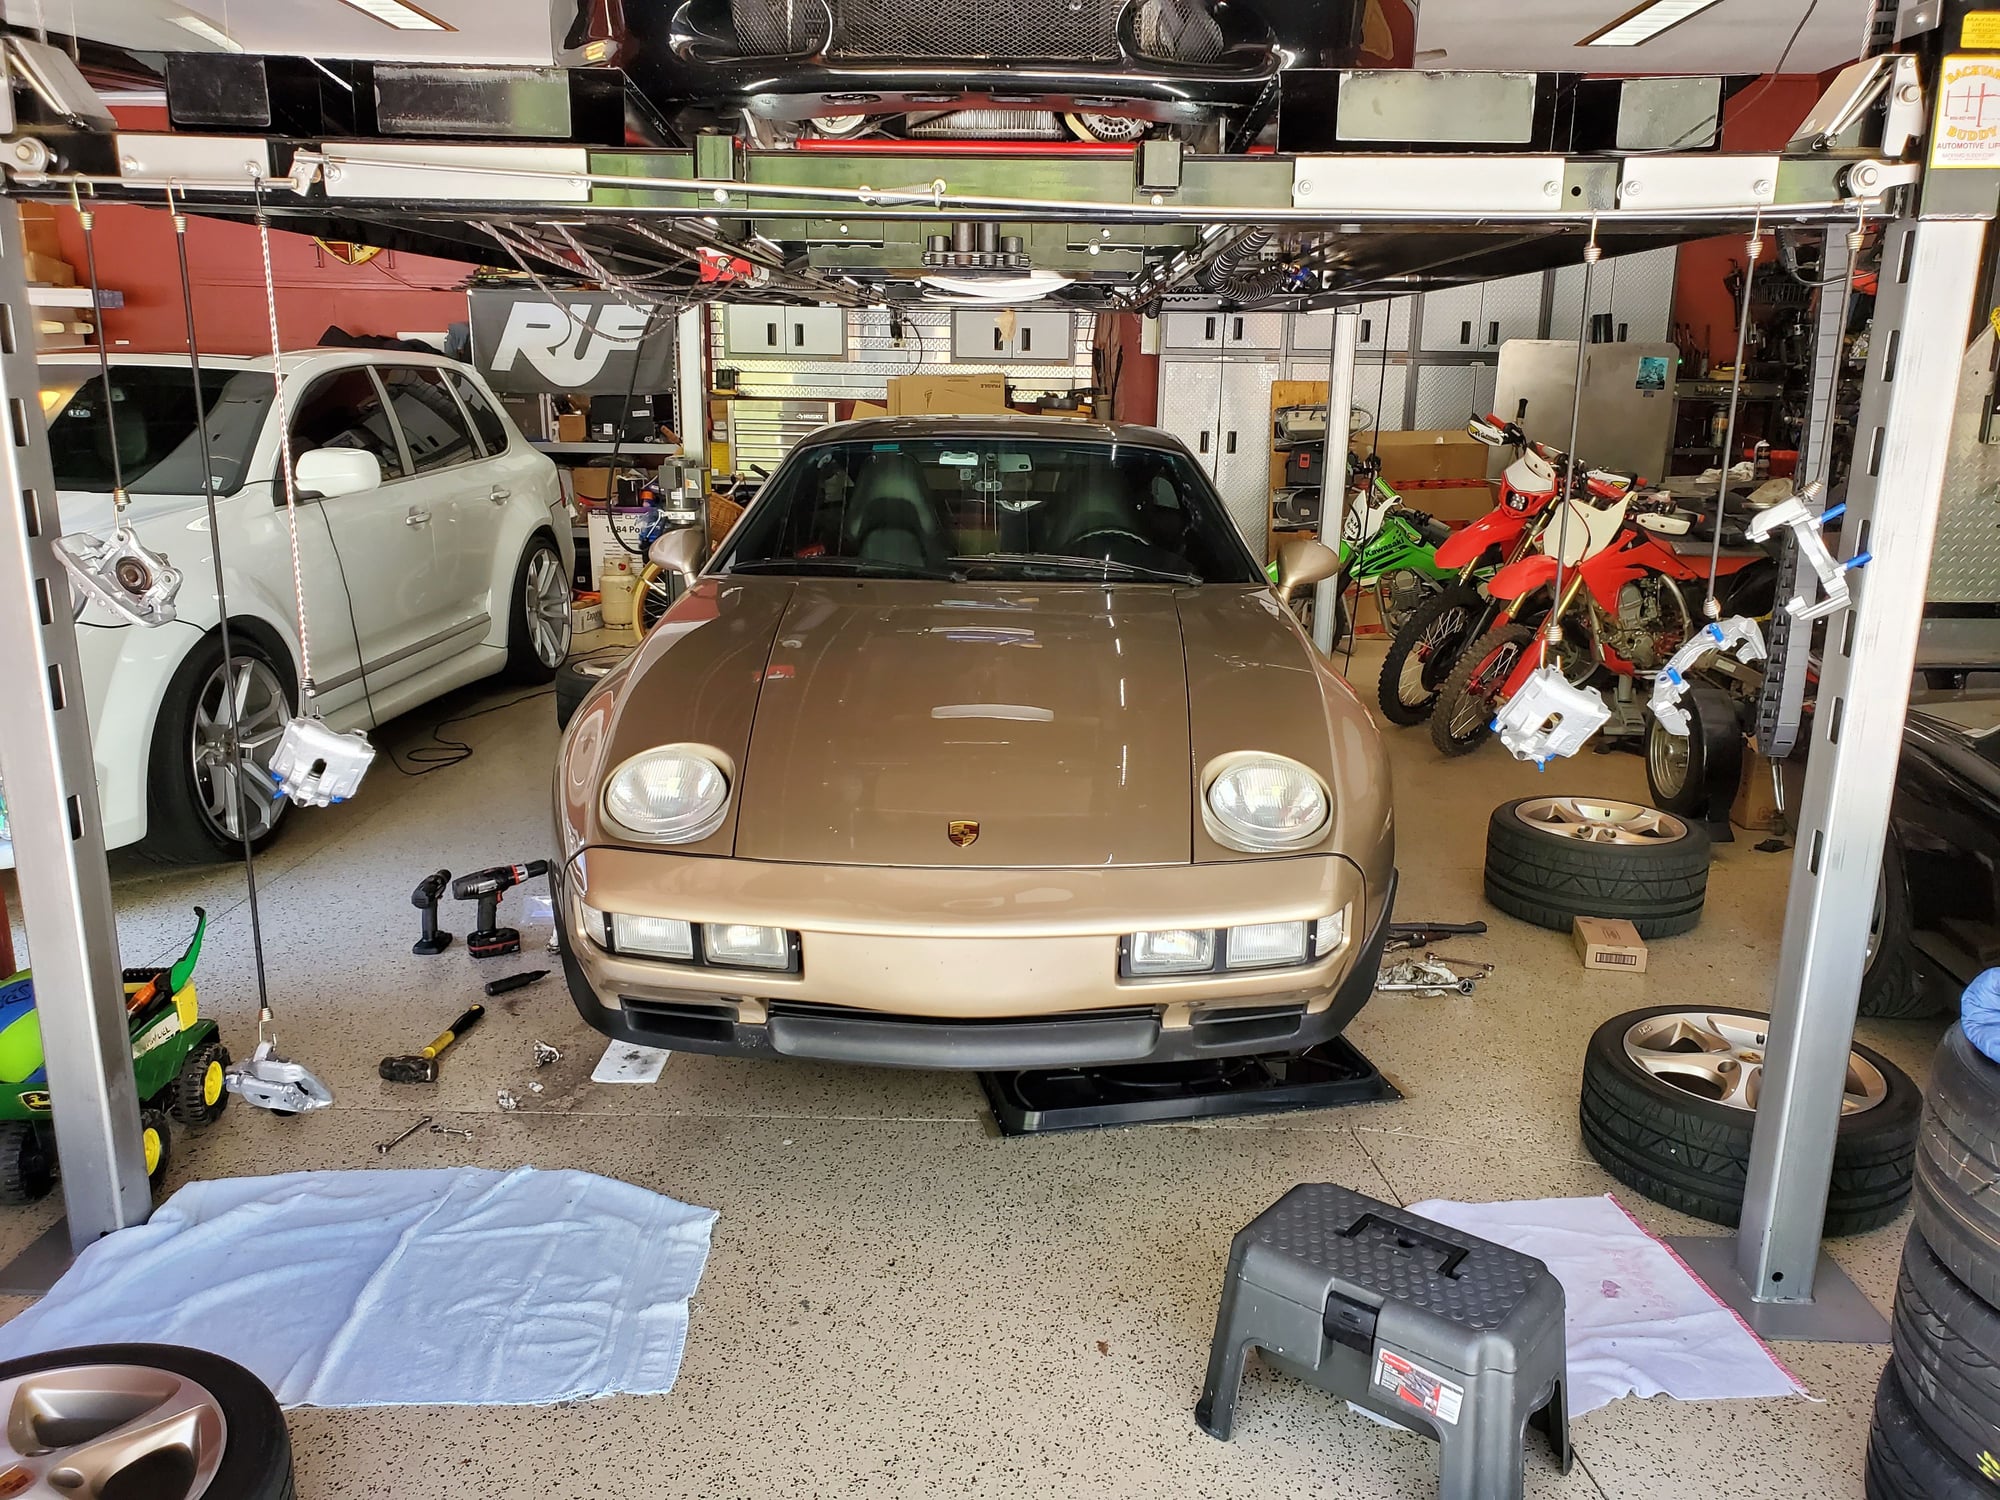
After the first coat, I hang them from my lift and do the 2nd coat in the garage so I can get 360 degree access without having to lay them down on wet paint
Close up after paint
Other parts close up
New rotors and calipers installed
Front reassembled
Alternate front angle
Rear reassembled
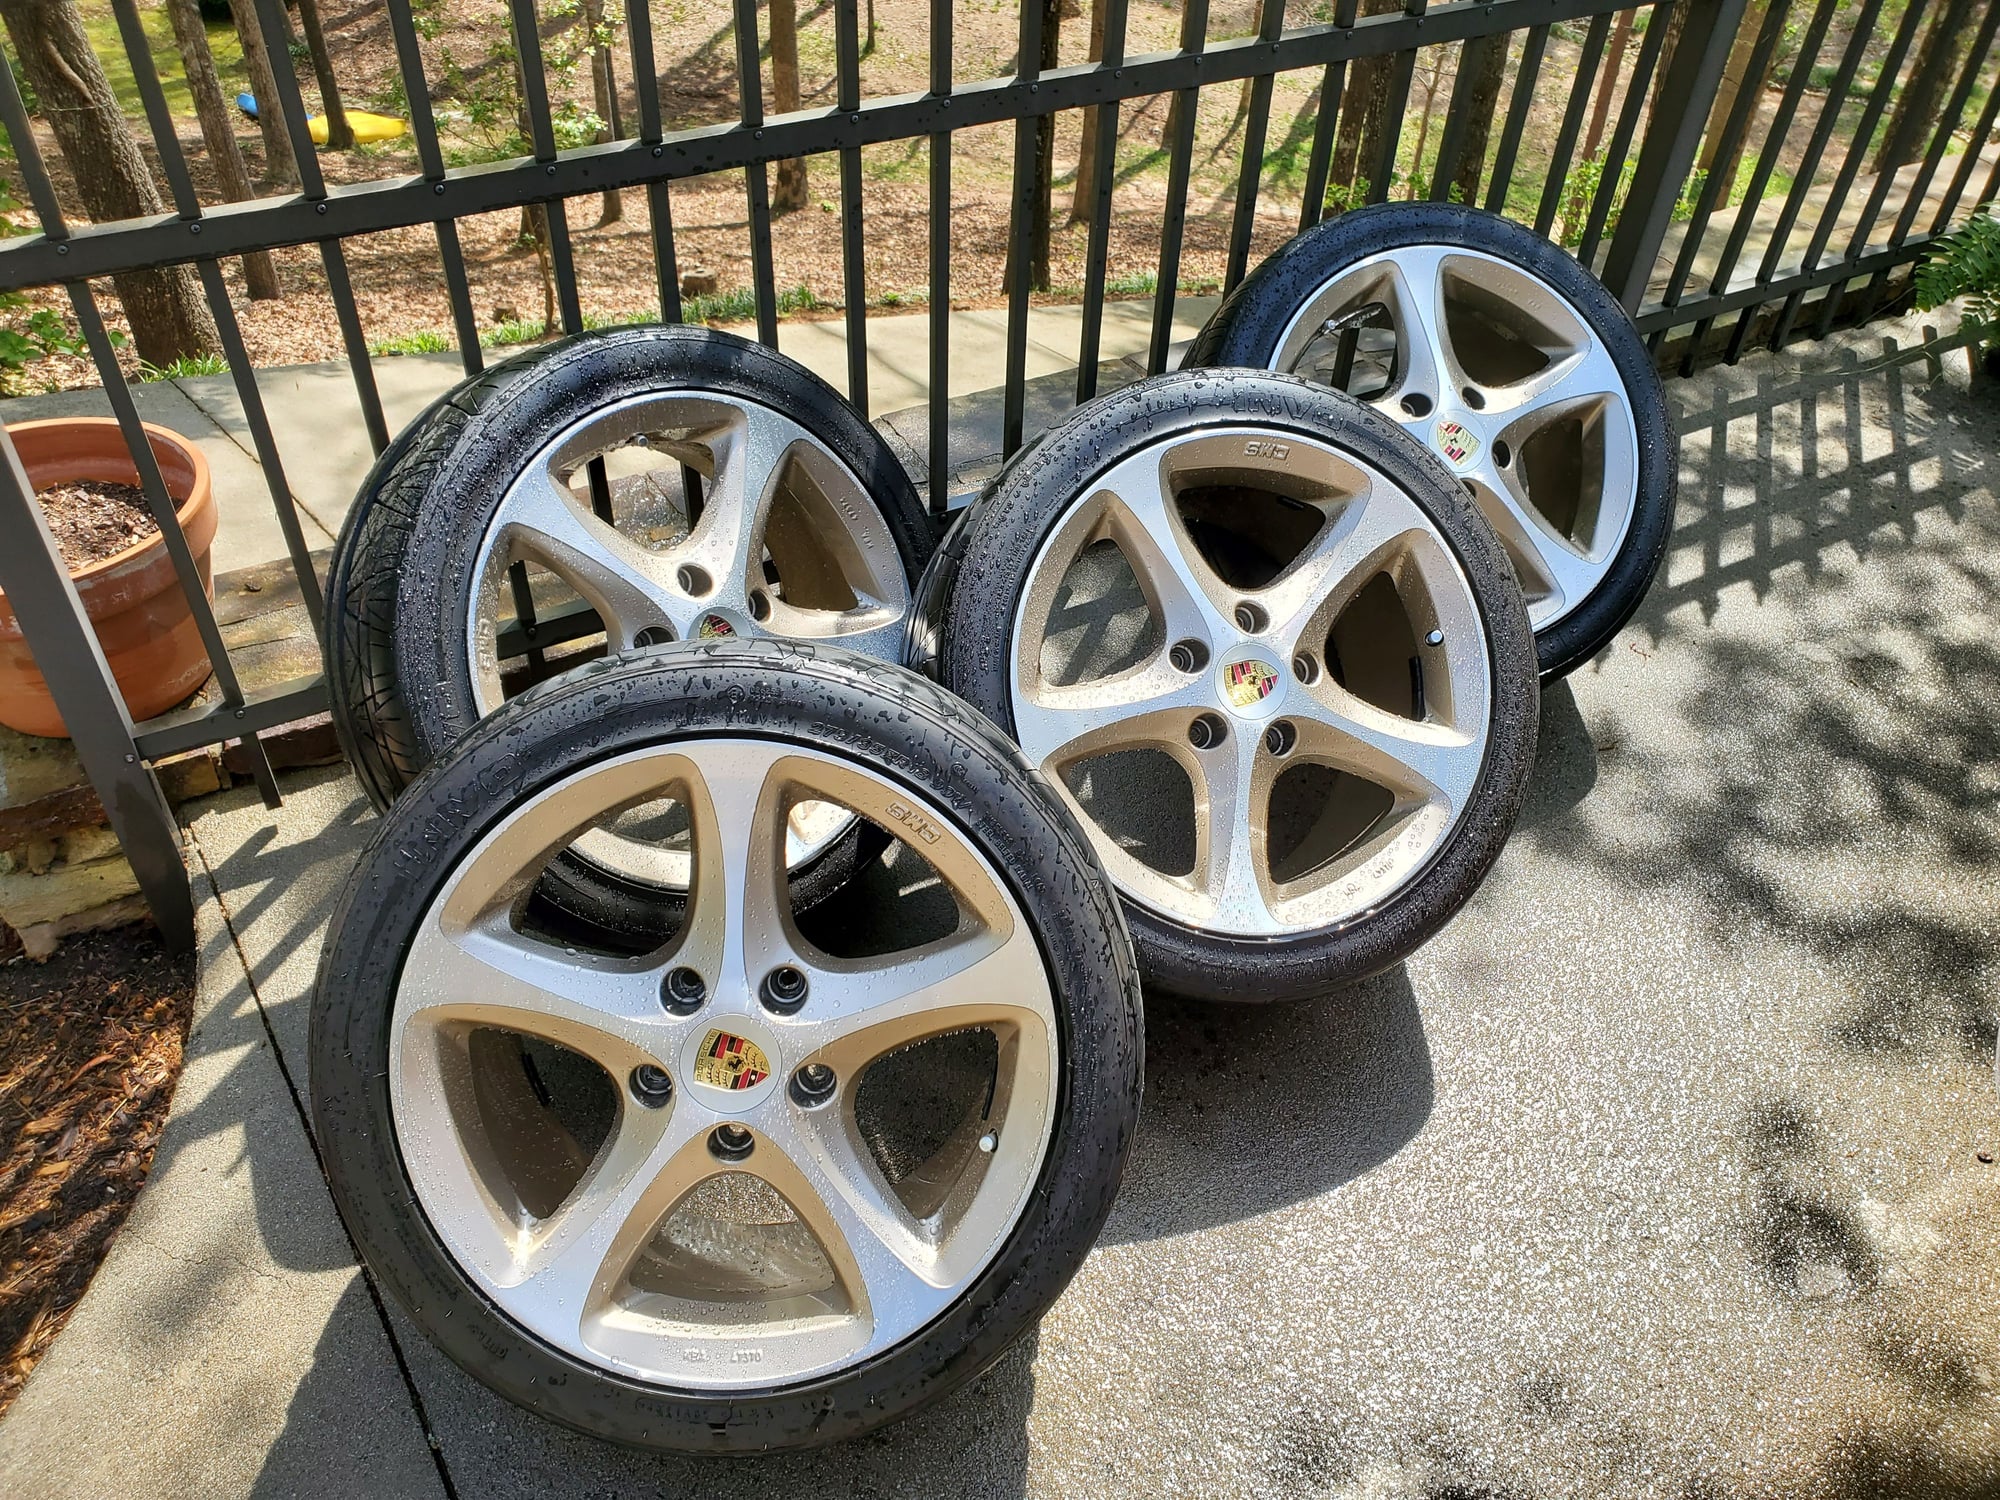
While I had the wheels off, took the opportunity to clean them up including the inner barrels. The ceramic coating on these makes them so easy to clean.
Front with wheel reinstalled
Rear with wheel reinstalled
Bled all 4 corners twice in sequence and used 2 Liters of fluid and my Motive pressure bleeder (dry method).
Took the car for a pad/rotor bedding run which went well, no dragging brakes, nice smooth rotatiin with no shimmy, temp on the IR gun good, etc, but the pedal isn't as firm as I'd like so need to do another round of bleeding and will probably do this round the traditional 2-person way. With open 18" wheels I can actually do this with the wheels on the car, which is nice.
Looks nicer and I finally have smooth braking 👍
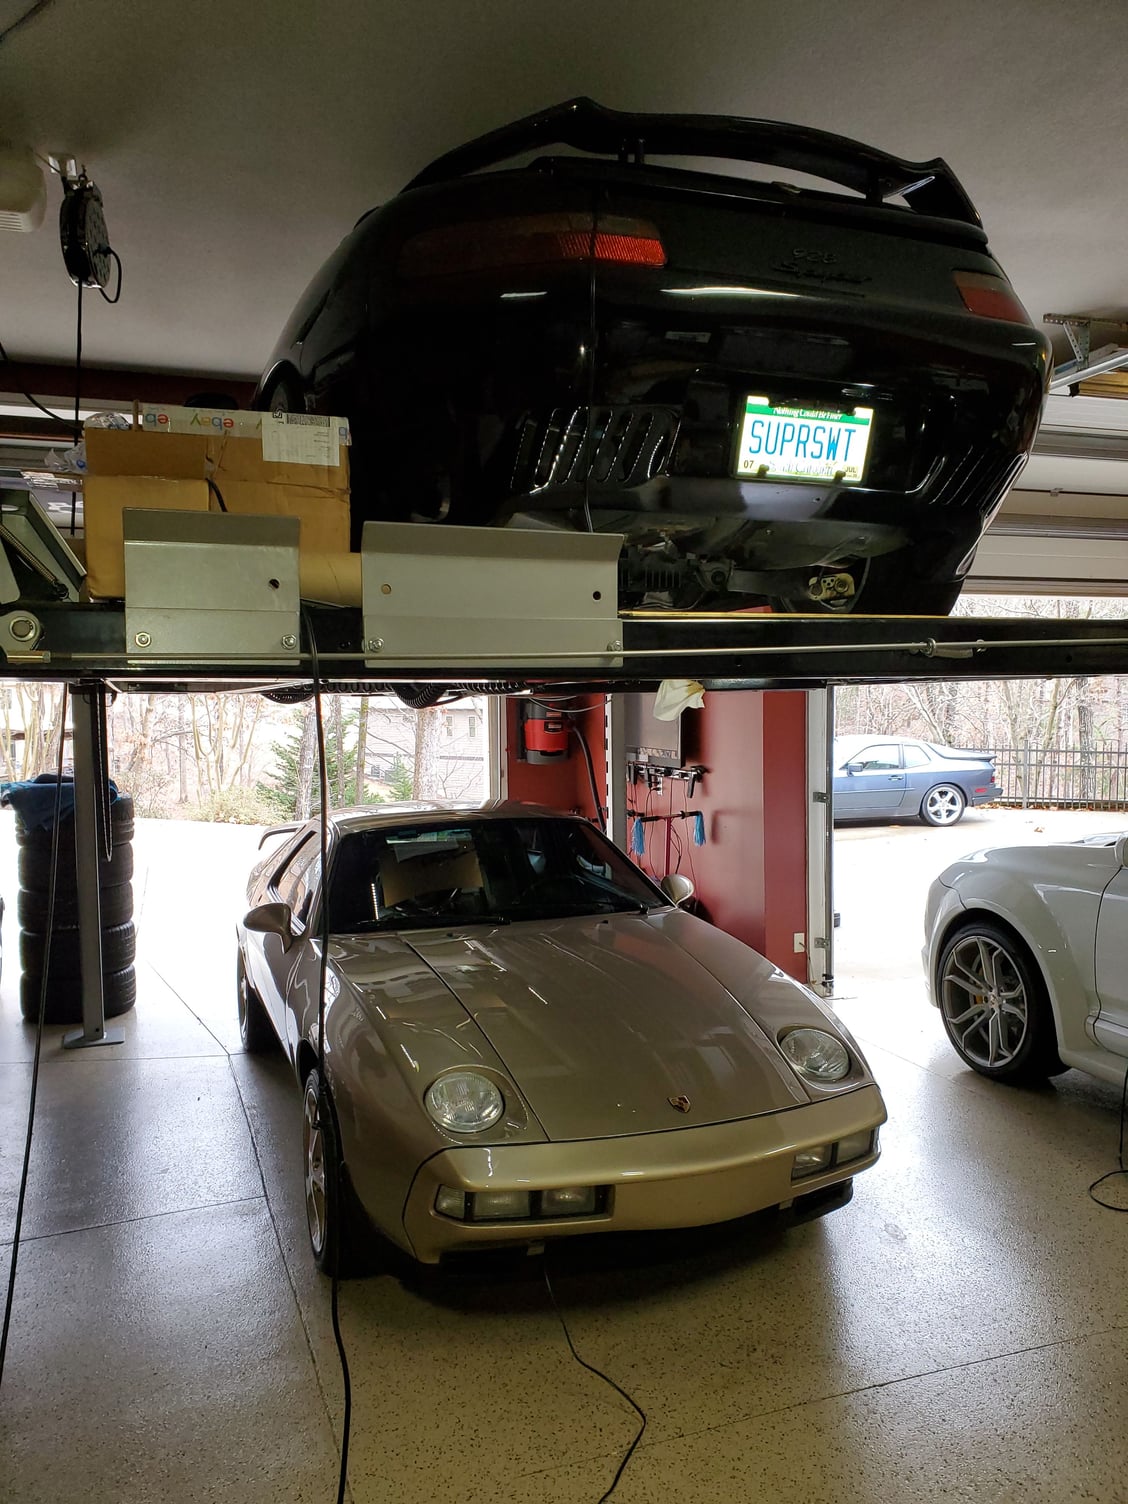
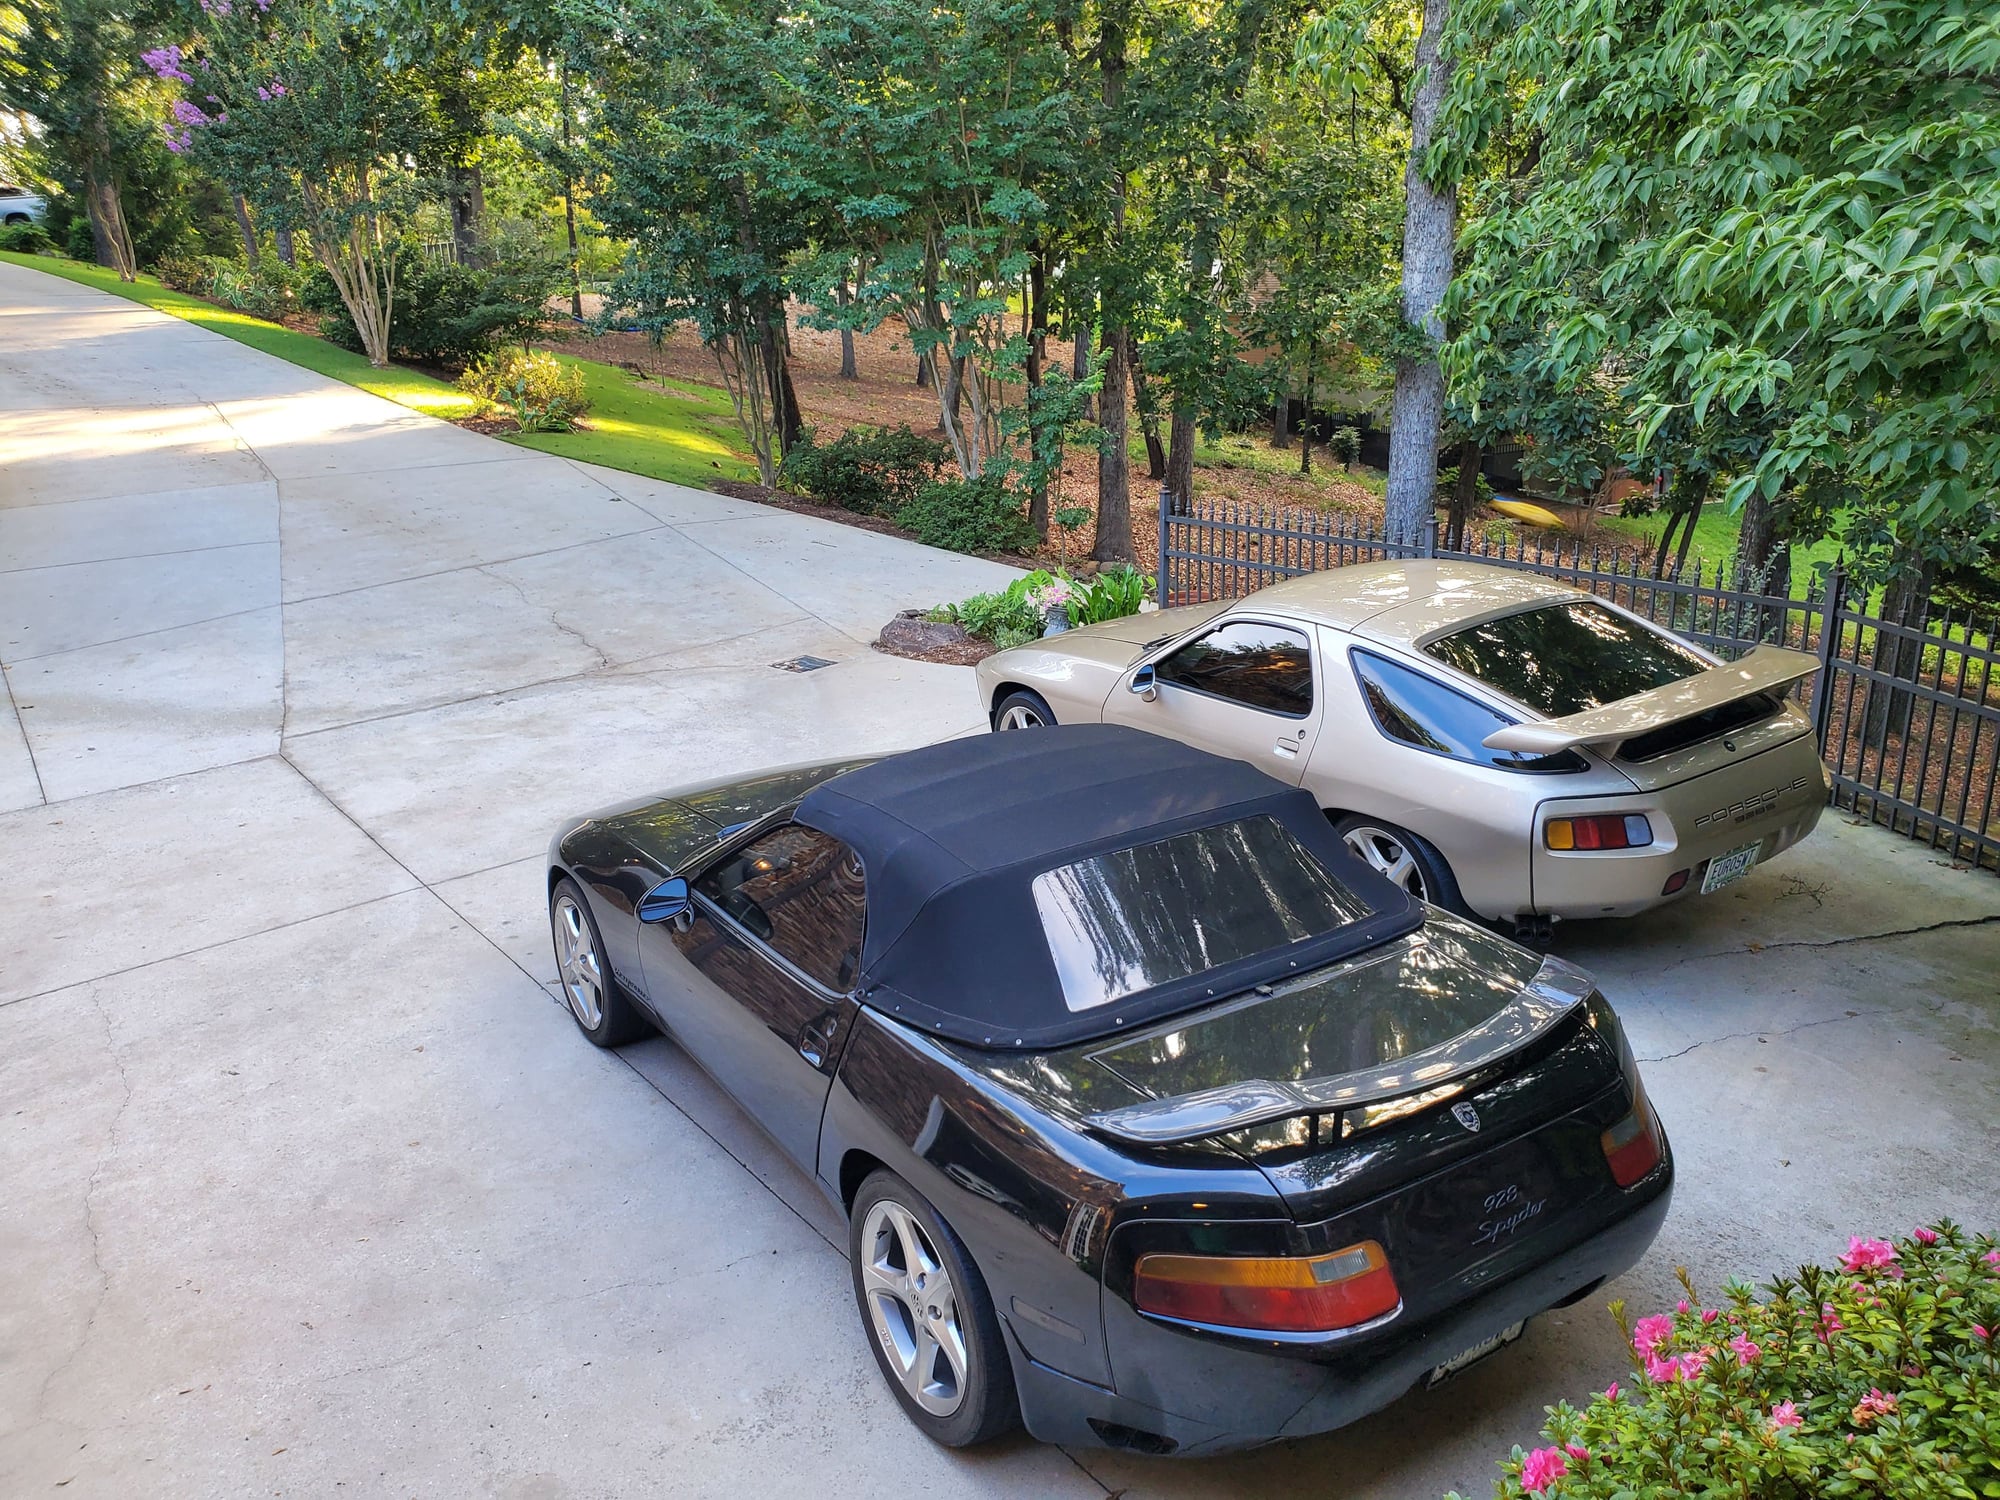
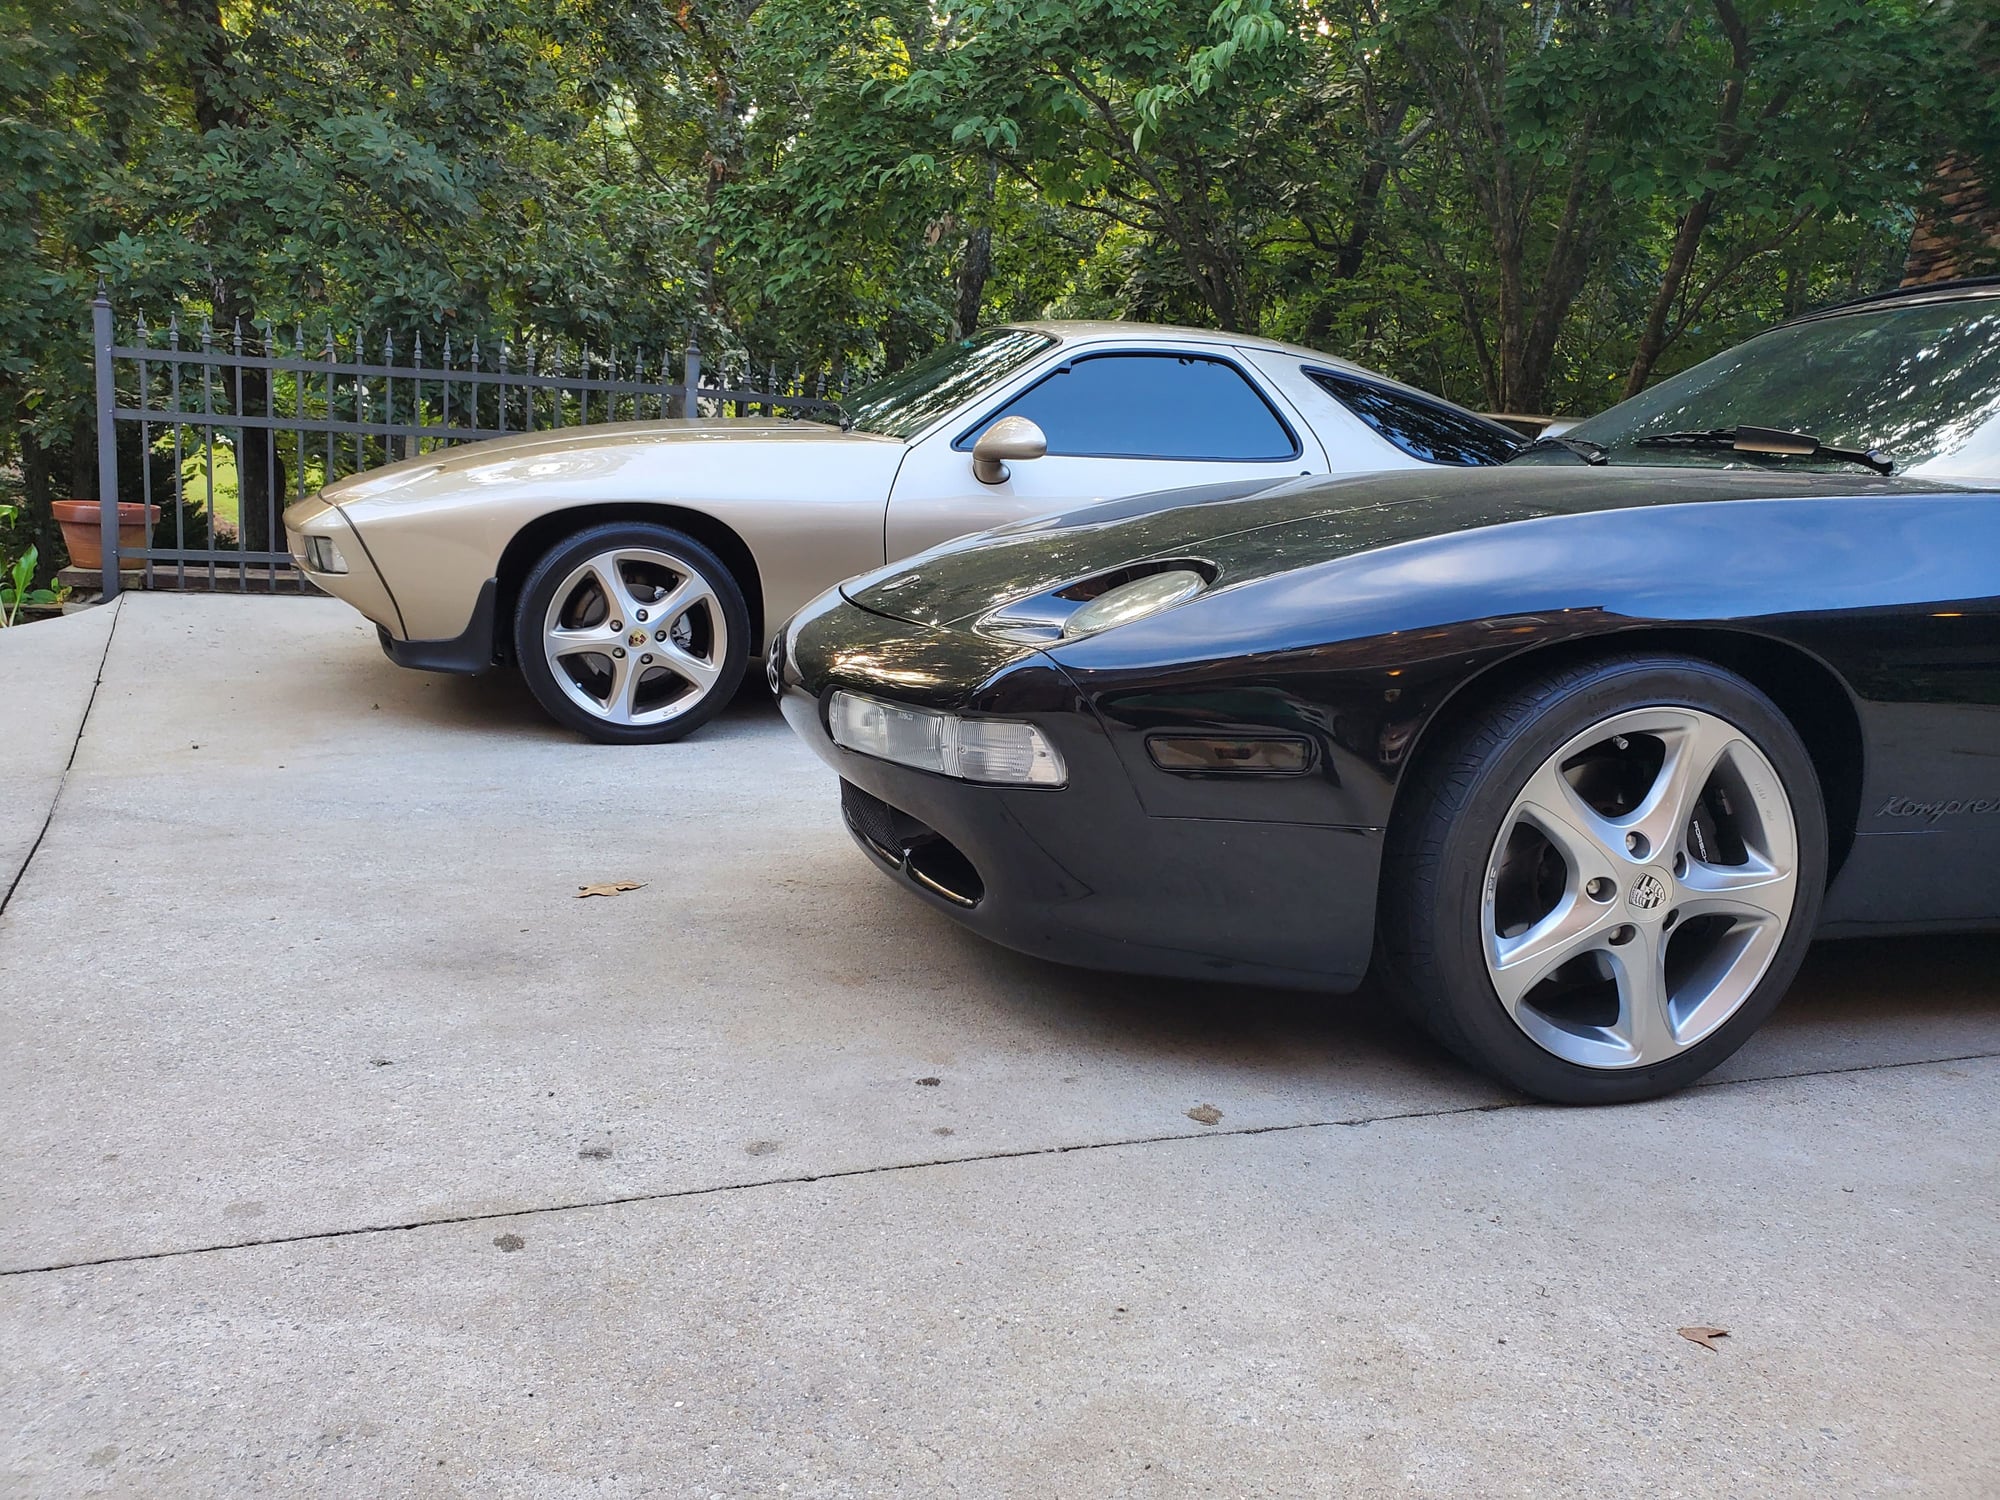
Had to move some cars around today to do some maintenance to others on the lift. Made a good opportunity for pics of the pair of sharks.
Also installed a hi-torque IMI starter like I've had in the Spyder since 2015. Hard to believe these smaller and lighter starters are actually more powerful than the monster OEM ones. As an FYI, the mounting plate needs to be infected to the middle of the 3 holes to line up and engage properly. I initially installed.it the way it arrived and the Bendix hit the side of the housing and wouldn't engage the flywheel. Looked at my 79 for reference, indexed the mounting plate to the same center hole and now all good.
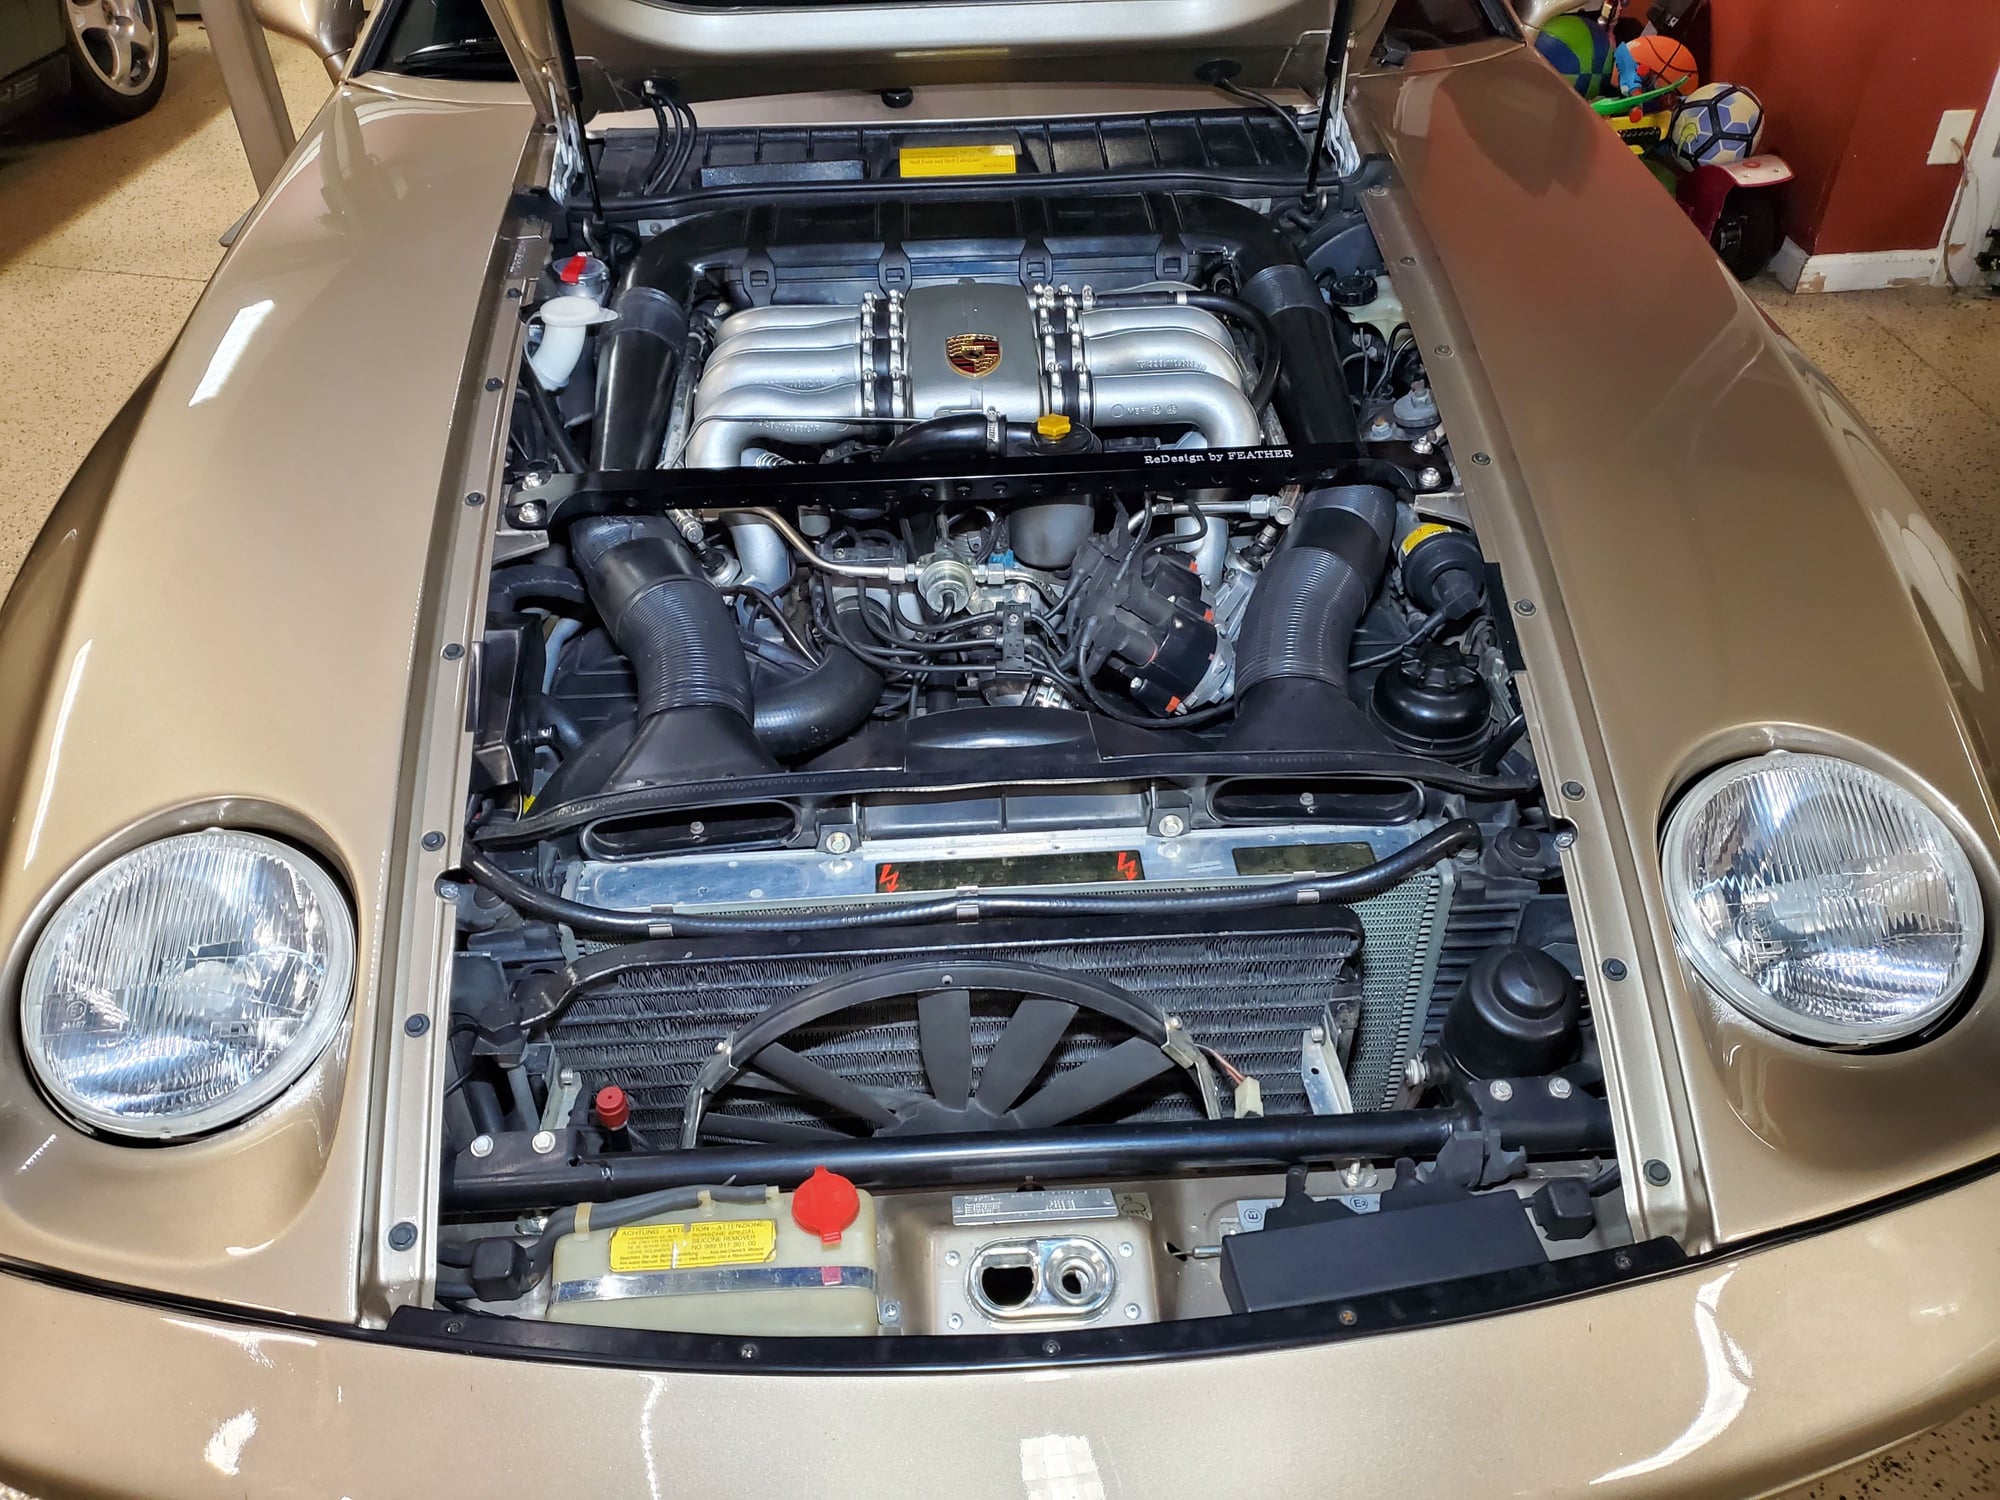
Was so excited, decided to install the first one into the 84 Euro S.
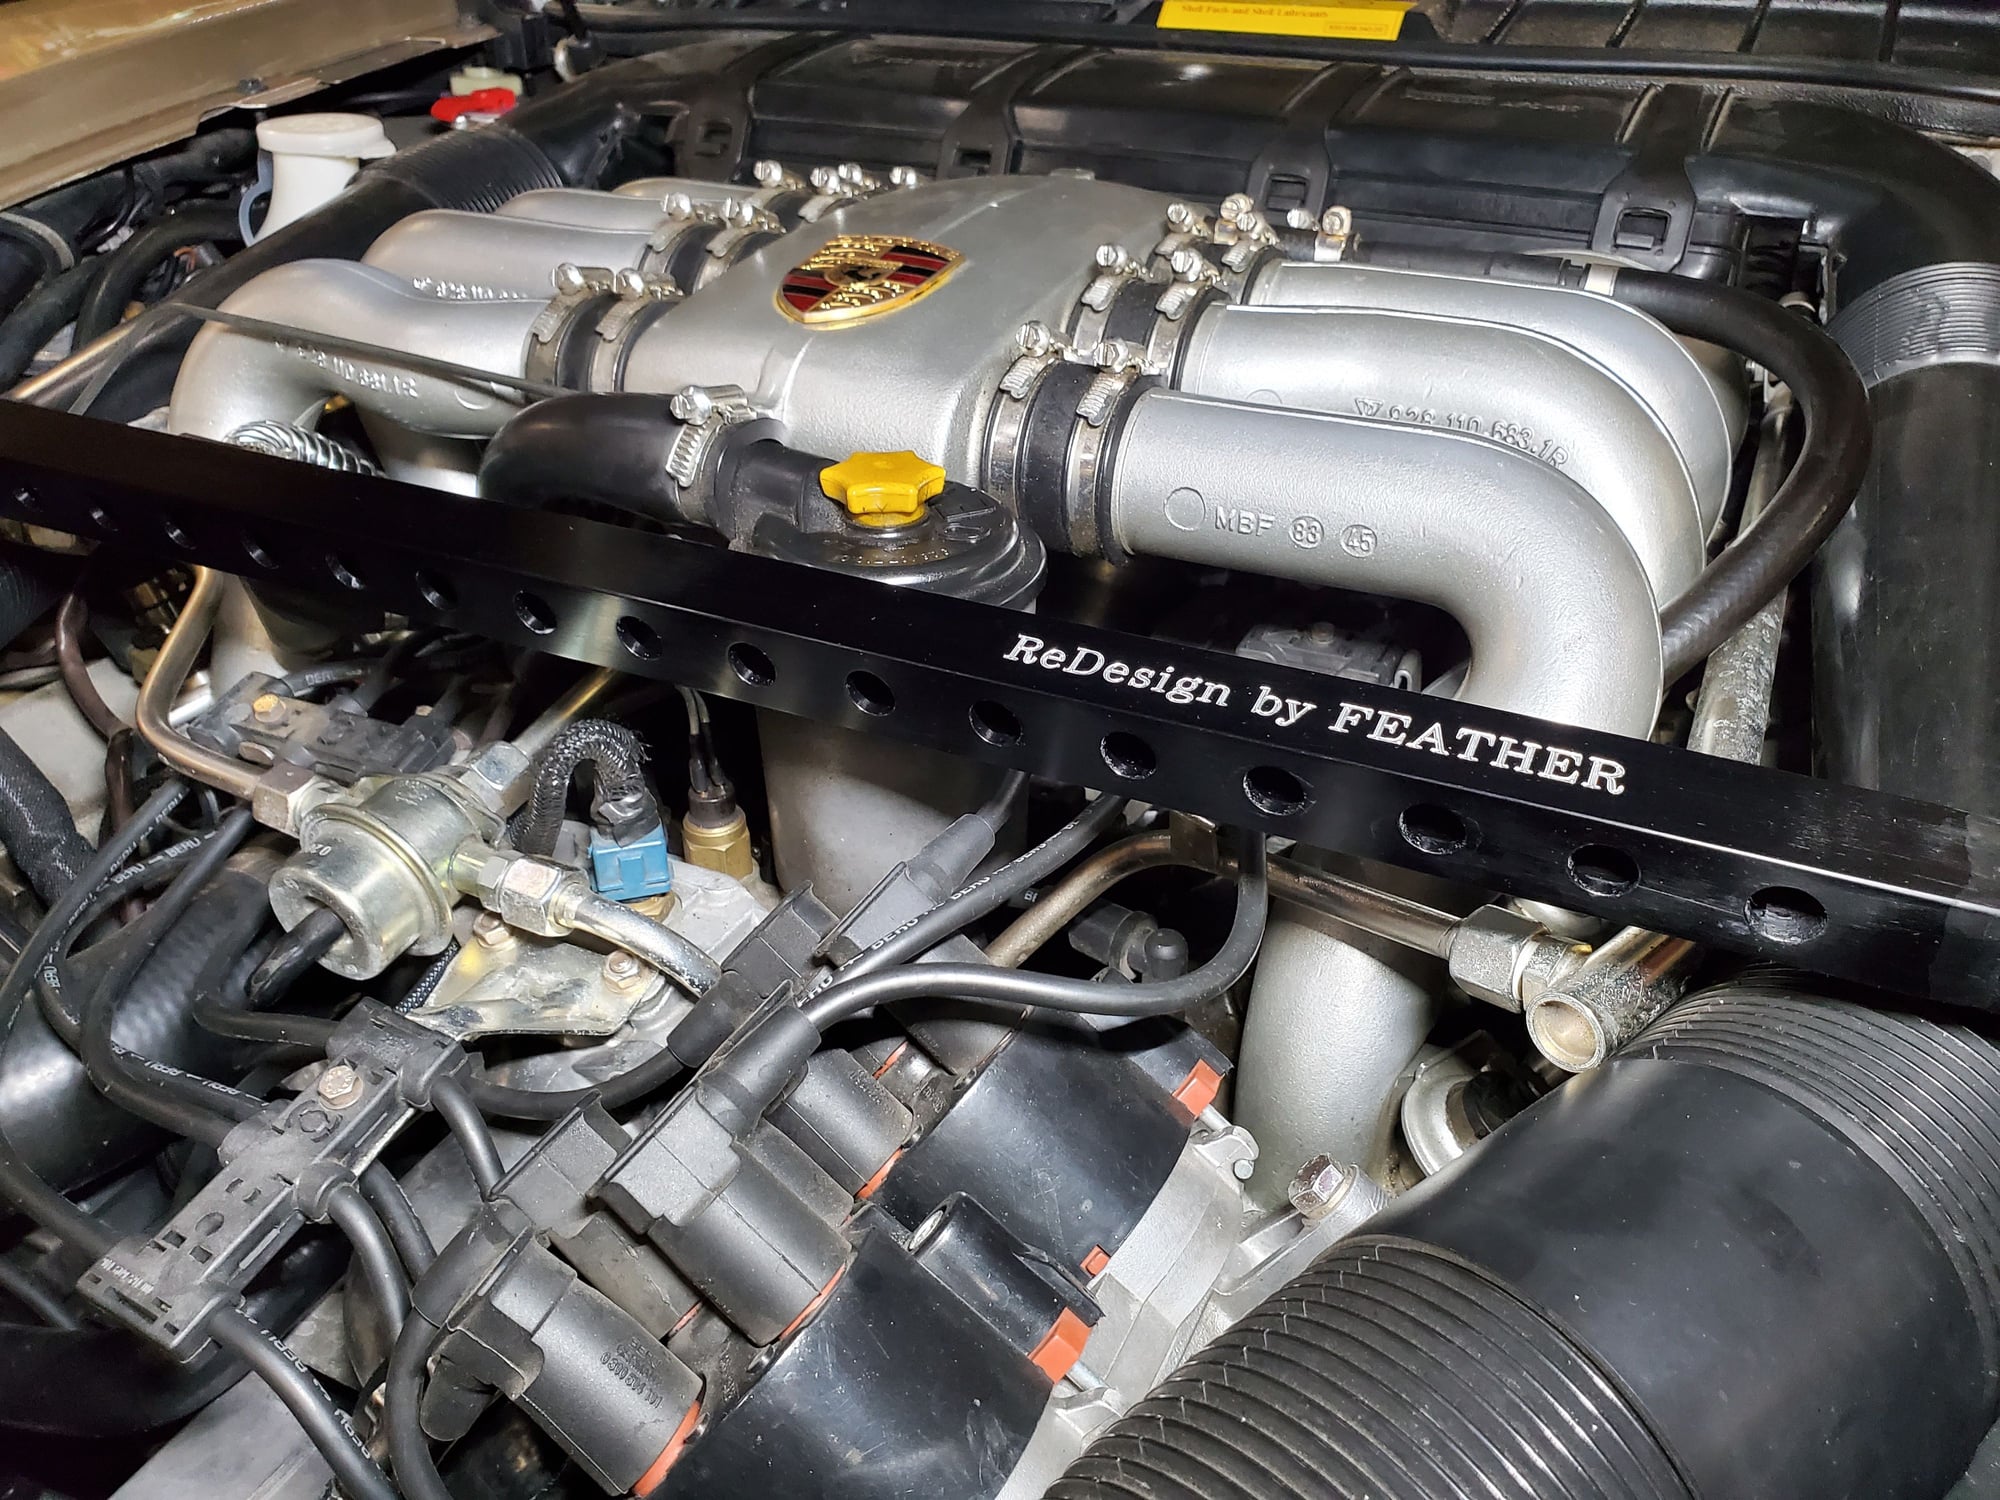
I went with the drilled version, black anodized finish, and signature etching - these things are really good looking and high quality.
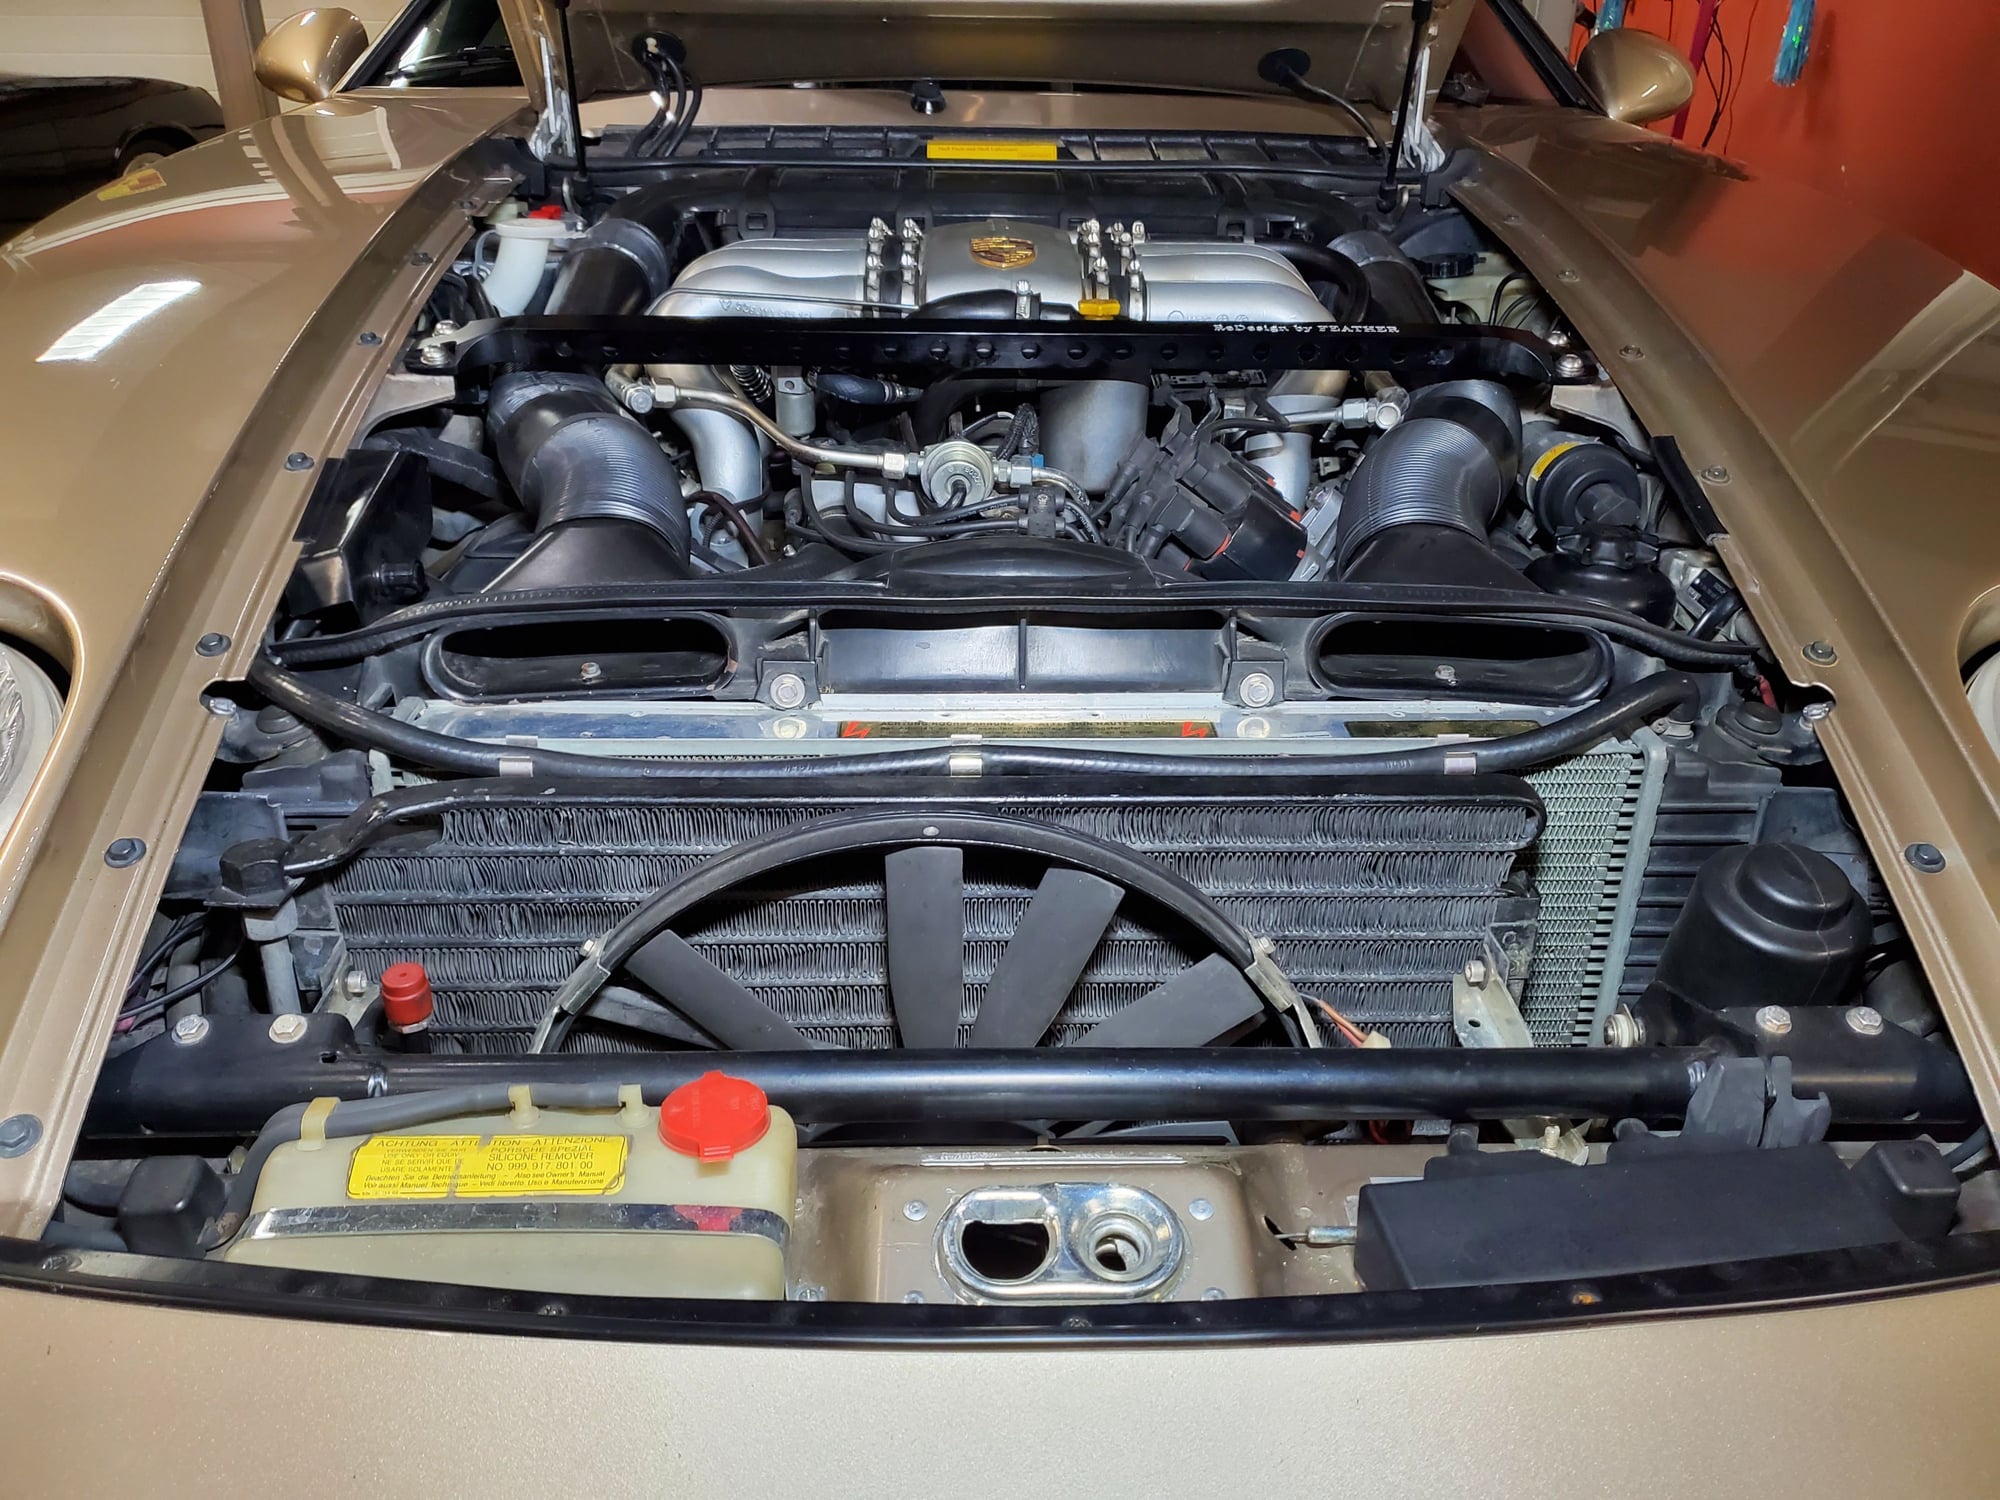
I figured out a way to mount the idle stabilizer valve too. Found an old rubberized bracket I had laying around - mounted the stabilizer to the bracket then had to figure out how to mount it to the bar.
My initial plan was to insert a stainless rivnut into one of the backside bar holes so I could just thread a bolt through the new mounting bracket and into the rivnut. Unfortunately, the bar holes are not a standard size for metric rivnuts and I didn't want to make one of the holes larger so came up with a different plan. I took a stainless M6 washer and ground down the opposing sides so it's more of an oval shape and now narrow enough in one dimension to fit through the bar holes. Got a stainless bolt long enough to be pe able to put a nut and lock washer on along with the oval washer where there's enough length to angle the washer though the bar hole. Once that washer was inside the bar and rotated and flat agaist the eges of one of the holes, I just tightened the bolt, securing the idle valve to the bar.
The way it was mounted to the original bar, both hoses were actually slightly kinked. I repositioned the outlet hose, shortened it, and installed a spring over it which allows it to make tha tight turn without kinking. I need to get another spring for the other side to help round that one out as well, but it all fits in there nicely and looks really nice.


 05-13-2022, 08:11 PM