When you click on links to various merchants on this site and make a purchase, this can result in this site earning a commission. Affiliate programs and affiliations include, but are not limited to, the eBay Partner Network.
I now have the three welds on each end of all 15 Braces milled off and am starting to sand those weld areas smooth and to re-sand the tubes while I am at it. This is with the 400 grit belt. What I am needing to incorporate is something I learned about Aluminum about 67 years go in High School Physics class, actually in a moving picture about aluminum. Aluminum is interesting in that it is very self protective. When it is worked to bare metal it begins very quickly to oxidize and the oxide is both nearly clear and it is very very hard. It protects the parent metal and is very hard to remove.
What I was going to do to finish these Braces was to sand all 15 of them with the 400 grit then move to 600 for all of them and then to 800 or 1000 for all of them, but with the last grit I was then going to take each one that will be polished to the buffer immediately so that I would not have to polish off the layer of oxide that will have happened in a short time, at least over night if not much quicker.
Now I think I need to do this in much smaller groups, like 3 or 4 in a group and change the sanding belt after the small group is sanded with each different belt, and then take each one in turn to the buffer before I final sand the next one. The belt is pretty easy to change, so this will not add much to the process..
__________________
ReDesign by FEATHER
by Jerry Feather
Producer for 928 of:
-Hatch Latch Receiver Liner--All Versions
-Replacement Heavy Duty Spare Tire Cover
-Flush Center Console Conversion
-Cowl Cover, Cowl Seal, & Shell Stickers--All versions
(RHD included)
-Aluminum Gas Cap Ratcheting Pawl
I continue to seek confirmation of guys on the original list of those interested. I have not connected with Greg 84 Euro, with Jason 89S4, or with Slavic.
I have all of the milled off welds now sanded pretty smooth. I found that I had to go to a coarser belt to get that done because the 400 grit was just going too slow and it was heating the Brace up too hot to handle before I could get that part done. Now I can go back to the 400 grit and start the sanding progression that I described above.
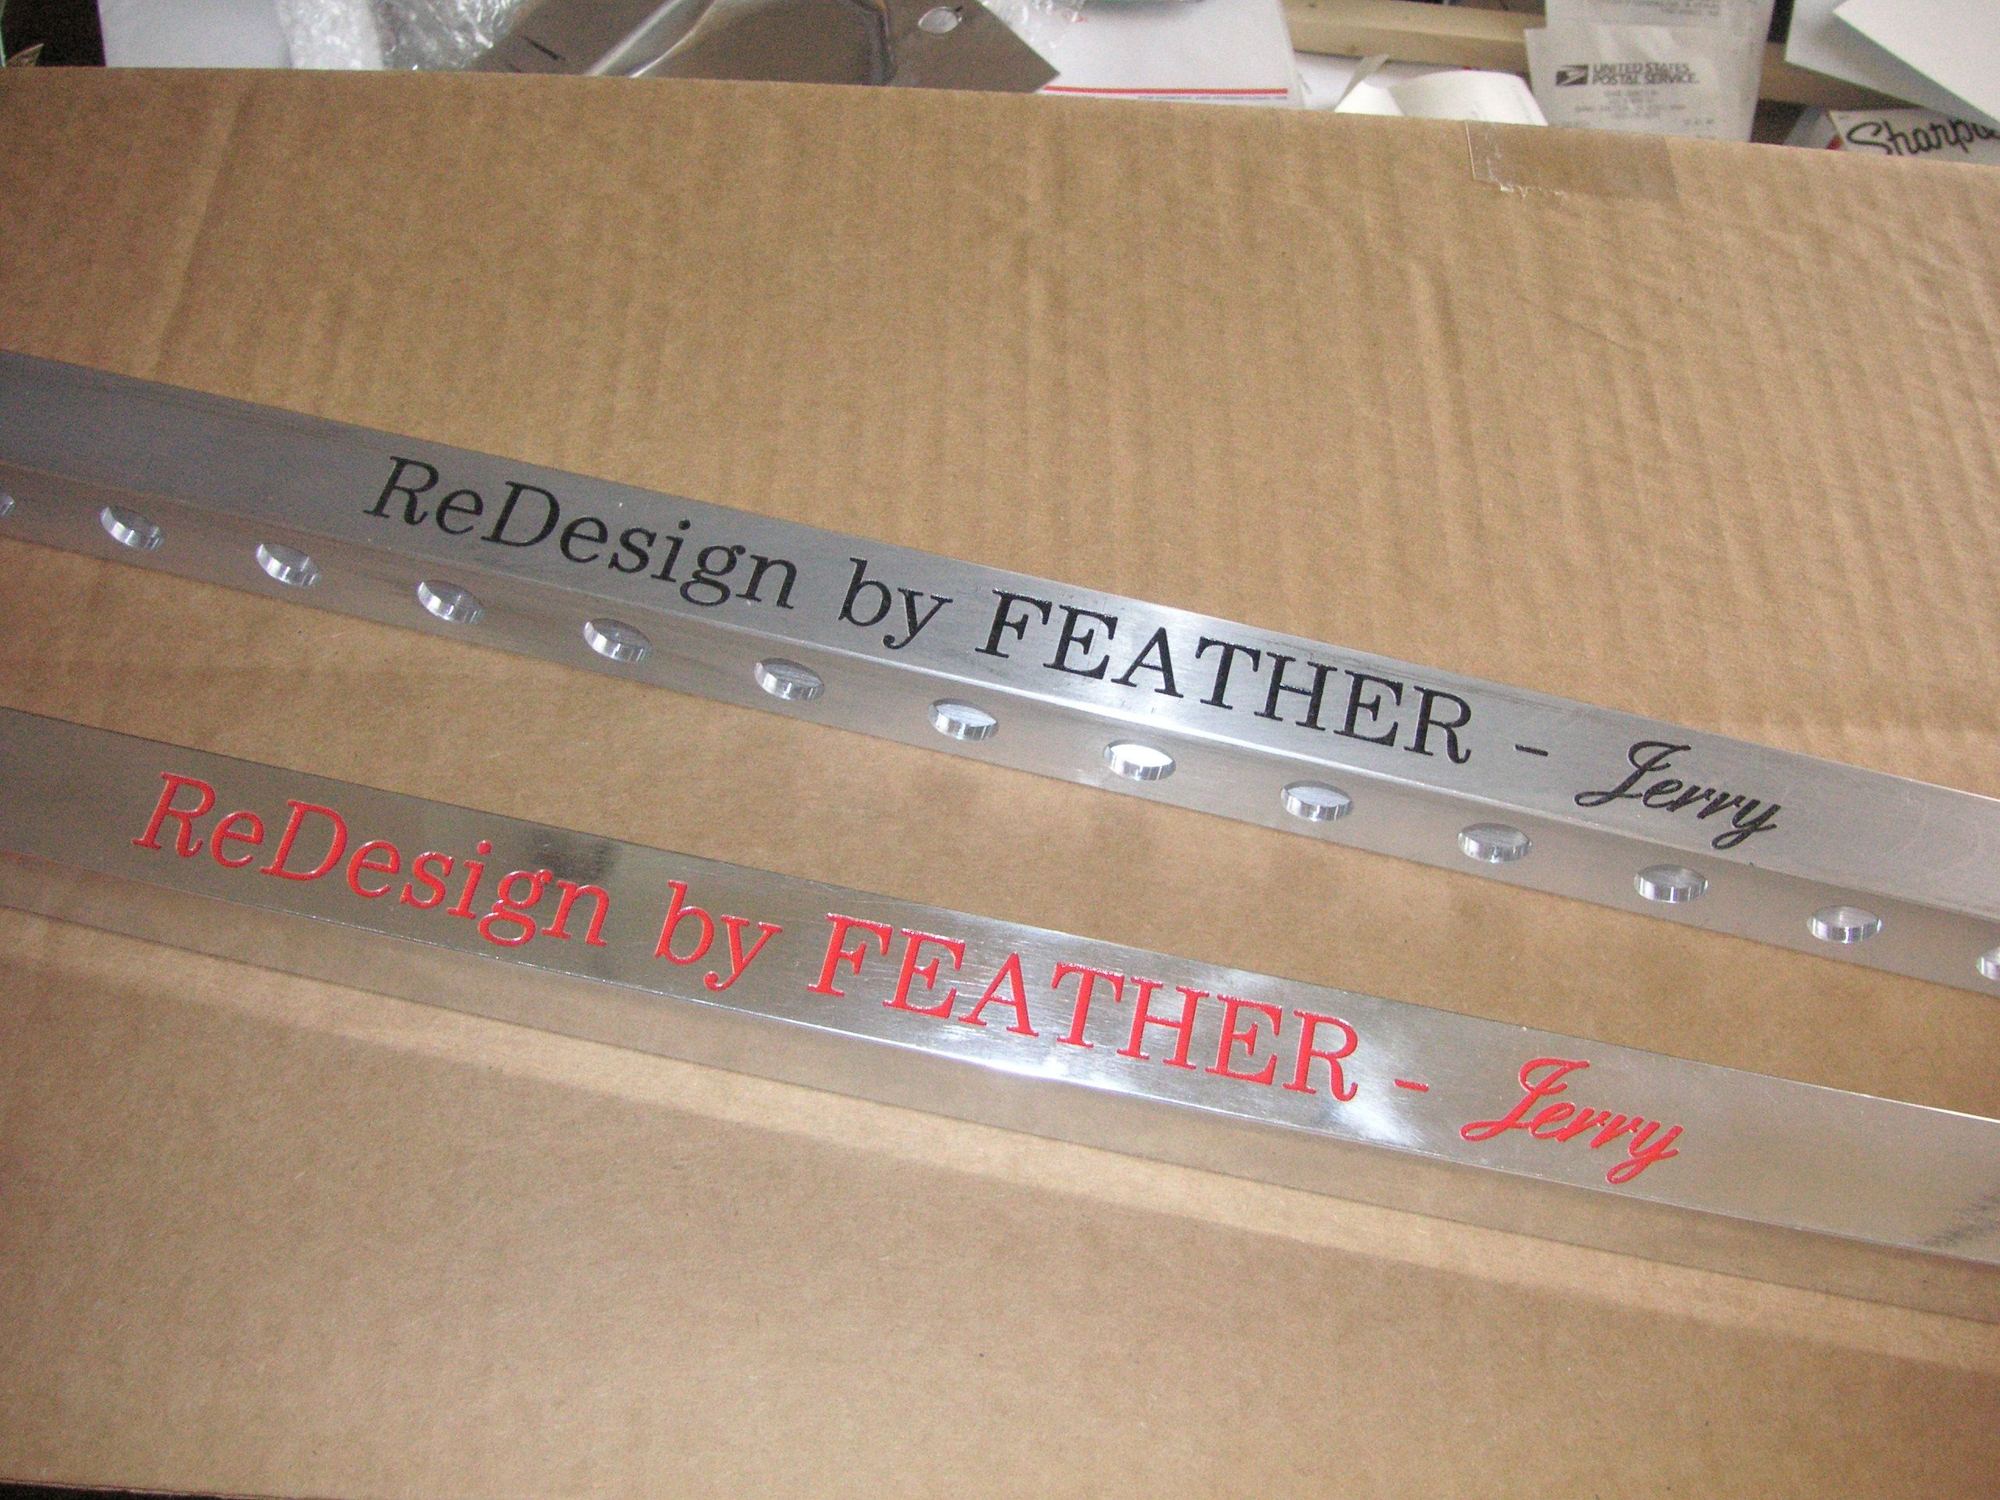
Ah! Back in the day in the Viet Nam War we had the saying that "progress was movement in any direction." Here I have some movement and it is kind of in the positive direction. I have the two Brace tubes that I gave to my engraver to work up for us and he has them done very well. One thing I think is that I may not want them quite as bold, but close. Here is a picture of the two engravings in black and red paint. He did suggest that they actually looked very nice without any paint.
Last edited by ReDesign by FEATHER; 08-02-2023 at 10:30 AM.
I have all of the Braces with the welds milled out and sanded down to about 164 grit in my smaller belt sander. Then I have started to finish out the sanding out to 1000 grit and have one sanded to there. However I find now that I have spend about an hour with that Brace on the buffing wheels and it is not polishing out very well at all. It still shows significant sanding lines in the areas of the welds especially and does not get very shiny at those locations. I think that the welds are still kind of soft. ON top of that with so much force required with the Brace against the buffing wheels it has a tendency for the wheel to grab the Brace at an edge and jerk it out of one or both hands which then results in some edge damage when the Brace hits the nut holding the buffing wheel onto the motor shaft or when the brace hits the floor.
The result is that I am cancelling the Polished option. Besides I think the Brace looks much Better in the white rather that shiny. In shiny what you tend to see is the reflections of everything around you rather than the nice white of the Aluminum.
I have 5 of these Braces finished out to the final sanding at 400 grit, which we have been calling "mill finish." One of them is actually finished out to the point that Gary K has requested. I'll be shipping one of them to him about Monday.
However, I am going to make another change to this offering, beside having already cancelled polishing, and that is to cancel the engraving. That too has become too complicated. Many of us found that as prototyped it is too bold. Some didn't want it. The paint in the engraving was actually kind of an issue with the engraver. The placement of the engraving was bothersome to some; and the actual nature of it was at issue with a couple of you. On top of that it is kind of expensive at $25 per issue and then none of that take into account the 2 weeks or so that it will take to have it done. So, Engraving is also cancelled.
So where we are left is with the basic Brace in mill finish with or without holes. The basic price I am staying with at $220 each and the holes are $40. The S&H I will try to determine when I mail Gary's Brace.
I going out and sand out a few more and then set the mill up and do some holes to see how that goes.
If you will let me know how you want your Brace, if at all, under this current profile, let me know by email. PM's are ok but I prefer my email because it is easier to get to and easier to keep track of. jfeather@bresnan.net
By the way I have at least one additional opening for one of these from the original 14 shown, and there may very well be a few more with this new profile. If interested, send me an email about that.
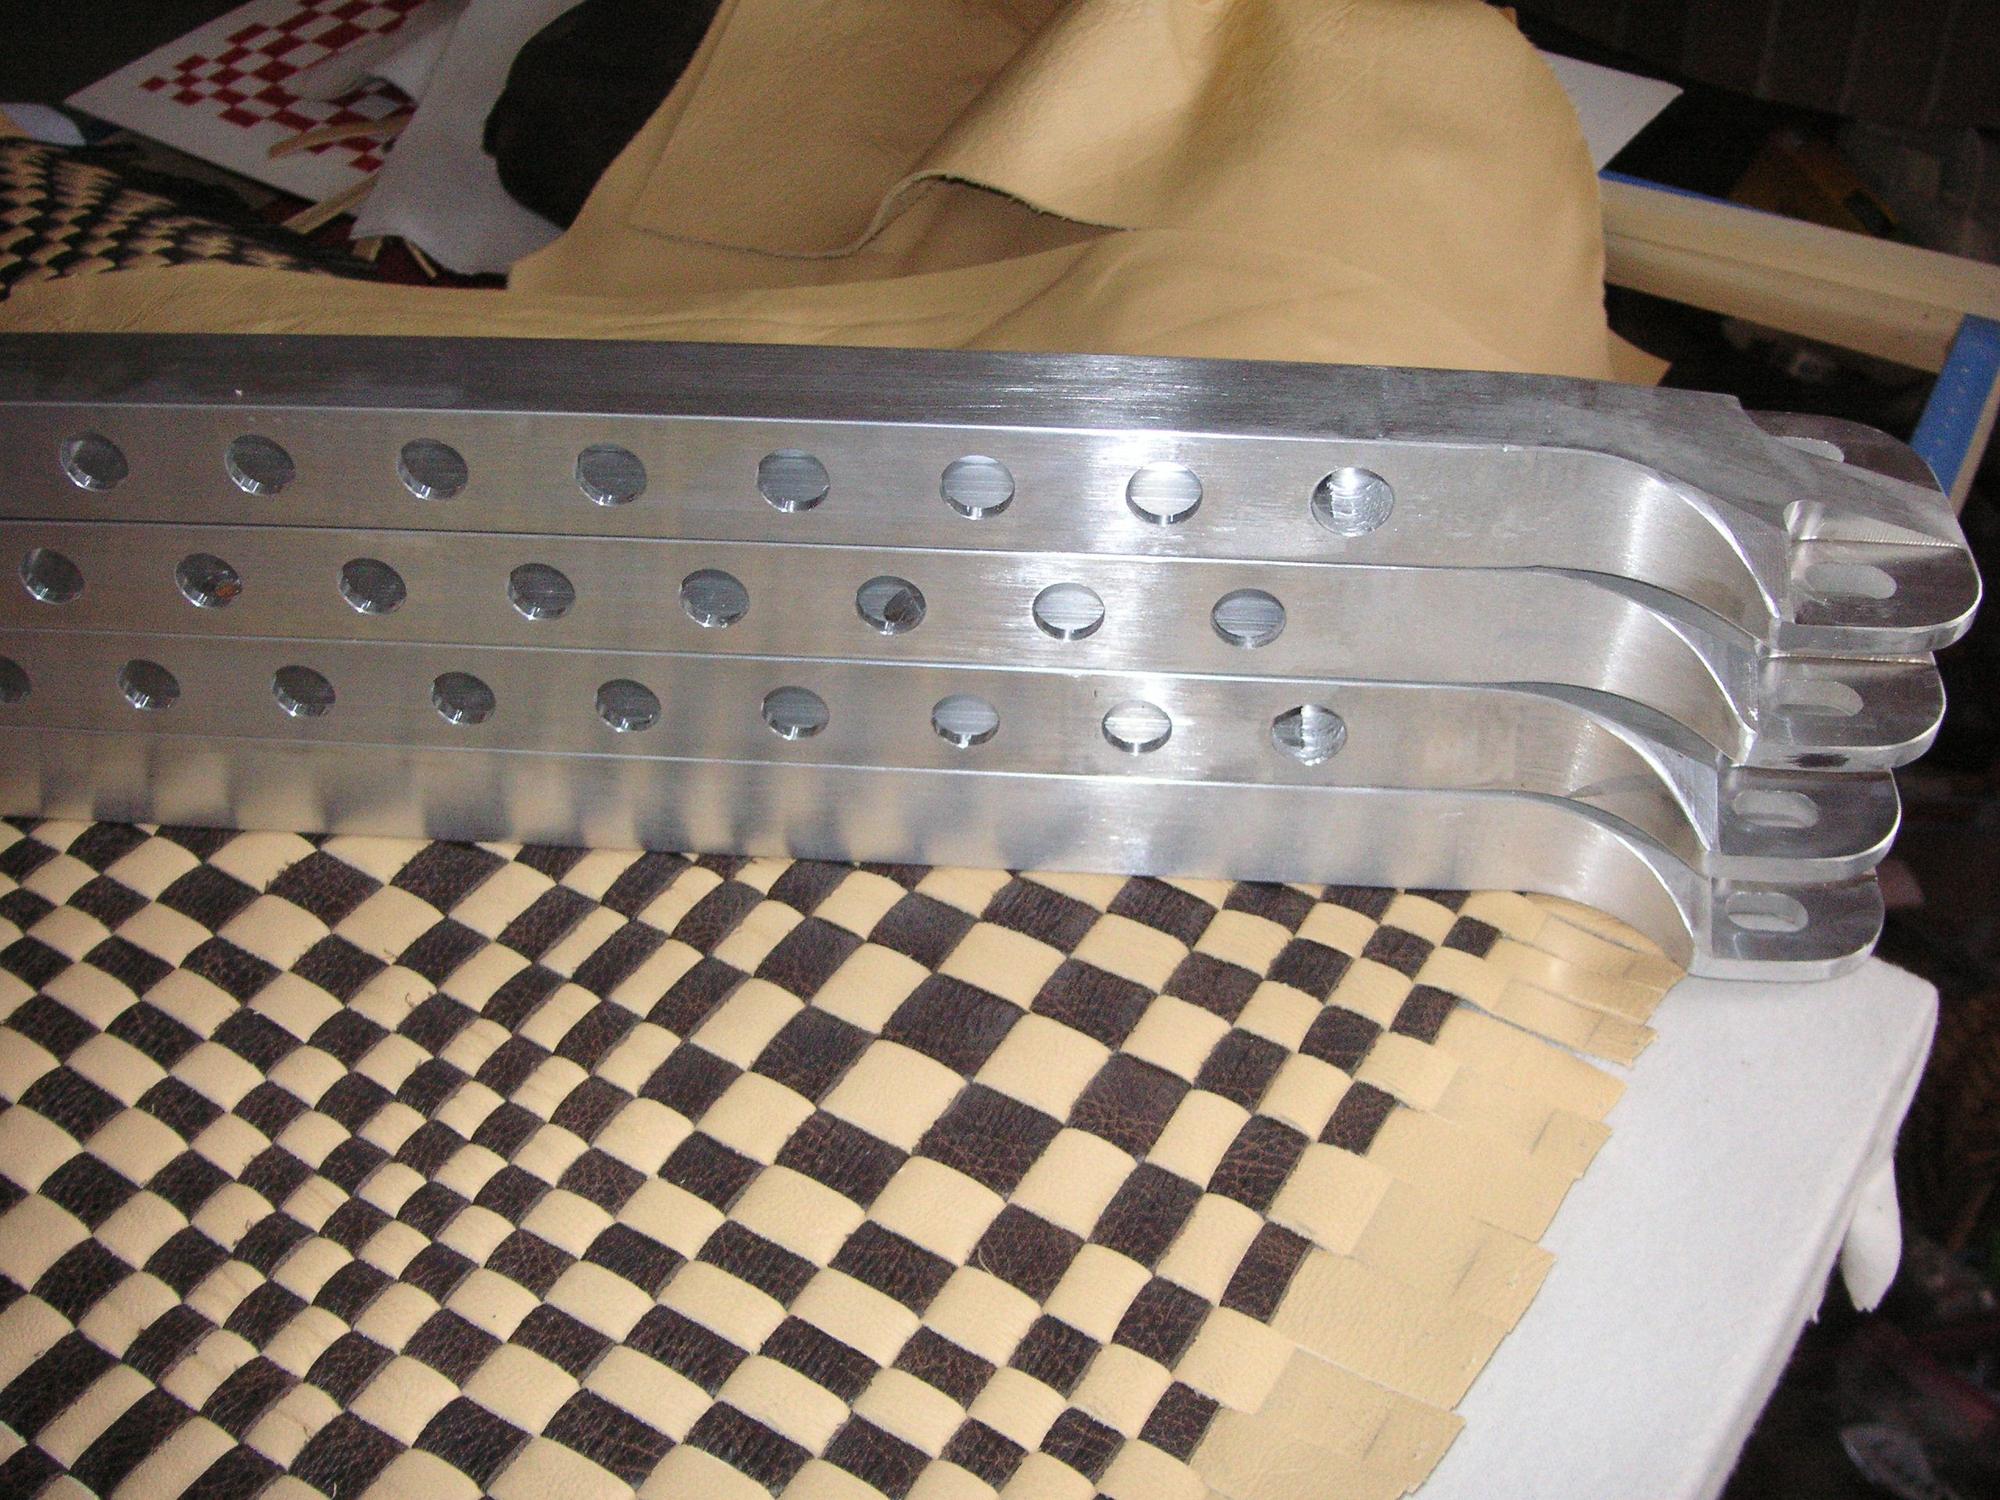
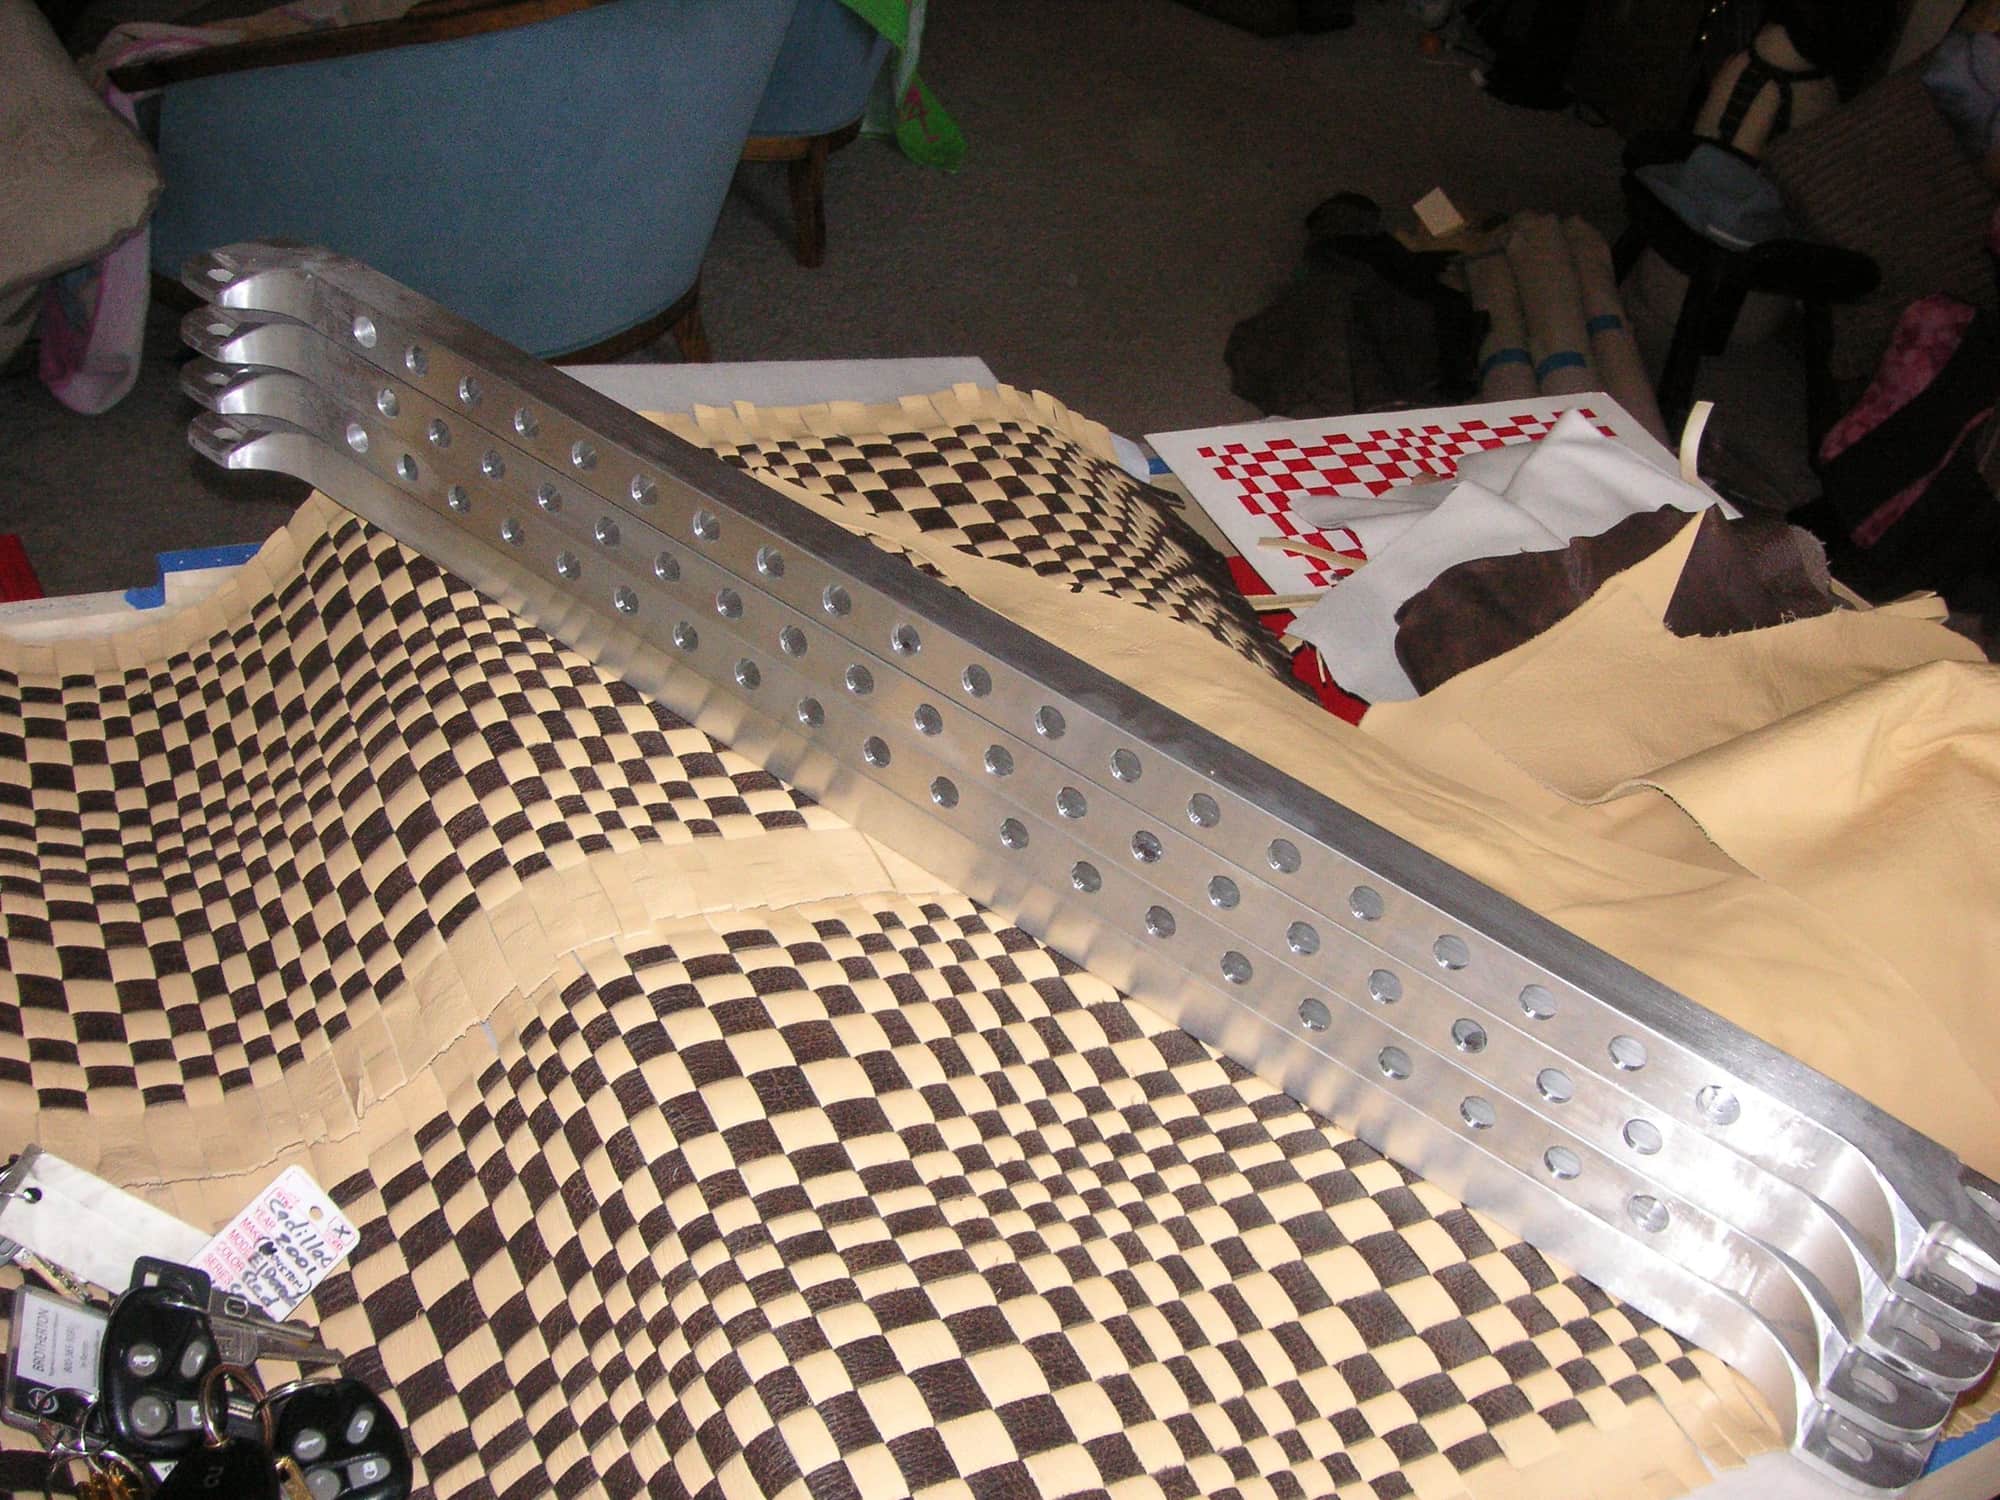
Here is my nearly finish pieces so far. It takes me about 50 minutes to do the final sanding then the holes. I
n these pictures you can se how the holes oar offset from front to back. The holed Brace in the middle has the back facing the camera.
I have been doing the final sanding on these and then drilling the holes, but I think I will change the sequence, since after I drill the holes I still like to run the Brace over the sander to remove any vice marks and such, but the problem is that doing that more than overnight or less causes me to remove more oxide and I don't want to leave the finish with spotty oxide, and I don't know just how it will look with new oxide along with older oxide.
Last edited by ReDesign by FEATHER; 08-12-2023 at 10:15 PM.
I really love this little project even though it is kind of tedious. However, the creative aspect of it seems to just linger. Yesterday I was kind of pleased in the decisions about how to finally finish these Braces. However, last evening one of the thoughts that I had expressed early in the other thread came back to me and that was to paint some of these in Trim Black. So I kind of decided since I think there are about 3 or 4 of these that are going to end up uncommitted, that I would paint one of them. Then another thought came to me, kind of from one of you guys, and that was to put a signature on them but smaller and on the front and over to the driver's side much like an artist's signature on a painting. I had rejected that mainly because so many of these are going to have holes through the front.
Then my thought process was to reduce the engraving shown to about half the size and eliminate the "Jerry" from it and then put it on the top but much closer to the driver's end of the Brace. Then I wondered how that might work if I painted one of them and I thought it will not work very well engraving through the paint or painting over the engraving. Then another thought came to me and that is rather than paint one of them I could have it anodized in Black and then it could very well be engraved through. I would leave the engraving open without paint and anyone could fill in the paint themselves if desired.
Tomorrow I am pretty light at the office so I am going to take two of these down to my friend's metal finish shop and have them anodized Black. When they are done I think I will take four of these to my engraver and have him engrave as herein suggested. Then we will see what the new options become. I'll probably send Gary's Brace, as stated, to him , but the others I'm going to hold off on a bit until the dust finally settles on this project.
Last edited by ReDesign by FEATHER; 08-13-2023 at 08:47 PM.
I took one of the drilled Braces over to the metal finishing place and they have a $100 minimum to do one or more. They would do three for $100 and I might get about 5 for maybe $25 each. However, I did not leave the one since I don't need to spend $100 right now for one for me. I did take it over to the engraver to do up the new idea for engraving and I should have that in two or three days.. I'll post a picture when that is done.
On the Anodizing, if there is any interest in having them Black, let me know. On the outside chance that I could take 3 or more there at the same time that could work out.
I now have the Braces basically finished pending only a small bit of hand work on each one that I could not do on the belt sander. I have drilled the holes in 8 of the available Braces and the remaining 6 are free of holes. I have sent one of those 6 to Gary Knox. Four of the remaining 5 are spoken for. I hope it comes out even. If anyone now is firmly decided on no engraving and mill finish with holes or without holes, let me know by email and I'll start finalizing orders.
I have bored the holes in 8 of these Braces and the other 6 have remained plain. One of those I have shipped to Gary K and the other 5 are now spoken for at least based in part on the original interest, and now one of you has converted his request for 2 to plain and the last one has just been spoken for. I am waiting for a final response for the other two plain ones; so perhaps someone there will bail out. So far no one I have been able to contact has bailed out.
Tomorrow or Thursday I should have the new minimized engraving back so I can post a picture. That will set the stage for what is the final offering for these.
I now have three Braces to be anodized in Black. I can add to that if anyone else is interested, but I need to know NOW. That is from among the guys presently on the list. I think I now have all 14 of these spoken for.
The anodize option is $40, but only in groups of three or more at a time. When I take these first three, or more, for anodize, then it will take another three or more to do any more later. Act Now.

 07-28-2023, 05:53 PM