When you click on links to various merchants on this site and make a purchase, this can result in this site earning a commission. Affiliate programs and affiliations include, but are not limited to, the eBay Partner Network.
Thanks. And one of those shown is yours. I'm going to put it in the mail shortly. You can send me your $350 by PayPal and to Friends and Family at your earliest convenience. Jerry Feather
__________________
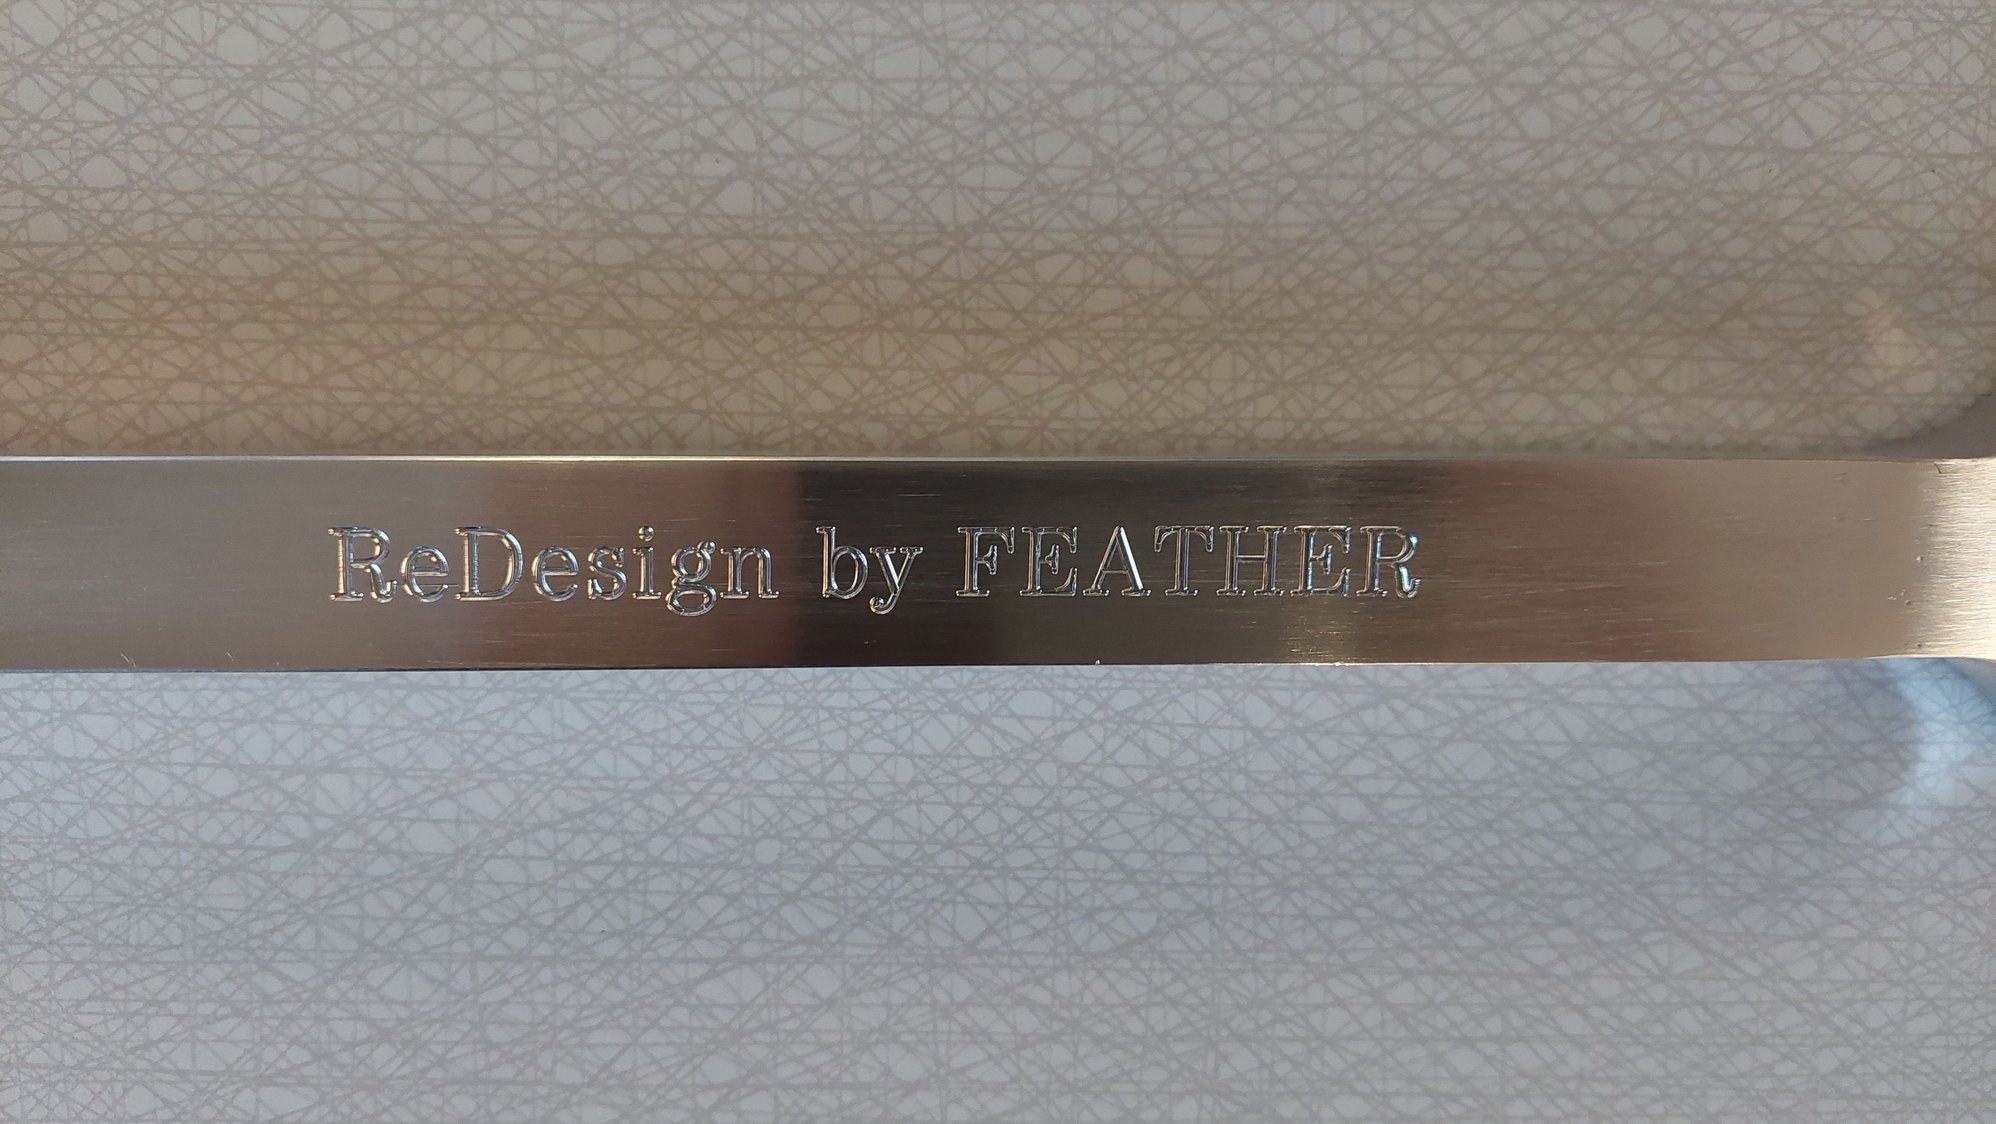
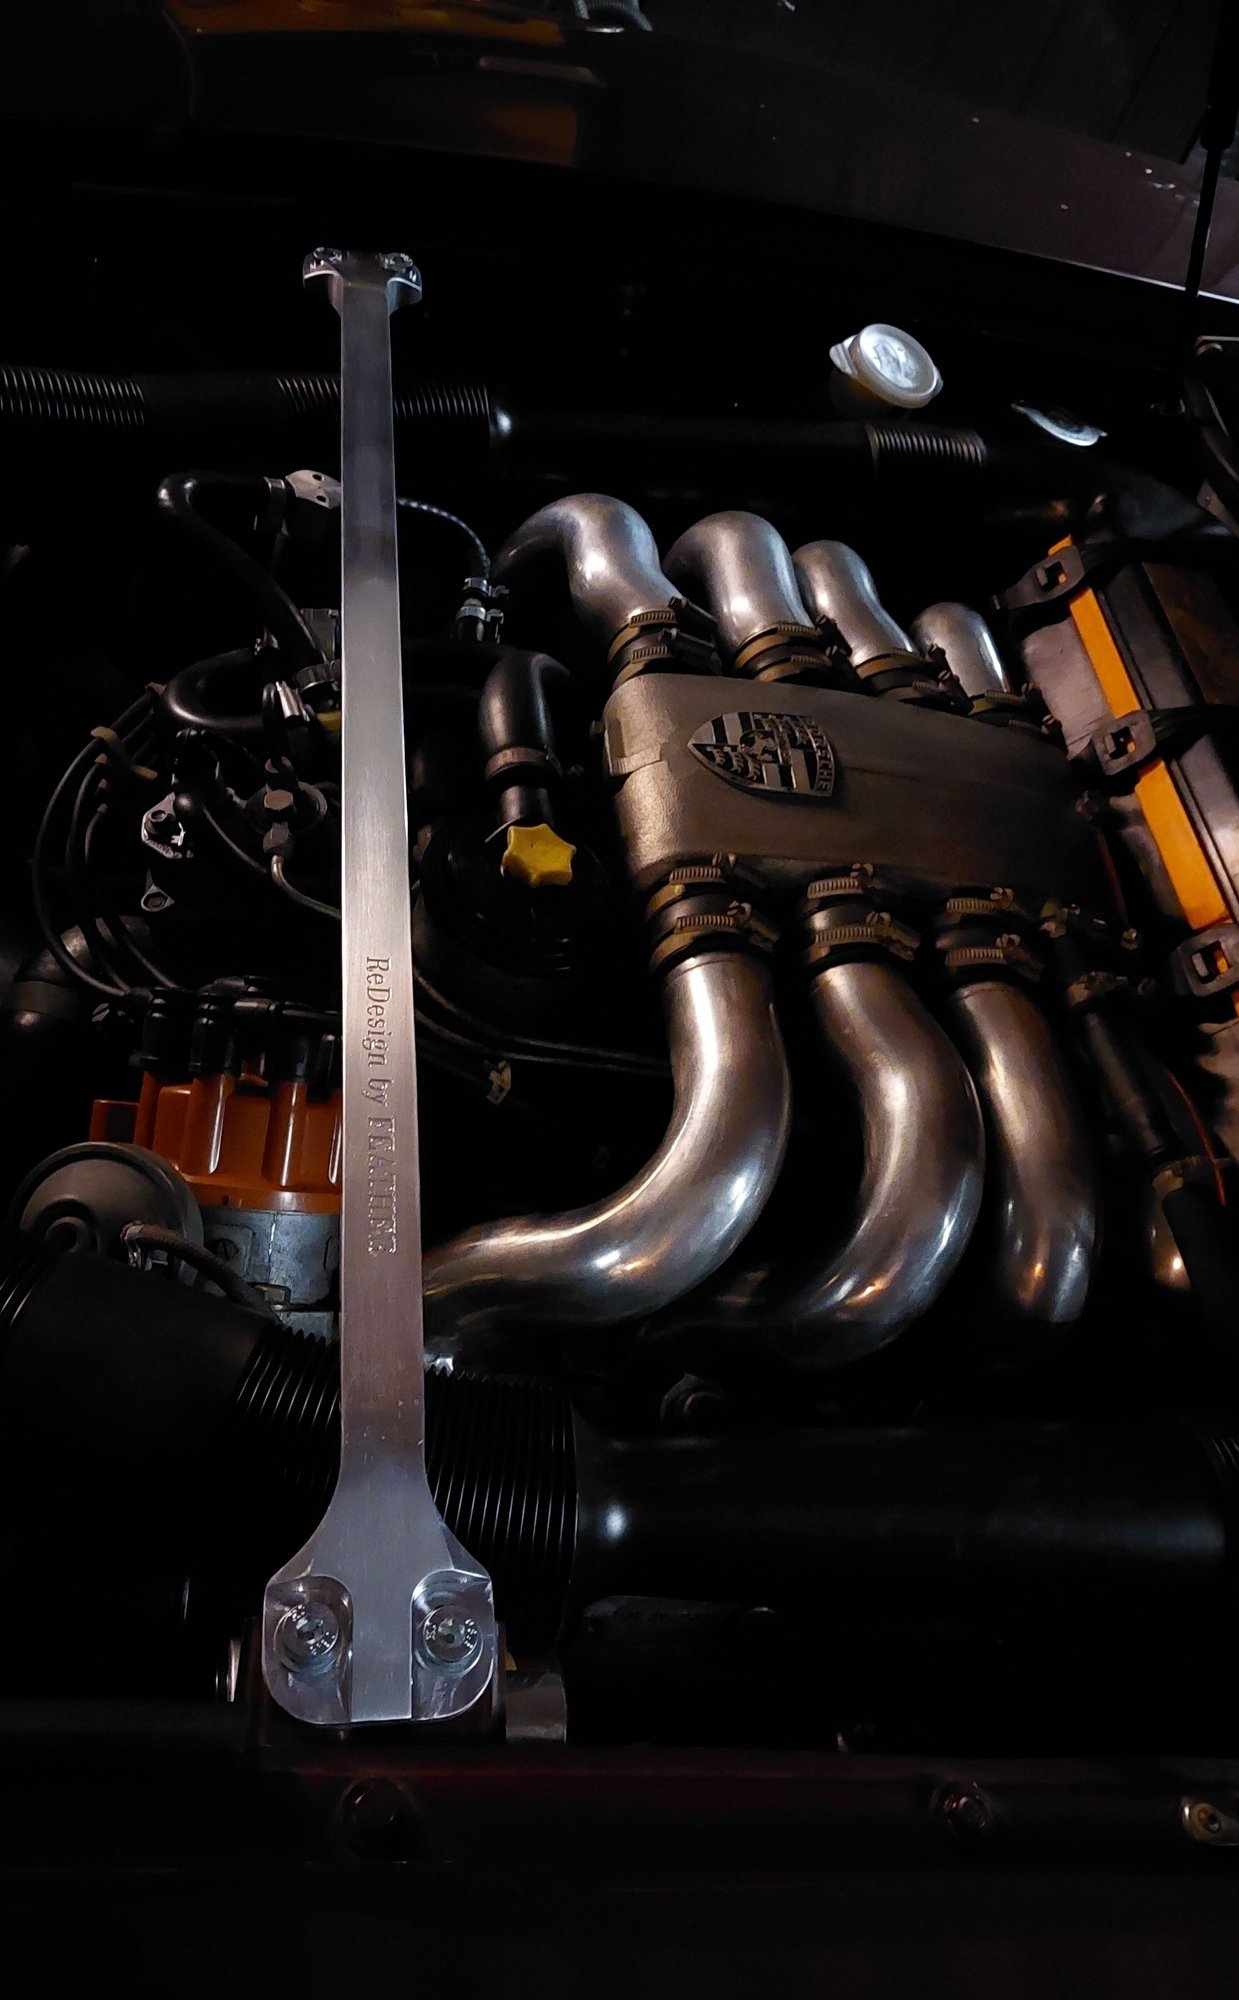
ReDesign by FEATHER
by Jerry Feather
Producer for 928 of:
-Hatch Latch Receiver Liner--All Versions
-Replacement Heavy Duty Spare Tire Cover
-Flush Center Console Conversion
-Cowl Cover, Cowl Seal, & Shell Stickers--All versions
(RHD included)
-Aluminum Gas Cap Ratcheting Pawl
Thanks, Adam, for the great pictures. I can hardly stop looking at them and seeing just how nice these look in the 928 engine environment and how well they accomplish just what I had in mind for them in the first place. Thanks again.
I am about half way through the milling of the new batch of end pieces that I have had water jet cut. We got 51 pieces out of the 6 feet of Aluminum Bar Stock that I bought, but I have already ruined one of them in the milling process. I also have 27 pieces of aluminum tubing ordered and I suspect that will arrive just about when the ends are ready to be welded in. After welding I think I will set about half of them aside and work the other half up into finished Braces.
Rather than take orders like I pretty much did before, I am going to work about 12 or 13 of these up in about the same proportion of finish that we ended up with in this Development. Then they will be offered on a first come first served basis. However that turns out will determine how the second batch gets finished out.
I predict that the price of these next ones is going to up a bit since the aluminum cost me nearly twice as much as the first chunk I had found, and the water jet cutting is also up a bit. I expect the tubing and the welding to be about the same. I am also planning to have all of them engraved as with these last 4 or 5 now shipped.
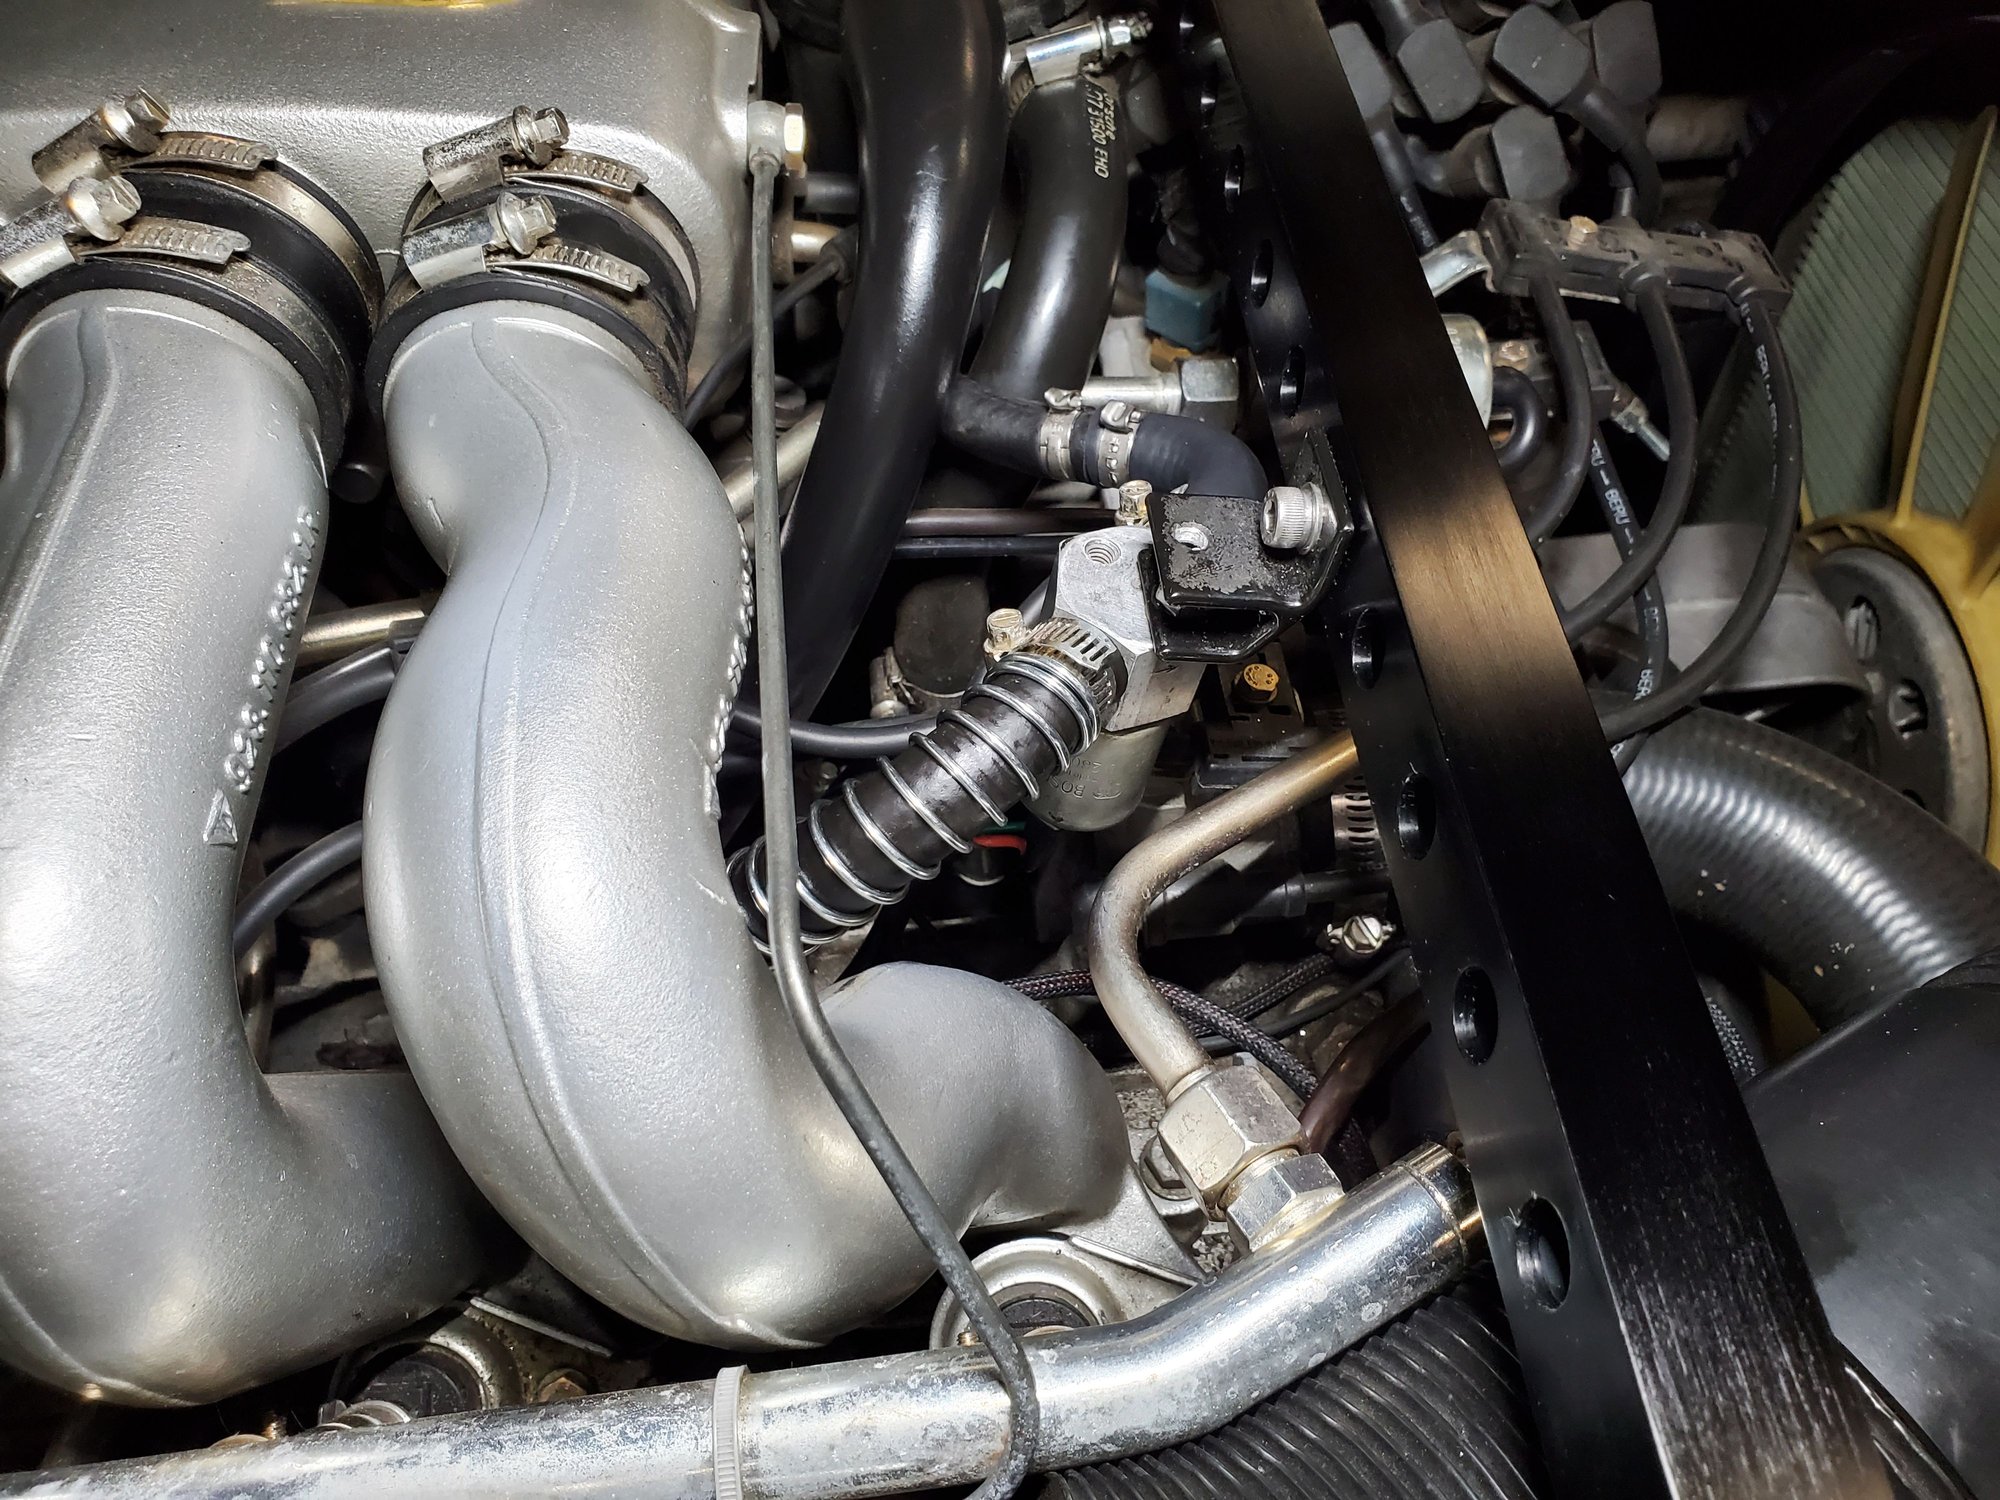
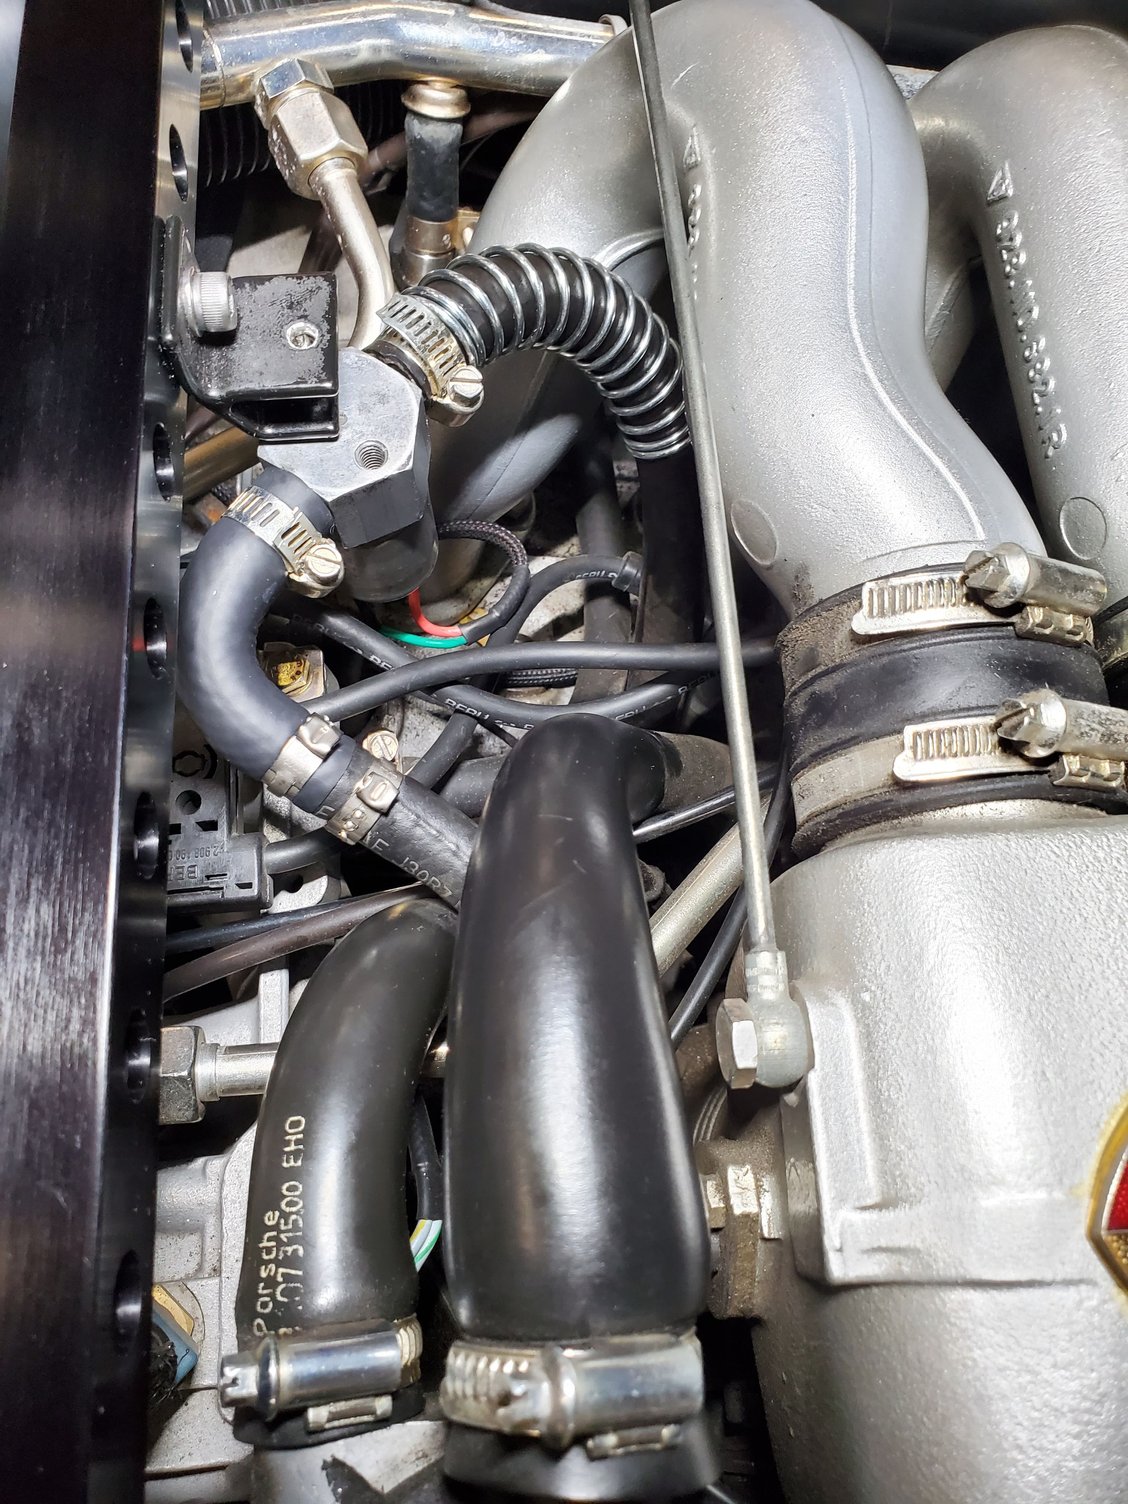
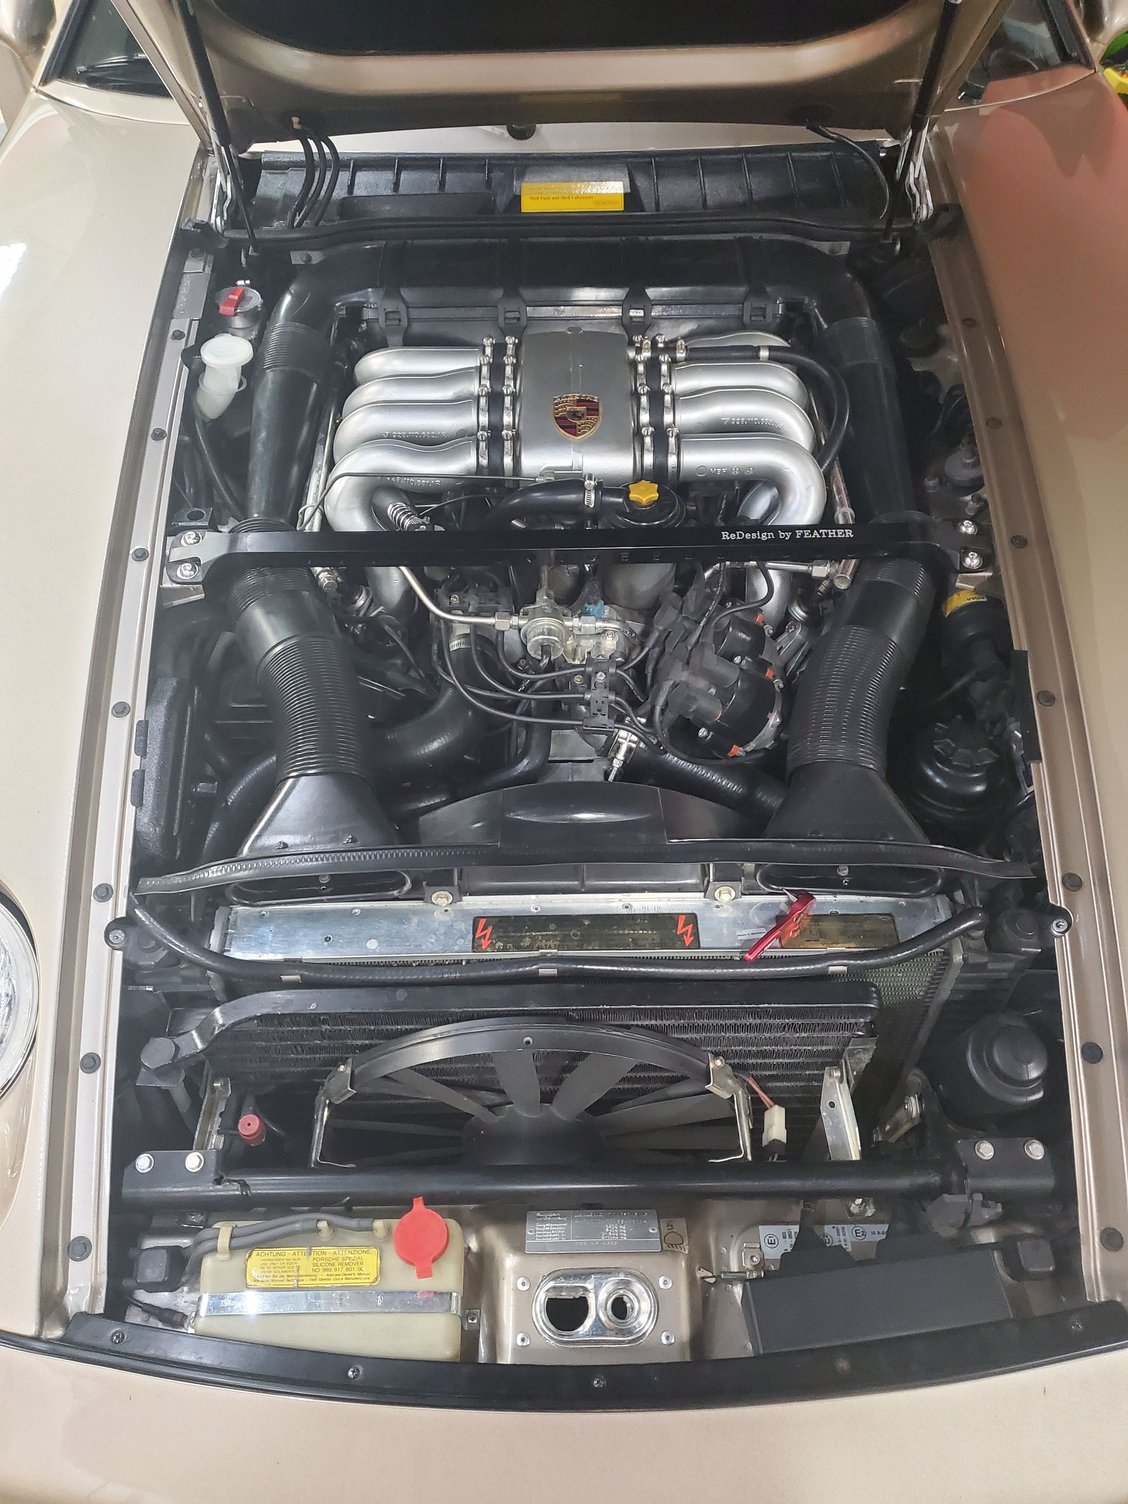
Edit - I didn't like the way the idle stabilizer valve hoses were running to the valve so redid that part of it. Moved the spring over to the left hose and added a section of 90 degree molded hose to the right side barb. Now nothing is kinnked and clearance is good. I'm replacing the previous photos with the current ones.
My Jerry Feather strut braces arrived today !
Was so excited, decided to install the first one into the 84 Euro S.
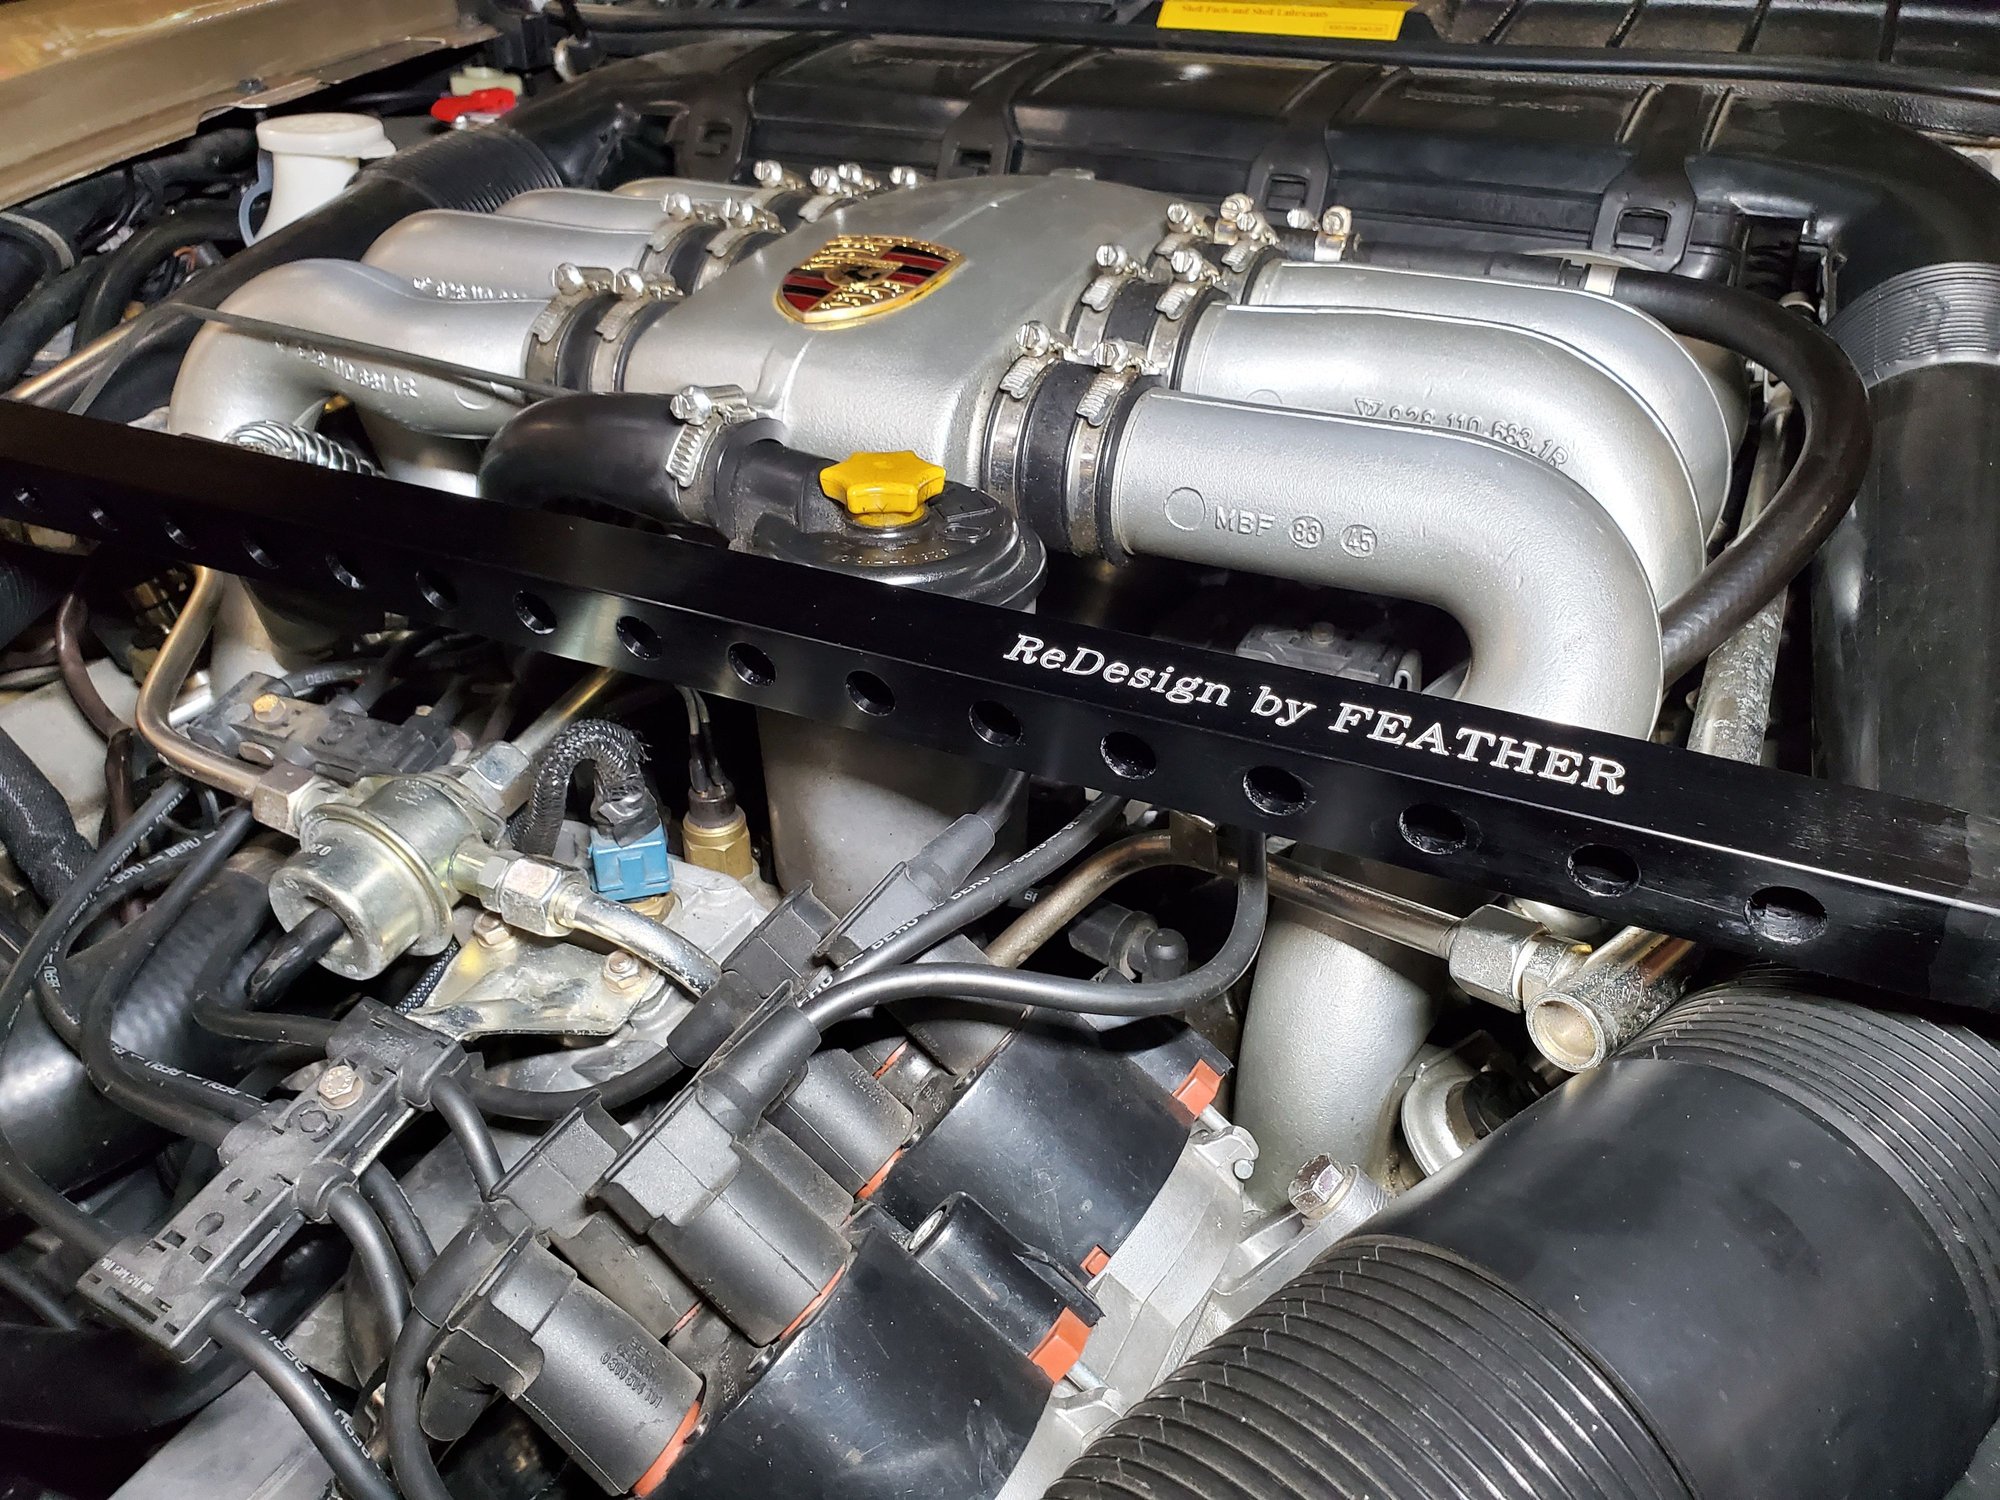
I went with the drilled version, black anodized finish, and signature etching - these things are really good looking and high quality.
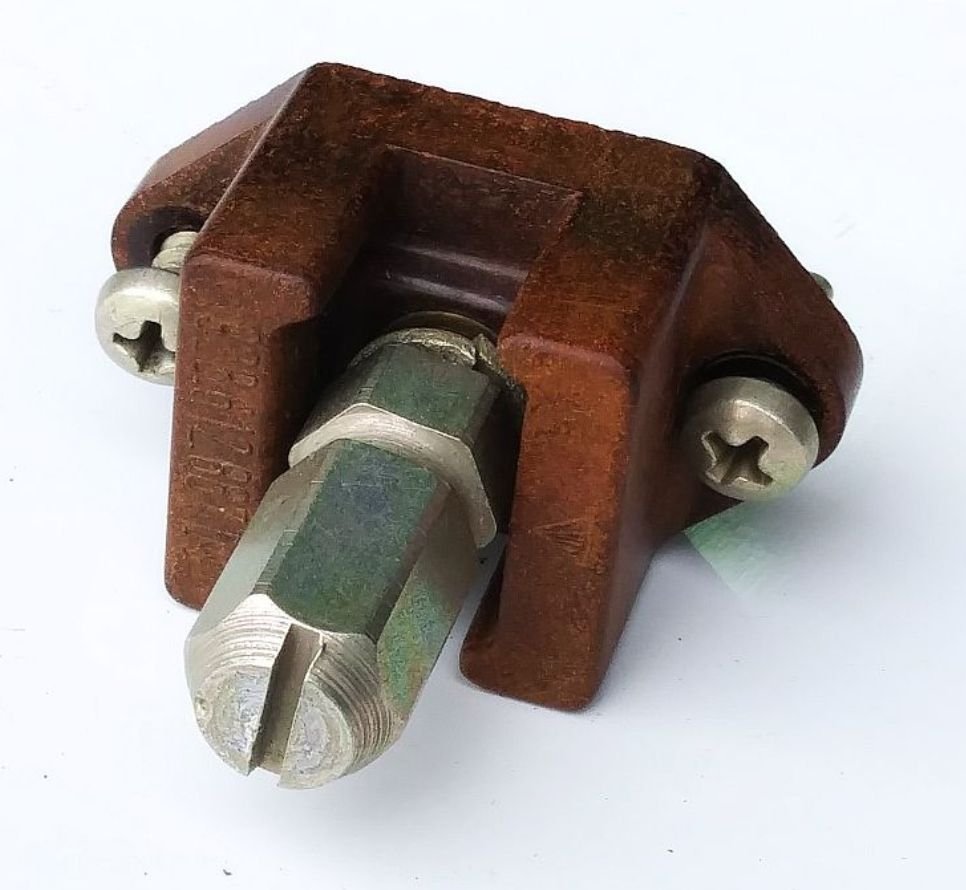
I figured out a way to mount the idle stabilizer valve too. Found an old rubberized bracket I had laying around - mounted the stabilizer to the bracket then had to figure out how to mount it to the bar.
My initial plan was to insert a stainless rivnut into one of the backside bar holes so I could just thread a bolt through the new mounting bracket and into the rivnut. Unfortunately, the bar holes are not a standard size for metric rivnuts and I didn't want to make one of the holes larger so came up with a different plan. I took a stainless M6 washer and ground down the opposing sides so it's more of an oval shape and now narrow enough in one dimension to fit through the bar holes. Got a stainless bolt long enough to be pe able to put a nut and lock washer on along with the oval washer where there's enough length to angle the washer though the bar hole. Once that washer was inside the bar and rotated and flat agaist the eges of one of the holes, I just tightened the bolt, securing the idle valve to the bar.
The way it was mounted to the original bar, both hoses were actually slightly kinked. I repositioned the outlet hose, shortened it, and installed a spring over it which allows it to make tha tight turn without kinking. I need to get another spring for the other side to help round that one out as well, but it all fits in there nicely and looks really nice.
The pictures look amazing. My brace has arrived here in sweden, just waiting for it to clear the customs inspection. I cannot wait to mount it in my car, will update with pictures here also...
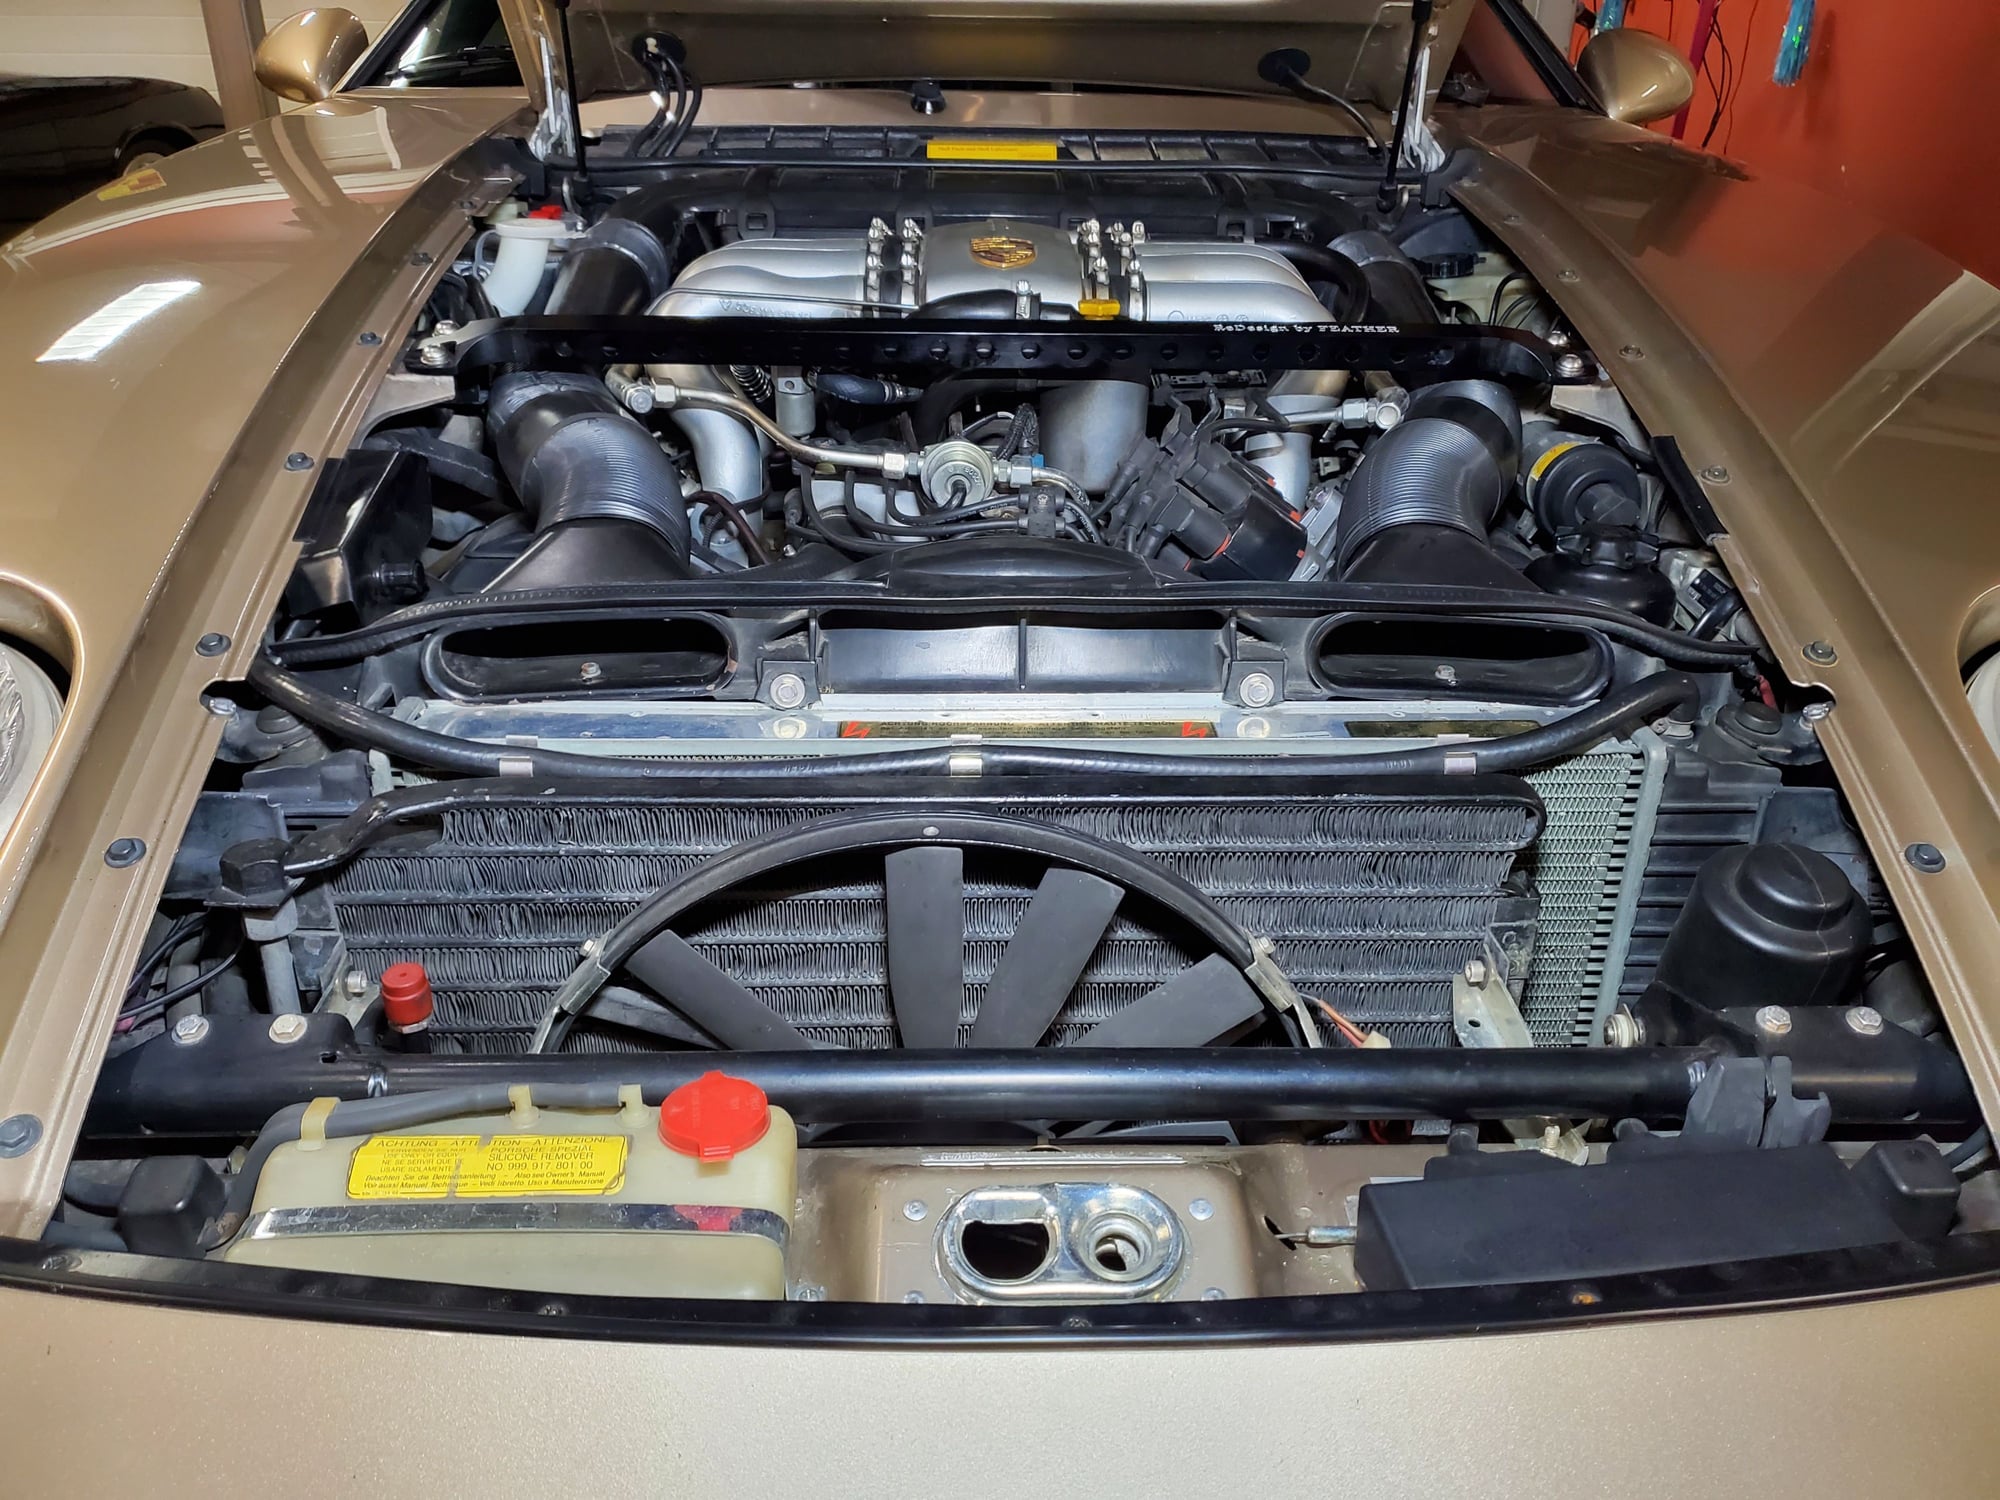
Thanks, Pete, for the pictures. They look just great. I notice that the holes do not show up so much in the pictures but i suspect that in real life they are just Killers. I also notice that in the rear of your engine compartment you have one of the Jerry Feather Cowl covers and now in the middle you have a very nice Jerry Feather Strut Brace, but toward the front you have one of the very poorly designed Porsche Jump Post covers. Shame on you. Just kidding.
For your continued support, I am going to send you a couple of my Jerry Feather design of Jump Post Covers. My Treat. That will set off you Engine Compartment just right.
Thanks Jerry. I have your jump post cover and cowl cover on the Spyder. This 84 Euro came with this one so I appreciate the upgrade. I need a pair of your windshield filler strips for the Spyder too
The holes look good and are visible in person more than in the pics. Guess I could always use a stepped drill but to make perfect highlights in silver by scraping away the anodizing, but will leave it as is for now.
Great, Pete. I just posted two of the Jump post covers to you. Why don't you post one of them to Stan for Don and one to Adam for me. Thanks Jerry Feather
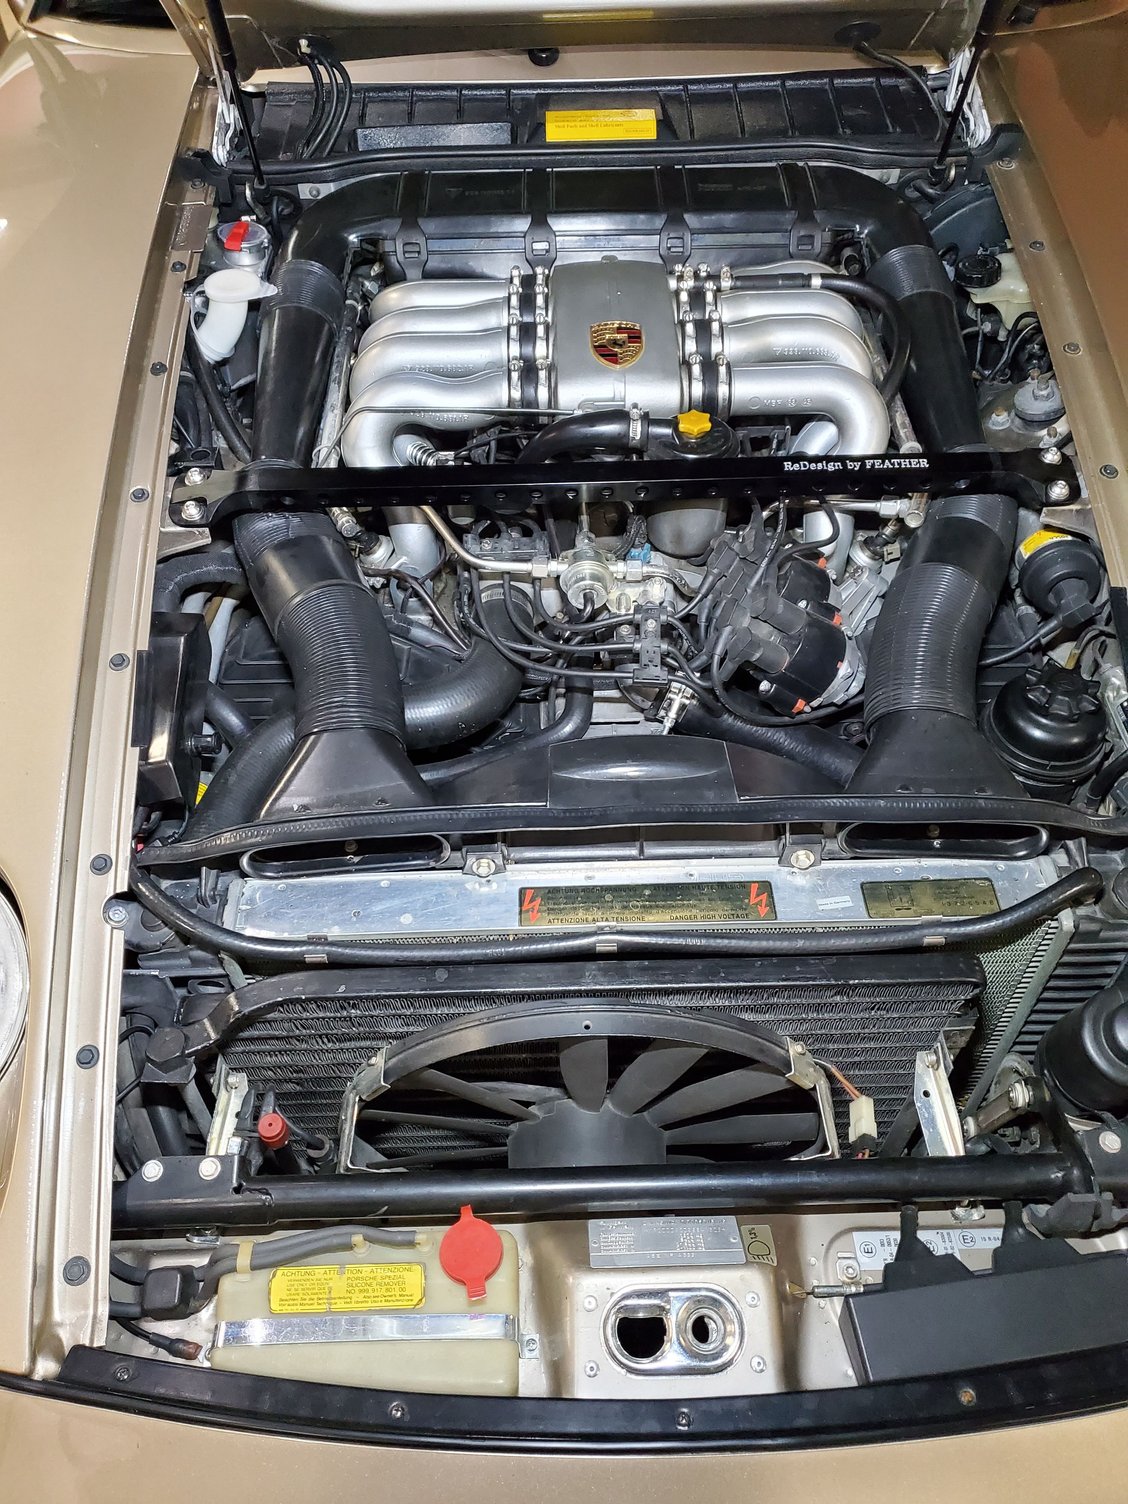
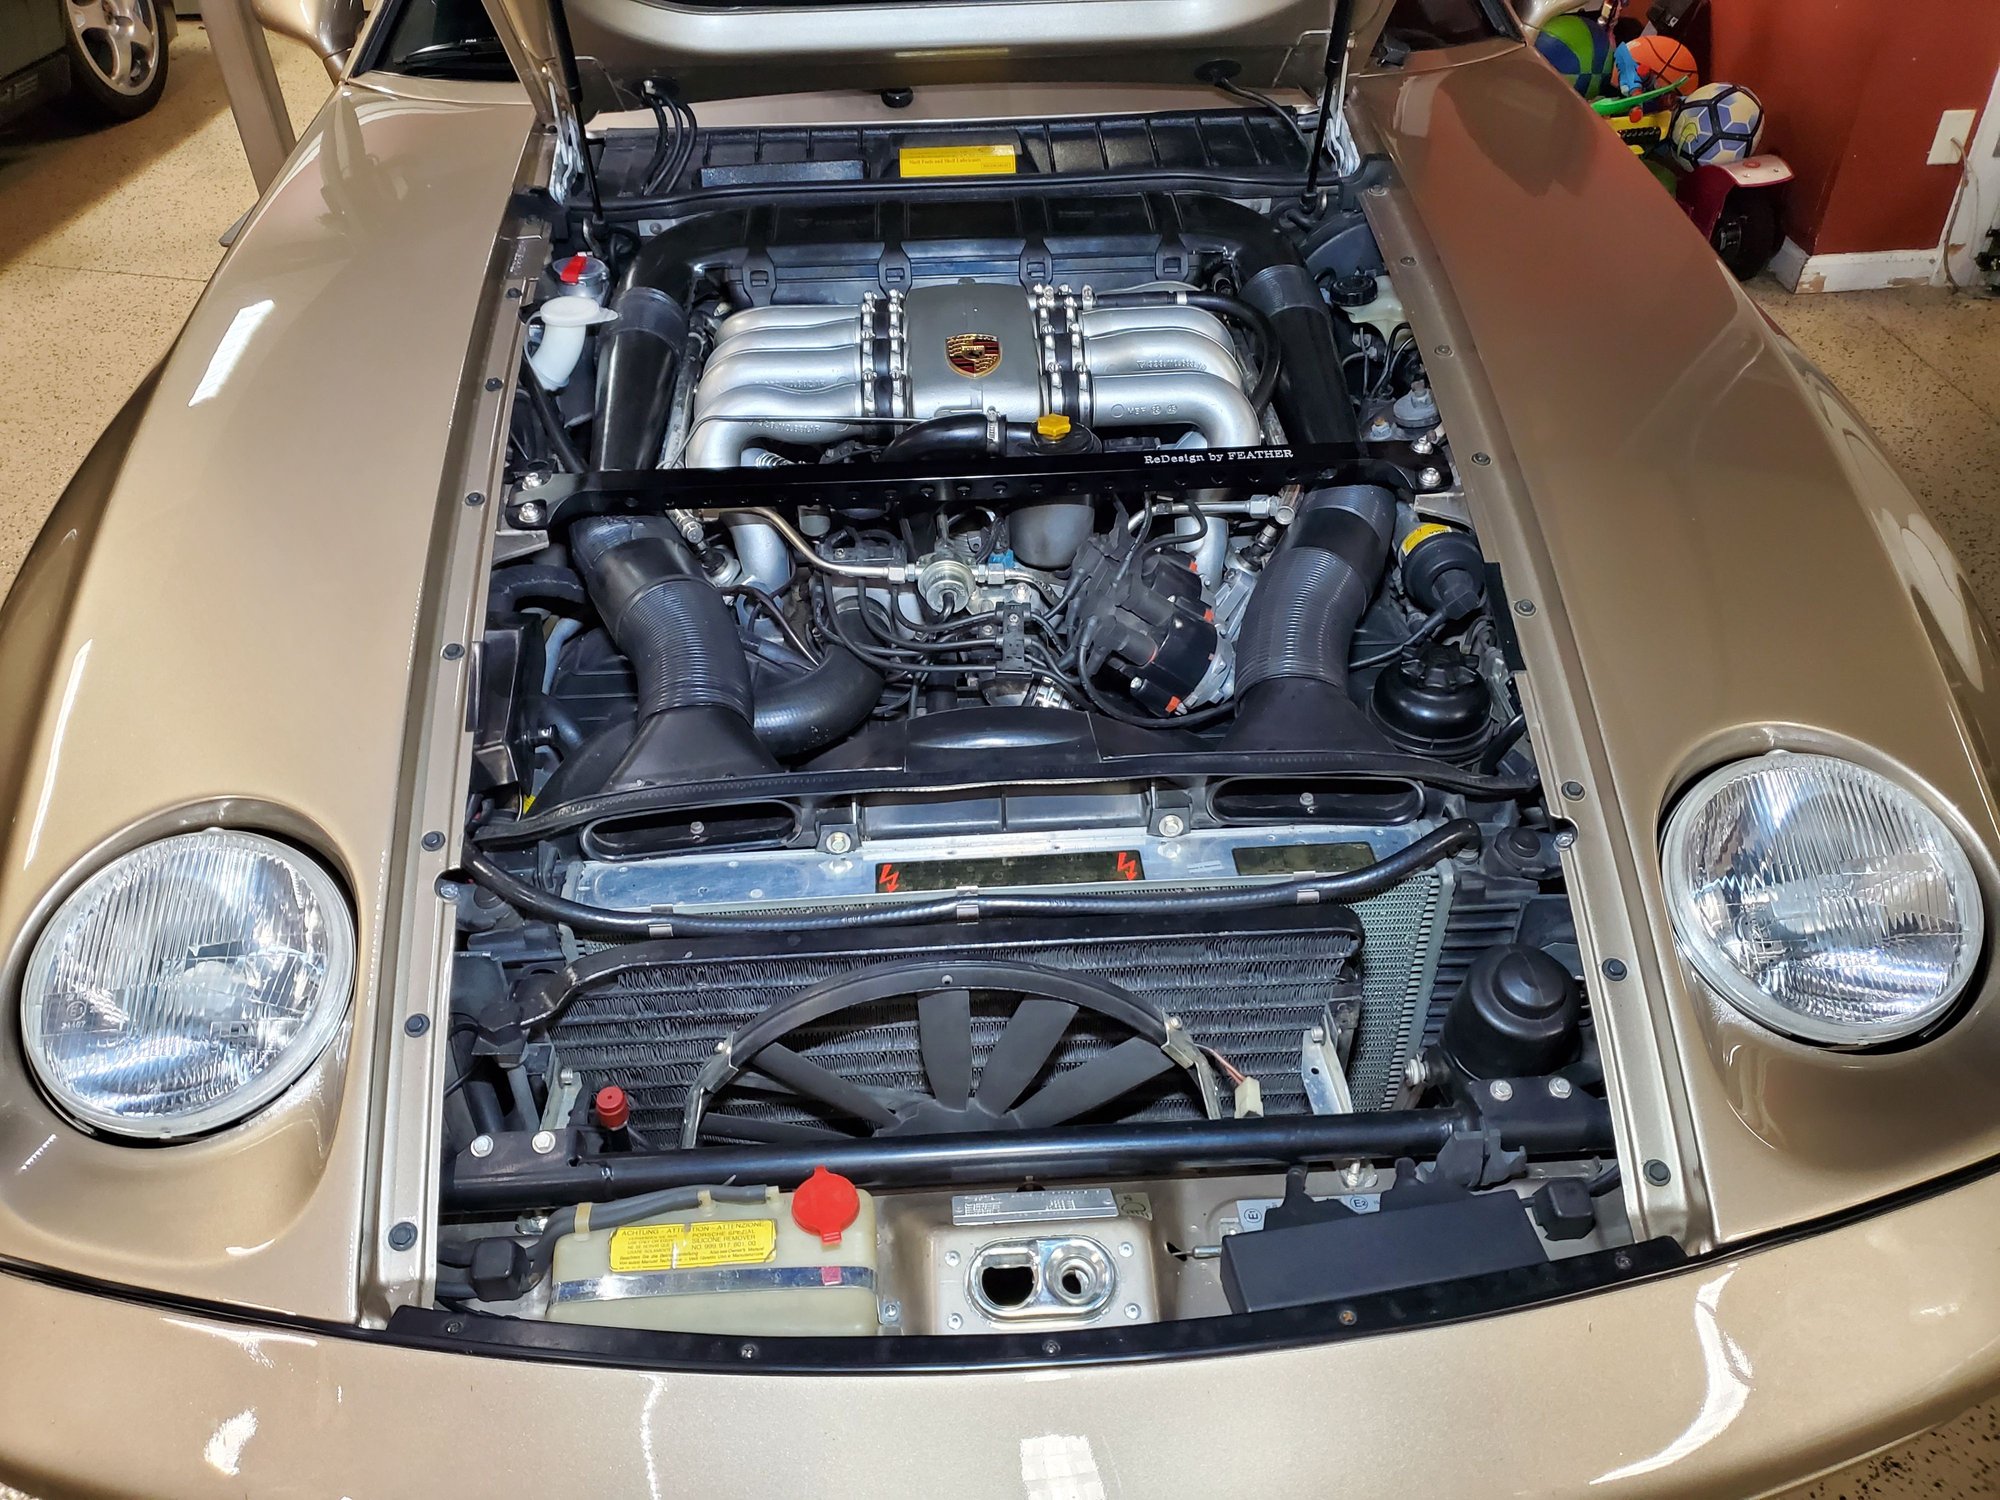
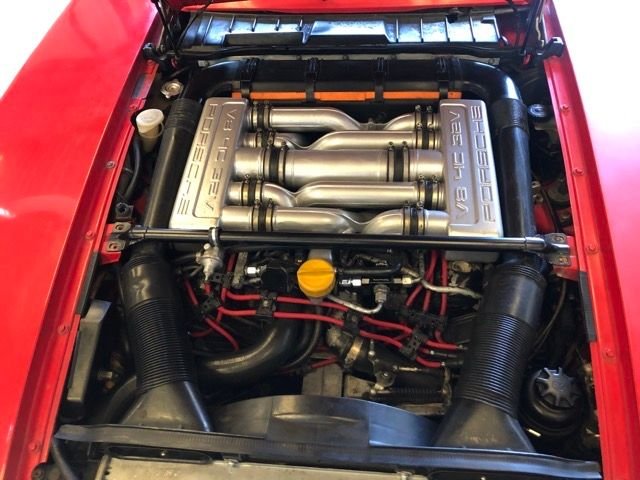
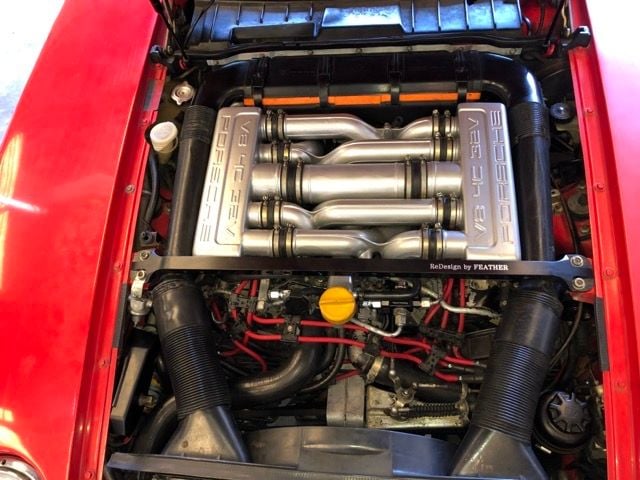
I received Jerry's Strut Brace mid-week, but just got them installed. The bolt holes are sized perfectly - no movement fore/aft - and slotted to allow enough movement to center in the engine compartment. Quality of Jerry's strut brace is superb, and the overall execution and appearance is beautiful! The drilled holes (hard to see in the photos) and square tube really does contribute to the overall appearance of the engine compartment. The engraved script in silver does a nice job of accenting my engine bay and the powder coated intake. It is my opinion that Jerry's strut bar is more substantial (more mass, stiffer) than the stock unit. Super happy to have this on my car!
FWIW if your gonna buy this new cross brace go ahead and order the 4 new anchor bolts and washers,
put a dab of DC111 inside the bolt heads with a Q tip this will keep the bolts looking fresh,
water wont corrode them
[QUOTE=RTK;19005040]I received Jerry's Strut Brace mid-week, but just got them installed. The bolt holes are sized perfectly - no movement fore/aft - and slotted to allow enough movement to center in the engine compartment. Quality of Jerry's strut brace is superb, and the overall execution and appearance is beautiful! The drilled holes (hard to see in the photos) and square tube really does contribute to the overall appearance of the engine compartment. The engraved script in silver does a nice job of accenting my engine bay and the powder coated intake. It is my opinion that Jerry's strut bar is more substantial (more mass, stiffer) than the stock unit. Super happy to have this on my car!
Original strut brace
Jerry's strut brace installed [/
QUOTE]
Thanks, Bob, for your outstanding Pictures. I can see, with my machinist's micrometer eye, that the original strut brace has been bent upward a bit from the flex in the shock towers. I am sure that when you take another picture with the new Brace in place in about another 30 or so years that there will be no upward bend in the Brace. Thanks again.
So...What can I say? Maybe something like this..;
Original brace..(a bit blue hue overall in the picture)
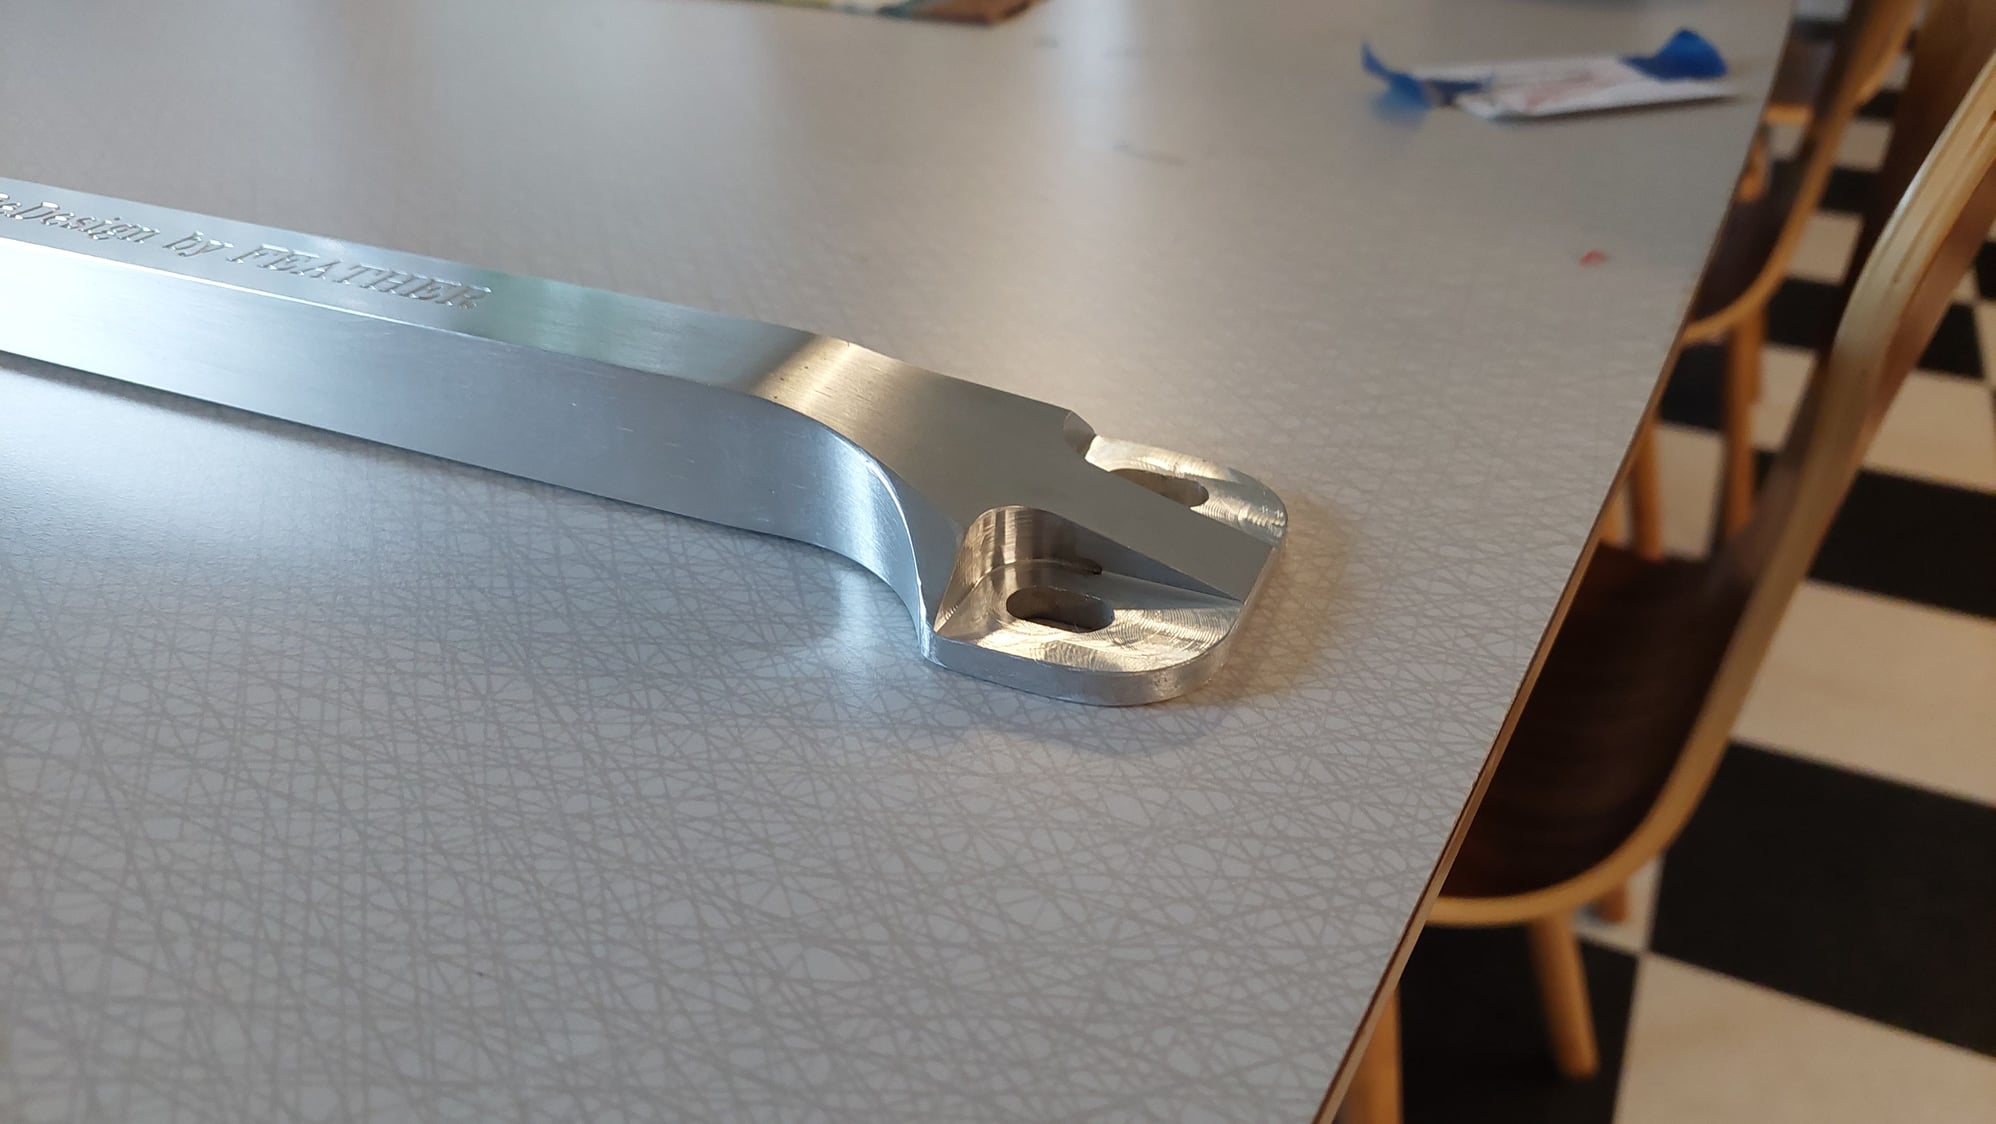
And the new brace before installation..;
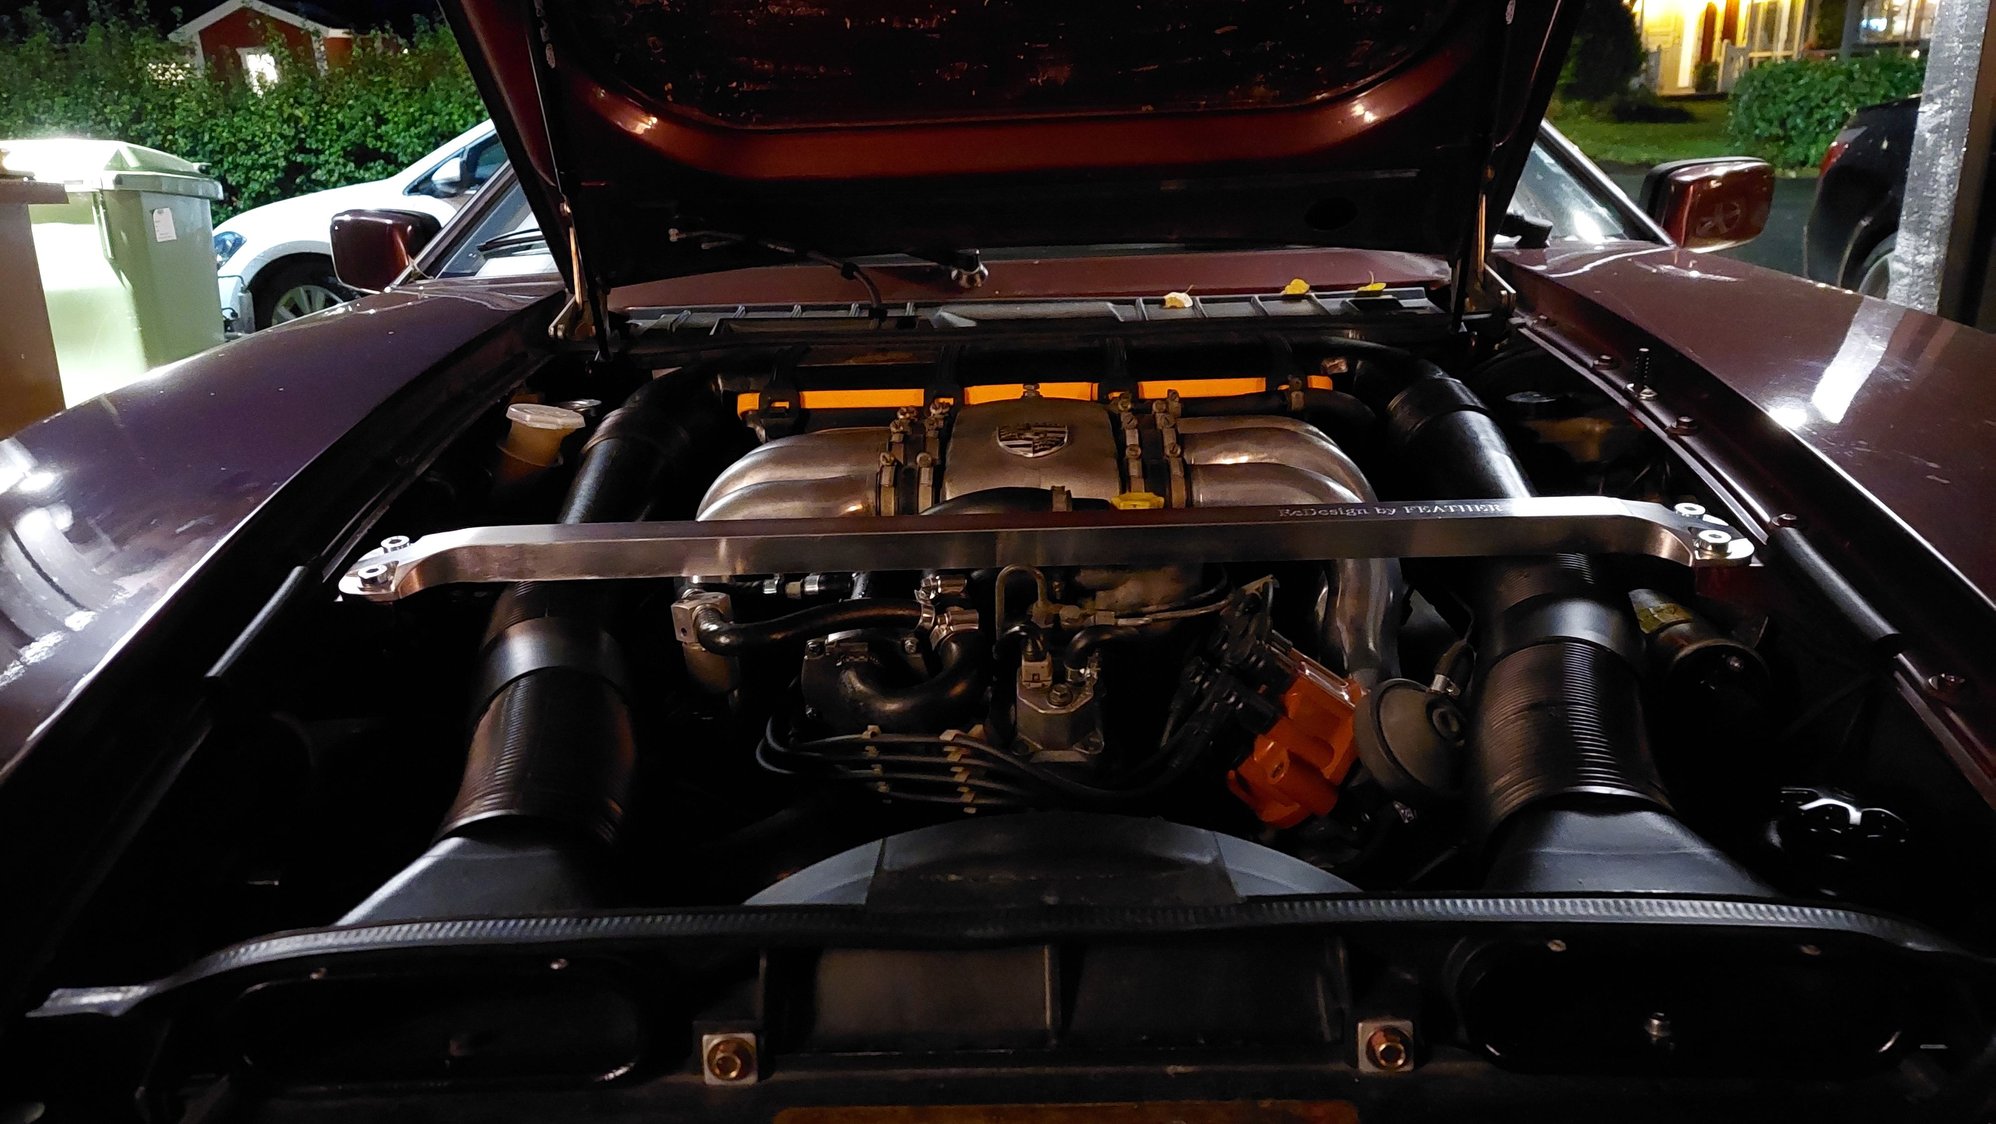
And installed..;
Just a thing of beauty. As you can see my idle control valve hangs loose. I'm going to make a nice aluminium L-bracket with two mount holes for the valve and one hole on top. Then thread a m6 hole at the back of the brace and mount the valve half hidden. I don't want to obstruct this nice piece. Thanks again Jerry, this was well spent money...
Great, Pete. I just posted two of the Jump post covers to you. Why don't you post one of them to Stan for Don and one to Adam for me. Thanks Jerry Feather
After receiving these, I'm realizing that neither of my cars have these substantial covers, just the flimsy one in my pic, so I'm keeping both to update both my 928s. Thanks Jerry!
After receiving these, I'm realizing that neither of my cars have these substantial covers, just the flimsy one in my pic, so I'm keeping both to update both my 928s. Thanks Jerry!
Thanks, Pete, I think you are one of the Real Guys.
First Jump Post cover fitted. Had to reuse the old cap with the new cover because my jump post doesn't have a threaded end as shown in your instructions that works with your red cap, but rather a slot for a screwdriver. May see if I can find a couple of the other jump posts soni can use the threaded cap, but in the meantime, still a nice improvement.
Mine looks like this (pic courtesy of Jim Doer's 928 Classics website)
Jump Post in the 84 looks.lime this one
New cover installed (hangs onto the sheet metal much more securely than the flimsy OEM one)
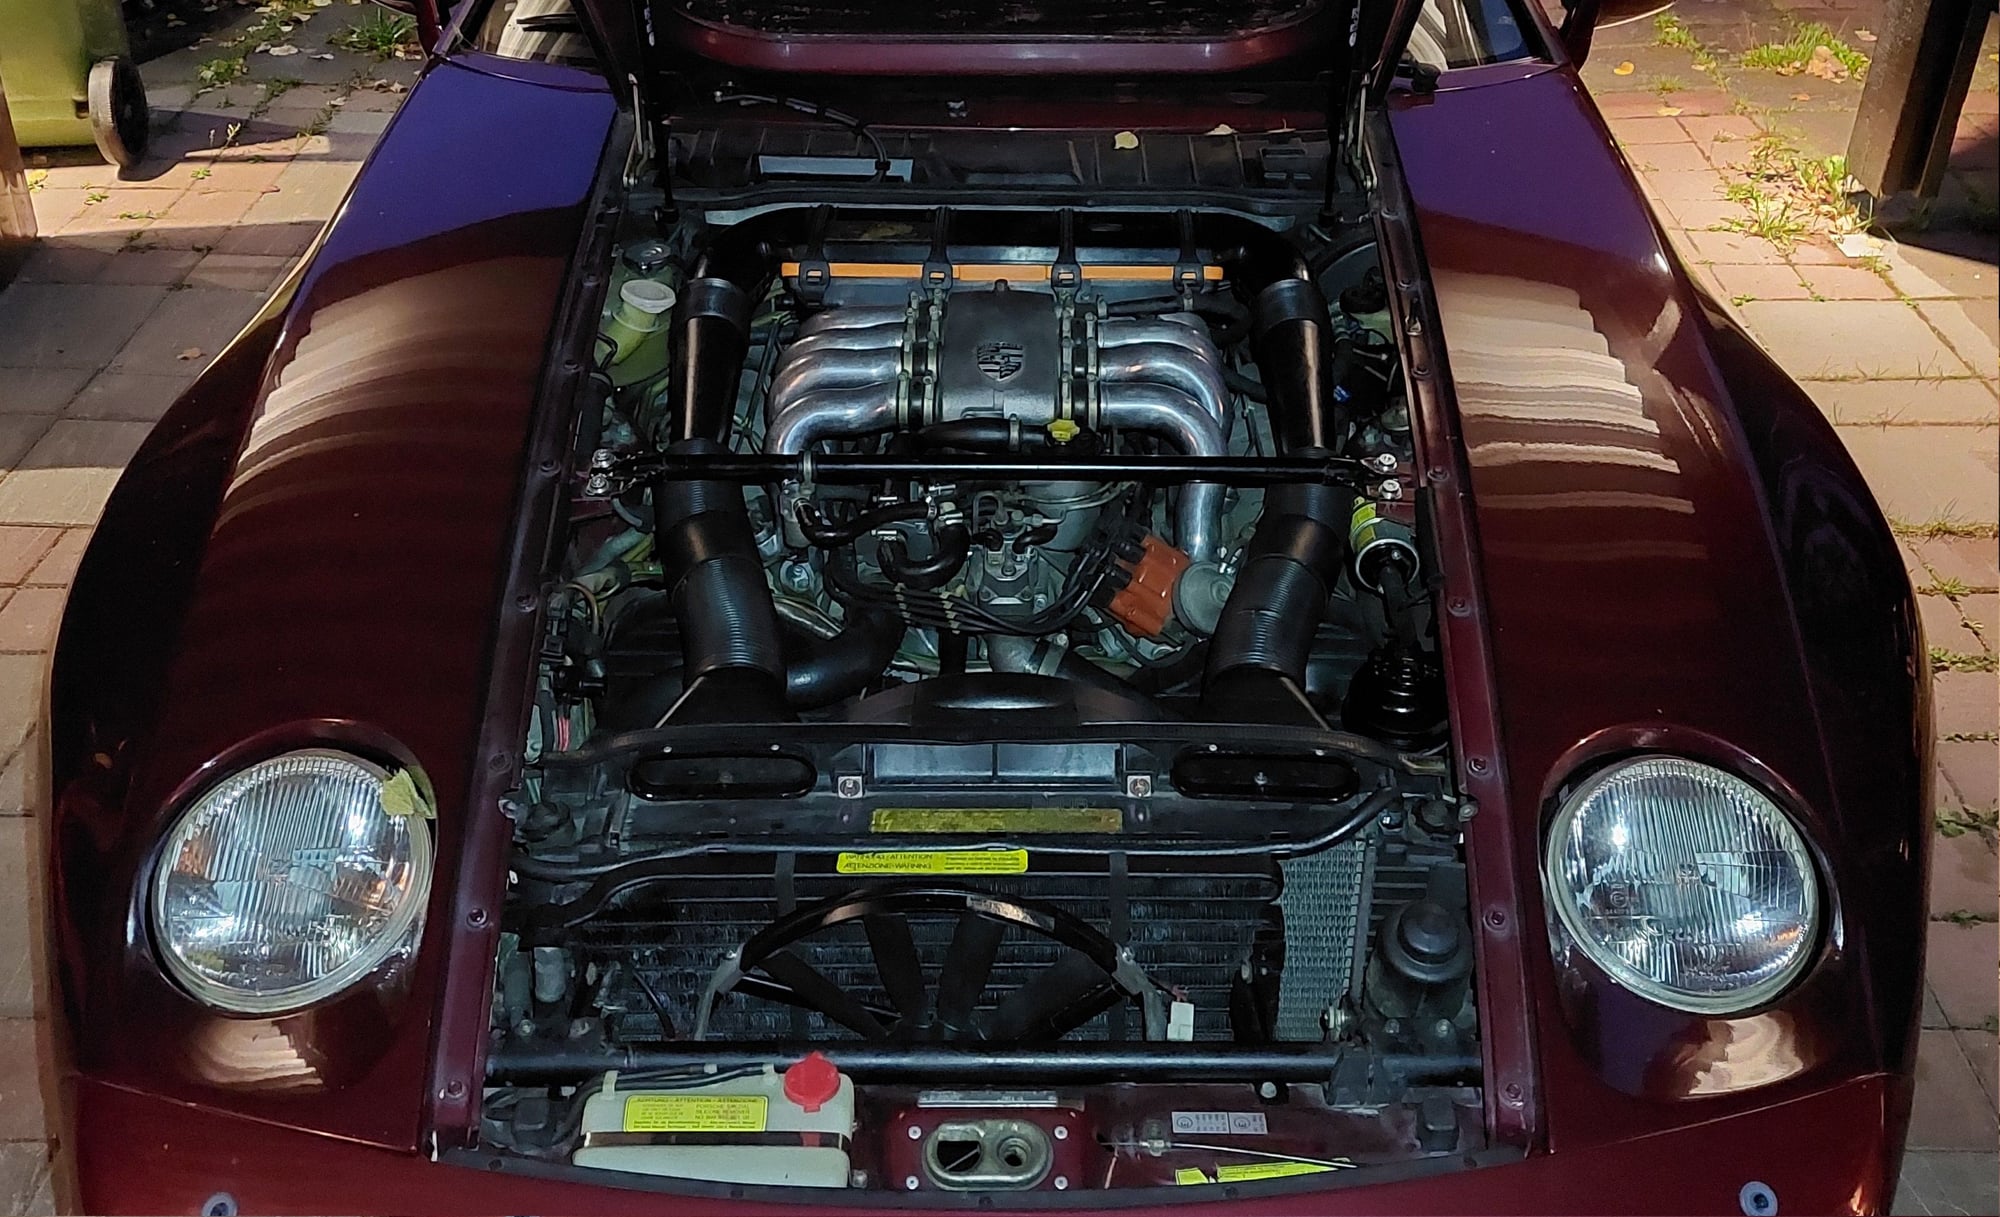
Engine bay with new jump post cover and strut brace - Love it! (whoops, ratchet left on radiator tool shelf)

 09-02-2023, 01:29 PM