When you click on links to various merchants on this site and make a purchase, this can result in this site earning a commission. Affiliate programs and affiliations include, but are not limited to, the eBay Partner Network.
Like many plastic parts the 17 pin connectors that secure wiring to the edge connectors on the instrument cluster do not age well. Further, the levers for the securing lugs will snap if you just push them outward to release them. The best method is to push the lever a tad away from the connector body and then push outward. This I learned the hard way as shown here.
Overcome by guilt and feeling the need to atone for my sins, I purchased connectors to replace the ones I hacked. The part number is 944 612 311 00 and they are still available from many sources. I disconnected power from the battery, pulled the steering wheel, pod and instrument cluster and set to work.
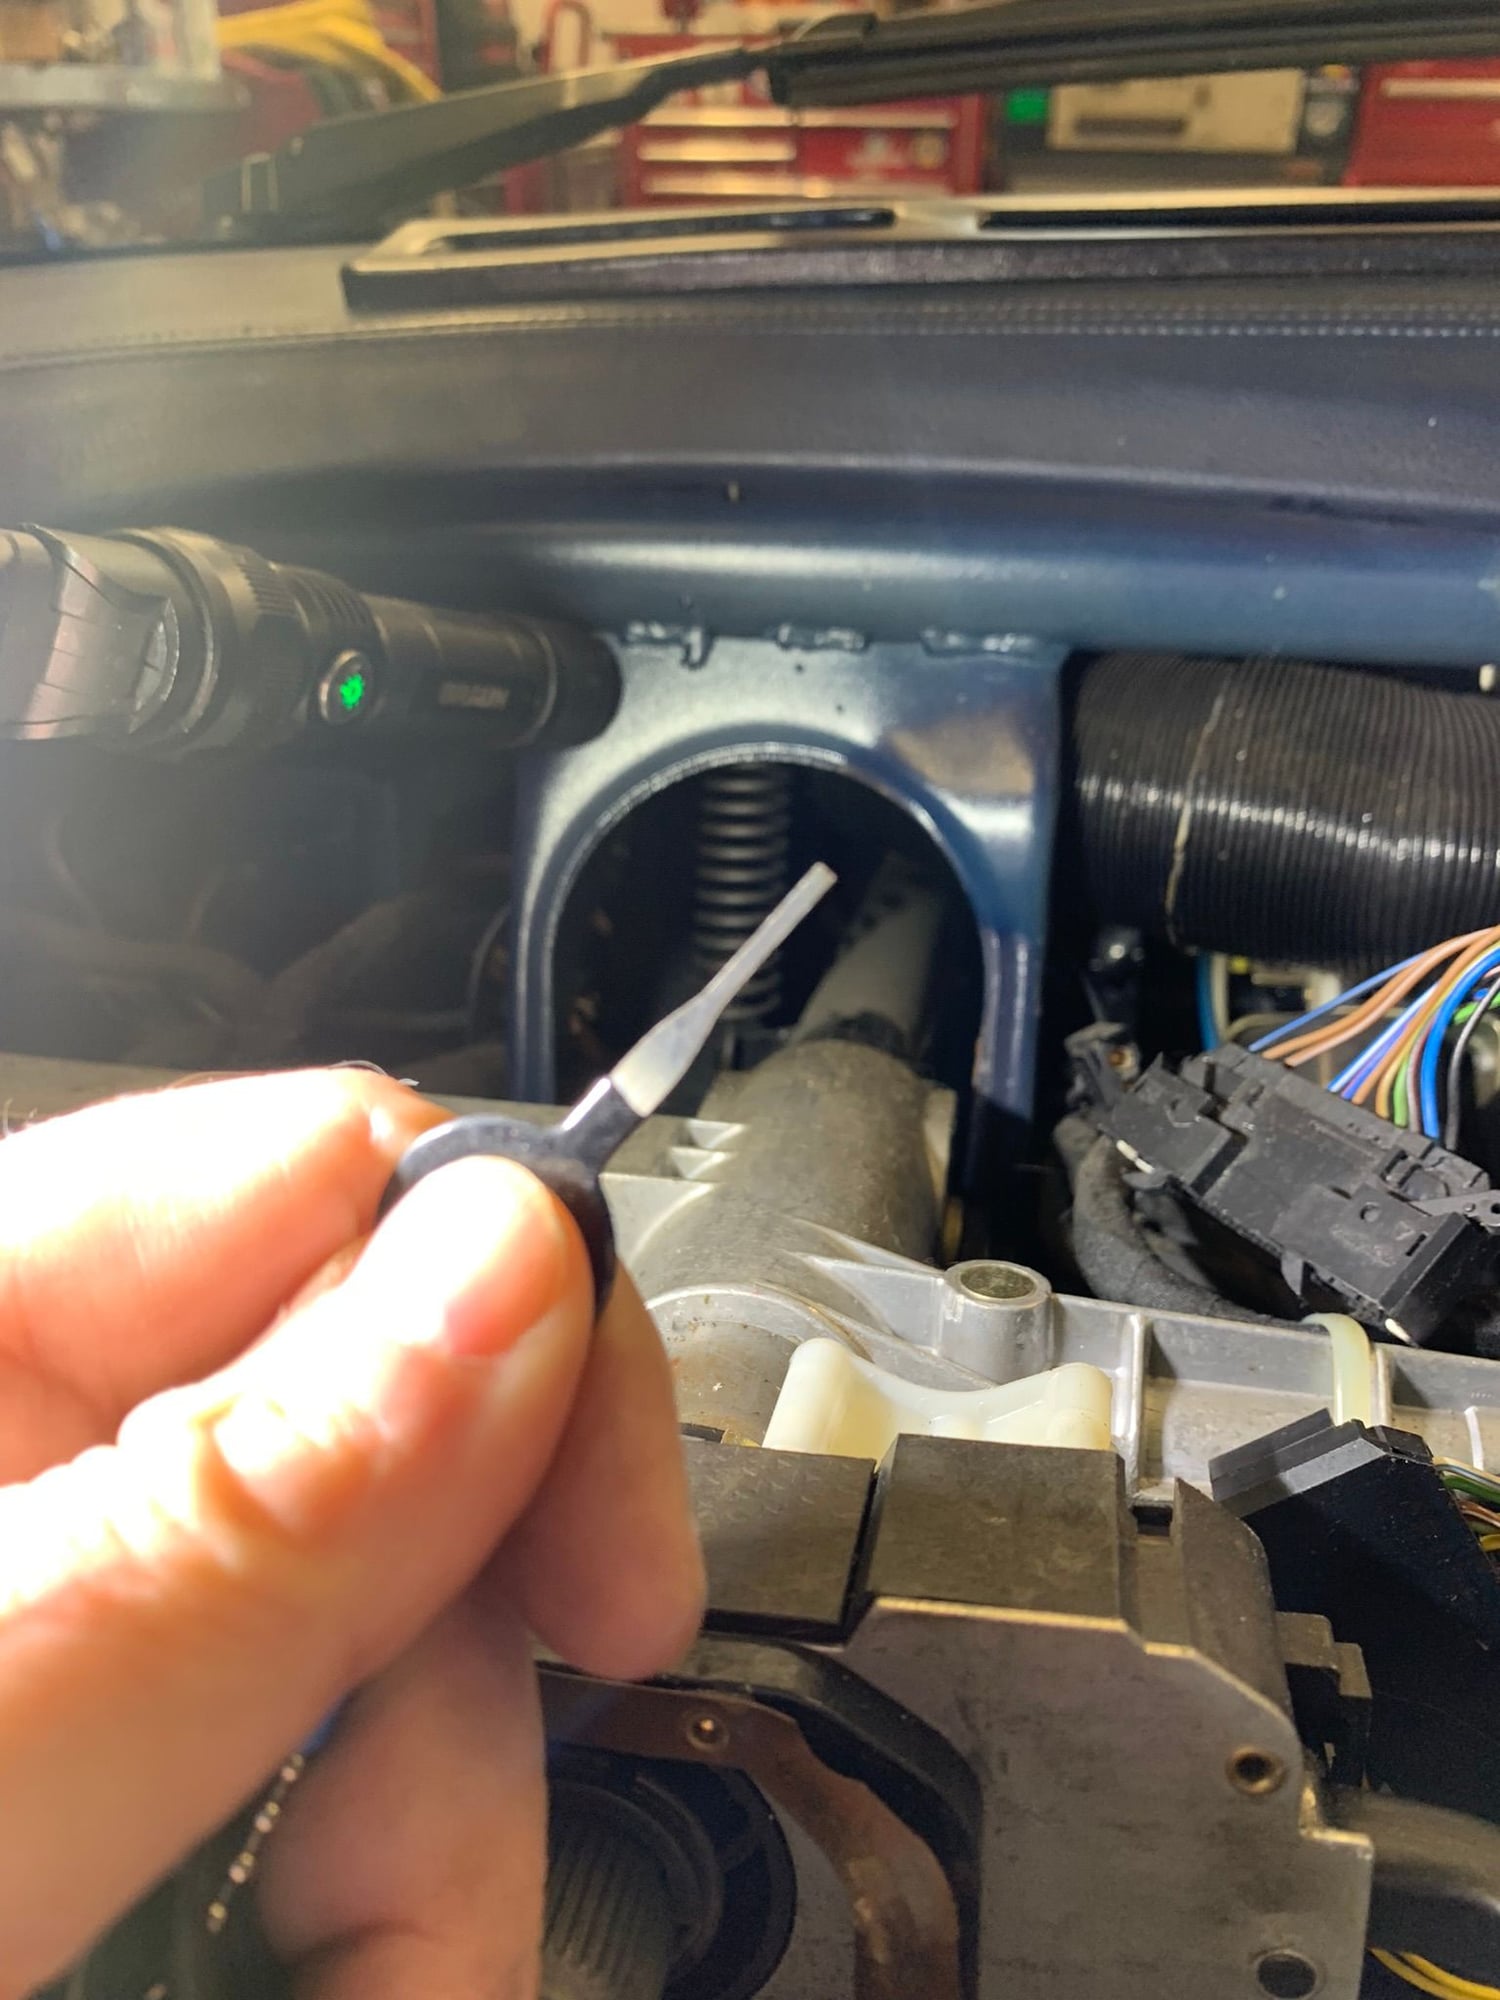
The connector is a simple but still somewhat mysterious device that arrives without instructions. I eventually determined that the terminals are secured in two ways. The first, which is quasi obvious, is the familiar bent tab that needs to be pushed back flush with a suitable tool to allow removal from the housing:
The second is more insidious. One one side of the connector one will find a sliding mechanism with two detents. Moving the slider from one detent to the other allows the pins to be removed once you get the retained tab squashed flush. This picture shows the closed position, Moving the slider to the next detent allow the terminal to be removed.
To remove the terminals you will need a terminal removal tool. I got this set from Amazon -
. They are junk, but adequate for diy. Here is the one that worked best:
There are slots on either side of the terminals which you can see when you peer into the female end;
There is no rhyme or reason to which slot will work, so you will end up probing both. As is the case any time you are releasing terminals, pushing the wire in from the backside of the connector helps. Sometimes you will hear a satisfying click when you hit paydirt.
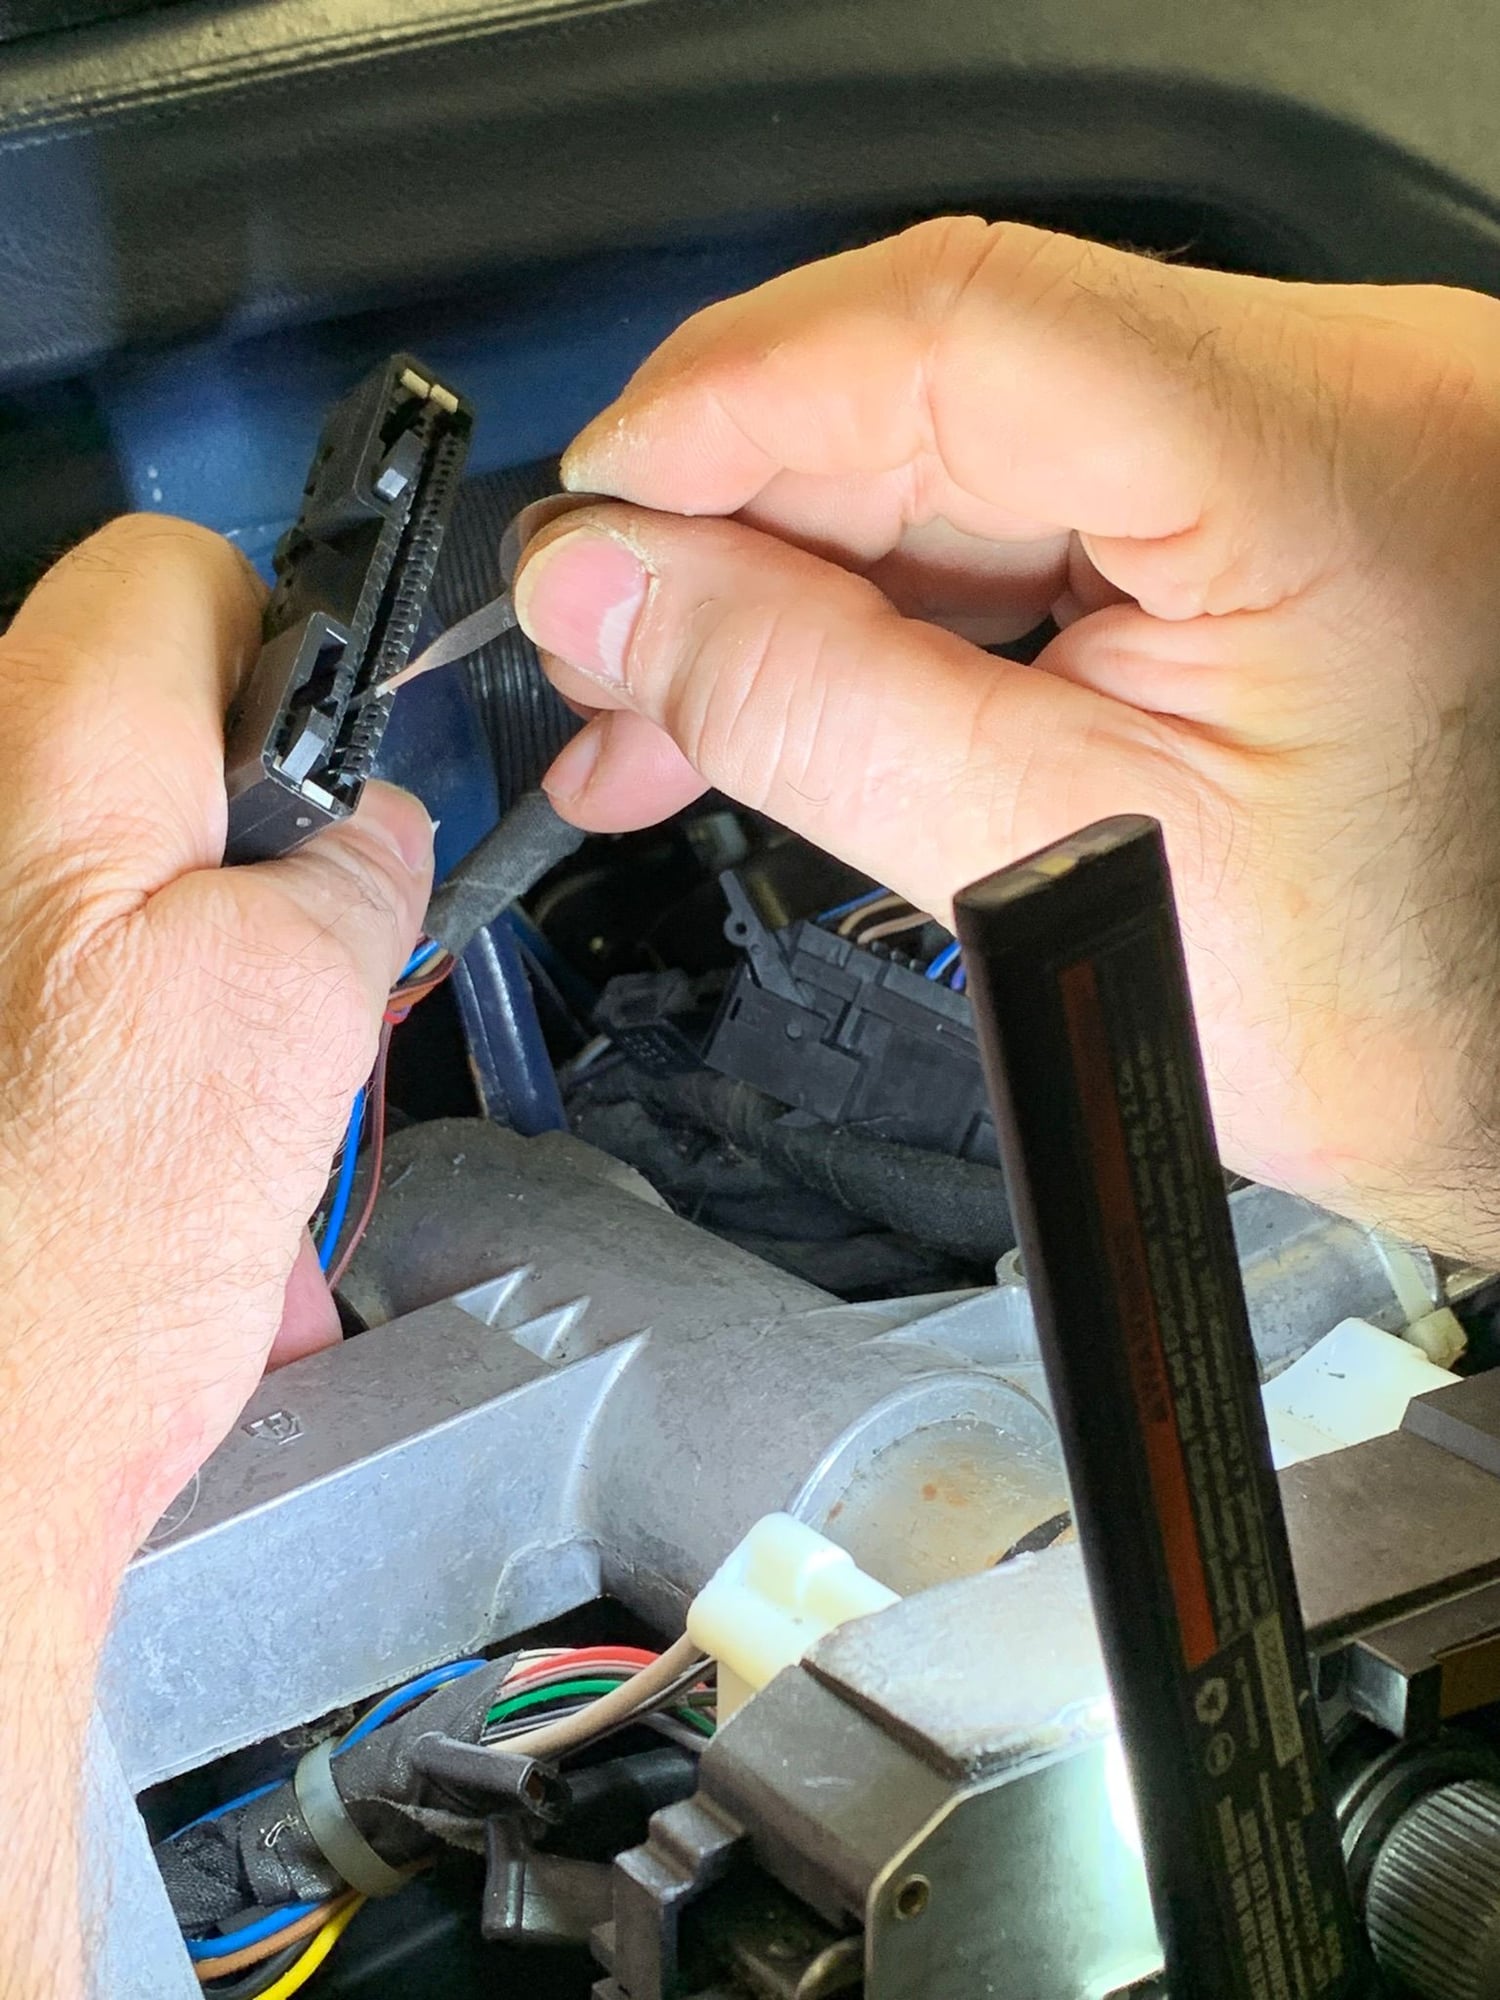
Having learned a long time ago to replace spark plug wires one at a time, I did the same with these terminals. It was tedious but not difficult. The terminals at the outer ends (i.e. pins 1 or 17) had to be attacked with a small single blade screwdriver because the securing tab faced outward and there was no slot to guide the terminal tool.
Bend the securing tab back out before inserting the terminal in the new connector and be aware that the secondary latching tab has to be in the "open" detent. That little bugger moves around when you are doing removal and replacement gymnastics.
Once the steering wheel was off and the pod removed, it took me about two hours to do two connectors.
So if this is on your punch list, take lots of pictures, don't lose track of which wire goes where
Last edited by Eplebnista; 01-17-2024 at 11:26 AM.

 01-16-2024, 02:20 PM