When you click on links to various merchants on this site and make a purchase, this can result in this site earning a commission. Affiliate programs and affiliations include, but are not limited to, the eBay Partner Network.
1 - Definitely deoxit all the wire connections and ground points.
2 - I'd check the vent hose that goes behind the instrument cluster to the drivers door and make sure there's no cracks or splits. If there is, cold air from the A/C will cause condensation back there and that can cause other problems.
3 - Depending on the condition of your dash temp sensor, there is no better time like the present to replace it. It has a white plastic retainer on the backside held on with a zip-tie. There may be some trick where it can be accessed from the glove box, but trust me, it's sooooo much easier with the dash removed.
4. I'd also recommend replacing the plastic odometer gear while you have your cluster out - and replace all the bulbs.
#2 is what I'm waiting nearly a month for from Germany but got my shipping notification yesterday: it's part #928-574-625-02
Another while I'm in there I did today was to replace the Blower Resistor Pack with the 89-93 model caged version (and moved the contact pins as needed to work with my 88). I never experienced Magic Blower syndrome in the past but might as well upgrade proactively. I wish I'd put it in before I reinstalled the blower motor, but it's doable with reaching in the ducting to access and swap out. I just removed an inch of unnecessary skin from my forearm in the process.
I feel like we need to make a comprehensive "HVAC Interior Refresh" parts list for others that want to do it all. The costs are mounting but it's satisfying to know this will all be good for a long time.
I feel like we need to make a comprehensive "HVAC Interior Refresh" parts list for others that want to do it all. The costs are mounting but it's satisfying to know this will all be good for a long time.
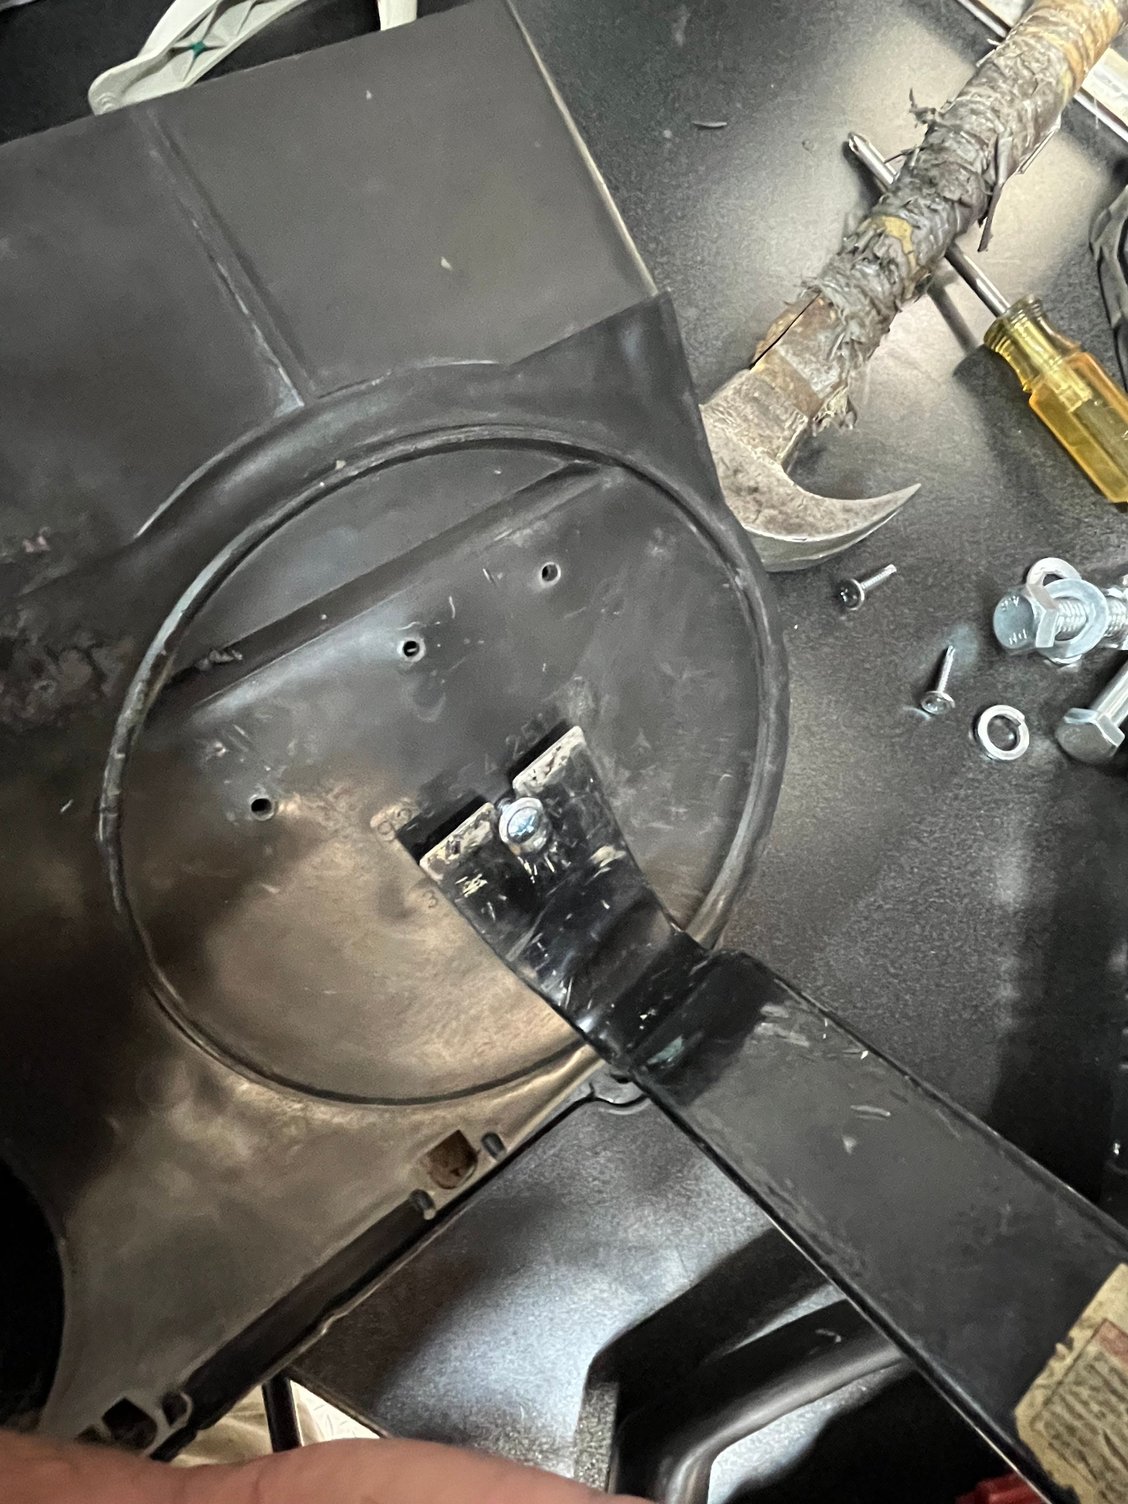
Not sure if this is common or not but my blower box was slightly warped on the top causing the recirculation flap to get stuck for a second then slam closed. Looks like the box is split in two and glued at the factory but it looks like it would get destroyed trying to split it so I left that alone. I screwed a couple of self tapping screws in the low area and heated the area with a heat gun. Then gently pry on the screw and let it cool. Took a few tries but now it had the proper clearance.

 04-13-2024, 03:26 AM