When you click on links to various merchants on this site and make a purchase, this can result in this site earning a commission. Affiliate programs and affiliations include, but are not limited to, the eBay Partner Network.
Hi,
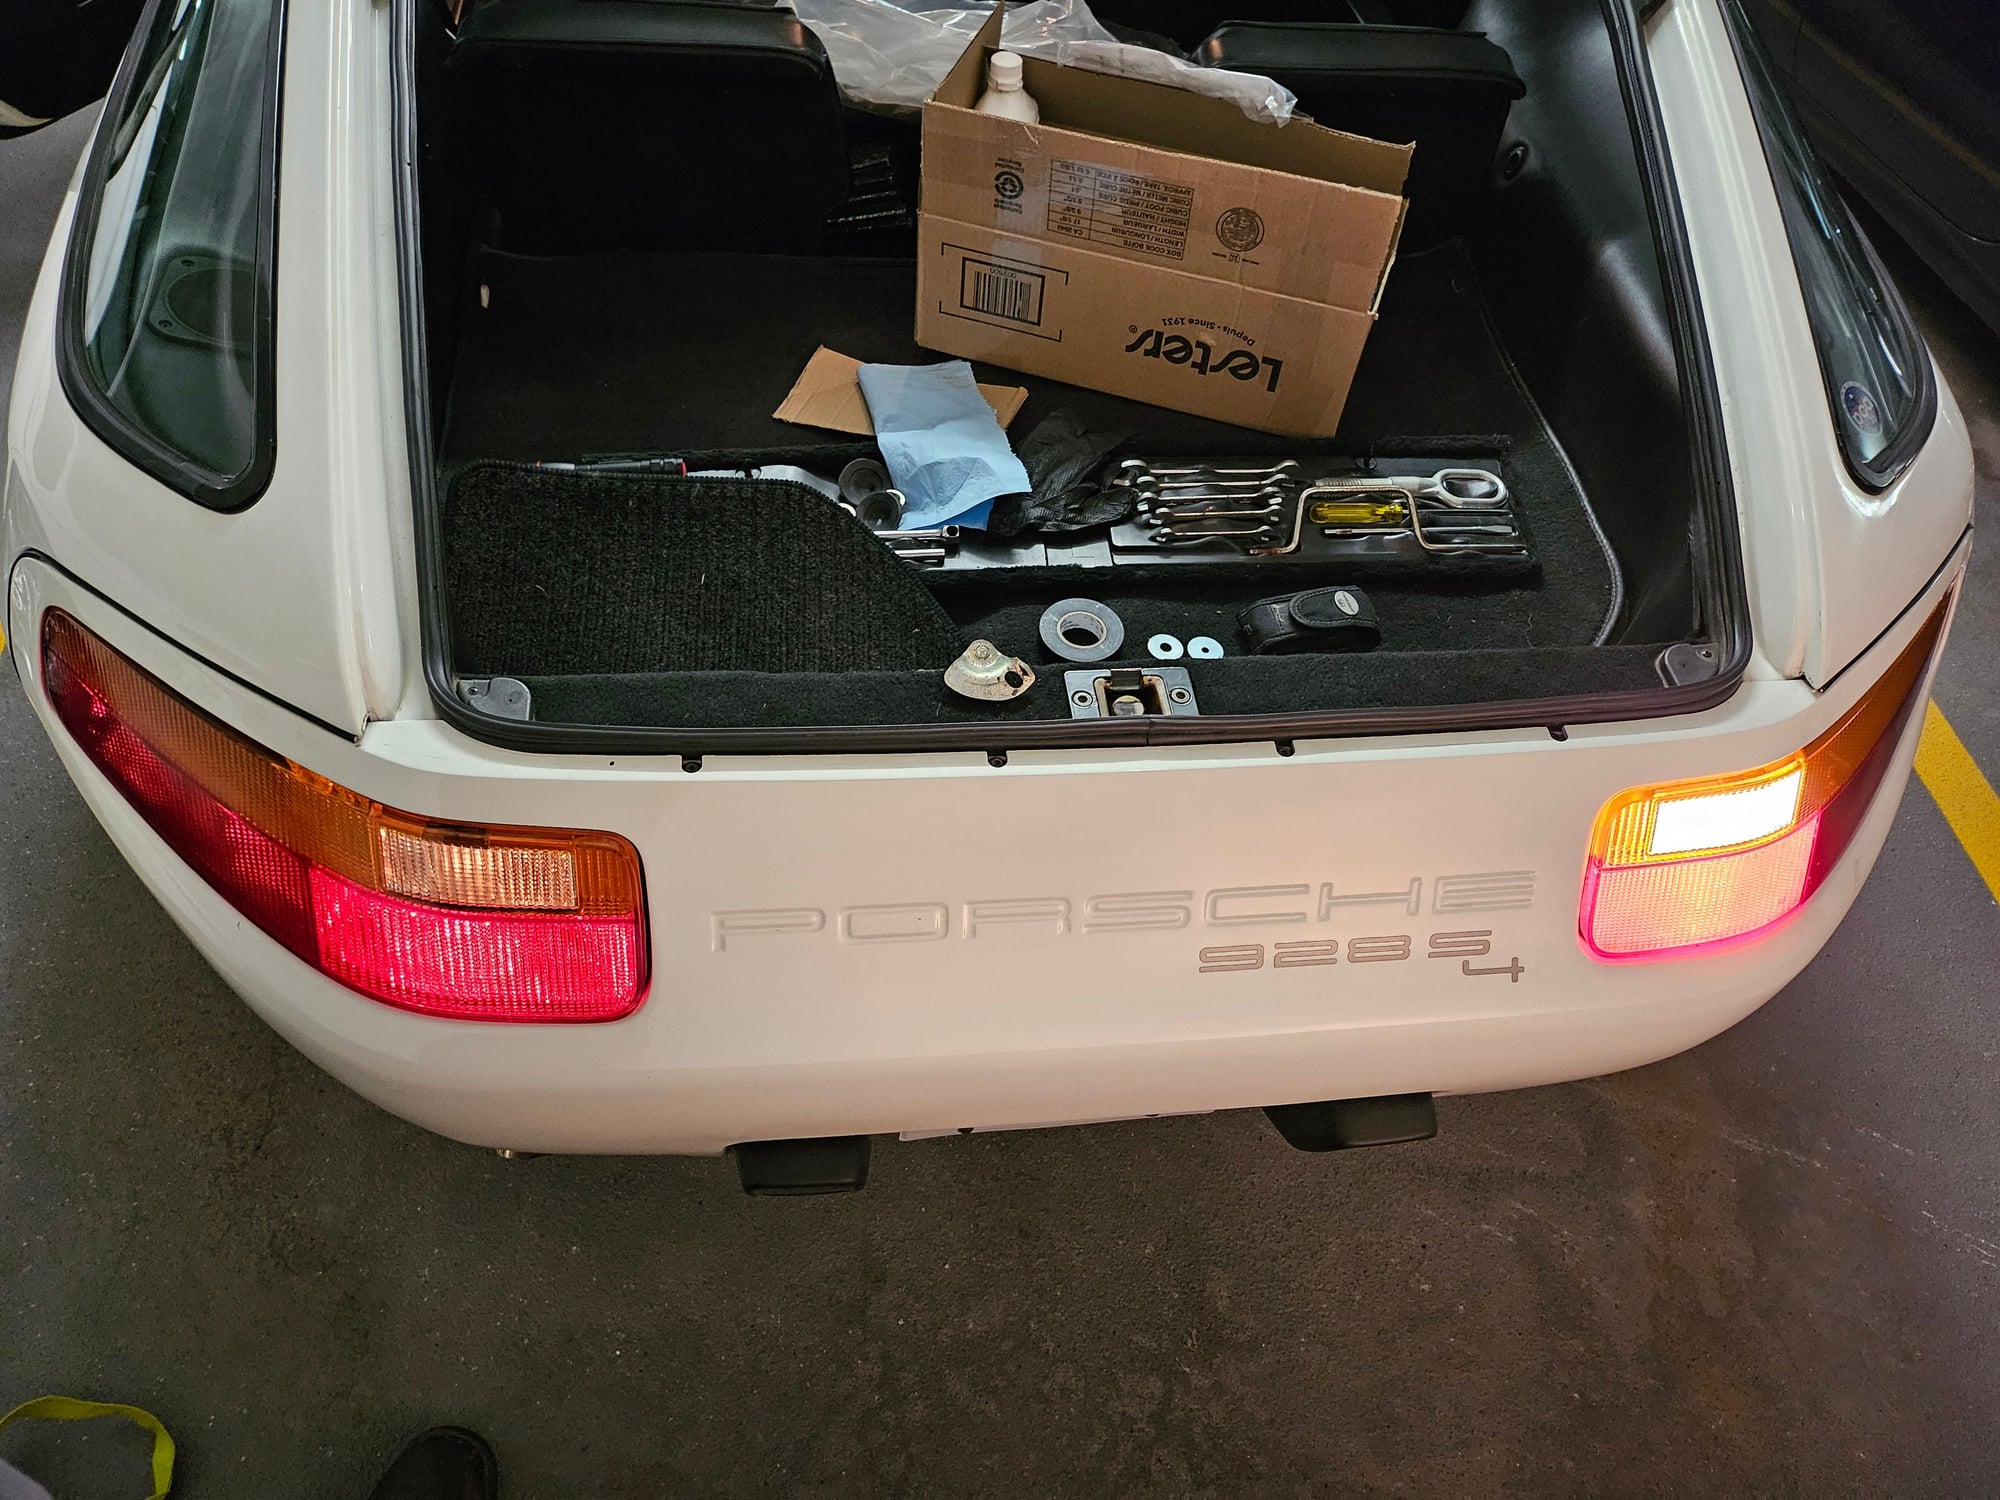
Just got the car. During the PPI the mecanic noted some rear light funkiness. I don't recall the exact problem, but it was something along the lines of: when brake pedal applied the reversing lights came on too. When headlights were switched on too one of the brake lights went out etc. I do need to re-confirm the exact issue and then report back.
In the meantime, do issues of this kind ring any bells for anyone who can kindly point me to the general area to start looking?
I am generally 'crap' with electrics, but do have an ace idiots guide, multimeter, did build a new ignition harness for my V12 Jag etc.
The tail light lens have a single hand tightened nut inside the passenger compartment that you can unscrew after removing the tool panel. Once you remove the lens, you should be able to see what handiwork the PO has left you. It could be something as simple as mis-installing one of the brake light fixtures in place of the reverse lights. If you have the wiring diagrams (or at minimum the computer version of the service manual, you can figure out how its supposed to be wired.
Let�s work on identifying exactly what�s going on preferably after you have done a CE panel refresh
Thanks, yes realize I am jumping the gun a little. The car is not currently parked at my house, hence still need to re-establish exact faults. Excellent description of CE panel refresh found on Rennlist!
There is also a bulb control module that controls the lights. It's attached to the passenger side parcel shelf. Once we know what's happening on the lights and see what the wiring looks like, that's another possibility. Unfortunately, there's not a great way to test them - you pretty much buy a used one from Mark Anderson at 928 Int'l, put it in and see if it resolved the issue, which is how I solved an intermittent no rear running lights issue on my 84.
NOTE using a battery booster or jumper cables to start the 928 with a weak battery can damage the computers that run the lights monitoring system the ABS relay the warning light system , diodes in the alternator the regulator the engine computers all the running relays.
With a weaker battery,
Its best to disconnect the battery and charge it with a 6 amp charger prior to putting the car back into service
Note a trickle charger is not a battery charger
Note most running issues are caused by a low battery state .
NOTE with a weak battery the running relays can be damaged as the lowered voltage won�t let them close as they should,
thus the internal contacts will be damaged by arcing ,
, over time the relay will not pass the voltage to its controlled circuit
Keeping the battery charged before you try to start the car is the best way to protect these assorted subsystems and relays
its also a good idea to disconnect the battery ground strap under the tool tray if the car is not going to be used regularly this will isolate the power supply and it will be ready to go when your ready to put the car back into service
Noted - thanks!
Another post I read indicated jumper cables can cause the issues you note due to arcing, but a Li ion booster pack is safe. Having just invested $150 in one as a precaution, I am hoping that is the case?
If you follow my suggestions you wont have any problems with your charging / Battery electrical system.
Whenever I get a new owner with a 928 one of the first things I ask them was did you jump the car to get it started,
usually the answer is yes.
Then I find out the ABS light is on the alternator isnt charging and the warning lamps dont come on ,
or some other such issue is occurring.
Return the boosterpack and buy a good 6 amp battery charger and a nice wingnut for the battery strap.
Also get a good multi meter, and a can of Deoxit 100
from the looks of things the light sockets for the brakes may both need to be replaced ,
the reverse lights may be shorting from the grounds of the damaged brake lamp socket/s
remove the lights from both sides,
and then remove all the bulb holders and examine the internals of all the lamp holders,
NOTE make sure both sides have the same bulbs in the same position.
if not then buy matched sets of bulbs for each location.
Use Deoxit 100 on every light socket.
NOTE any light socket that has a rusted tang should be replaced.
In a pinch you can push the wire into the bottom of the socket,
and solder it to the tip of the bulb ,
then put a few pieces of closed cell foam into the bottom of the socket ,
and then install the bulb.
Amazon has some light sockets that with a lil bit of trimming will work for the dual filament brake lamp sockets.
2Pcs 1157 Led Bulbs Socket BAY15D,
Turn Signal Socket, Automotive Plastic Tail Light Wiring Harness,
Brake Light Base .
just trim off one of the tips,
then shave off the round edges of the sealing gasket,
then they will fit , solder the wires,
then deoxit them,
then heat shrink with marine grade tubing.
NOTE its common for these light housing to crack, this will let water accumulate inside ,
this will rust the bulb holders.
if you find water in any of these lights then the light housing should be replaced
So, a bit of corrosion on the terminals of both brake bulb sockets. Looks kinda minor, but might as well replace the bulb holders. I got the ones off Amazon you kindly indicated. However, unless I am being v dense, I can't see how they will lock in place? The original in the pic below has lower tabs that lock. The replacement does not?
Am I being dense?
Also found a dodgy solder joint in one of the brown wires at the terminal of the in-car harness that connects to the rear light harness. Will re-solder.
The Nissan Quest version looks same as OEM in this regard.
Grateful for your thoughts!
on the new light sockets you need to trim off one of the small nubs,
IIRC its opposite the wide nub but check,
then the socket will pass into the housing then turn it and it should lock.
NOTE carefully take a new razor blade and trim off the round bulge on each side of the rubber gasket to make it a flat rubber gasket
then it will fit into the housing far enough to be able to turn and lock.
Update!
So, successfully replaced the two brake bulb holders! Found a nasty earth wire connection to the in-car harness on the LHS which I re-soldered and 2 breaks in the insulation in the earth going to the old bulb holder (applied heatshrink to cover up exposed wire due to position). Applied deoxit to all terminals and replaced all bulbs apart from brake light bulbs (bought wrong ones).Put lights back in and partial success! Brake lights now come on without dim reversing lights too. One side brighter...... will replace bulbs.
Brakes applied and in reverse. One reversing light dim. Seems less current going to LHS bulbs?:
However, turning on the headlights messes things up (brakes applied):
And if reverse selected too:
Could not see any other bad connections.
Have not pulled all fuses and refreshed....yet.

 04-09-2024, 04:54 PM