When you click on links to various merchants on this site and make a purchase, this can result in this site earning a commission. Affiliate programs and affiliations include, but are not limited to, the eBay Partner Network.
I have a couple of leaking condensers - I plan on poaching the AC hard lines in the short term. My AC guys think they found the correct pipe and threaded connections.
The hard work is reproducing the attachment hardware. Lost my 3D designer - now an associate professor at UNC.
And as with all my projects I have plans for a simplified bottom supports the won't require getting under the car to remove the condenser in the future.
that would be a bonus especially for the cars with the external oil cooler.
Tom if you can measure the dimensions and take a look at the mounting methods I'd appreciate it. Yes I do want to keep the trans cooler, I have added a side tank additional oil cooler loop and could possibly swap the trans cooler to the other side tank - but prefer fewer changes. If the performance is compromised by the smaller size I might be willing to do that that since more cooling is always appreciated in AZ. I'm also contemplating the extra mini serial additional condenser/fan Greg has been doing in the pass fender area.
Alan
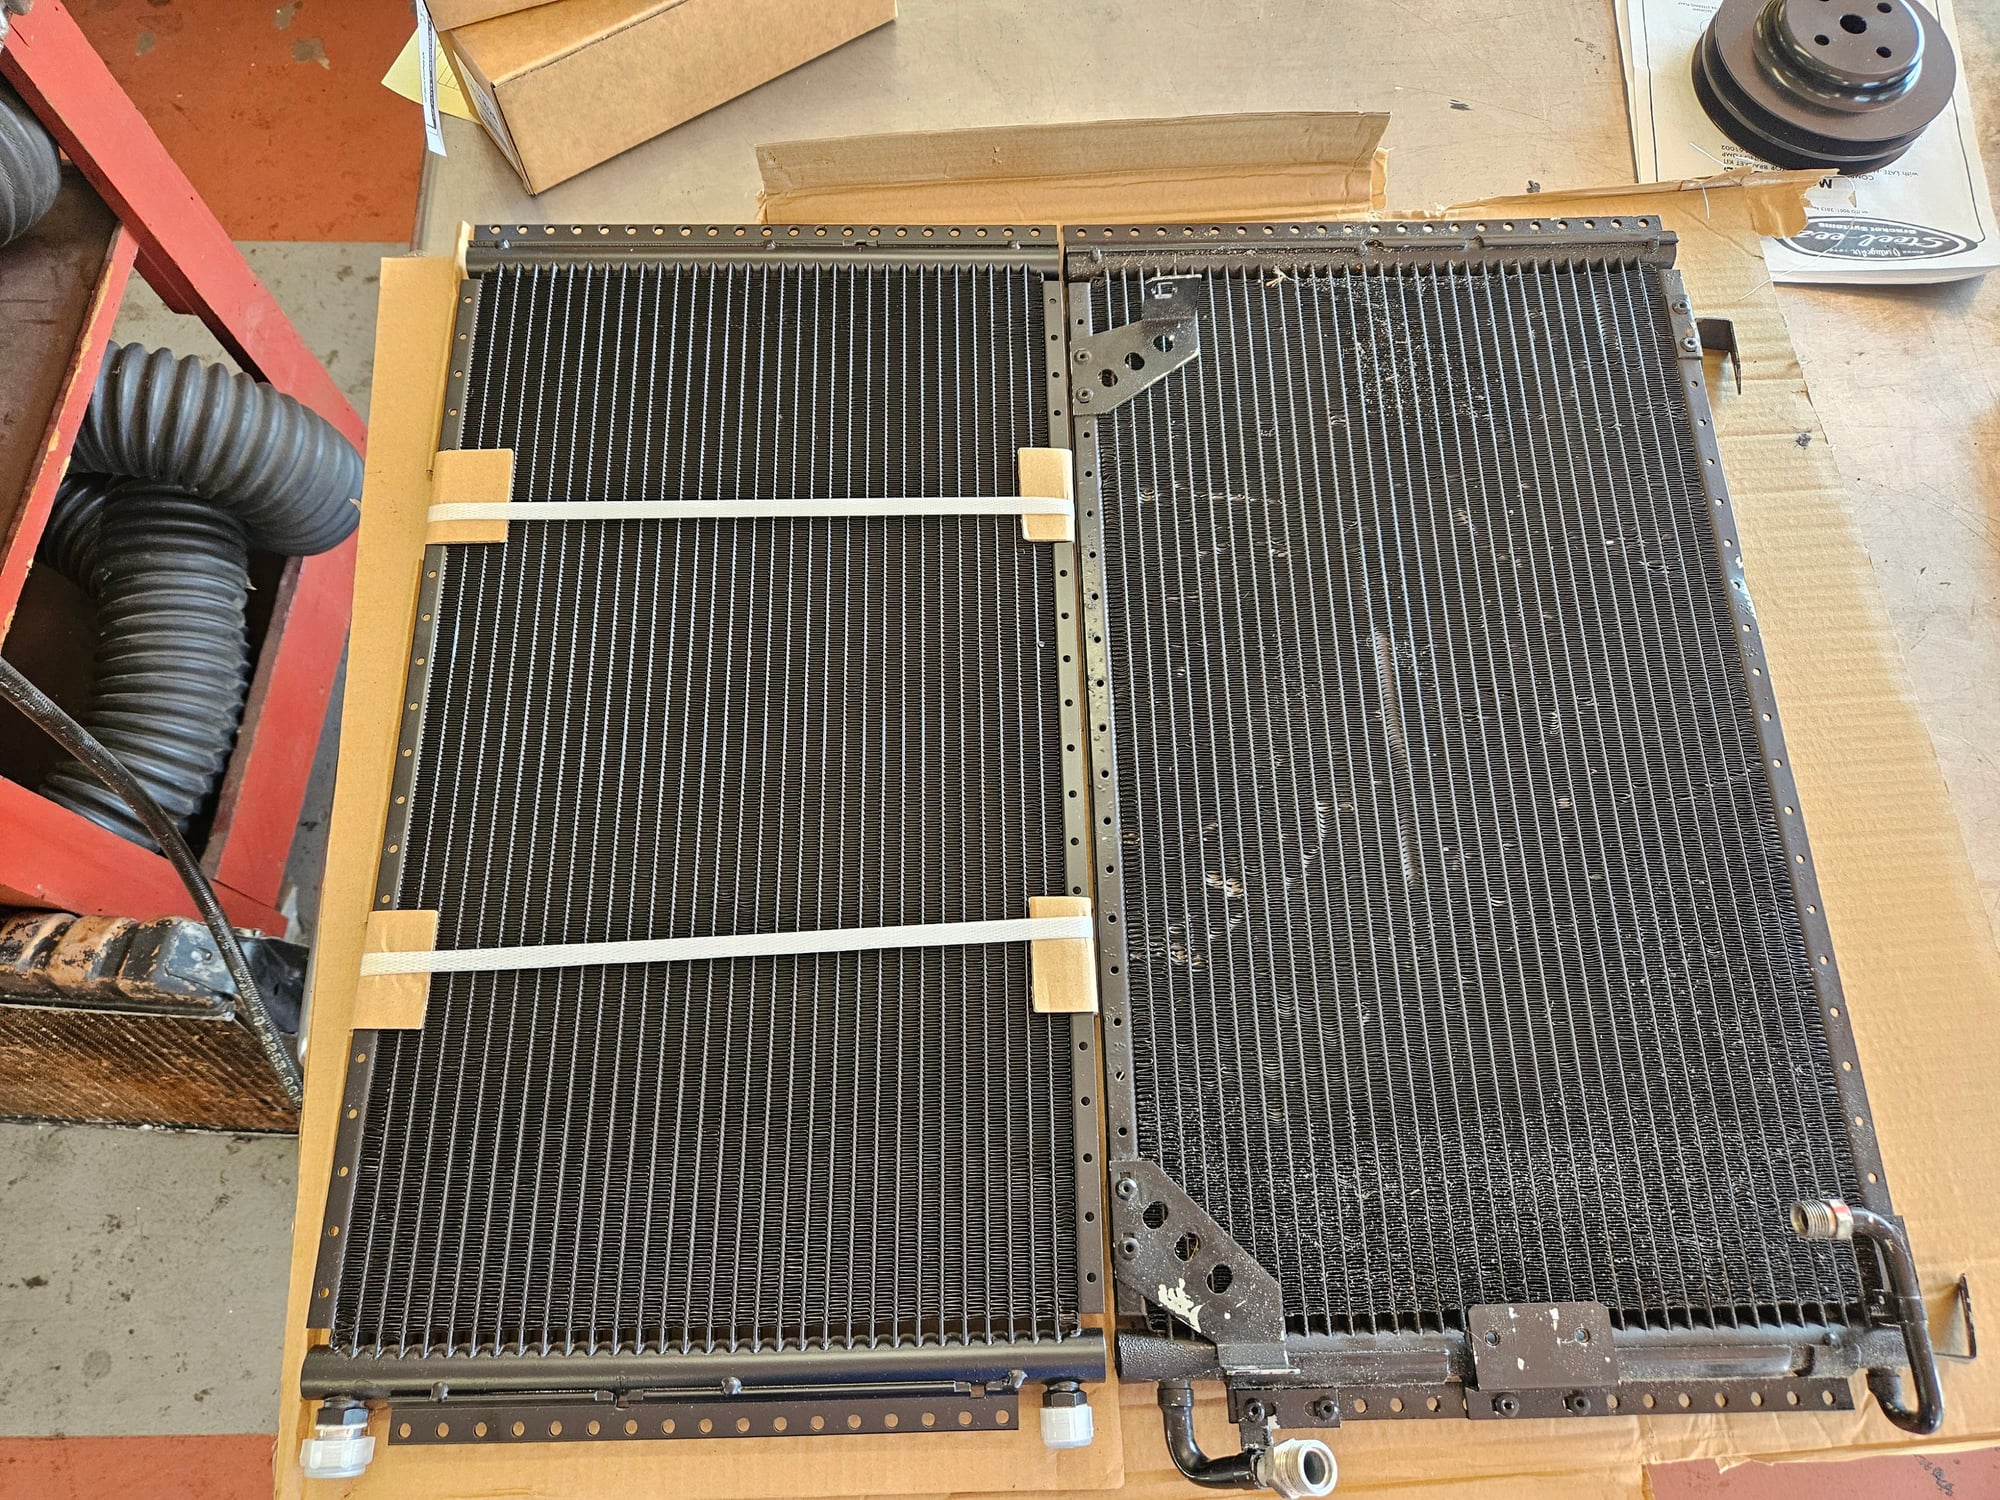
Mines 24" (end tube to end tube) by 14" (not including the mounting bracket at the bottom) and looks exactly like the Griffiths posted earlier (same brackets and connectors on the end). Guessing it's the same one that Griffiths had sourced although mine was not purchased from him.
There's just under 2" of space above the condenser when measured to the height of the radiator. Probably not enough room for the trans cooler (don't have one handy to measure).
Thinking out loud about Alan's original question about fitting the stock trans cooler above this A/C condenser. Wonder if one could make more room by having smaller "mounting feet" at the bottom perhaps gaining some room?
Does anyone have the height measurements of the trans cooler and how it sits relative to the radiator/hood?
The connections relative to the high and low hoses might prevent that.
Here's the condenser I ordered. Dimensions are identical to mine.
I'll drop it off with my AC guys to get it plumbed this week.
Originally Posted by Kevin in Atlanta
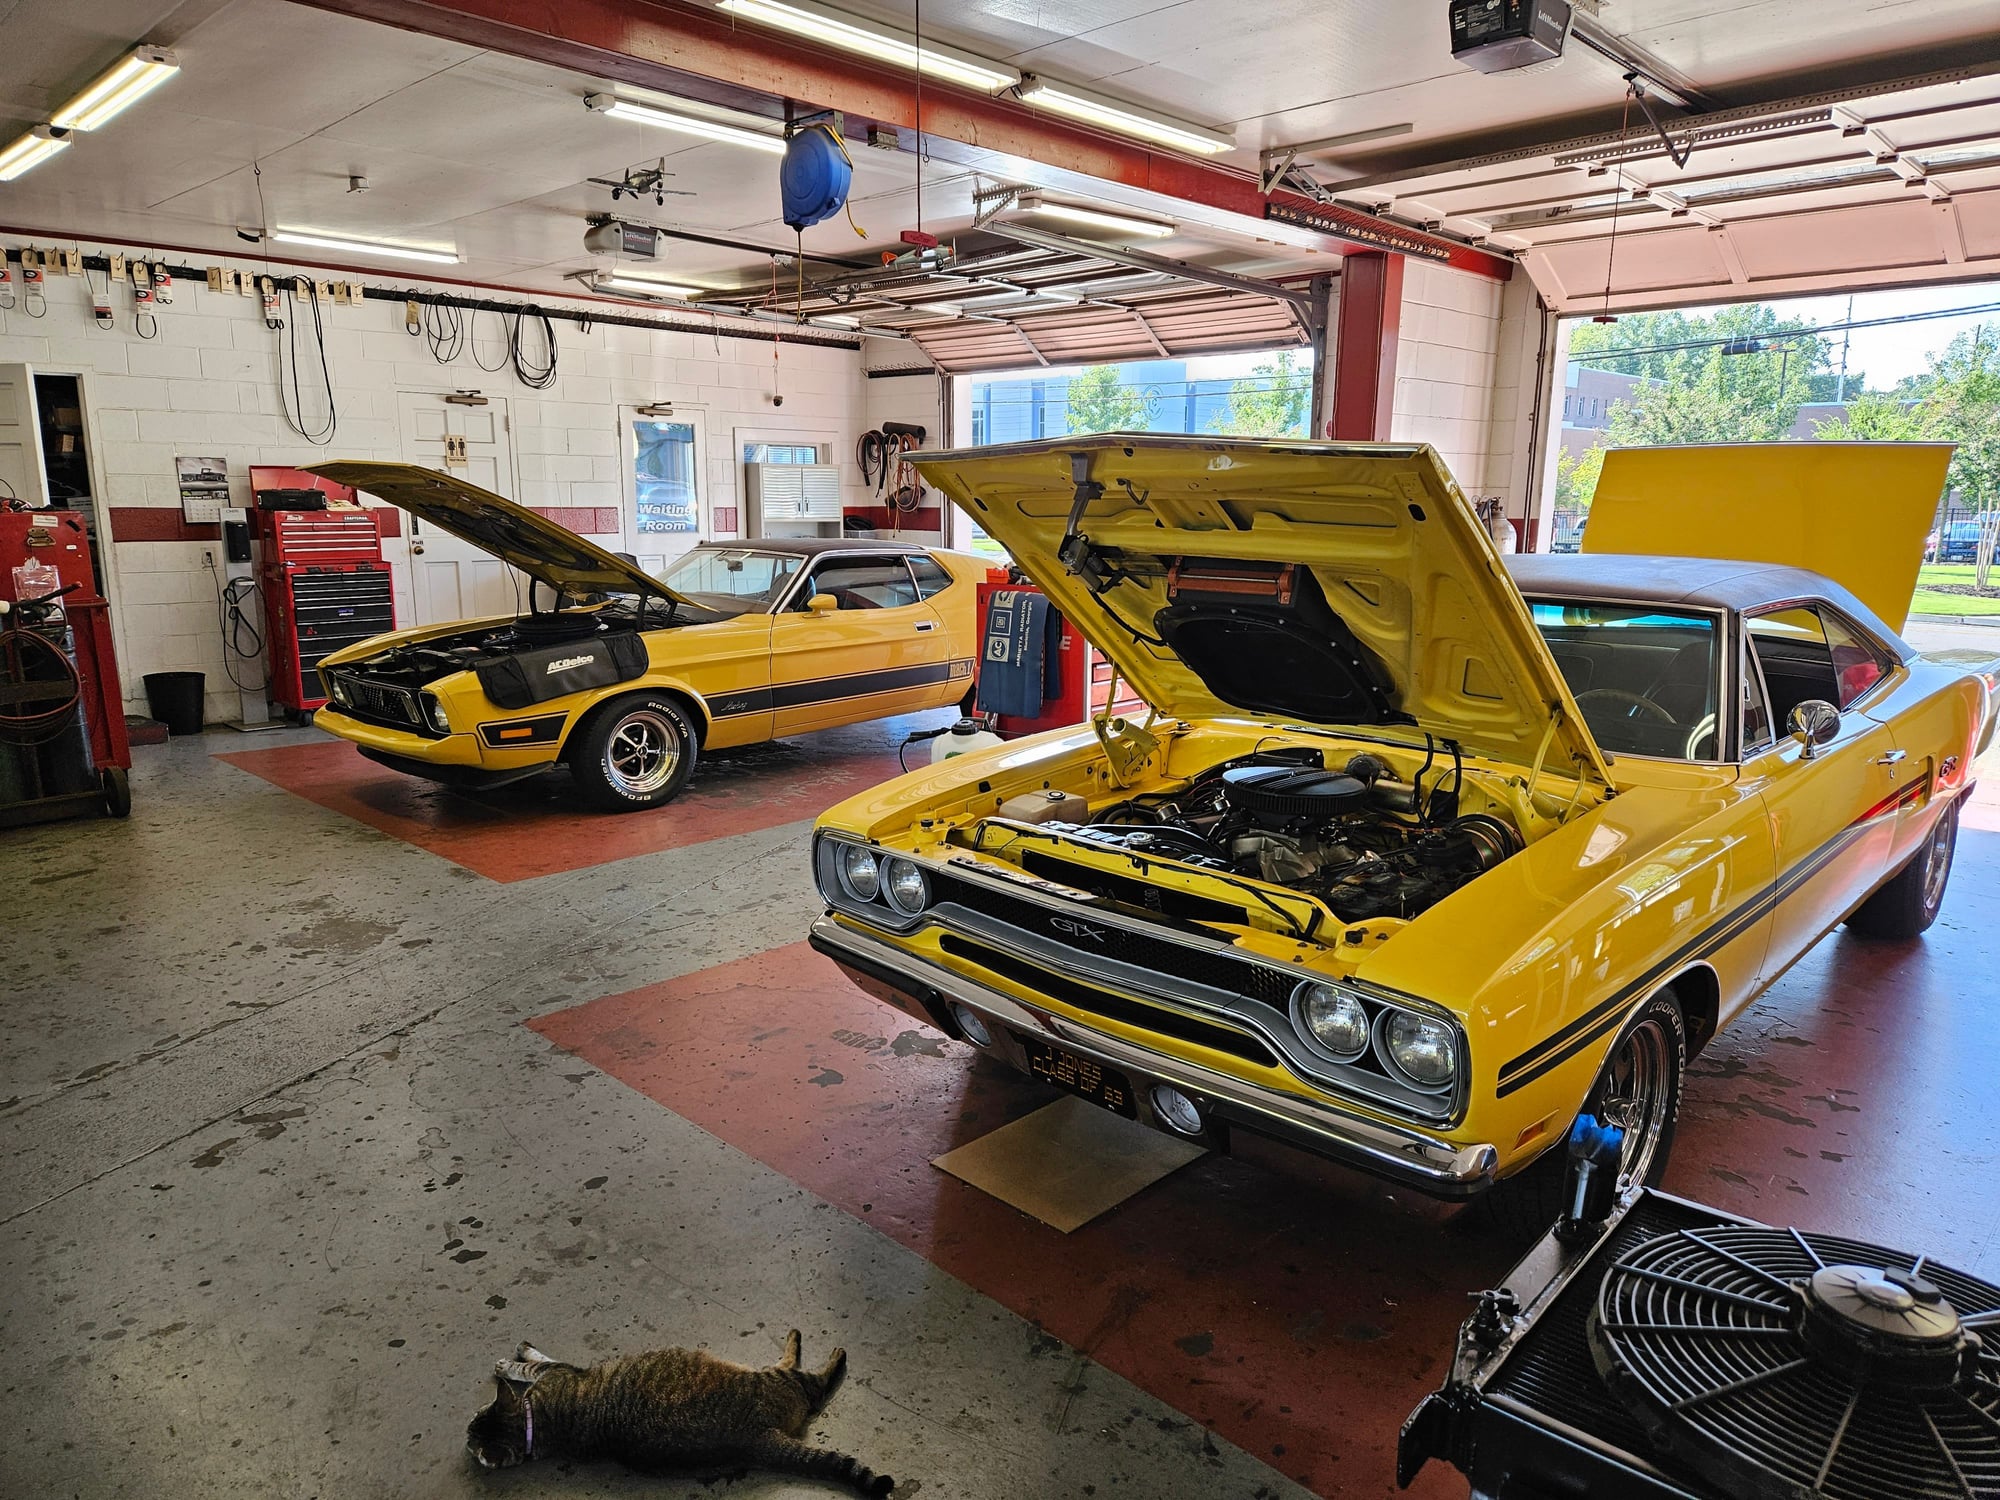
Dropped off at my shop.
How did this go Kevin? Yours looks exactly like one I have, purchased years ago from American Condenser.
I'm in need of another (my '87 condenser is leaking) - and the only new genuine porsche ones I can find are superseded to the inferior Auto part with a lower cooling capacity 😒
It has stalled. Making connections has become a problem. I had hoped to use the tubes from the OEM version and solder them on to the parallel version but you can't do that. I'm going to try and swing by and see if there's something else we can do.
Thanks, that makes sense. Thank you - that's stopped me buying one which looks the same as your experimental purchase.. time to dig into finding candidate condensers which might be modded to work.
So either a condenser with something which can be tapped or drilled to accept a tube, or one which has tubes which can be cot off and collared/soldered to new tubing/fittings is the need here?
I'd like to avoid using a factory auto one as the space and extra cooling capacity is useful.. it was 111F degrees here yesterday.
Don't give up. Go to Cold Hose and look at that various fittings that they have for sale. I got a couple of 90 degree adapters and other parts (all steel) and then brazed them together to make the 180 degree horizontal bend and the 90 degree vertical bend to use the stock receiver-dryer in my 86. They will also fabricate fittings for you if you don't want to DIY. The best thing about their site is that you can tell if your are buying steel or aluminum fittings. You can braze aluminum to aluminum and steel to steel (and almost anything else except aluminum). IIRC the lower outlet on the generic parallel flow is a #6 and the connector to the receiver dryer is #8, so that is something you should check.
Don't give up. Go to Cold Hose and look at that various fittings that they have for sale. I got a couple of 90 degree adapters and other parts (all steel) and then brazed them together to make the 180 degree horizontal bend and the 90 degree vertical bend to use the stock receiver-dryer in my 86. They will also fabricate fittings for you if you don't want to DIY. The best thing about their site is that you can tell if your are buying steel or aluminum fittings. You can braze aluminum to aluminum and steel to steel (and almost anything else except aluminum). IIRC the lower outlet on the generic parallel flow is a #6 and the c picturesonnector to the receiver dryer is #8, so that is something you should check.
One #6 right angle adapter and one #8 right angle adapter both modified and joined together by cutting a 180 degree 1/4 copper solder to join connector from McMaster https://www.mcmaster.com/catalog/129/267/5520K274
Brazed together using high silver content rod -
One #6 right angle adapter and one #8 right angle adapter both modified and joined together by cutting a 180 degree 1/4 copper solder to join connector from McMaster https://www.mcmaster.com/catalog/129/267/5520K274
Brazed together using high silver content rod
Other fabrication/installation details.
Upper line into condenser from compressor - https://www.vintageair.com/custom/pr...p?pn=12519-VCD - bent with a conduit bender I got on craigslist for $20. I used some soft thin rod bent to shape as a model, started with the big bend at the top as that would control the rest and got it lined up. For the hose connection I used Aeroquip EZ CLIP barbs and hose ends. They don't look stock but they work and the hose can be disconnected and reconnected. I cut the lower end of the tube off at the right place and brazed this EZ CLIP barb on the end - https://hosewarehouse.com/products/F...it-for-GH134-8.
An EZ-CLIP barb was also brazed on to the end of the hard line from the compressor. EZ-CLIP hose has to be used with the EZ-CLIP barbs.
The lower mount for the condenser was made from 1.5 inch by 3/16 steel strip. I cut the strip long enough to capture both of the original condenser mounting holes and used what was left over to make vertical supports that taper to fit in between the lower rails of the condenser. These were then brazed to to the strip to proved a lower mount rigid enough to keep the condenser off the radiator at speed.
Thanks @Eplebnista - very helpful. For extending the upper fitting on the generic condenser, its not clear.. did you use part of the M-F adapter only, or did you bend it to re-use the factory hose?
I'll see about taking some pics after Christmas dinner of the two condensers I have handy - one is one of the original American Condenser "made for manual 87-91 928" models, and one is a factory used condenser bought from 928intl years ago which has a broken-off lower tube. With the amount of good info here, I think some measurements and pics would be helpful for all.

 09-10-2023, 03:59 PM