
Porsche 944 Turbo restomod

 08-15-2019, 03:39 AM
#167
Pro
Thread Starter
08-15-2019, 02:35 PM
#168
Pro

Beautiful car and i'm looking forward to your engine build.
A lot of people install a steam vent kit on our cars as well. https://www.lindseyracing.com/LR/Parts/COOLSTEAM.html
A lot of people install a steam vent kit on our cars as well. https://www.lindseyracing.com/LR/Parts/COOLSTEAM.html
08-16-2019, 07:03 AM
#169

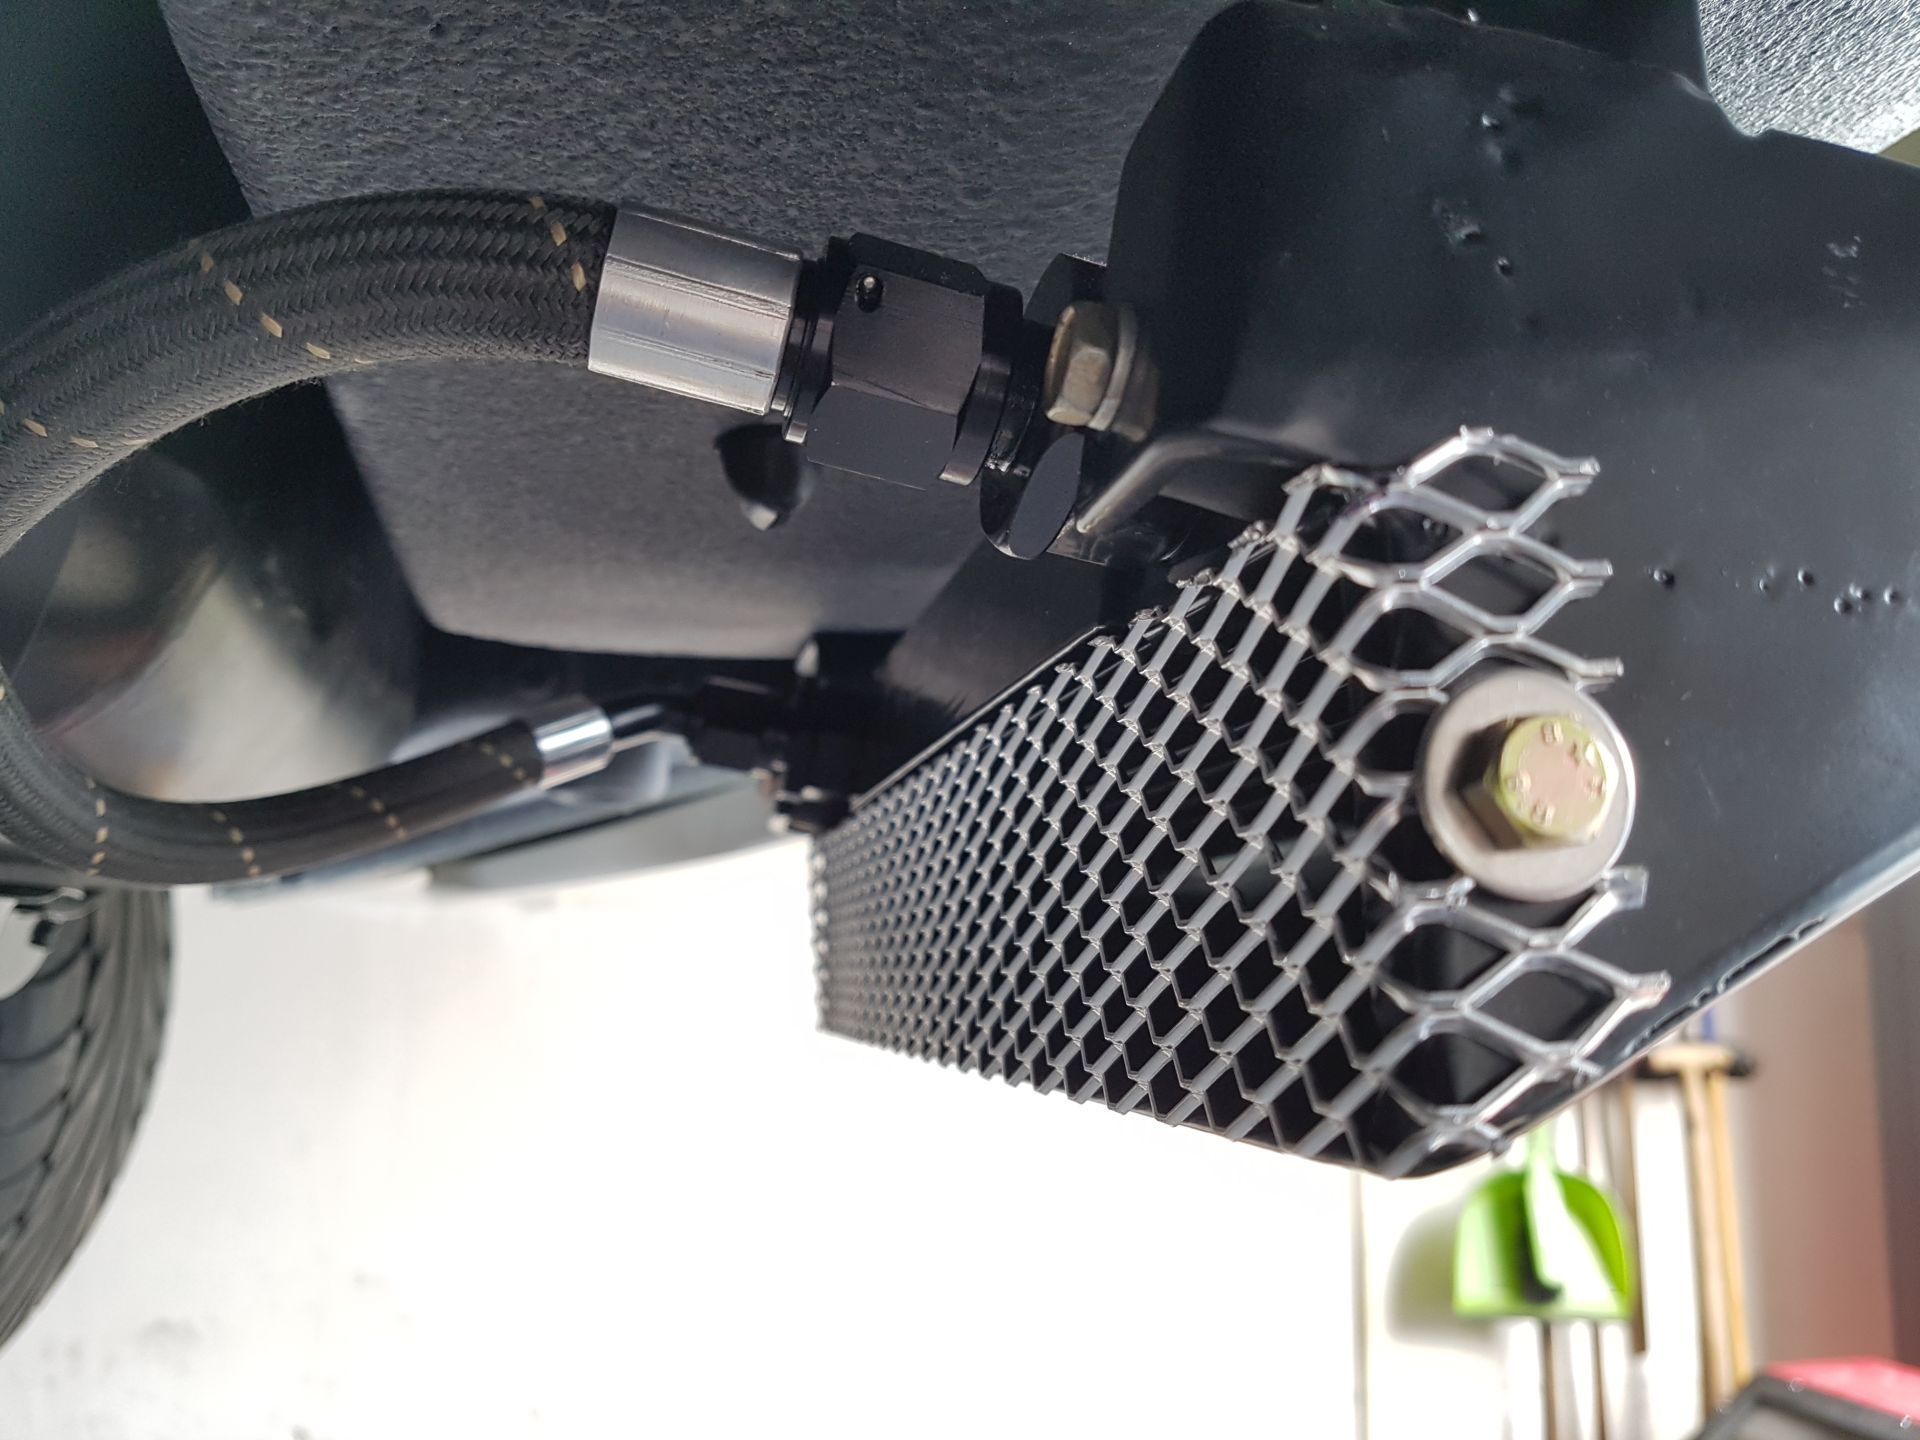
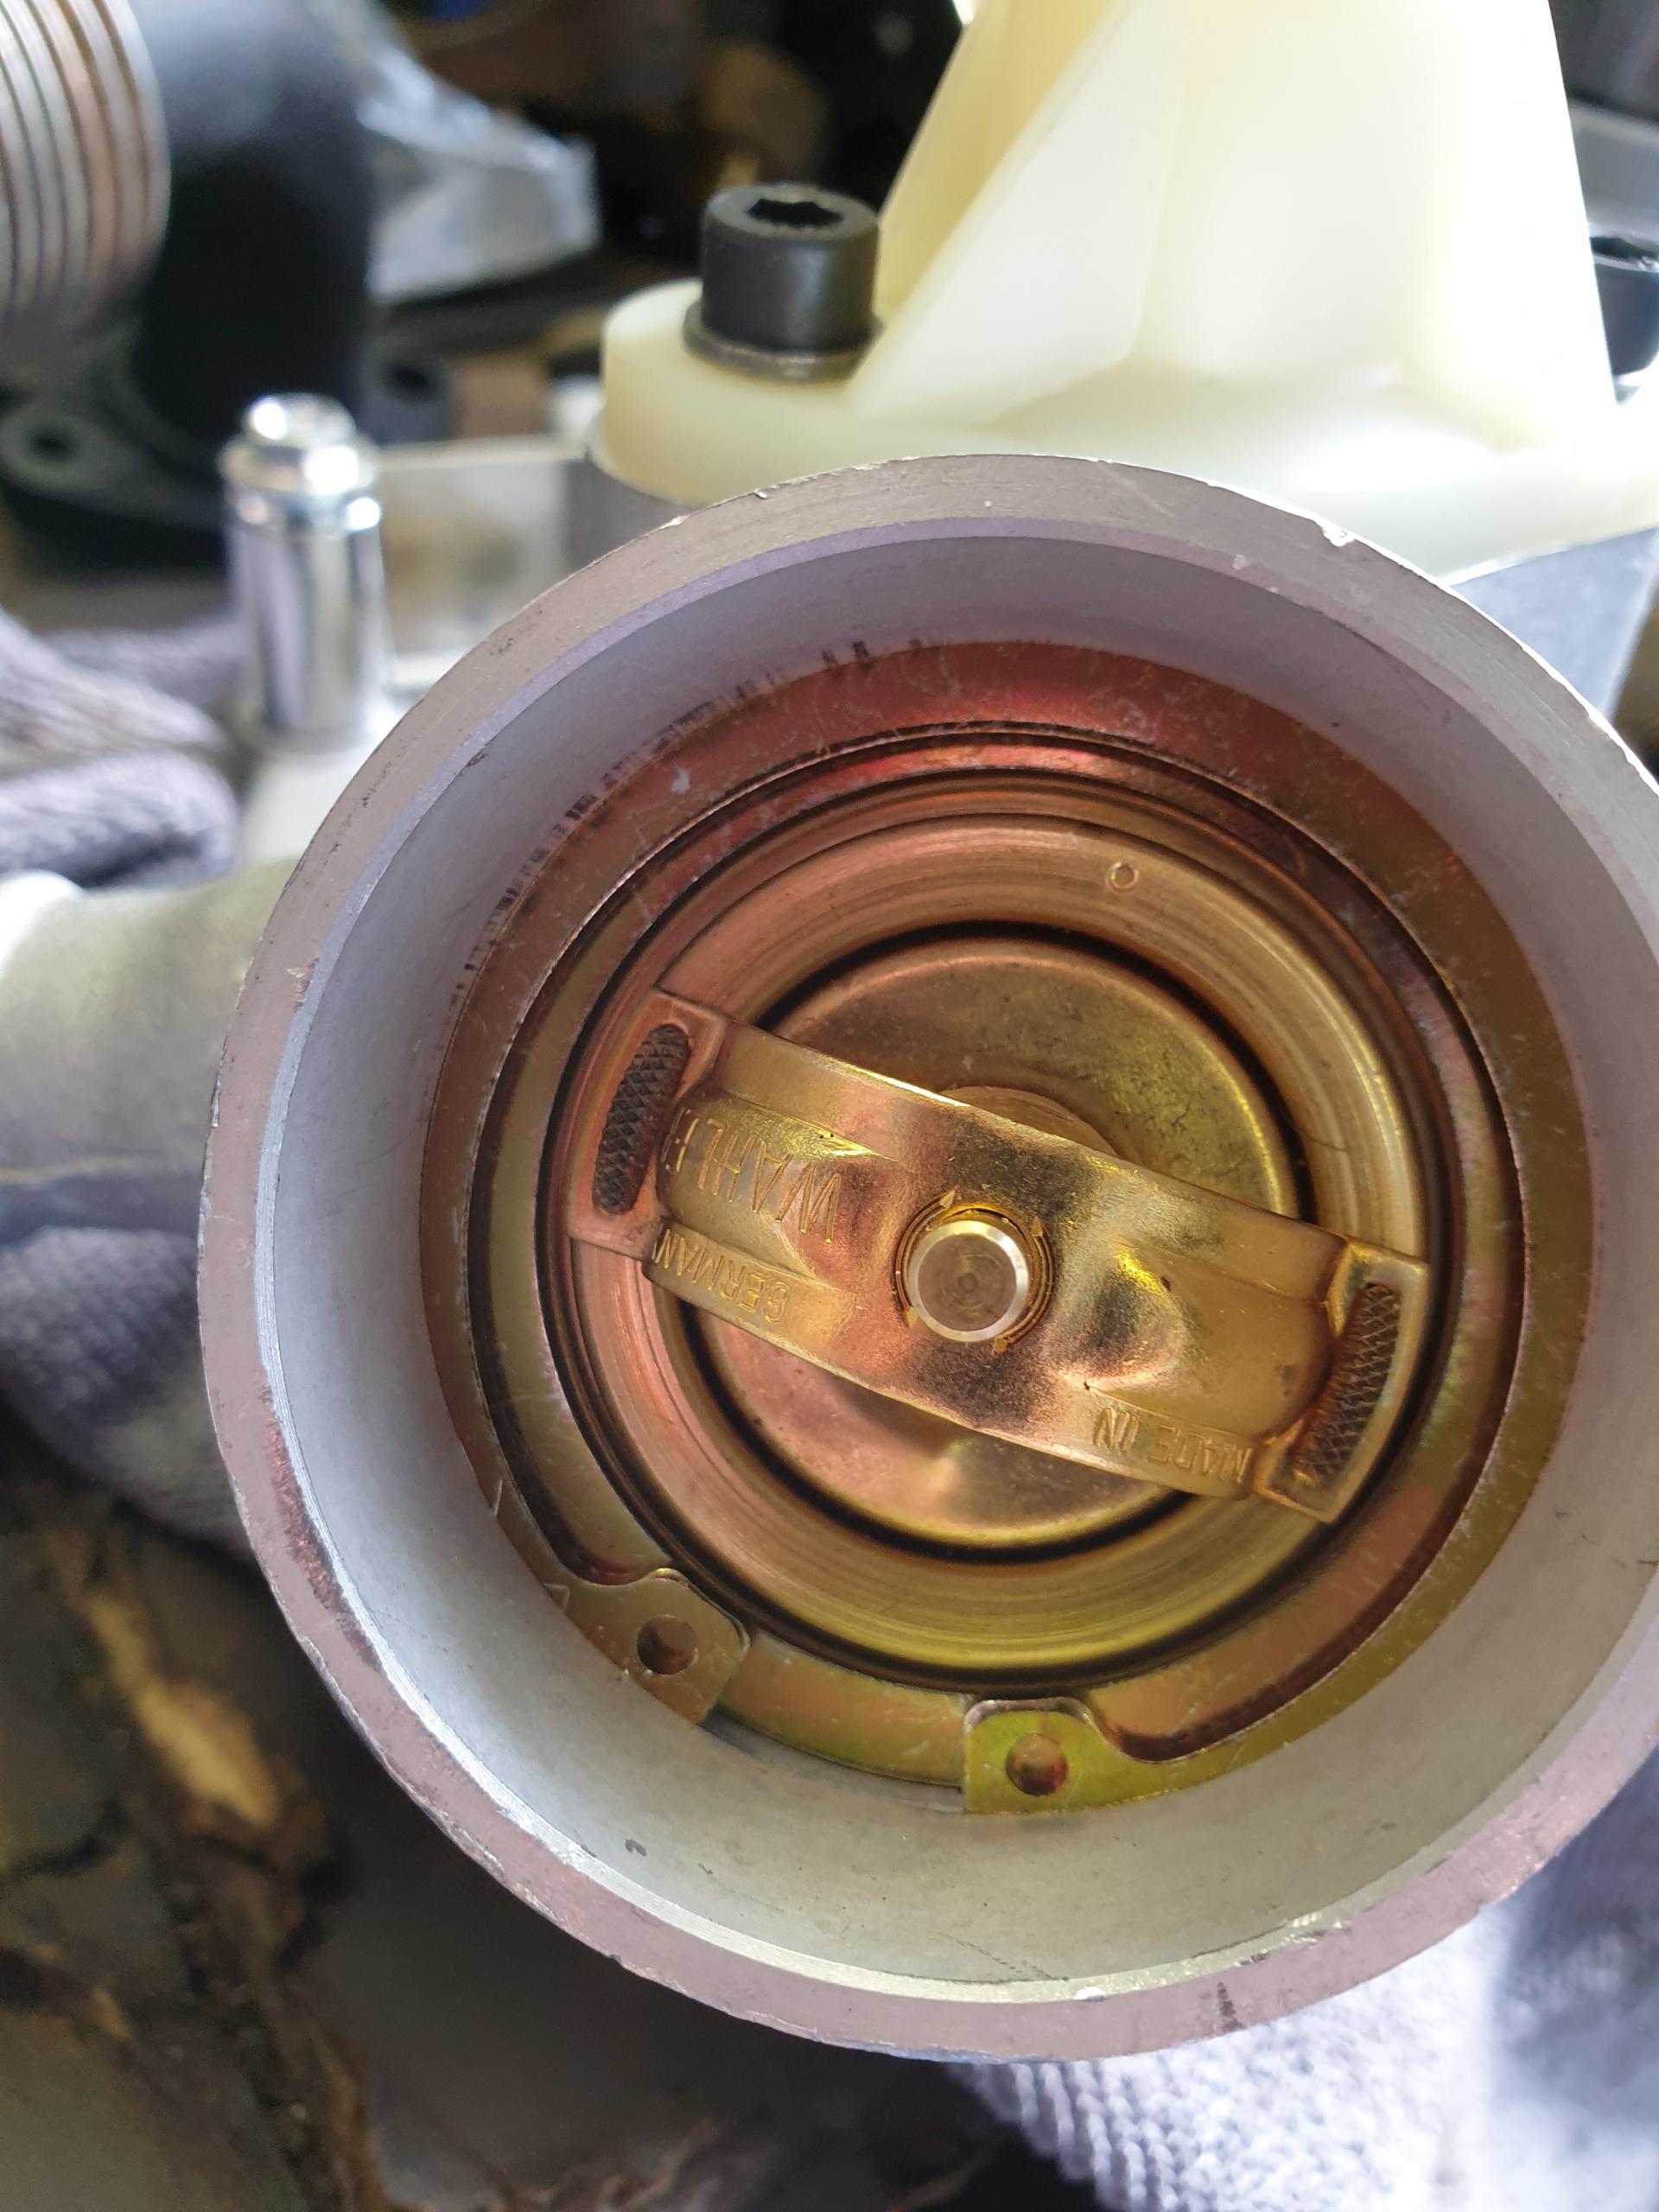
951 oil check valve vs. 944 oil check valve

 09-01-2019, 05:55 AM
#172
Pro
Thread Starter
 09-08-2019, 09:05 AM
#175
Pro
Thread Starter
09-08-2019, 09:17 AM
#176
Pro
Thread Starter
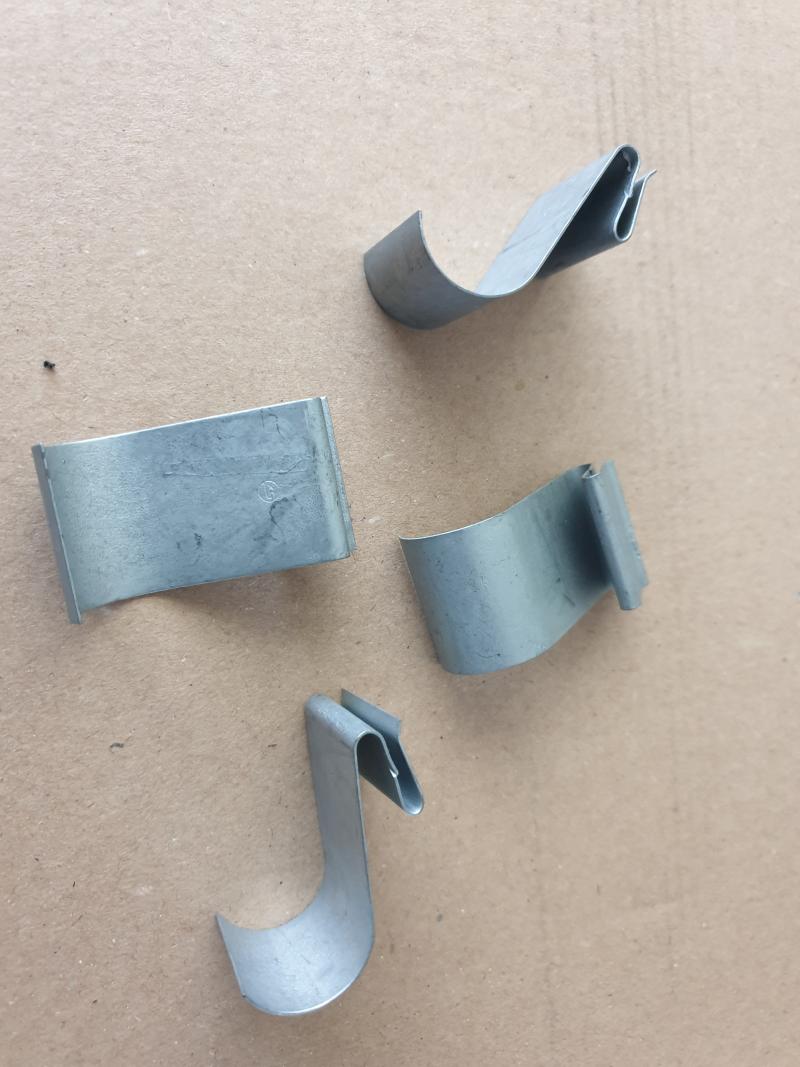
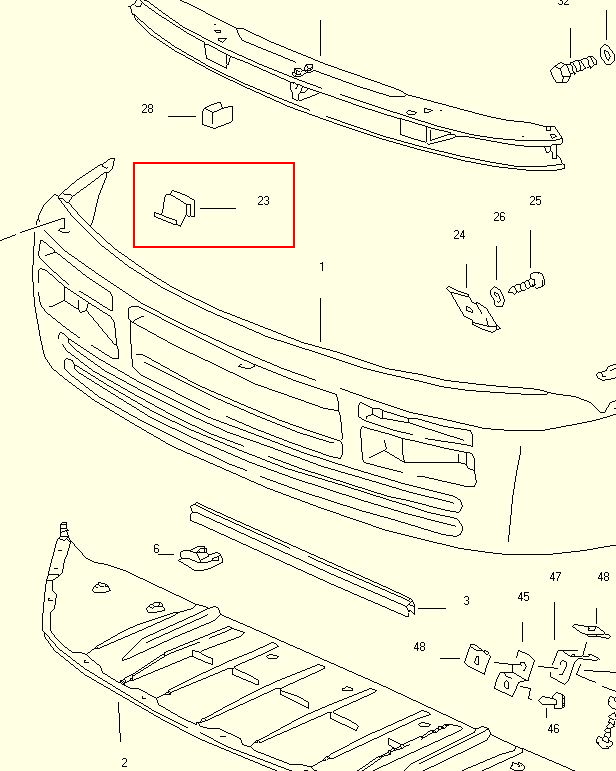
Ah, I don’t need to take the bumper off. The clamps are for the water hose for the headlight washer system. Which I don’t have! :-)
https://cdn4.pelicanparts.com/techar...mall/pic07.jpg
Ignore the arrows in the oicture. The clamps are at the top of the bumper.
https://cdn4.pelicanparts.com/techar...mall/pic07.jpg
Ignore the arrows in the oicture. The clamps are at the top of the bumper.
10-04-2019, 04:49 AM
#178
Pro
Thread Starter
The (stock) engine build is coming along. I will try to post some pictures this weekend so y'all can point me out where I'm f'ing things up.
I have wired in the Zeitronix ZT-2 and will be ordering a LCD display it. I was wondering if someone has managed to replace the stock O2 sensor signal with the narrow band outout signal from the Zeitronix. Will this work? Can I just replace the stock O2 sensor with a screw plug and leave the O2 connector in the harness disconnected?
I have wired in the Zeitronix ZT-2 and will be ordering a LCD display it. I was wondering if someone has managed to replace the stock O2 sensor signal with the narrow band outout signal from the Zeitronix. Will this work? Can I just replace the stock O2 sensor with a screw plug and leave the O2 connector in the harness disconnected?
10-04-2019, 05:32 AM
#179
Rennlist Member
The (stock) engine build is coming along. I will try to post some pictures this weekend so y'all can point me out where I'm f'ing things up.
I have wired in the Zeitronix ZT-2 and will be ordering a LCD display it. I was wondering if someone has managed to replace the stock O2 sensor signal with the narrow band outout signal from the Zeitronix. Will this work? Can I just replace the stock O2 sensor with a screw plug and leave the O2 connector in the harness disconnected?
I have wired in the Zeitronix ZT-2 and will be ordering a LCD display it. I was wondering if someone has managed to replace the stock O2 sensor signal with the narrow band outout signal from the Zeitronix. Will this work? Can I just replace the stock O2 sensor with a screw plug and leave the O2 connector in the harness disconnected?
 10-04-2019, 12:38 PM
#180
Pro
Thread Starter
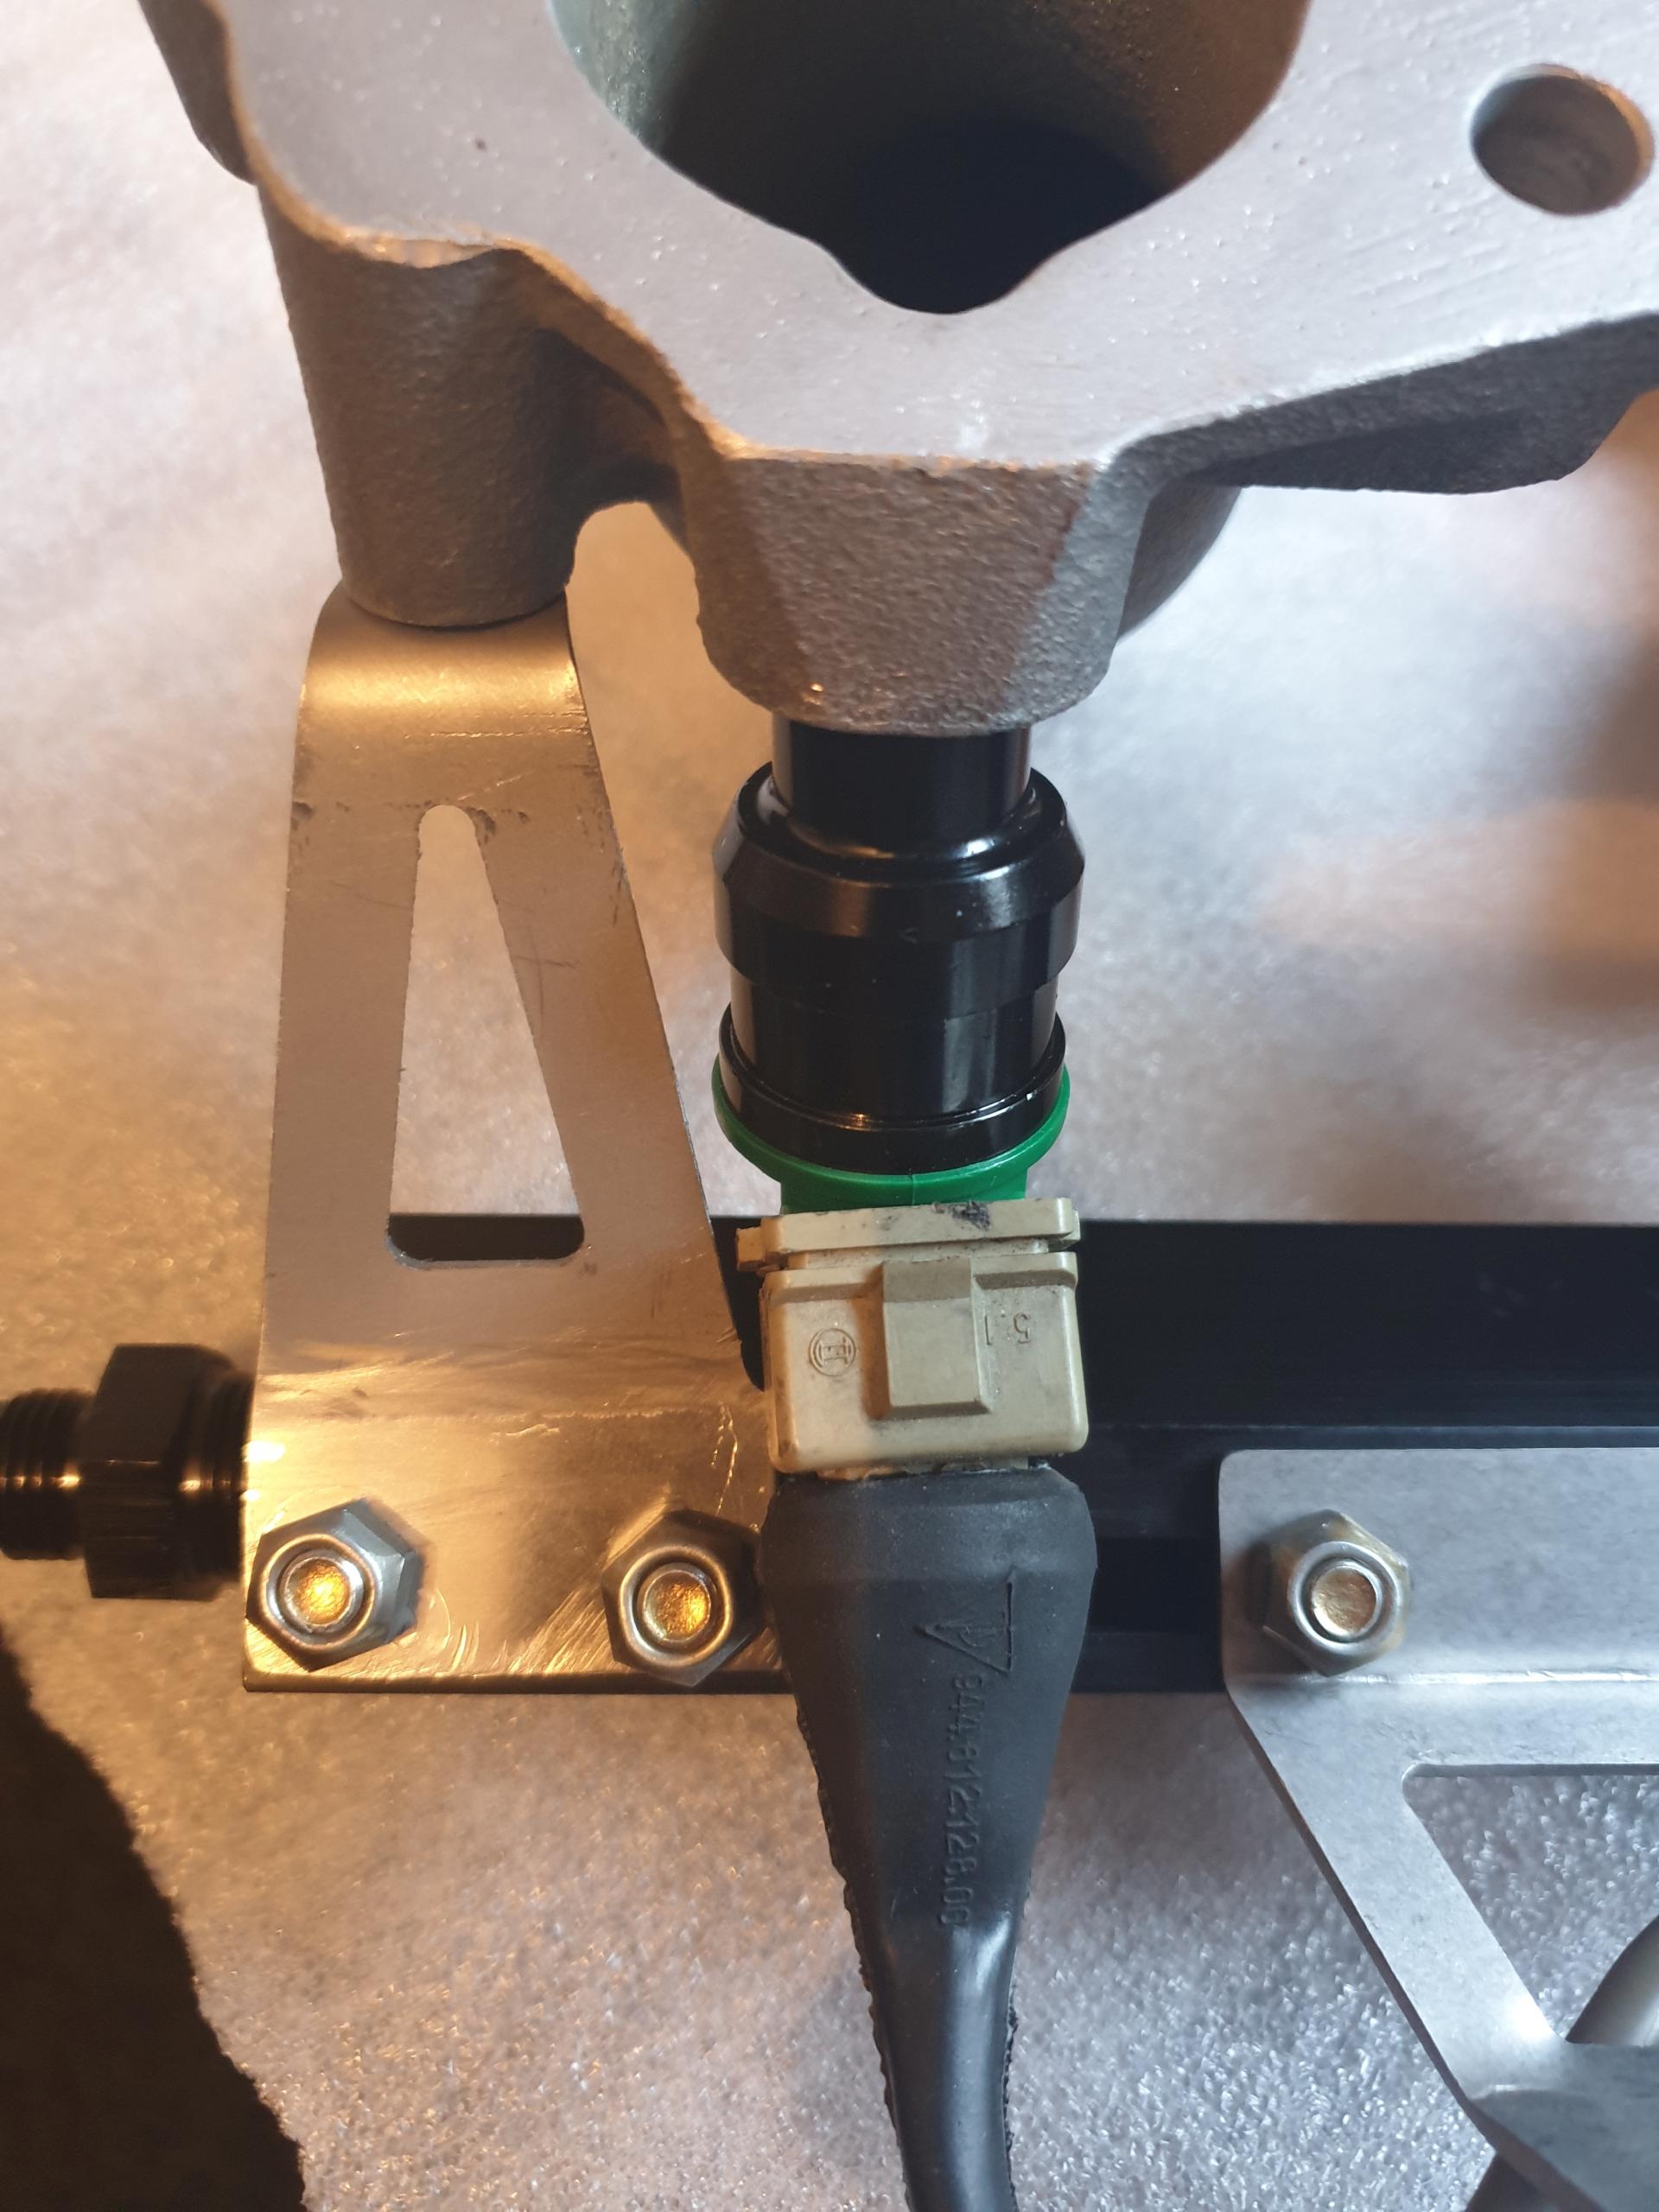
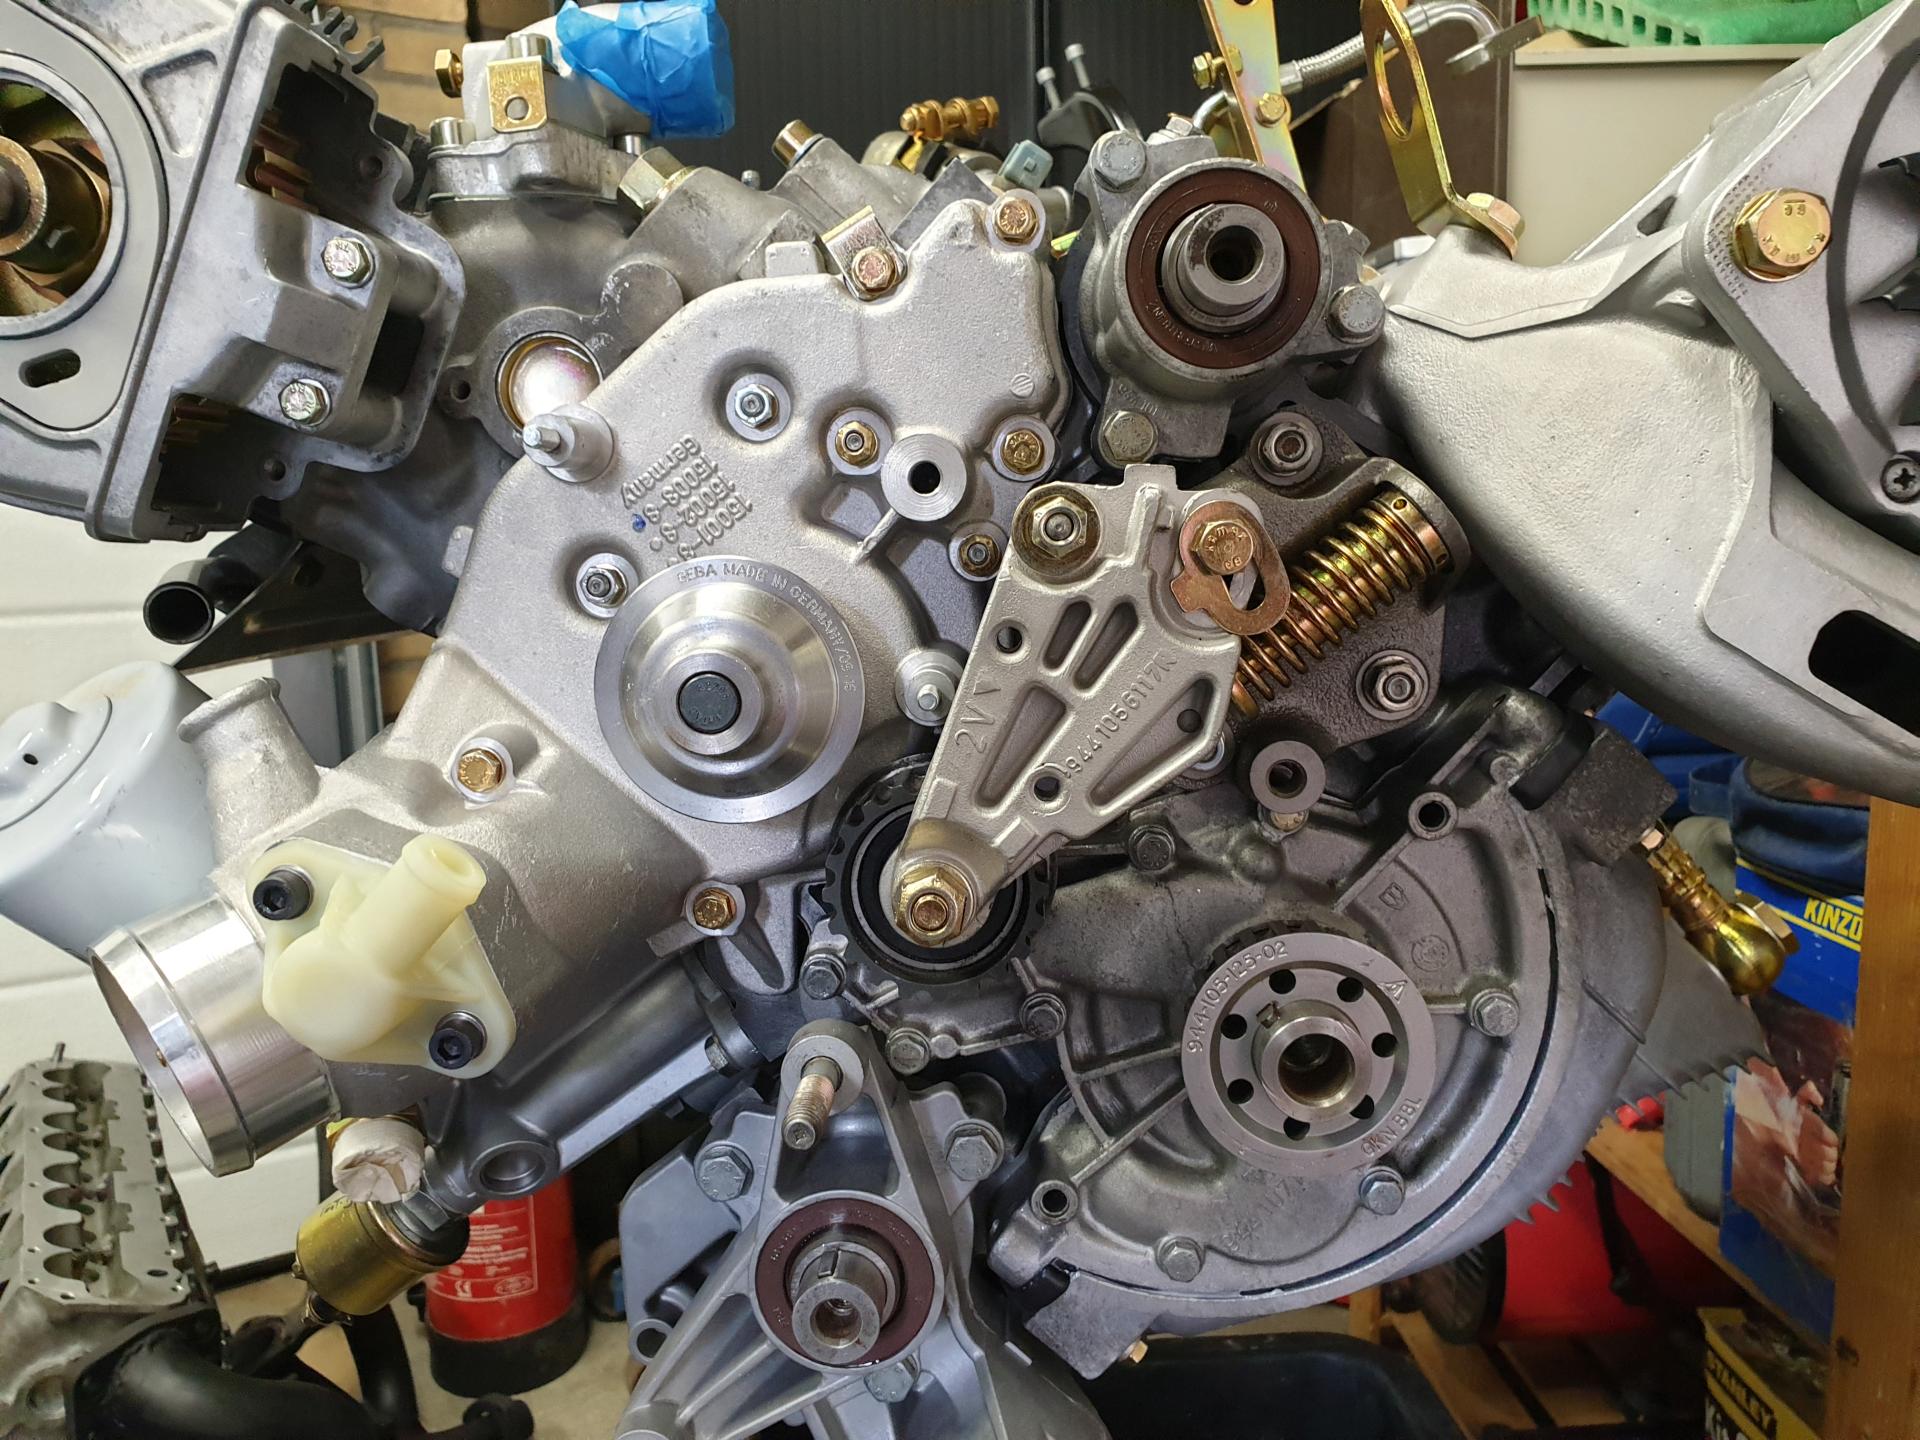
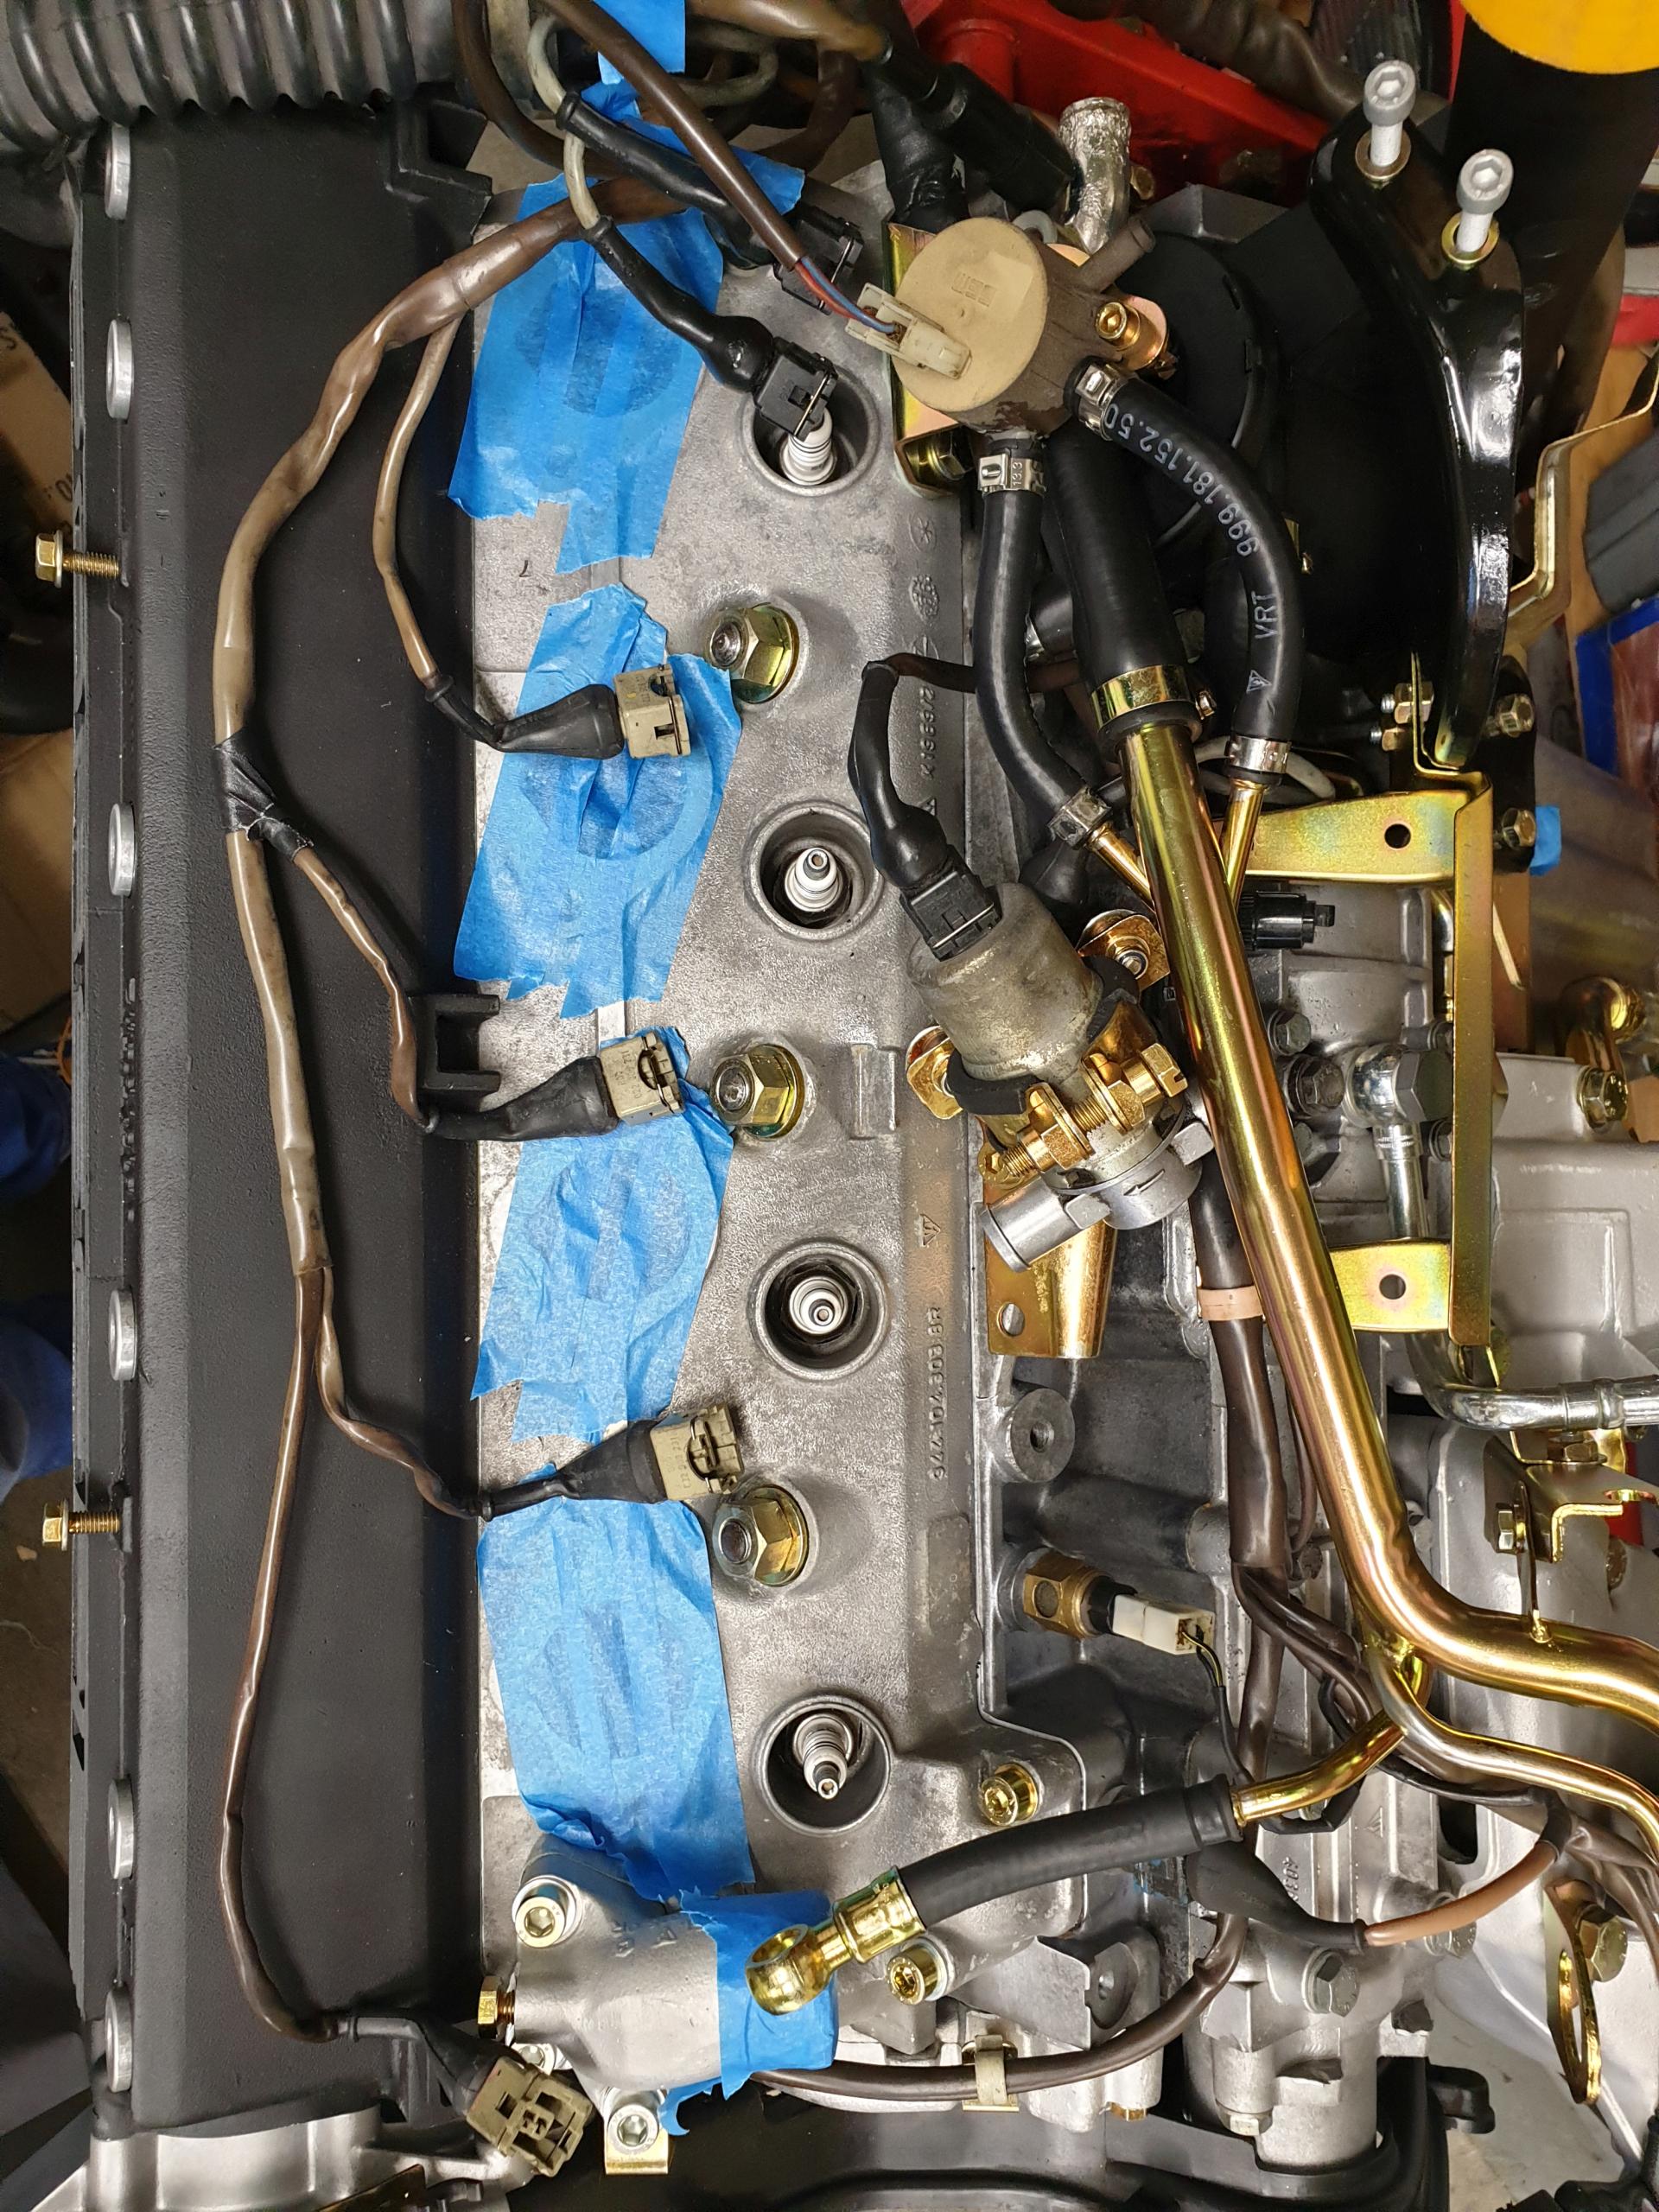
I don't like to be dictated on the way I should be wiring my injectors. The LR billet fuel rail bracket only allows me to connect the injecor wiring from the side where also the sparkplug wires are routed.
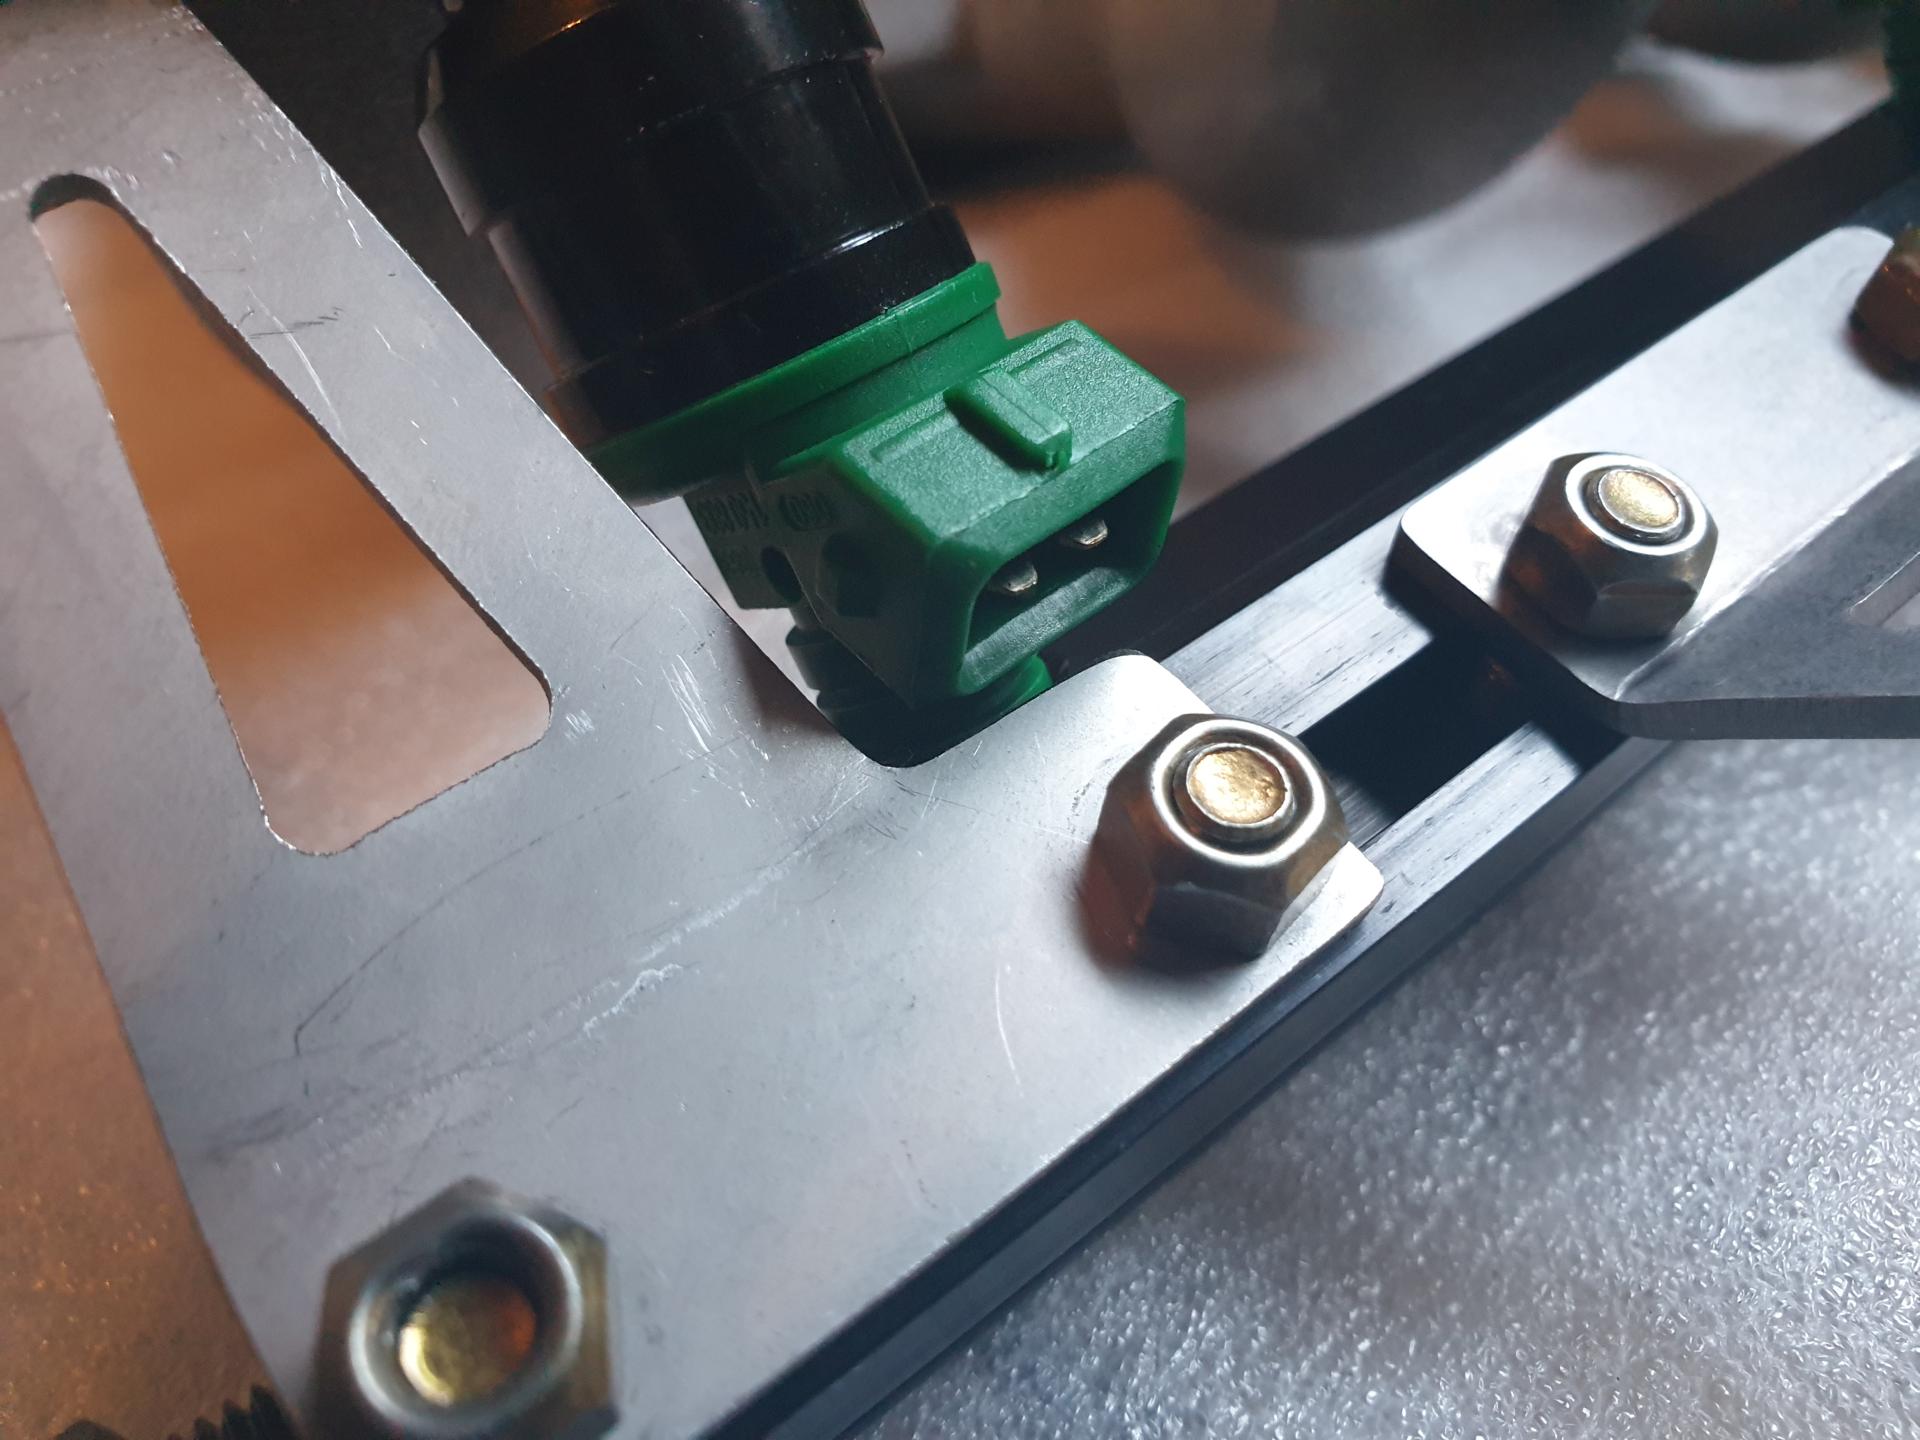
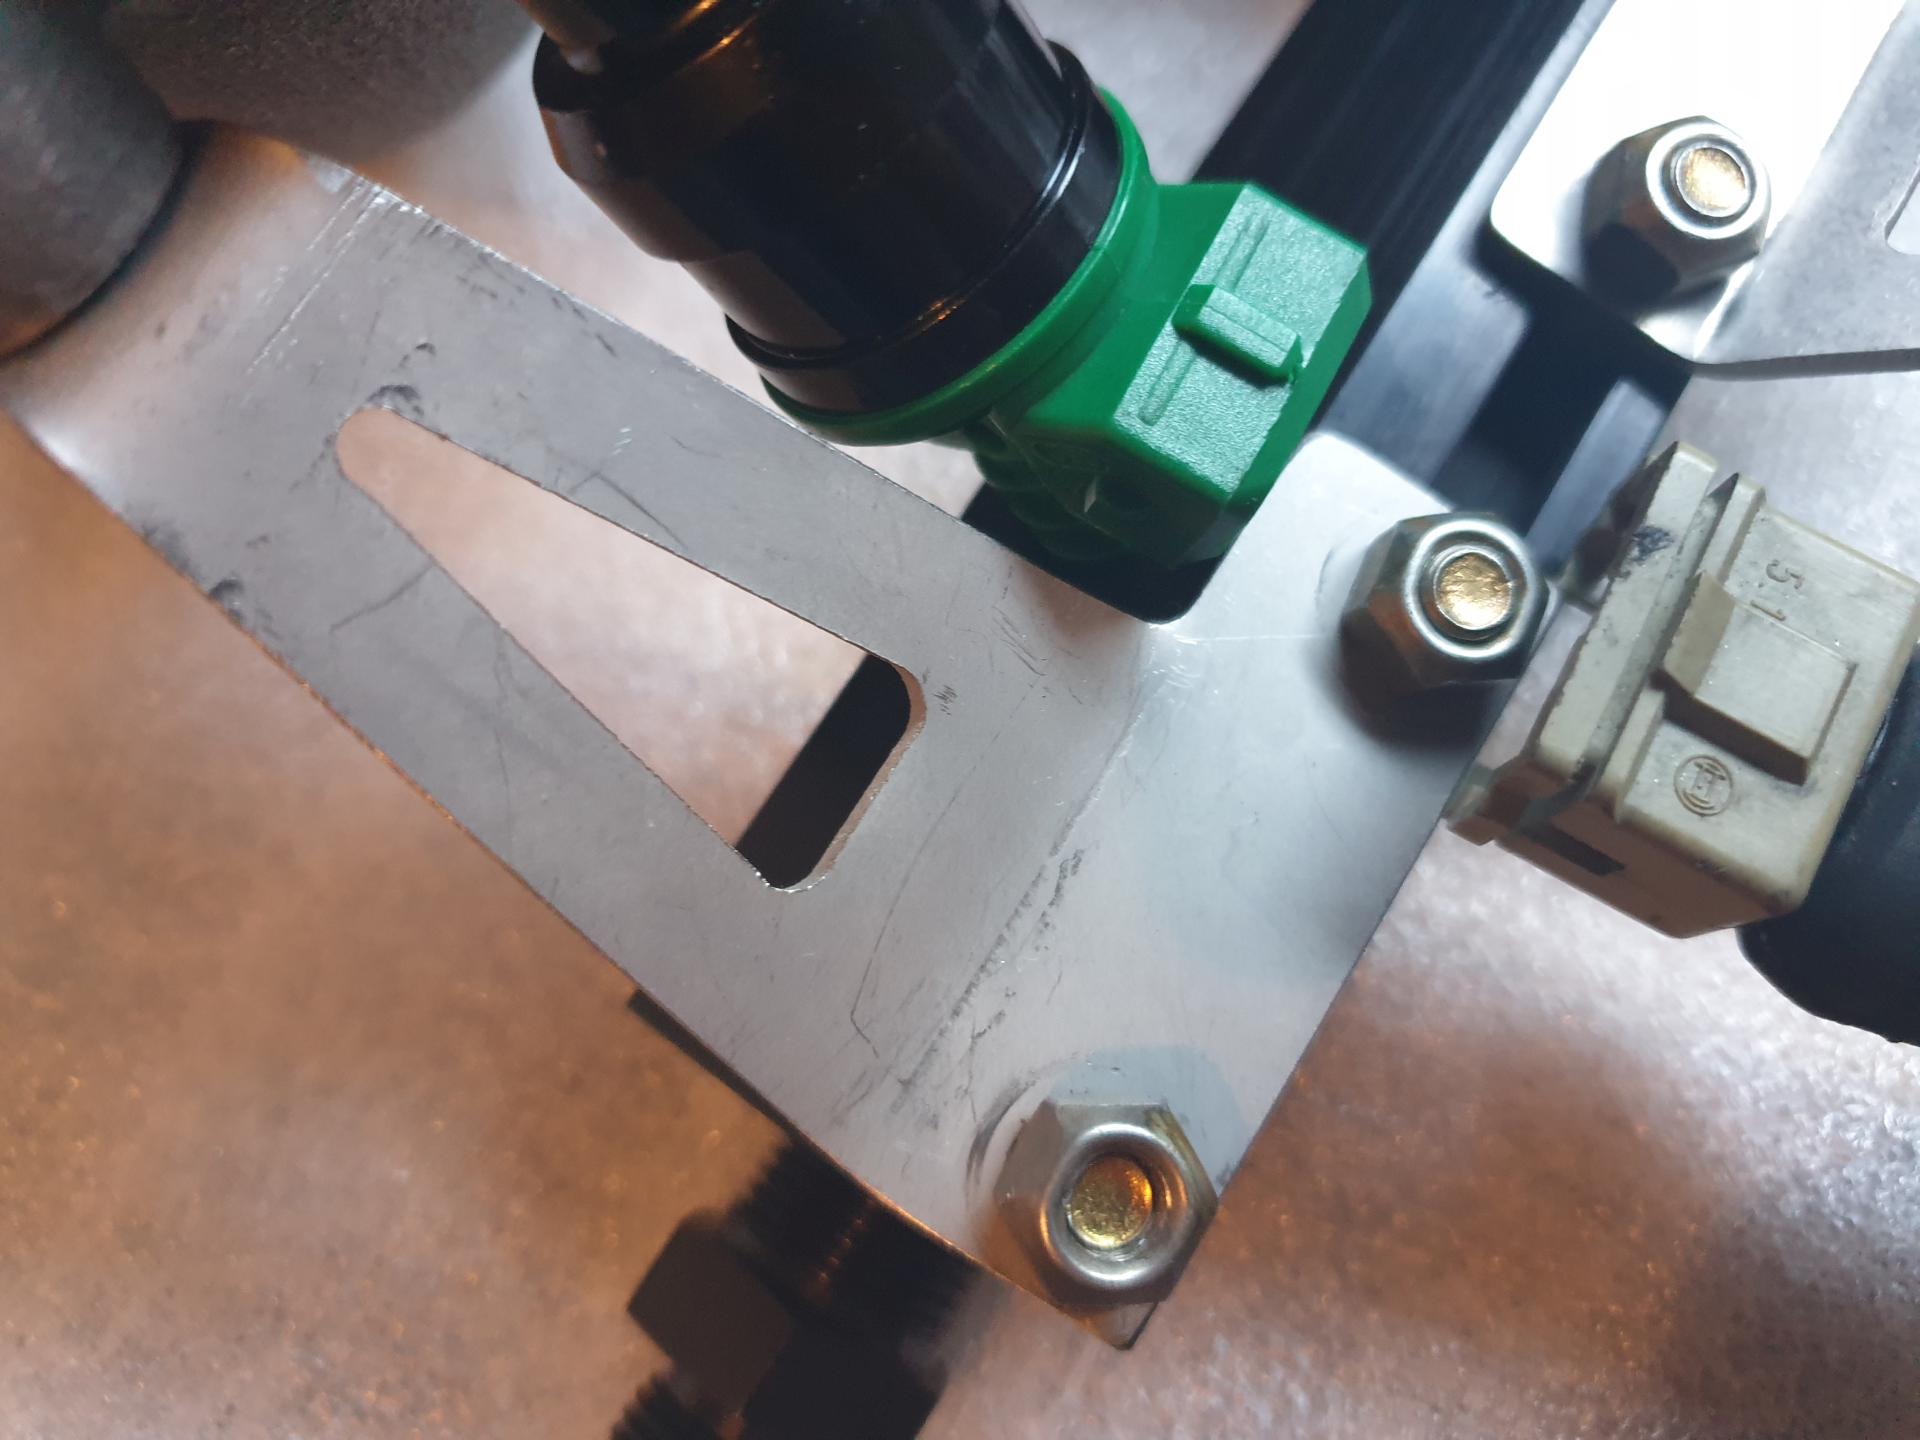
A small modification of the bracket did the trick.
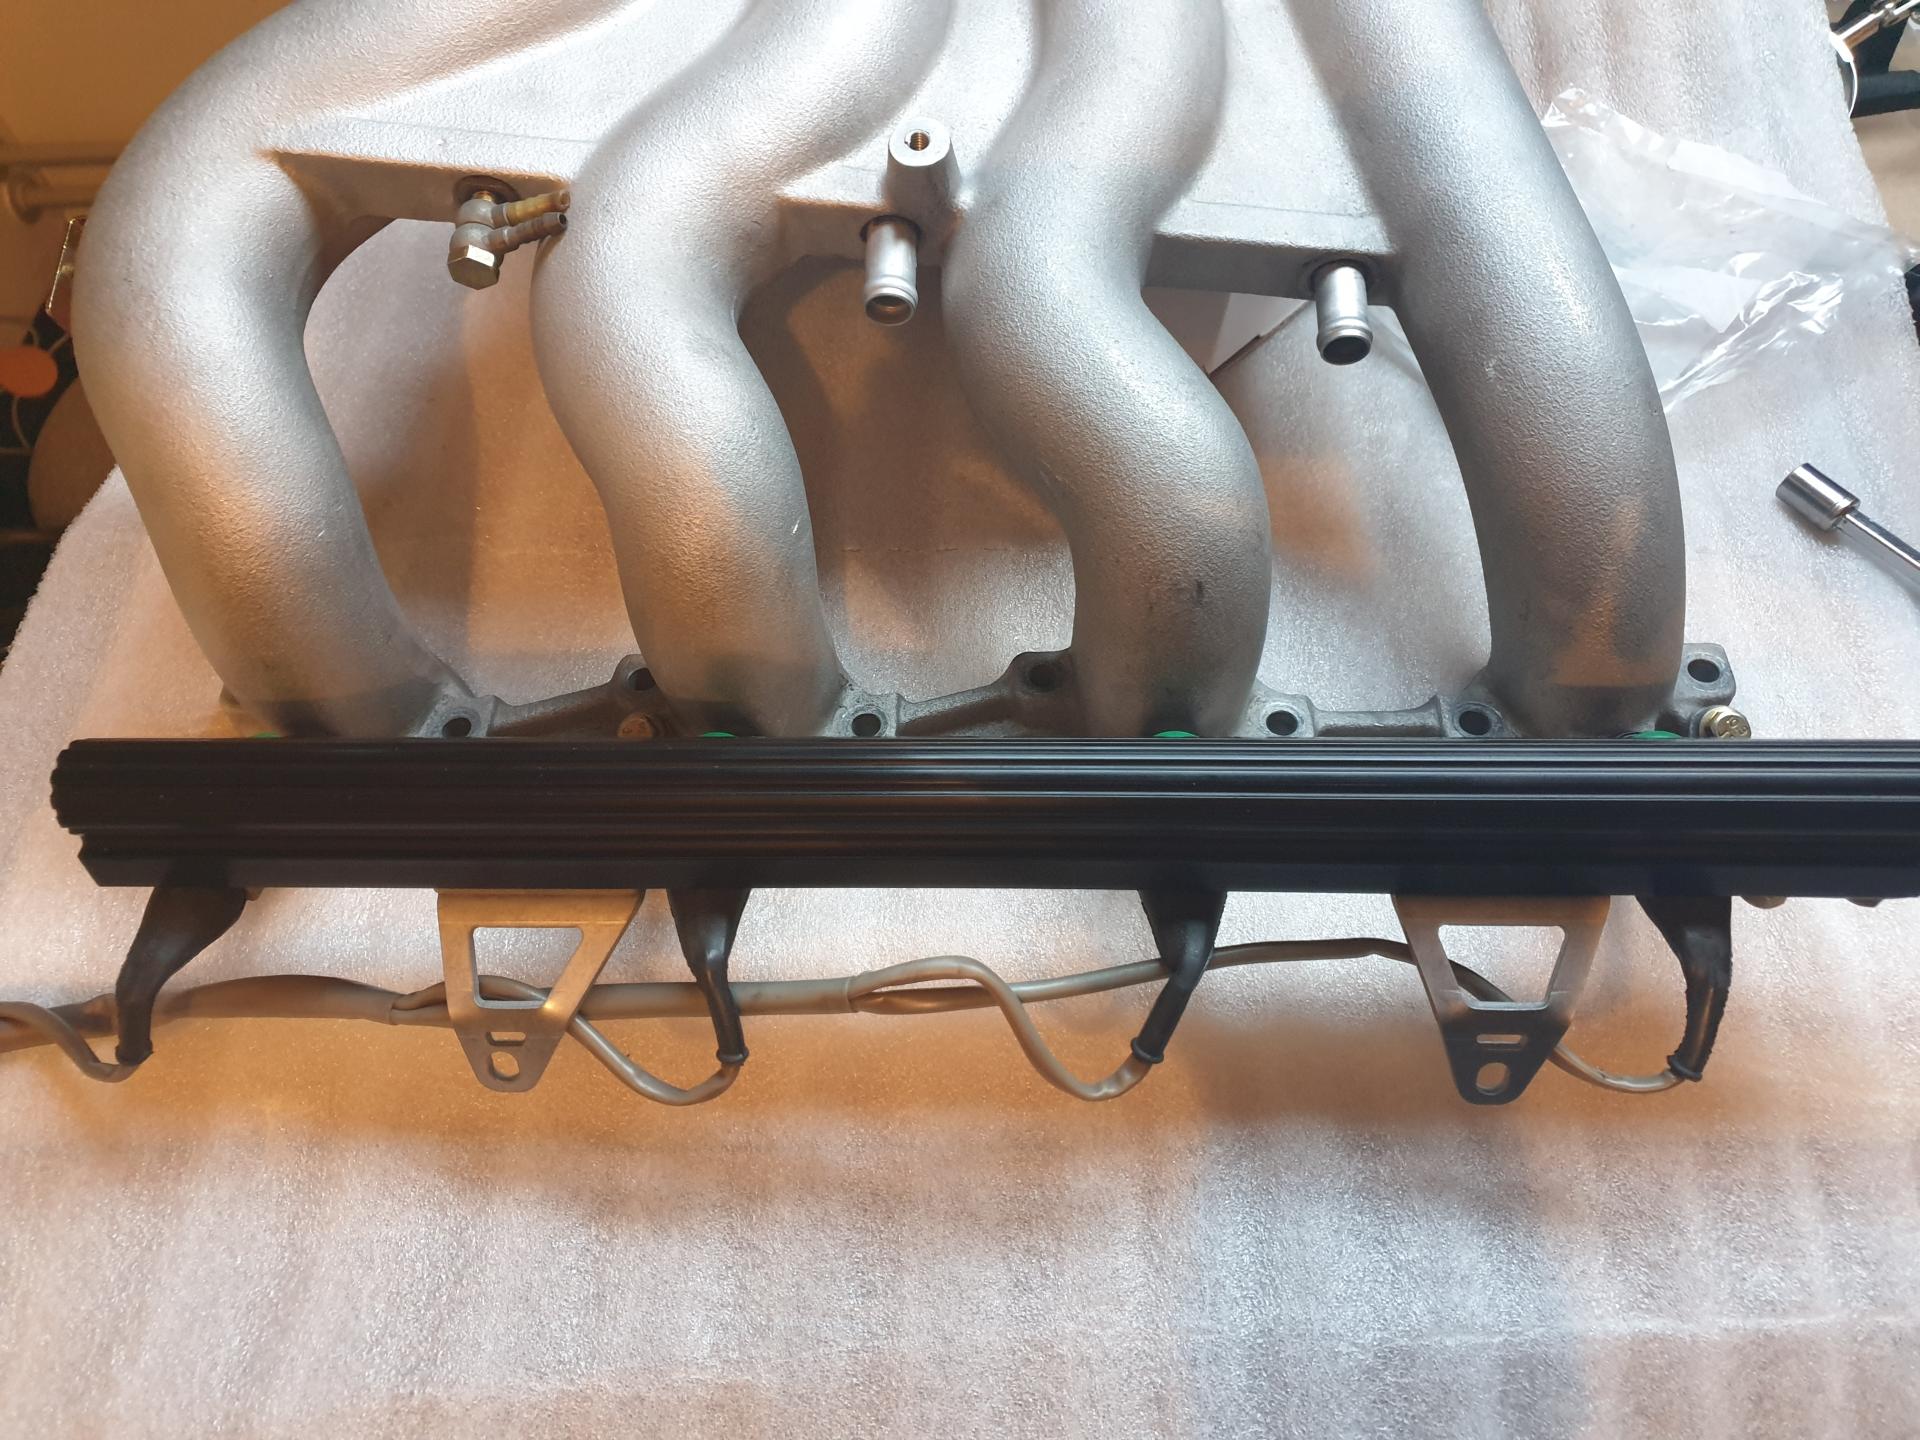
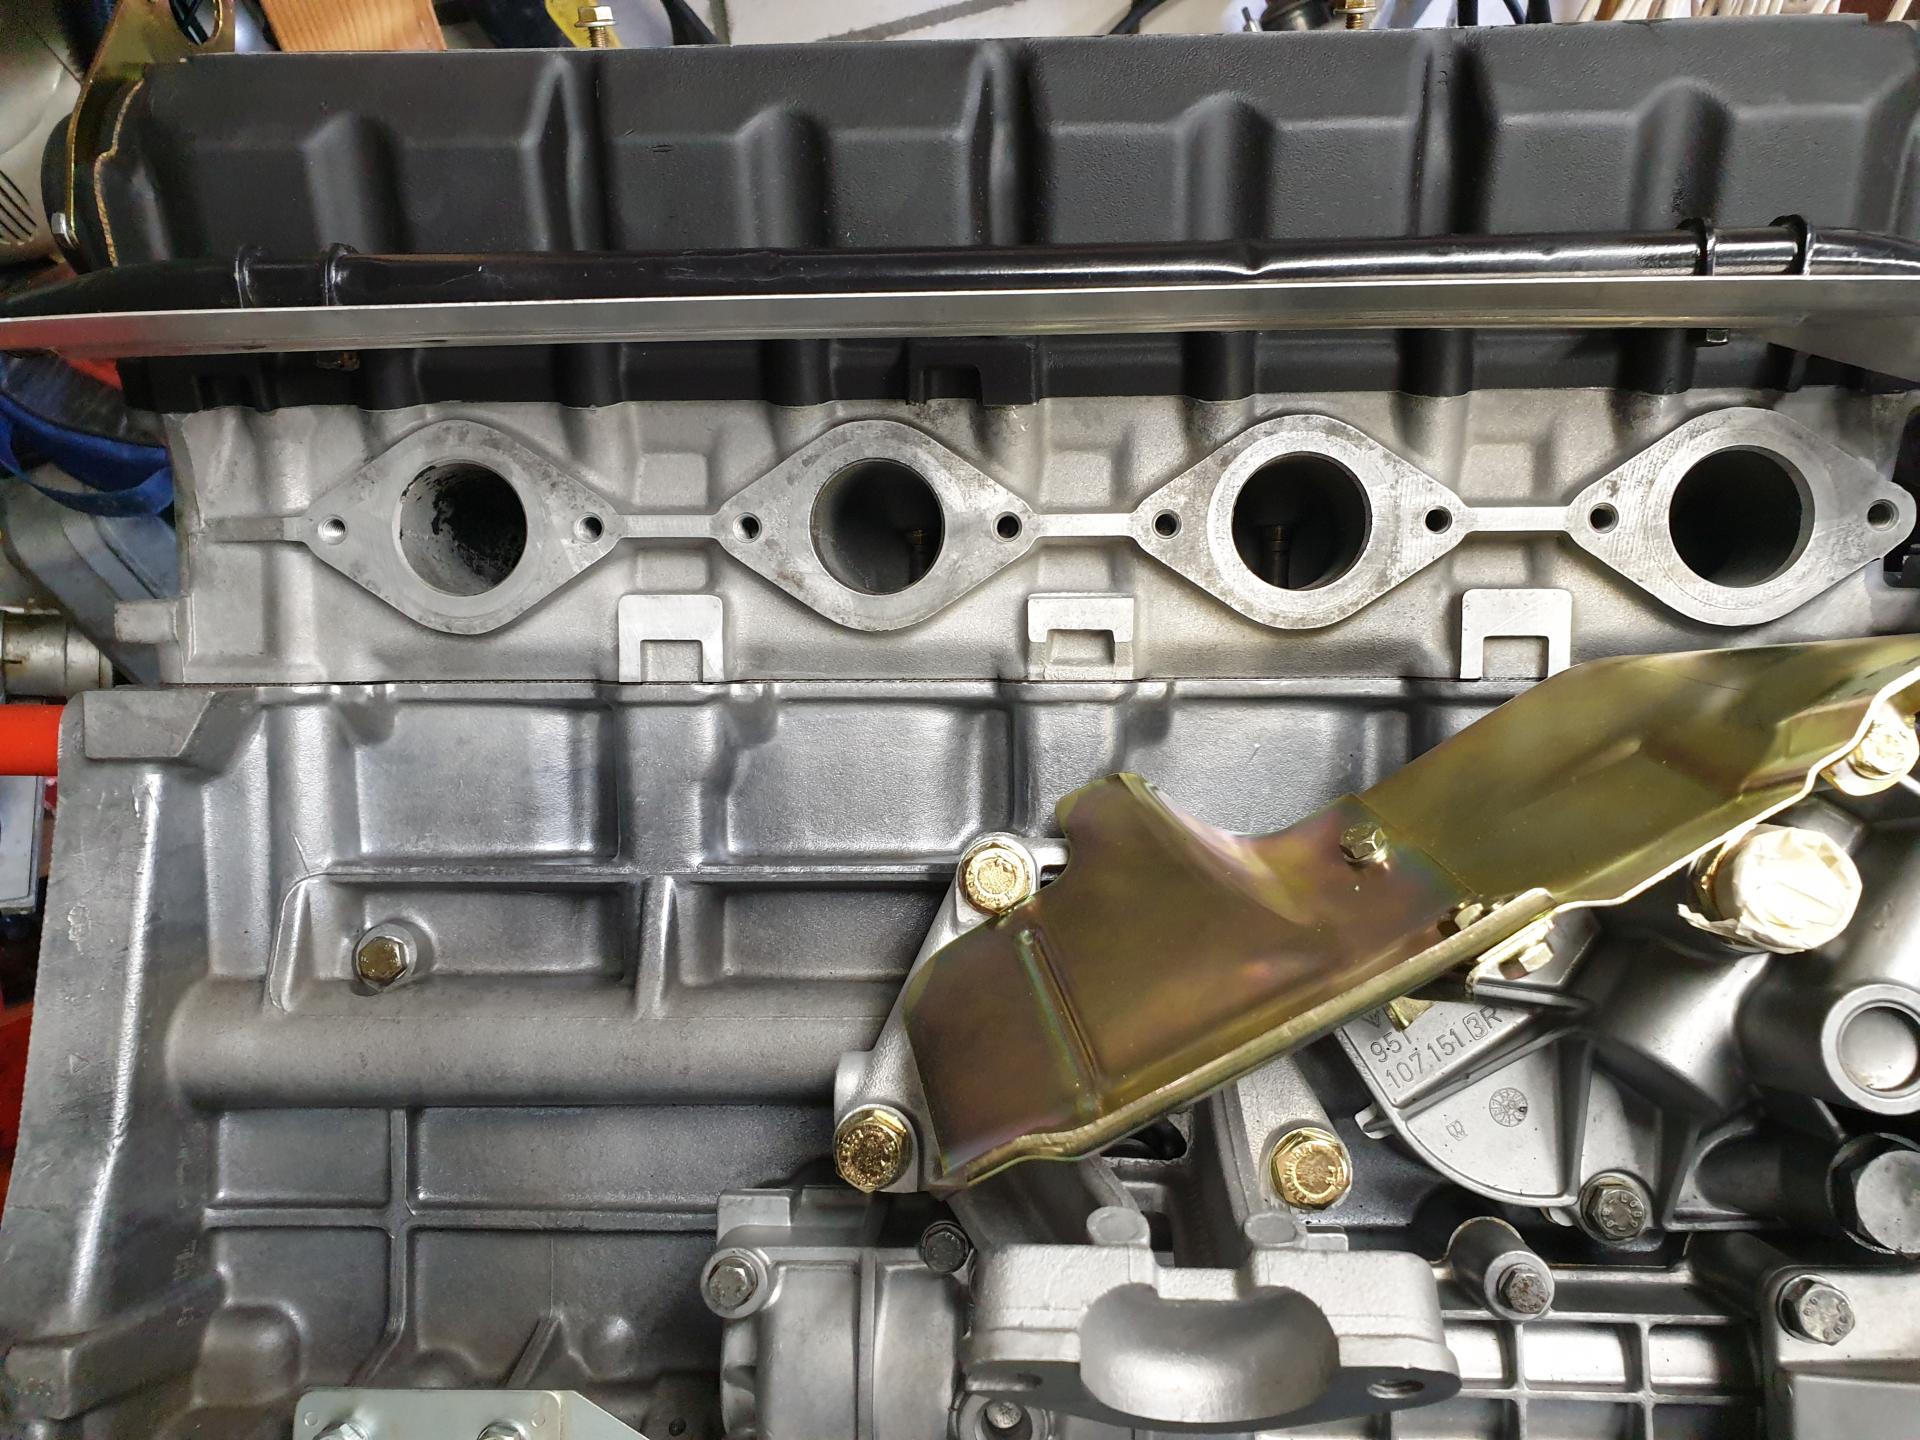
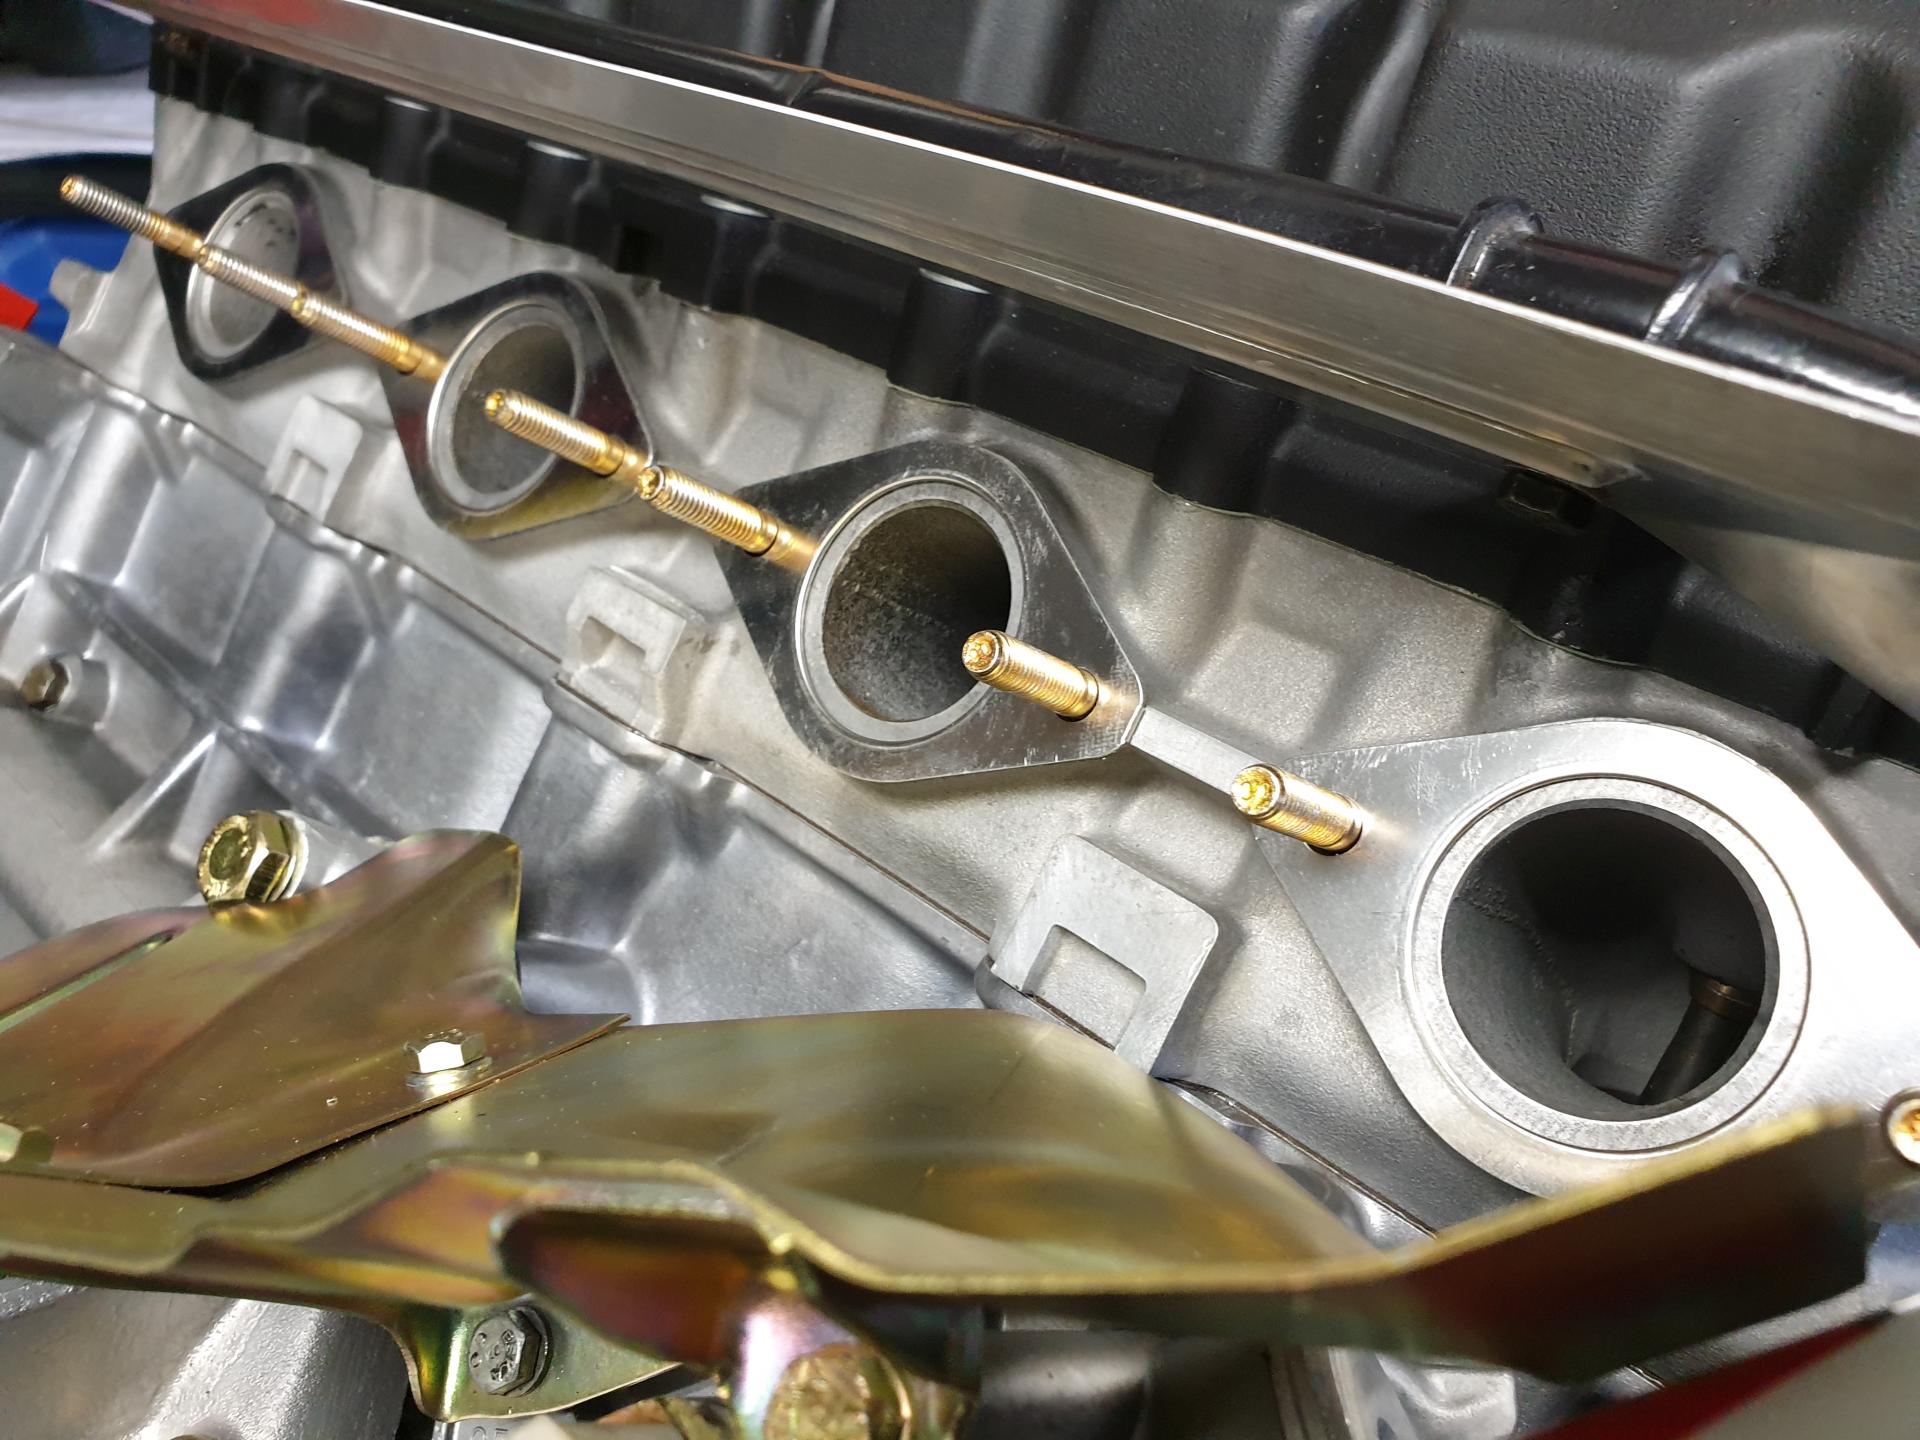
The stock NA head is on!
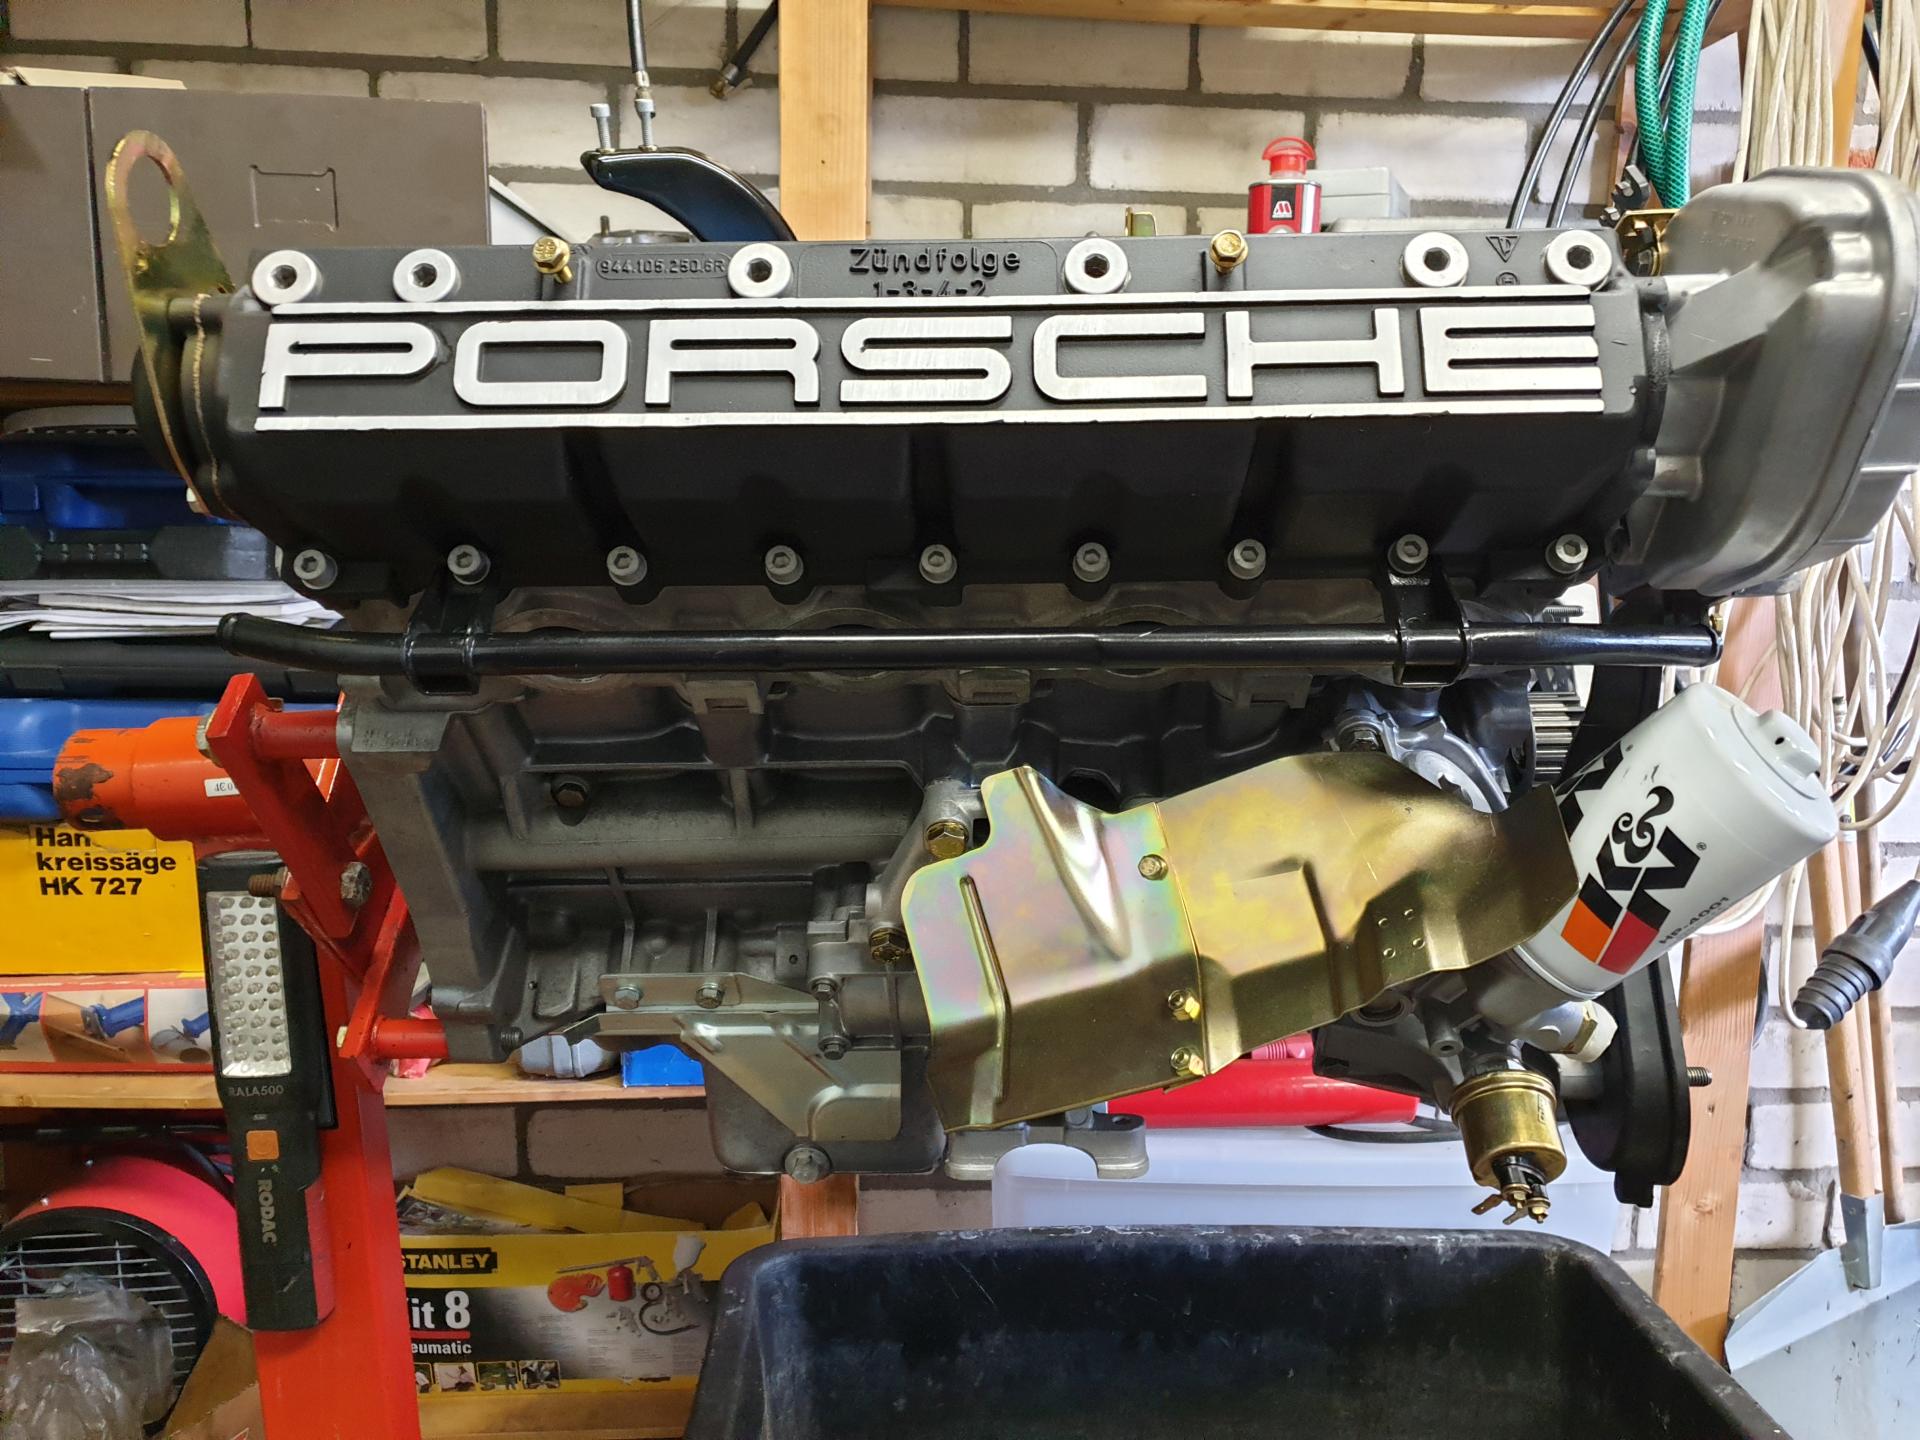

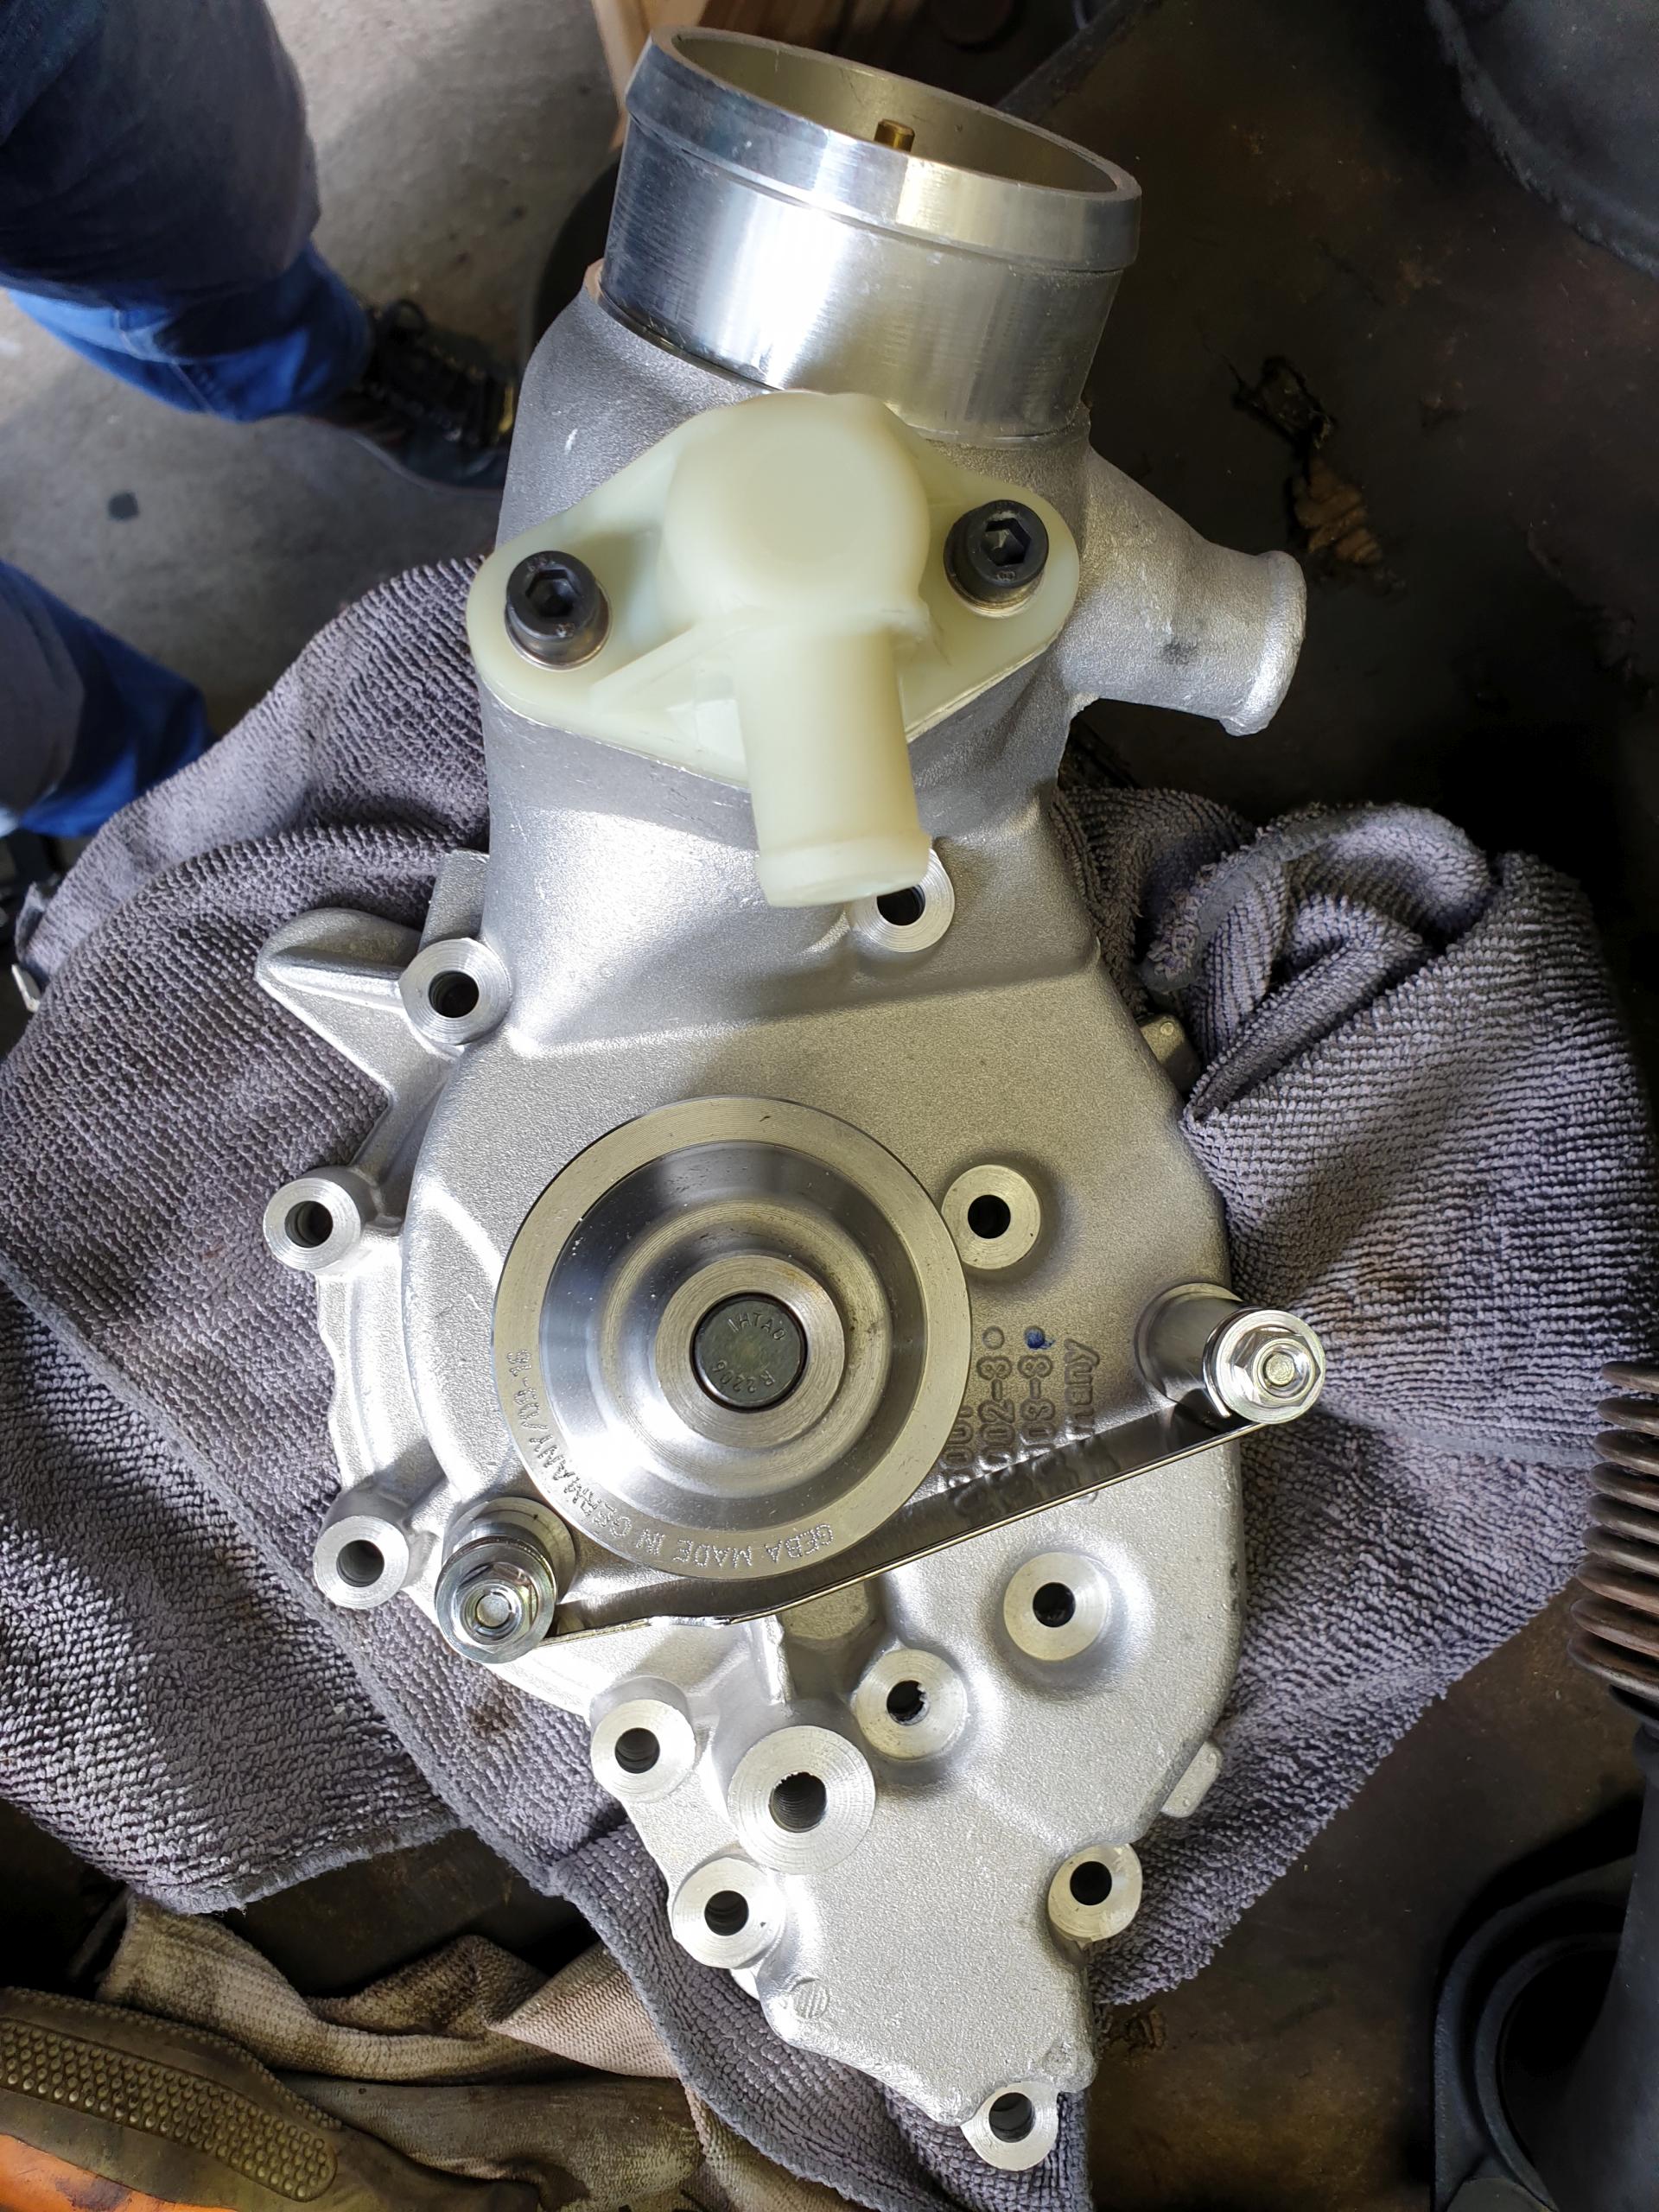
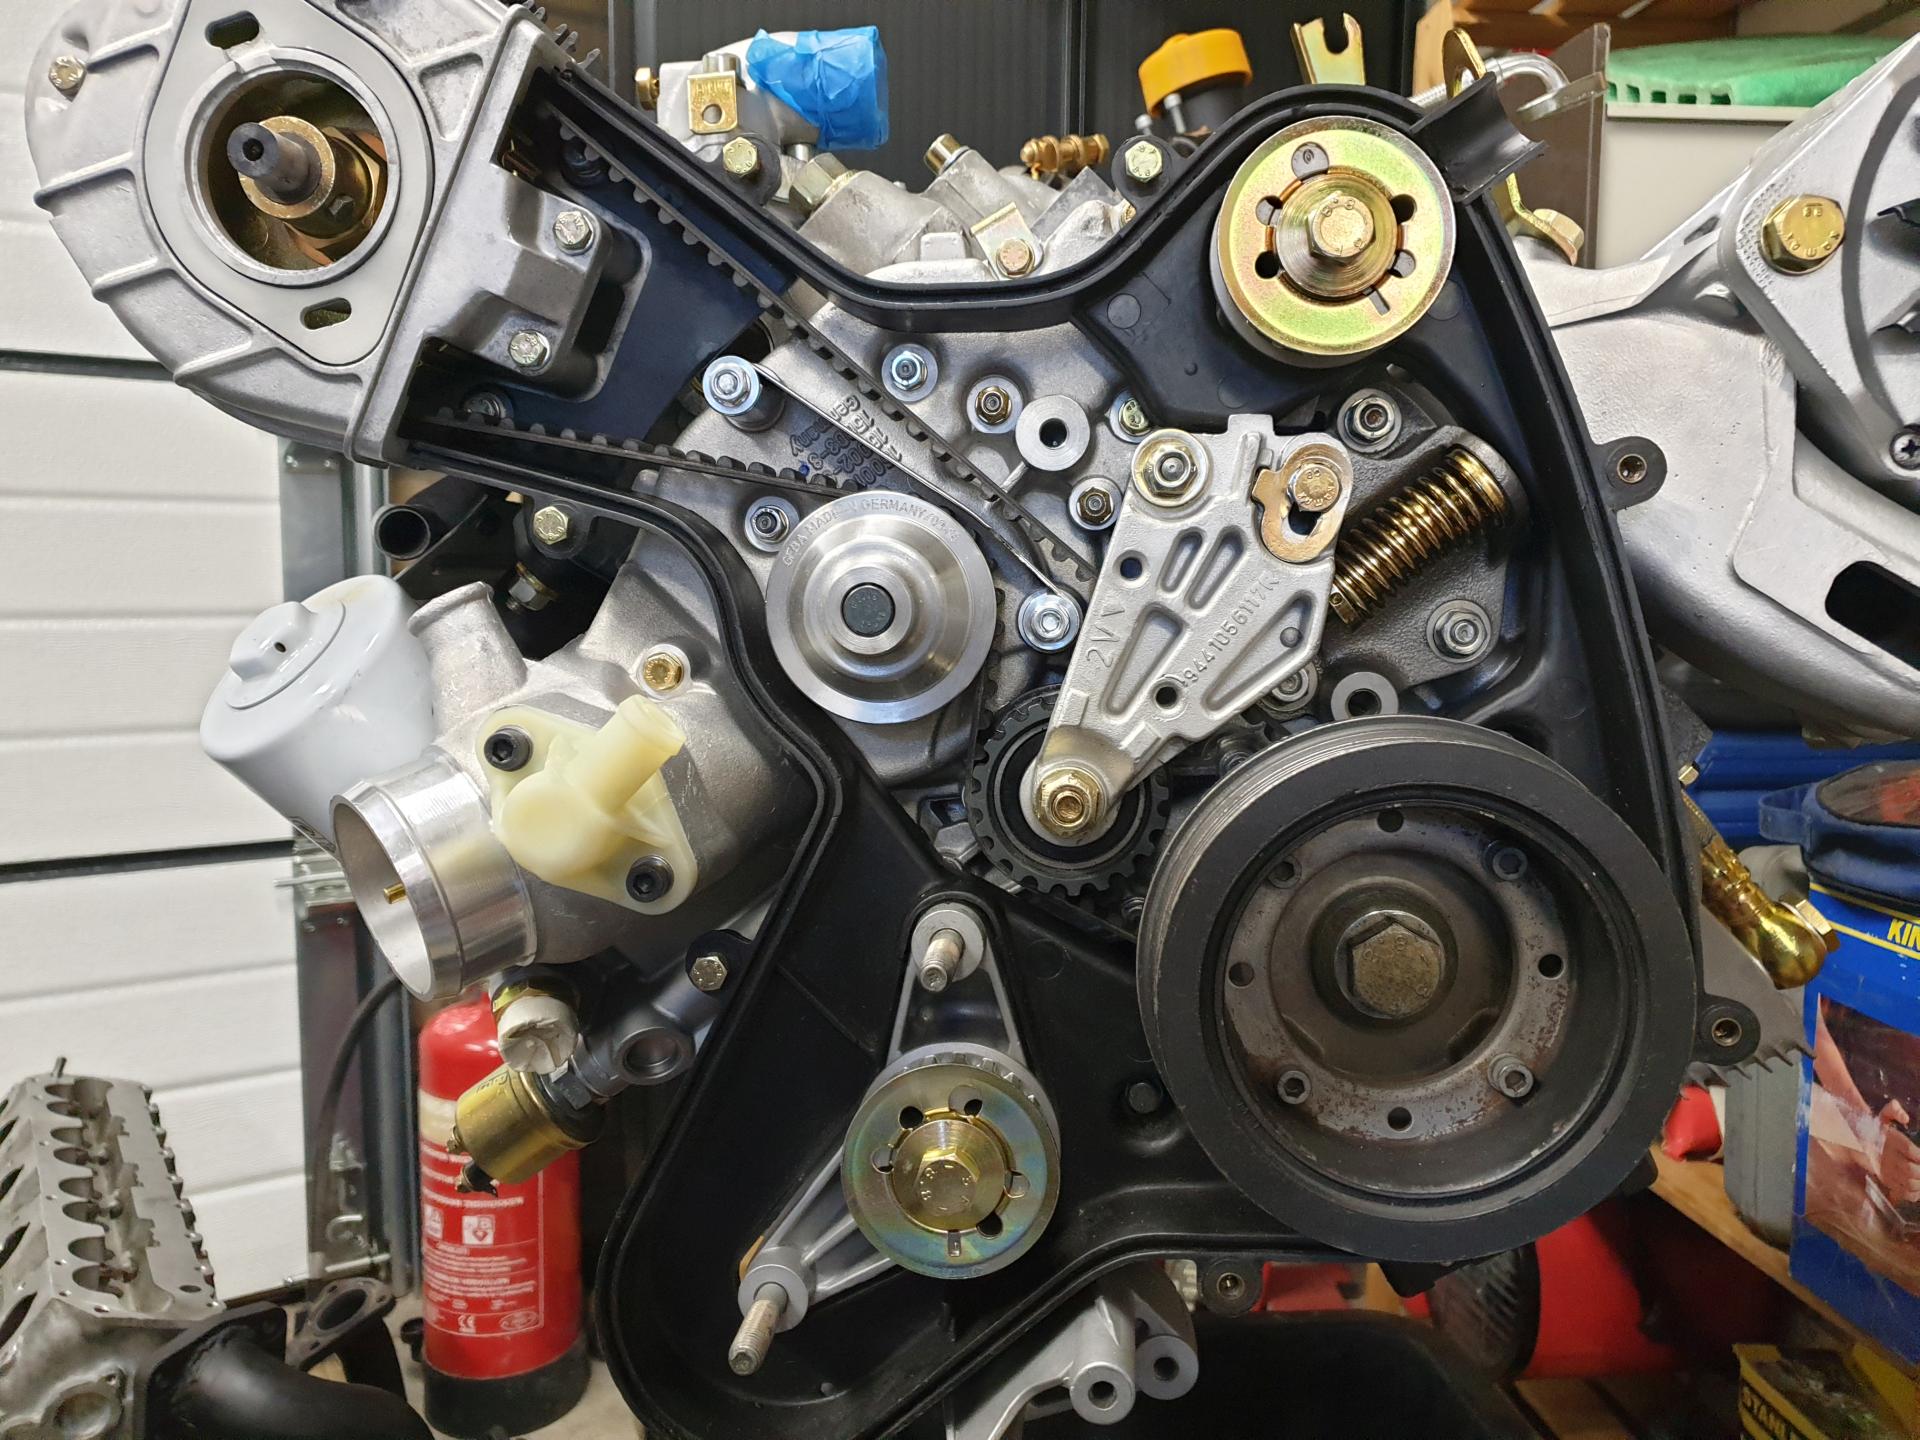
New waterpump.
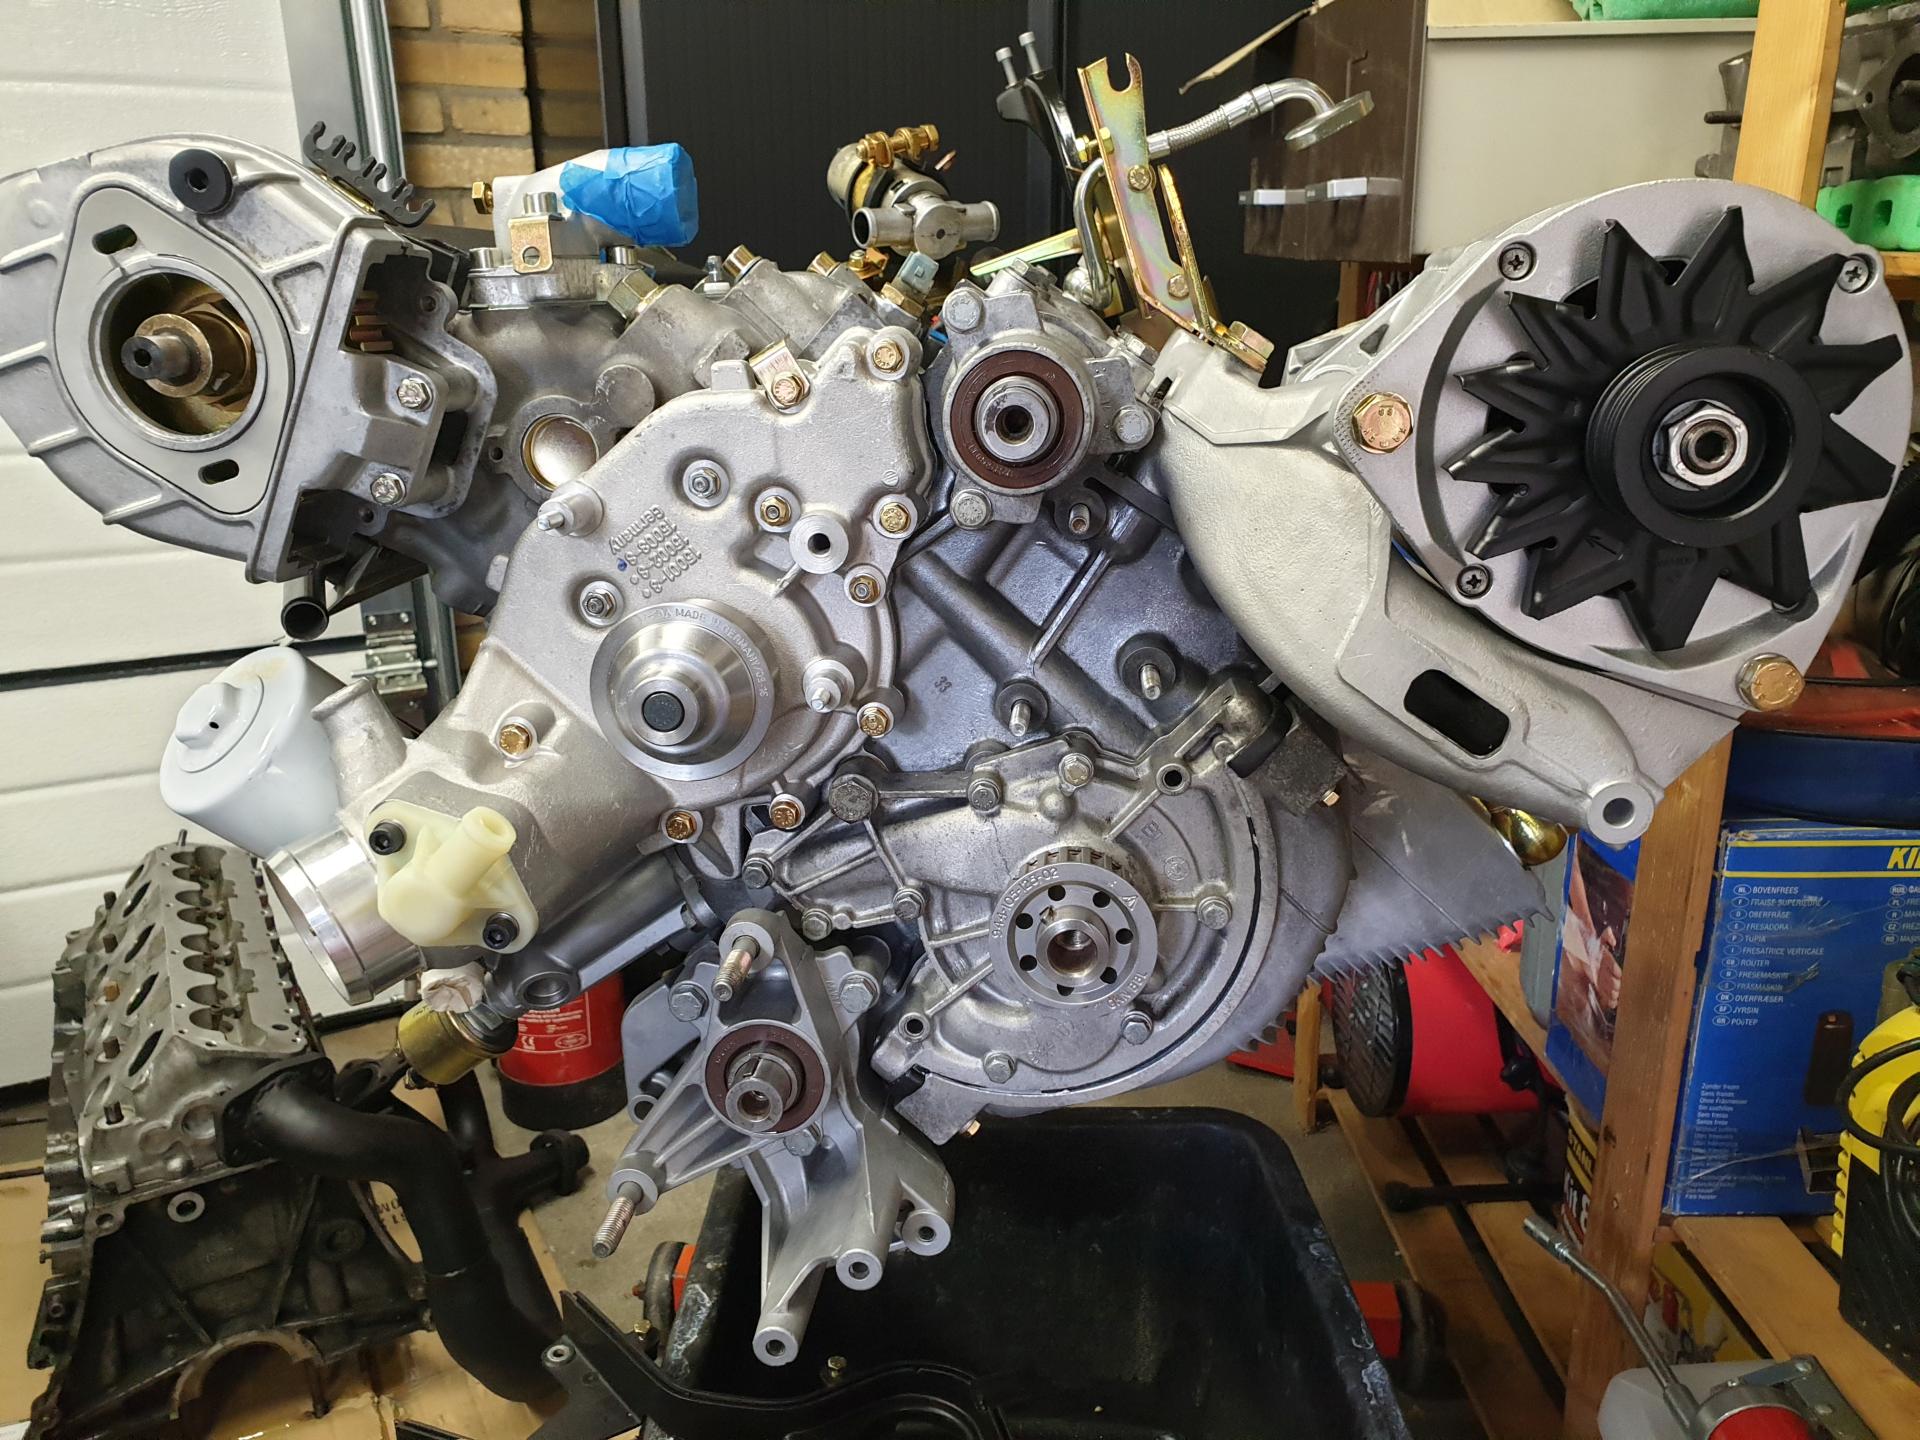
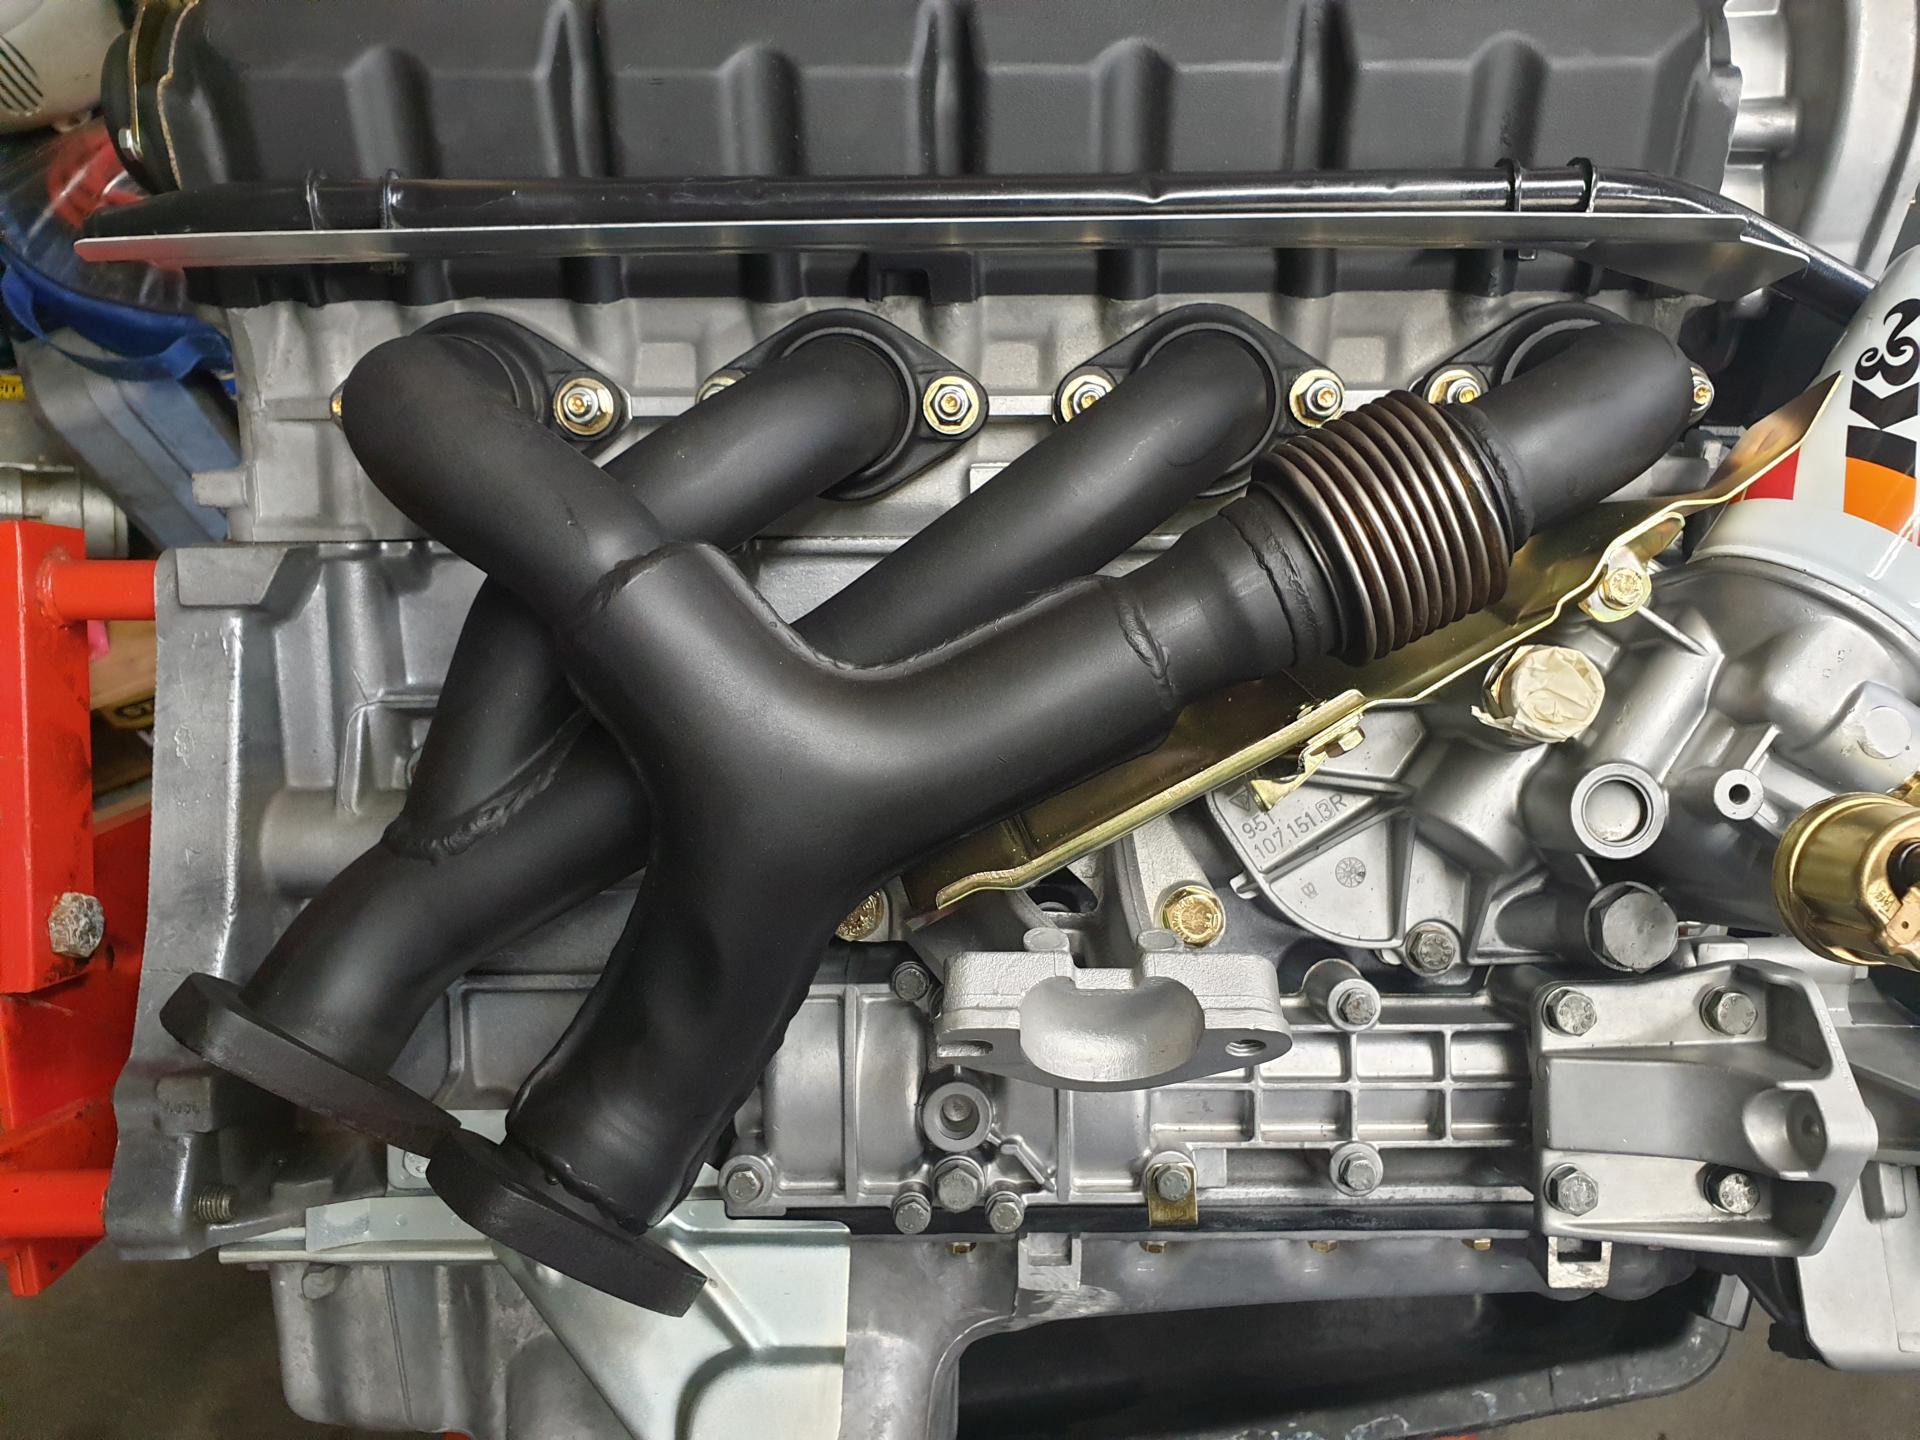
The headers have not been coated. Only painted to see if I like the looks. For the final (3.0) build I will have the (aftermarket) exhaust system coated with Zircotec.
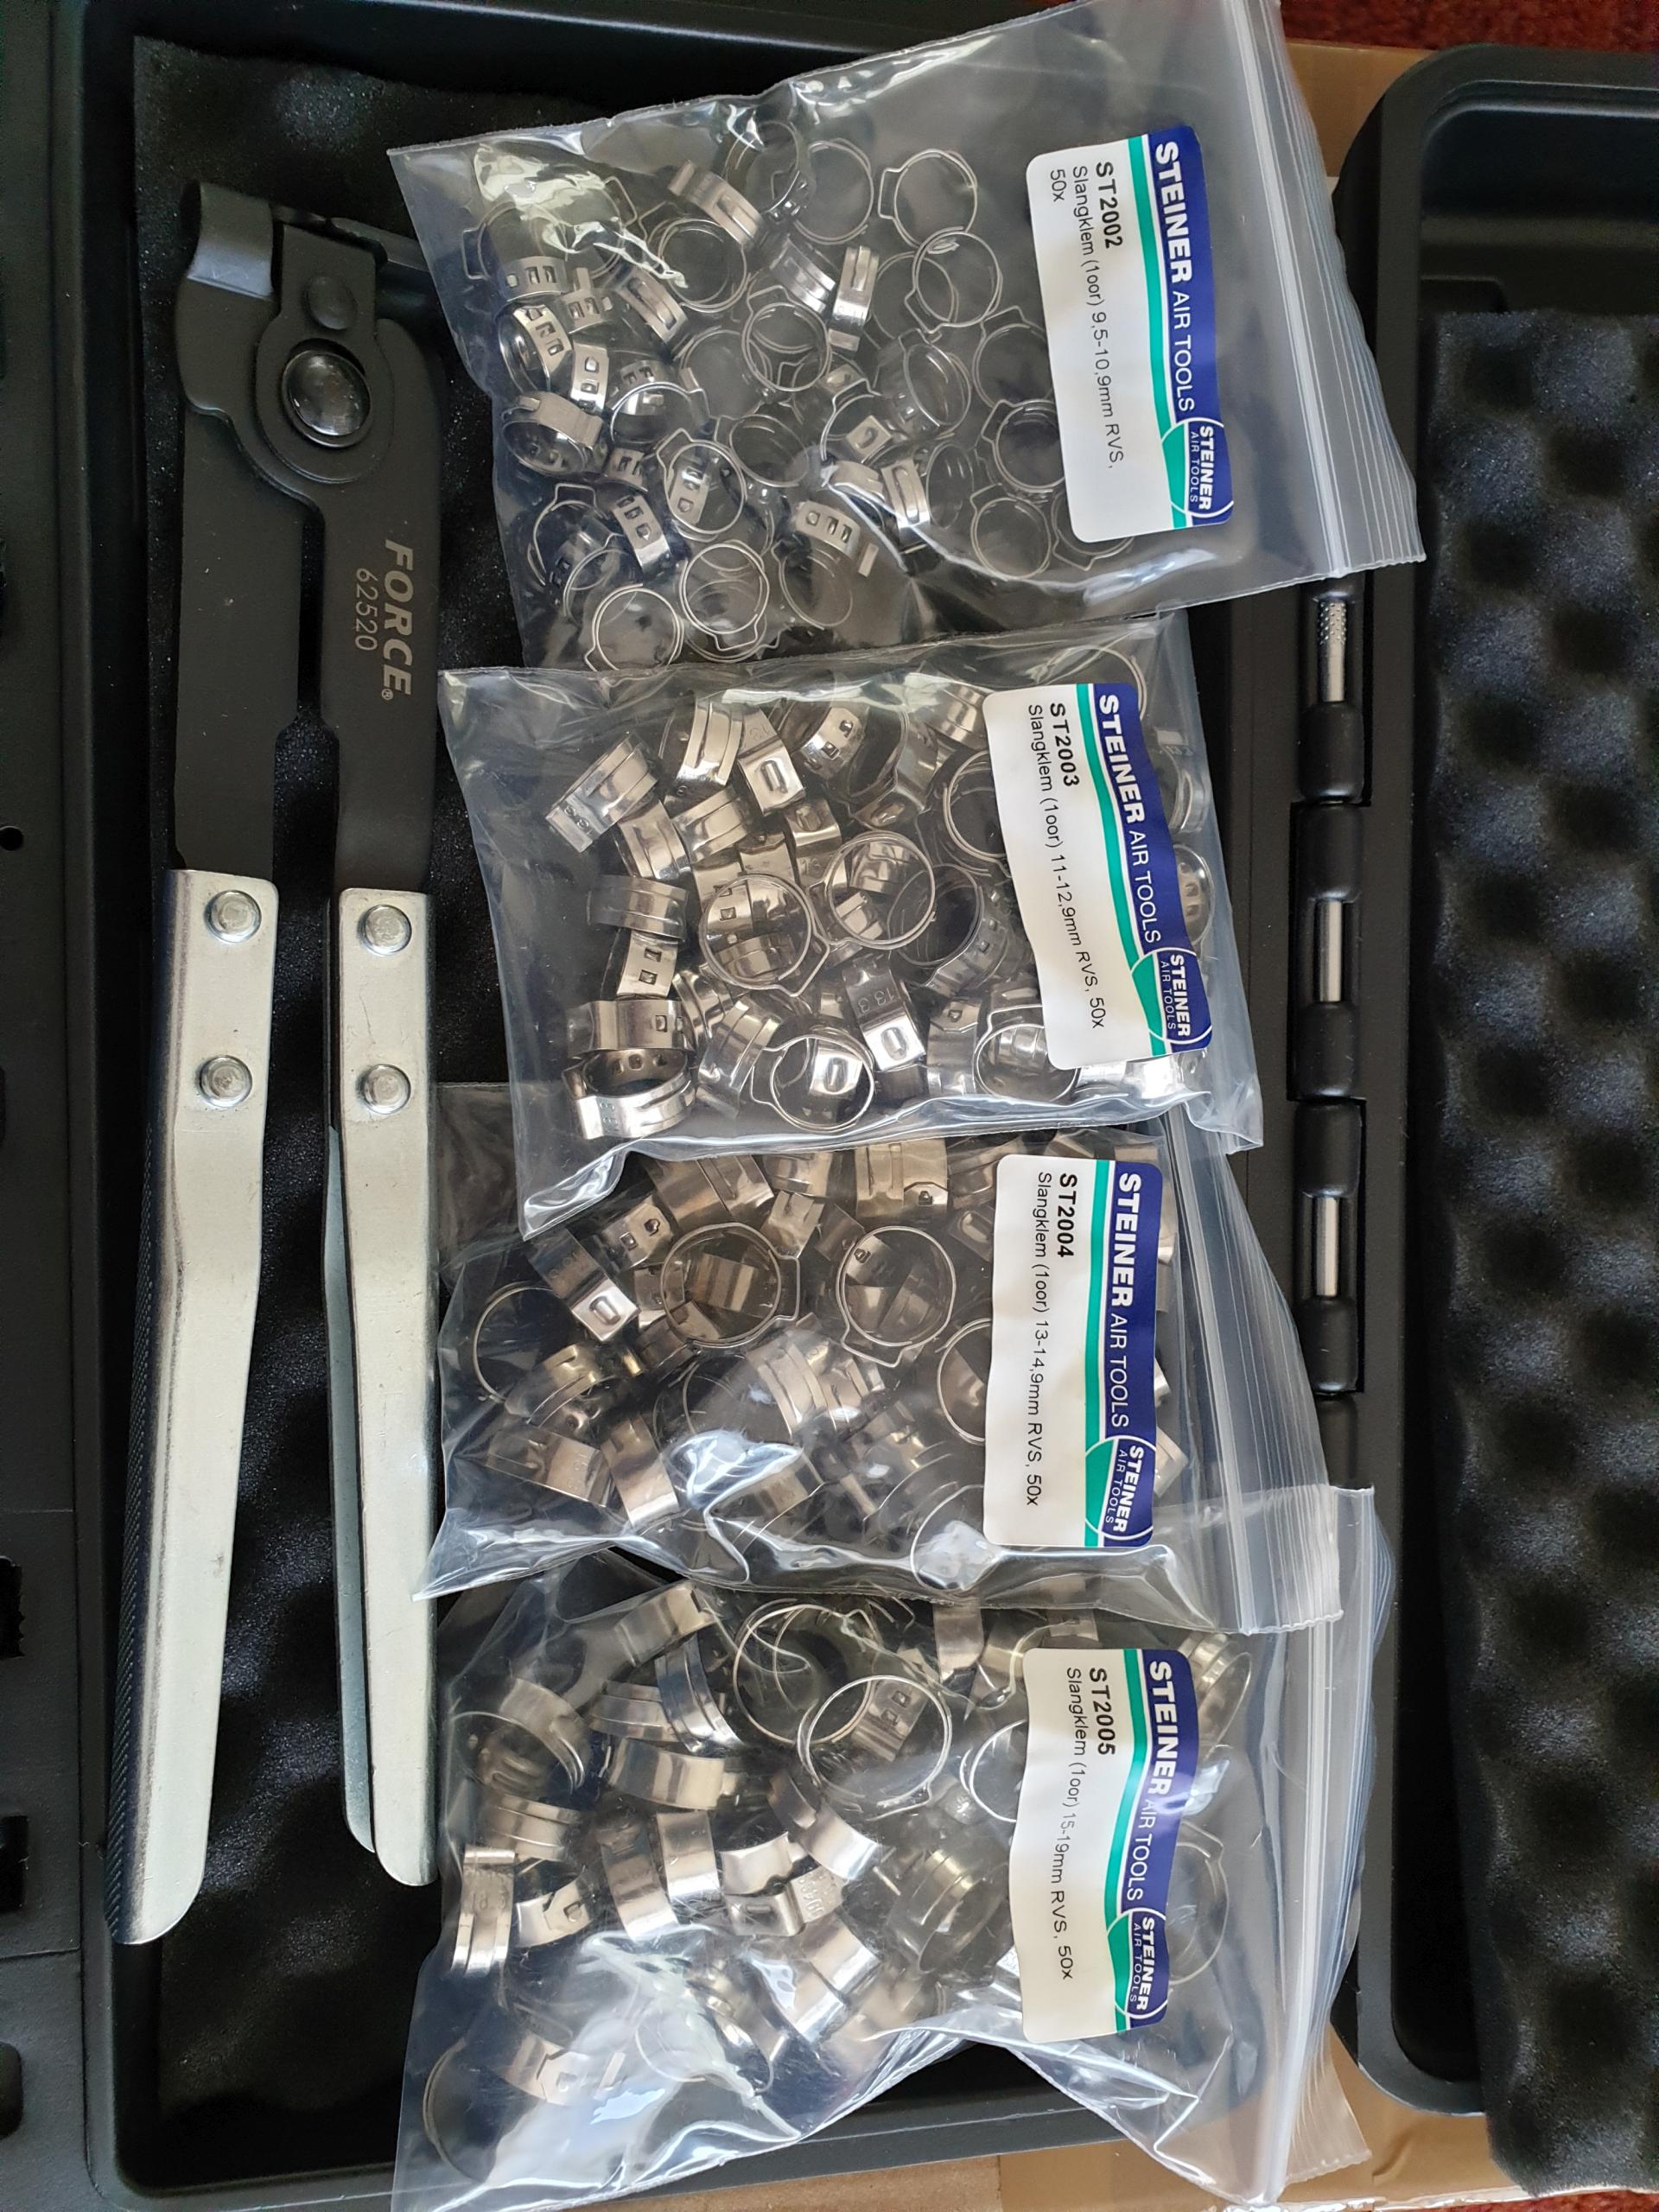
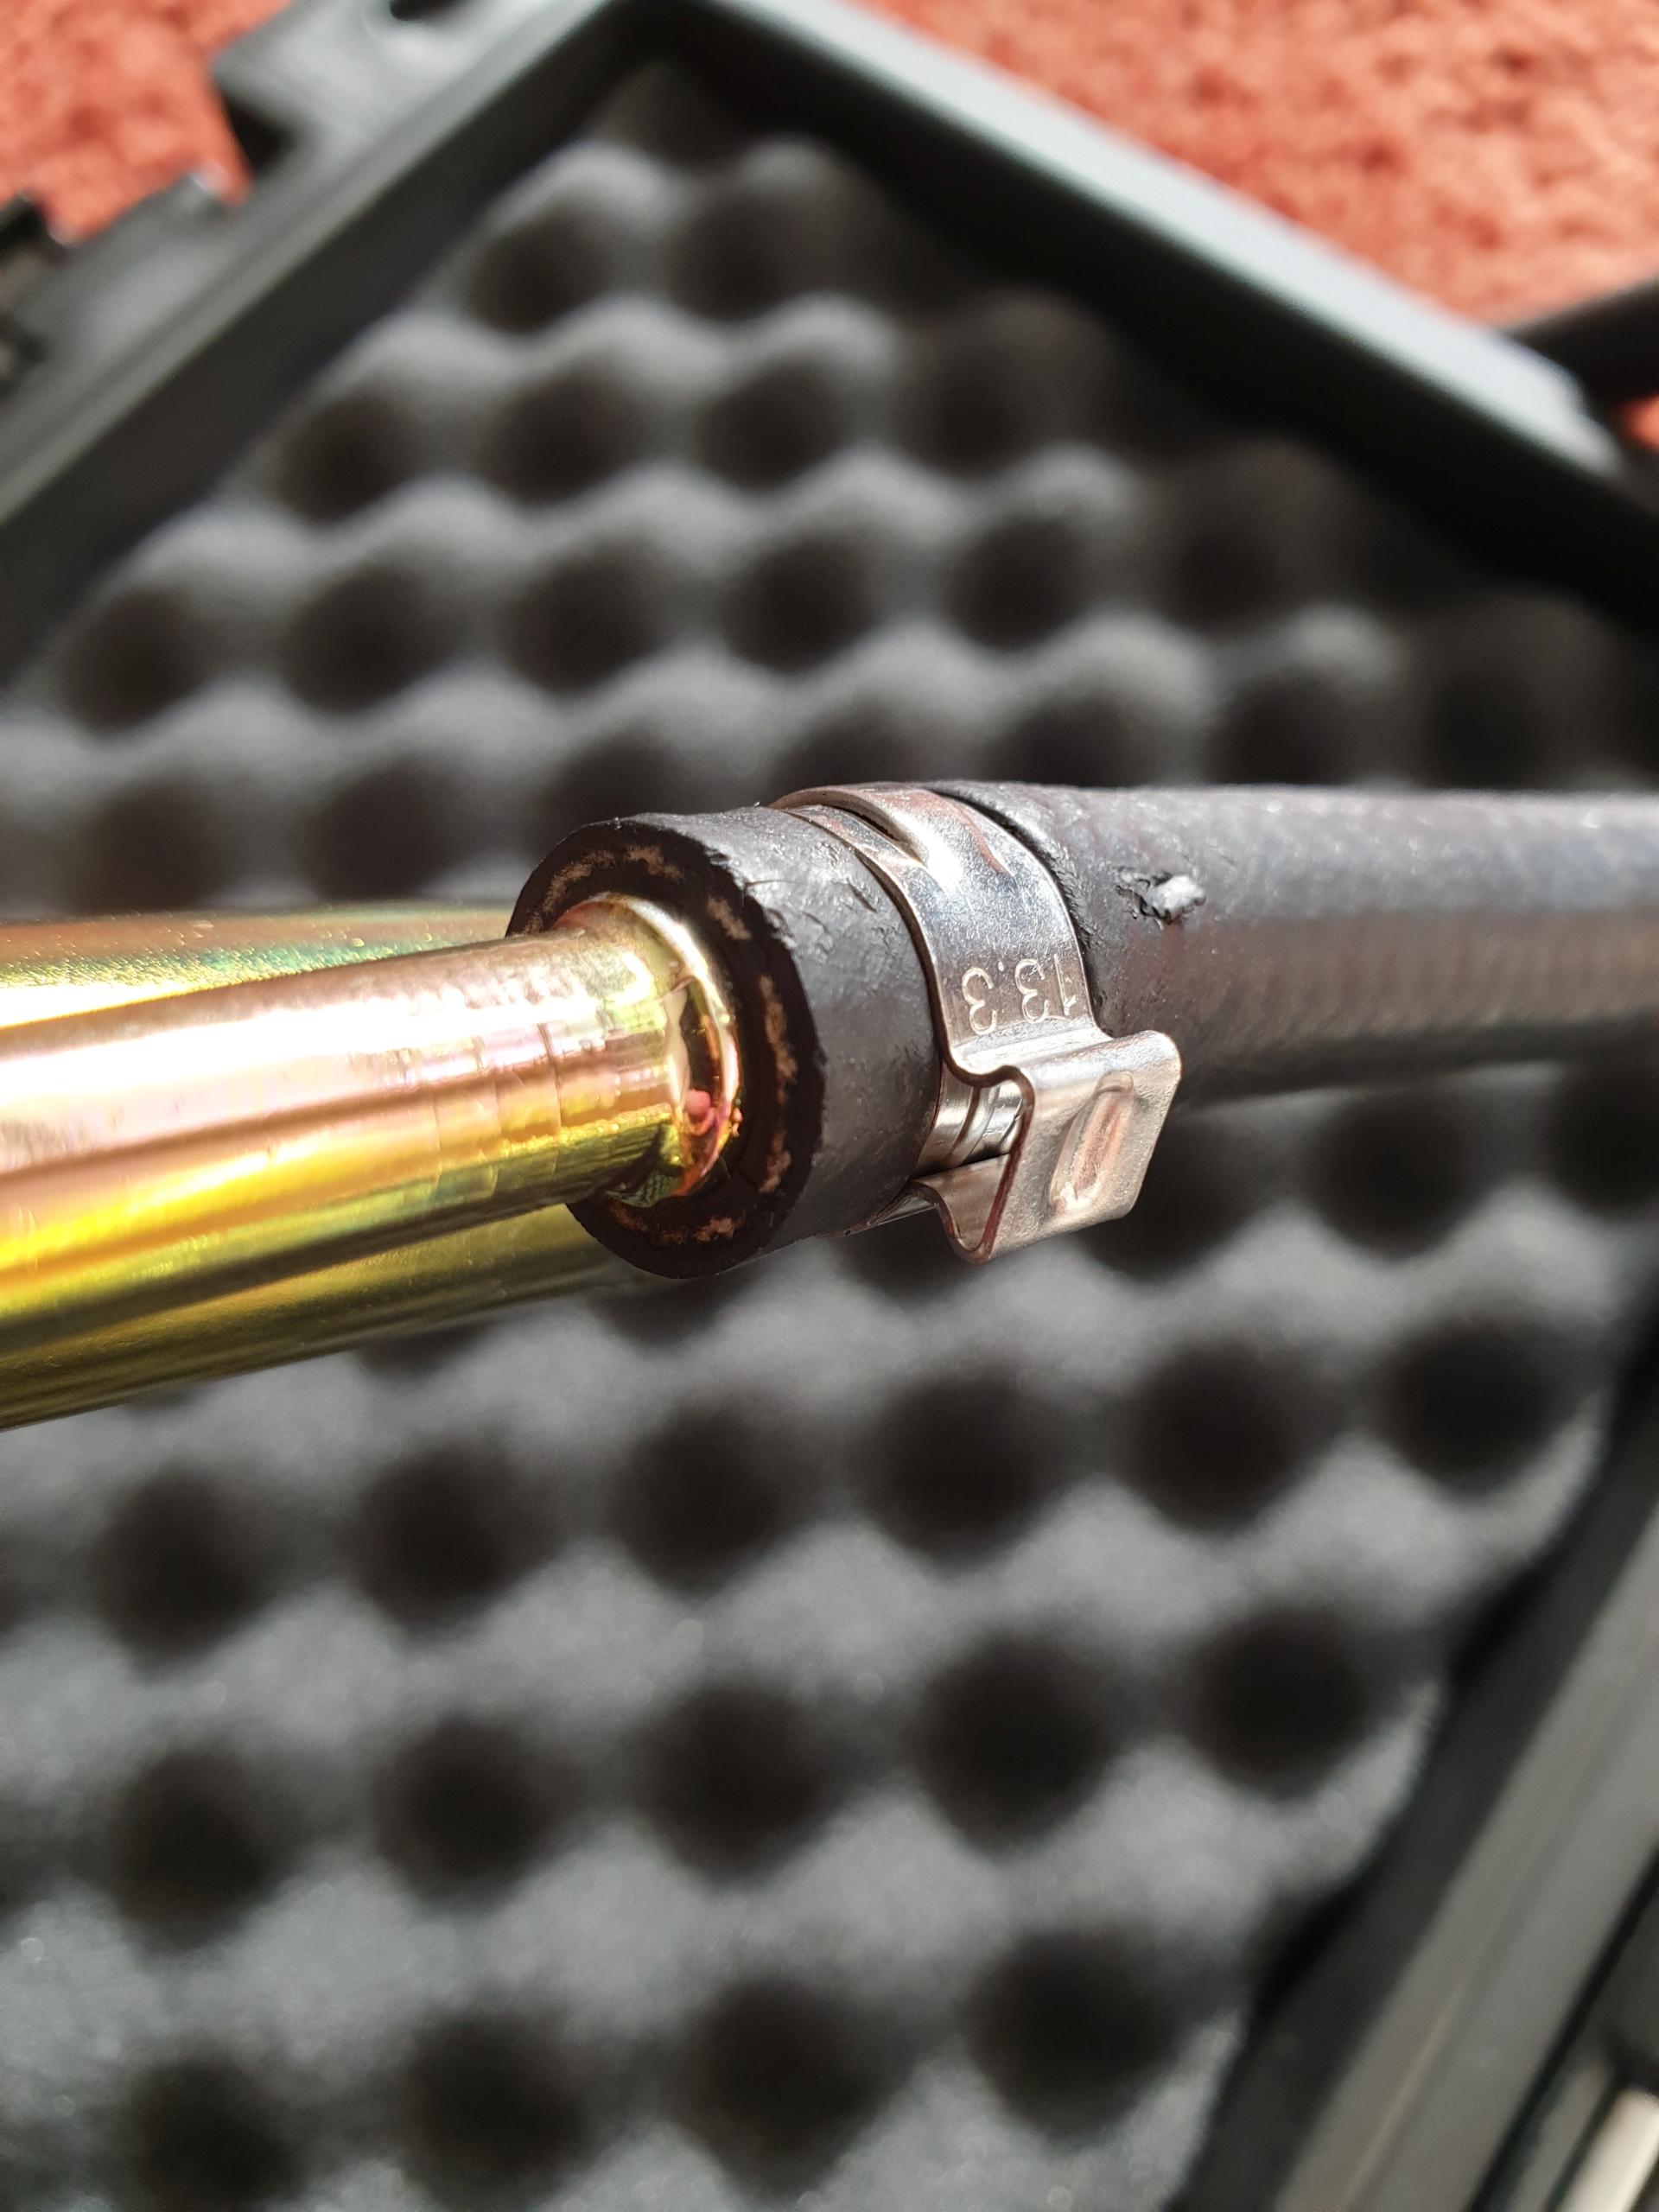
I love (cheap) tools!
A small modification of the bracket did the trick.
The stock NA head is on!
New waterpump.
The headers have not been coated. Only painted to see if I like the looks. For the final (3.0) build I will have the (aftermarket) exhaust system coated with Zircotec.
I love (cheap) tools!
The following users liked this post:
mj951 (10-04-2019)