When you click on links to various merchants on this site and make a purchase, this can result in this site earning a commission. Affiliate programs and affiliations include, but are not limited to, the eBay Partner Network.
I'm diving into a clutch and engine mount replacement project right now. I've read Clark's Garage (http://clarks-garage.com/), looked at Pelican Parts (https://www.pelicanparts.com/techart...eplacement.htm) and several YouTube videos, and realize that this will be a challenging project. I'm looking at it as a learning experience. I'm starting this thread because I hope to gain some wisdom from those who've been down this path before. And I also want to document my experiences in hopes that they might help someone else later on. I've got the car up on jackstands and have already got the muffler and tailpipe off. Next is the rest of the exhaust. However, both Clark's and Pelican say "For early 944 Turbos with a one-piece crossover, the intake manifold must be removed." How do I know I've got a one-piece crossover? No photos are shown. The two exhaust headers do merge and form a single crossover pipe to feed the turbo, so I guess that's what I have. I'll take a photo in a bit. Assuming that's the case, time to dive into removing the fuel rail and intake manifold.
Here's what my crossover pipe looks like. Looks like a single one to me. I'm guessing it's time to take off the fuel rail and intake manifold so I can get access. Seems like that'll give me a lot better access to the reference sensors anyway. And, "while I'm in there", I'll replace any sketchy looking vacuum lines because low-rpm cold idle stumble has been a problem.
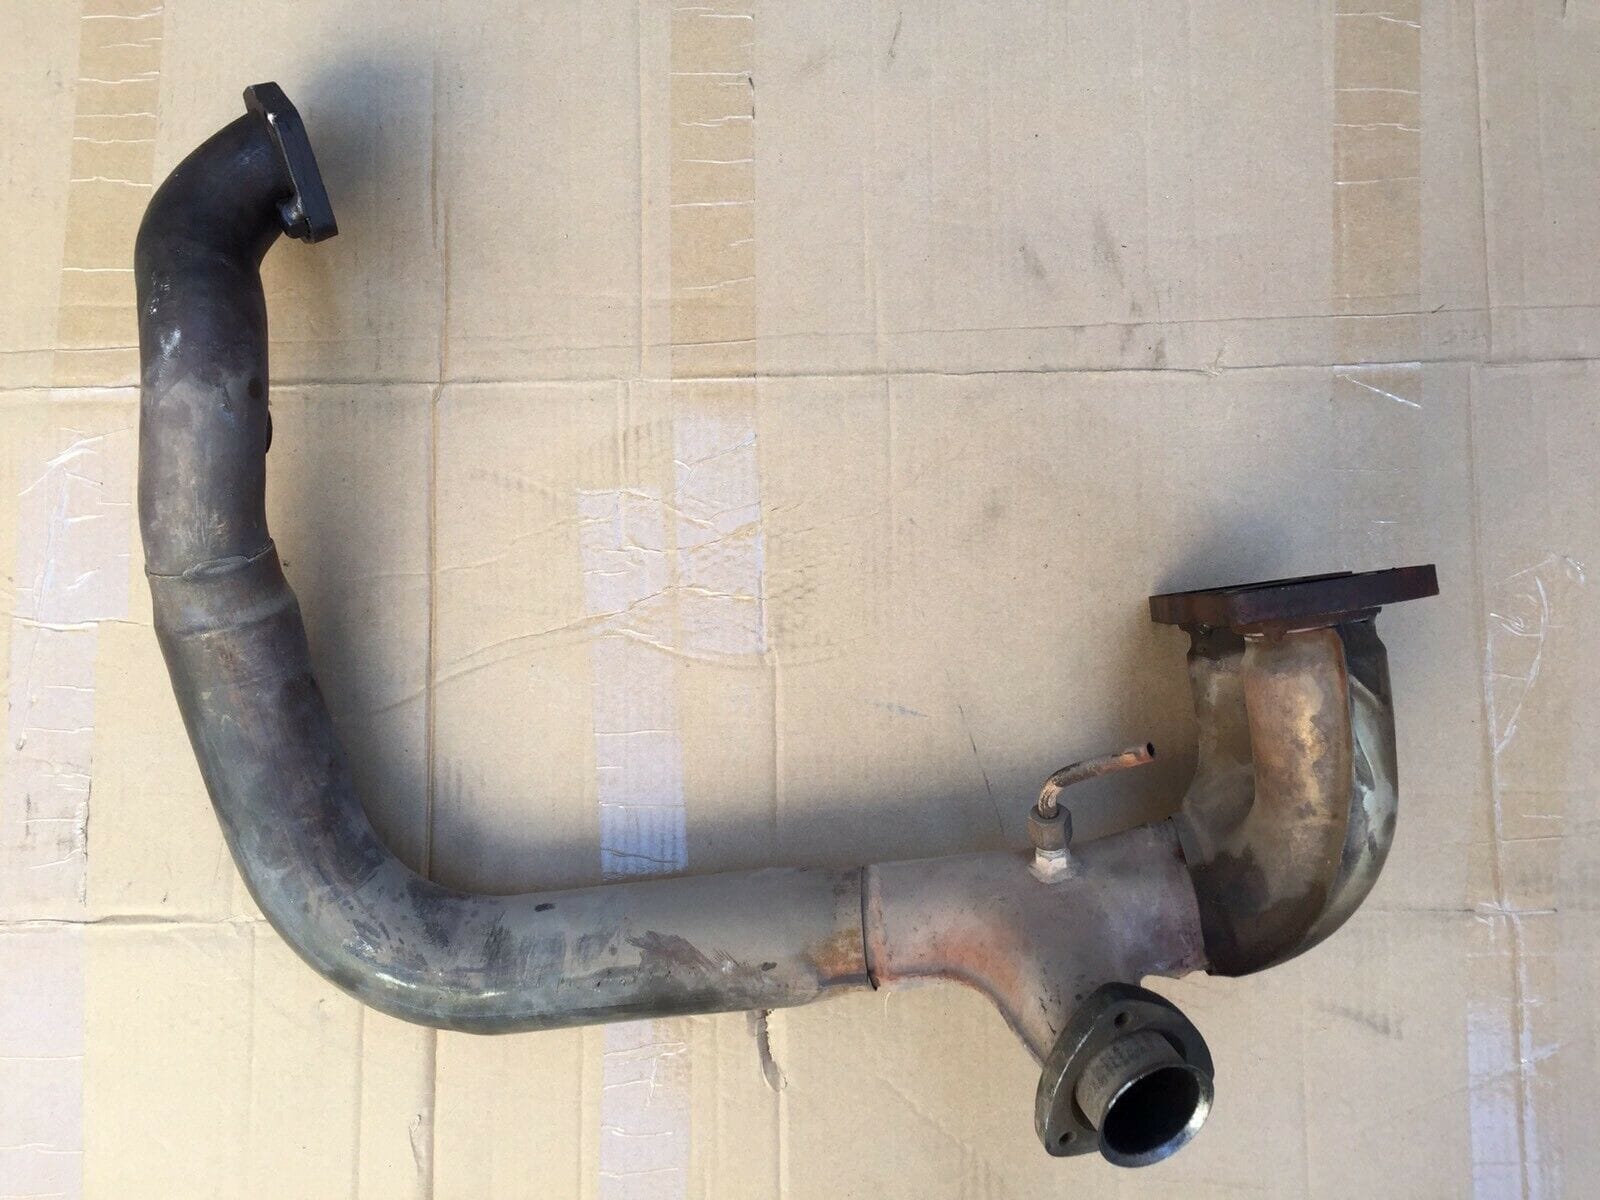
The photo you posted shows the early variant of the exhaust crossover pipe. The later variants have a 2 piece elbow pipe for the wastegate with a flange and donut seal. I've attached a example I quickly grabbed off some ebay auction to show you the difference.
Also depending on how you are planning on supporting the engine from above so you can do the engine mounts will likely dictate if you need to remove the intake manifold. Personally I don't like working in restricted spaces if I don't have to so I would remove it regardless. I'd imagine removing the bolts that attach the crossover pipe to the turbo hotside with the intake manifold on would be unnecessarily annoying. They are already difficult enough to access.
Even if you have the 2 piece ex-manifold you best remove the intake for better access to the top bolts. I just did that job. Jack up the front remove all you need to then jack up the back to do the rest.
You are one lucky dude: it appears your fasteners, bolts, & nuts are all in good shape and you won't spend countless hours dealing with seized & rusted crap.
Your biggest headache will be ordering and waiting for parts. That, and cleaning. Taking the intake manifold off is easy; realizing you have to wait two weeks for four little paper gaskets to put it back on is a downer. So is trying to figure out how you're going to remove the old gasket material and properly clean the surfaces without scratching or getting crap into the engine.
Stuff like that is what nobody really mentions but creates the most issues when changing parts on an old car.
I would suggest compiling a list of all seals and gaskets and ordering them now. This includes all exhaust rings and wow wait till you see how much each of those cost.
Other not-usually-mentioned: get a good seal puller (for RMS) and I highly recommend the Arnworx RMS seal installer. Lowering the transmission is a pain thanks to the plastic tube and the super tight fit to the spare tire wheel well. A transmission jack is a major help here.
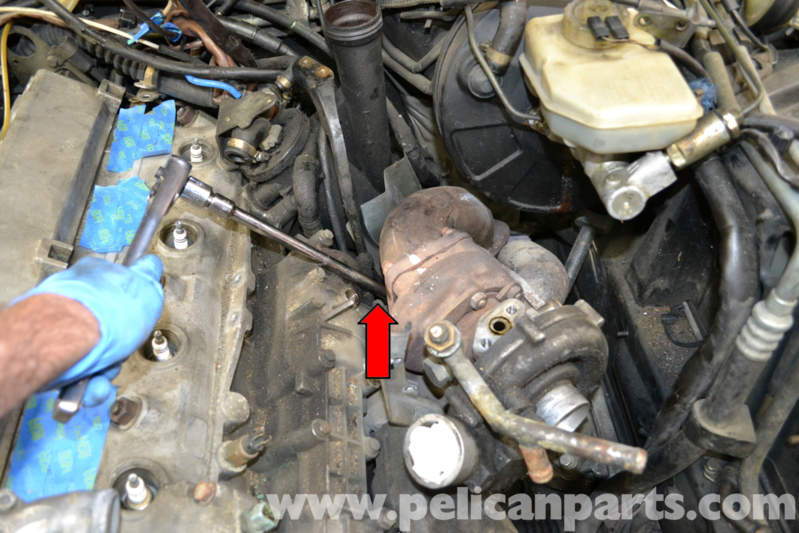
Hopefully, your clutch fork pin will come out easy but if not, just remove the bellhousing with all attached by removing the pressure plate bolts accessed through the starter hole (one at a time, turning the engine)
Re-assembly is mostly fun (except RMS and header-to-crossover pipe) and satisfaction of completing this job comes with every shift
Thanks for tips, Dan! Your final words are encouraging. I'll get the Arnnworx tool as you suggest; I bought their timing belt tensioner and was very happy with it. I also ordered a trans jack and engine support bar from Harbor Freight yesterday. I usually have to order parts in three rounds - what I think I need first, what I really need in the middle of the job, then what I missed. Thankfully I can take all the time I want.
Since you have time, do not hesitate to post questions as you encounter them then waiting for some tips; it beats trying to figure it out and mess something up, leaving all kinds of doubt
One of the biggest PITA is the Turbo x-over.. I always end up cutting the weld on that "Welded" nut on the hot side... I will say this.. The last time I changed an Clutch I was in a HURRY (Night before a Track event) My Friend and I did it, on a lift.. and it was a 2 hour Job, …(Record for me) That being said.. I did not have to mess with those crank triggers because Im running standalone.. AND I weaseled the bellhousing off the engine without removing the crossover... It can be done.. Good Luck!
If you slot the bell housing, you can deal with the crank sensors separate from the bell housing. Easier to set the gap. Easier if you ever have to pull the bell housing again, you can leave the crank sensors alone.
While the crossover pipe is out it is a good time to send it to Lindsey Racing and have it split. An extra joint in the crossover makes a lot of jobs easier.
I leave the fuel rail in the intake when I have to pull the intake for other reasons. Put some padding on the fender and lay the whole thing over. You can avoid taking a lot of stuff apart. If you pull the fuel rail and an injector o-ring doesn't need to be replaced it is a minor miracle.
Thanks for the advice HP18. I haven't heard of the "slotting the bell housing" trick before. Do you have any photos or links to describe it? I also didn't know about splitting the crossover pipe. I'll inquire about that.
BTW, rare to see anyone into sailplanes anywhere! My dad had an HP11 before he passed away. I enjoyed a few flights back when I lived in Phoenix, too.
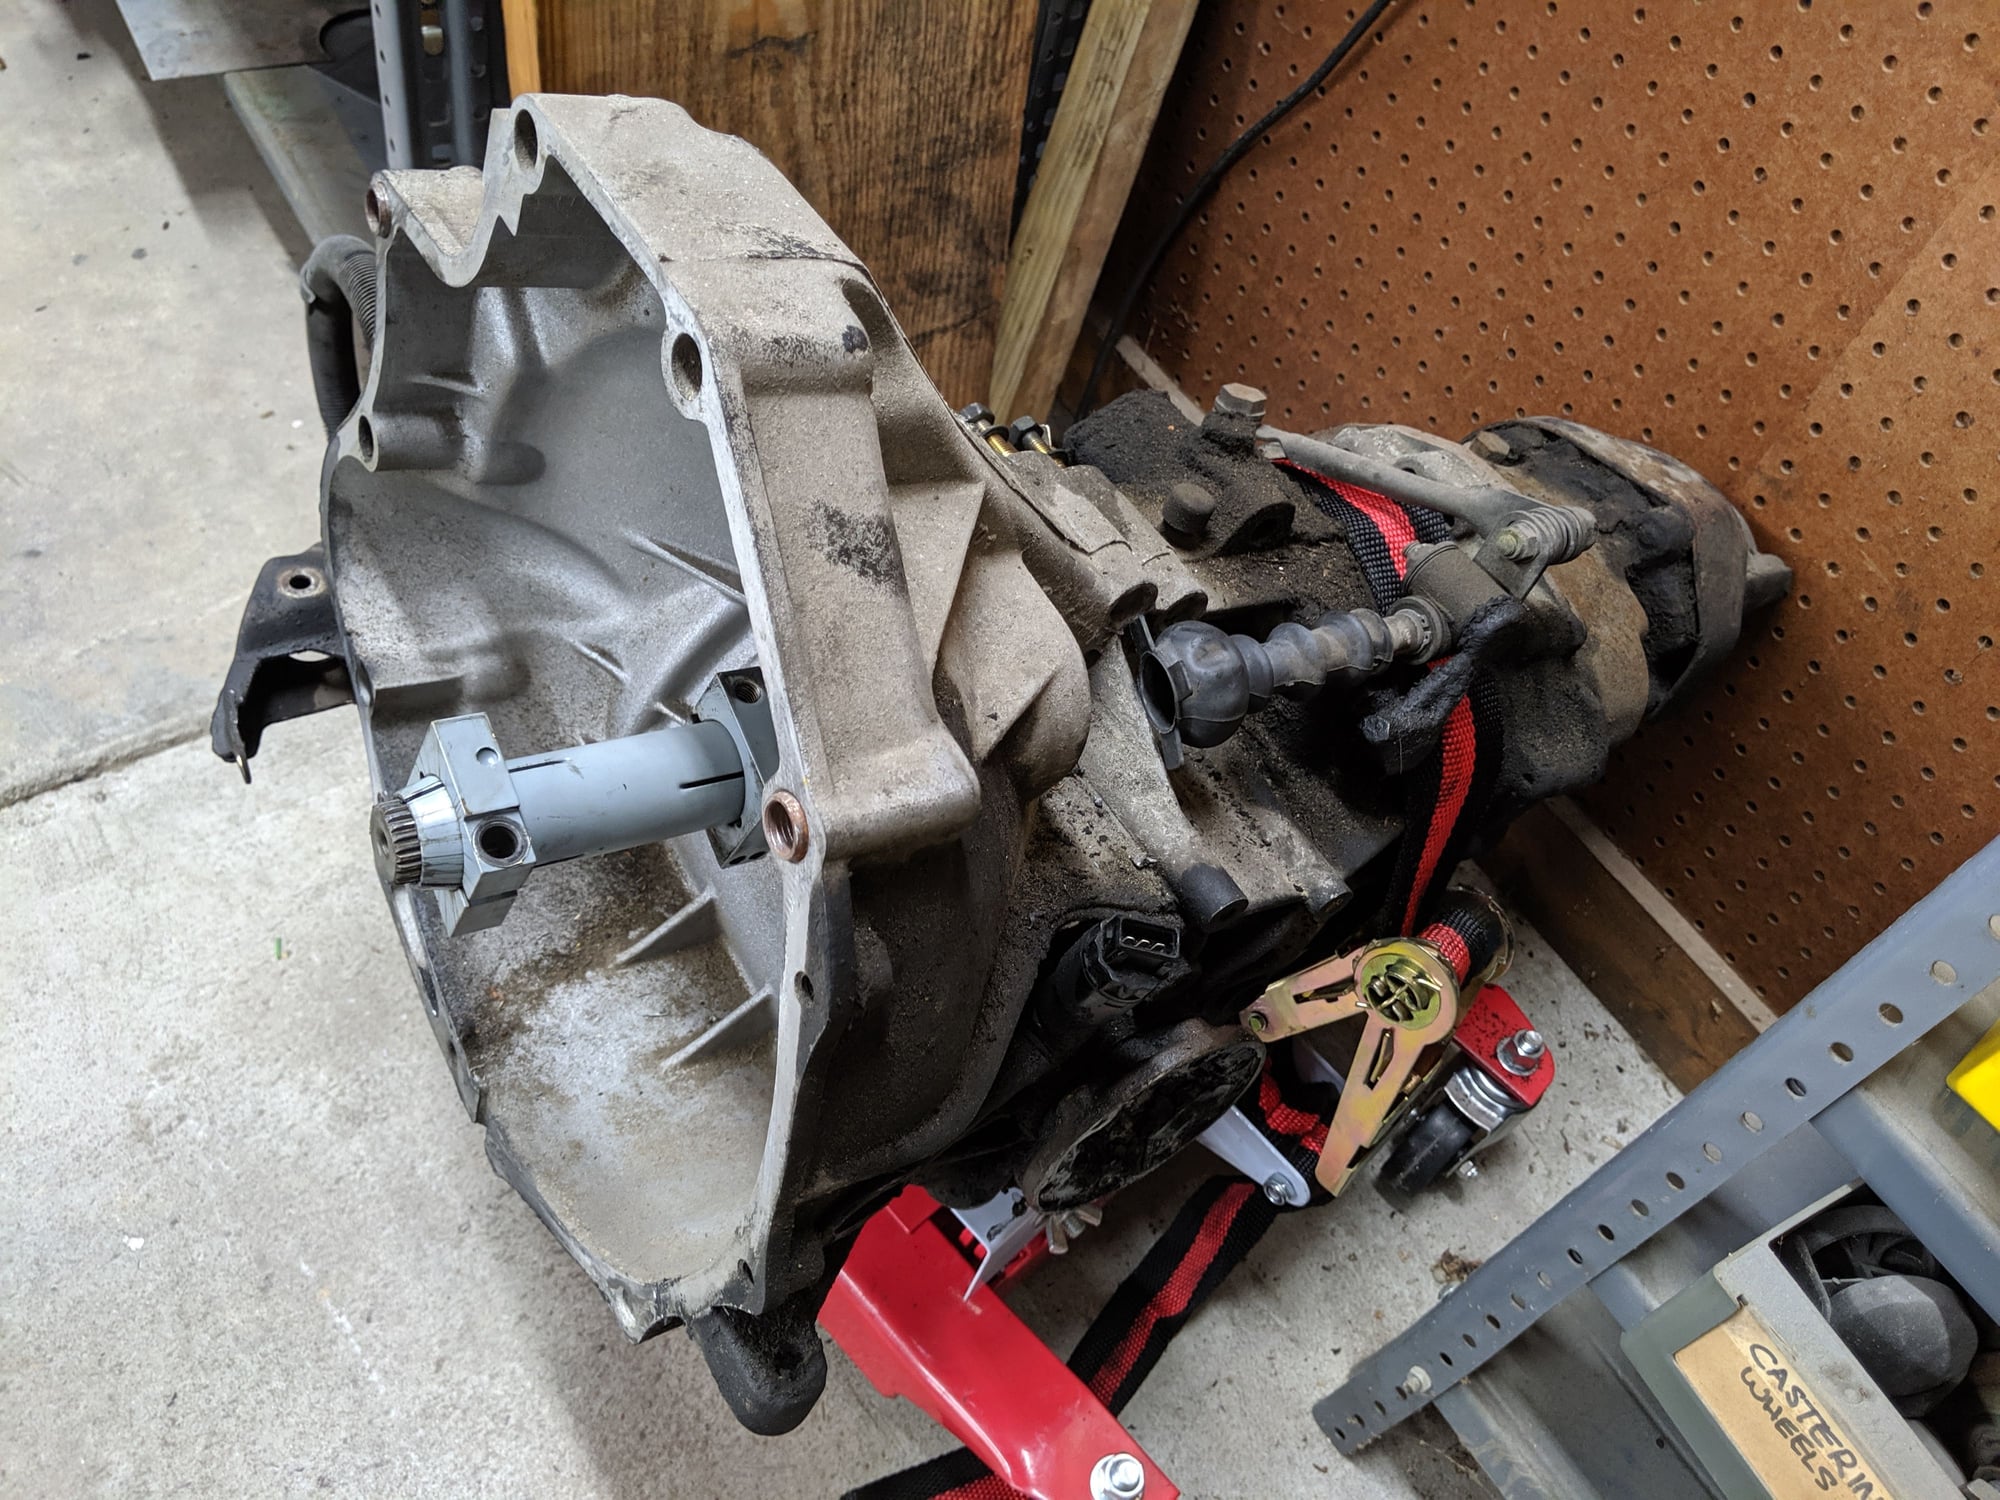
Checking in with the latest progress. I've got the exhaust and wastegate removed, but not the crossover pipe yet. Last night I was able to drop the transaxle. Everything went pretty smooth until I separated the trans from the bellhousing. The weight pulled the back down, putting the bolts at the transmission mount at the top in a bind, making the second one a bear to get out. If I were to do this again, I would remove the nuts on the top mount first, then support the tail of the transmission with a trans jack. Then I would remove the top bolts (they should come out easily if there's no stress on them), then undo the four bellhousing bolts. On that point, the four main bellhousing bolts came off easy, but the tough one was the small vertical bolt holding the trans oil cooler bracket onto the flange.
The transmission has oil stains all over it... Should I replace any seals while I have it out? Any suggestions?
Be sure to get a venturi delete kit. The venturi tube is notorious for vacuum leaks. It's slso a great time to go ahead and change all the vacuum lines, and possibly coolant hoses if you have the patience/extra cash.

 05-22-2019, 07:46 PM