When you click on links to various merchants on this site and make a purchase, this can result in this site earning a commission. Affiliate programs and affiliations include, but are not limited to, the eBay Partner Network.
I figured I would start posting a diary of sorts as I go through refreshing my car. It certainly won't be as thorough or well documented as some of the others I've read on here over the years (I'm horrible at remembering to take pictures for one thing), and I won't be doing anything crazy - just looking for a way to document what I've done while also possibly posting the occasional thing that might be useful to someone else....
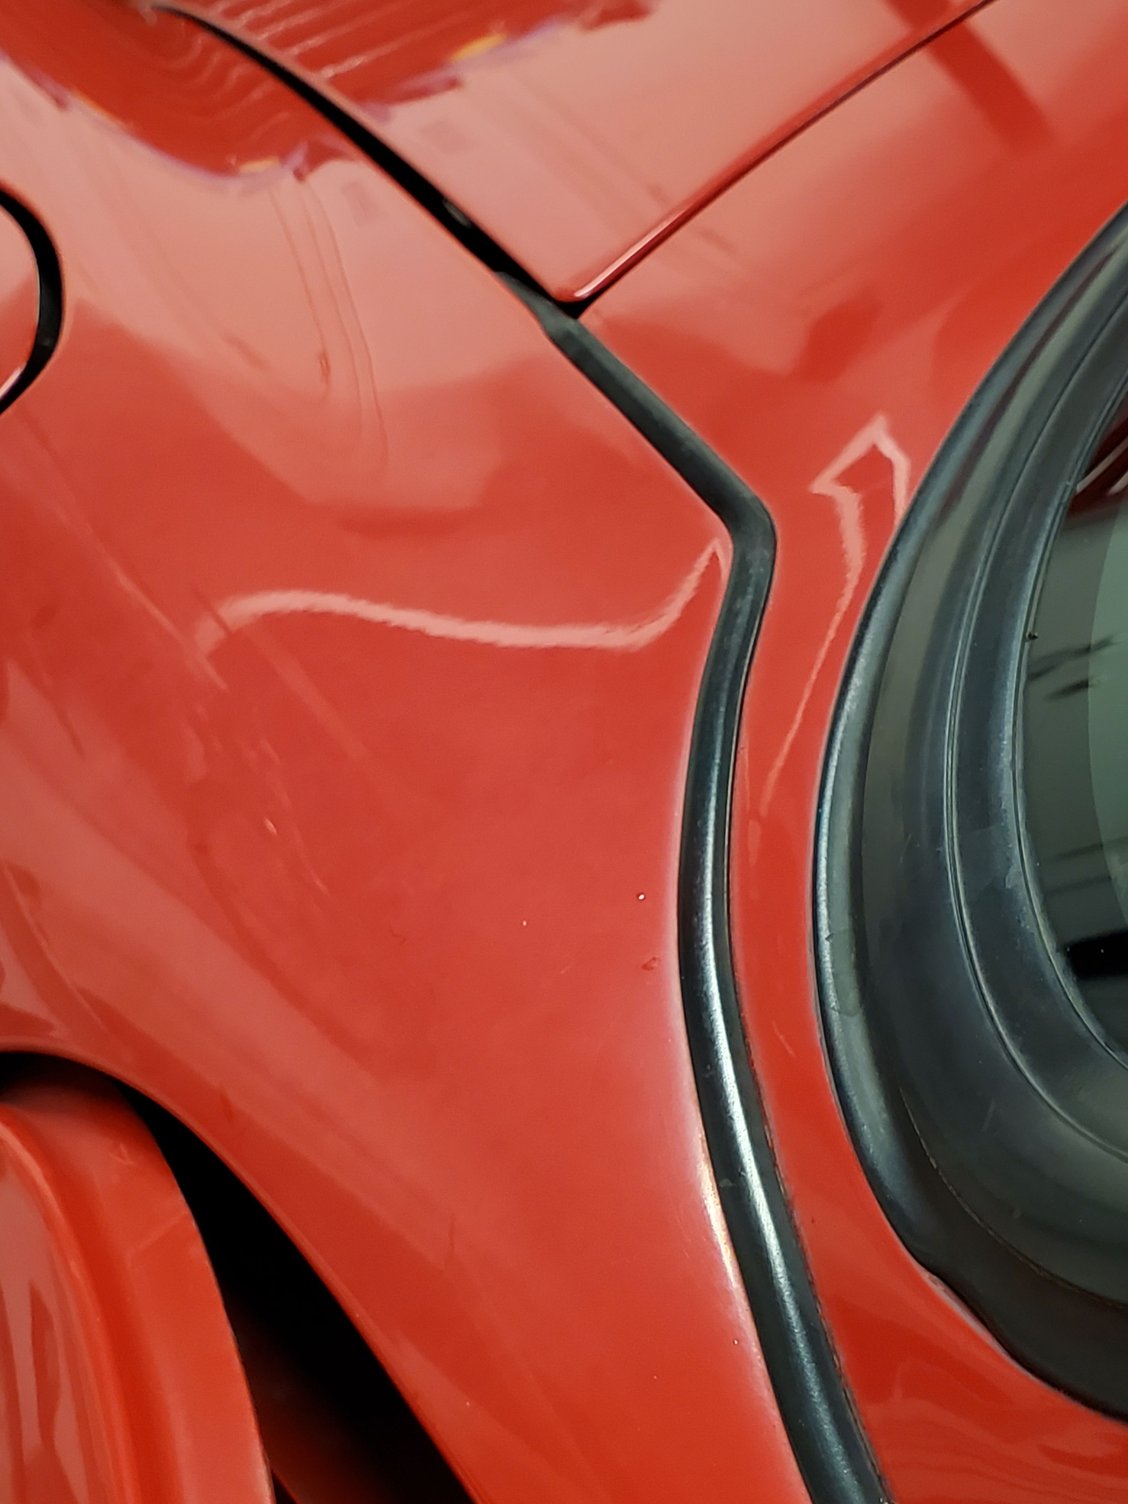
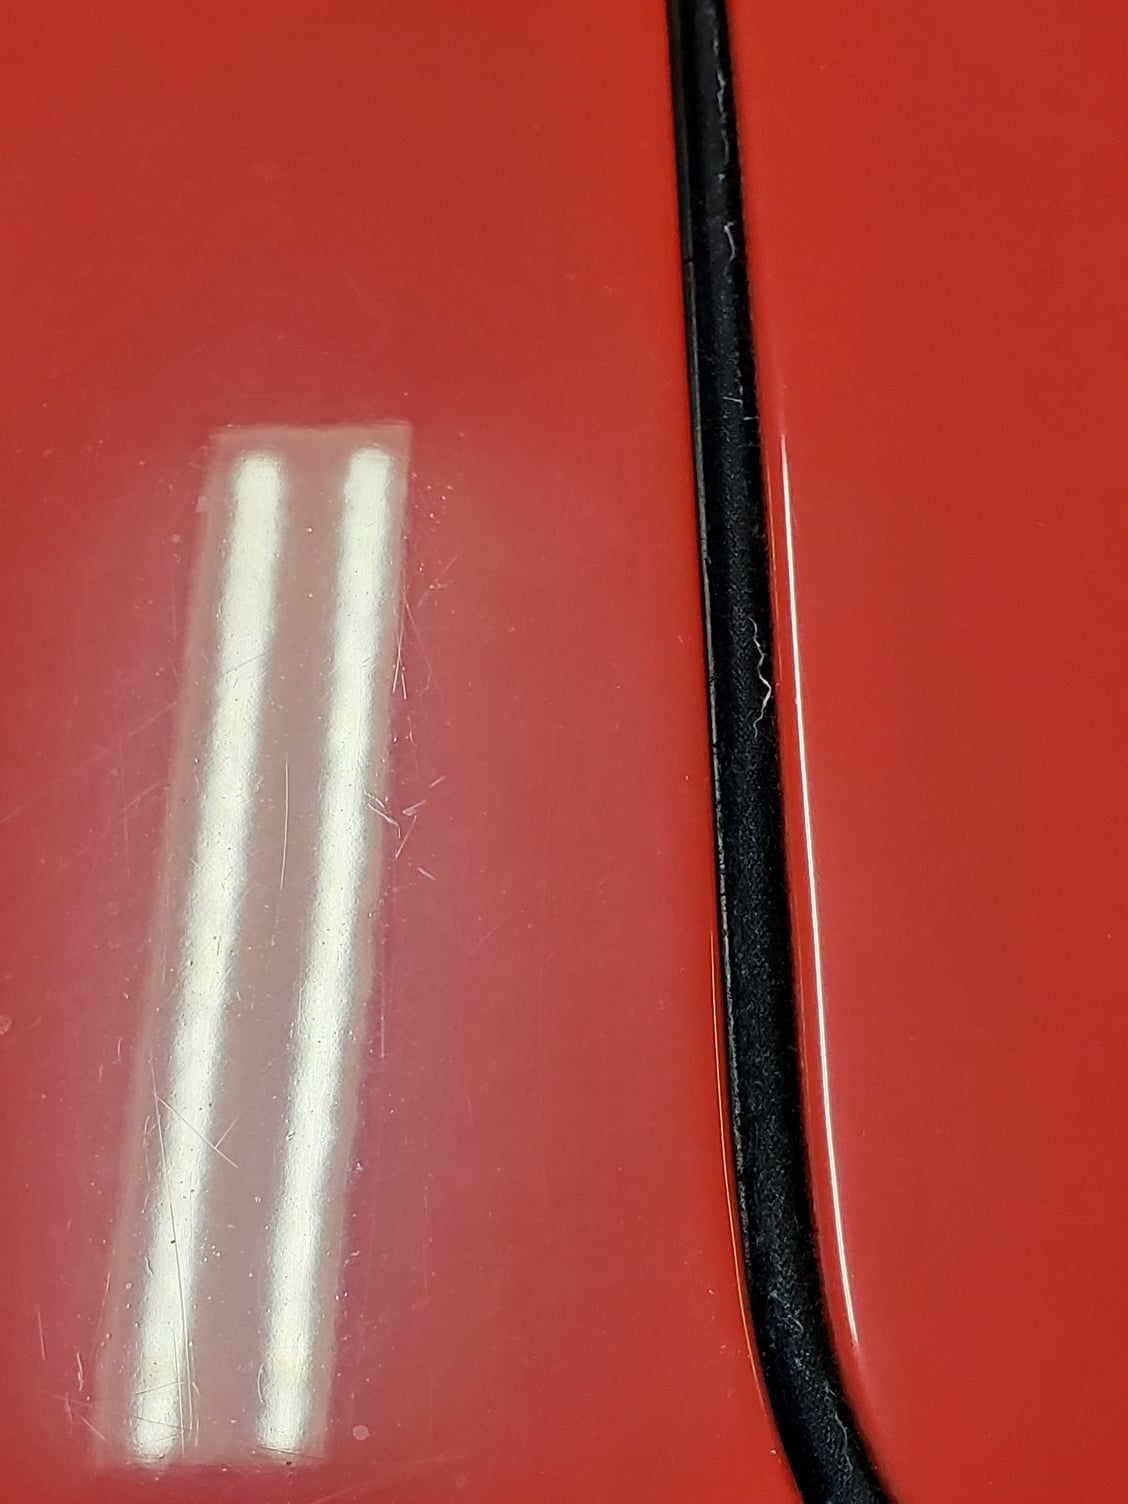
Its starting with the paint. The car hasn't been driven all that much over the past few years, and the paint had become quite noticeably oxidized. I did some reading and figure a DA polisher would probably be the best bet and less terrifying to take to the paint than a rotary, but I only had access to the rotary so figured I'd give it a try. Paint condition is remarkably difficult to take an accurate photo of - the Samsung phone over saturates everything to make it look better than it is.
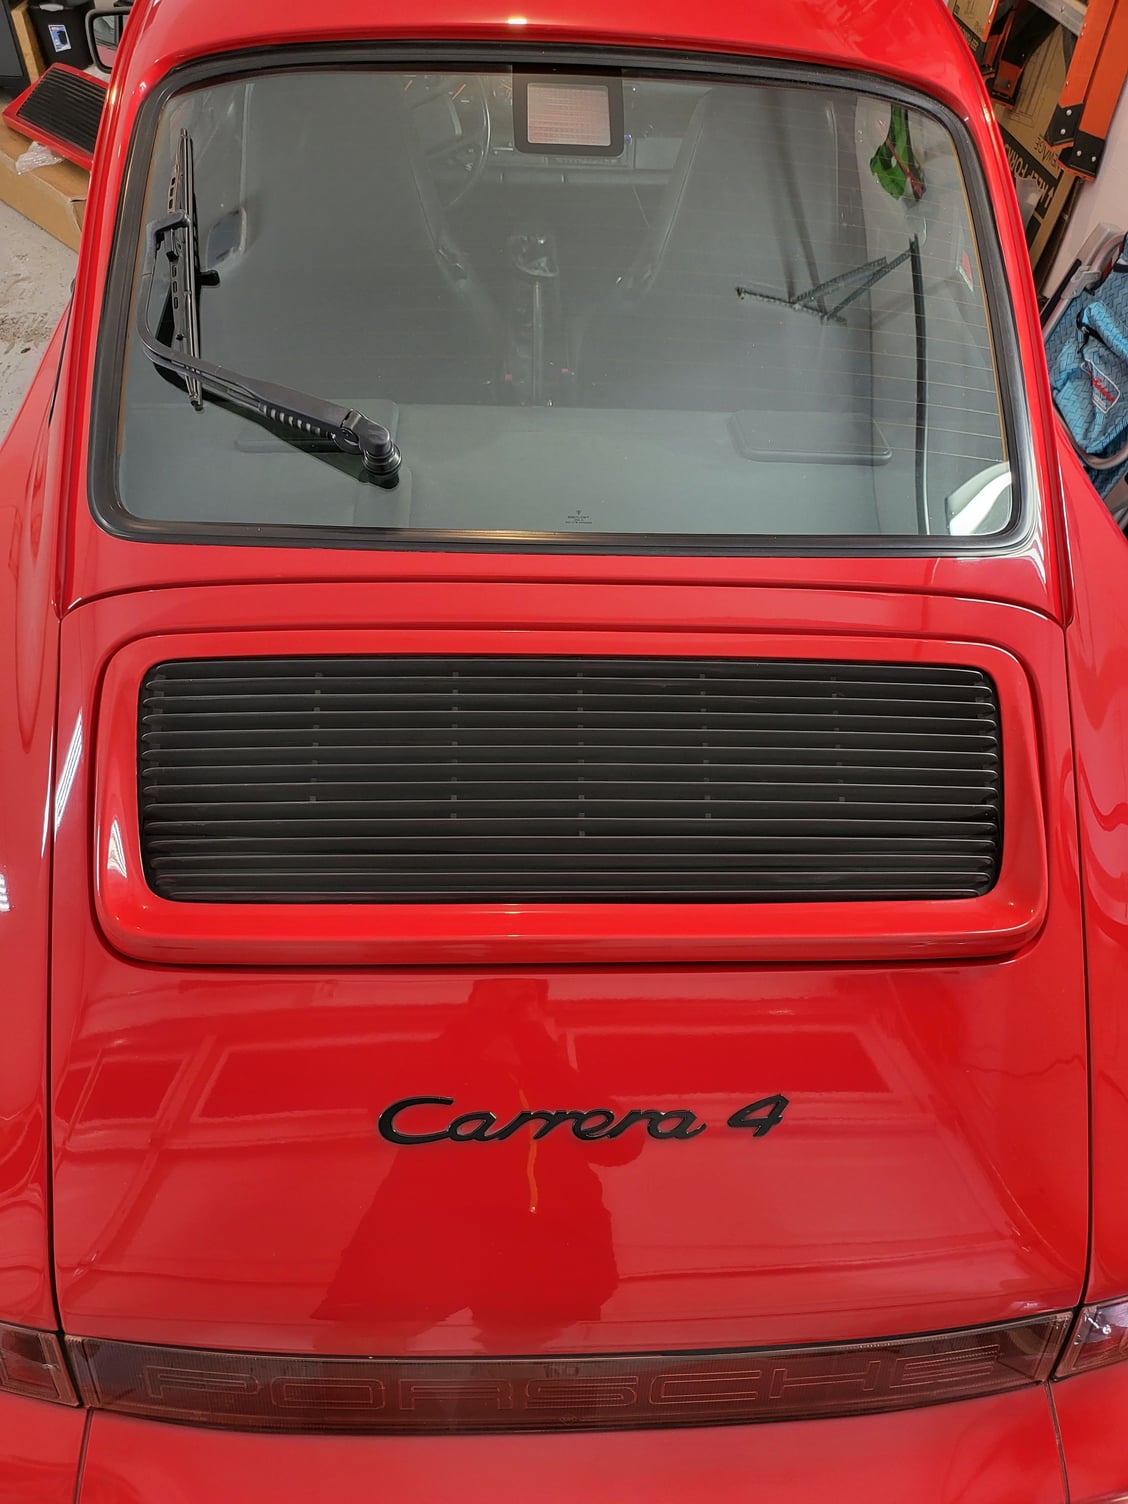
Gave the car a good wash and clay bar before masking all the trim and lights etc with painters tape. I then carefully used Meguiars fine-cut cleaner followed by machine glaze with the rotary polisher. This was pretty nerve racking as I had nightmares of blowing through the single stage paint to bare metal and needing a respray, but I took it easy and was pretty conservative I'd say. I didn't polish down far enough to get the deeper scratches out - I don't really have a great sense of how thick the paint is so just wanted to make it presentable without messing anything up too badly. I wish I'd remembered to mask off the spoiler grill as I touched it with the polisher a few times and the black is now quite different looking in those areas - that will be a different project.
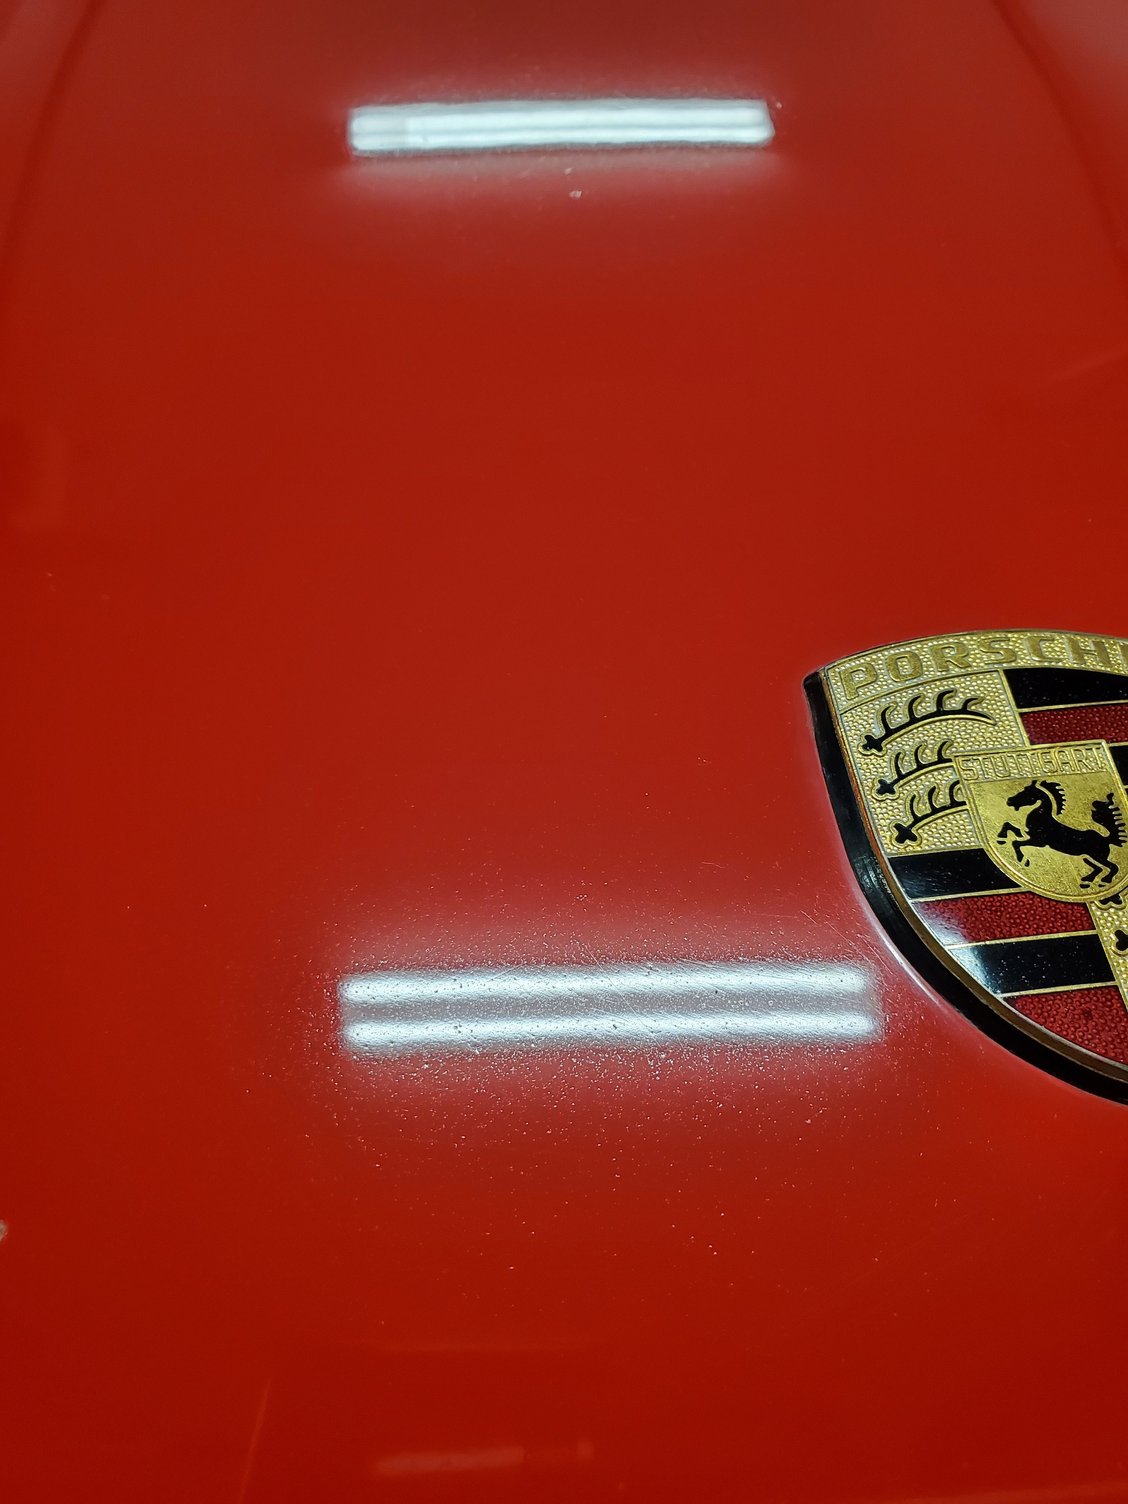
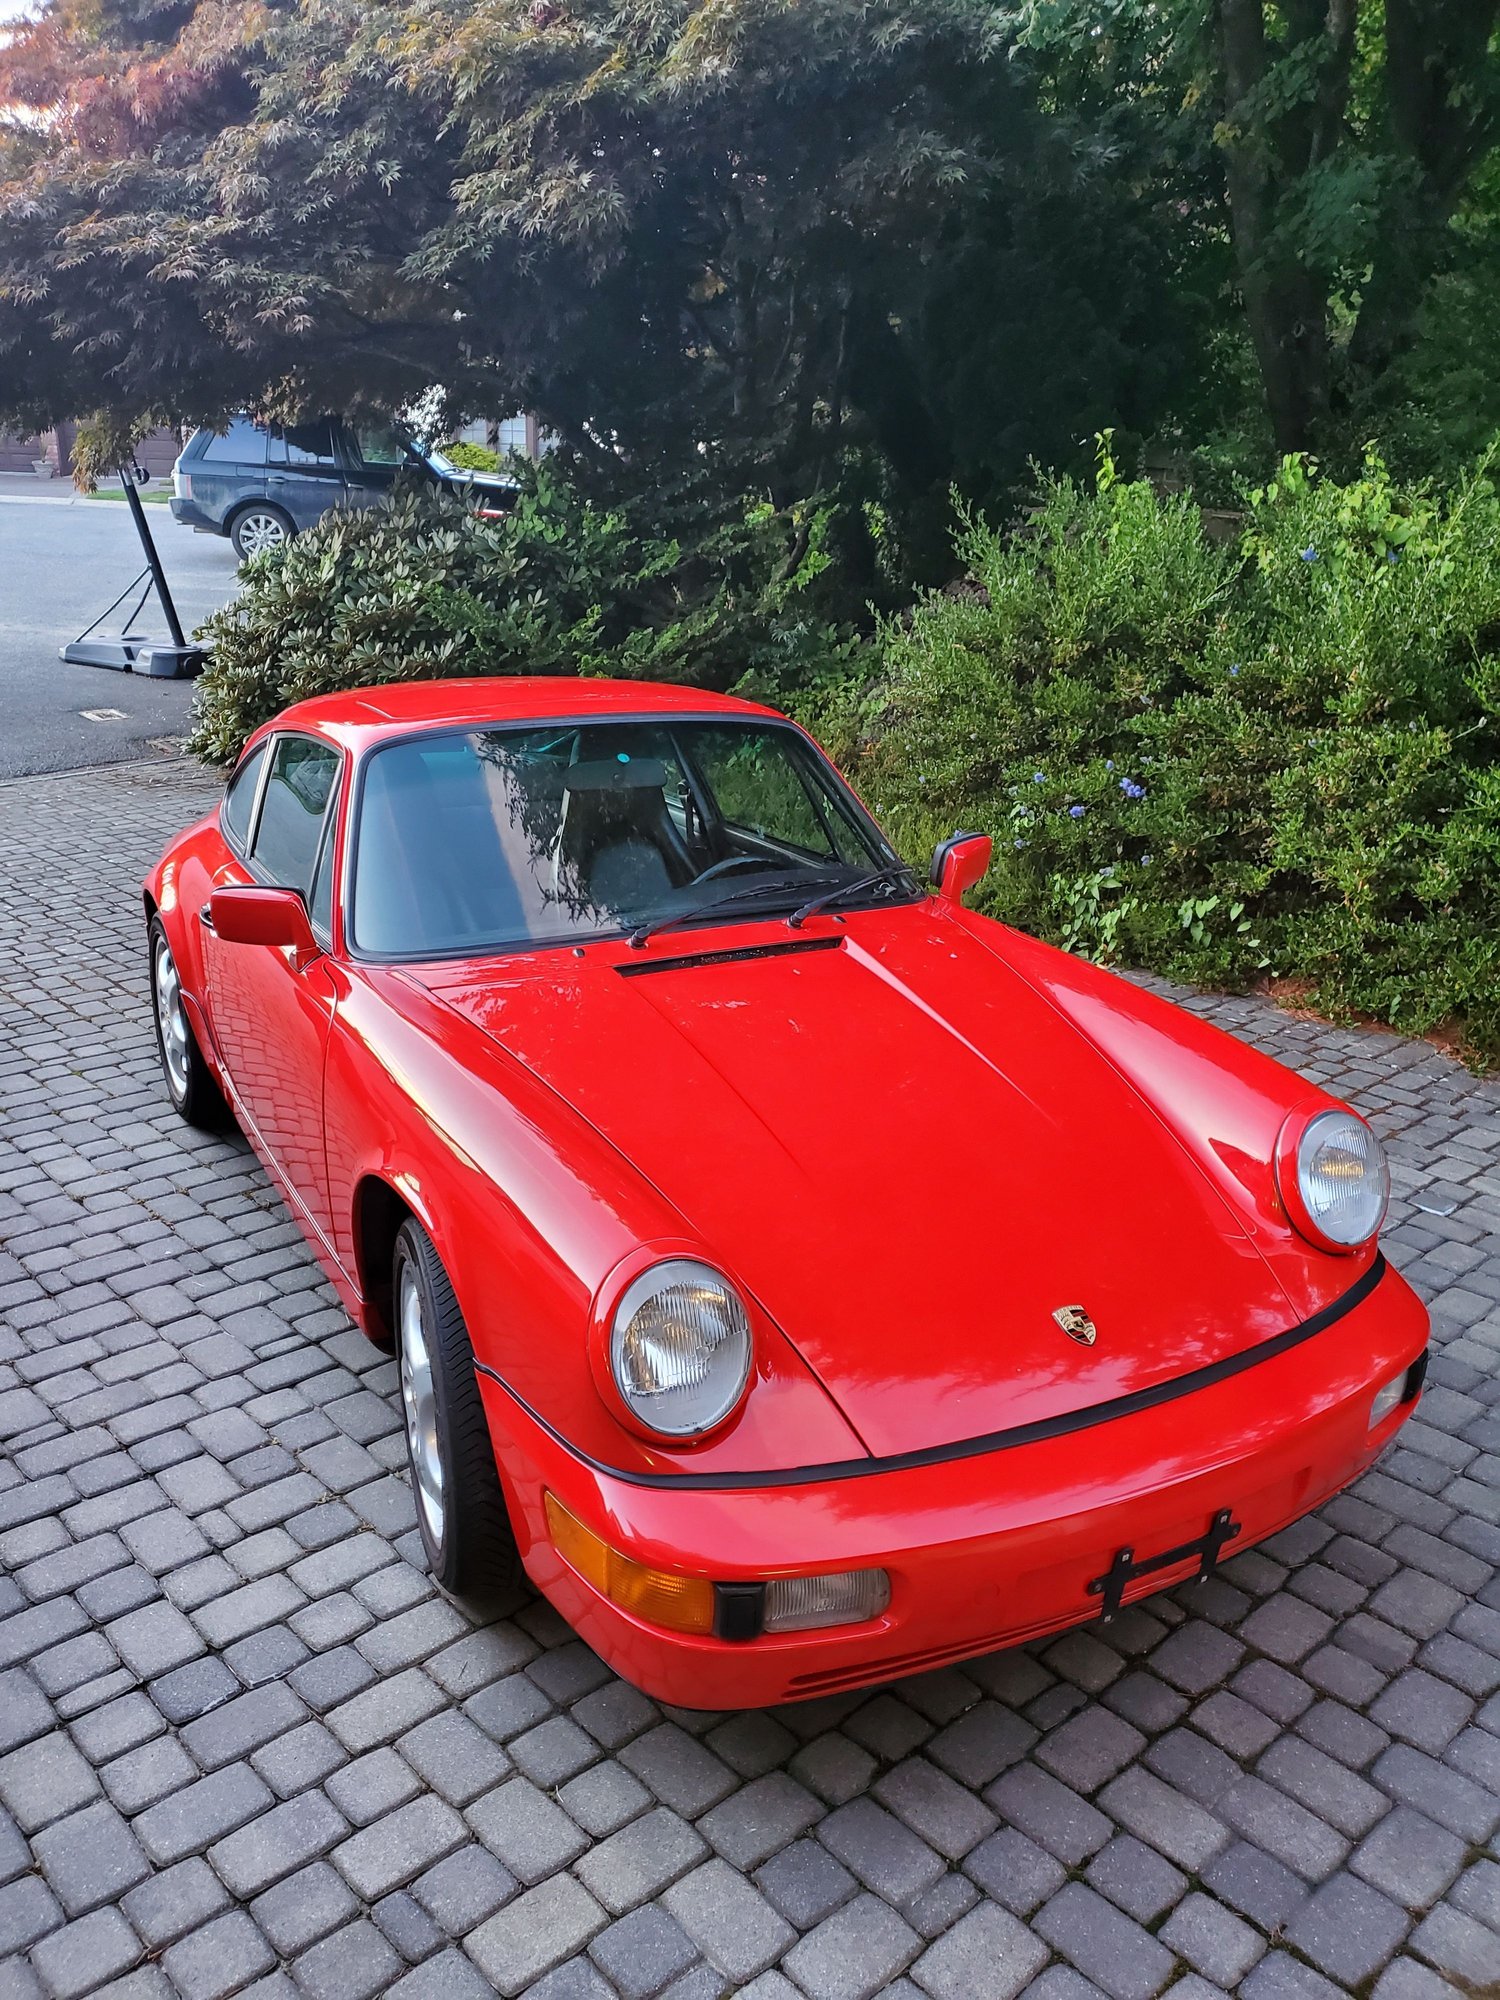
Looking pretty reasonable for 32yr old paint as far as I'm concerned. The hood definitely has some paint chips in addition to having an overall "porous" appearance. If anyone has some advice on how to correct that please let me know!
Finished it off with some Carnauba wax and called it good enough for now!
For fixing the paint chips, I've read that getting the original touch up paint isn't the best as the old paint will now be a different color than newly mixed paint - can others share how different it really is? Do I need to get something mixed up custom?
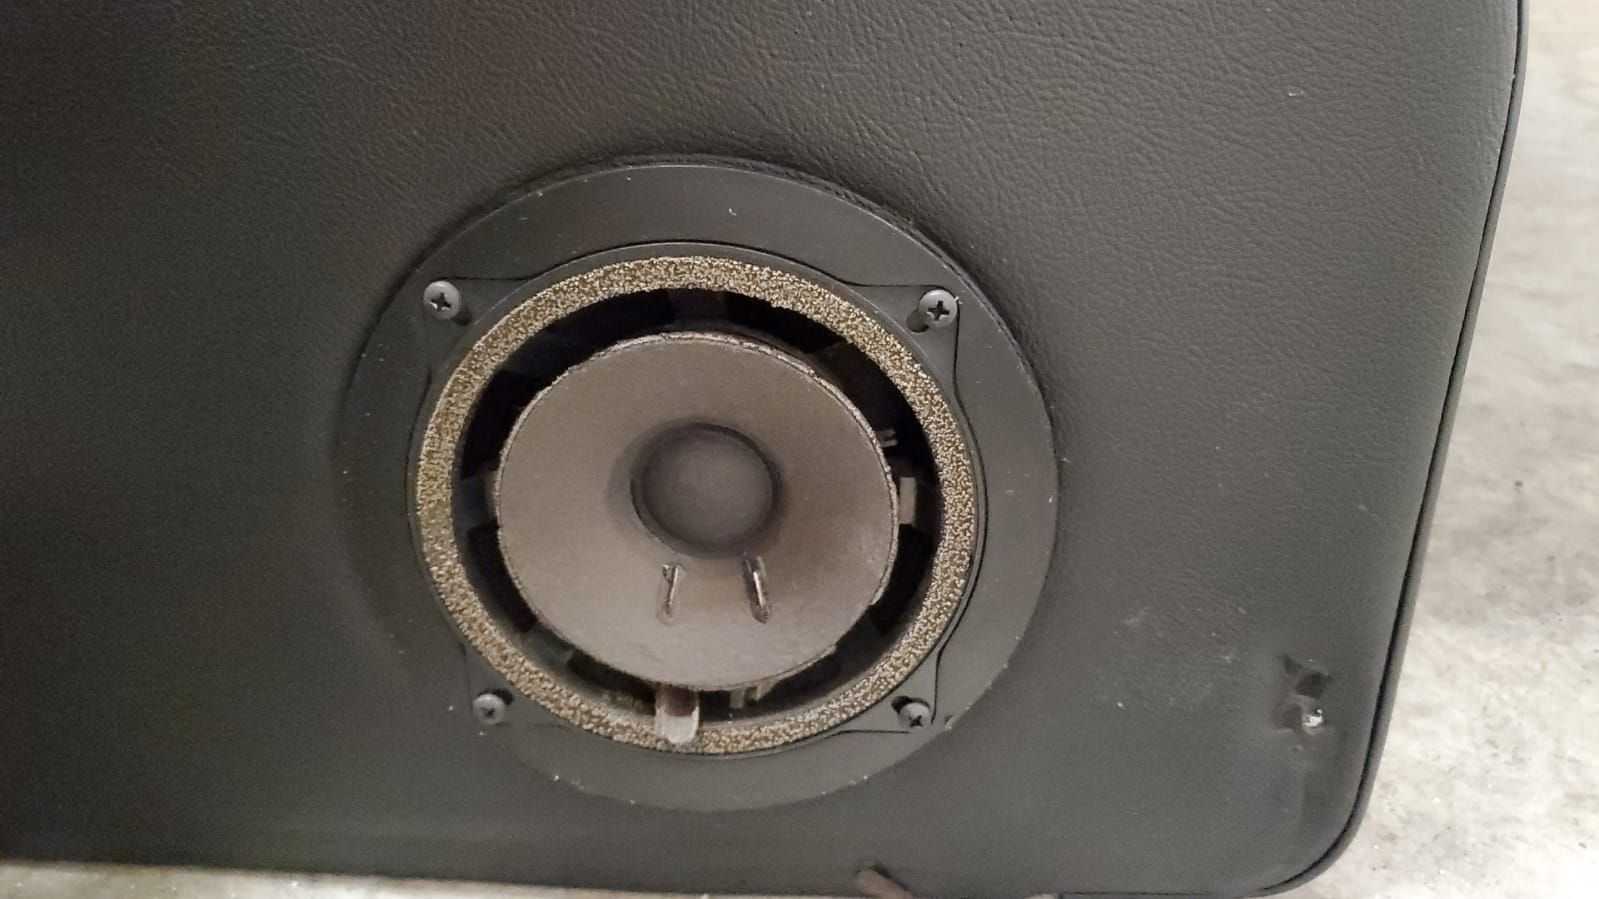
Next up is addressing the stereo. I got the car with an ugly alpine deck in the dash, and I'm quite sure putting my phone speaker on maximum in a beer glass would sound better. I know I know, get a delete plate and listen to the music from the back of the car, but I need something to increase the WAF slightly. I pulled the head unit out to find the original wiring chopped off and connected to the alpine harness with a series of Molex connectors - its not the worst mess I've ever seen but not the best. Next I pulled off the door cards to see what the speakers looked like....
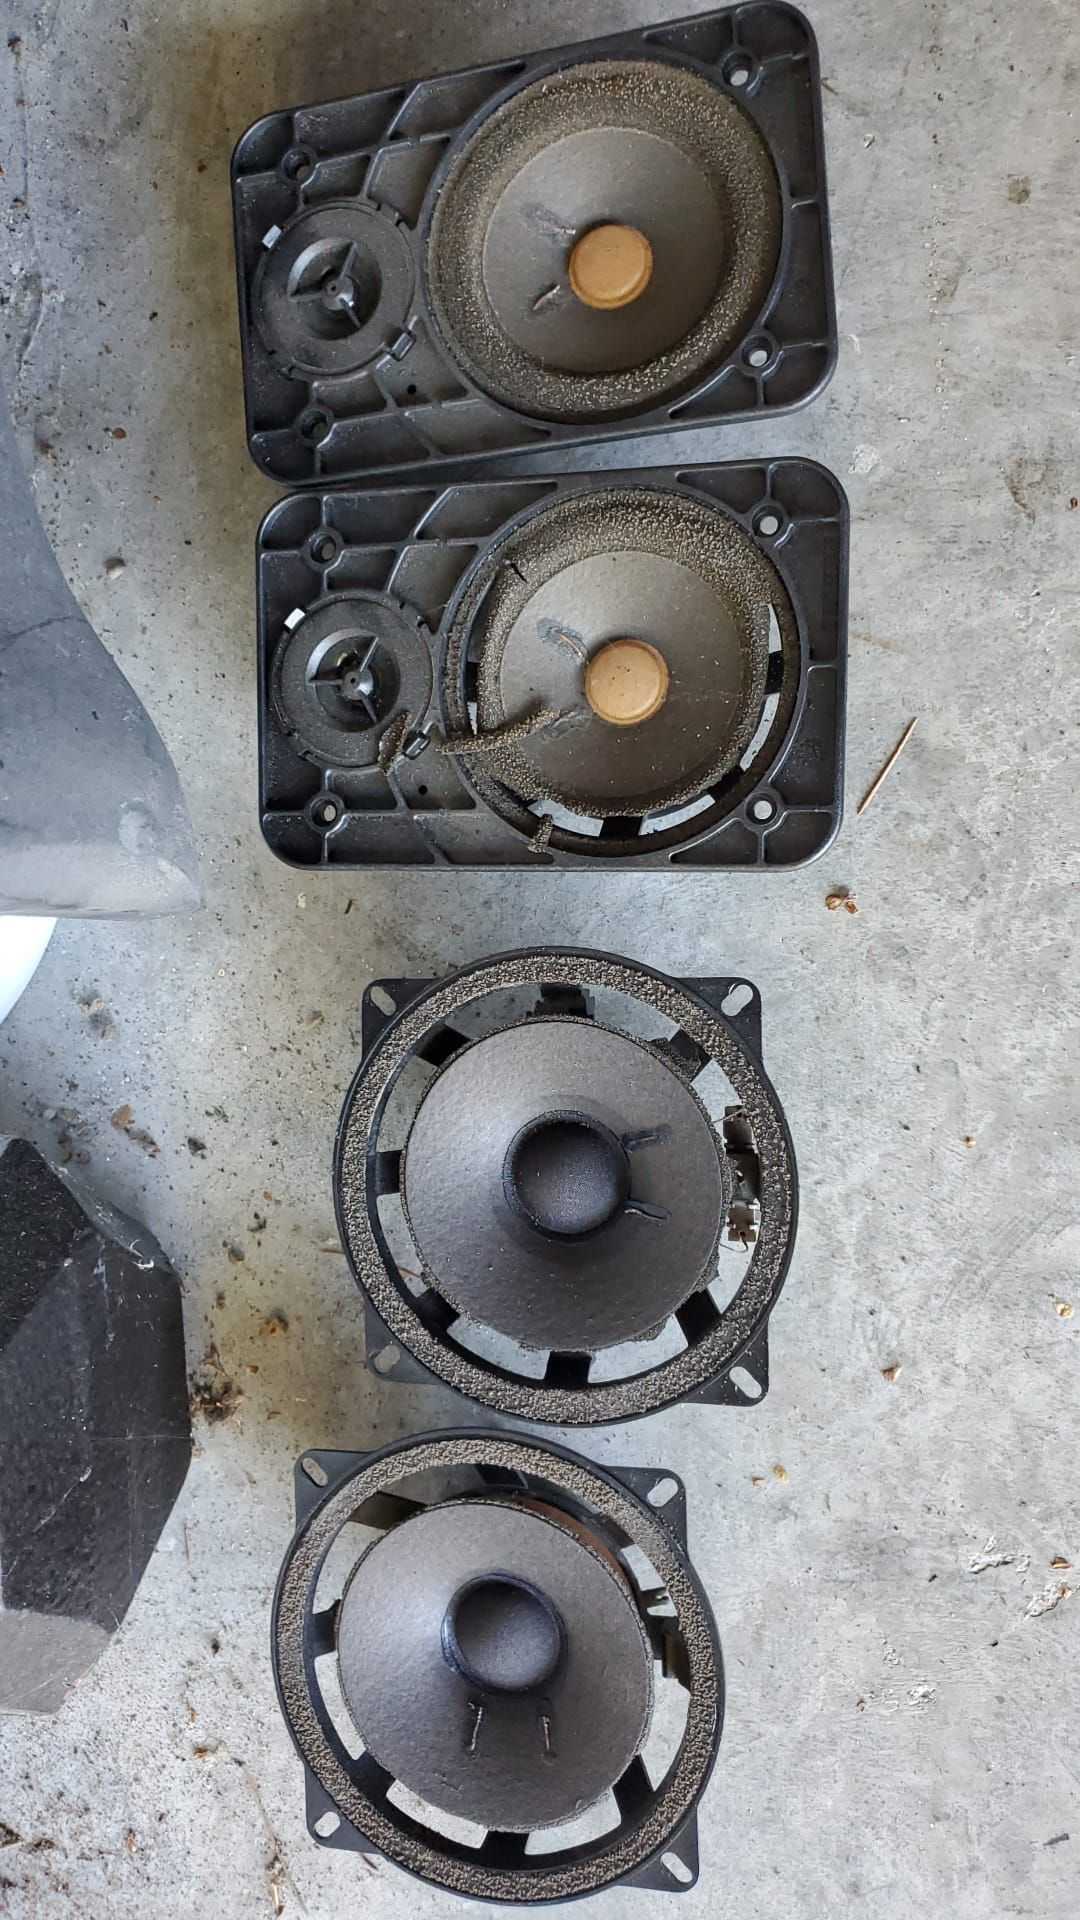
No bueno. The rears were no better, obviously 32yrs has not been kind to the foam surrounds and its actually a bit impressive that they made any noise at all.
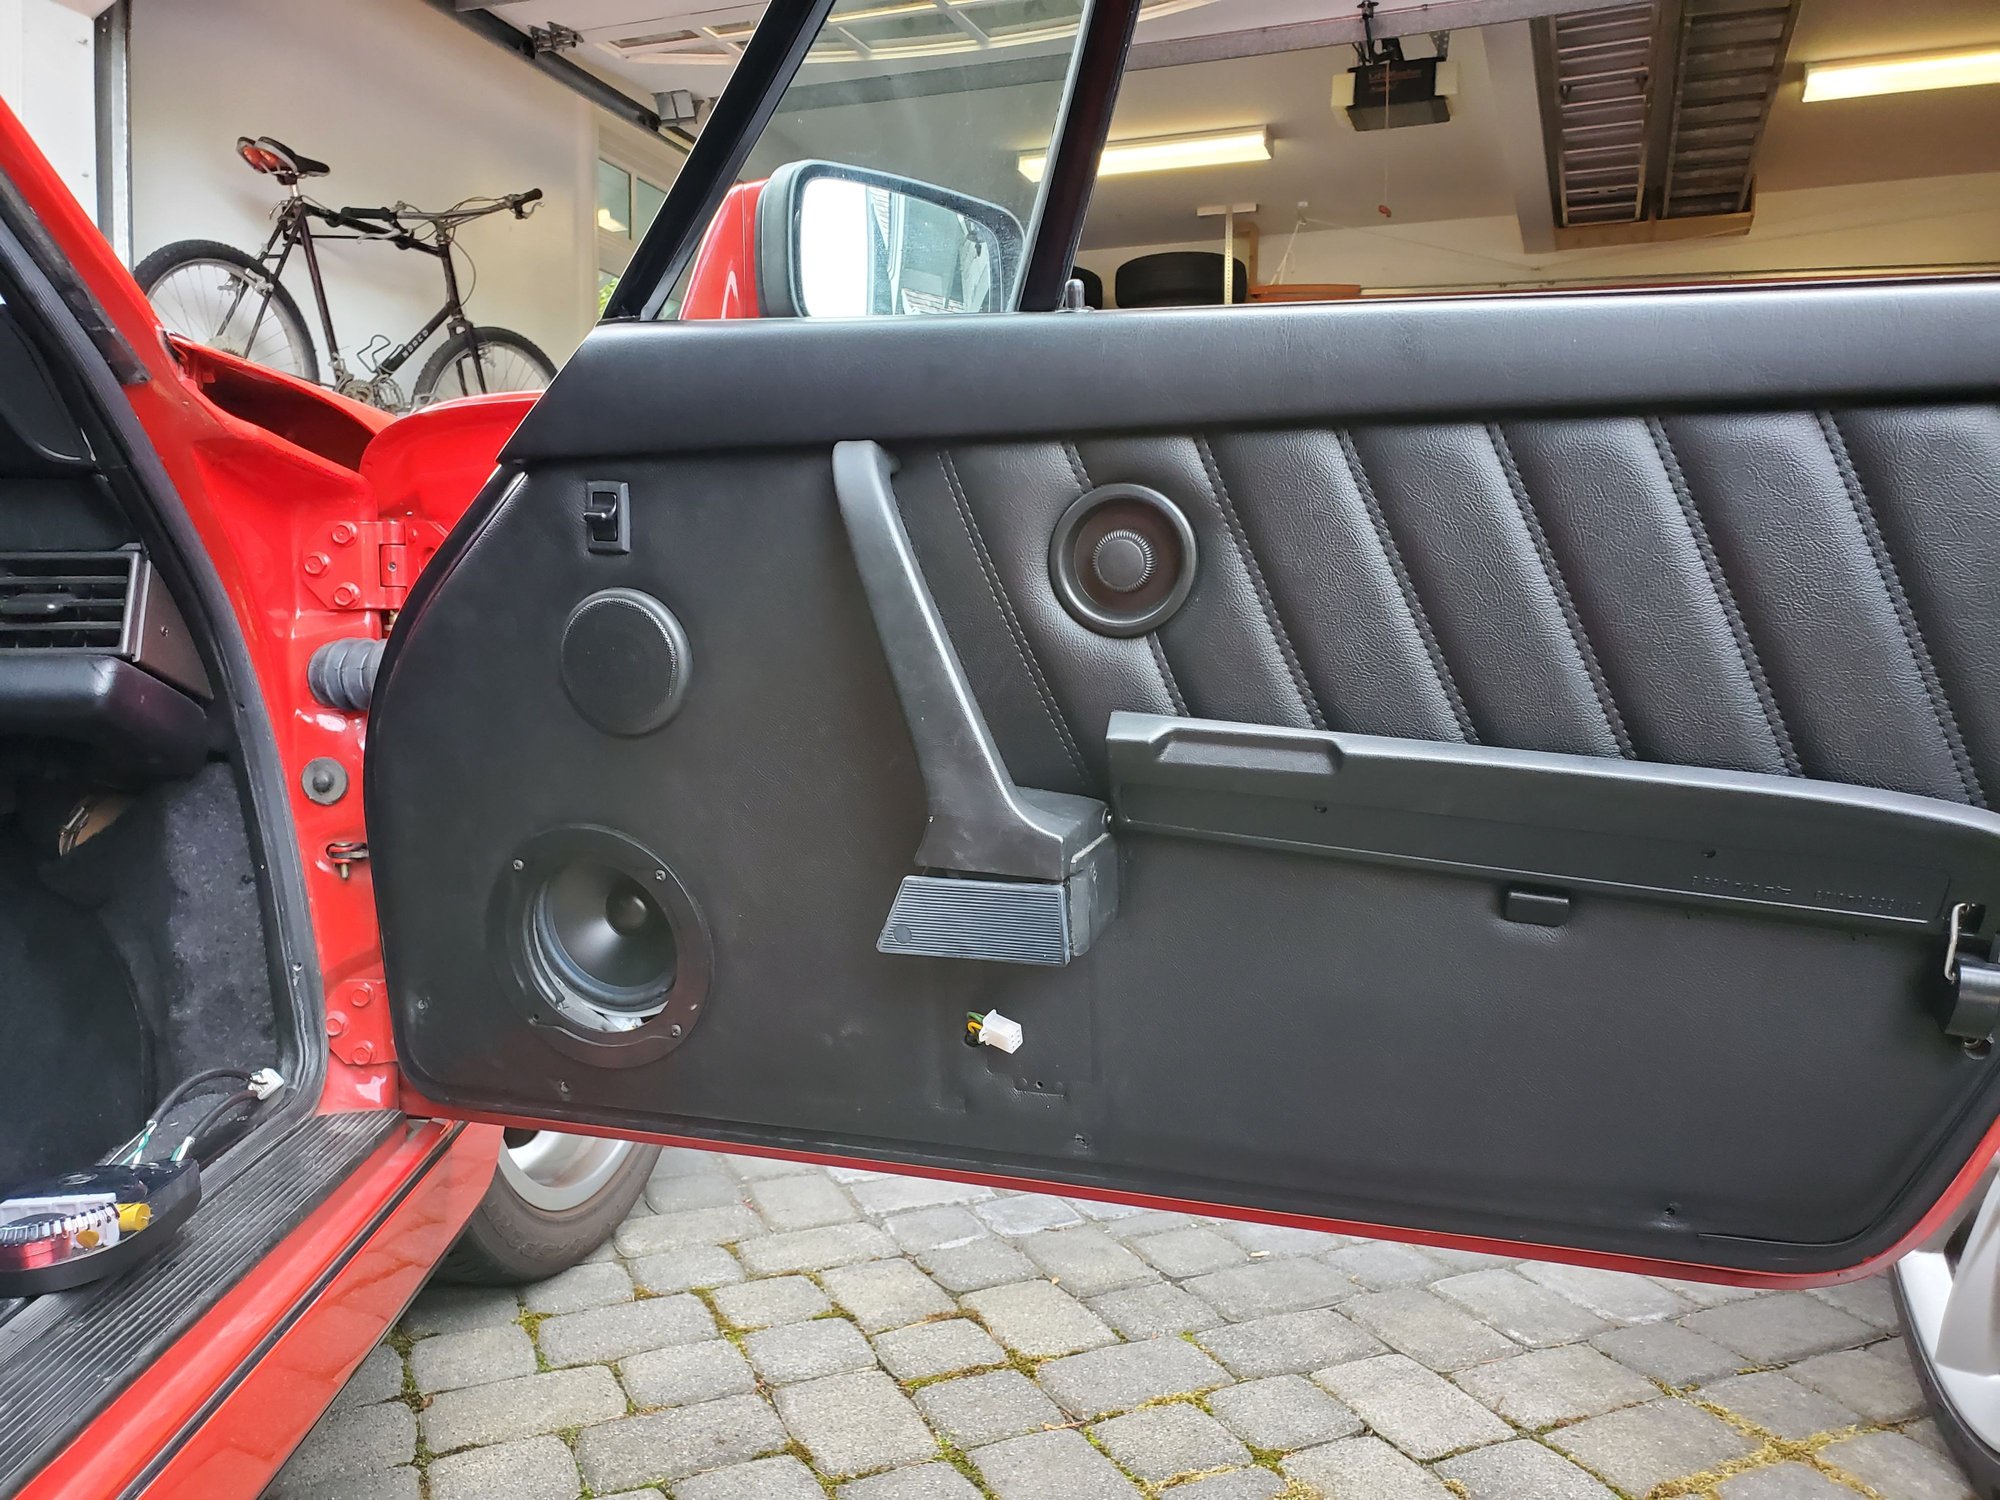
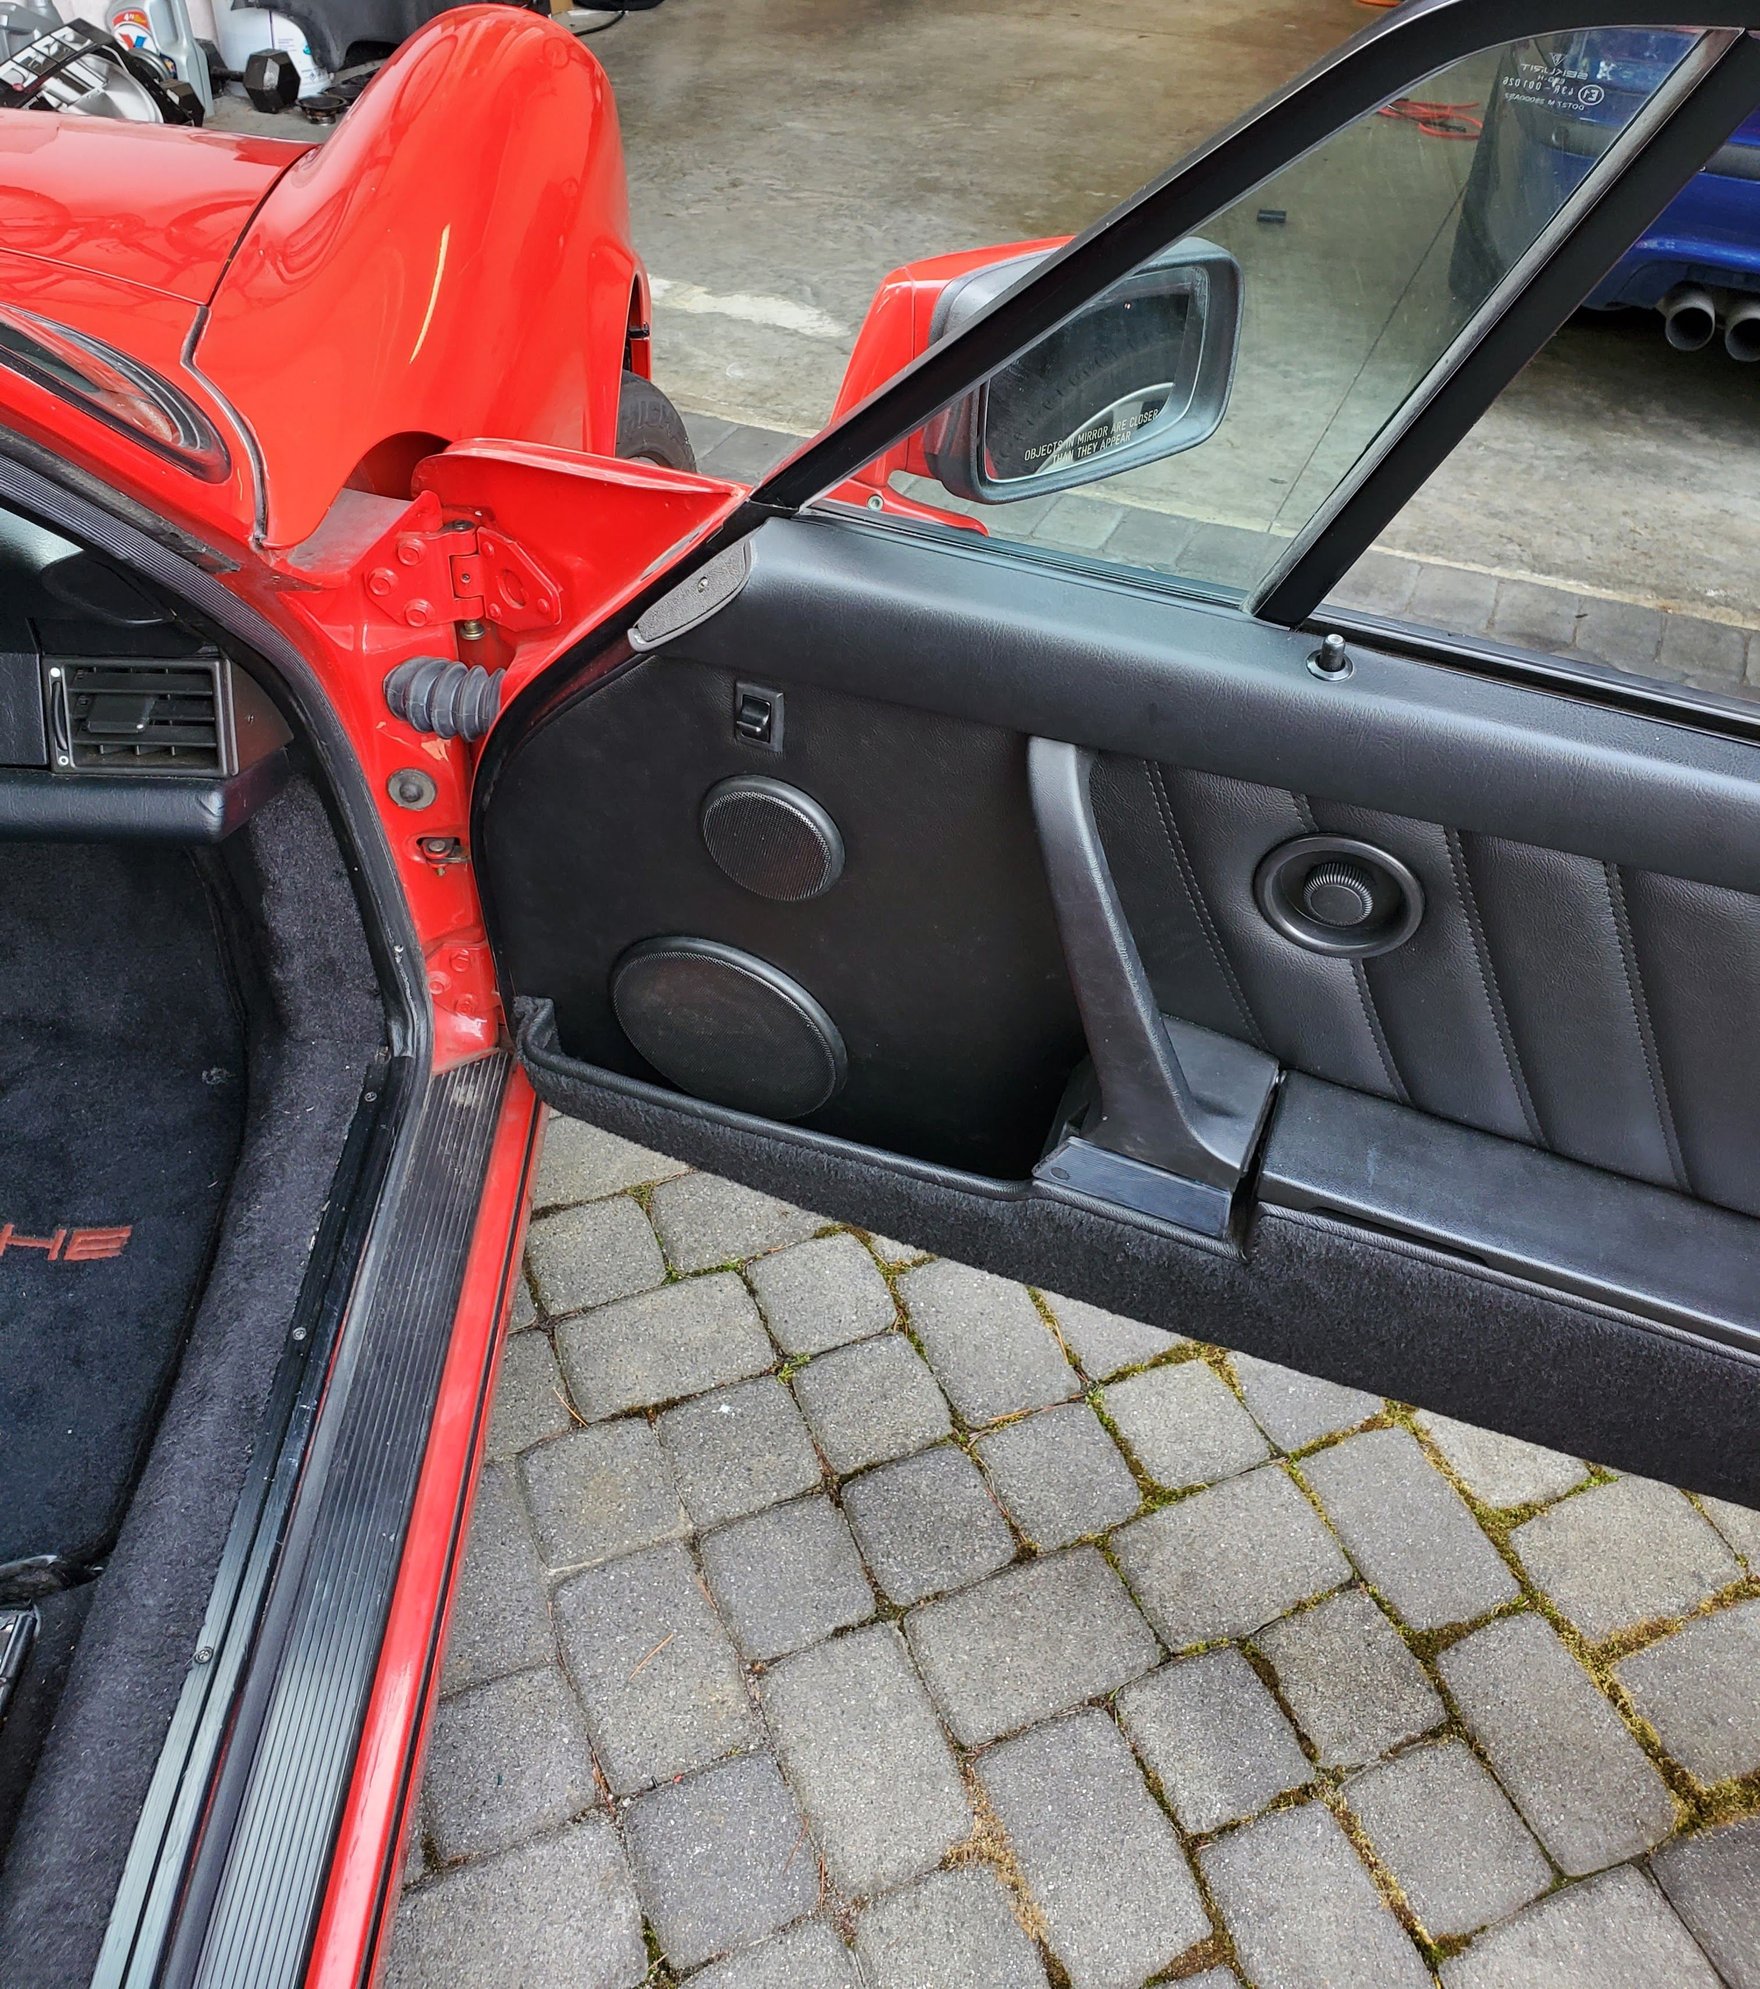
All of them out and in the garbage. I wanted to keep everything at least original looking, and therefore decided whatever I did needed to keep the original grills. This limited the speaker selection somewhat and constrains how good this will be able to sound, but I don't really care anyways. I decided on JL C5 5.25" components for the doors, and Infinity Kappa 64cfx 4x6" rears. After a bit of reading I also decided hanging new, heavier speakers from the original door cards was a bad plan and decided to screw them directly to the steel door, utilizing the pre-drilled holes. In hindsight going this route probably would have allowed for 6.5" speakers but I'd already bought the 5.25" variants and didn't want to change again.
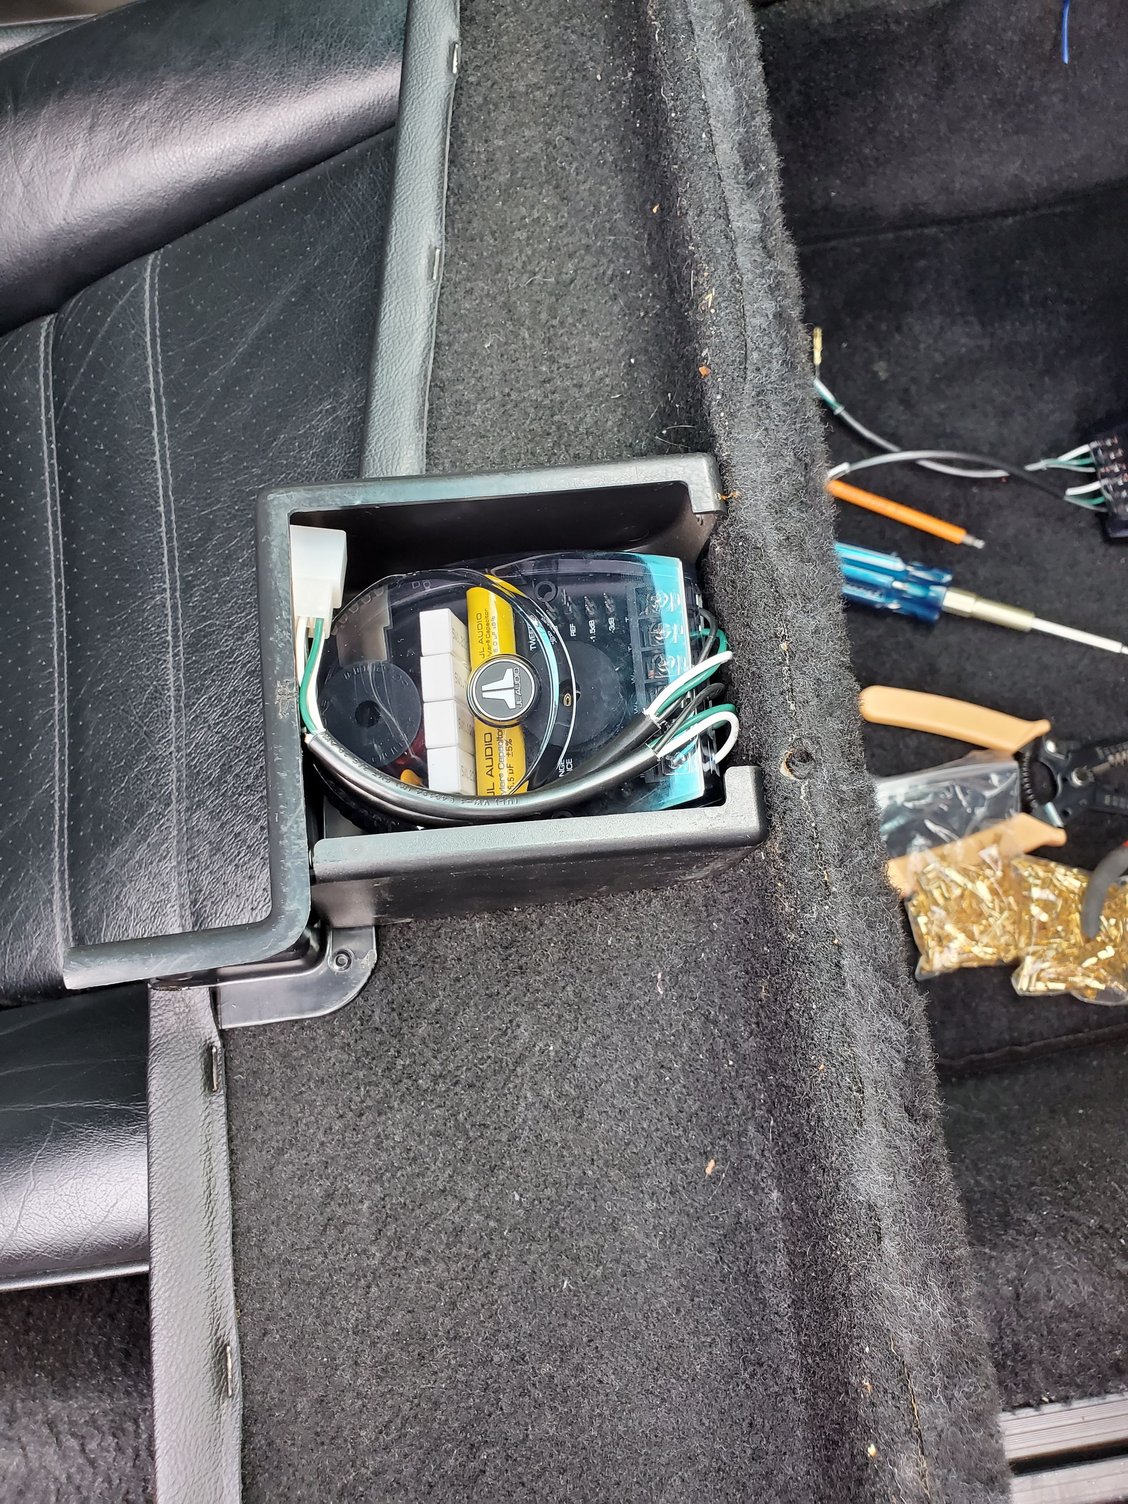
Cases for the old crossovers sort of fell apart as I was removing them. The new crossovers were just slightly too large to clear the plastic flange of the crossover compartment in the door bin which prevented me from affixing them to the door card in the same way the old ones were. I could, however, wedge the crossover in the compartment with the door bin off, so thats what I did and rigged up a plug so it wasn't such a nightmare to install and uninstall if I need to in the future.
The tweeters from the new speakers are a smaller diameter than the new ones, so I had to fashion an adapter ring out of a piece of plastic I had lying around. This worked no problem and allowed for the existing tweeter grills to go right back on. For the woofers, once bolted to the door I took the previous plastic door card mounting brackets to the band saw to slice off the majority of the plastic housing, leaving only the ring and enough lip to retain the foam backing to prevent any rattles. With that done I was able to get the door cards back on.
Keeping the original plastic mounting ring allowed for seamless reusing of the original speaker grill, and with that the door install is complete.
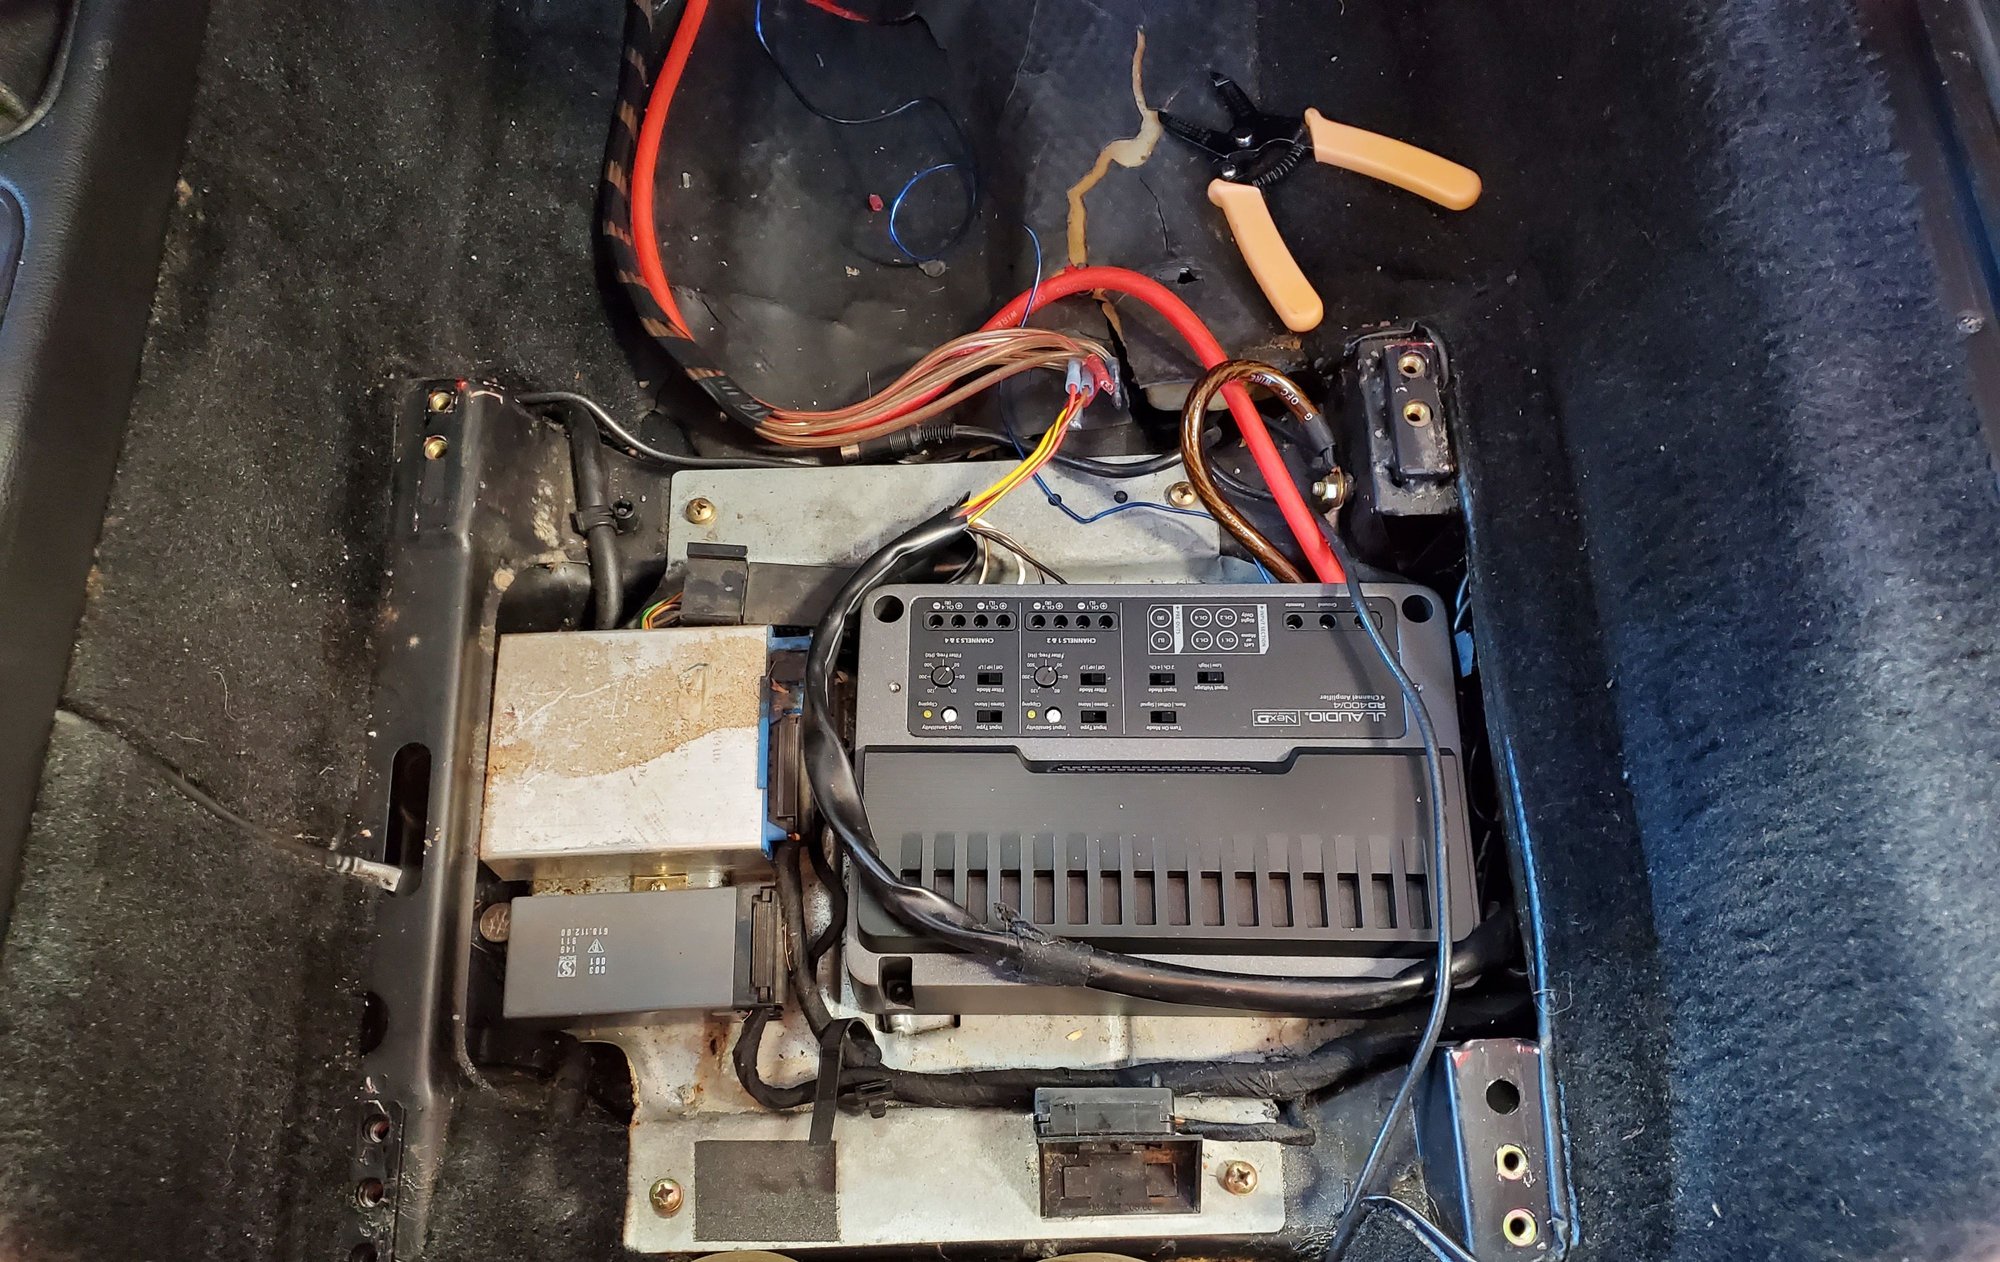
Next I tackled the amp since the rear speakers hadn't arrived yet. My car came with the factory amp and I assumed it would have been removed whenever the previous head unit was installed, but when I pulled out the front seat I found the original Baupunkt unit sitting there, bypassed. I decided I'd use a new amp to power the front speakers, but leave the rears powered off the head unit. Grabbed a JL RD400 from the local shop and went about figuring out how to get a proper power cable to the passenger seat. I was able to very tightly jam a 4gauge power wire through a gromet that had an extra hole in it above the clutch pedal, and feed it behind the dash and under the carpets to the passenger seat. The new amp has a bigger footprint than the Blaupunkt original but the mounting brackets easily pushed out of the way to allow some extra space. Held the amp down with some velcro command strips.
Amp is in, I'll clean up the wiring once everything is tested and working. Rear speakers installed easily once they arrived, holes lined up perfectly and the original speaker covers fit over nicely with the help of a bit of rubber stripping around the outside of the speaker plate.
For the head unit, I wanted something that at least looked period correct but had bluetooth at a minimum. After reading a bit it seemed this Blaupunkt Bremmen SQR46 DAB head unit would fit the bill, but was a little hard to get ahold of. I ended up ordering it from the UK but shipping was pretty quick. Soldered up an adapter harness to keep the wiring clean behind the dash and fit the new head unit. It is a very tight fit in the dash, but a bit of pressure with everything lined up and it went in. For the dimming function I pulled from terminal 58 on the plug I found presumably meant for the absent rear fog lights. The amp trigger feature was not obvious to me, I must have missed something, but I was going away for the weekend and impatient so I tried the antenna power output on the head unit and discovered it does not change state if you change source away from the tuner like some of my previous head units did, so this worked fine.
Looks good, but how does it sound???? Meh. Probably needs a sub, but I don't care, it will be off most of the time anyways and I can hear podcasts fine.
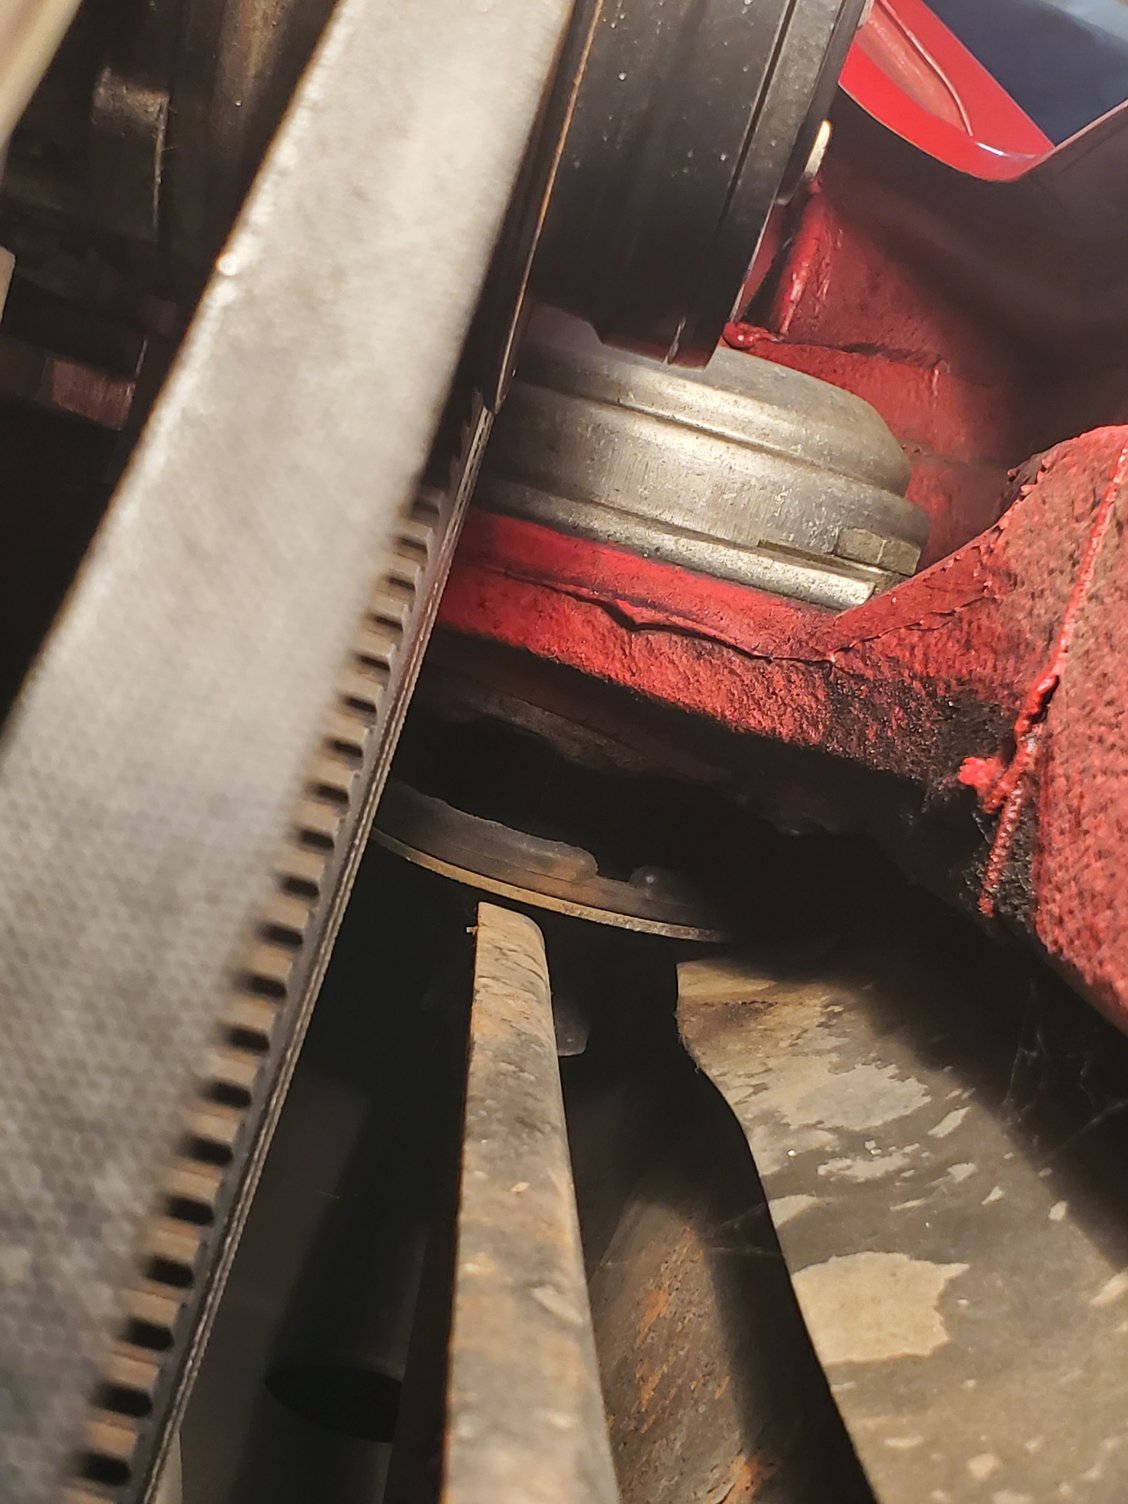
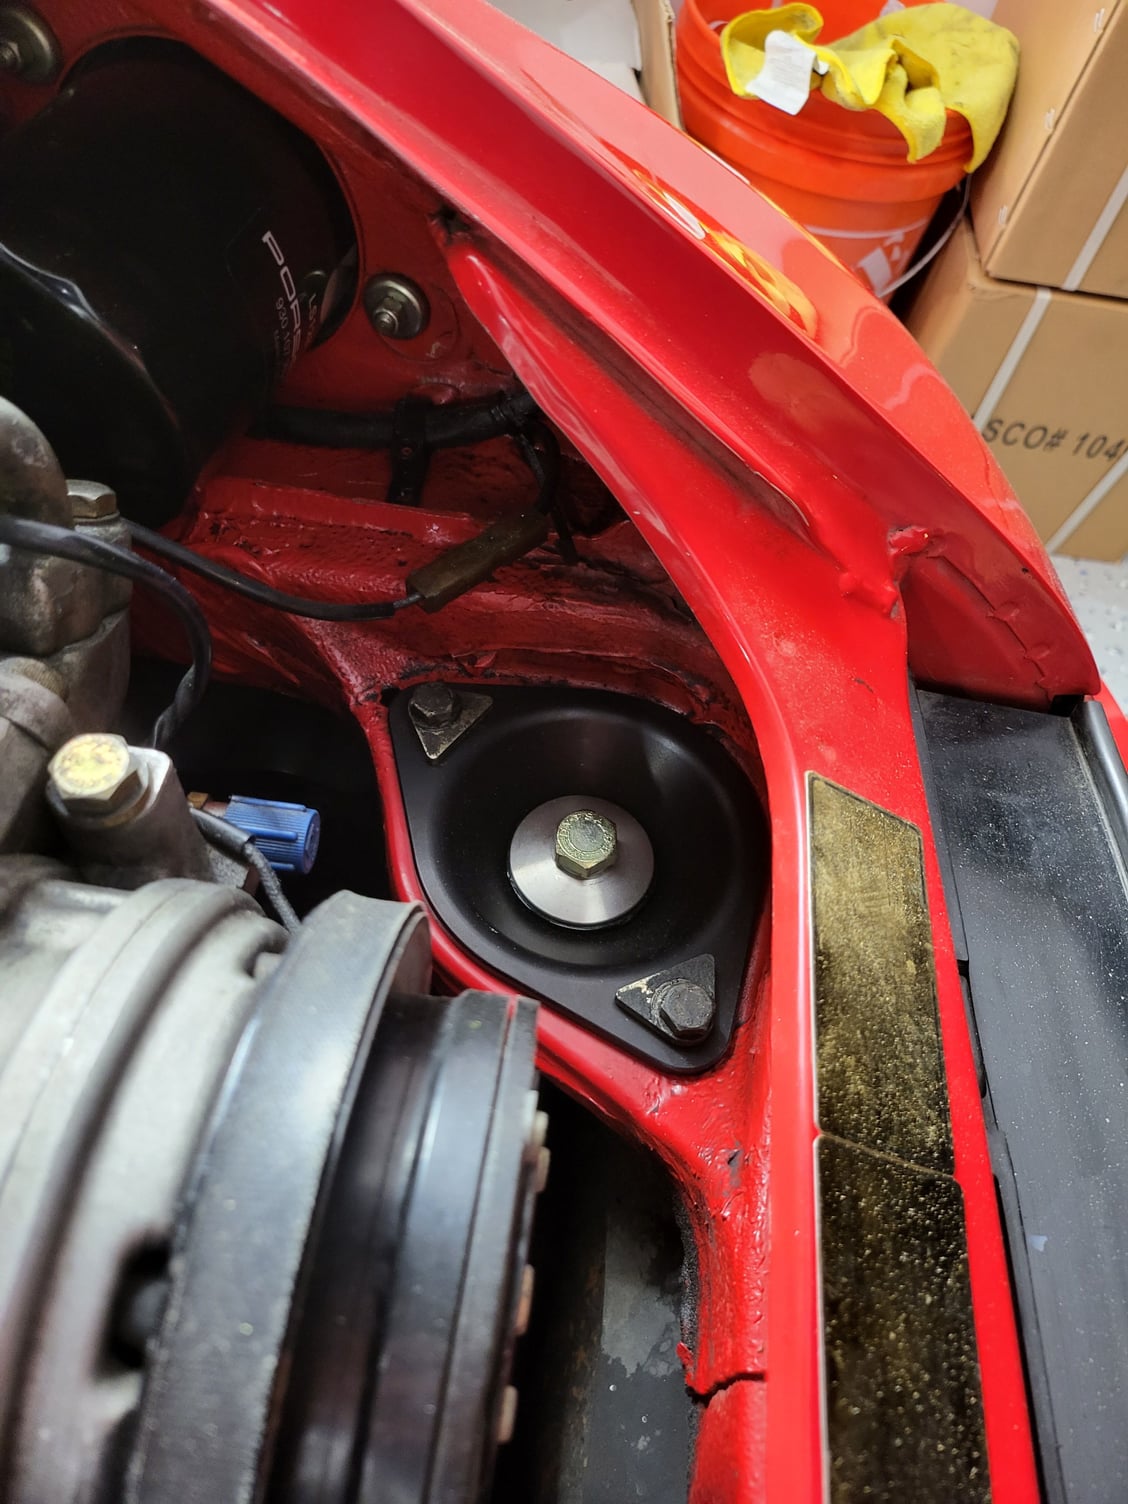
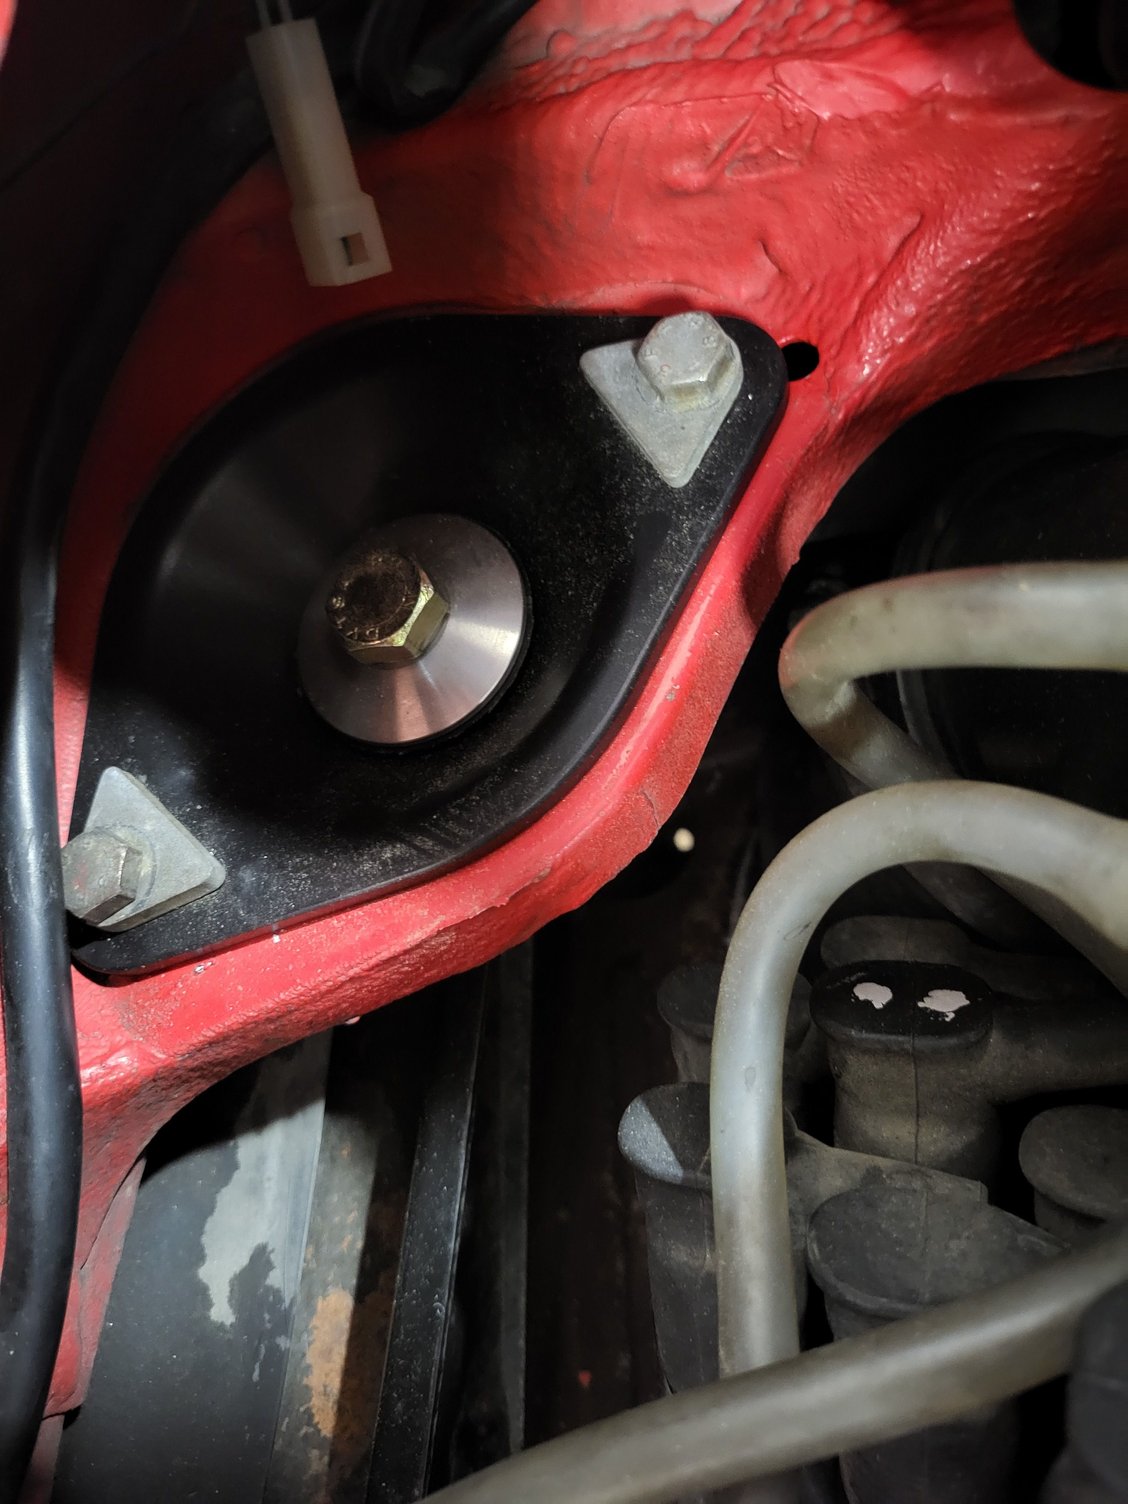
Finally carved out some time to tackle the motor mounts. Mine were badly sagged and I could feel it when shifting during anything more than mild acceleration.
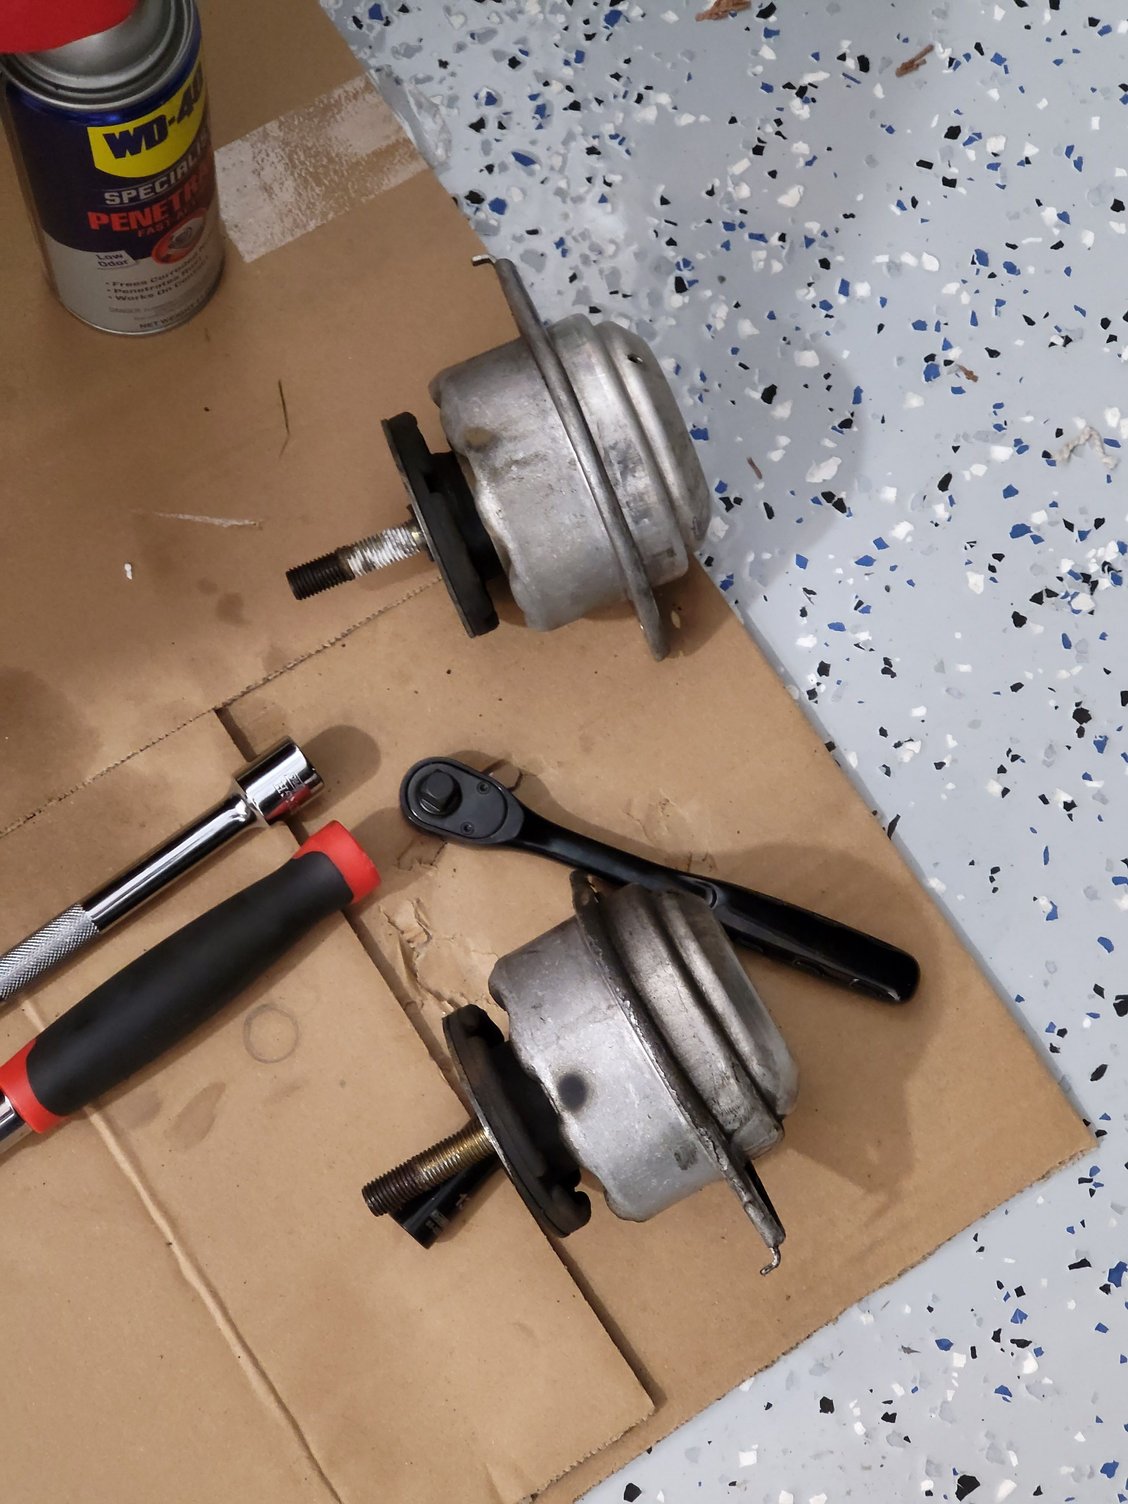
Mounts looked pretty saggy.... After doing some reading I decided to replace them with Wevo mounts with black pillows.
A bit of penetrating oil and a breaker bar and they came free without too much trouble. Looking through all the receipts I have, I don't see any mention of them having been changed so I assume they are 32 yrs old.
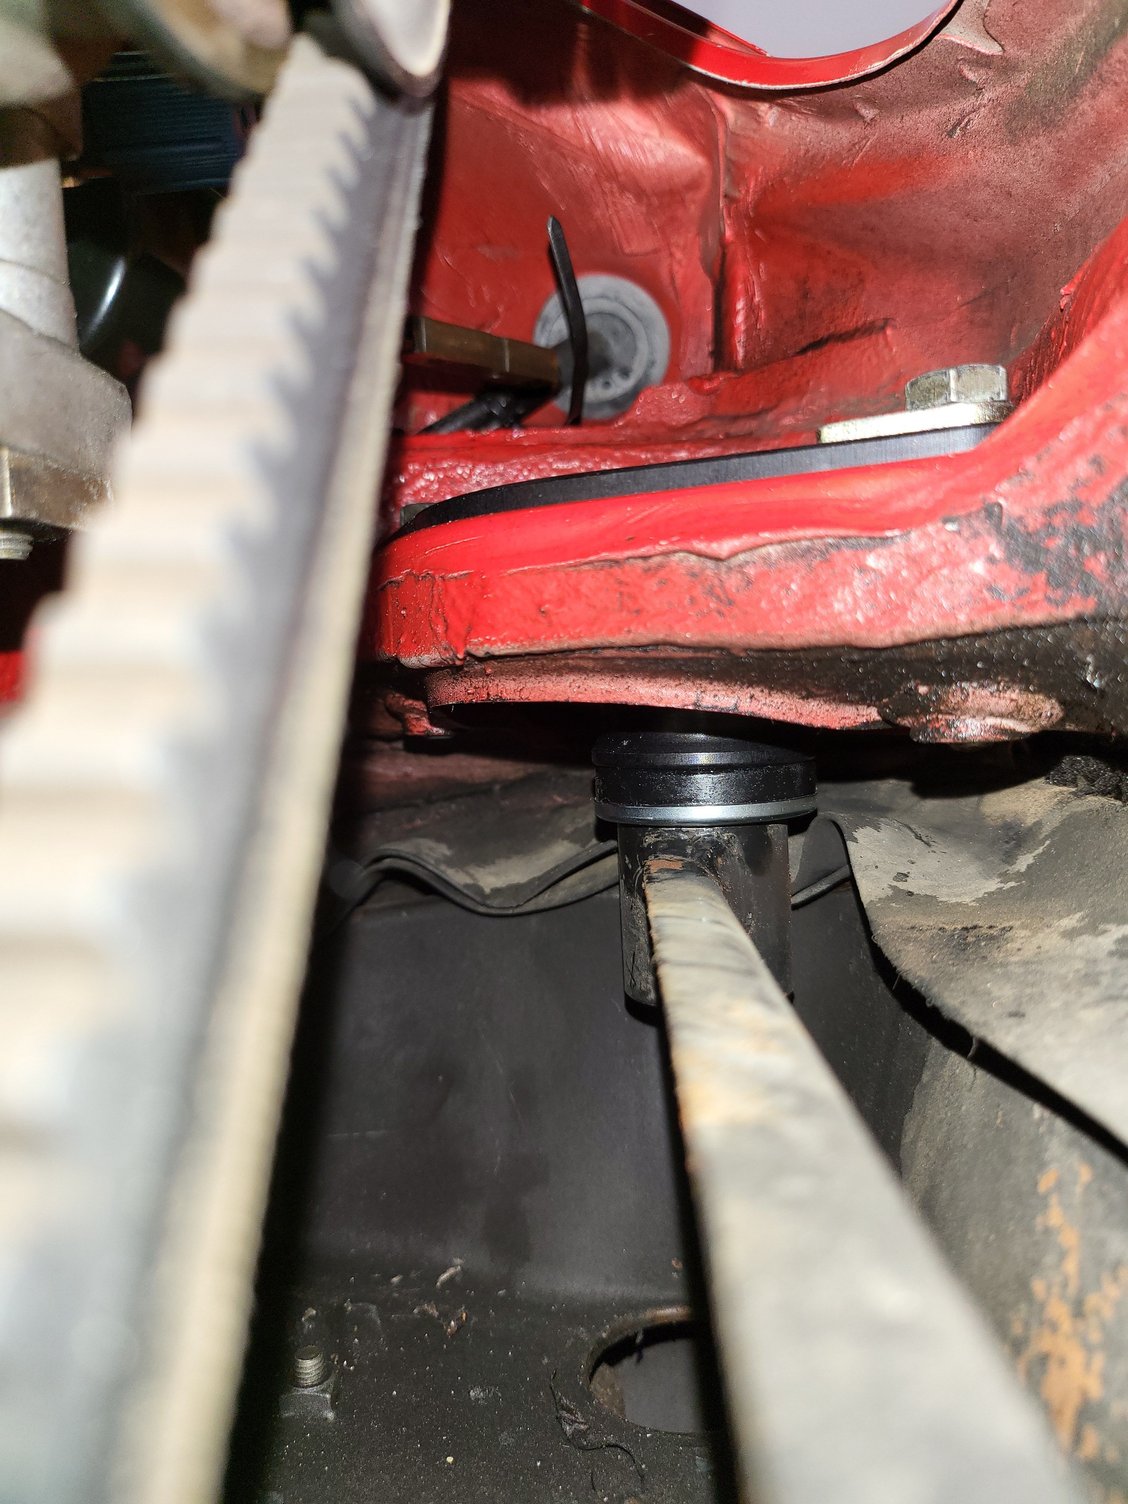
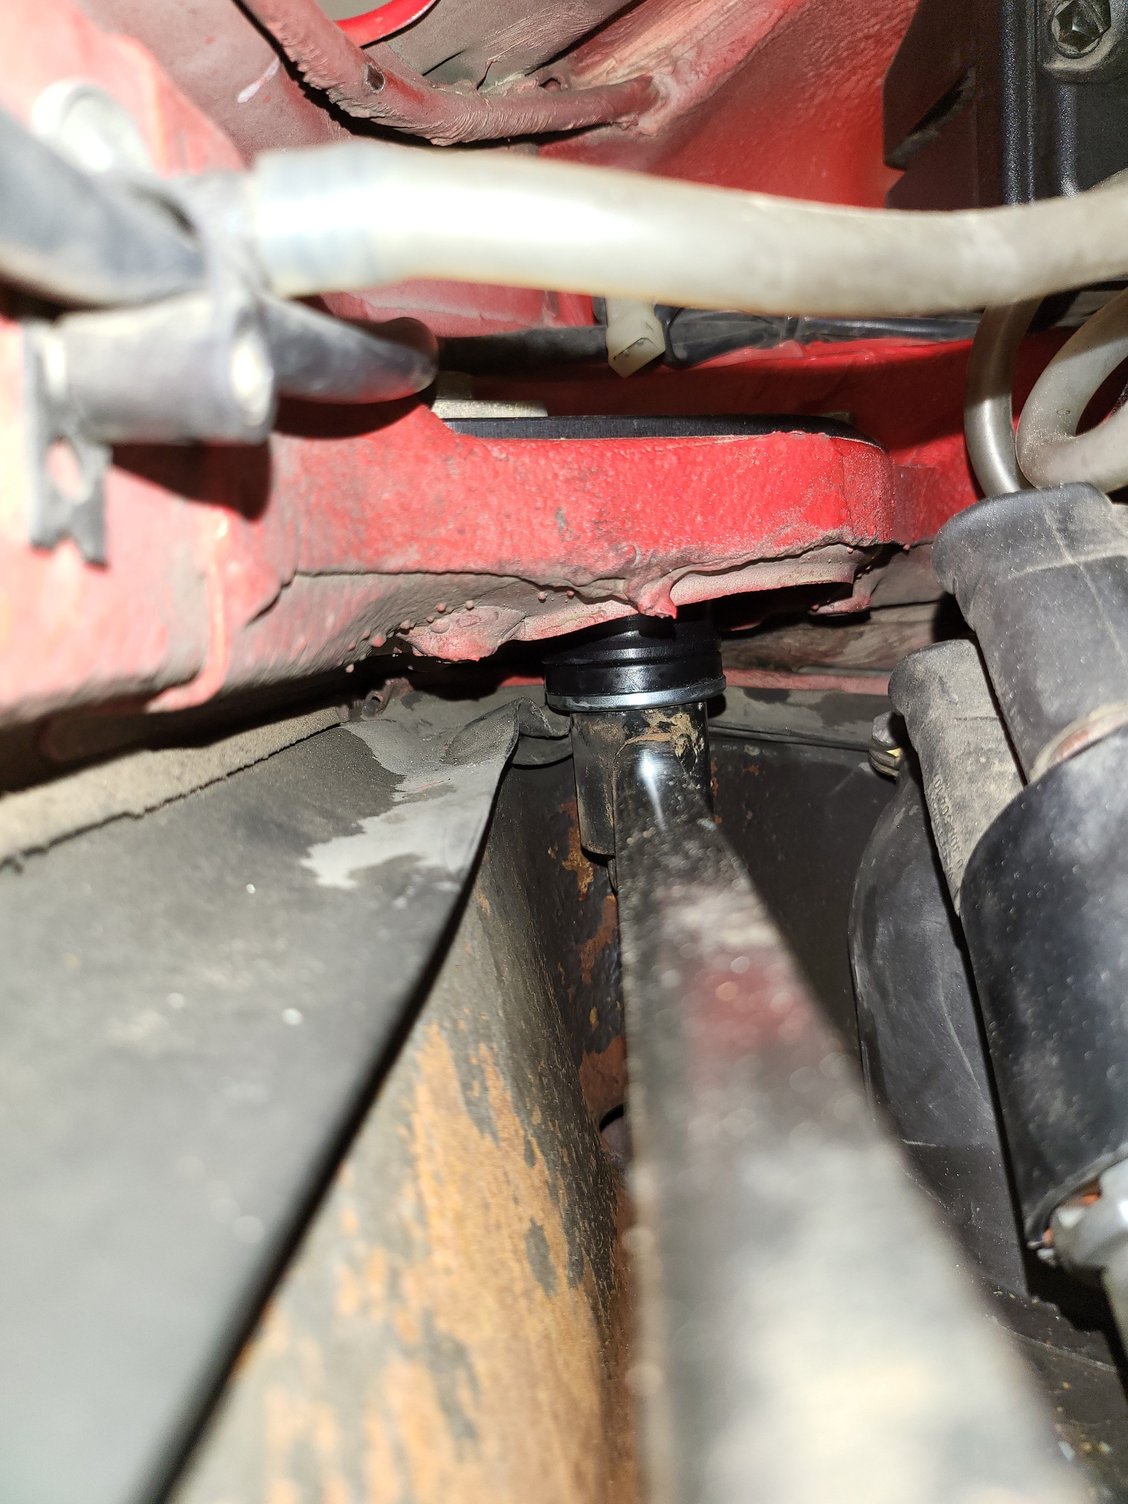
Interestingly I had to raise the engine up after removing the original mounts - it was as if they were longer than the Wevo mounts, as even when jacking the car from the engine case the original mounts would not compress all the way. In any case, after jacking the engine up a little further with the old mounts out the new mounts went in fine.
New mounts in. Took it for a quick drive and the funny shifting feeling is gone! Also seems smoother off the line, probably because the engine isn't flopping around as the clutch engages. No noticeable increase in engine noise, and actually if anything I think its gotten quieter - maybe would have been even quieter replacing with OEM mounts but these seem to do the trick.
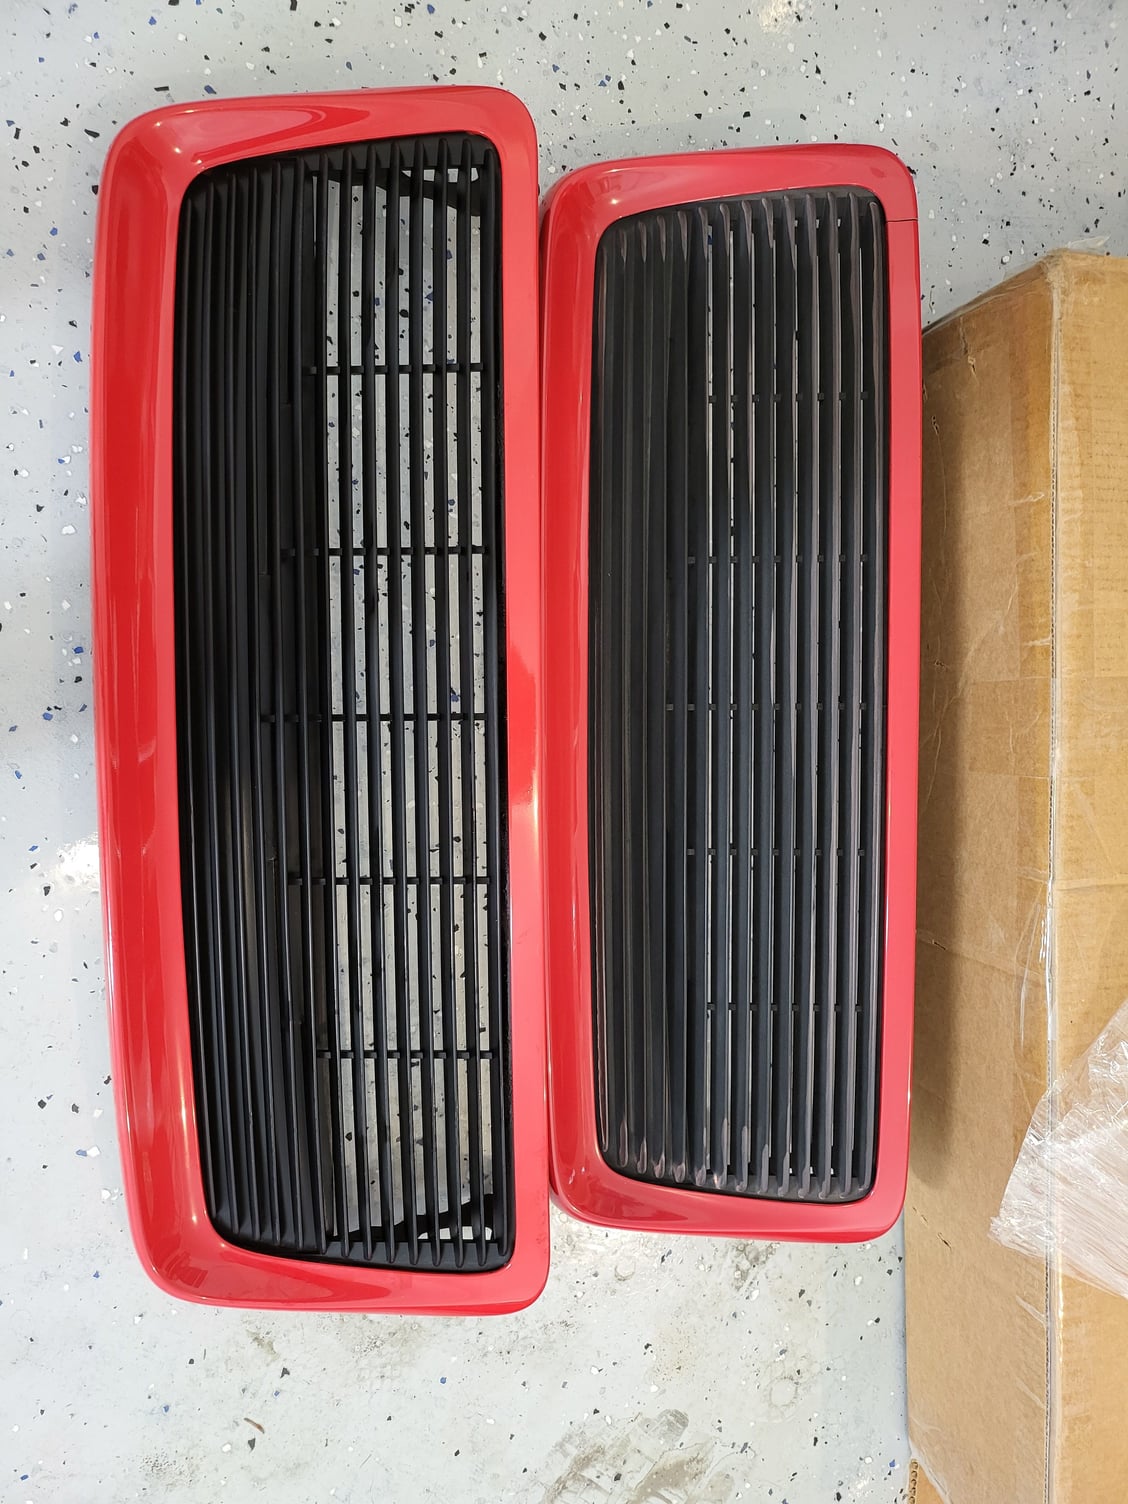
Had a little time between meetings today and decided to tackle my cracked spoiler....
Mine is cracked in the usual place that I've seen on many others - left side only for me. Its a bit infuriating that there doesn't seem to be a way to remove this plastic trim piece or repair it in a permanent way, but anyways...
A few months ago I had called Mike at Autobahn Dismantlers and he had happened to just get in a non-cracked spoiler in guards red, so I bought it. I actually think it has been resprayed as the paint on the underside of the rear lip is not smooth like on my original, but the paint seems to match pretty well so far as I can tell. Its not perfect, but it will do for now.
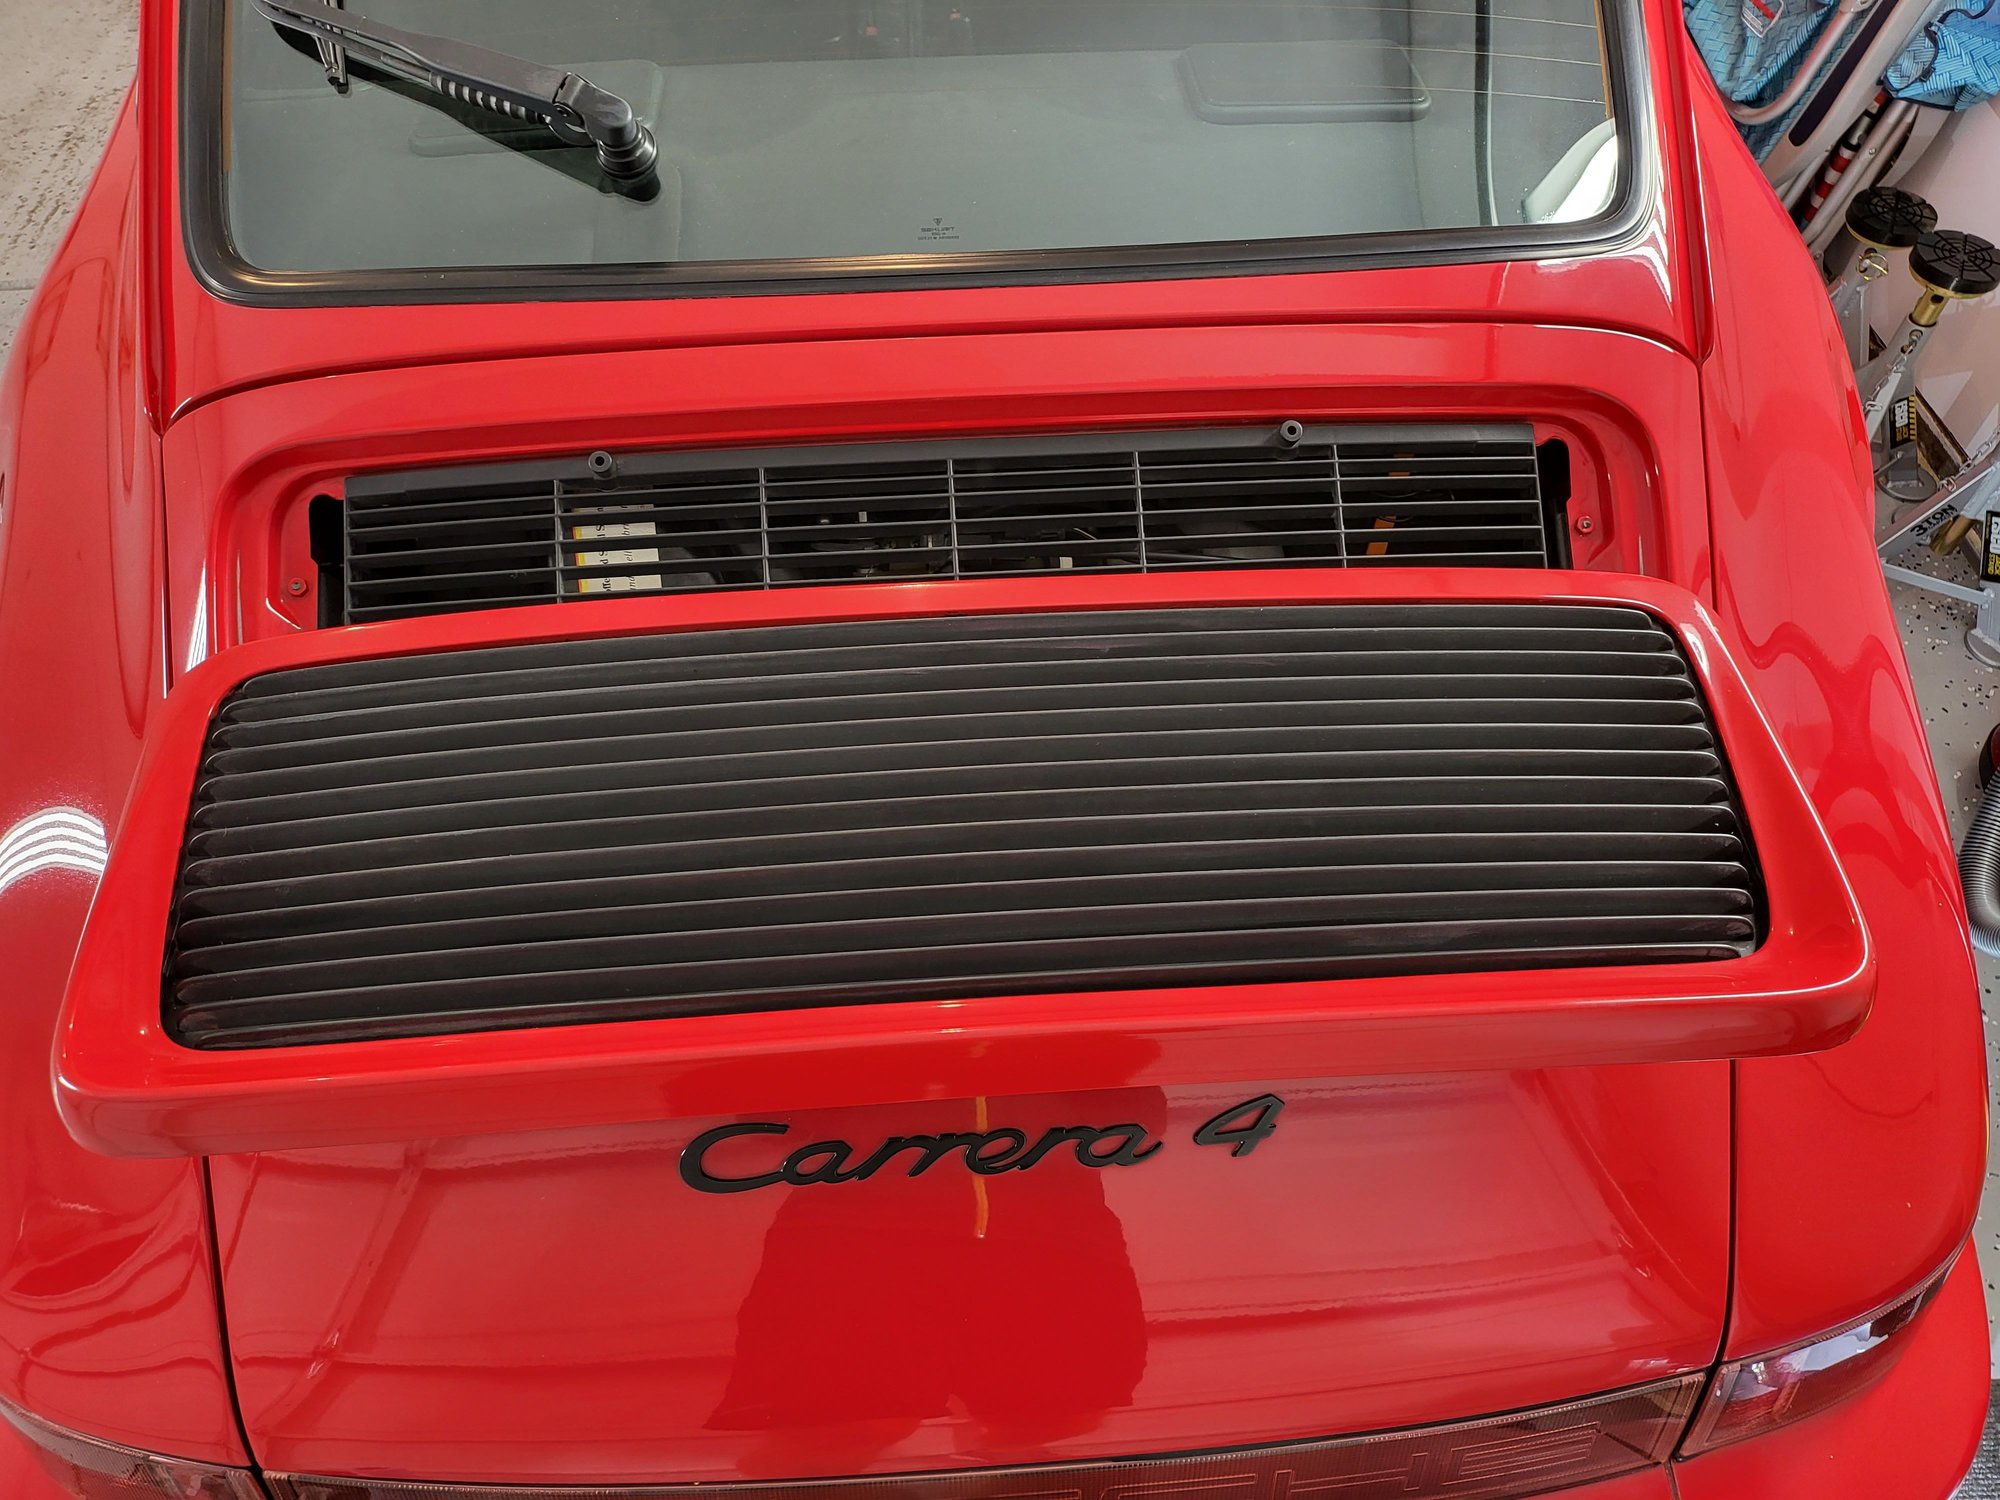
Removal of the spoiler consists of unscrewing 4 obvious allen bolts, and then pulling off the spoiler curtain. The spoiler curtain required quite a bit of force to get it to release from the barb, but just start at one side and work across. The most time consuming part is definitely retrieving the bolt you drop into the engine bay. Bolting up the new one and attaching the curtain is trivial.
There, done for now. I'm sure this one will crack at some point as well. If I have an abundance of time at some point I may try to find a solution for repairing my original one.
I’d say that “porous” paint on the hood is actually just sand/grit blasted. Call it patina, or experience. Other than the sensibly light buffing you’ve already done, I’d leave it be.
I�d say that �porous� paint on the hood is actually just sand/grit blasted. Call it patina, or experience. Other than the sensibly light buffing you�ve already done, I�d leave it be.
Best, John
Thanks John, that was my thought as well after looking at it some more.
I've always hated having a garage door opener clipped to the sun visor in my car; not so much for security reasons but its just one more thing cluttering up the interior and I think it looks ugly. I've been, therefore, searching for an alternative solution.
TL;DR - I connected a garage door opener to the intensive washer switch so everything is completely hidden.
Long version:
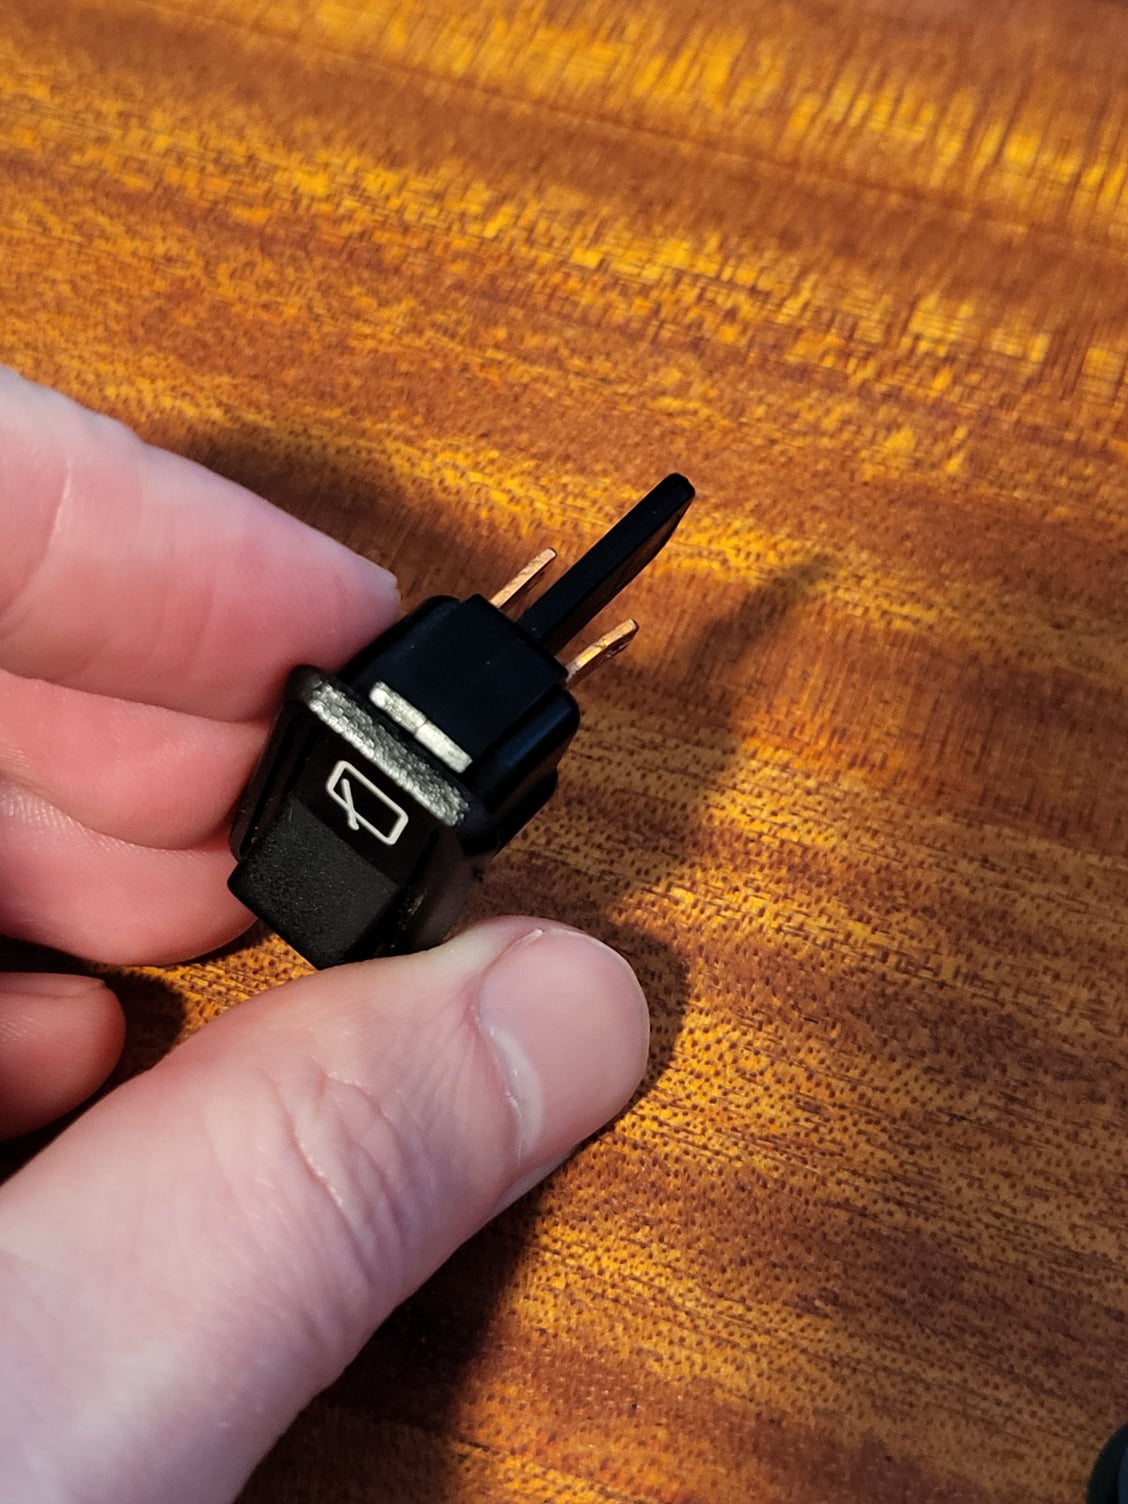
My car provided an opportunity - I do not have the intensive washer bottle in my frunk, nor was my car optioned for it, however I do still have the switch mounted in the dash for some reason (964 613 319 01). I decided since this horrifically expensive switch isn't doing anything for my car anyways, I would repurpose it for a garage door opener switch. I carefully pulled it from my dash, it is very tight! Start removing from the bottom and rotate up until it comes free, then disconnect two wires from the plugs on the back.
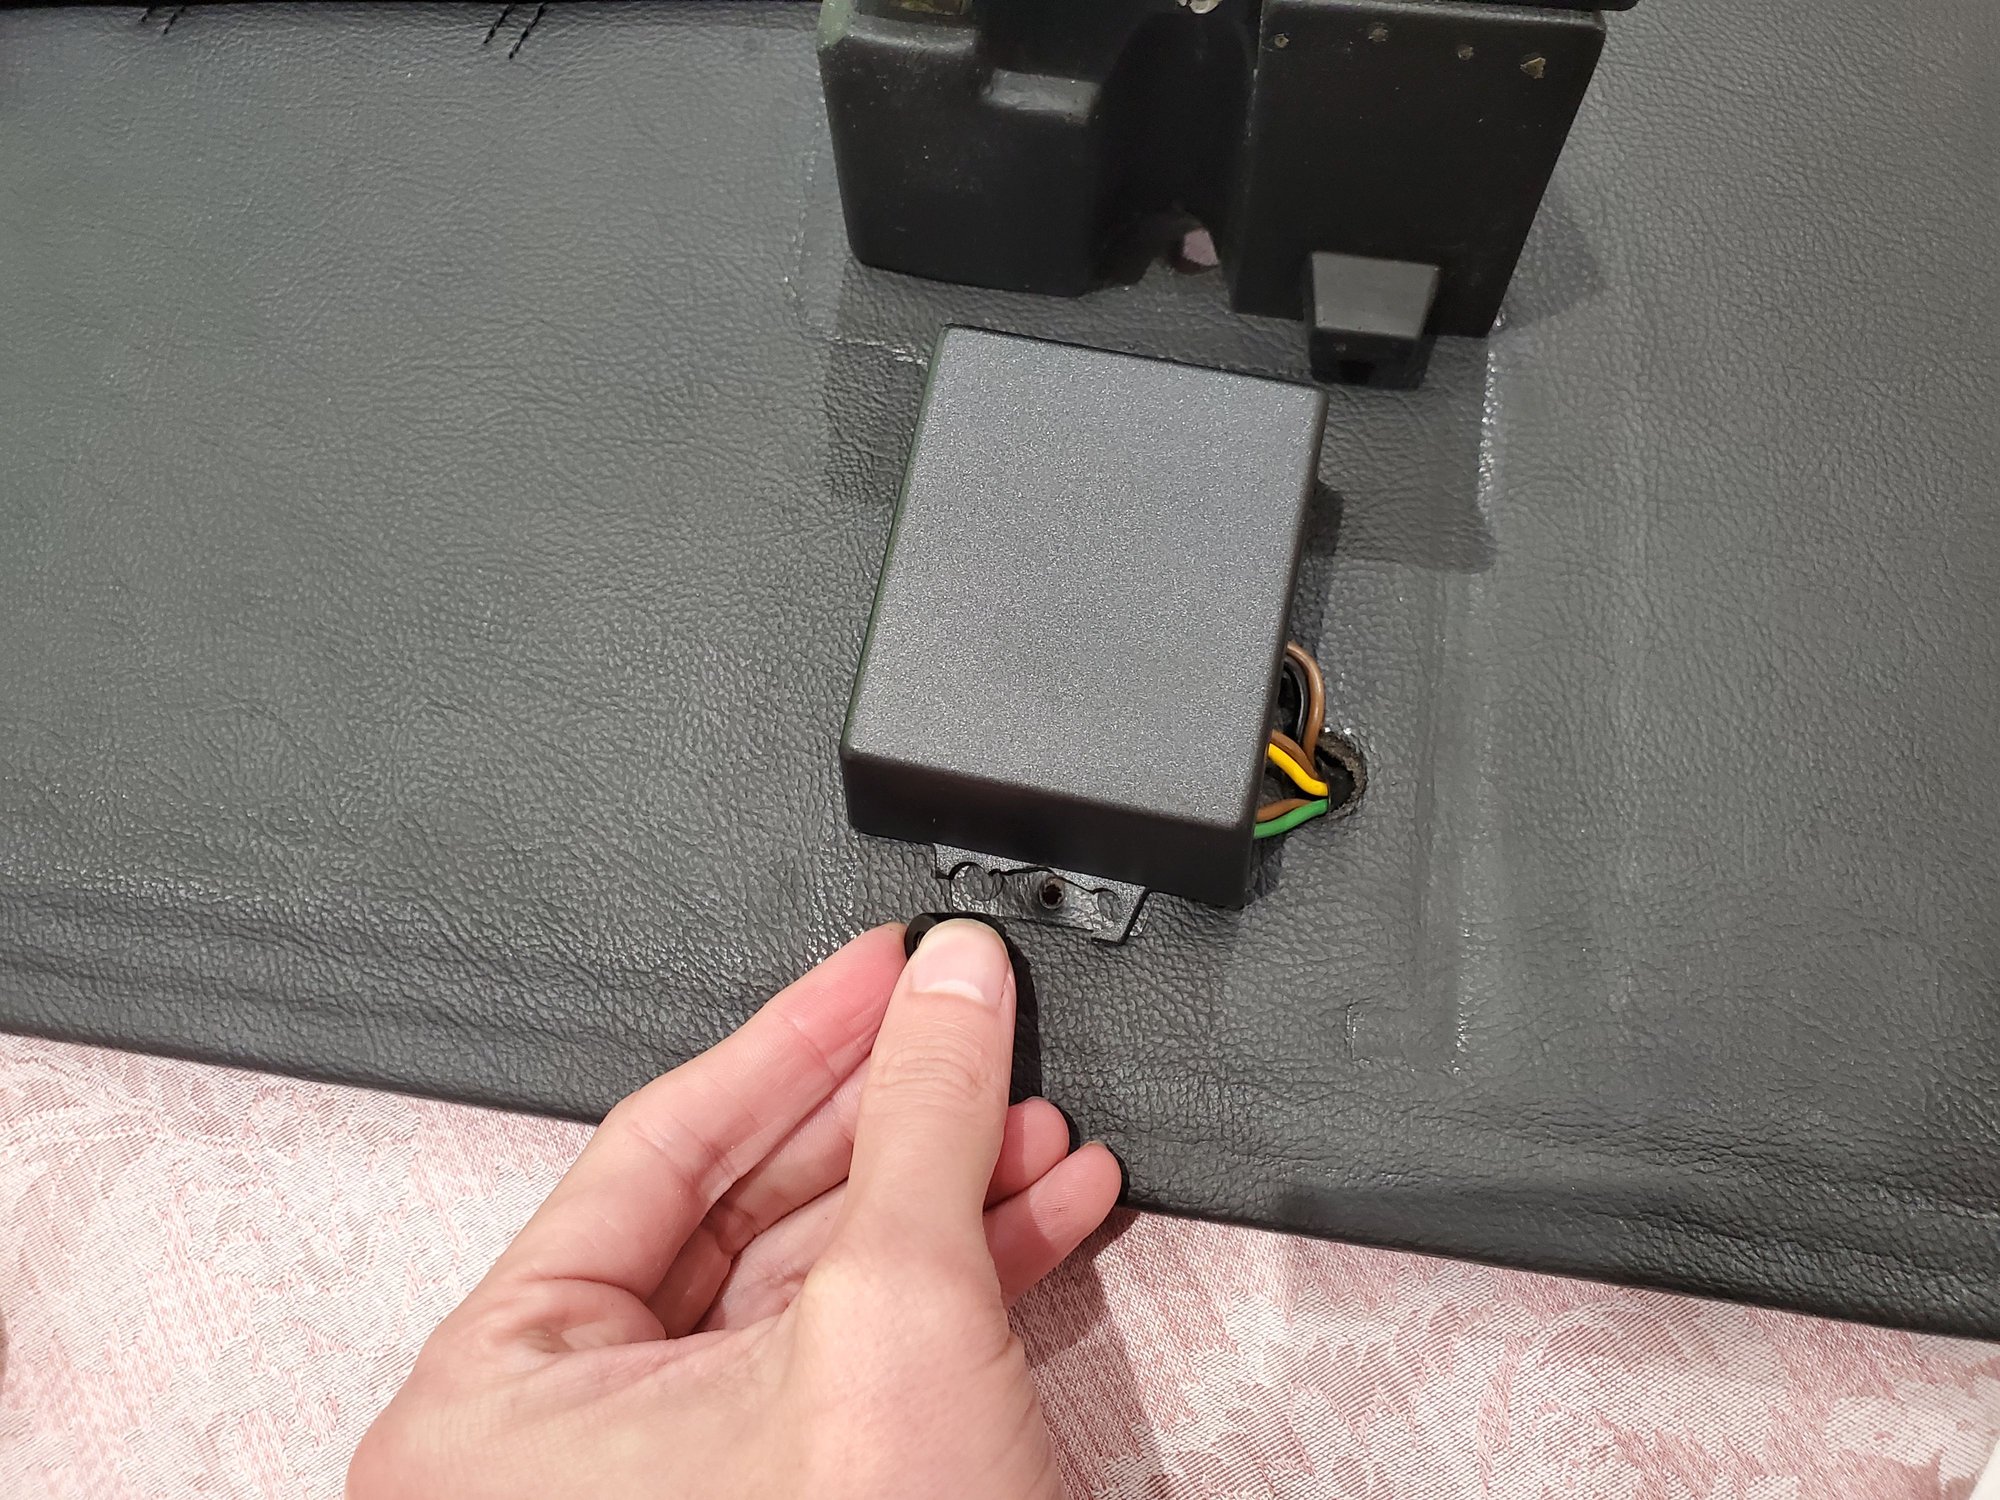
Here is the switch removed. It is very basic and cheaply made from what I can tell.
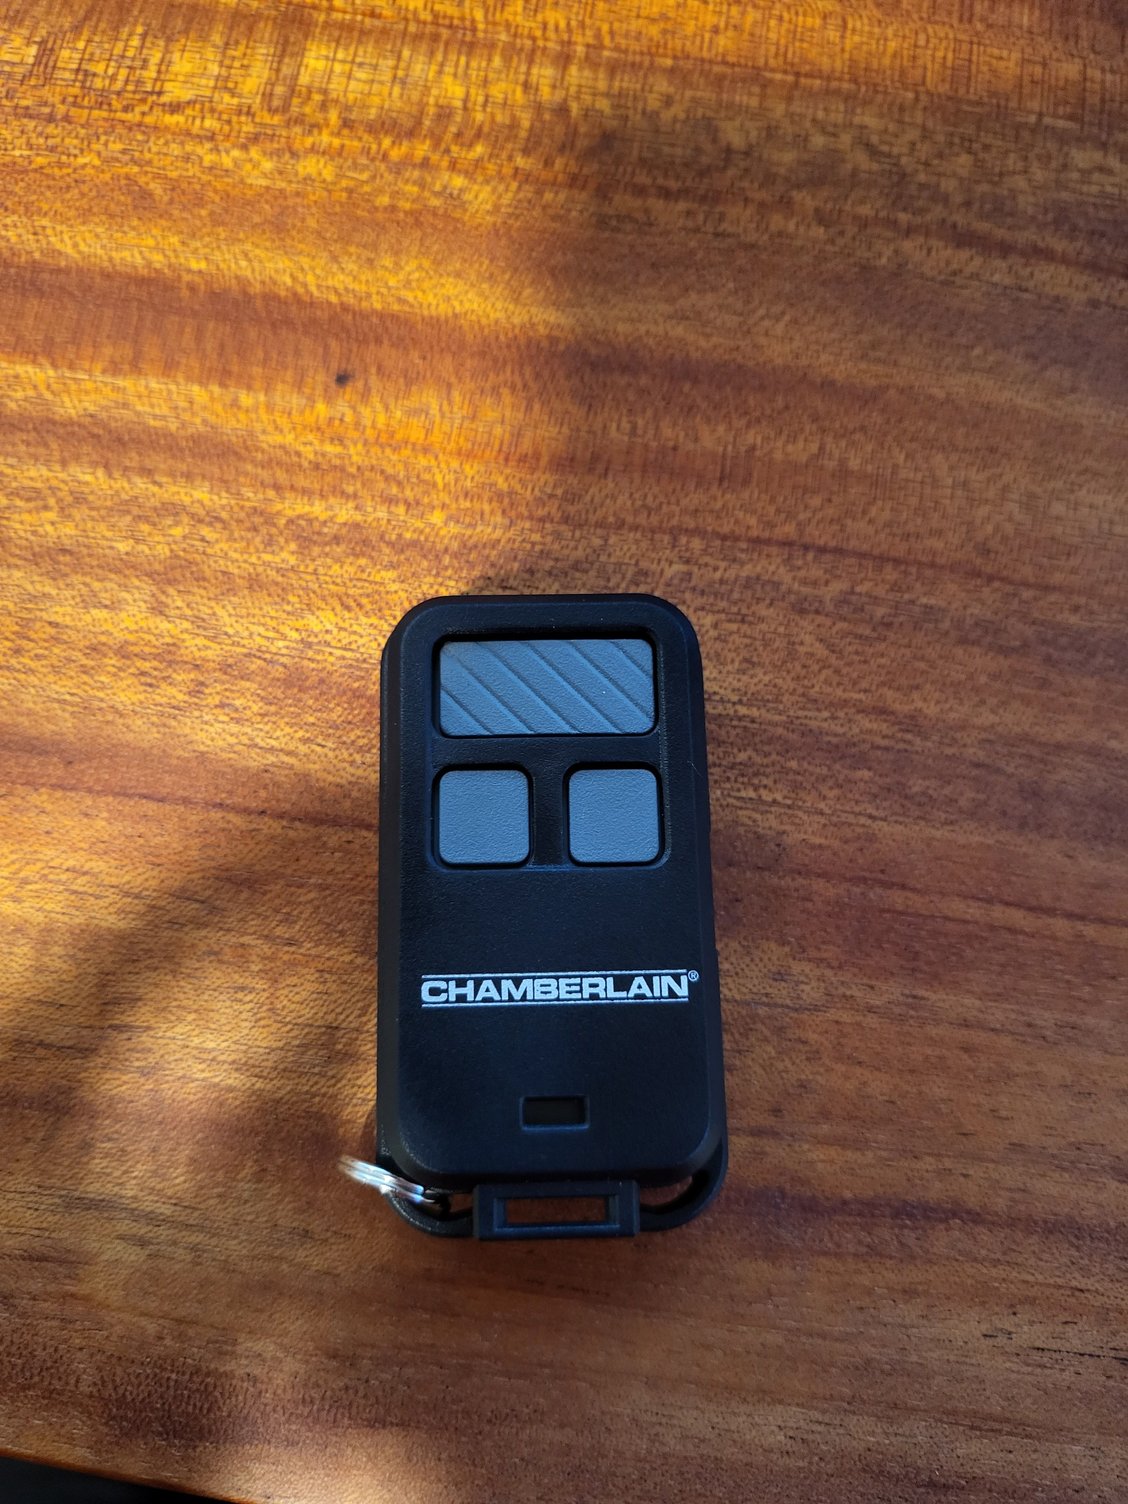
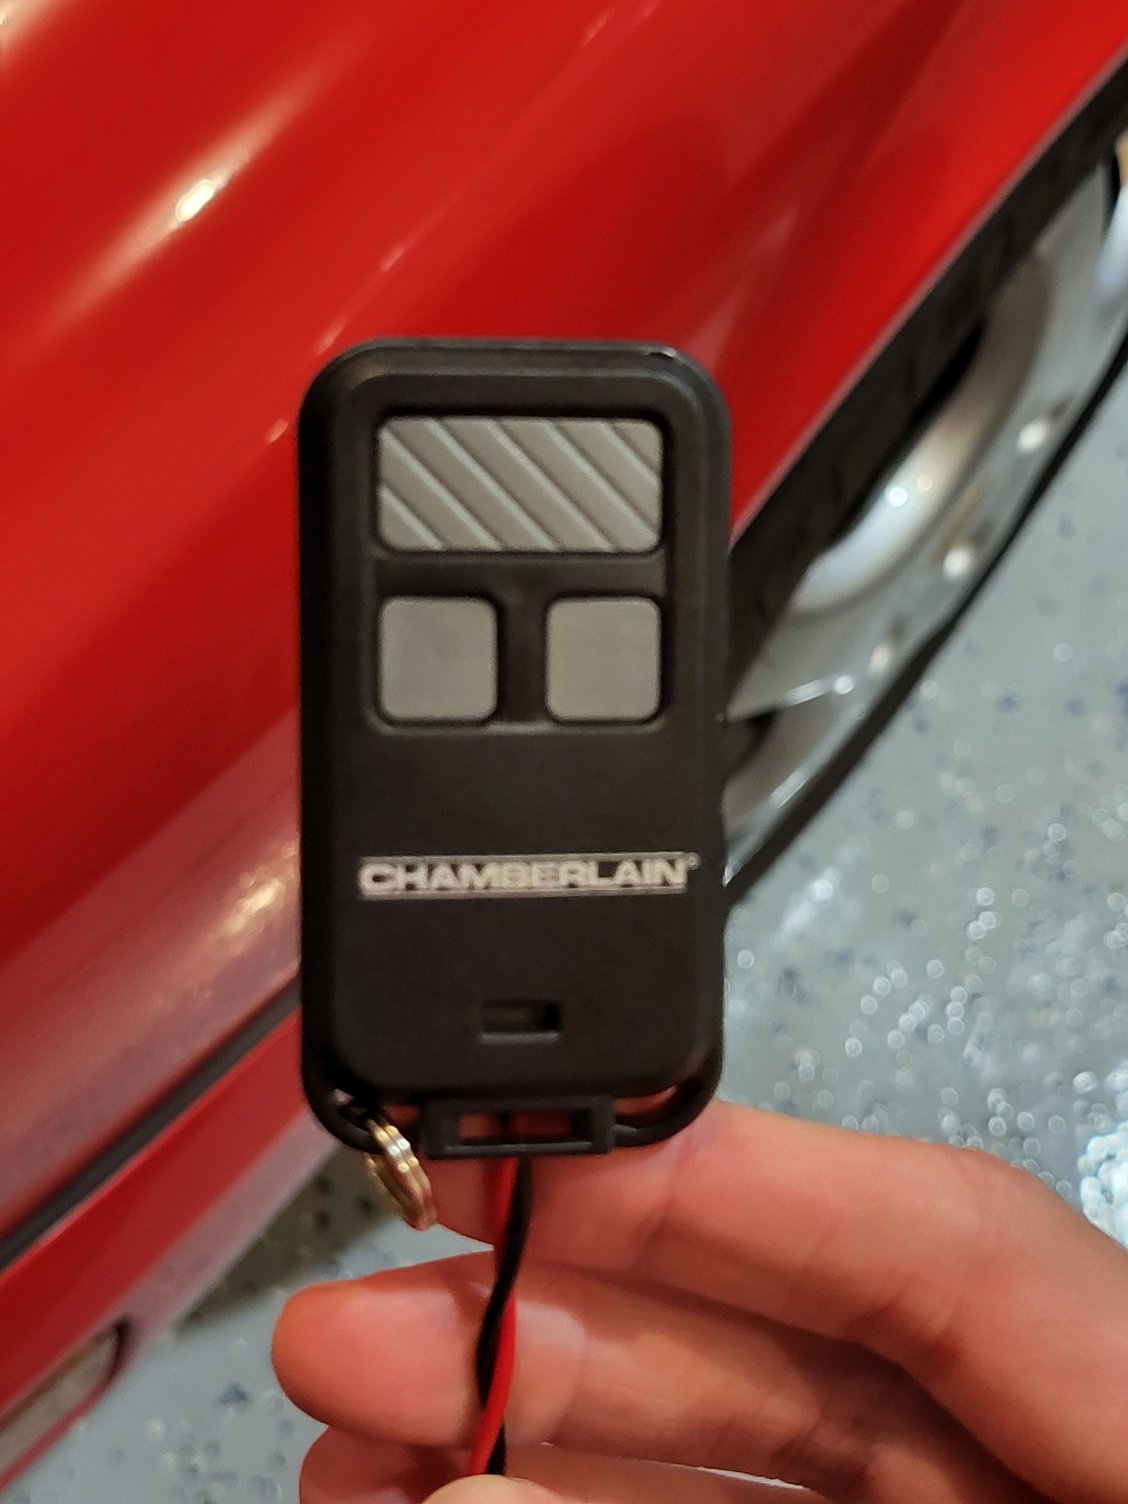
I went in search of a small garage door opener and found the Chamberlain 956 EV to suit my needs.
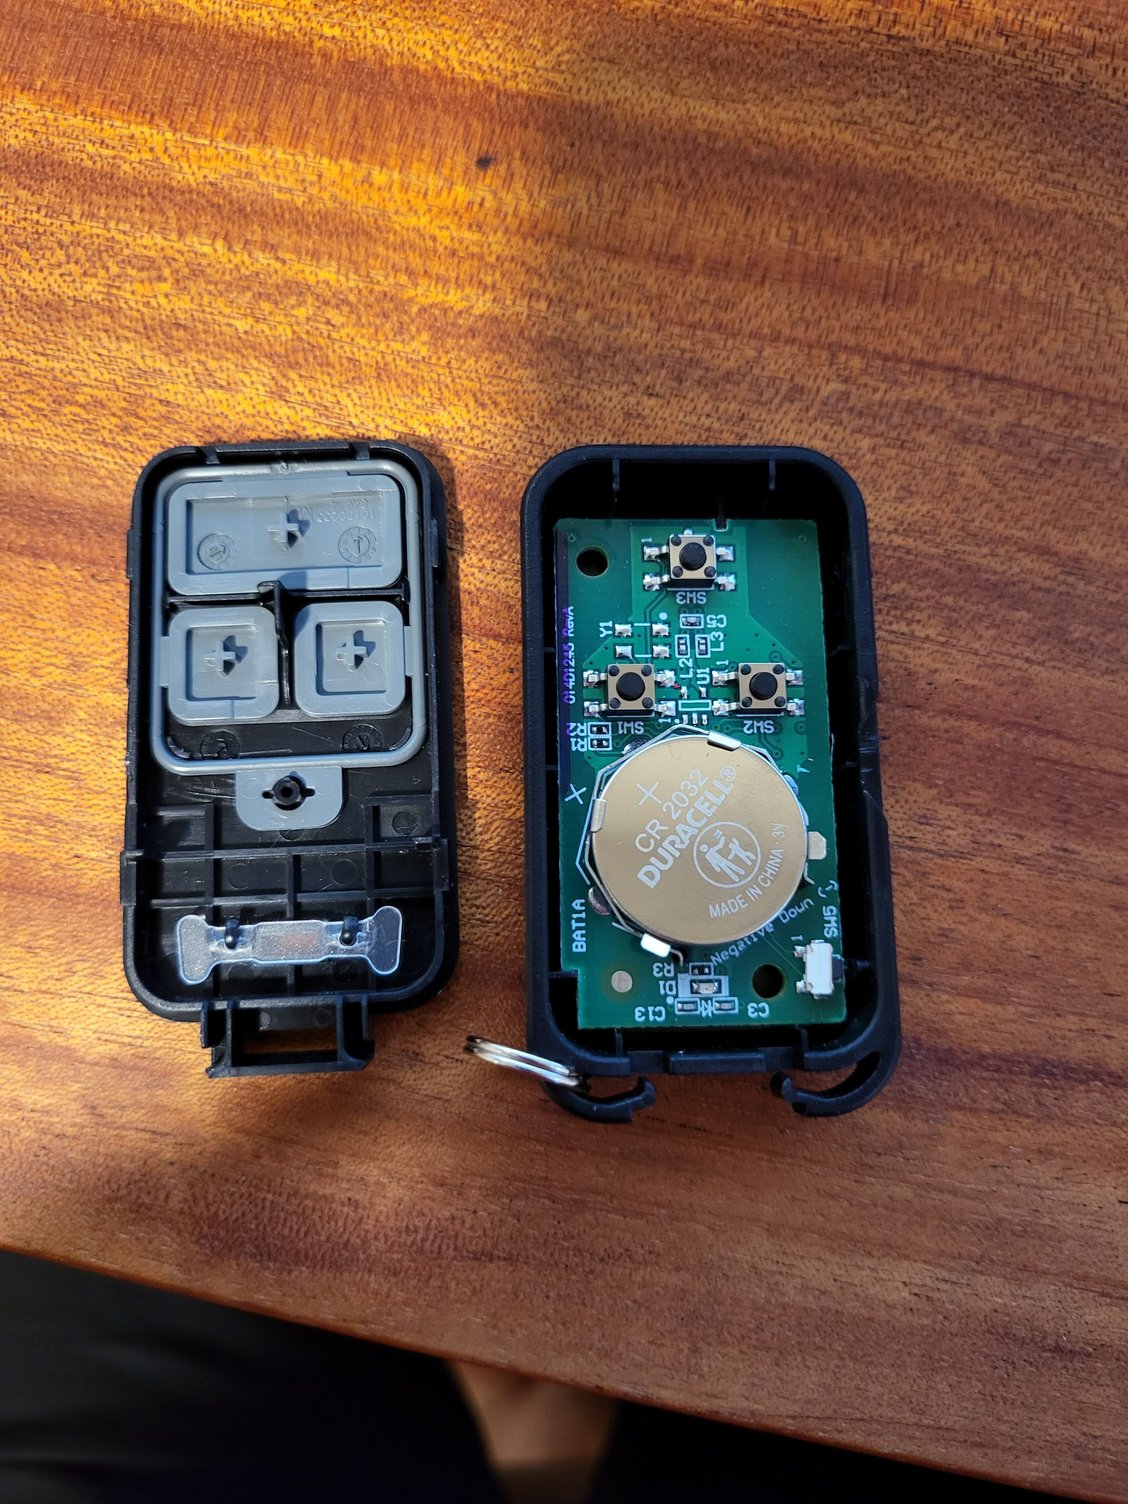
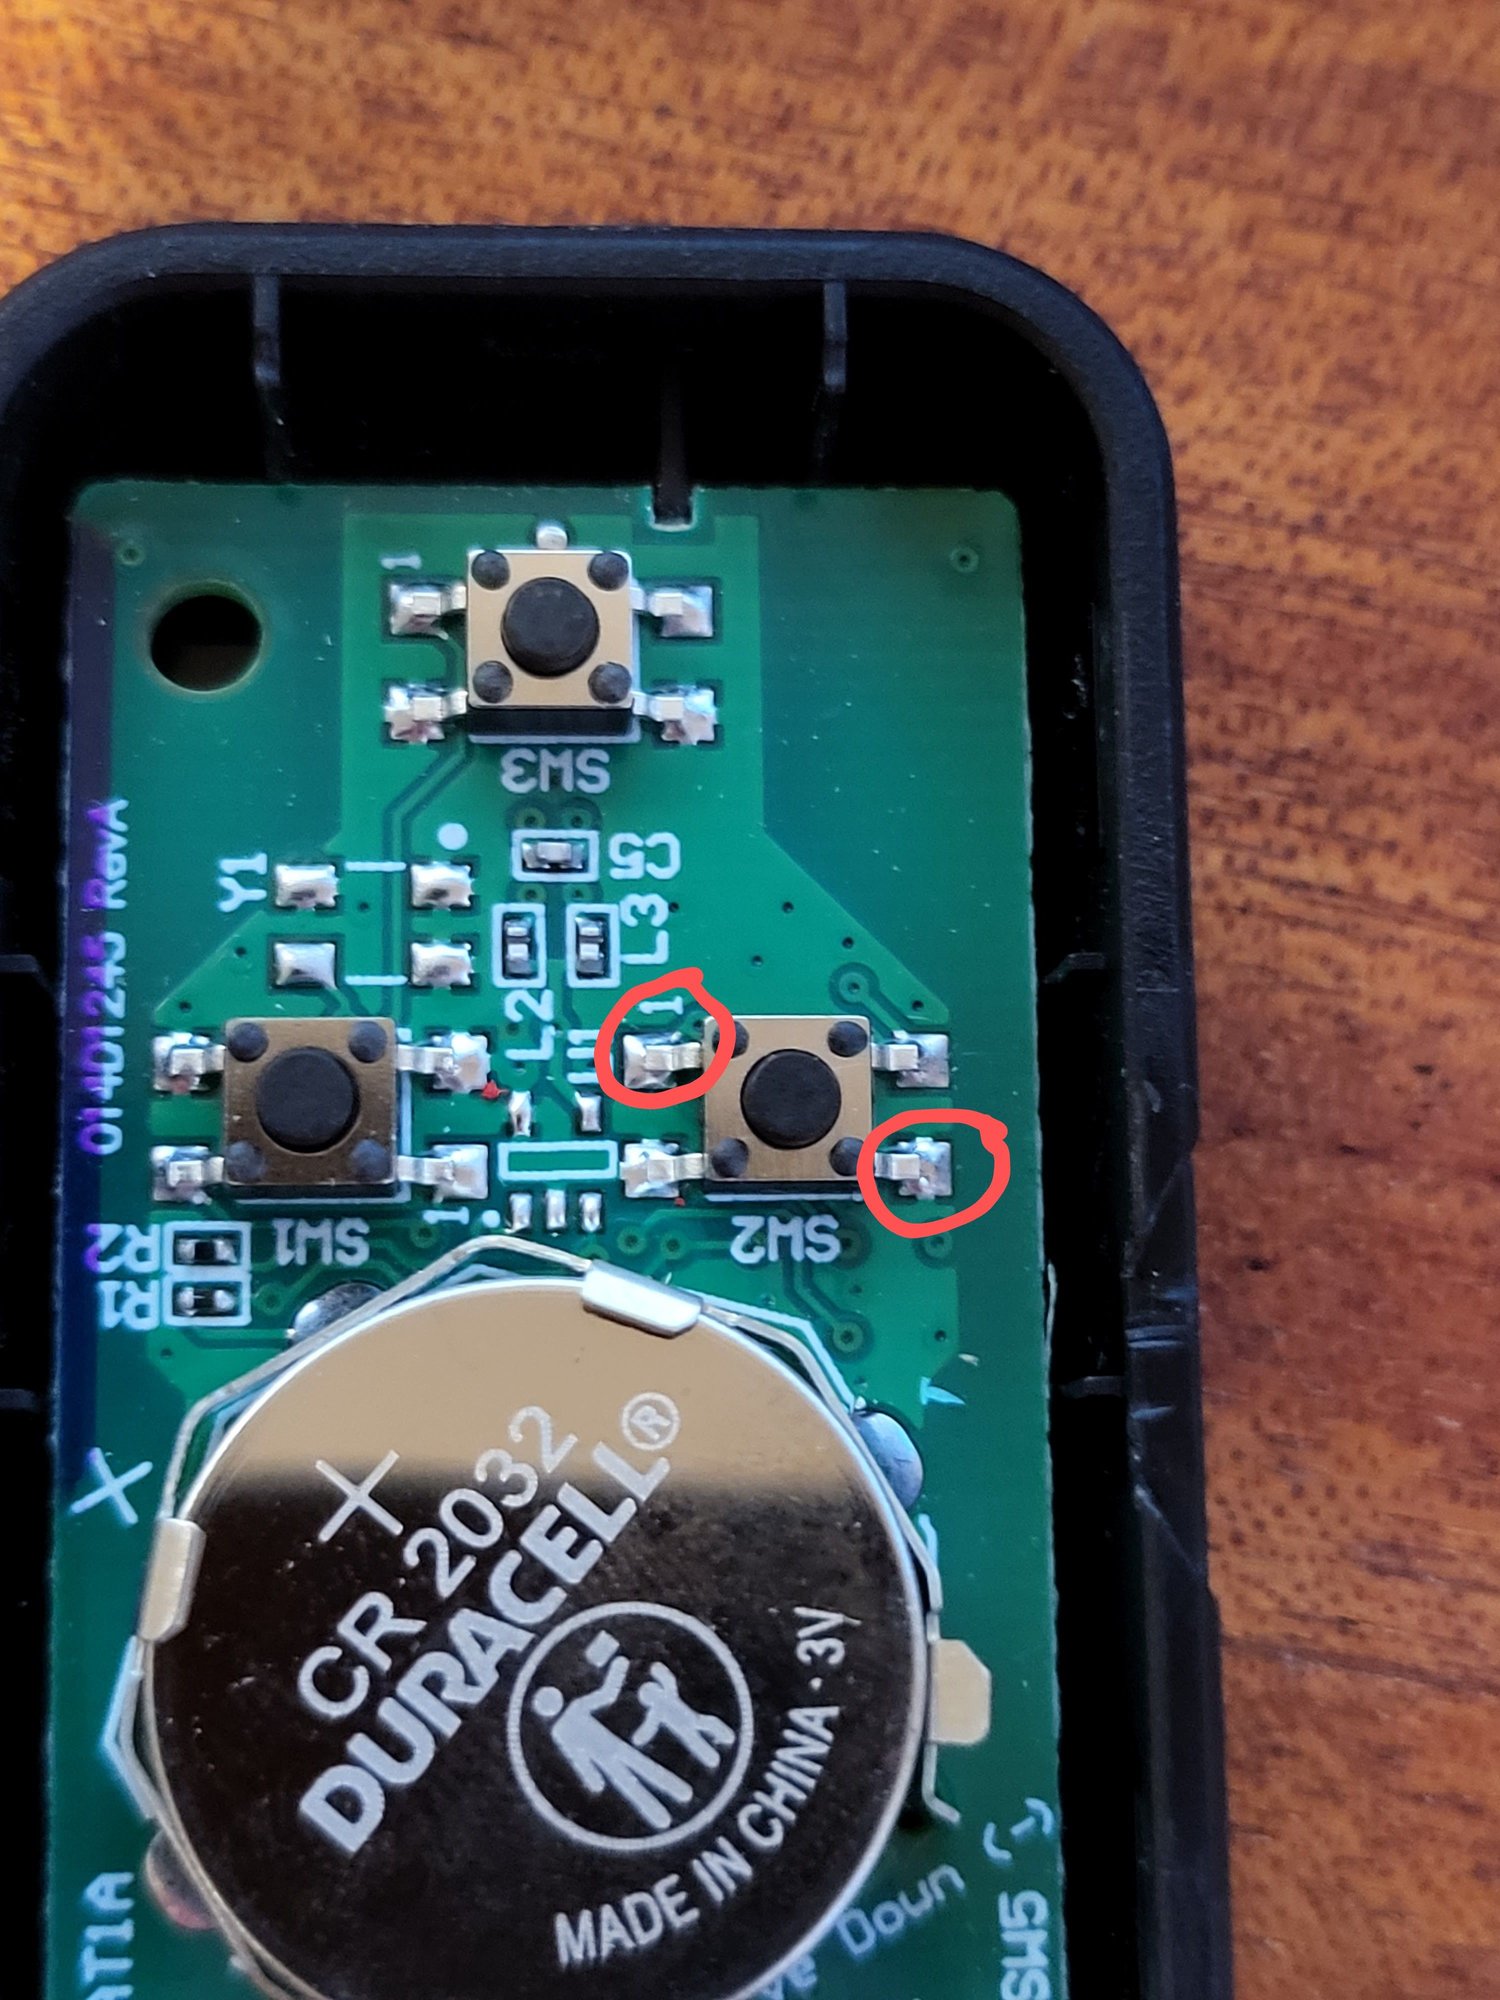
The keychain remote is popped open from the side with the help of a flat head screwdriver so you can access the switches inside.
After programming whichever switch you want to your garage door, you need to utilize the switch to jump two of the contacts on the switch. I used the switch labeled SW2, and the two contacts of note are circled in red below.
Solder a pair of wires to these contacts to be wired back to the switch. Once soldered in place, there is a little tab at the bottom of the GDO that can be broken away to allow the wires to exit when the case is snapped back together.
Originally I had thought a more elegant solution would be to leave the vehicle wiring attached to the intensive washer switch and wire directly from the fuse box contacts in the frunk, however after spending about 30 seconds looking at the out of focus wiring diagram from the service manual I got impatient and went for the simple solution and jam the GDO behind the dash.
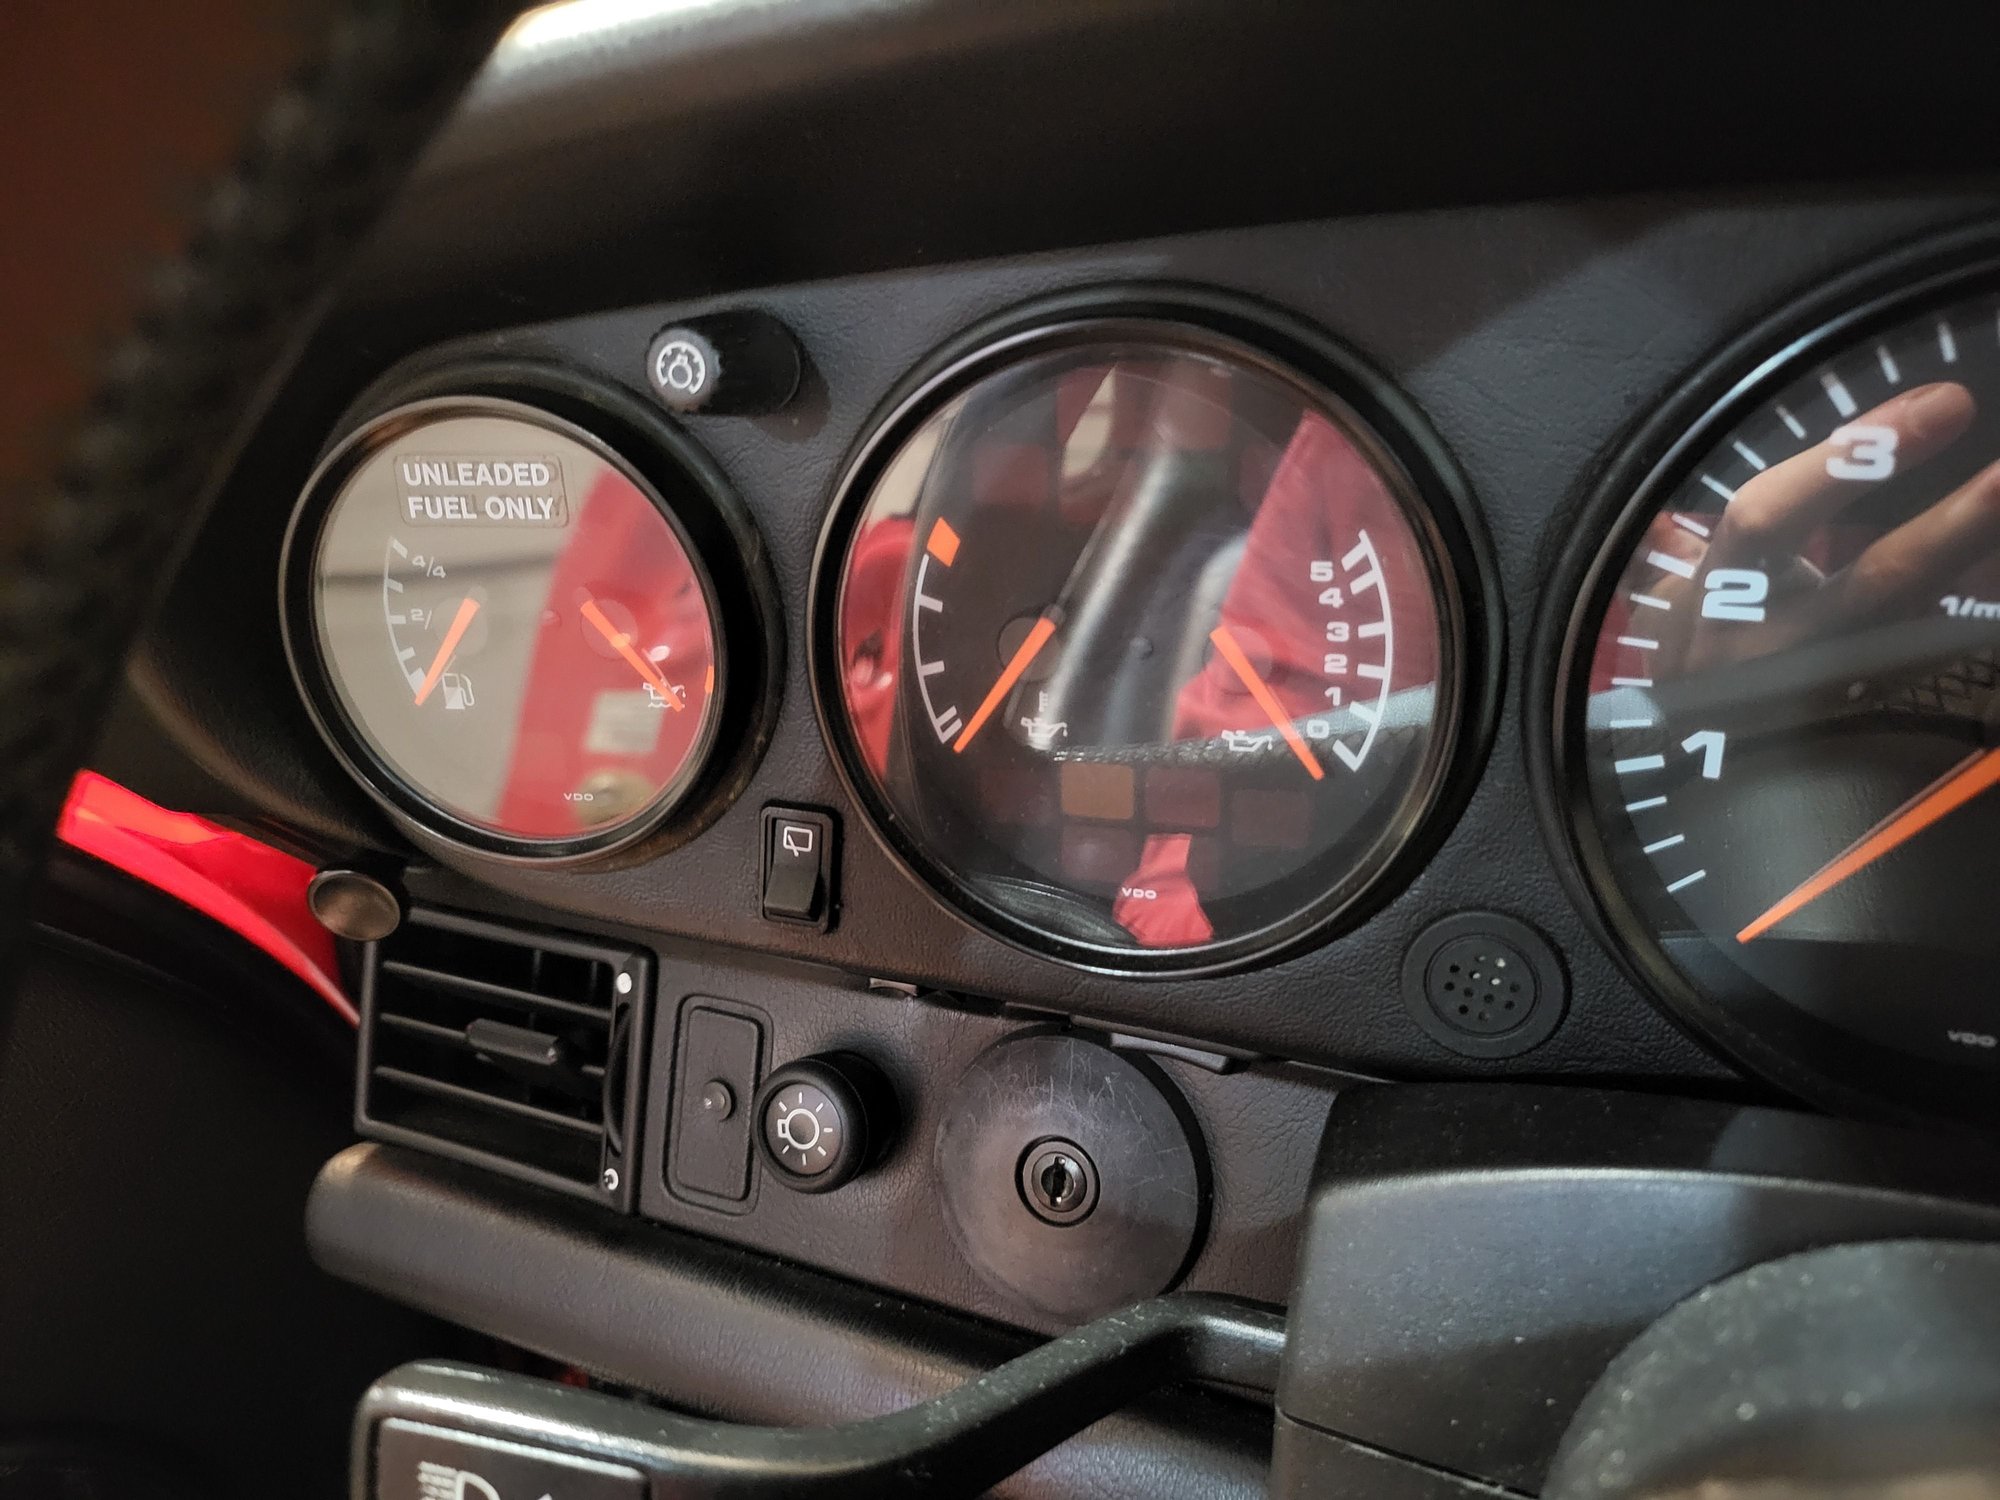
The remote won't fit through the intensive washer switch hole, so you need to fish the wires before attaching to the switch. I couldn't find an easy way to fish the wires from below, so I pulled the fuel gage out to get behind. Mine came out pretty easily with some wiggling back and forth.
Once the wires are out of the switch hole, connect them to the switch securely and put everything back together. Taking a photo with a flash here has shown me that I should replace the rubber rings around my gauges as well as the ignition ring as both look terrible in this photo!
All back together again and working! No more ugly remote clipped to the sun visor.
Tomfun, the attached pics are from my 87 924S project, also Guards Red and came to me with heavily oxidized paint. While I do have buffing power tools, I did this by hand. That factory single-stage paint (i.e., not clear coated) from the 80's and early 90's is lovely stuff. I used commercial products from Norton; they and 3M are likely the two brands most often seen in bodyshops, the real mccoy products that professionals need to be able to rely on, the choice between the two being a bit like Coke or Pepsi, Heineken or Becks. Obviously there's a ton of hype as to which products to use, with those doing the recommending of the boutiquey brands often having a product to hawk, but IMO going with the stuff the real guys use is a safe bet. "Full disclosure") I do have a friend who works at Norton.
I suspect the original stock engine mounts were sagging quite a bit, and that�s why you needed to jack up the engine a bit to install the Wevos.
Nice work on the paint restoration. There�s nothing wrong with respraying the front bumper and hood if you get the urge. The car is worth it. And wow to JJeffries.
those longterm refreshing activities are quite cool and valuable for your behavior and usage of the car. Did this last winter with my convertible (all bearing, new coil, new clutch, bespoke seating position, refreshed calipers/brakes, new heating servos, new stereo....) and the summer afterwards was such a pleasure so drive the car... :up:
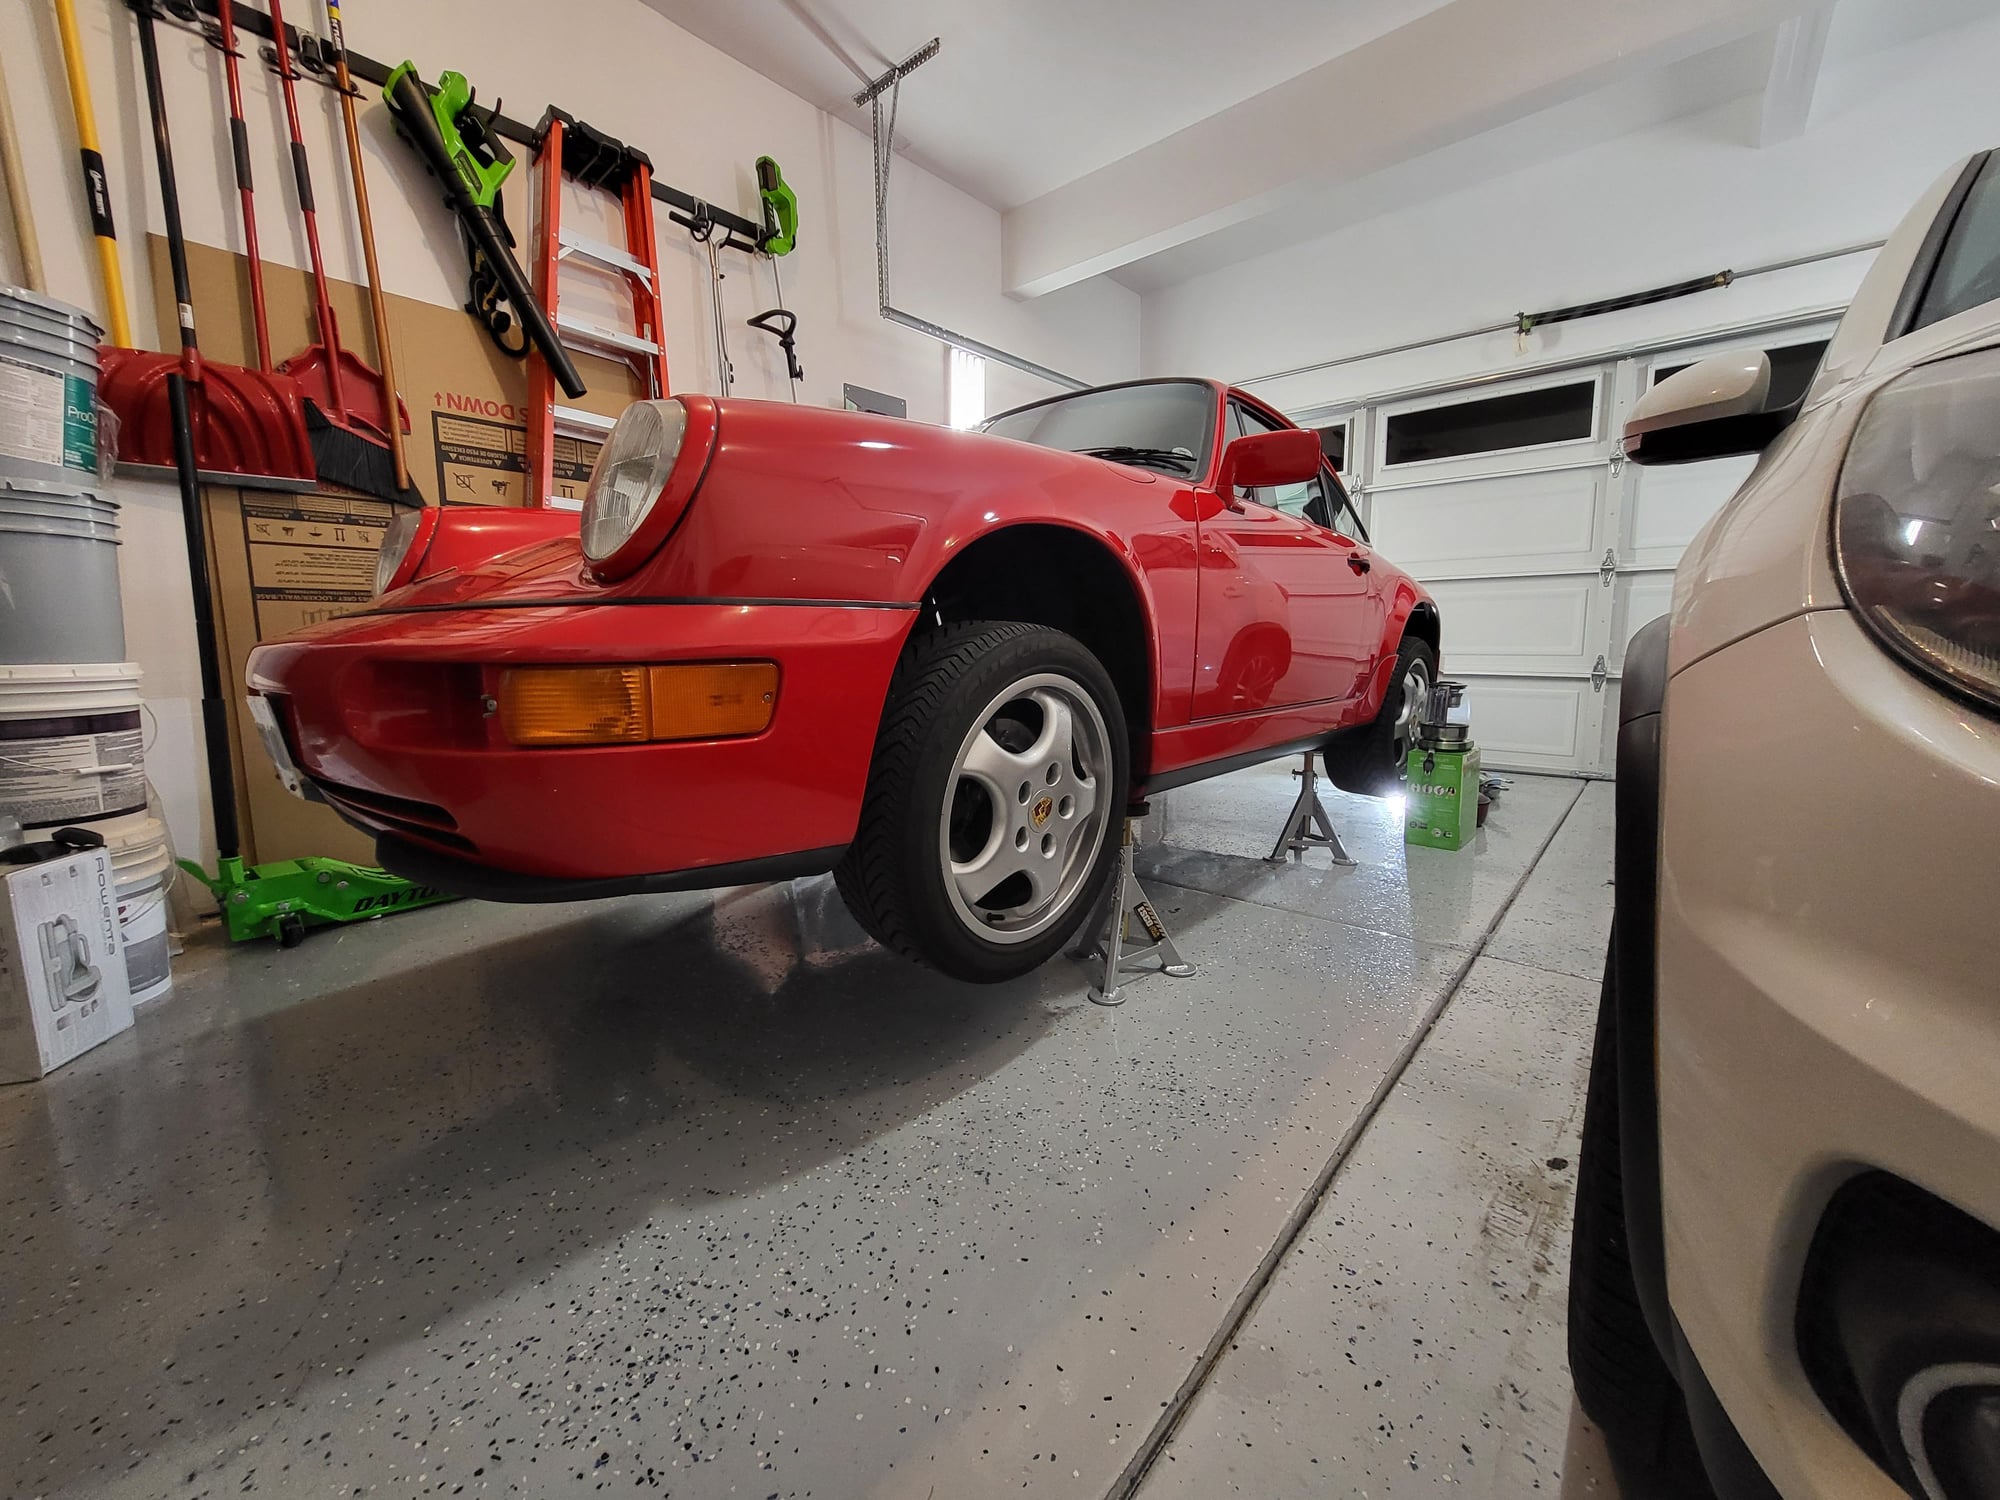
I had a bit of free time over the past few days so managed to get out in the garage a little bit. I wanted to get the Sleepers SSK installed - it had arrived a few weeks ago but I just hadn't had the opportunity to get it in yet. Put the car up on stands, but first decided to fit the RSR style front splitter I had picked up from a fellow rennlister. Went on with no issues, and fitment is decent but not perfect. At some point I may take it off and try adjusting it some more, but its good for now. I had also thought I would paint it red to match, however after test fitting it in black I think I'll keep the black..... does anyone have a photo of one in red on the car?
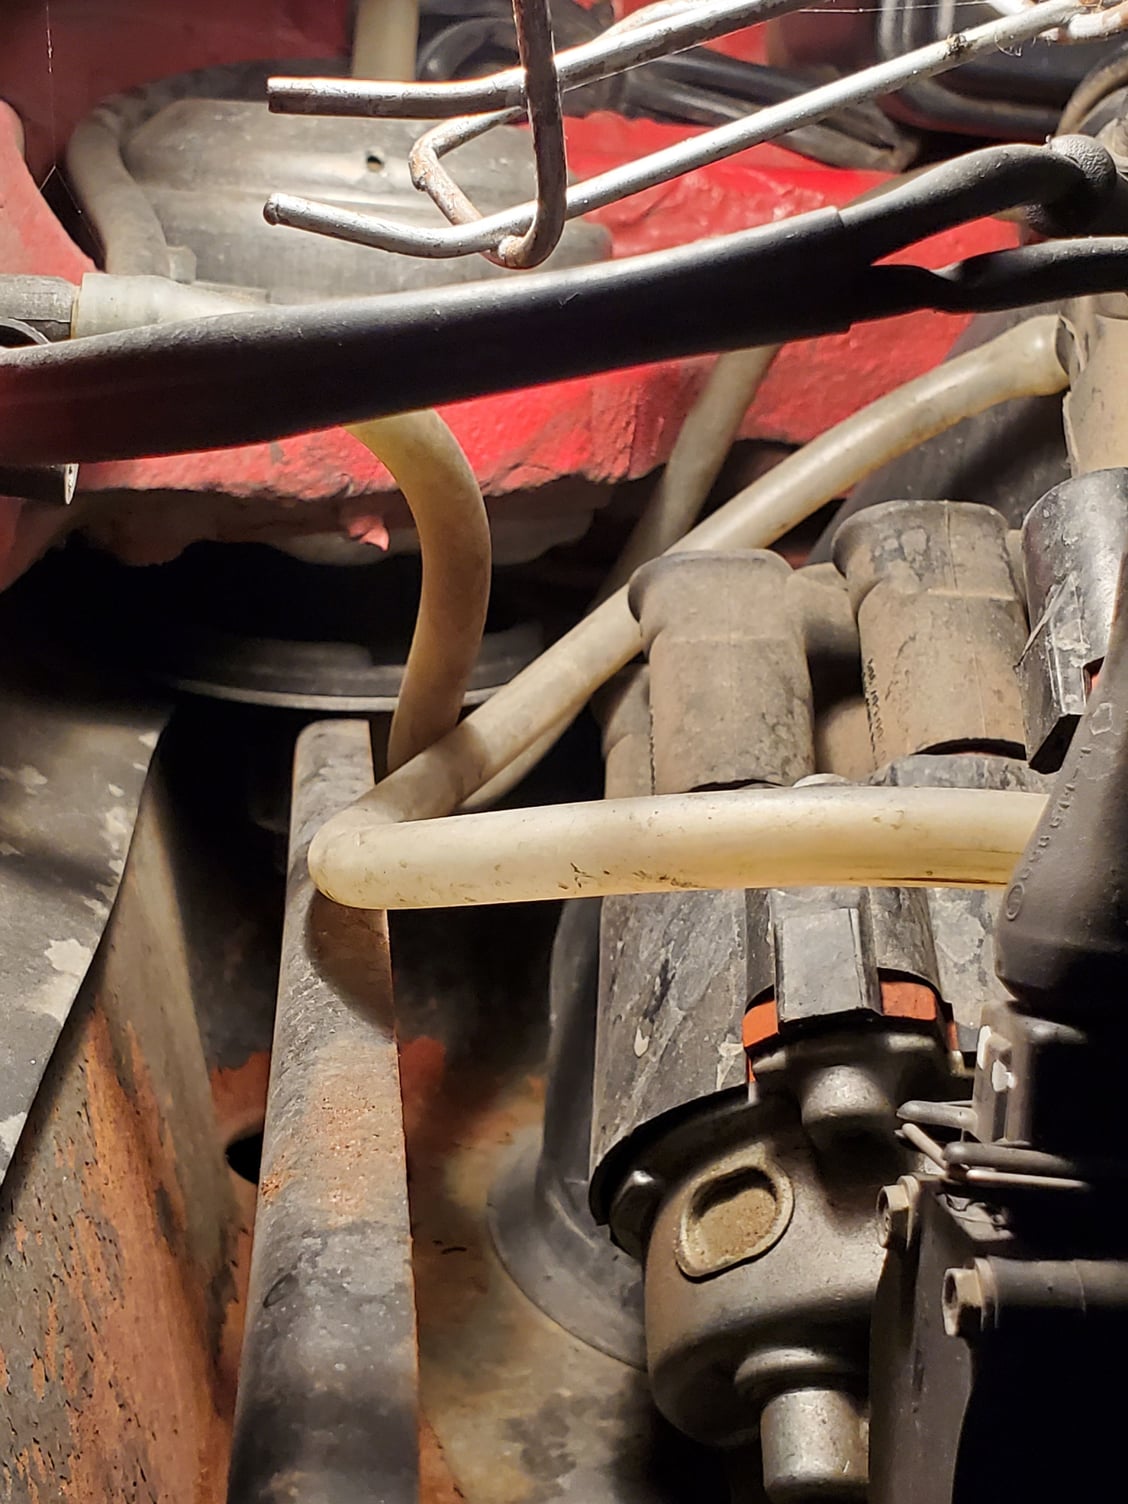
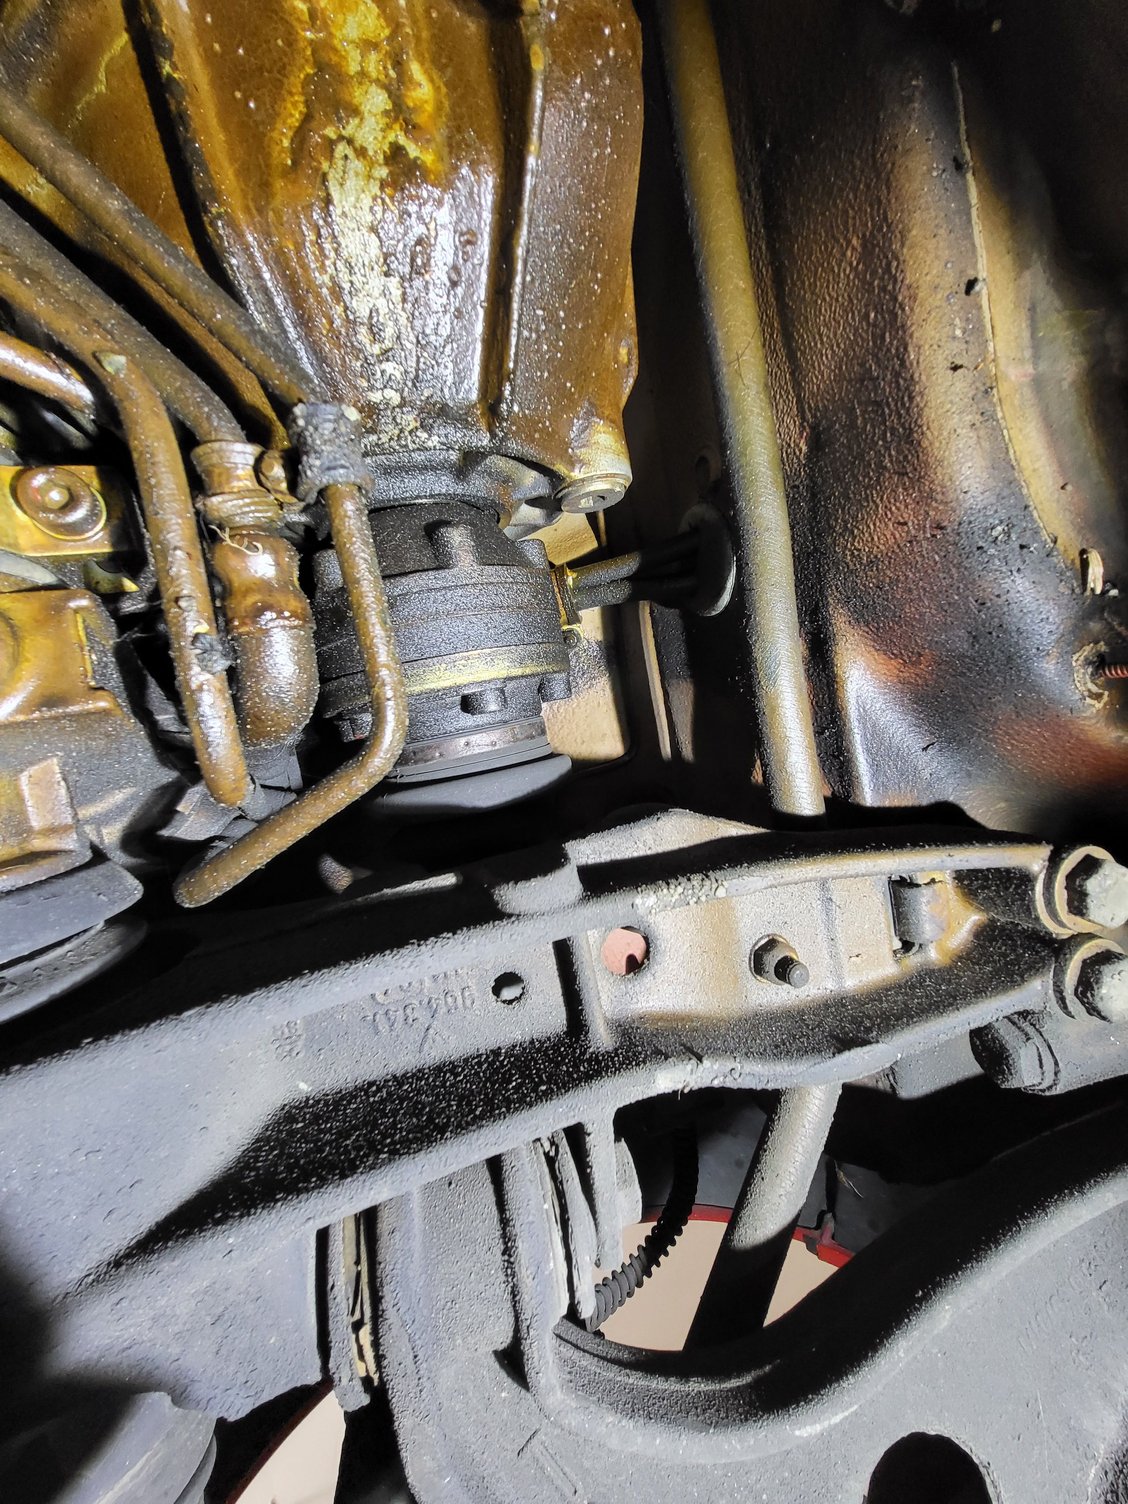
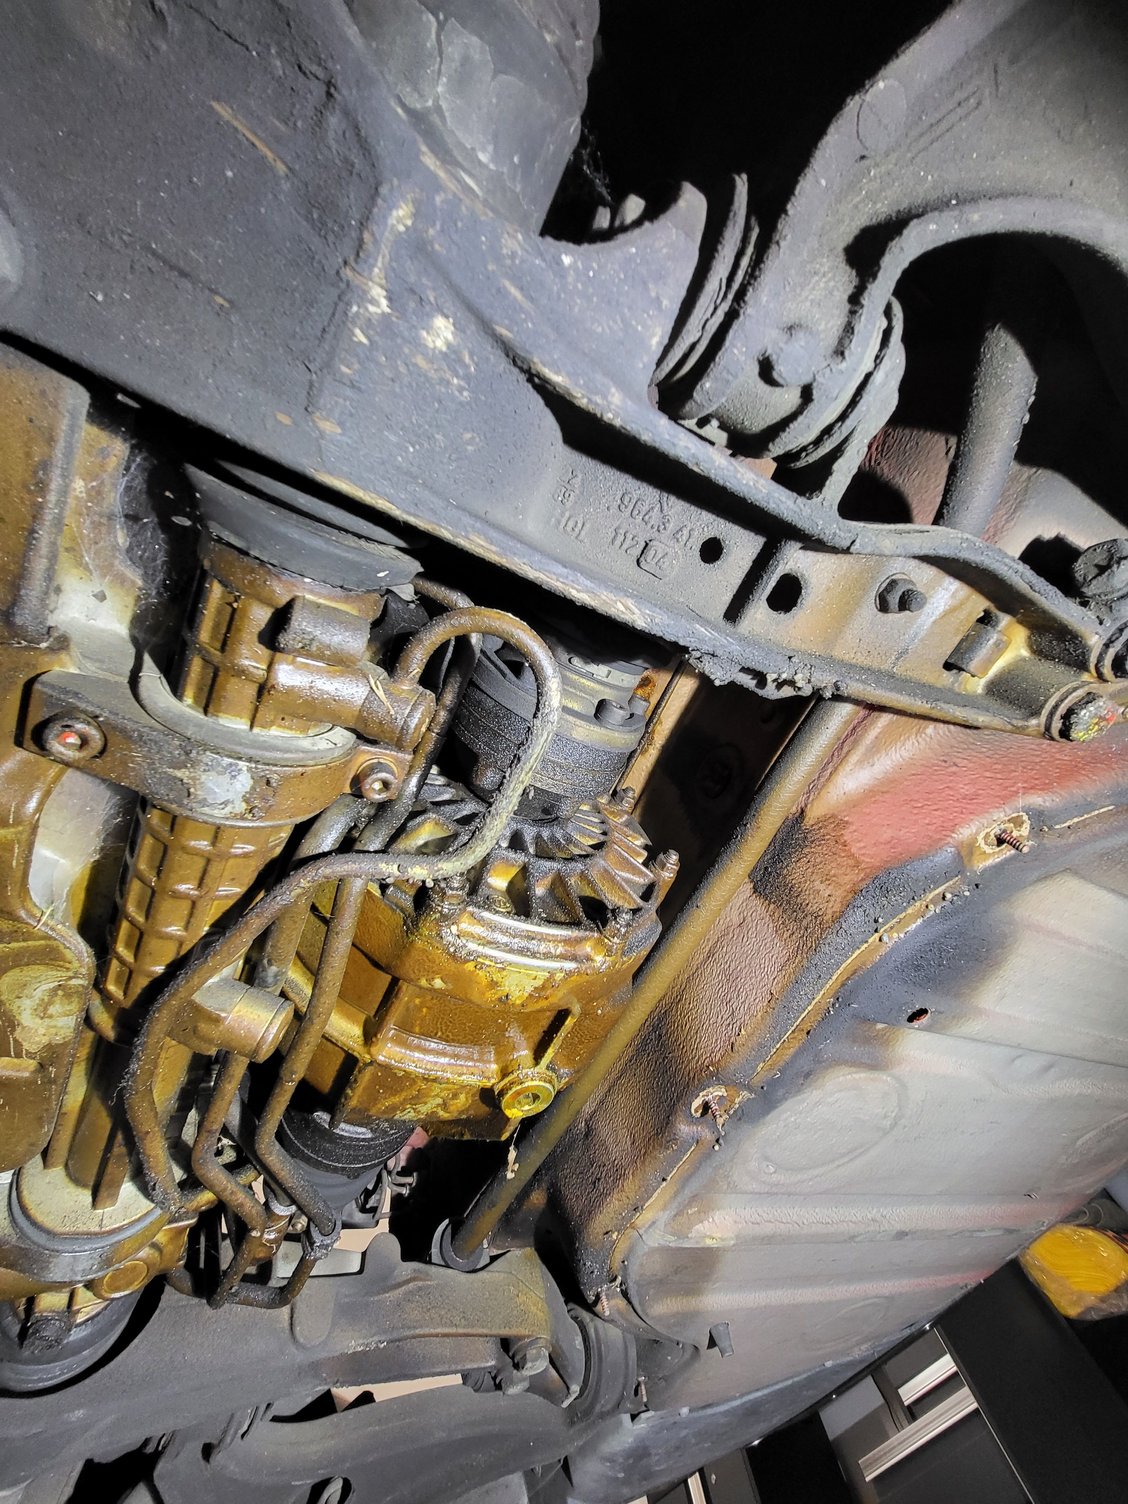
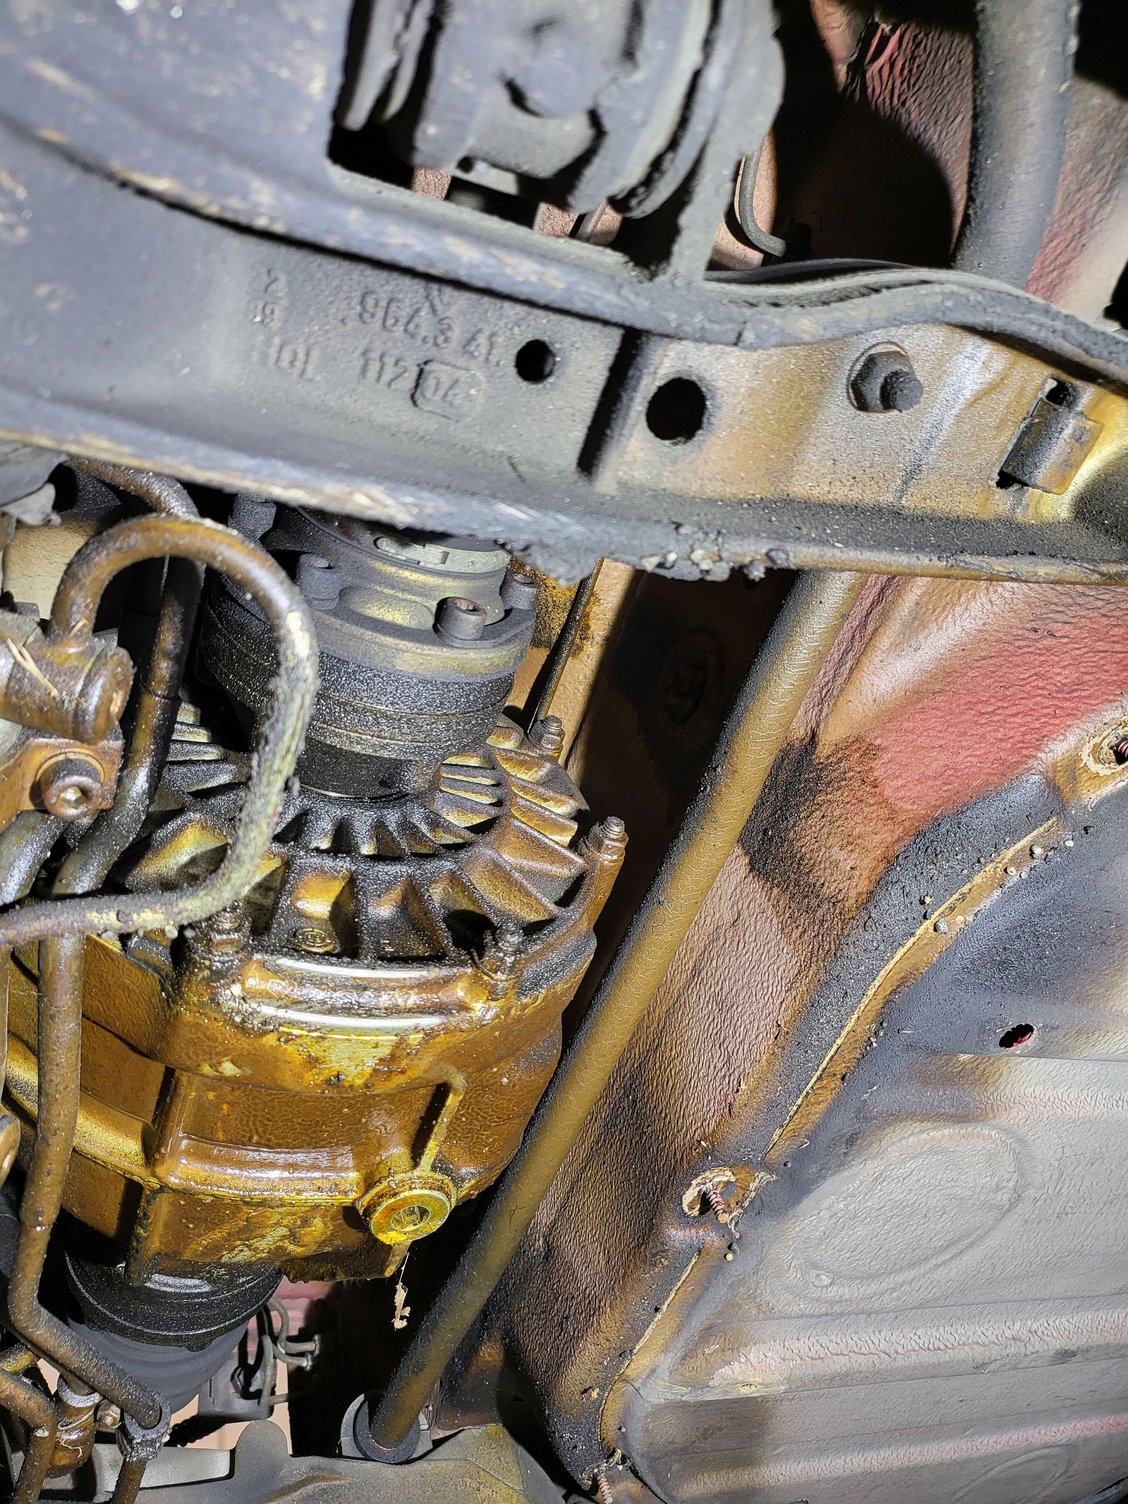
Anyways, small detour. I've not had any of the underbody covers off my car yet (aside from the absent engine cover), so I'm always a little nervous tearing into a spot I've not seen, you never know what you're going to find. Mostly it looked okay I think, although quite a bit of grime by the front diff - can anyone comment on what needs addressing up there from the looks of it? Or is this mostly just 32yrs of road grime? I'm thinking the diff seals are probably due to be replaced - I haven't finished looing through the service history but haven't seen it mentioned anywhere.
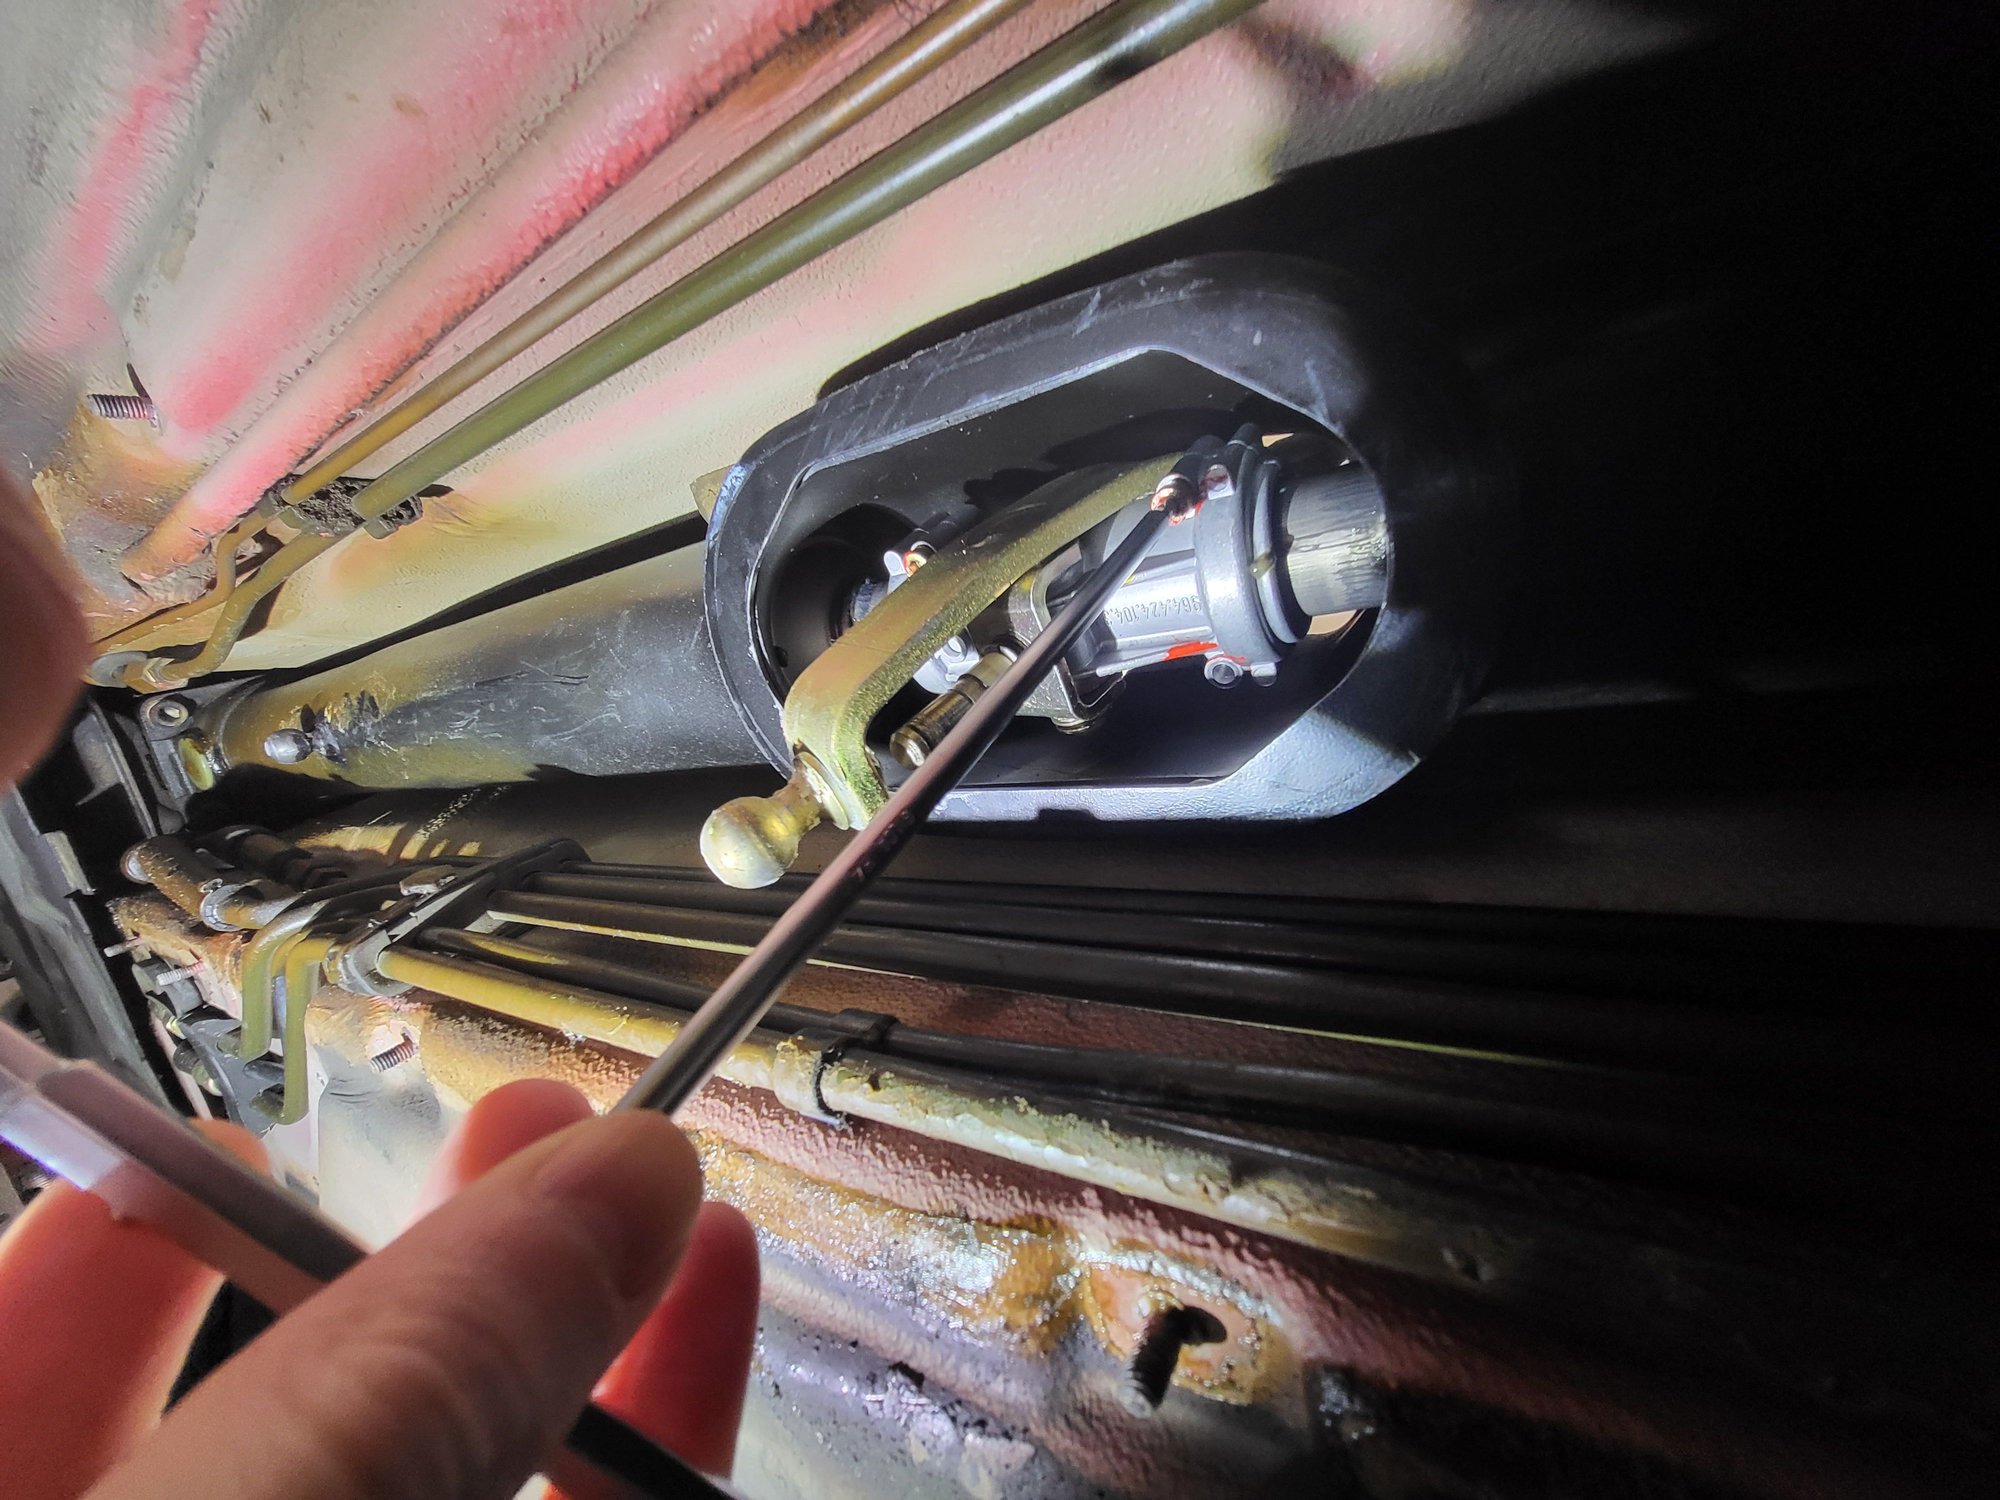
Anyways, some of these picture might be out of order, but back to the shifter. For the interior disassembly steps I followed a youtube video on the numeric racing shifter install actually, but it all came apart pretty smoothly, with the exception of removing the shift **** - crazy amount of force required to remove it in my car!
Once everything is out of the way up top, disassembly continues from underneath the car. Forward rod was a bit difficult to remove on my C4 without marring anything but it came off okay in the end. Everything actually still felt pretty tight down below and I didn't have any real issues with the existing setup except that I have long legs and sit all the way back in the car, and have always felt like a really had to reach for the shifter. I wanted something that I could move up and further back, having it shorter shifting was just an added bonus.
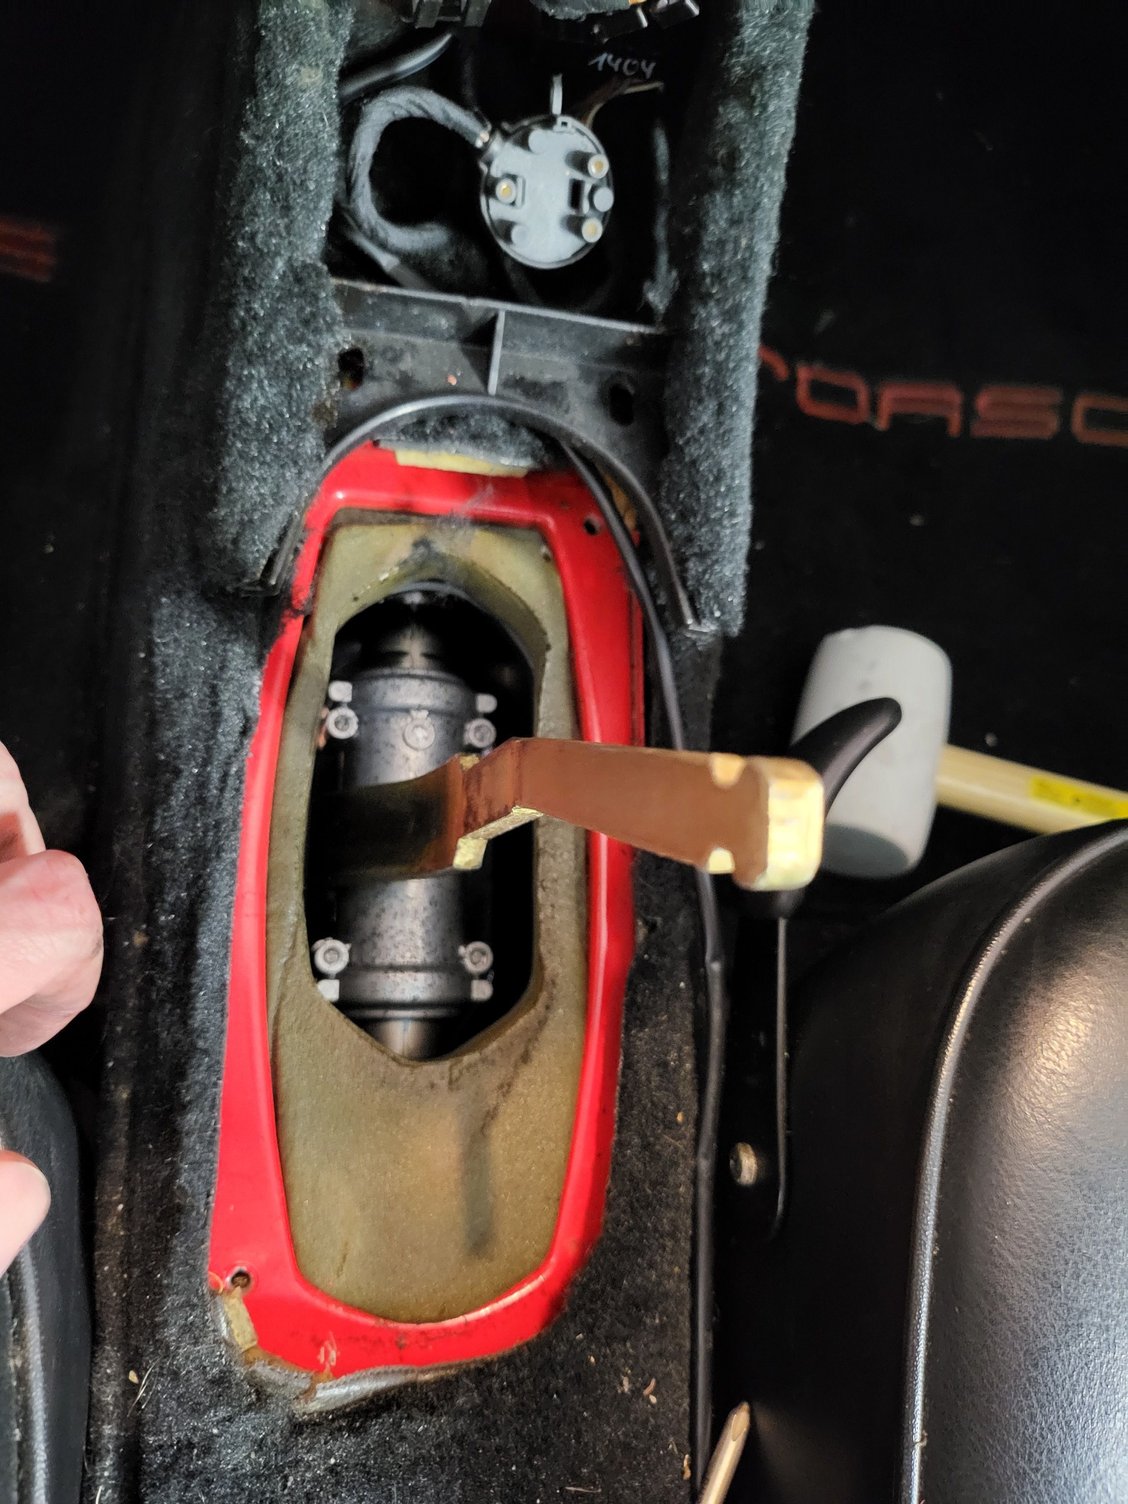
Once you remove the forward rod and the shift rod you can move the boot out of the way and have much more room to move and get to the half shells.
Once the 4 bolts are out everything pulls out, don't drop it on your face.
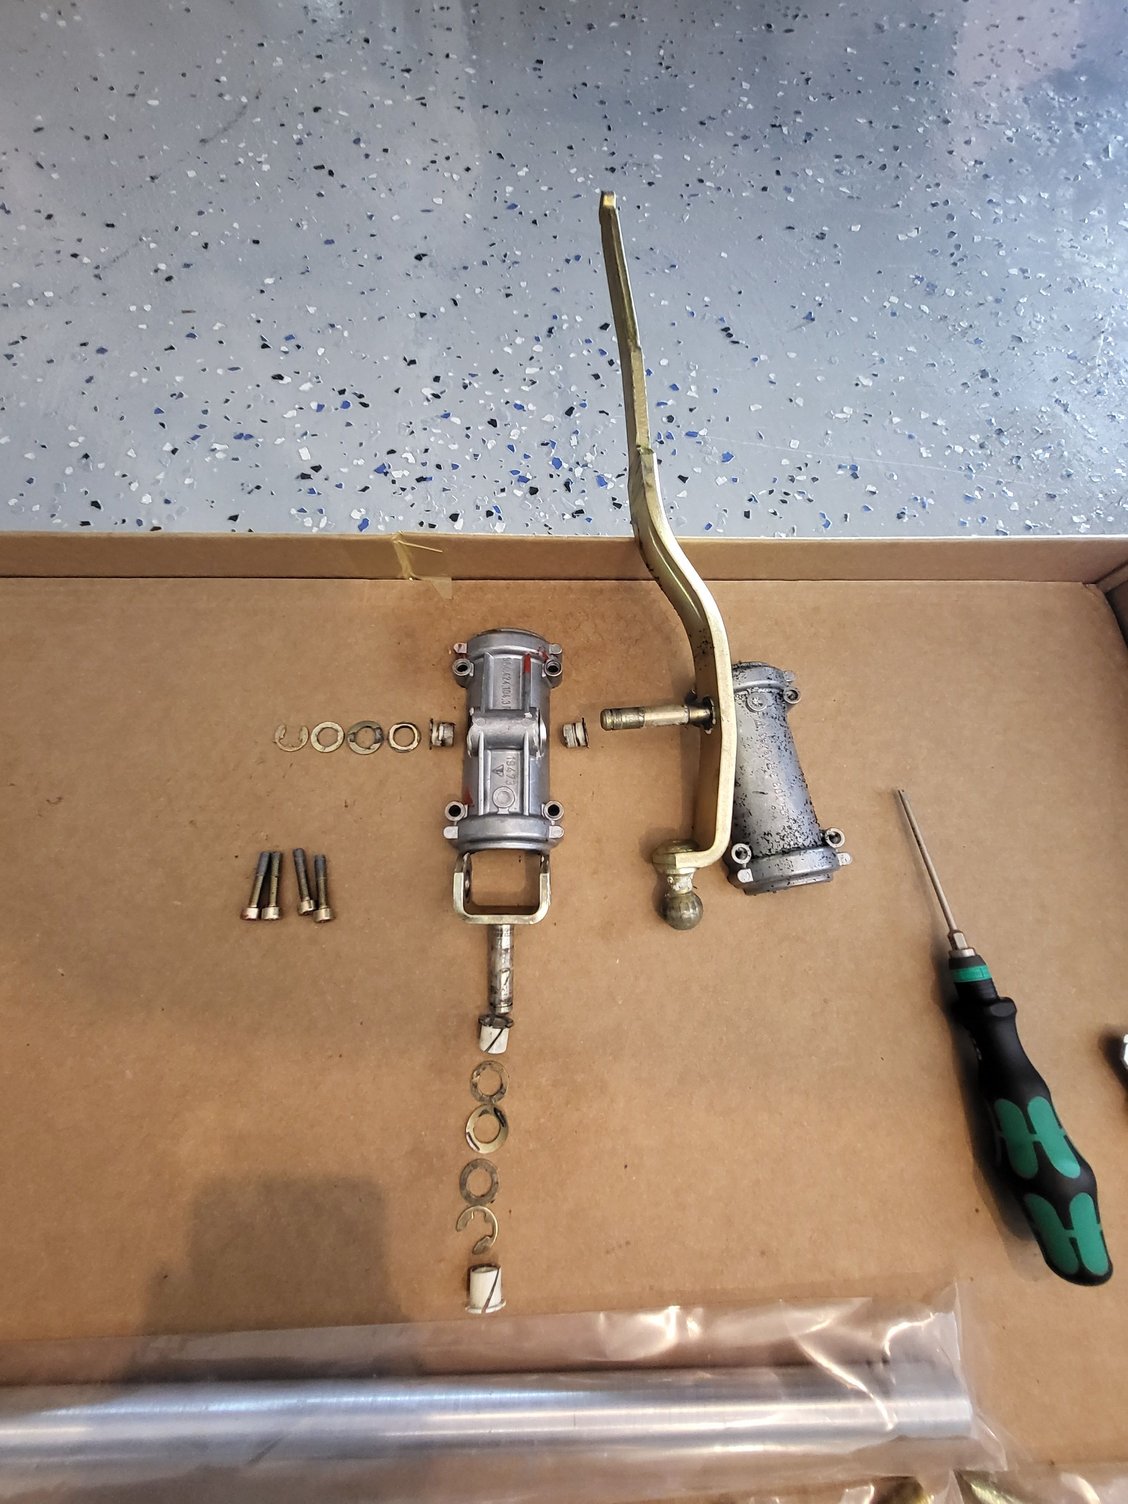
Exploded view of the shifter removed. Called it a night, job to be completed in the morning.
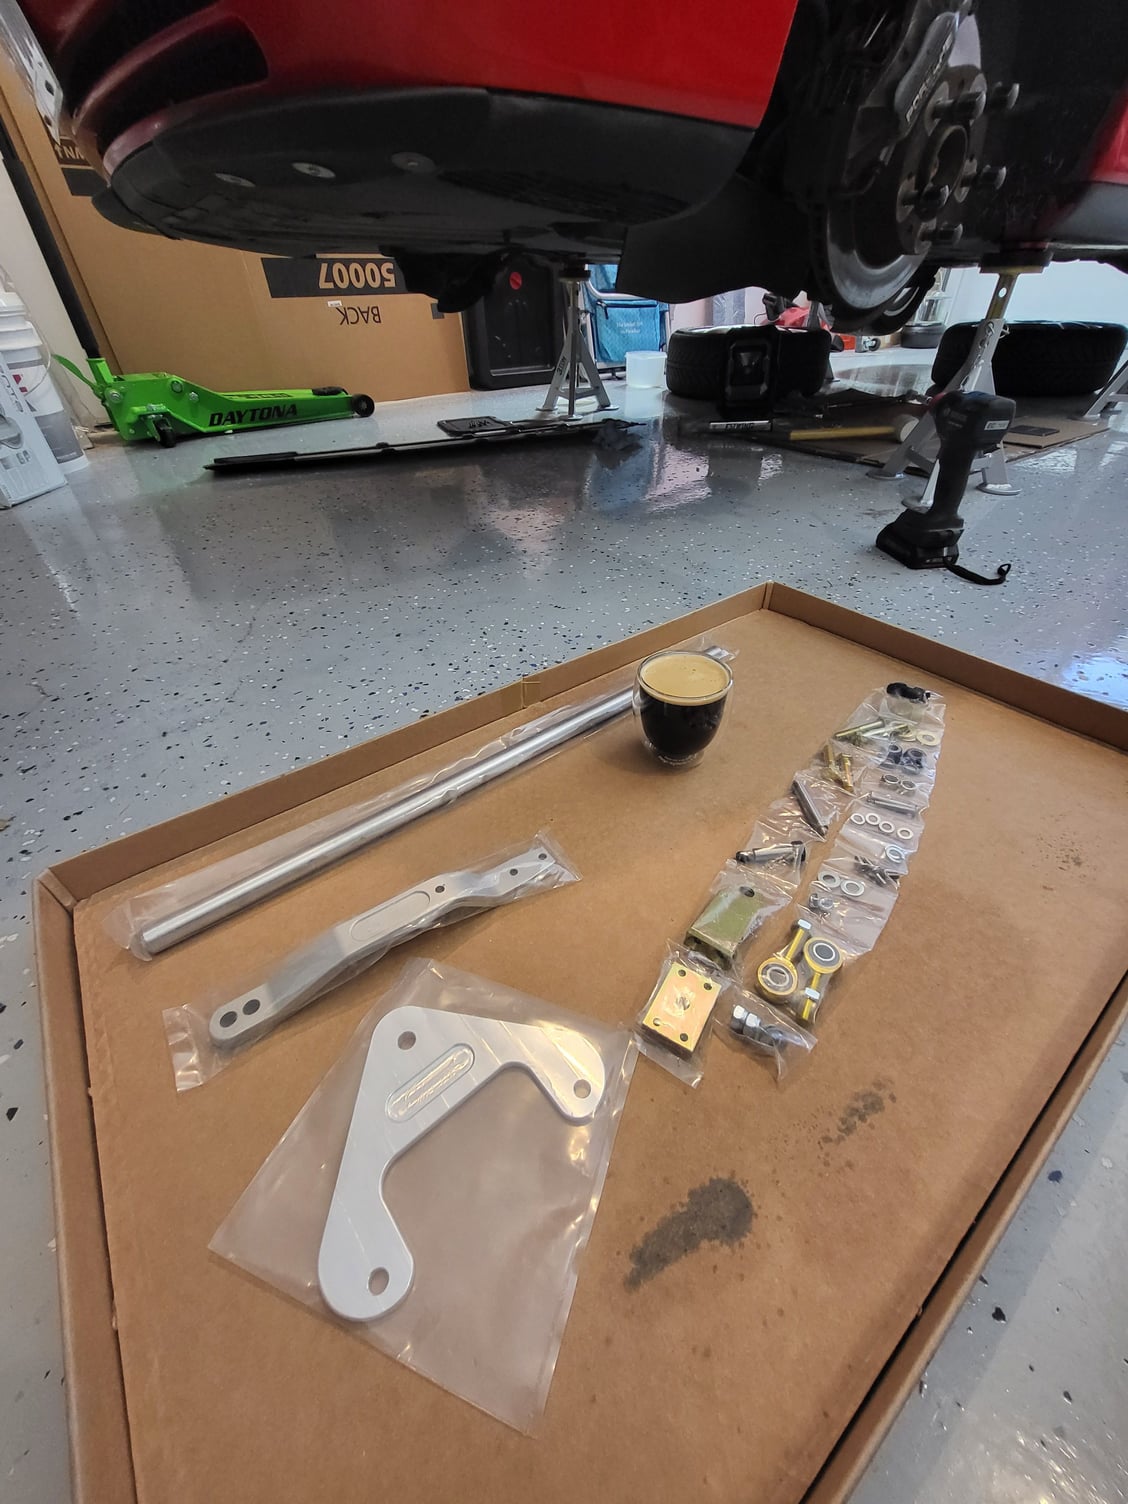
Woke up, layed out the new bits with a coffee to finish the job....
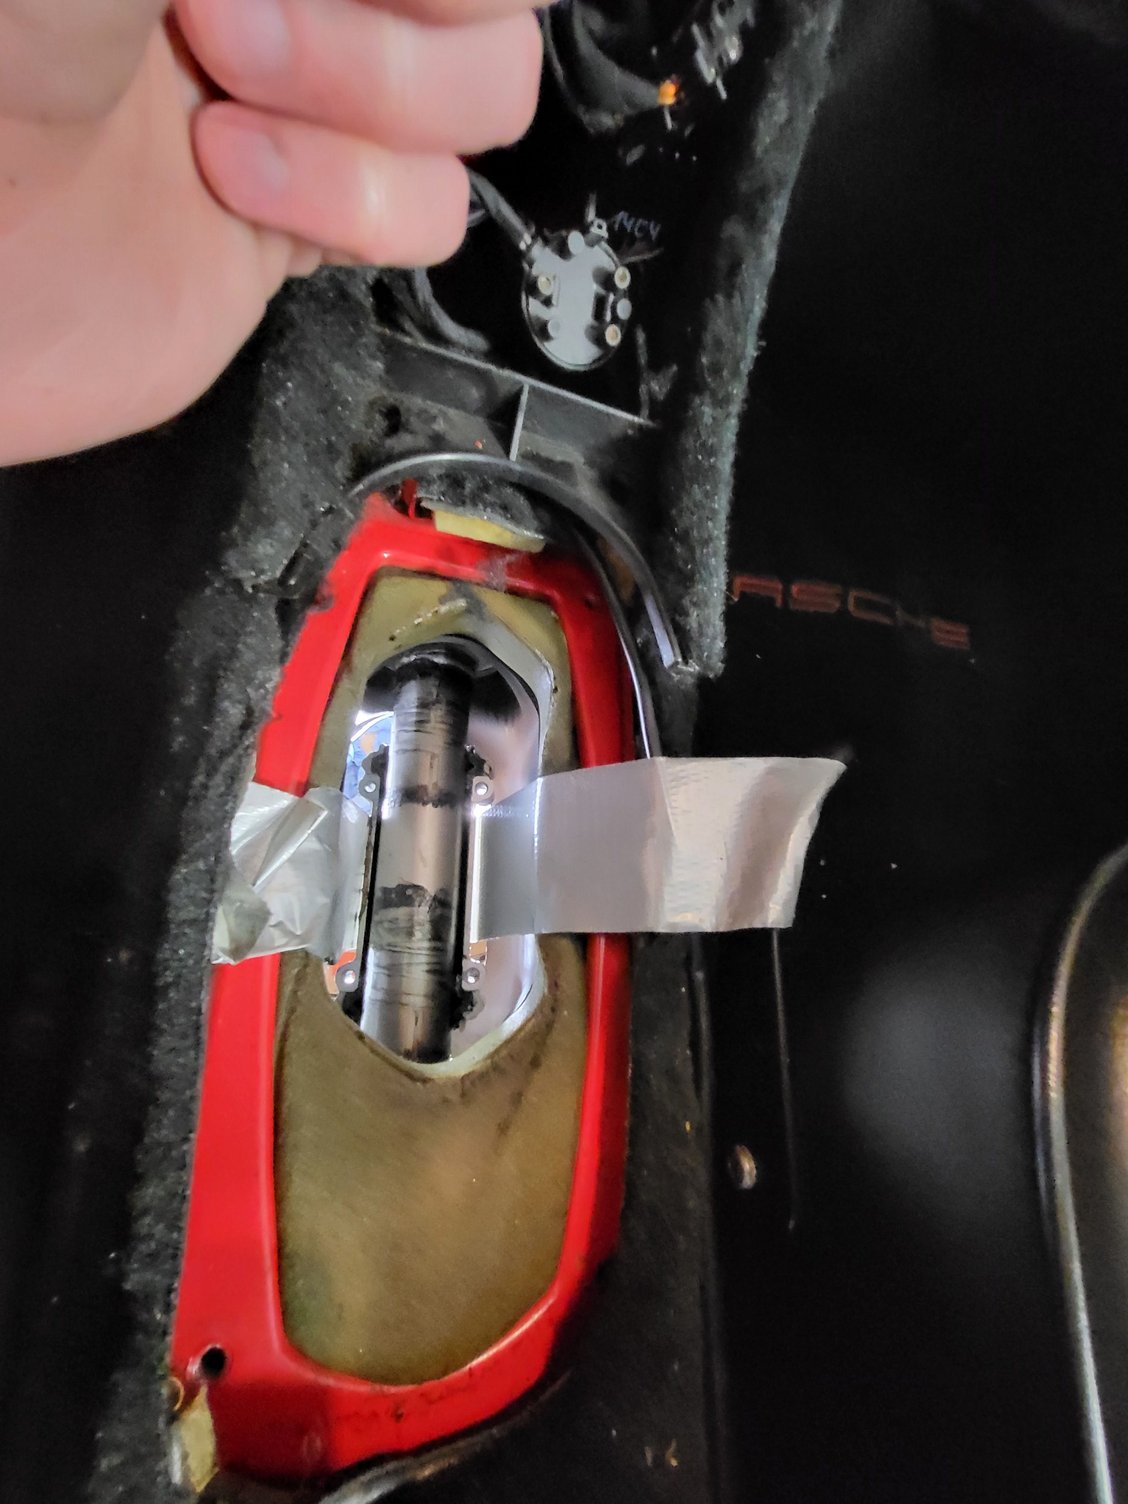
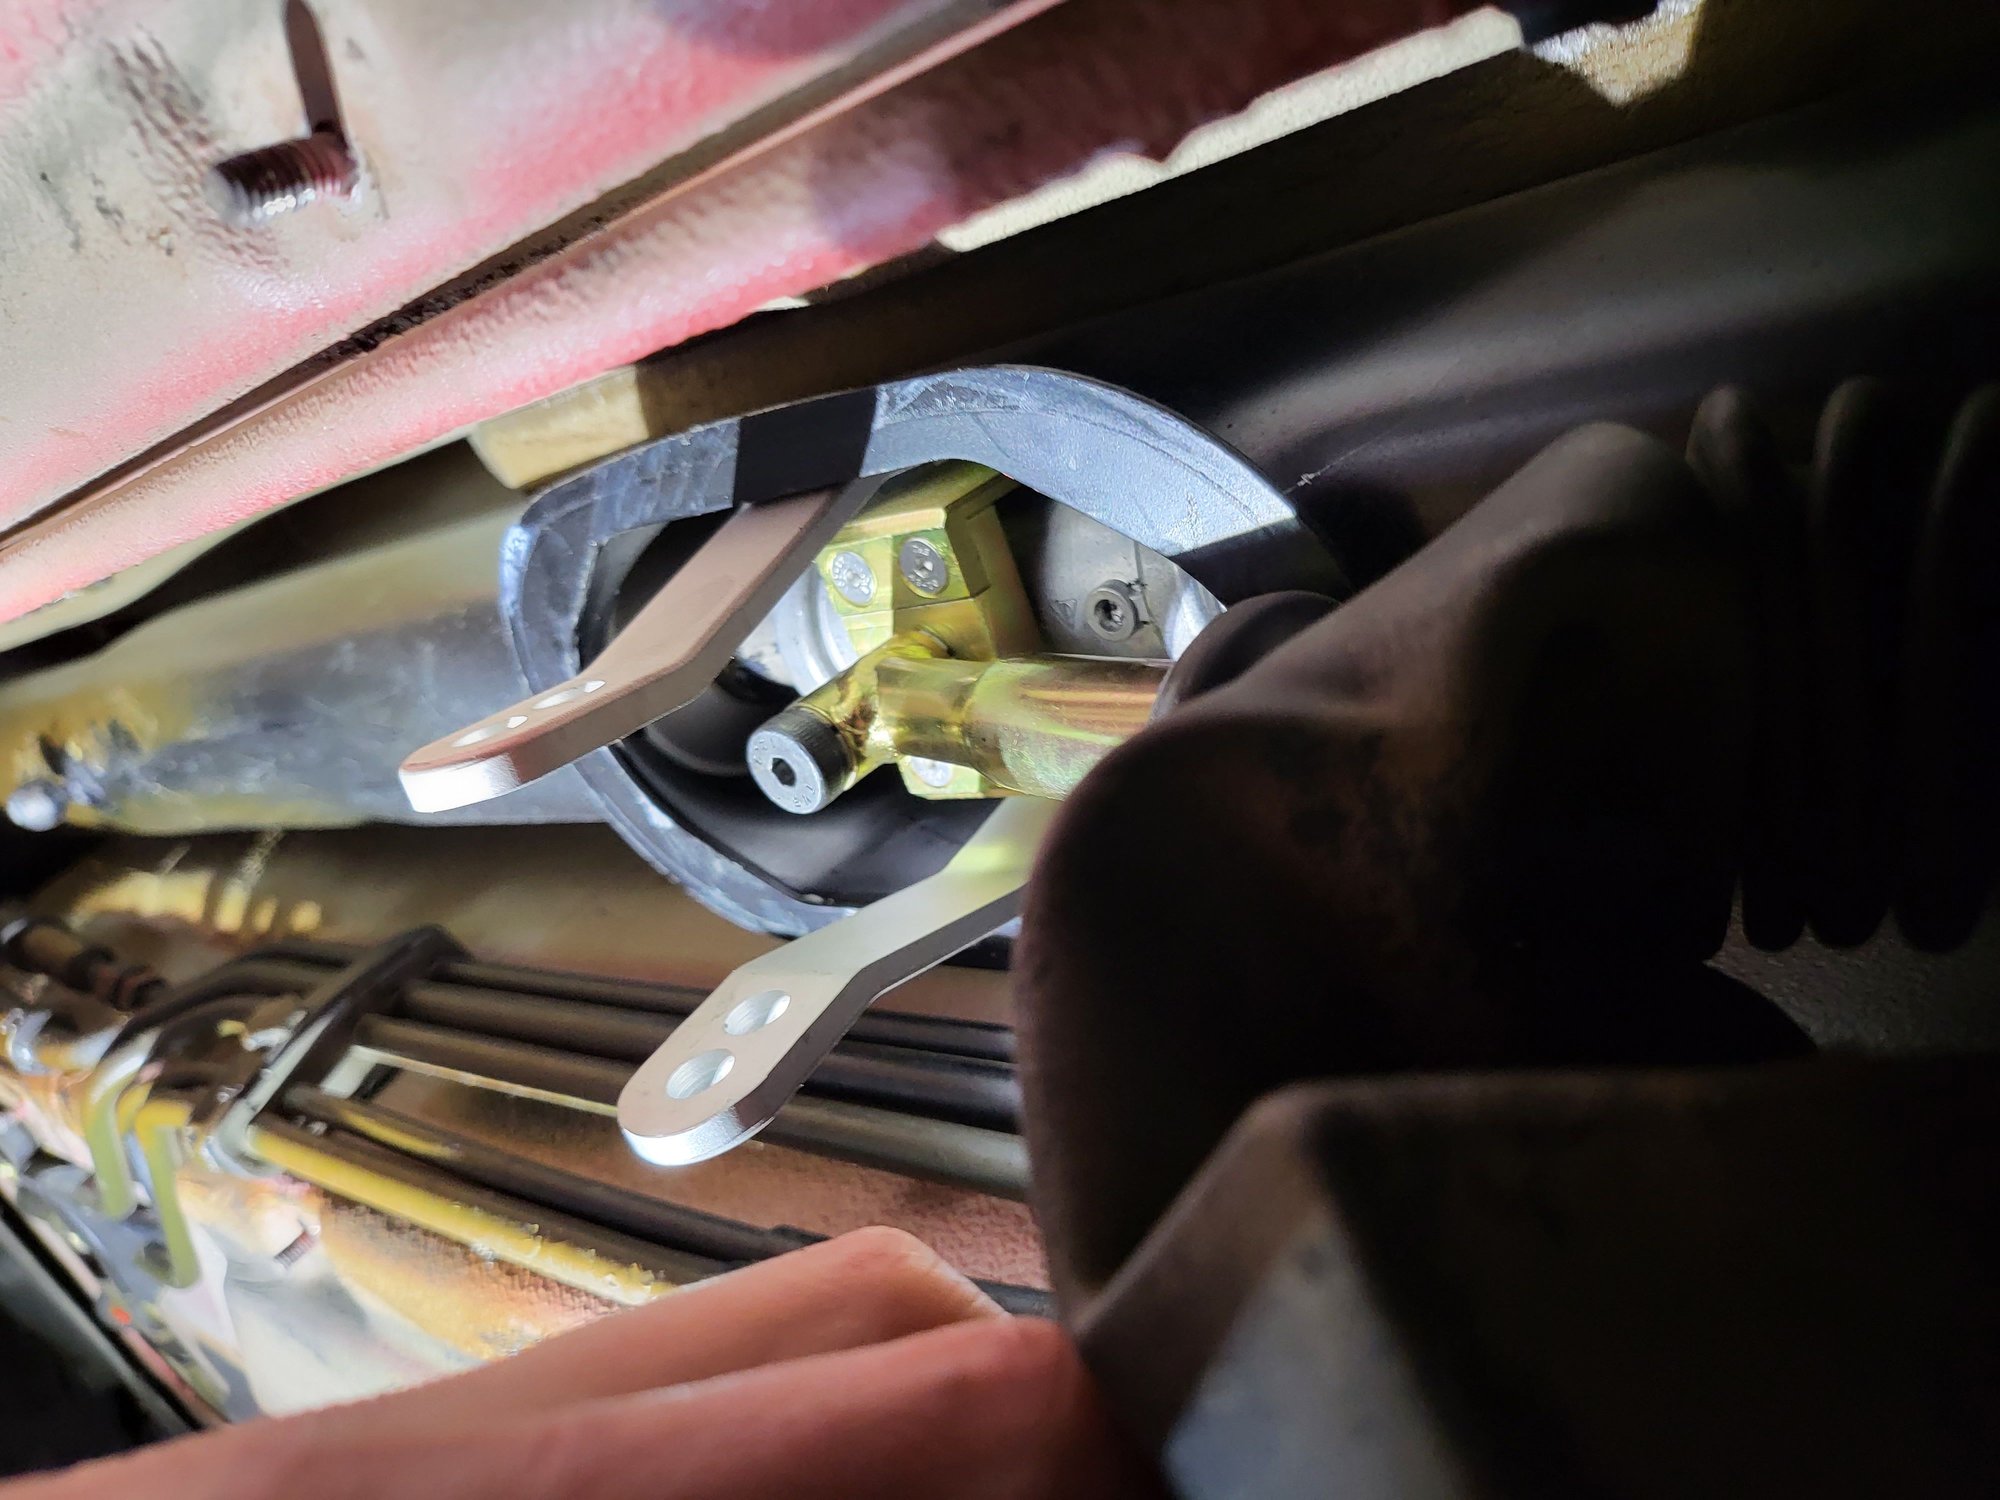
When installing the new shifter, the half shells get installed upside down to the original configuration. The trickiest part, if you don't have a lady friend that wants to get under your car, is holding the shells while bolting them back together. I did this using a piece of duct tape looped underneath the guide tube, sticky side away from me, and then dropping the bottom halfshell on top and rotating underneath. It went pretty smoothly.
Once the half shell is bolted back together, install the nicely machined plates and block that will be the new shift rod attachment point, mated to the now much higher up pivot points on the guide tube.
Bolt in the shift rod to the whole assembly. Note that in my instructions it specifies thread locker for the 4 countersunk bolts assembling the block/plates together, but not the bolt for the actual shift rod. I went to apply thread lock regardless only to find it seems to be pre-applied to the threads - just an fyi so you don't have thread lock on thread lock. Then drop in the new shift lever arm halves (I'm sure there's a more technical term here....).
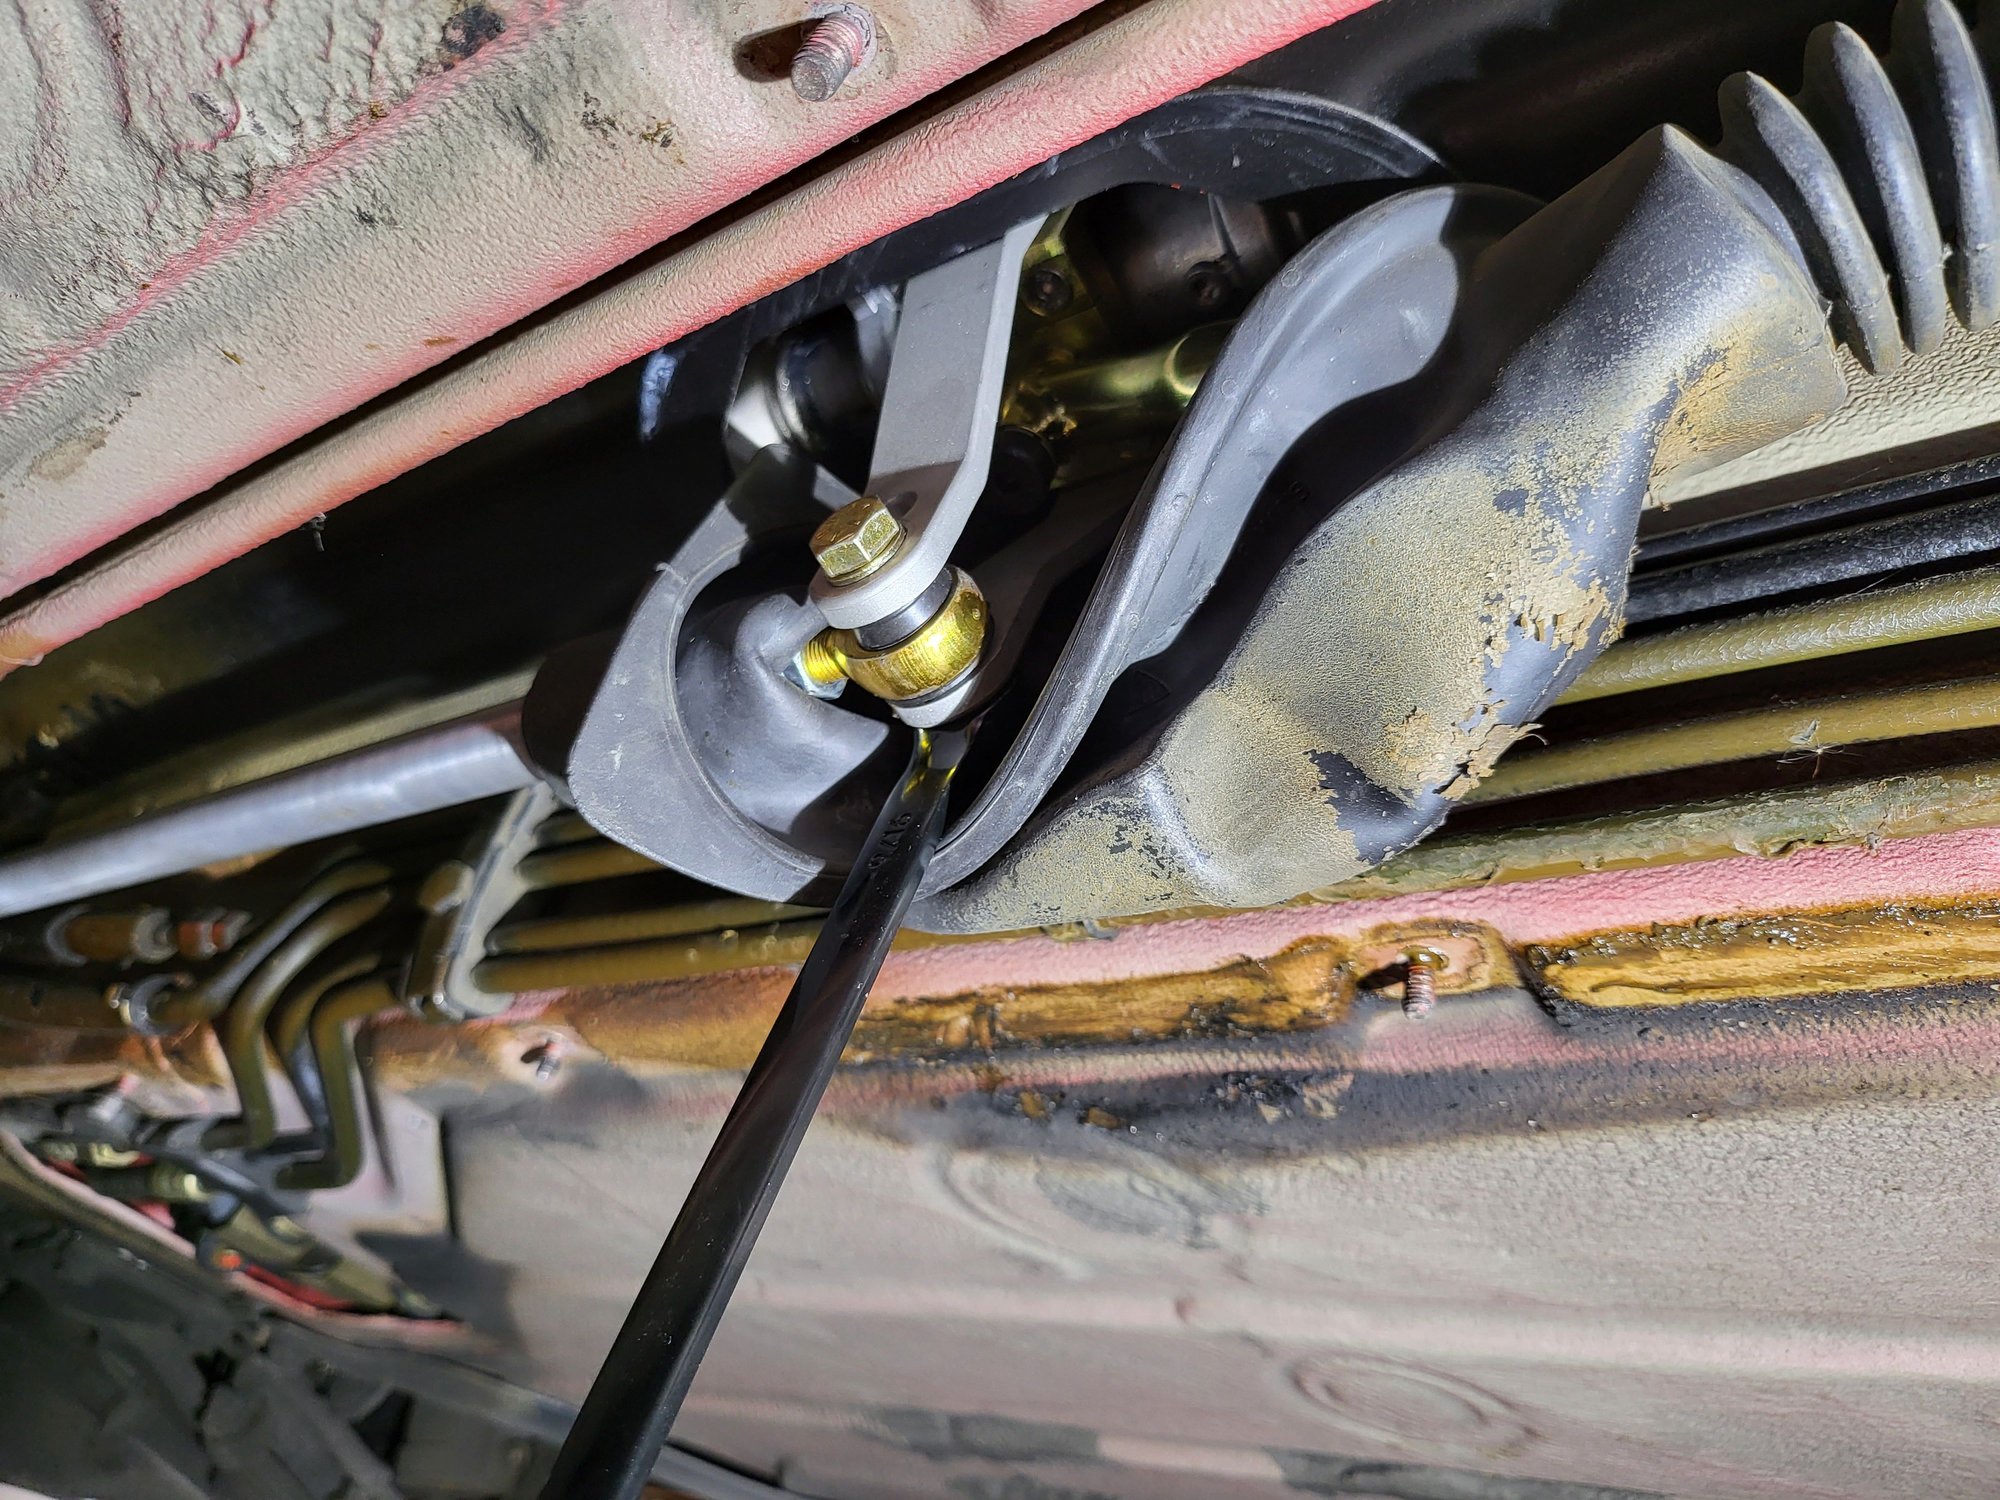
I then went ahead and installed the front mount of the forward rod - this uses replacement bolts and two front diff mount locations.
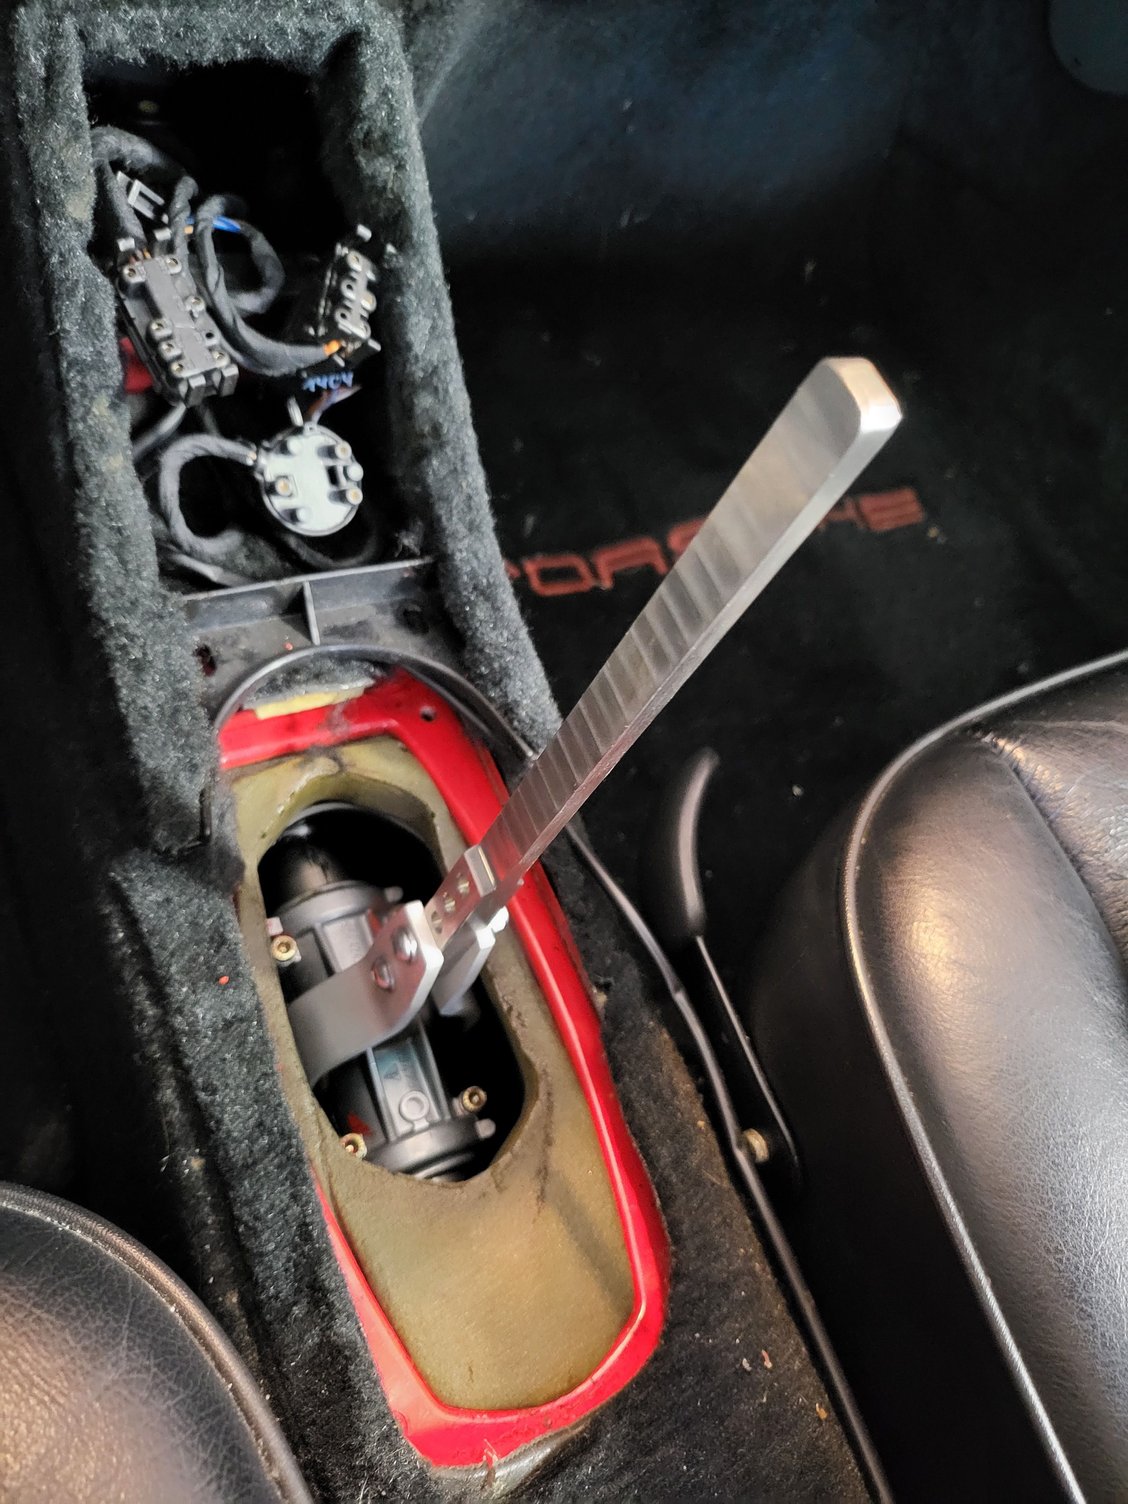
Next I found it easier to bolt together the shift lever up top before mating the forward rod to the mechanism down below - attaching the forward rod requires tricky maneuvering inside the boot and it was difficult to keep the shifter halves from unseating from the pin if they were just loose up top. I chose to go for the shorter of the two options (bottom hole) - I'll see how it is and decide if I like it or want to relax it a bit later.
Finally awkwardly twist the boot out of the way as you use the SAE tools you had to dig around to find to bolt the thing together.
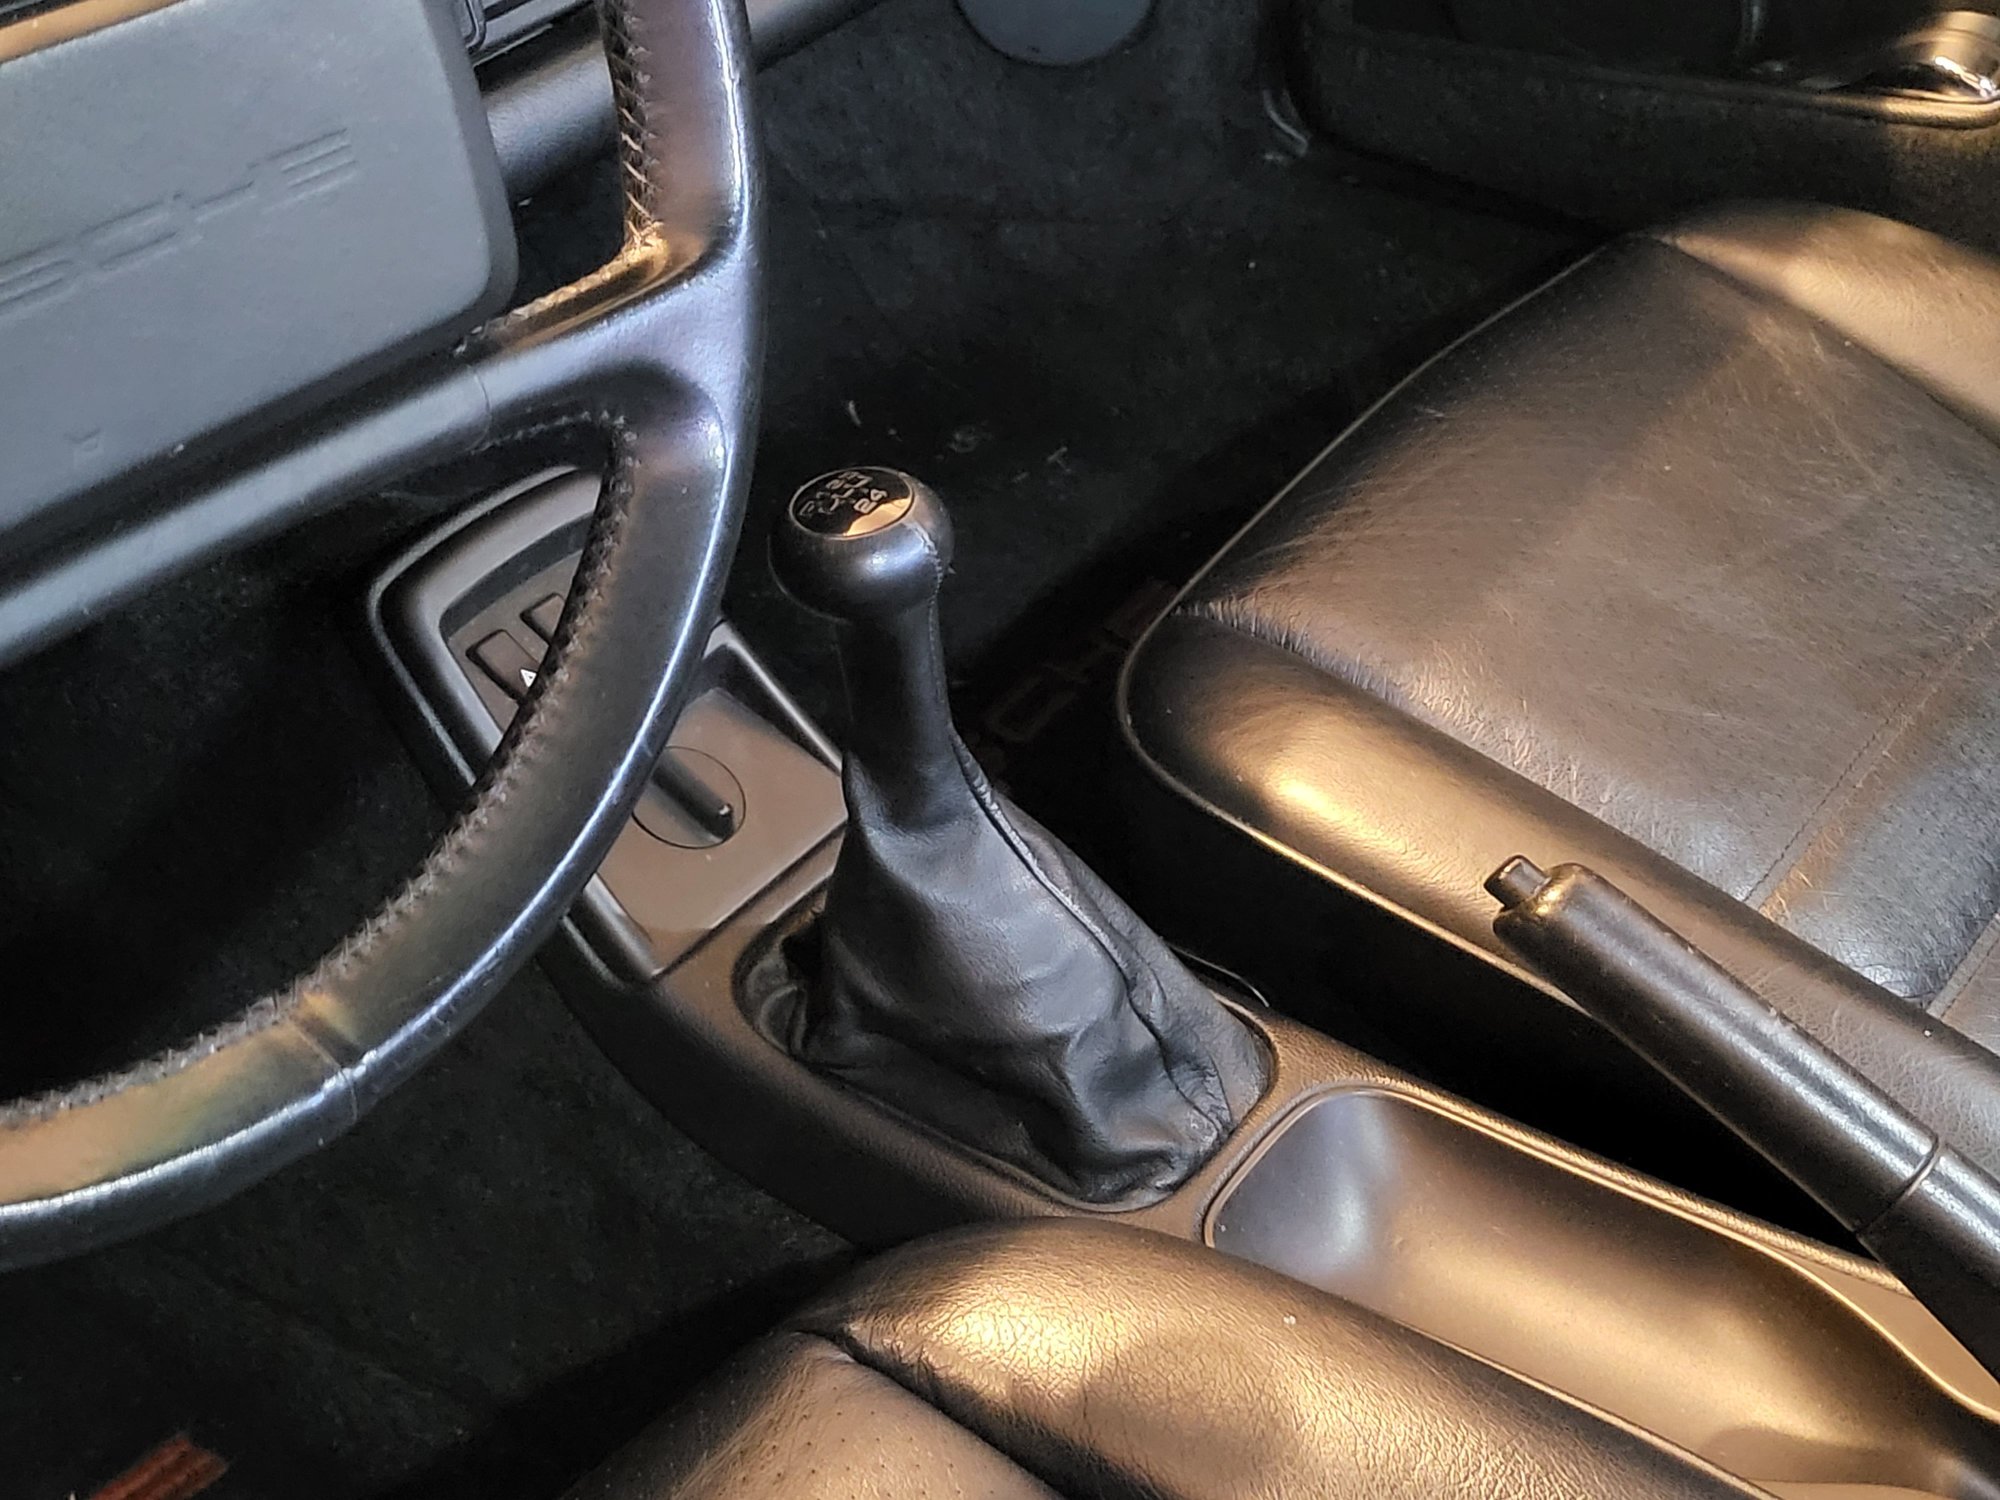
Put the interior back together and take it for a spin. I actually waited for sunday to do the drive portion, as it was the first non-rainy day we've had in quite some time. Shifter is definitely shorter and feels notchier, and most importantly is better positioned for me while driving. I didn't go with the billet option because I wanted to keep the stock look, however what I've found is that raising the shift **** to where it is comfortable for me means the leather is stretched quite tight and actually pulls on the center console when shifting into 2/4. I think I'll switch to the billet option with an exposed bellow to avoid this, as you can feel it tug when shifting.
If anyone has the sleepers billet version they'd be willing to part with, please reach out. Otherwise I'll give them a call sometime this week and see about having one shipped.
Overall super happy with the kit. Wasn't difficult to install, would buy again and would recommend.

 09-15-2021, 08:46 PM