When you click on links to various merchants on this site and make a purchase, this can result in this site earning a commission. Affiliate programs and affiliations include, but are not limited to, the eBay Partner Network.
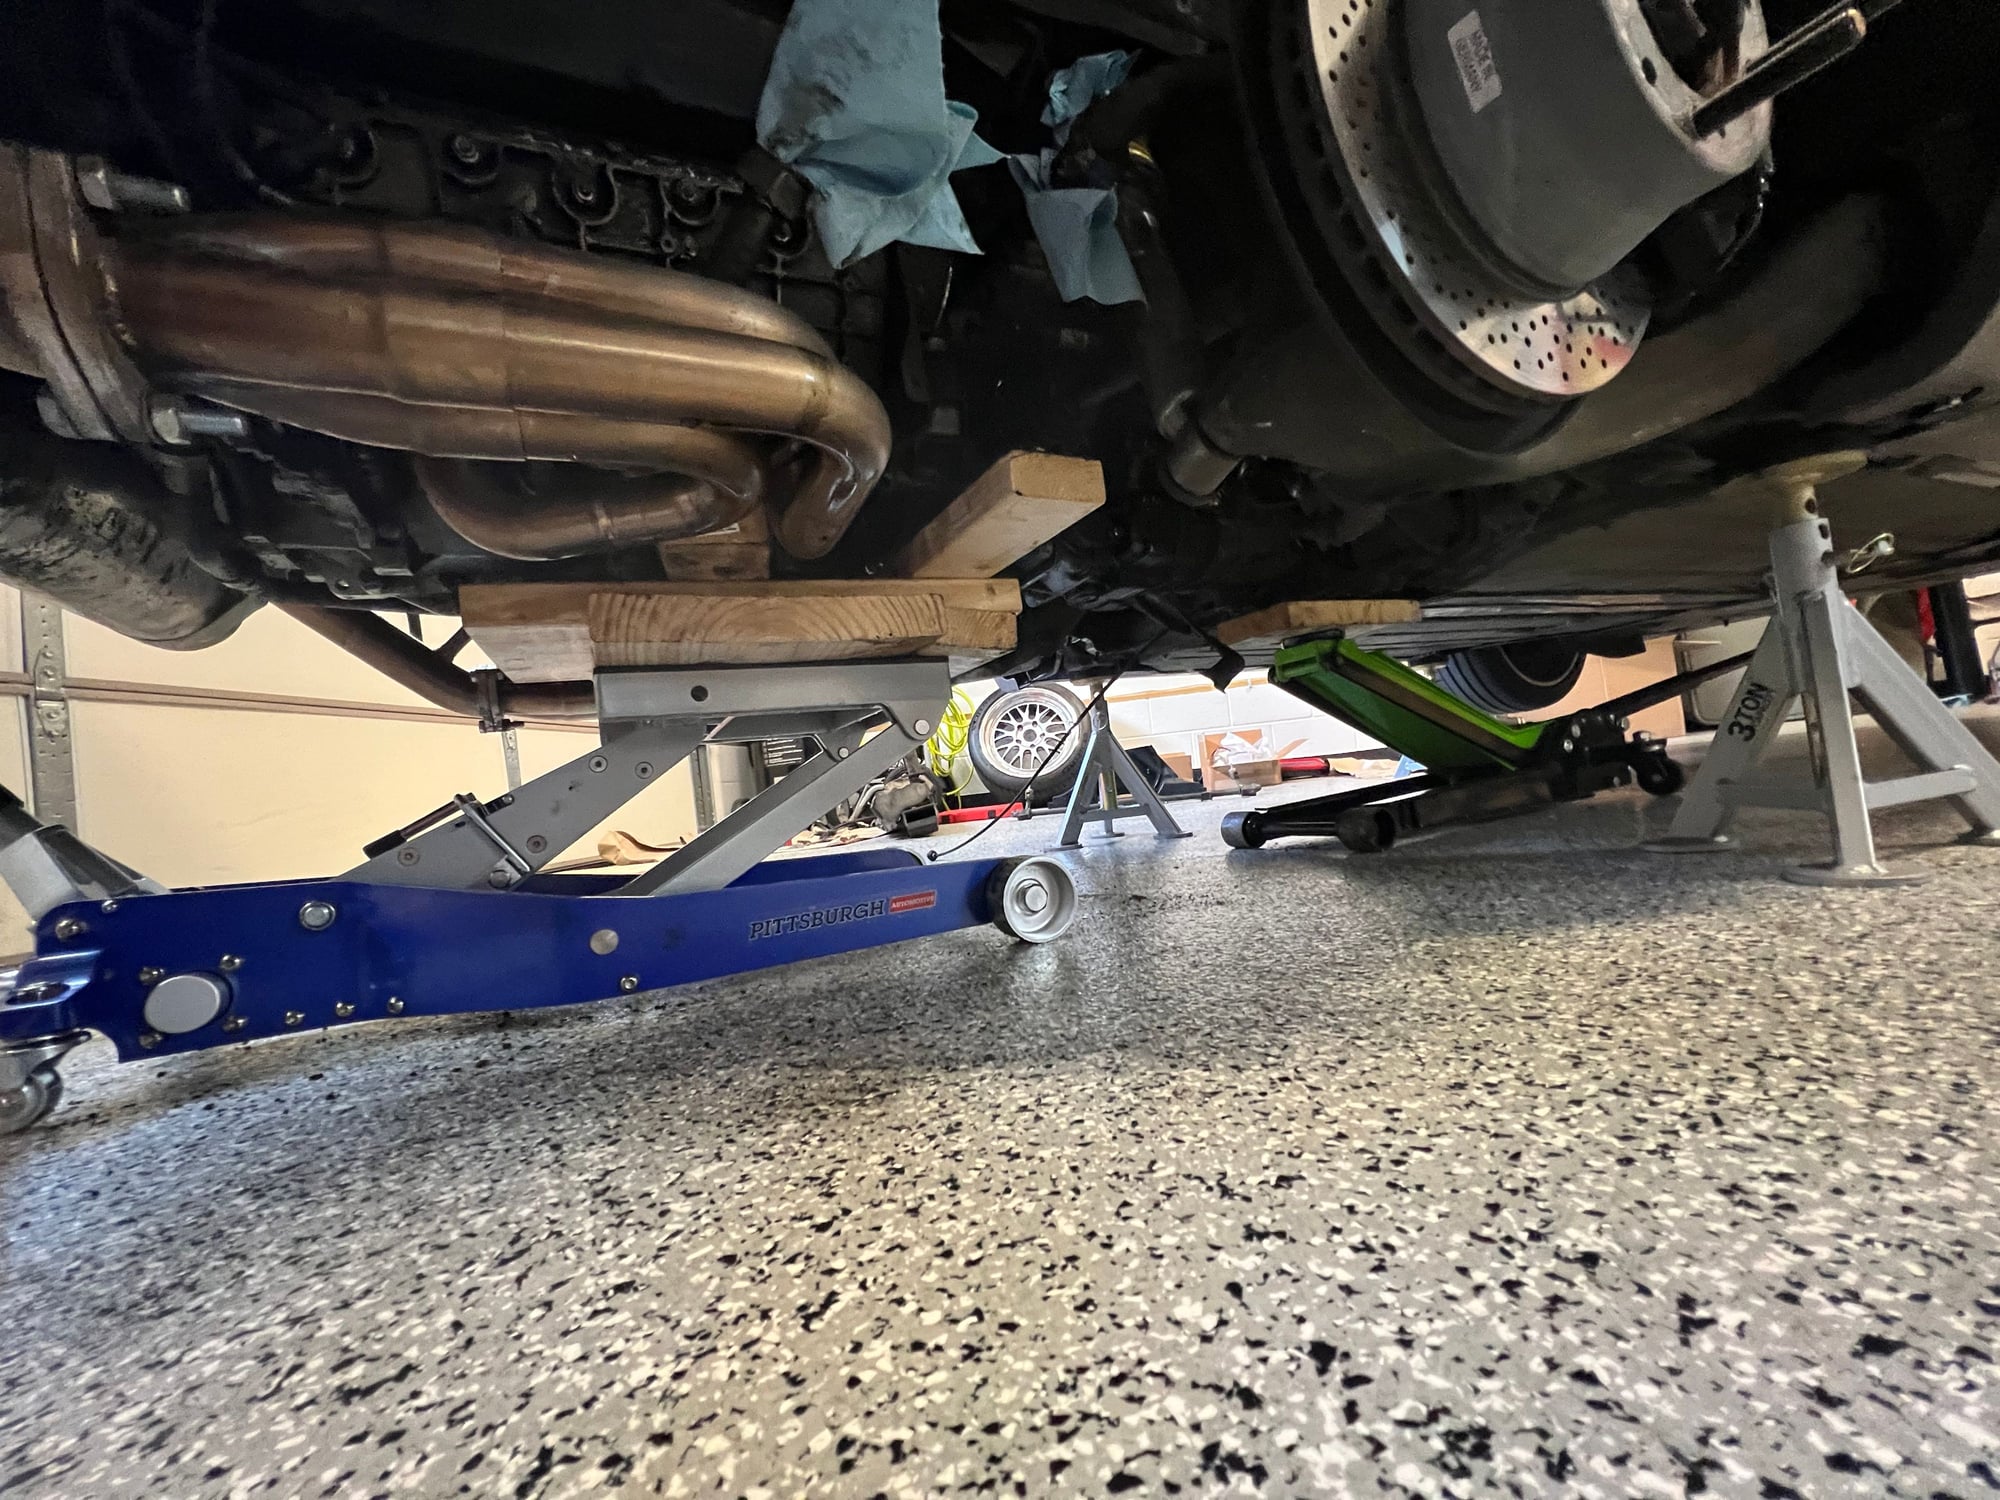
Thanks to this forum and it’s helpful members, I was able to successfully drop my motor without incident today. I’m starting this thread to document my progress and to ask questions here and there.
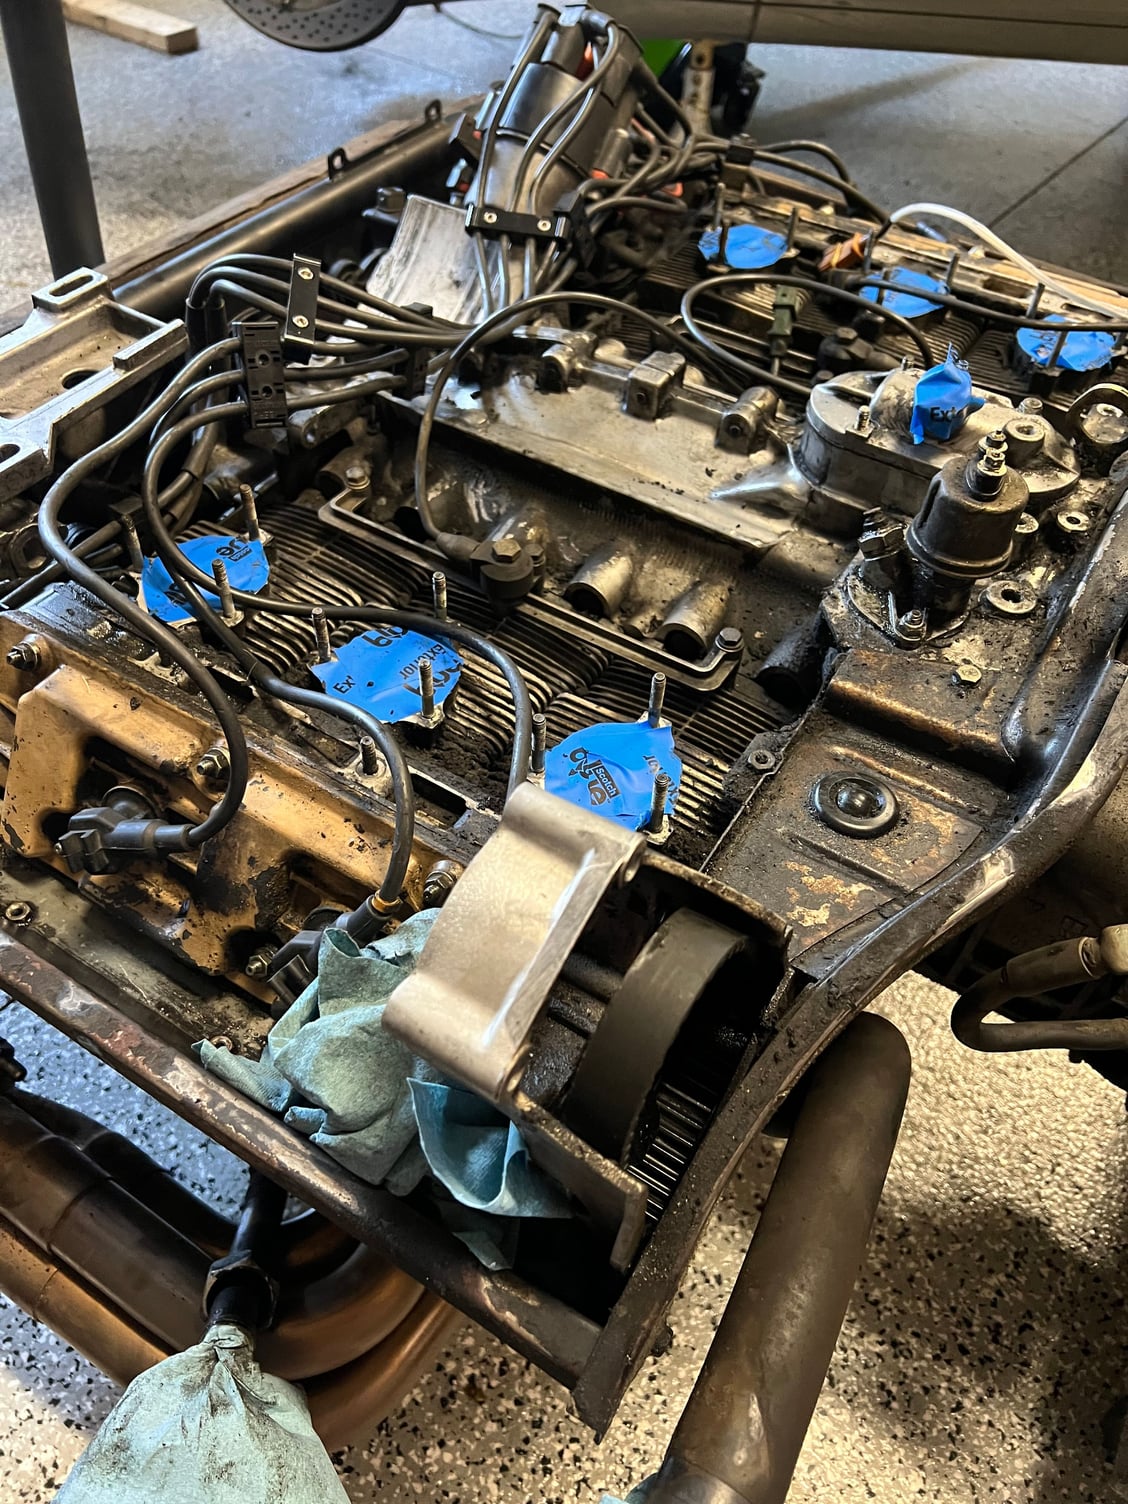
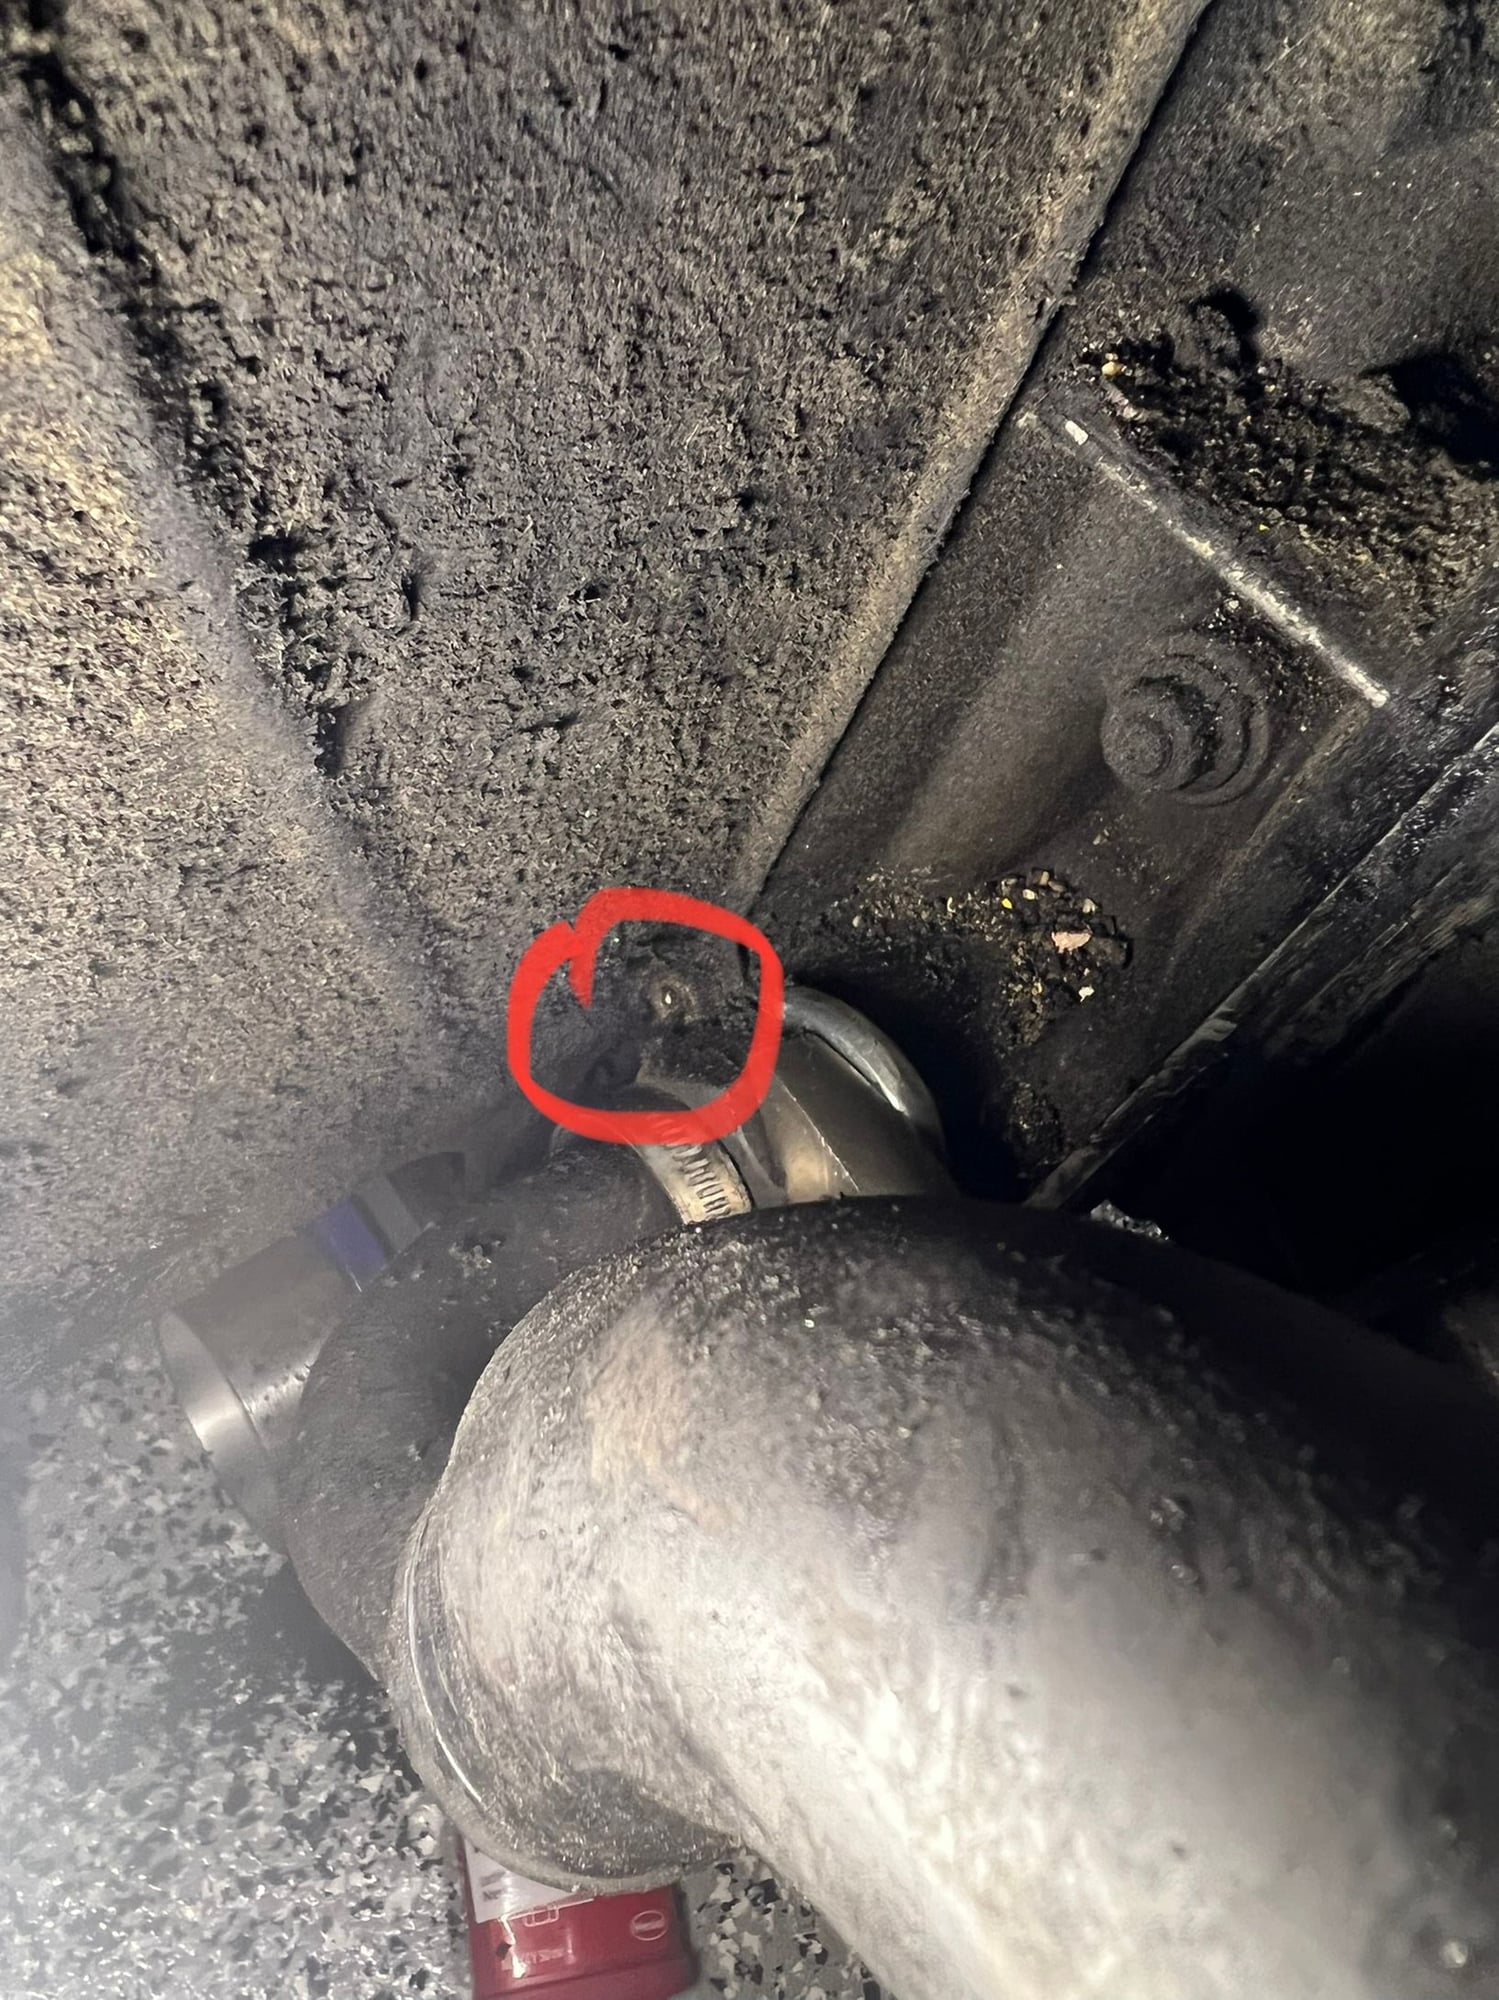
2) I already ran into a snag trying to remove the right hand rear engine tin. There is a single Allen head bolt that is wanting to strip. Any thoughts?
Cleaning is a challenge and the only “shortcut” is the use of a power washer. if you have a local self service car wash with the “engine wash” option you can take the engine there in a pickup truck or small trailer and use that setting to clean it, as they should have a water cleaning and recycling system in place. If there is no engine wash option, don’t clean it there, you’ll just create an environmental hazard.
Otherwise, its plastic scrapers with diluted simple green to start, then plastic brushes with foamy engine bright or similar. The more you can get off mechanically before using fluids, the better.
Simple Green - SMP13406 Extreme Aircraft and Precision Cleaner
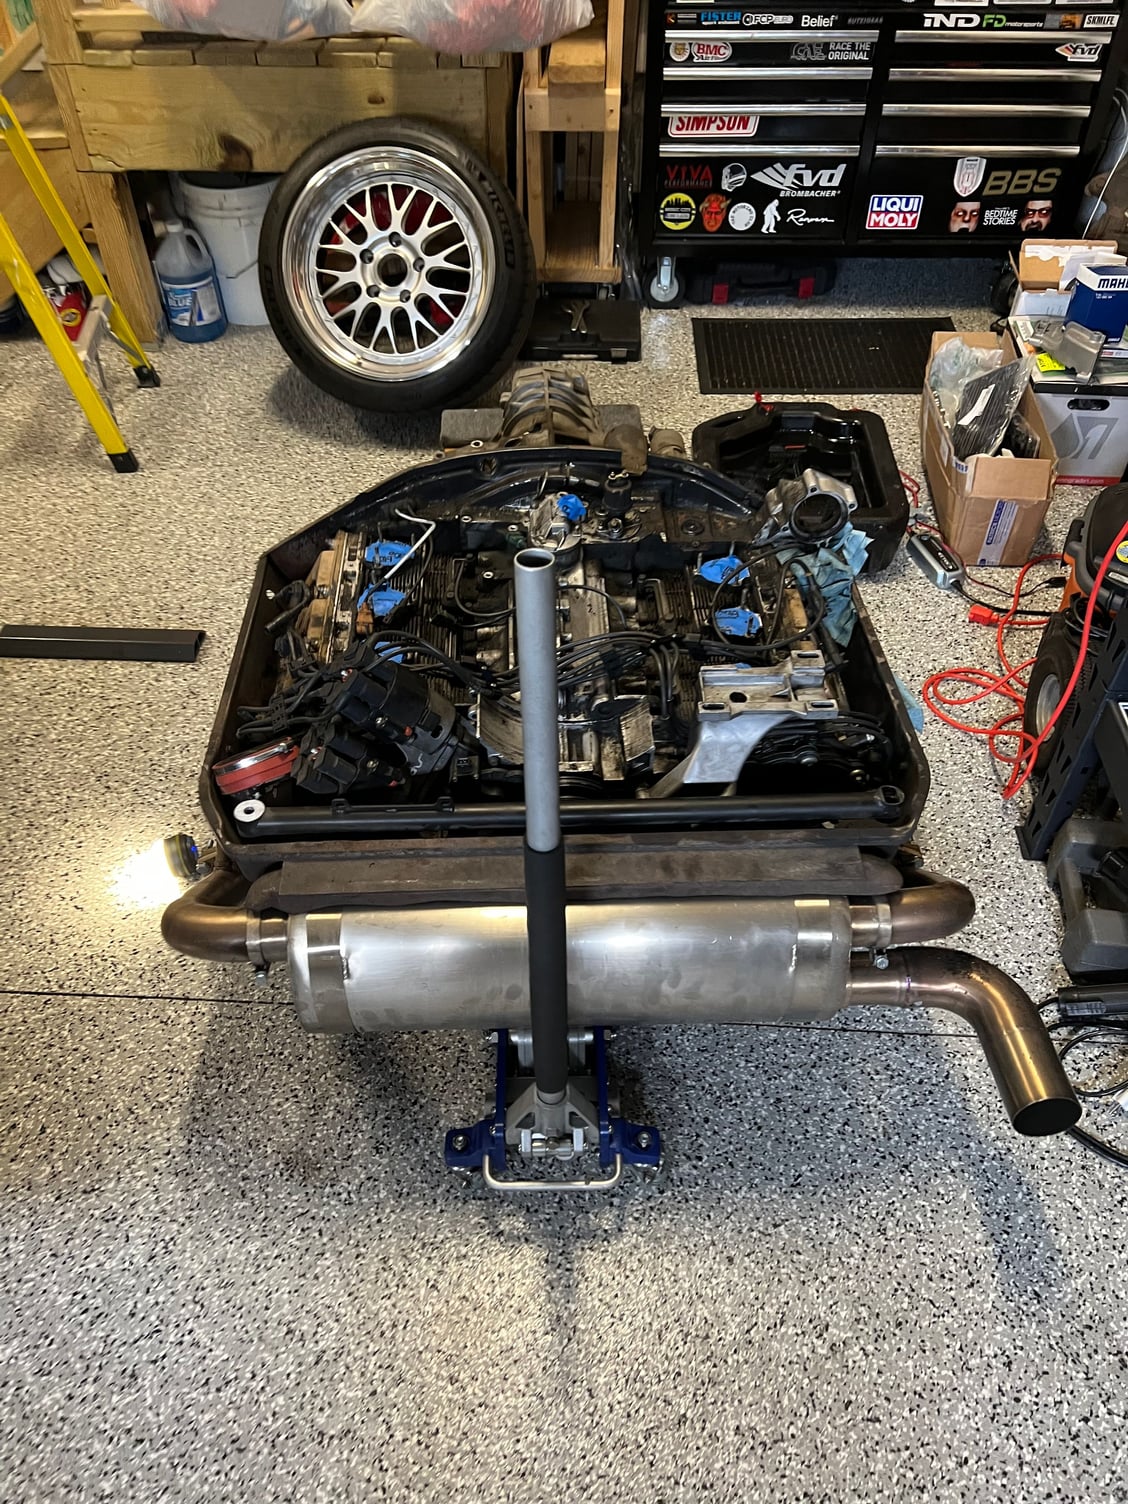
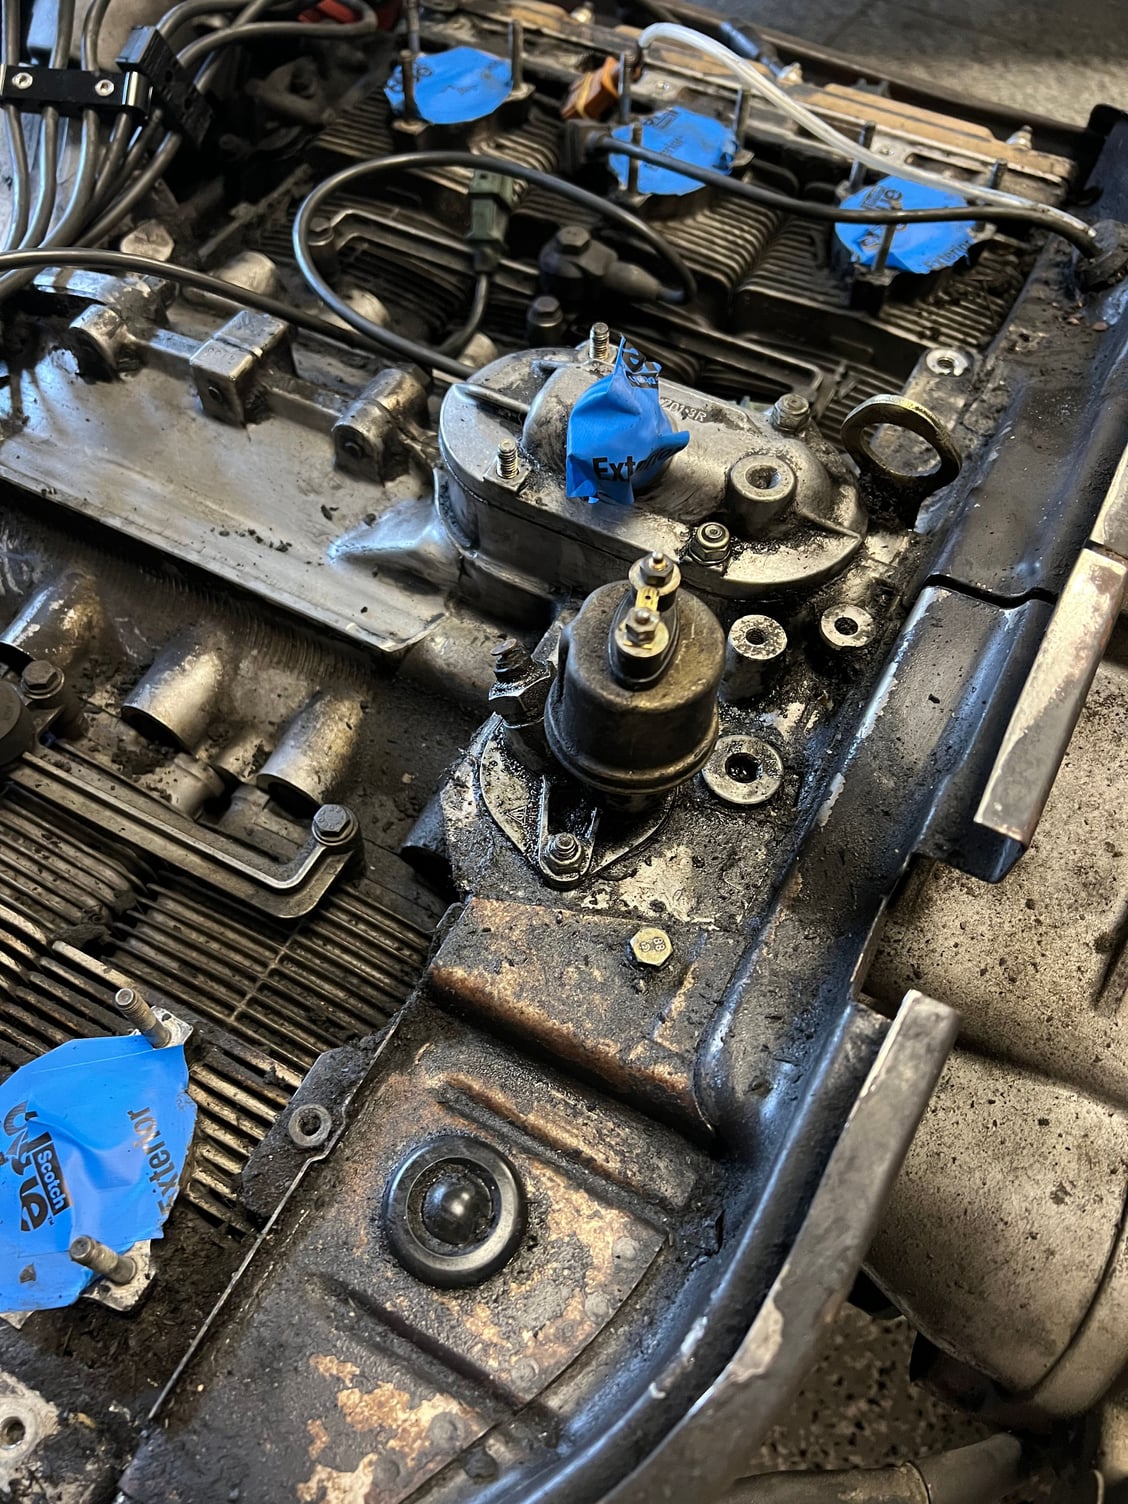
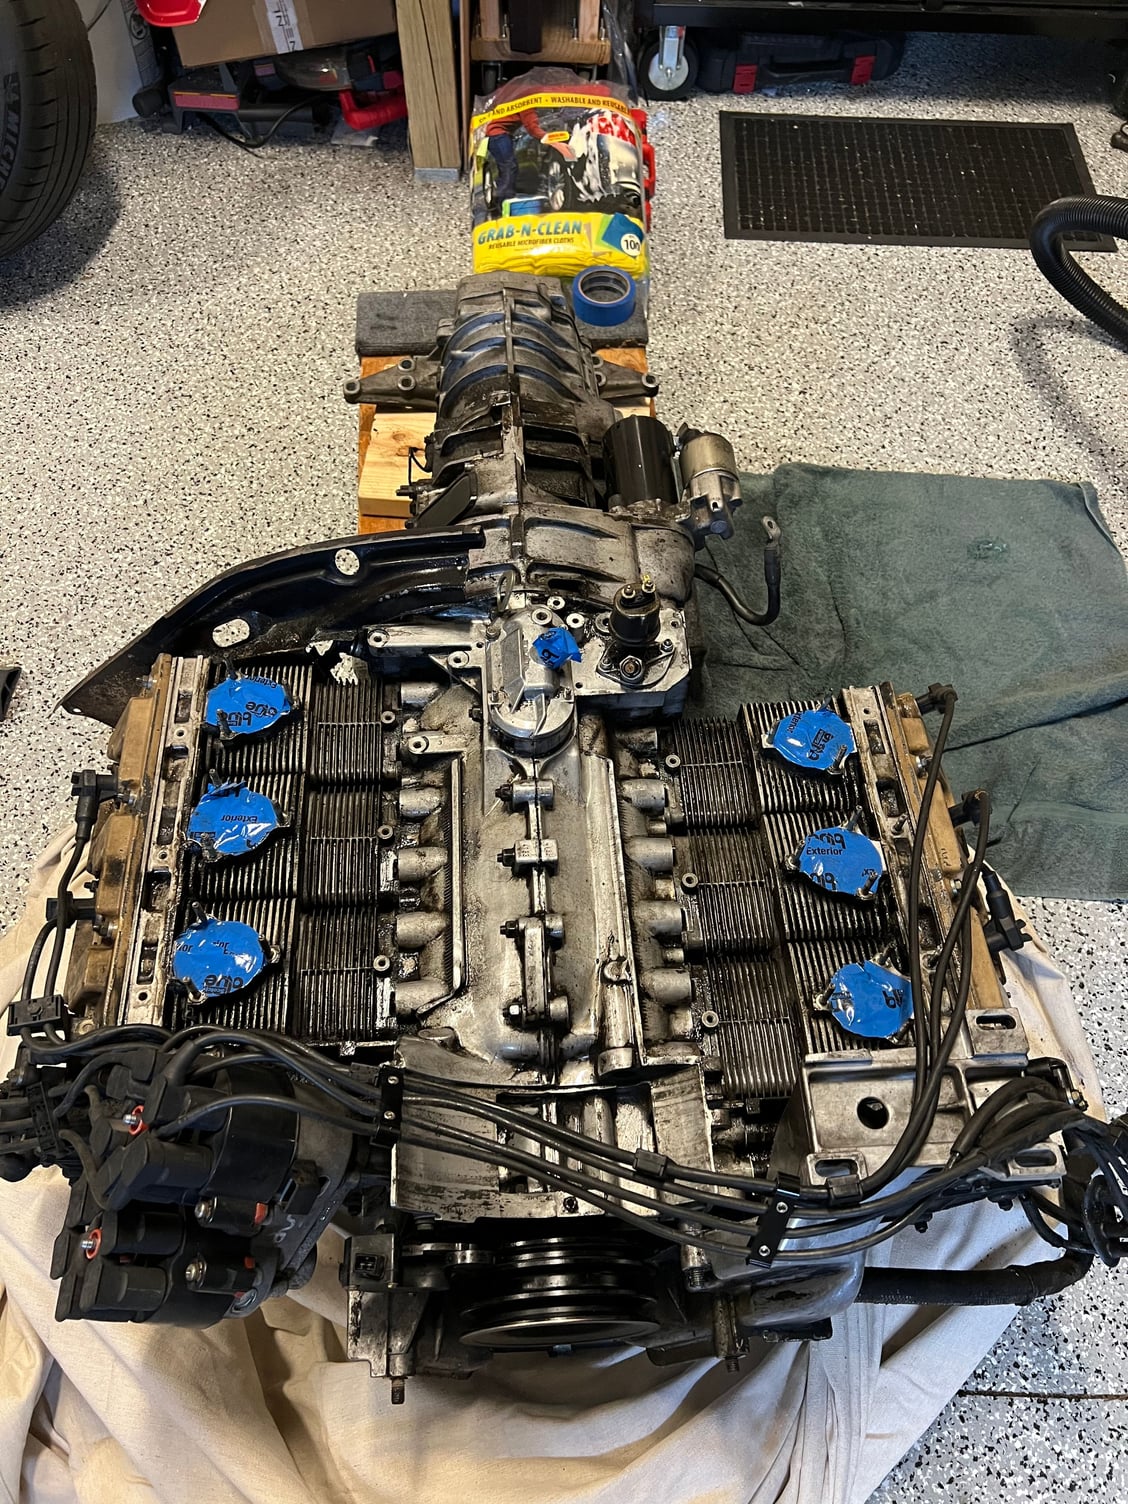
After a healthy dose of PB Blaster and lots of heat, I finally got the rear tin off after resorting to an extractor. Also removed the rear muffler, power steering drive/brackets, knock sensors/rails, and engine carrier.
A little more tear down coming then will get to cleaning.
If I were to put the manifolds back on and cap all the oil lines/cover the distributors/starter, could I safely pressure wash this heap as suggested above?
I’m not afraid of a little elbow grease but this could take weeks.
I’ve never loved the idea and found that nothing beats physically abrading grme like that. the cakey stuff can resist pressure all day and then wipe right off with a paper towel.
Did you really get the motor dropped in one day? I would love to do this one day. Not ready yet, but mine is all stock and it looks like you had less OEM stuff involved. (no AC? Blower?)
Did you really get the motor dropped in one day? I would love to do this one day. Not ready yet, but mine is all stock and it looks like you had less OEM stuff involved. (no AC? Blower?)
It took me several days in “short” 2-hour stints. I had previously removed A/C and heat, but to be honest those wouldn’t have added much time. I wasted several hours double checking my blocking and working up the courage to turn the jack handle to the left.
As to cleaning,unless it's going to be a show car, it's going to be used, and therefore all the same black gook is going to build up again, so think of cleaning as a way to make sure you know where your leaks are and if there are cracks and things that need attention. If you try to make it all pretty you will end up in a rabbit hole and it's not only expensive- but from a performance perspective, useless. And it's all dirty in a year again...
With that in mind- if you just want it clean, grab a large gallon can of wd40 and a paint brush, like a 2.5 inch house painting brush. Soak everything - and then when you go back to scrub, it'll all be loose. Wipe it off.
Great advice, and thanks for the motivation. Hard to keep things in perspective when you’re this far along, but I can see how this can easily become a year’s long project that knows no budget.
My goal is as you state - clean “enough” to monitor things.
I did a top end rebuild down to the piston rings in 3 mos while working full time. This included plenty of while you're in there's such as clutch, flywheel, diff lock actuators, valve cover refinishing, tin refinishing etc. I started Jan '20 so several of those months were weird ones where I had lots of time at home. Agree with the advice above. Get it clean enough that you will not foul the reassembly but don't post for instagram.
WD40 was a GREAT suggestion. This is 20 minutes of work.
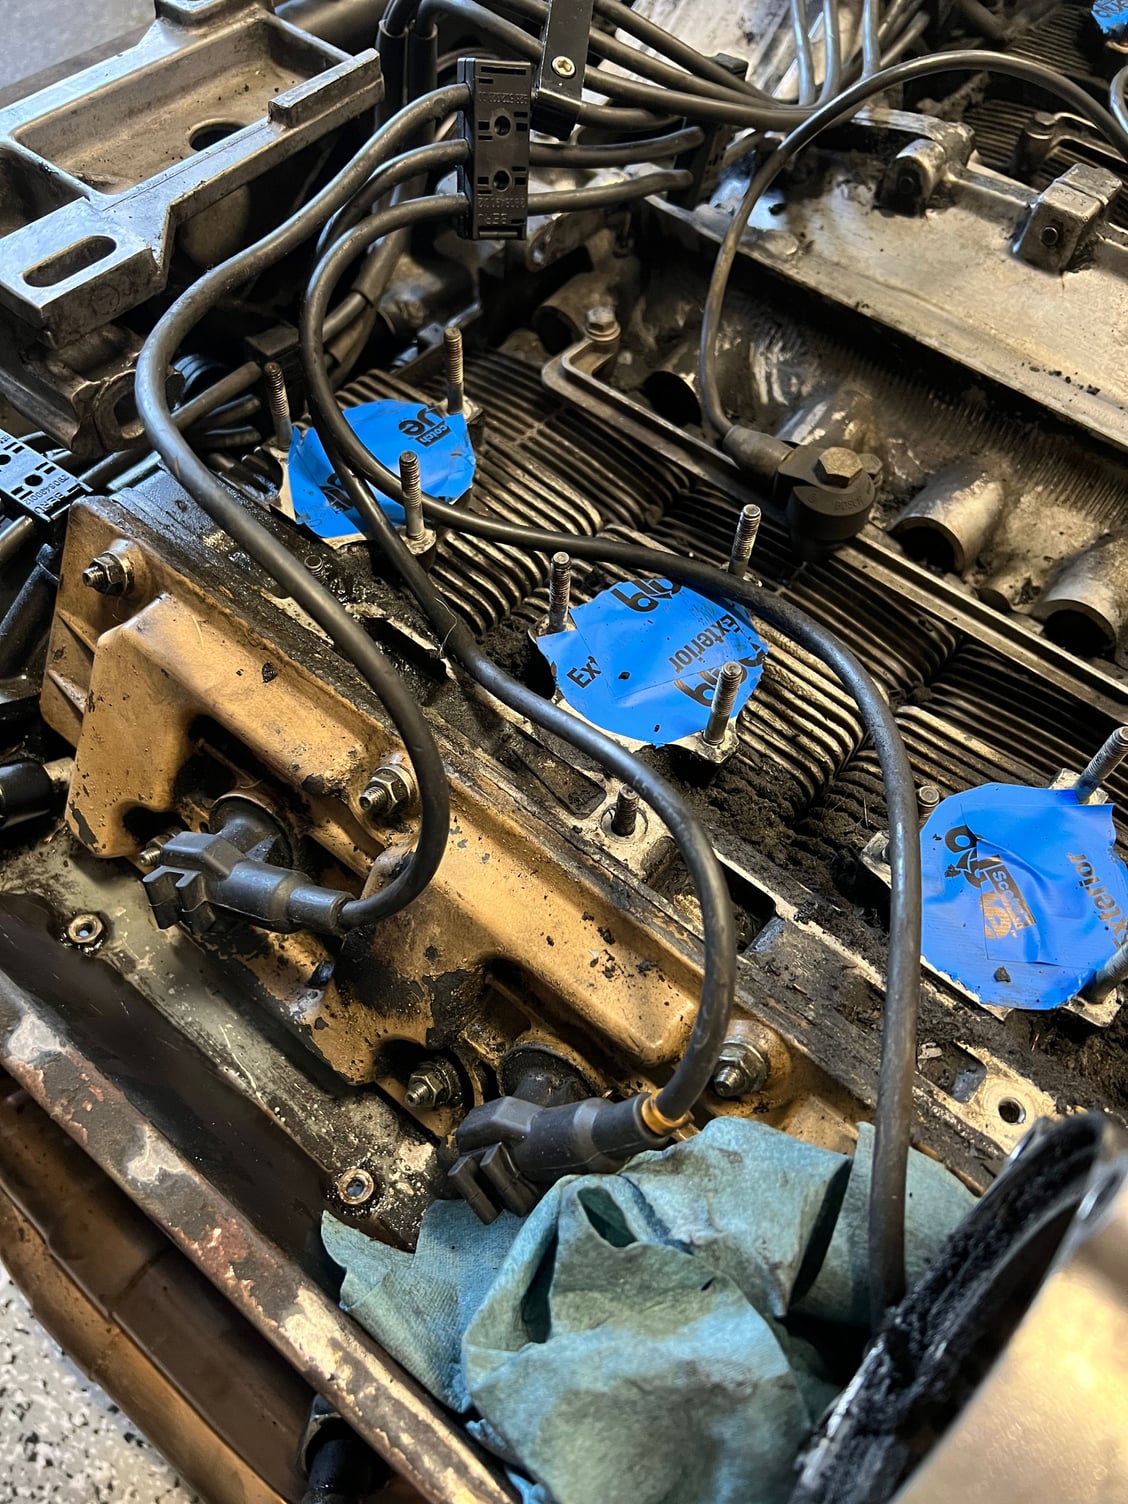
Is there an easy way to recall how the wires are routed other than video/pictures? I think it’d be easier to pull them and reinstall after work is complete.

 07-02-2022, 10:20 PM