When you click on links to various merchants on this site and make a purchase, this can result in this site earning a commission. Affiliate programs and affiliations include, but are not limited to, the eBay Partner Network.
I used two small ball peen hammers on each side of the pin, placed one on a vice and struck the other with a sledge to round off both sides of the pin. It did take some force but it wasn’t excessive.
Staking the solid pin - see Step 32 in the first post. 🙂
Using a bench vise, squeeze the ends of the pin. Put small metal blocks or spacers between the vise jaws and the pin ends (so the vise jaws can squeeze the pin without bottoming or contacting the distributor shaft or helical gear) then slowly tighten the vise to mushroom the pin ends.
I had a punch set with hexagonal shafts, so I used two of those as the blocks - one side of the shaft against a vise jaw, other side against a pin end.
thanks! Before I do that I want to check if it�s possible to get the gear 180� out? When I insert my distributor with the motor at number one TDC and the rotor slightly before the mark on the distributor it rotates as it goes in and generally points to the Mark but it is not dead on. If I rotate the rotor by hand (I suppose that is operating the advance mechanism) it is dead on. Does that sound Correct?
Originally Posted by Dave R.
Staking the solid pin - see Step 32 in the first post. 🙂
Using a bench vise, squeeze the ends of the pin. Put small metal blocks or spacers between the vise jaws and the pin ends (so the vise jaws can squeeze the pin without bottoming or contacting the distributor shaft or helical gear) then slowly tighten the vise to mushroom the pin ends.
I had a punch set with hexagonal shafts, so I used two of those as the blocks - one side of the shaft against a vise jaw, other side against a pin end.
Apologies Dave R, I missed you on the shout-out above and you originated the thread!
r-mm I didn’t have the alignment issue that you encountered although I would try to slightly rotate the gear and insert back into the crankcase to see if it aligns with the timing mark without needing to twist it.
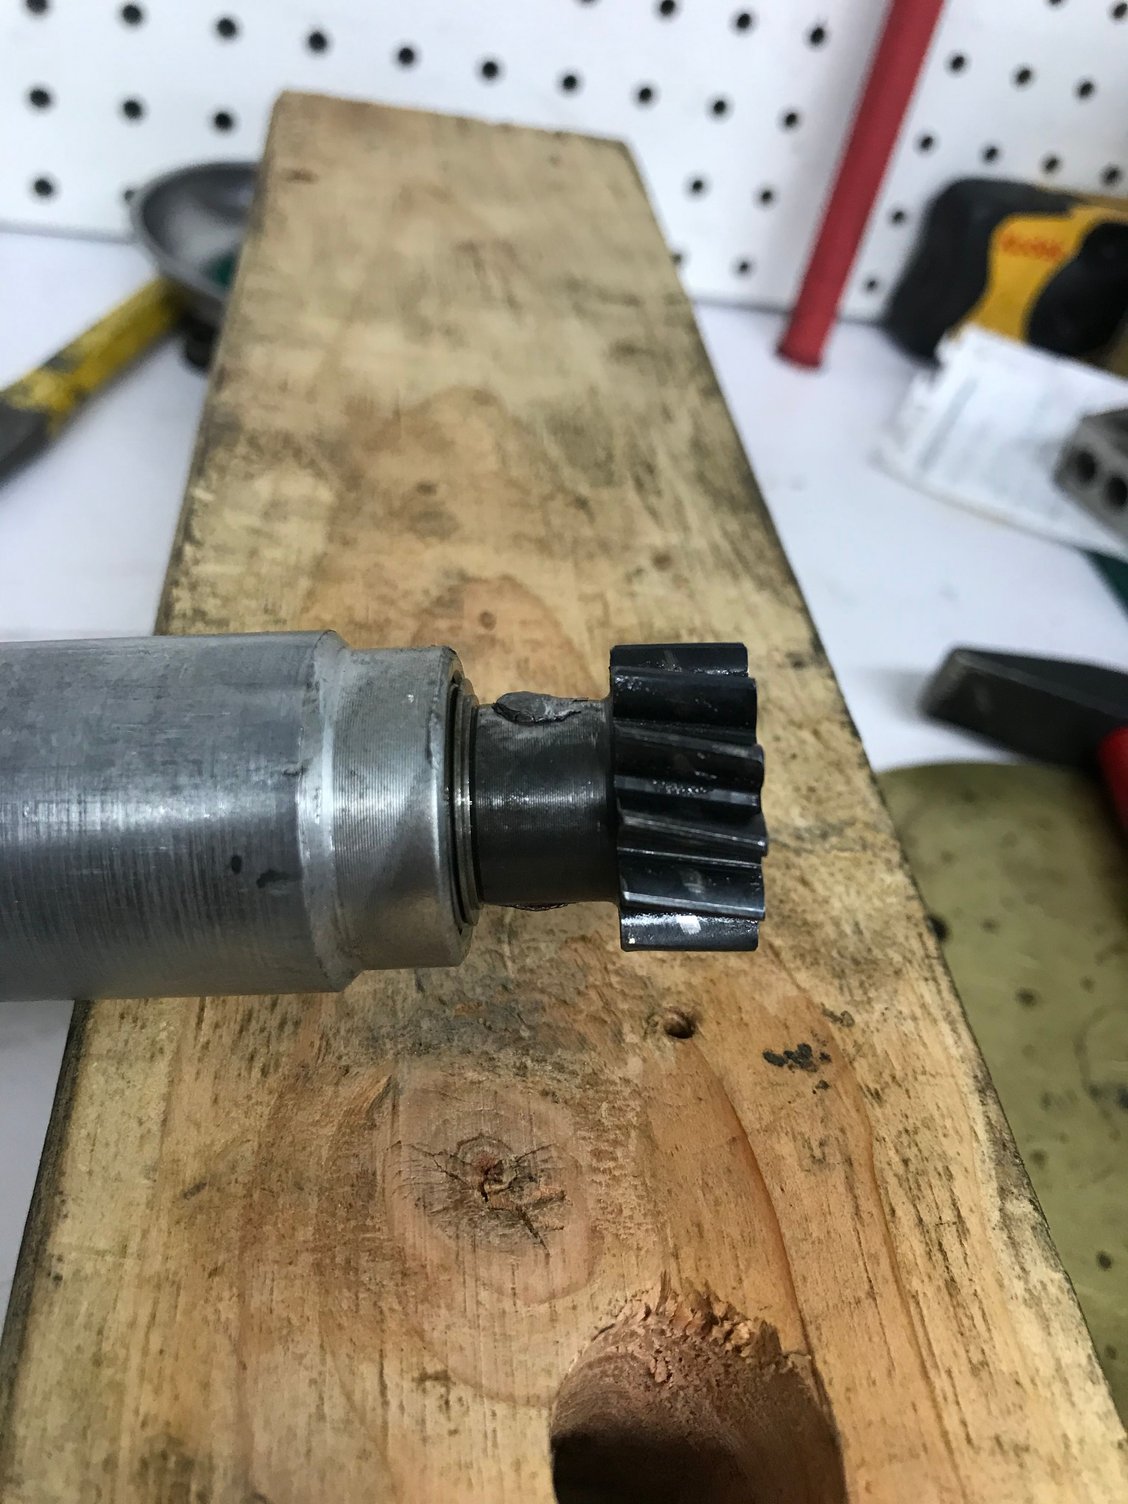
I'm wondering if my issue is that I can't get the distributor fully seated because the temporarily fit pin (per earlier pic) is not mushroomed flat and therefore interfering. Maybe when I push the distributor all the way home (its hanging a the o-ring) it'll rotate further.
Back to peening -
To be clear you guys started with the pin sticking out of both sides like my puicture and then mushroomed BOTH sides? The pin I removed seemed to be staked on one side only and just plain flush on the other. Anyone have a photo of the replacement pin fully staked/mushroomed?
I have the pin peened in, its not 100% flat to the shaft but quite close and still I feel resistance at the o-ring. Can anyone describe the force it takes to overcome a new o ring ? I did some tapping and feared id mar the gears.
EDIT - tried install without o ring- all good. Guess its quite a tight fit with the ring.
If anyone has comments on the staking pls let me know.
You have more than adequately peened the pin and as you discovered the o-ring does require more force than you would think to re-install. I believe I used a small piece of wood and a few blows from a mallet to insert past the oiled o-ring. At this stage it looks like you’ll be ready to get your car back up and running soon!
I probably took way longer than I should�ve (did a little bit over a few days)but I really had trouble getting the gear off. My gear puller as pictured earlier kept bending bc it was so tight and ended up scraping the side(looked to have caught a burred edge). Once I got that off it was smooth sailing until I had to put the gear on again.
A couple takeaways I learned is a bench vise is good to have, small deburring tool or file for metal around the edges of the pin hole.
It was my first time doing this job and must say pretty proud I didn�t muck anything up. The rotor positioning was in the same spot as my TDC and car sounded great.
Last edited by 964Luftballoon; 10-29-2021 at 03:24 AM.

 03-21-2020, 12:36 PM