When you click on links to various merchants on this site and make a purchase, this can result in this site earning a commission. Affiliate programs and affiliations include, but are not limited to, the eBay Partner Network.
Is there a DIY on removing the intercooler? I'm buying my first turbo (91) and want to spend some time cleaning up the engine. Its a stock set up. Thanks
Removal is the easy part. Getting it back on so you seat over the o-ring on the throttle body can be challenging.
Disconnect the three hoses and three wires. The wires to the cutoff switch and the boost sender are on bayonet connectors at the back of the i/c. The ground is on the left side of the i/c and is a 10 mm bolt & washer.
There are three 13 mm bolts that you have to remove to pull it off: two on mounting "forks" left and right and one on the coil bracket.
The left bolt sits under the i/c toward the back but you can reach it with a 8 inch long extension. The right one, also toward the back is on the right side such that you can easily see it. Just loosen these as you don't need to take them completely out. the one in the front also has a spacer and two isolation doughnuts. Pull the bolt out and be prepared to catch the washer and doughnuts when you lift the i/c off or they will fall into the console.
To re-install, lube up the o-ring with soapy water and push the i/c on while making sure you get the mounting bolts onto the forks. Use a flashlight or trouble light to make sure the i/c is covering the o-ring and is fully seated on the t/b. Run the front bolt into the bracket (you'll have to move the i/c around to do this; try not to drop the washers out while re-positioning). Tighten the bolts up once you are satisfied that the i/c is seated then hook up the hoses and wires.
Make damn sure that the ground wire is tightened up or the bolt will fall out and your car will strand you somewhere.
perfect diy, just a few remarks for the installing procedure:
i use tire mounting paste to lubrify the o-ring and the intercooler flange, workes perfect.
in addition to what Paul wrote i also loosen the two 13mm nuts (after the ic is already removed) of the coil bracket and push the bracket backwards, that makes installing easier. tightening the bracket nuts is the last step, if all the rest is already fixed.
last not least i recommend to losen both hose clamps of the blow-off-valve, which gives it a bit more flexibility.
when everything is right while putting the ic into its fittings, it will fall with almost light pressure in its position.
By somebody's suggestion - probably Paul - I put the o-ring in some super hot water for a few minutes first, too.
And don't lose rubber isolation bushings - I've had a couple fall off during install - and I have no idea where they went - a black hole - and they cost me $11 each at a local shop - for a stupid little piece of rubber. I'm sure I could have ordered online for less but time, shipping etc etc. Not the end of the world by any means but it was a little surprise...
I pulled two of those isolators out of the console when I removed it from the engine.
I didn't know about the hot water trick but it should help with compressing the o-ring as the i/c slips down over it. I use a water-based lubricant called Merpol that I get from work but can't be easily bought, I believe.
By somebody's suggestion - probably Paul - I put the o-ring in some super hot water for a few minutes first, too.
i would not do that because it will widen both the diameter and the thickness of the o-ring. furthermore the rubber goes weaker. which all makes it more probable that the ring will be queezed off its notch.
i would not do that because it will widen both the diameter and the thickness of the o-ring. furthermore the rubber goes weaker. which all makes it more probable that the ring will be queezed off its notch.
fritz
The groove is already wider than the o-ring to accommodate o-ring compression.
The real enemy here is friction that will roll the o-ring out of the groove.
Maybe the answer is to heat it up in soapy water because soapy water alone doesn't reduce friction enough.
Reviving this thread since this is on my list as well. Glad to know it looks pretty straight forward. I love that I can find everything here!
My question is how to refinish the IC once it's off. Mine (assuming stock) has been painted and has some paint peeling. So I figured while it's off I'll have it refinished. Any recommendations: Ceramic coated? Powder coated? Something else?
And as usual do you guys have any other recommendations for: "while you are there you might as well........." ? (i'm going to replace the bushings and o-ring for sure)
I don't have an answer for this. Mine keeps shedding any paint I put on it so I gave up. Ceramic, powdercoating, anything like that acts as an insulator which is not what you want on an intercooler.
While you're in there? Replace all of the molded signal hoses that go from the intercooler to the aux air valve and blow-of valve while they are still cheap and being manufactured by Porsche. Make sure that the ducktail seal is contacting the intercooler shroud.
thanks Paul. I should clarify I�m not too concerned about painting core (if that changes anything).
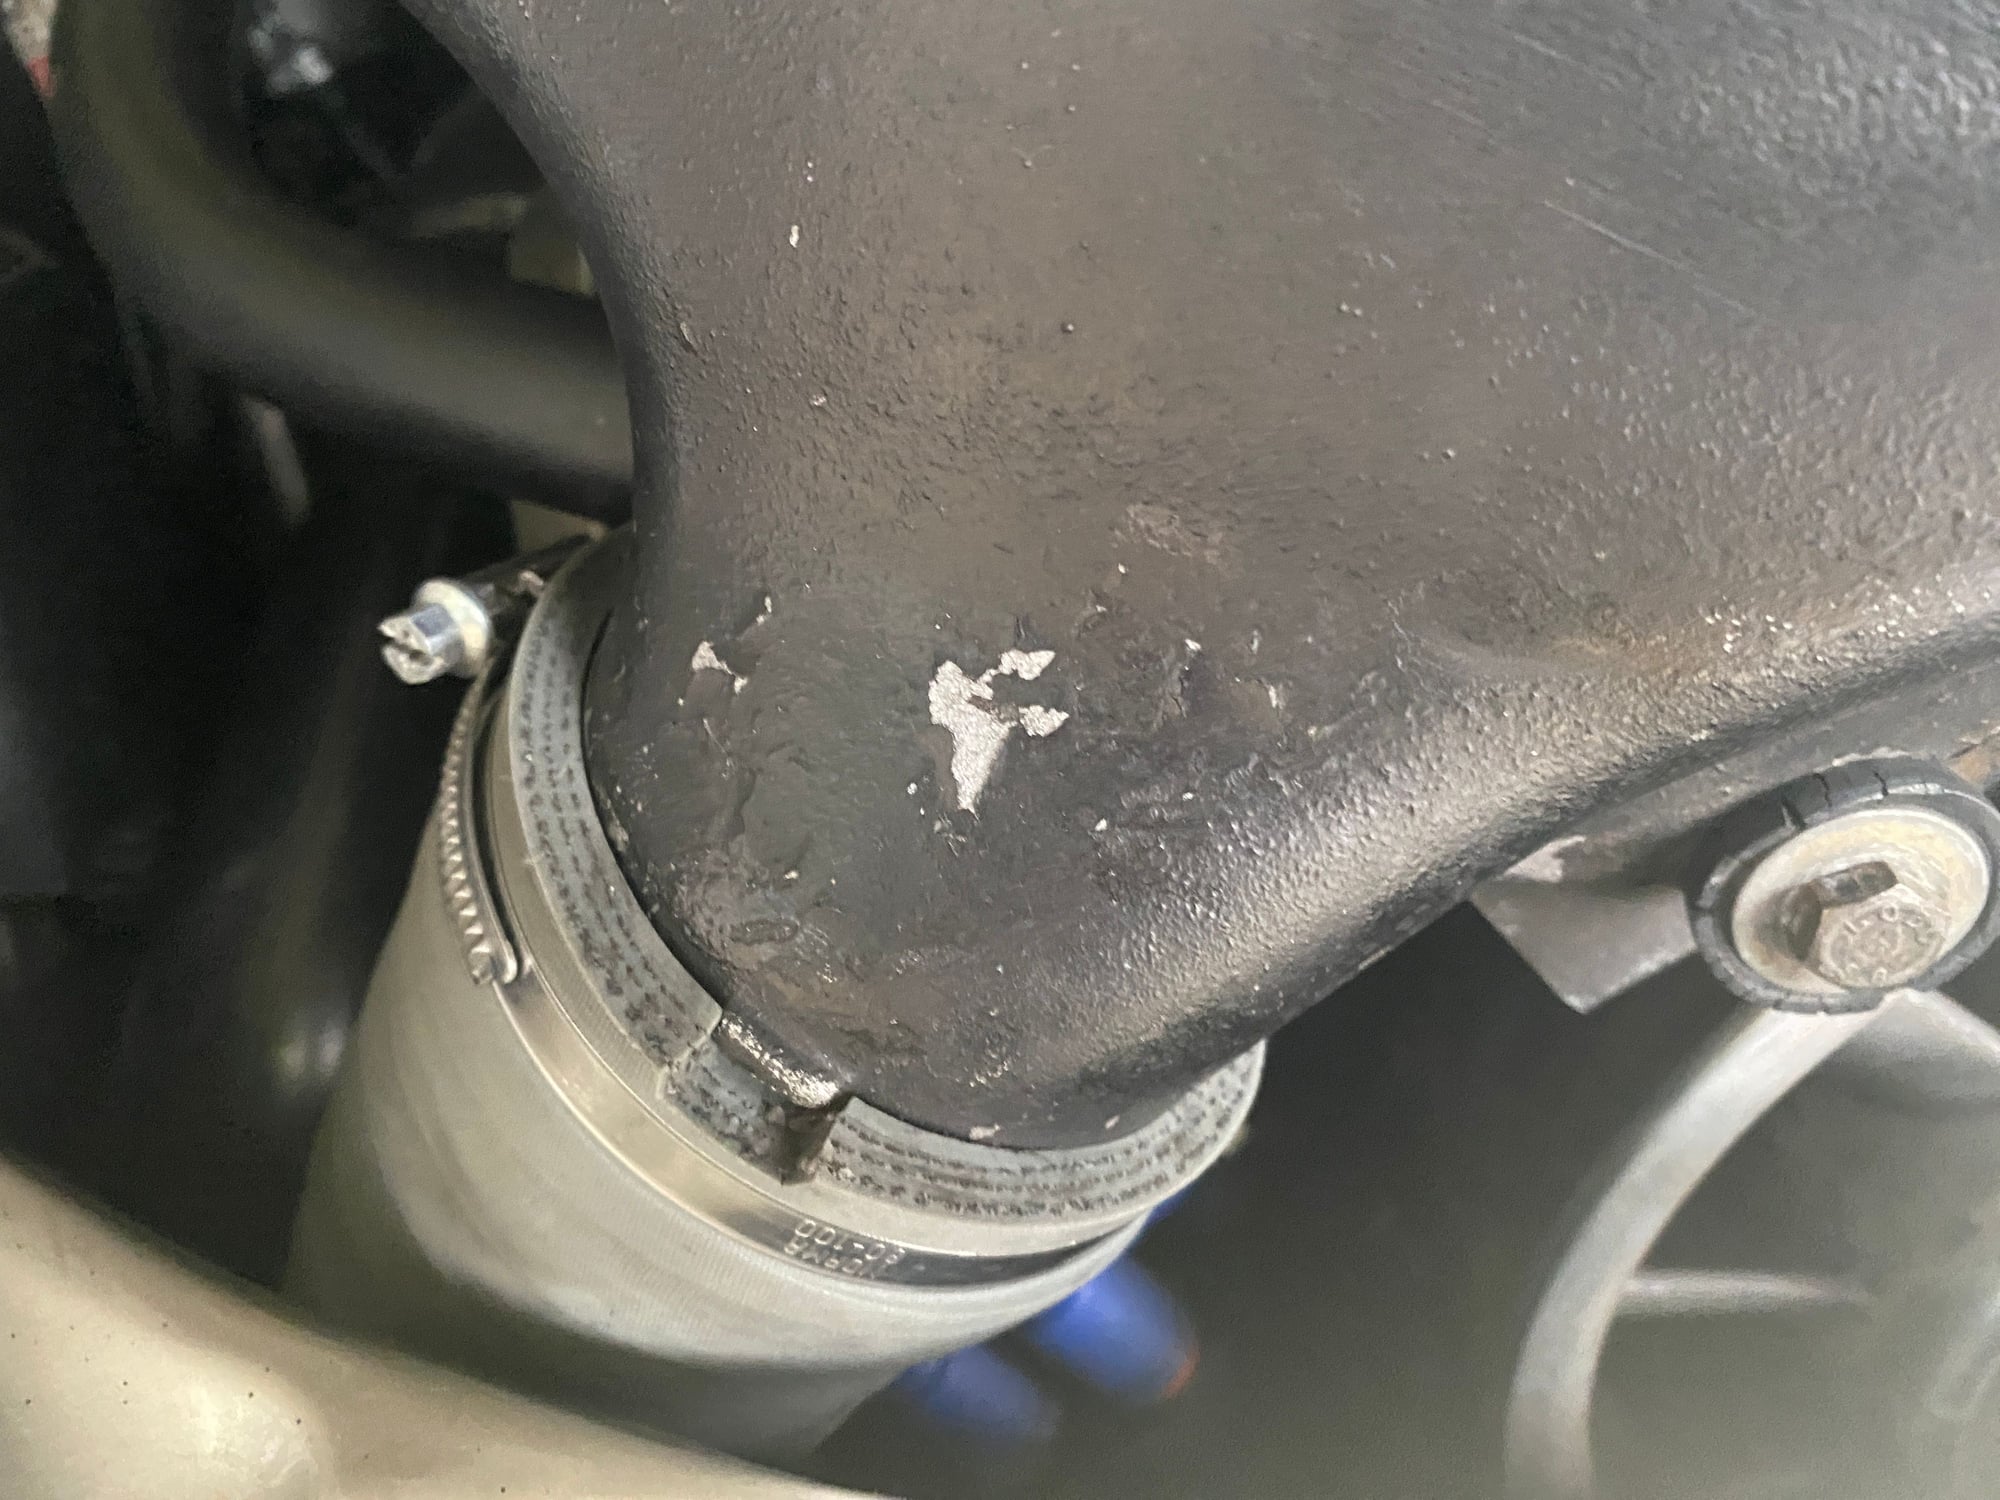
here are some pics: I want to remove the sticker and silver paint
I have already replaced the seal that goes around the shroud which you mentioned since mine was shredded in places. (Side note: If you zoom in you�ll see a hole in the shroud. The previous owner must have been too lazy to replace the plastic bracket that holds the AC lines so he drilled a hole and zip tied them to the shroud. That shredded the seal after several years since the AC lines squished the seal when the spoiler was closed. Morons. I replaced the seal and replaced both AC line brackets. Trying my best to tidy things up.)
rubber bushings definitely need changing
are those two valves called �Warm-up valve� and �auxiliary air regulator� in the PET? Parts 29 and 48 respectively ? (PET is my new favourite bedtime reading. Haha)
Gentlemen, Here is a Hack passed on. to me that really eases installation off the C2 inter cooler and preserves/ seals quite awesome.
I have never torn or blown out a red O-ring..
What is molykote 111 used for? As an anti-stick and a sealant for transformer gasket and equipment enclosures – it prevents gaskets from sticking to metal and resists weathering and water washout. Also suitable for rubber and plastic O-rings, gaskets and seals.
Here are some pics: I want to remove the sticker and silver paint.
Are those two valves called “Warm-up valve” and “auxiliary air regulator” in the PET? Parts 29 and 48 respectively ? (PET is my new favourite bedtime reading. Haha)
You should be able to paint those castings successfully if you clean very well and use a quality aluminum primer.
As for the hoses, you want #'s 40, 42, 53 and 54.
Last edited by Metal Guru; 02-08-2023 at 10:46 AM.
 05-28-2013, 12:19 PM