When you click on links to various merchants on this site and make a purchase, this can result in this site earning a commission. Affiliate programs and affiliations include, but are not limited to, the eBay Partner Network.
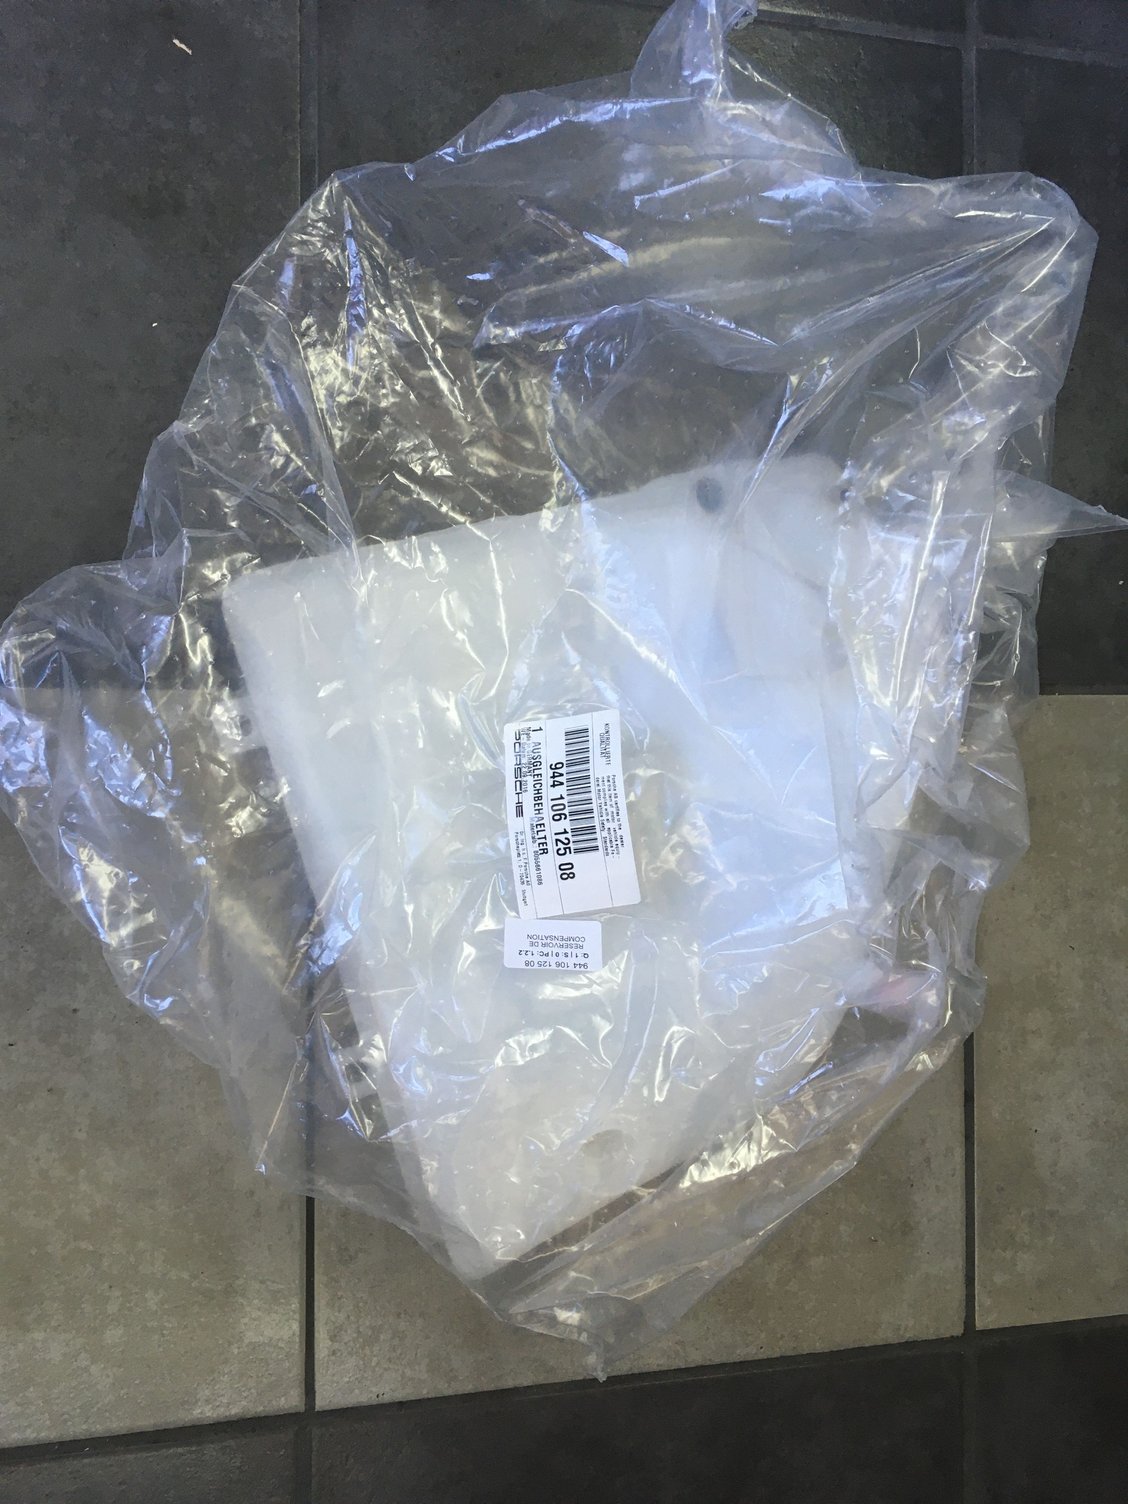
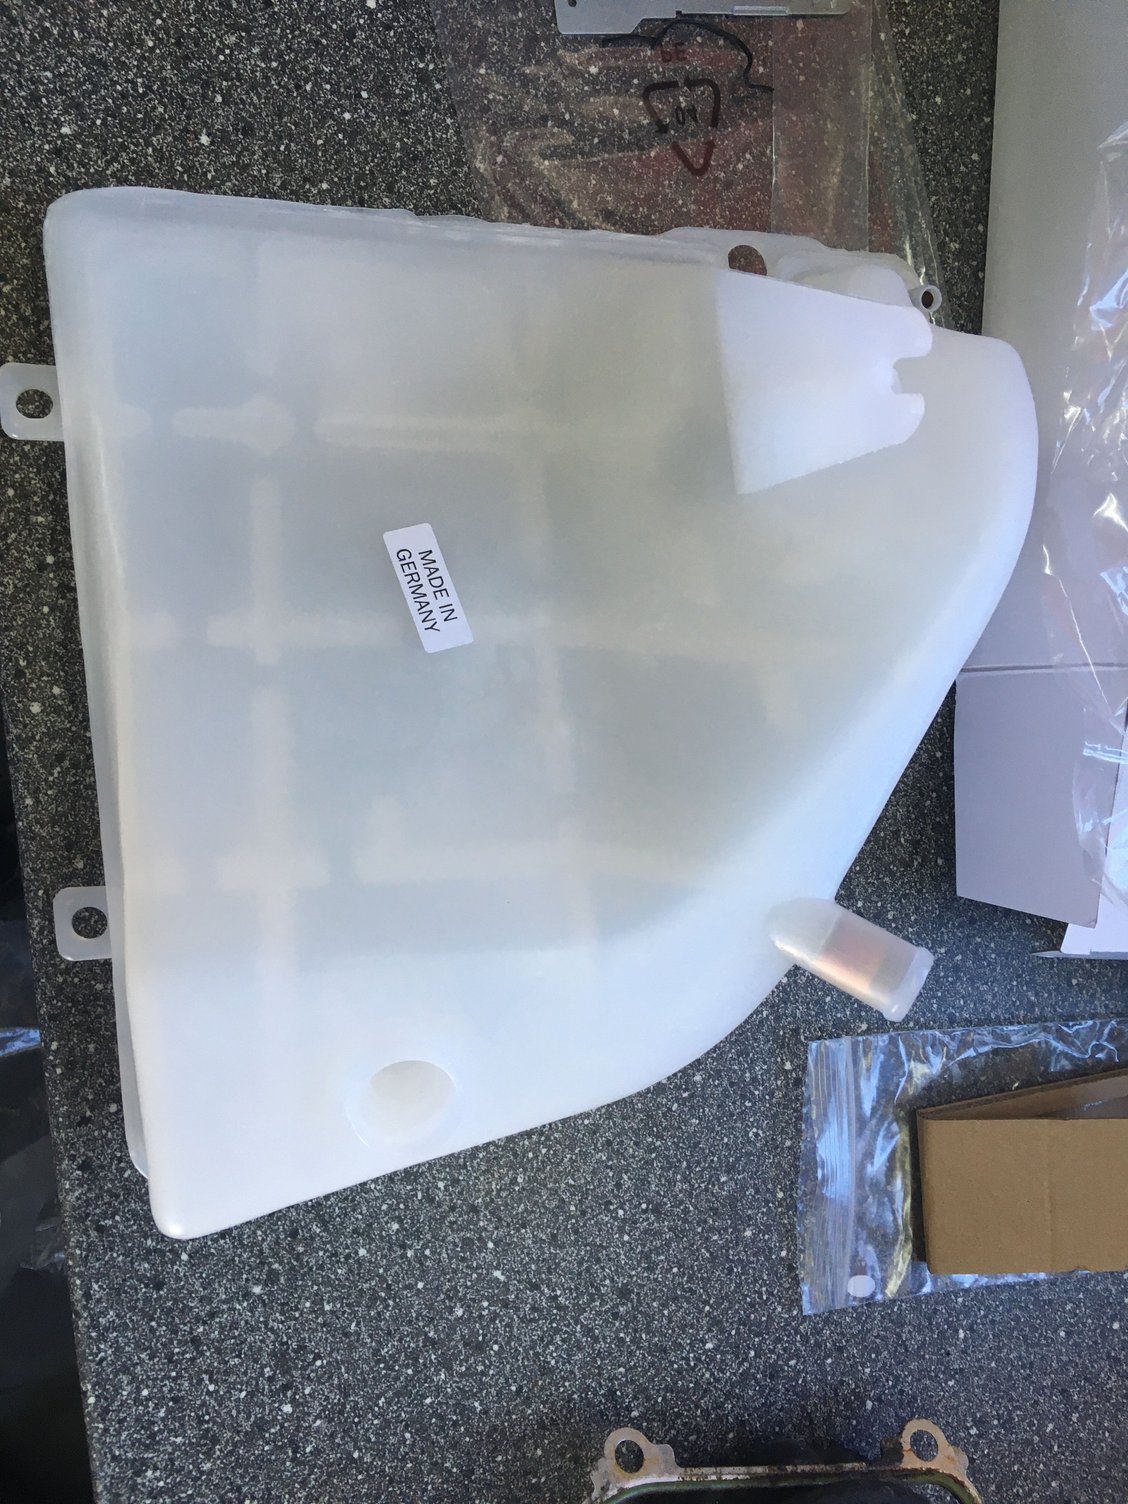
I just couldn't make myself install the old yellowed overflow tank again as it would really be an eye sore against the new shiny parts, so I ordered a new one..
Mmmm, nice clean white tank..
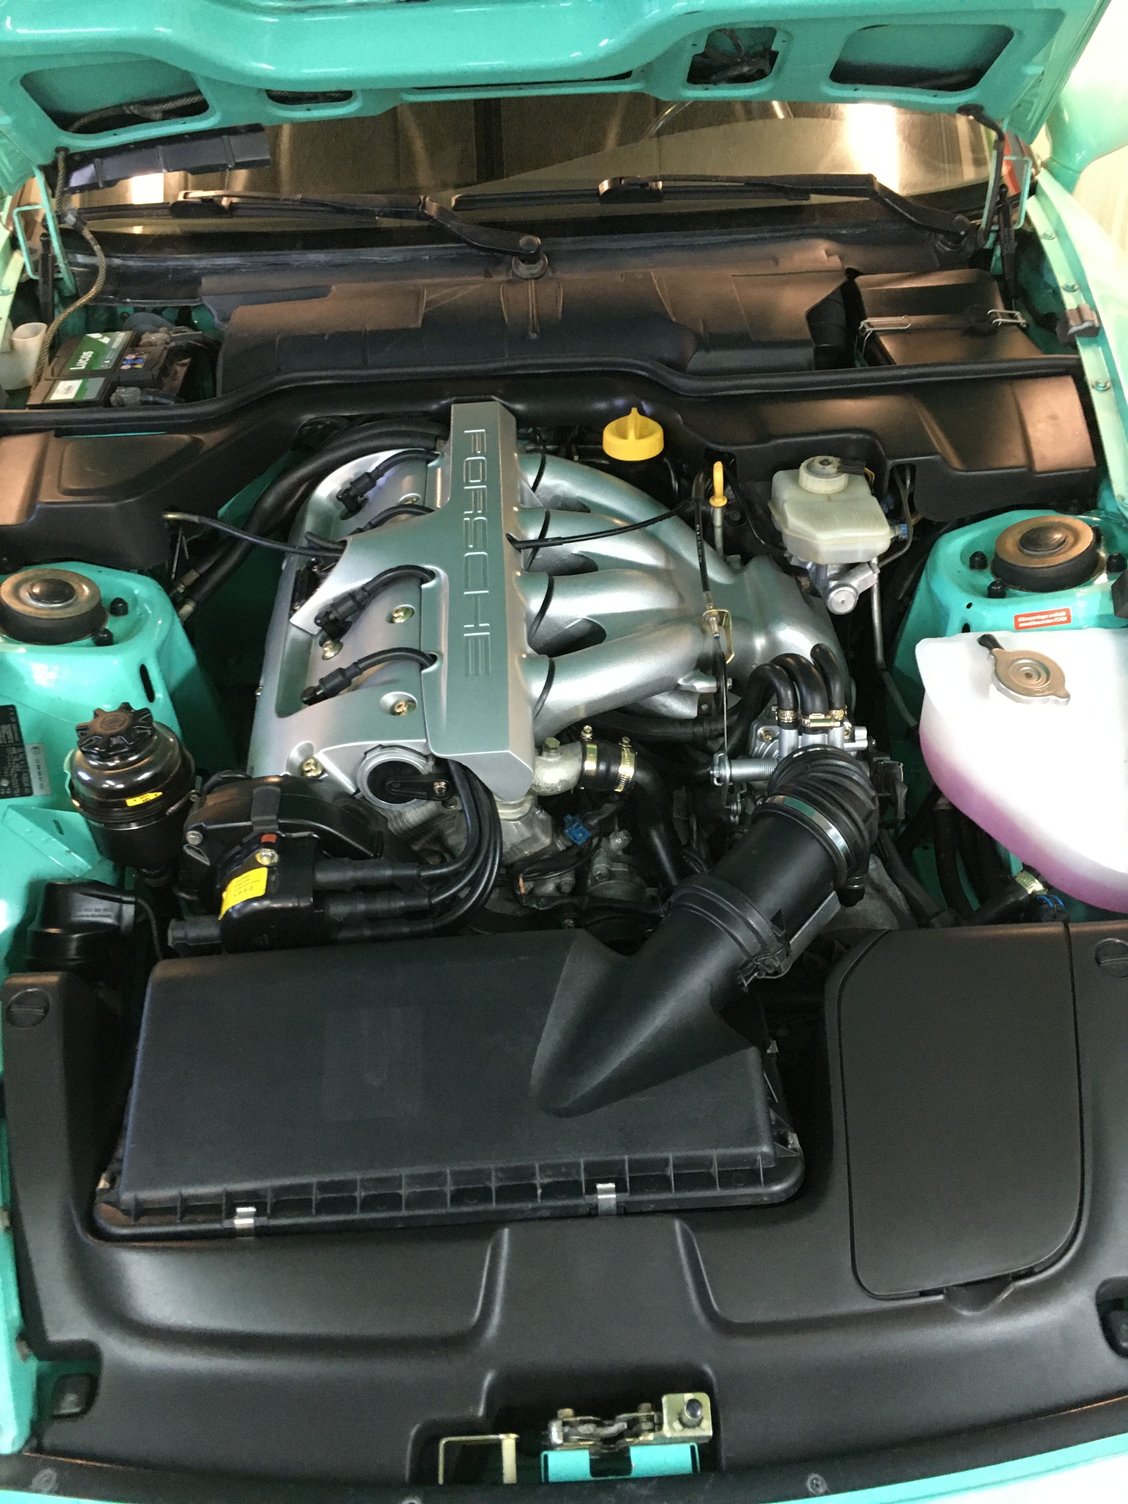
Installed the rest of the coolant hoses, radiator, fans, new overflow tank and filled with fresh coolant.. That looks much better..
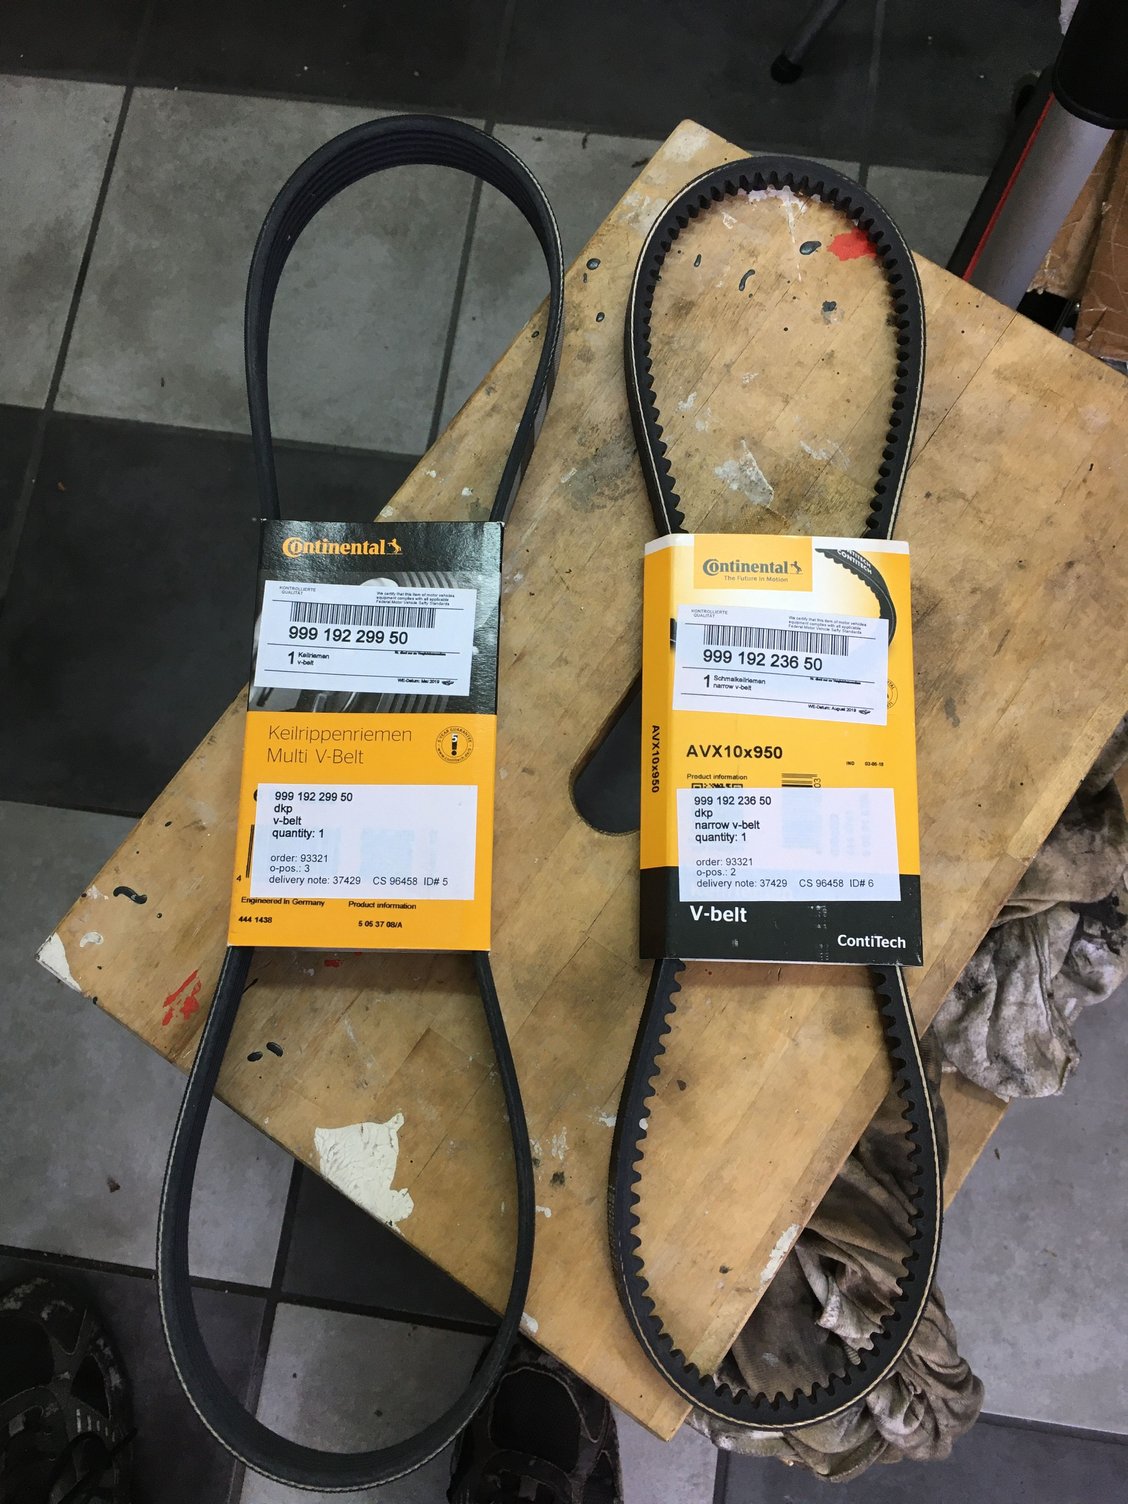
Also replaced the old power steering and alternator belts with new ones..
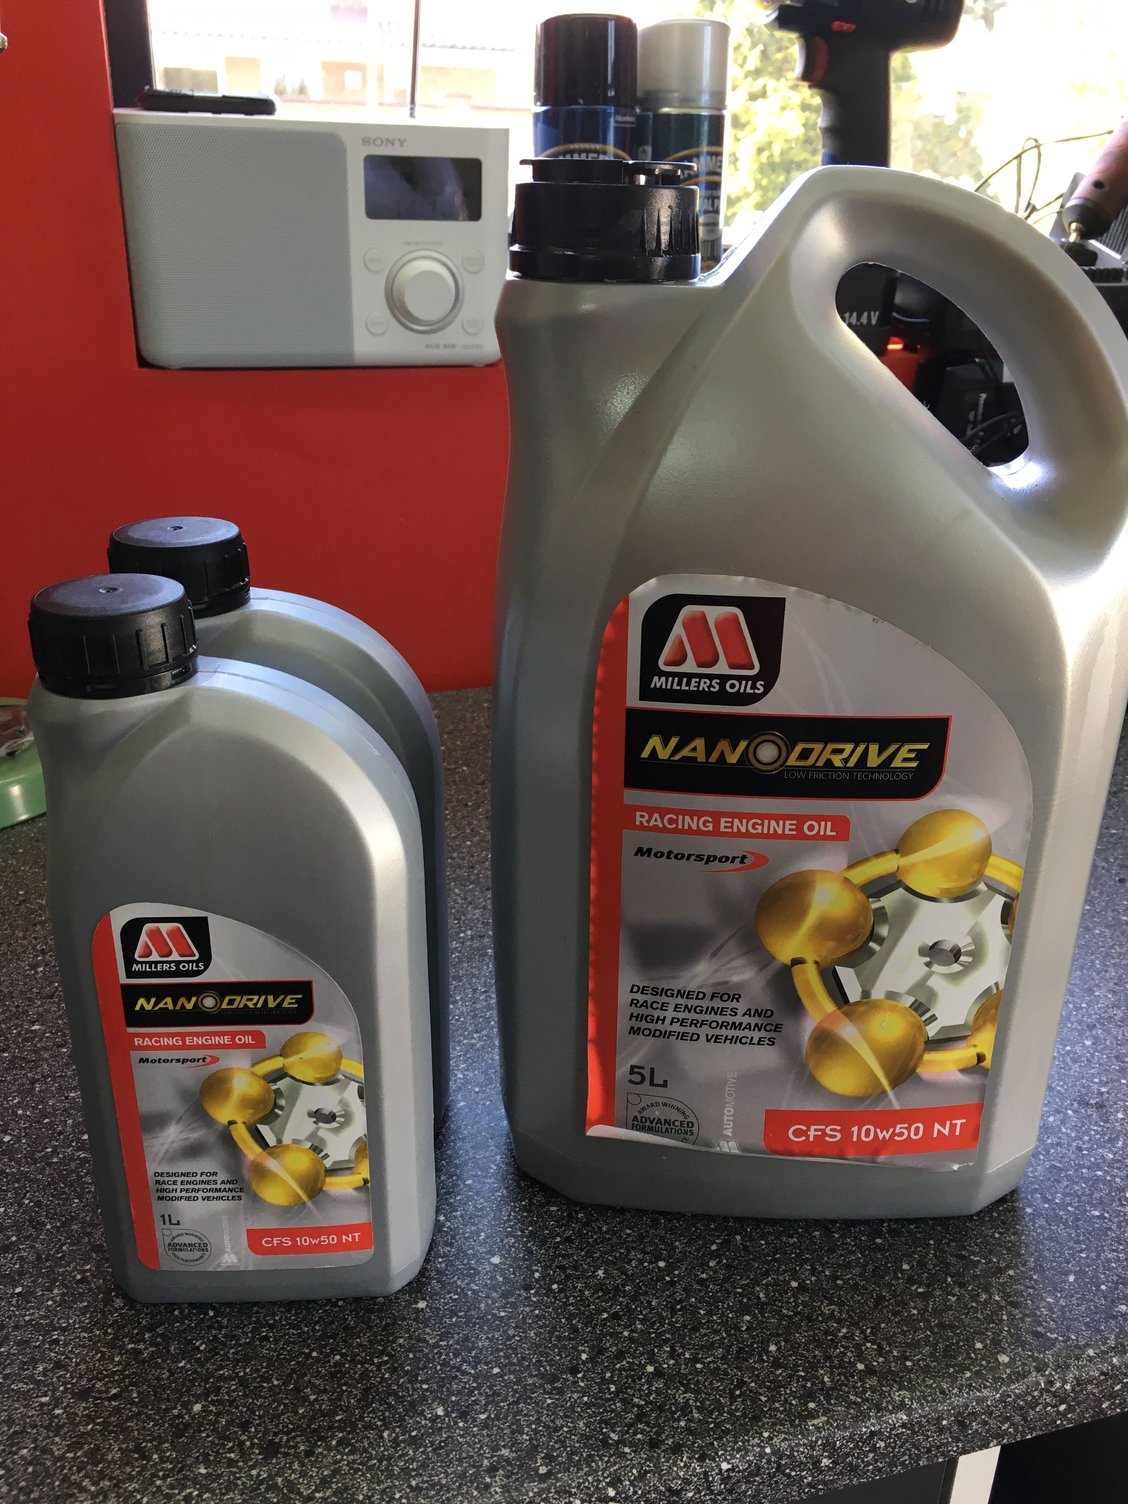
Drained the old oil which actually looked pretty decent, and replaced with fresh golden liquid from Millers..
Time for the first start up, and after 10 sec of cranking without the fuel pump relay to get some oil pressure, she fired right up after I put the DME relay back in and settled into a steady idle.. Yeeeaah.. I spent the next few minutes looking everywhere for any leaks while the smoke cleared from burning off any grease and oil residue around the exhaust.. Only the top rad hose clamp needed a little extra tightening, everything else was fine with no leaks, weird noises or other issues.. I let it run for a bit longer while venting the coolant system until the fans came on and by then the initial lifter noise had long gone too.. What a great feeling and a relief too..
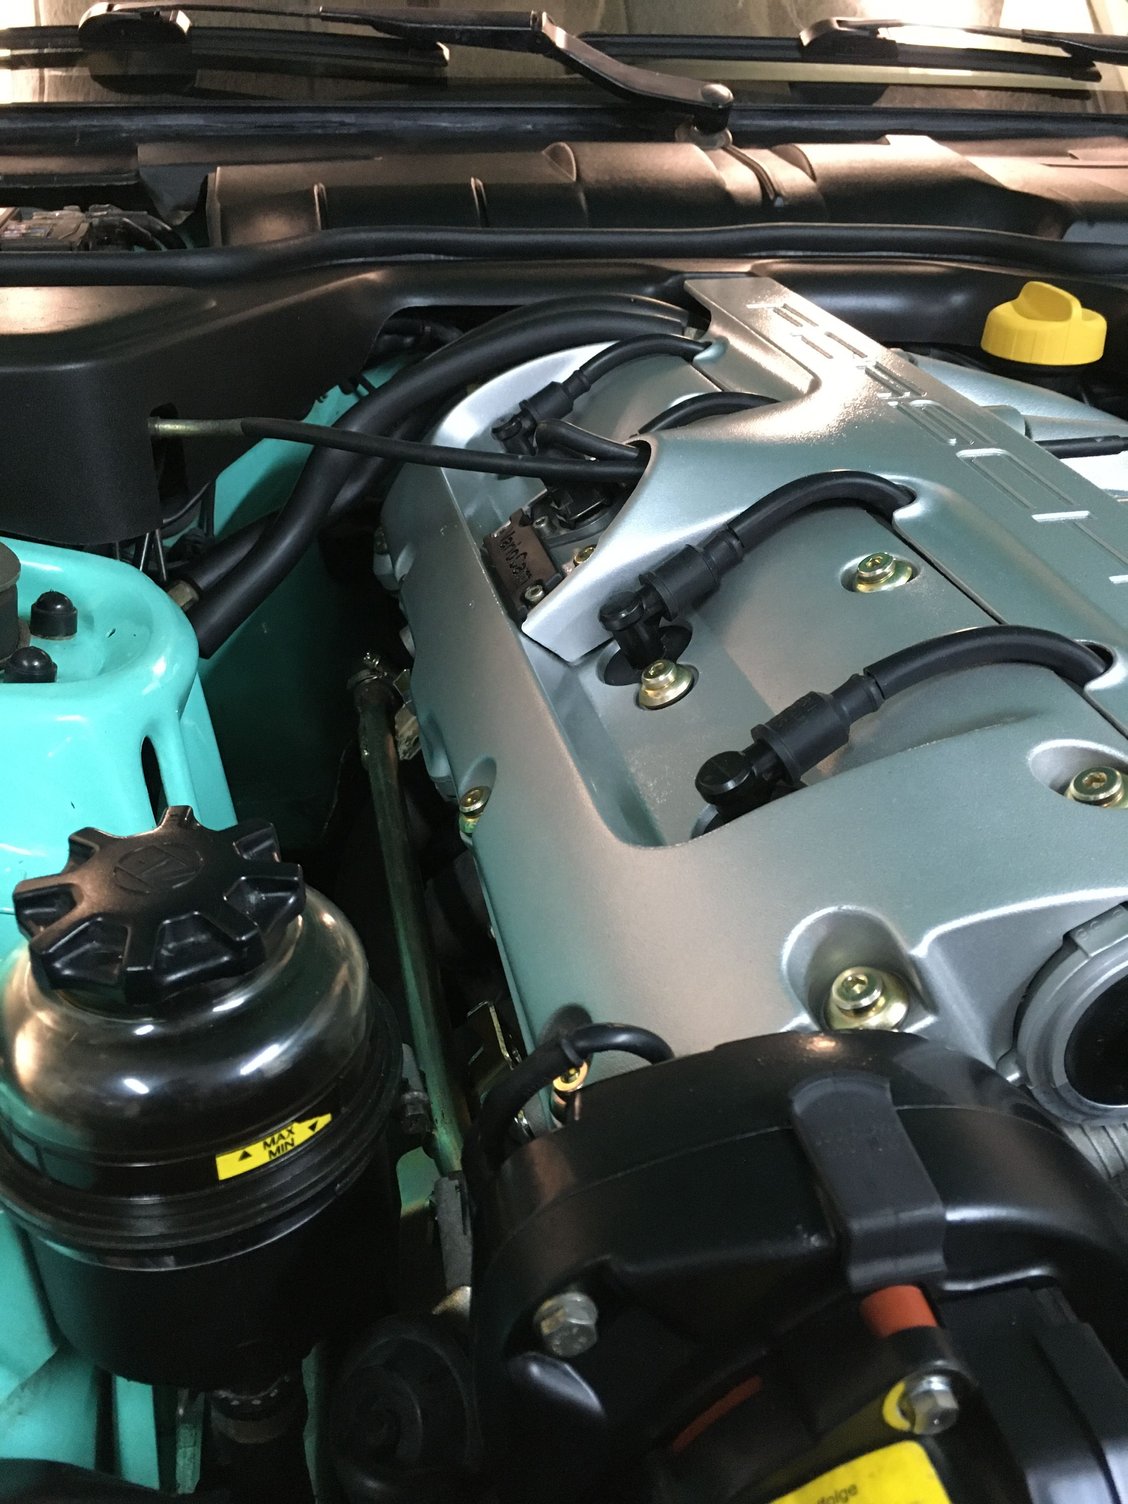
Then it was time to tidy up the plastic covers and airbox with some rubber trim rejuvenating, and give the rest of the engine bay a final clean and wipe down as well.. Surprisingly my power steering is not leaking the least bit, not even the original fluid reservoir or hoses, so they cleaned up pretty nicely and I am happy to keep the original reservoir as I prefer the look of the clear top half. Installed airbox and covers, did a final check and then stood back and admired my work..
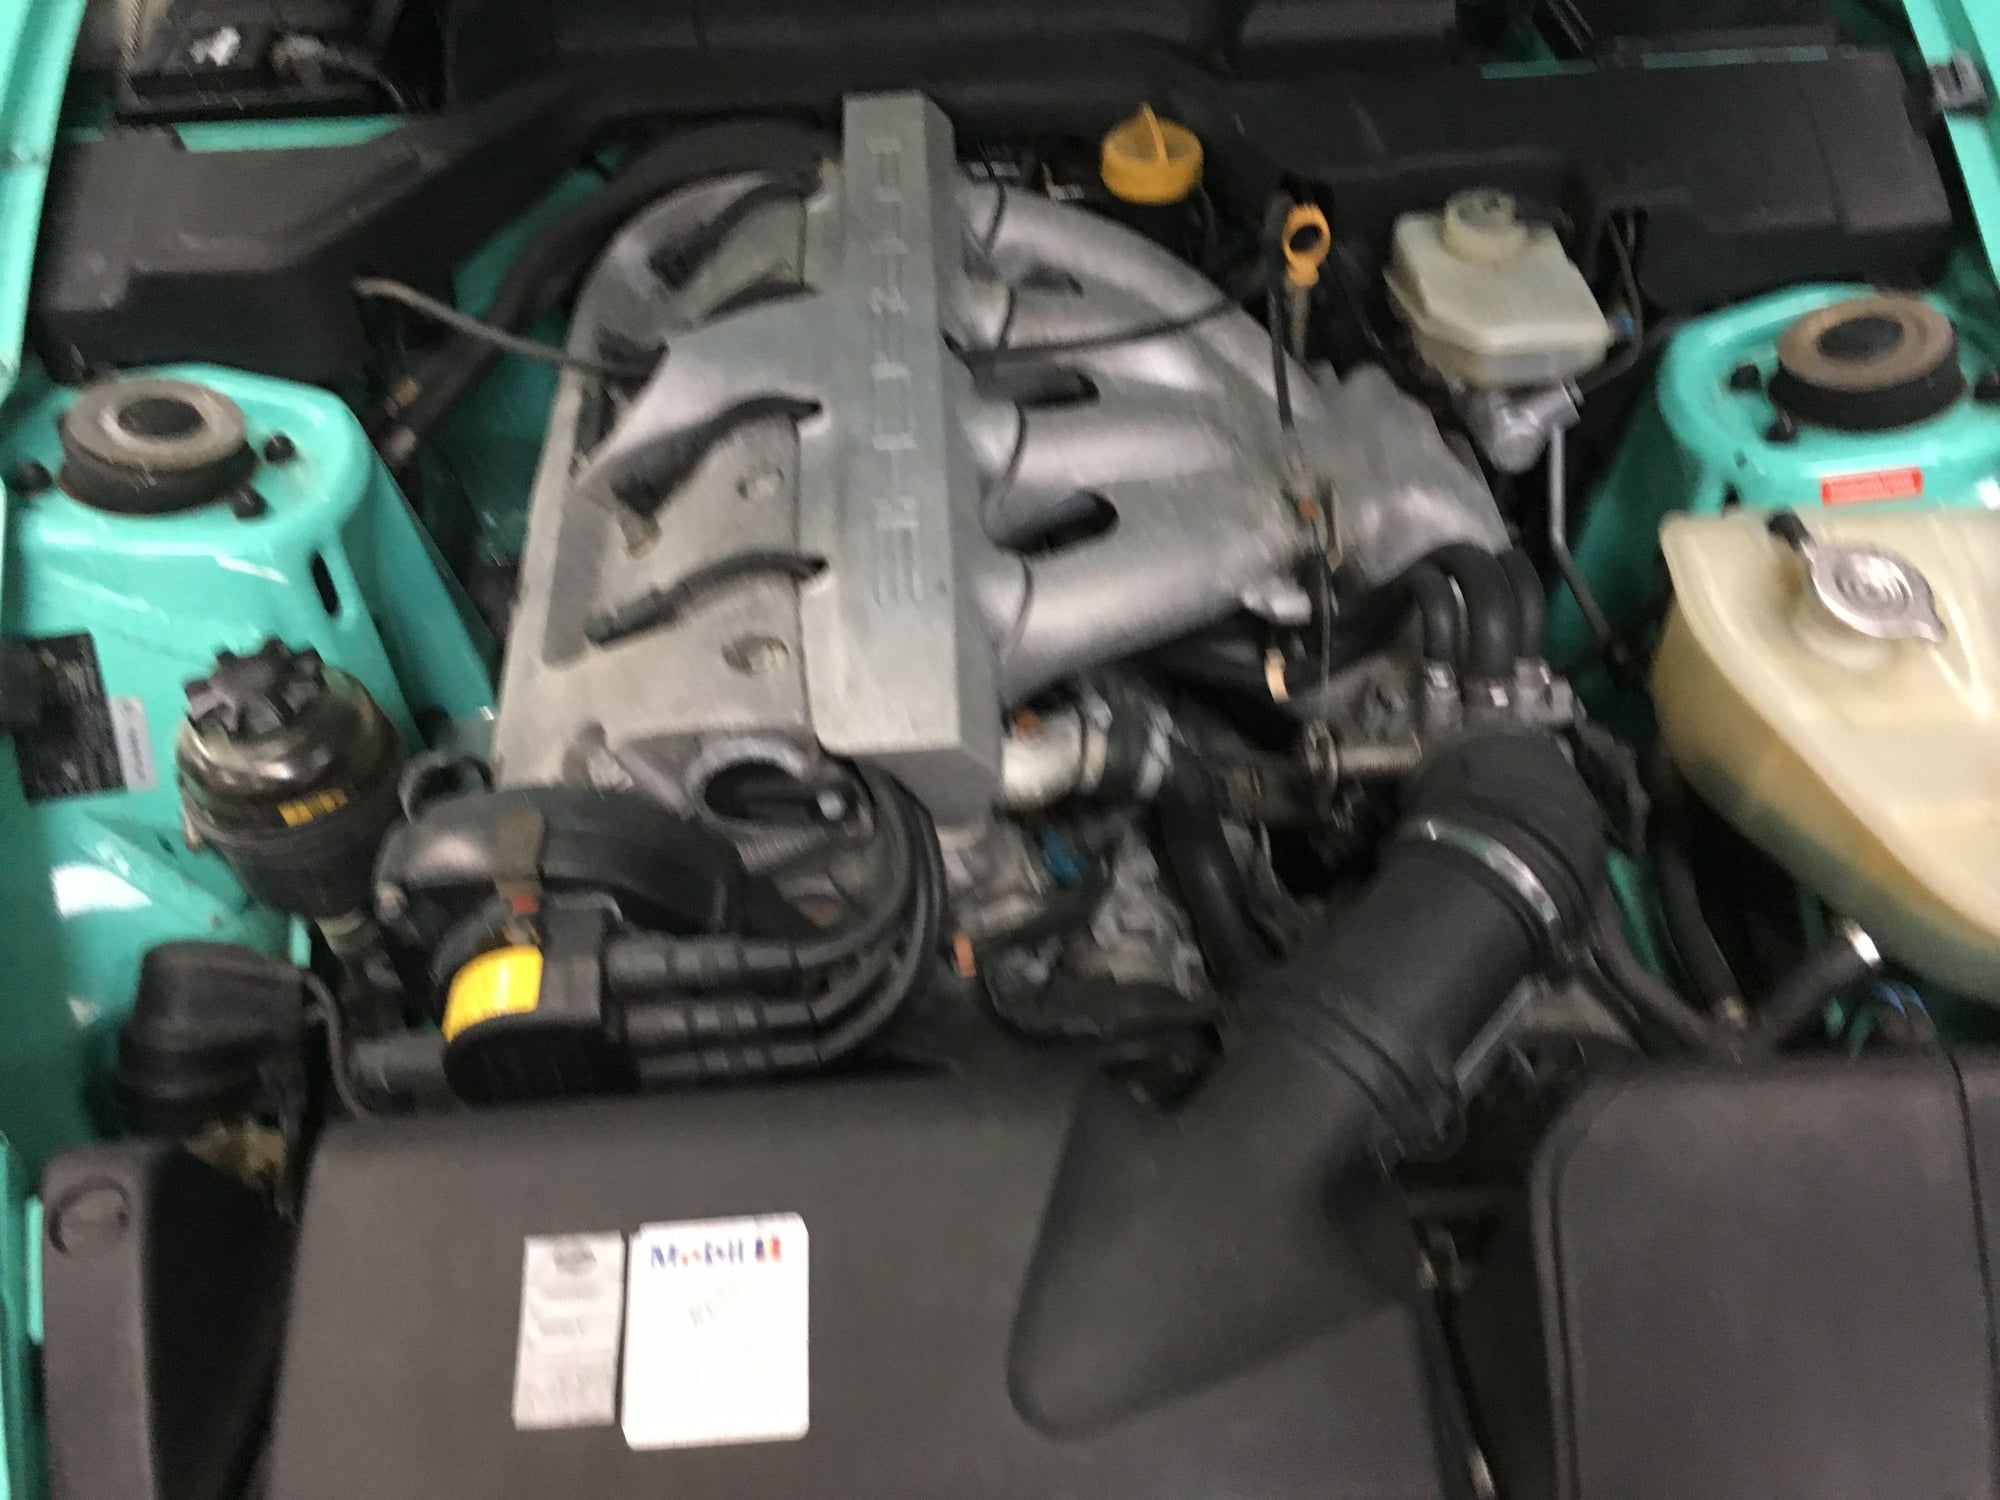
Minty's engine bay before..
And after a bit of TLC..
So with the big mechanical stuff sorted and knowing that all the important parts of a 968 engine are in perfect running order it was time to turn my attention to a few other details I was keen to do.
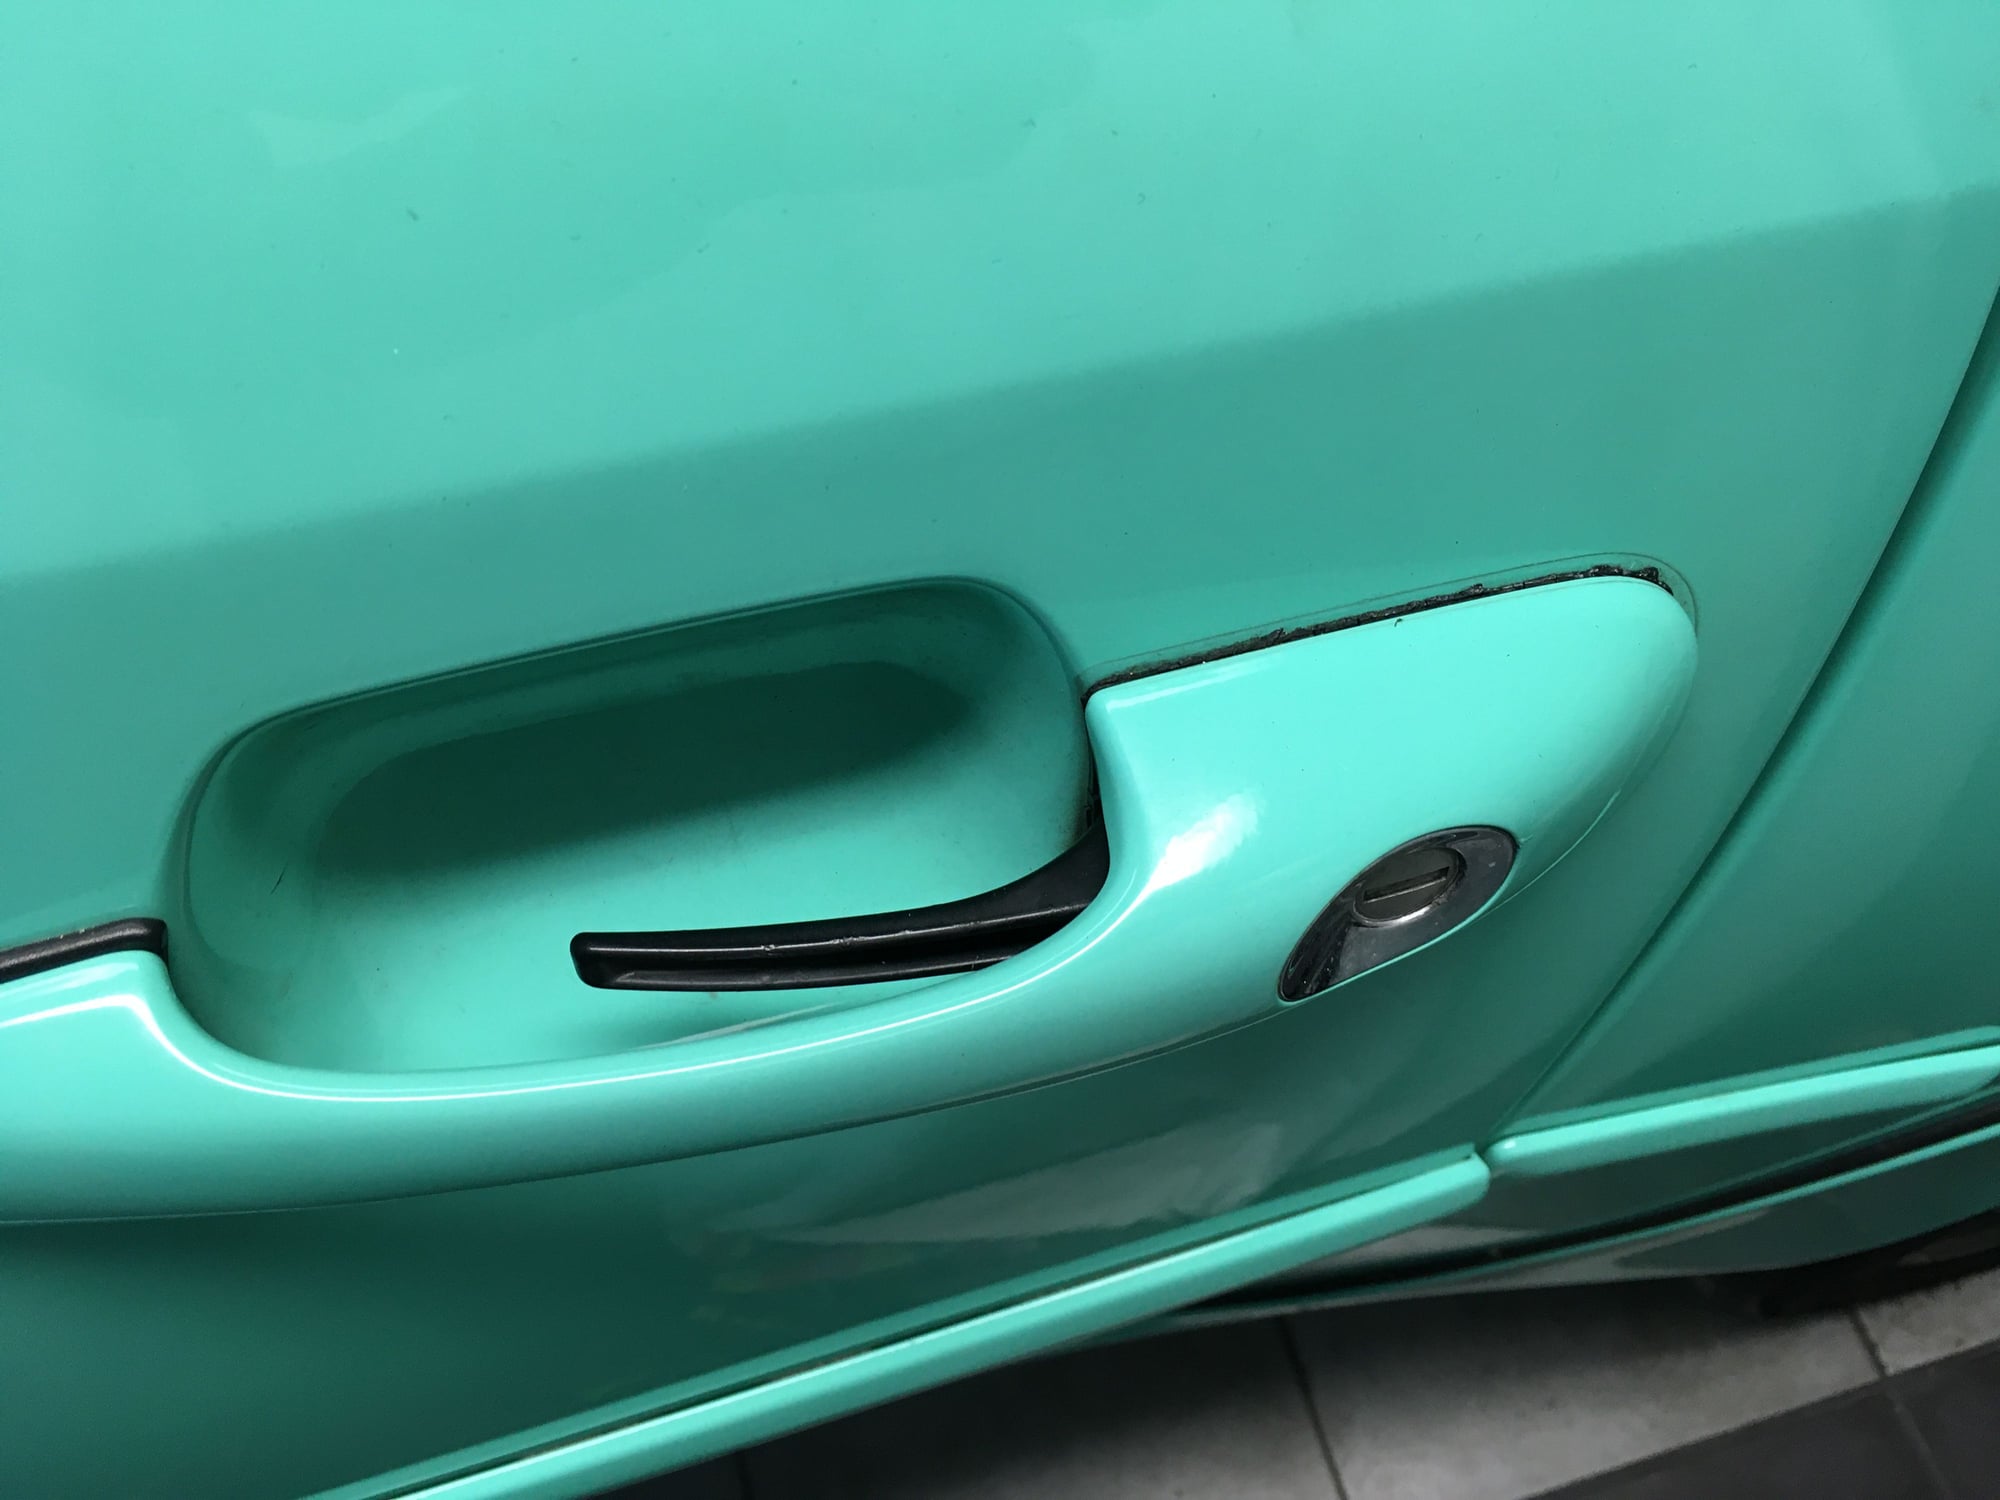
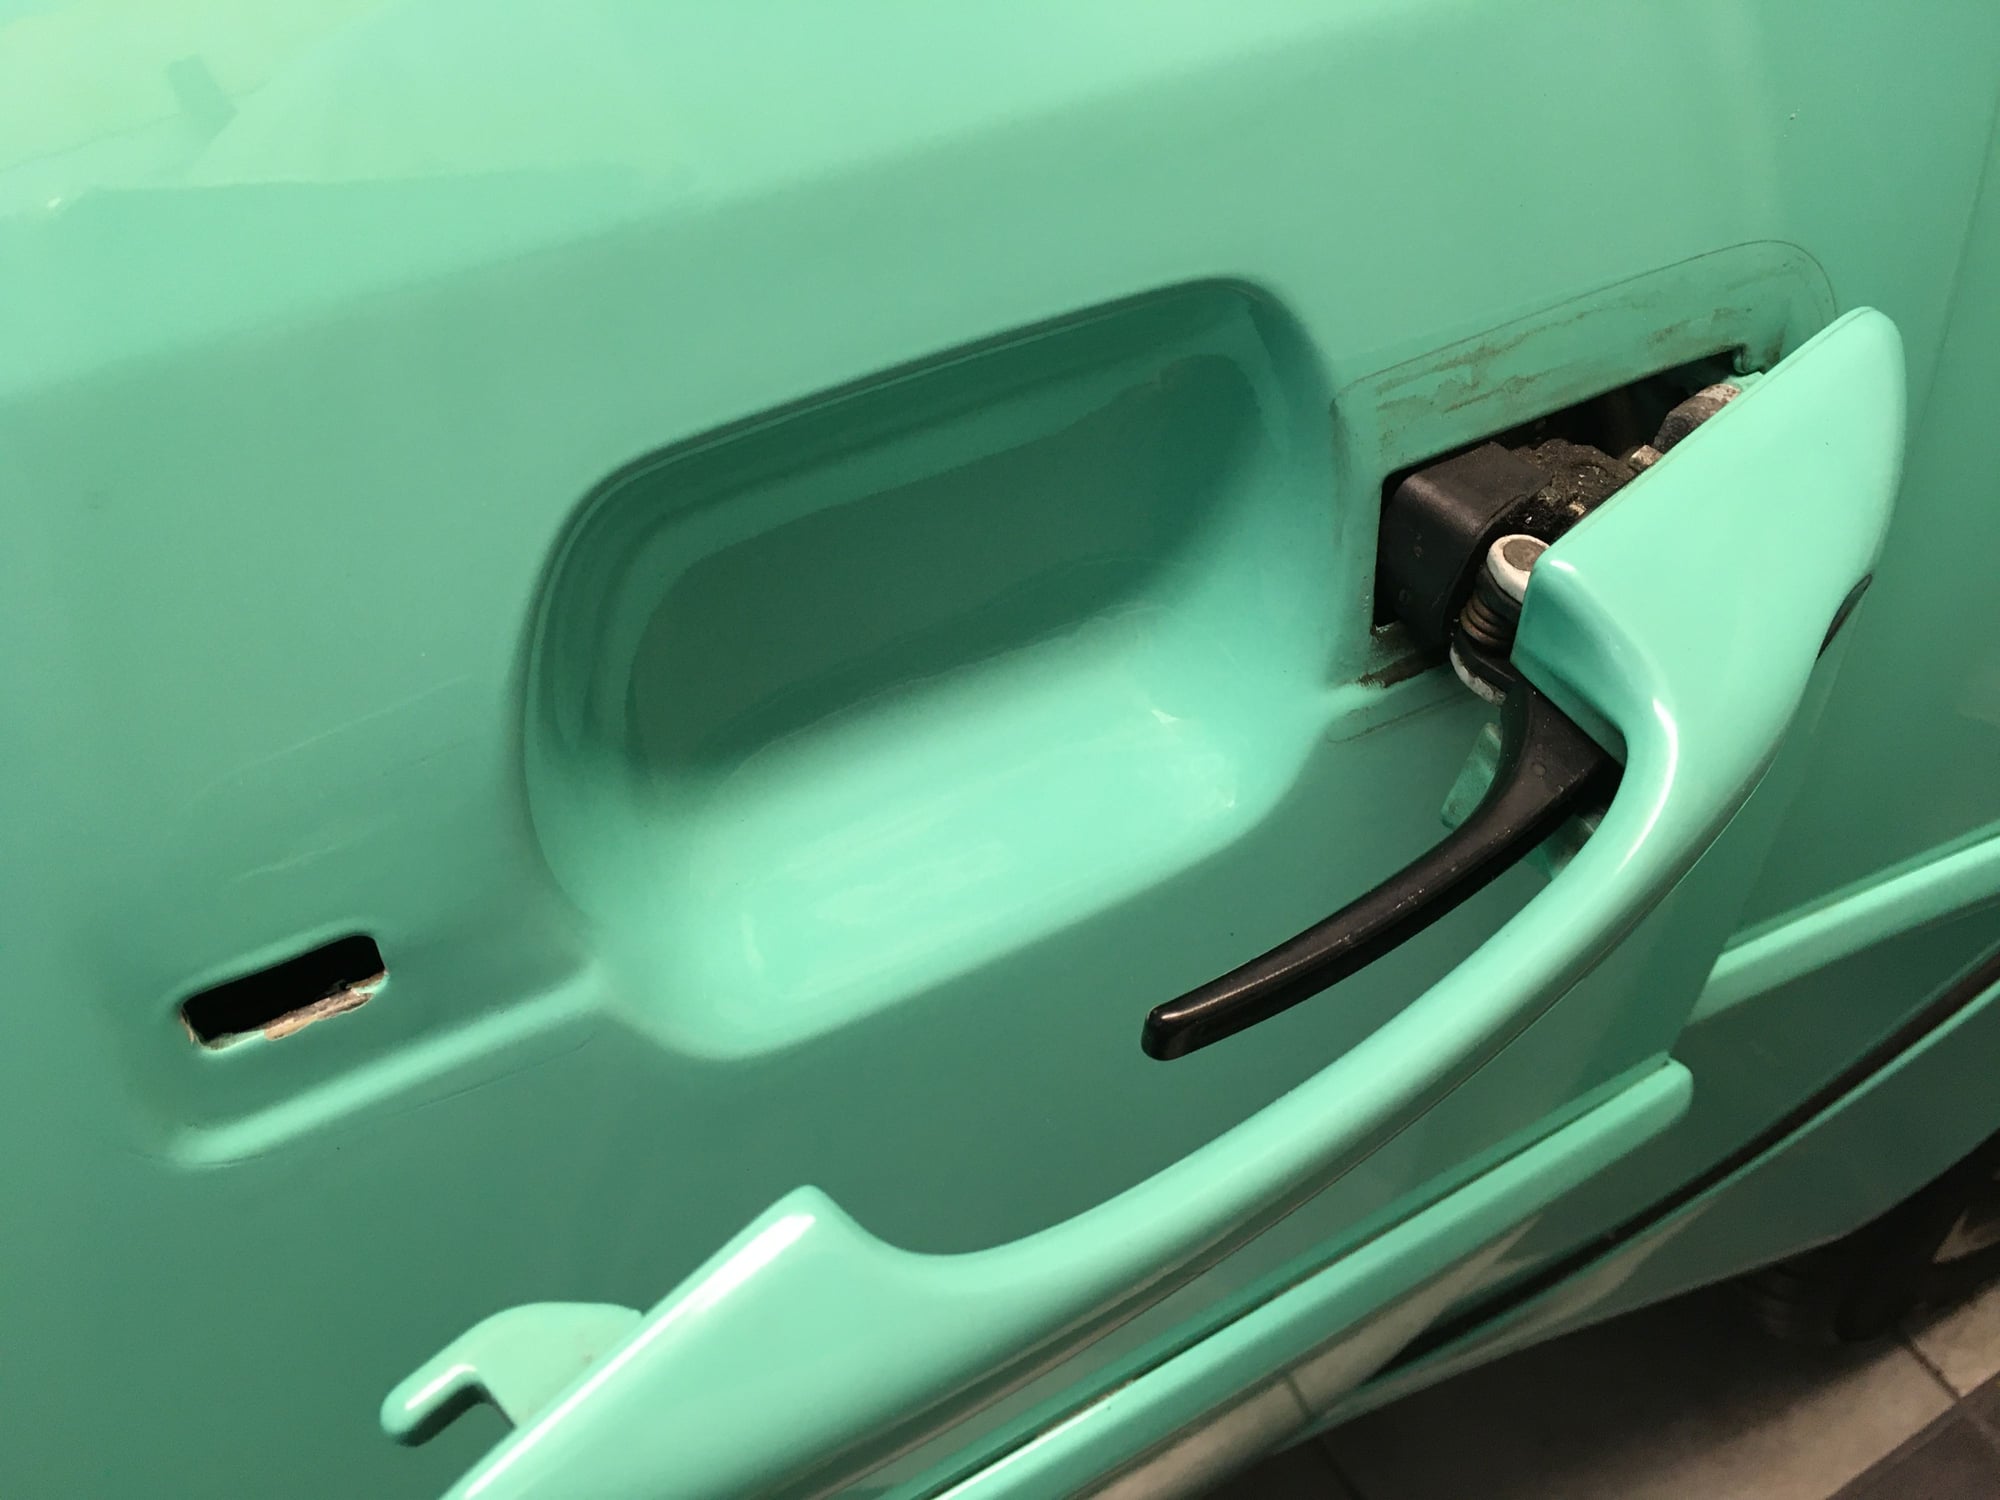
The door handle gaskets were a bit tired and had started to fall apart..
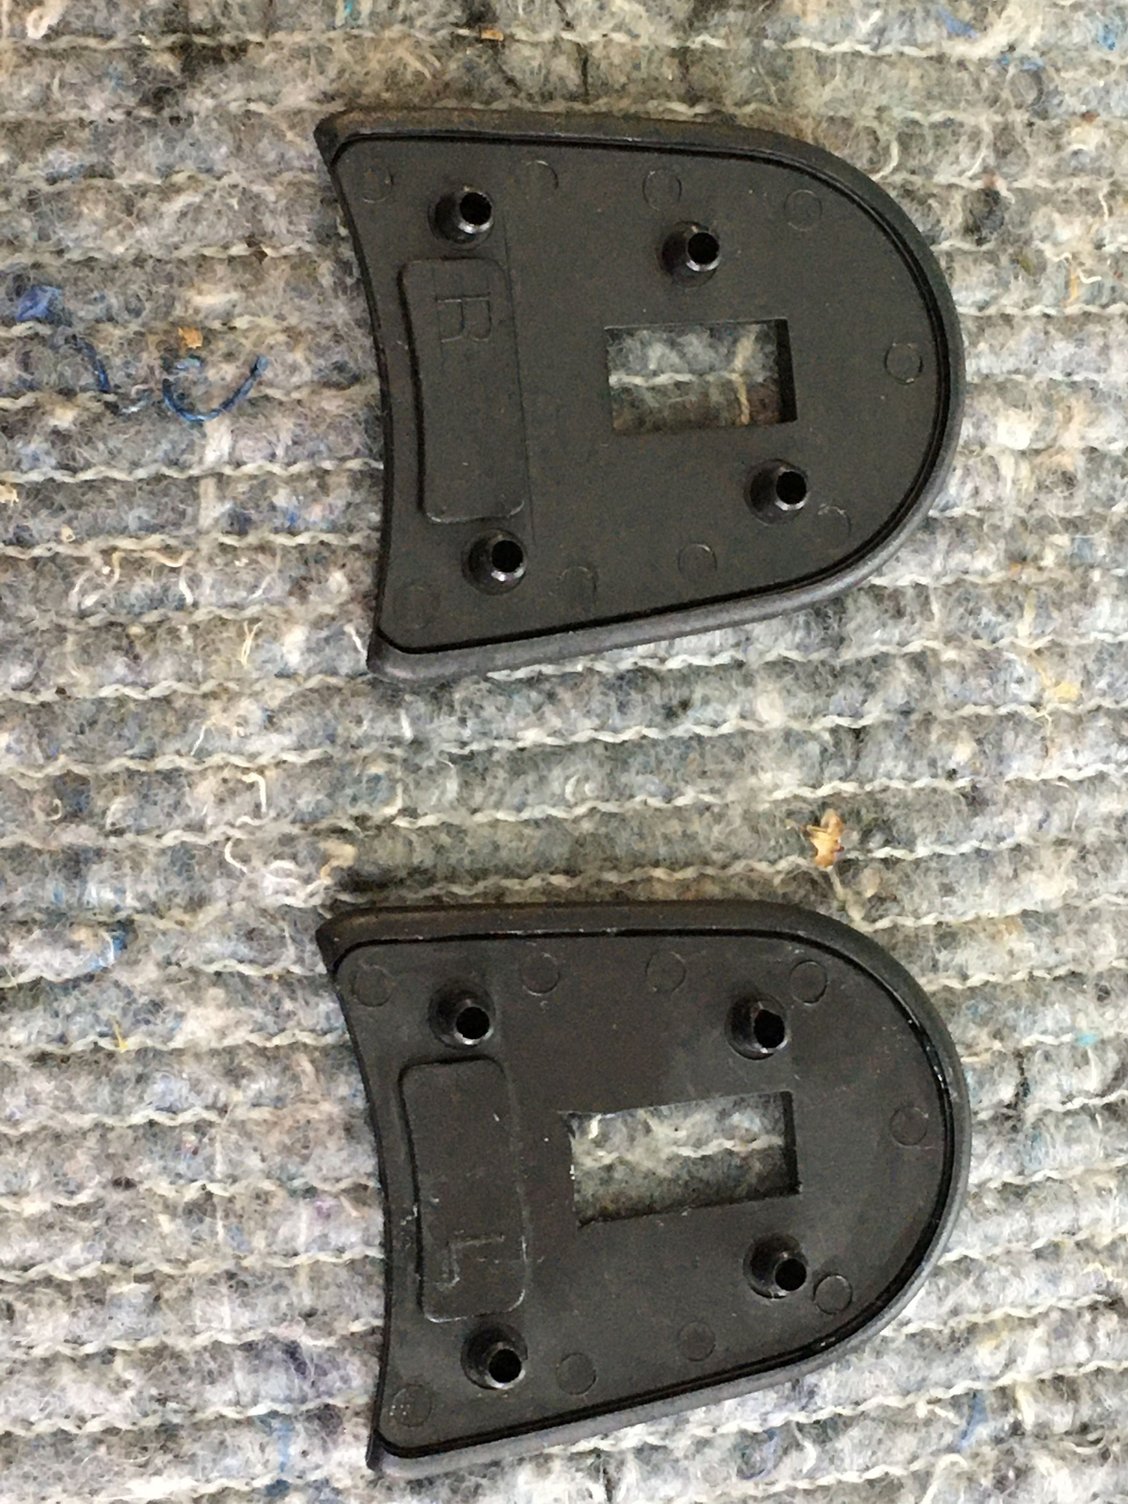
When installing the new ones remember that the rear part has a specific side indicated on the inside..
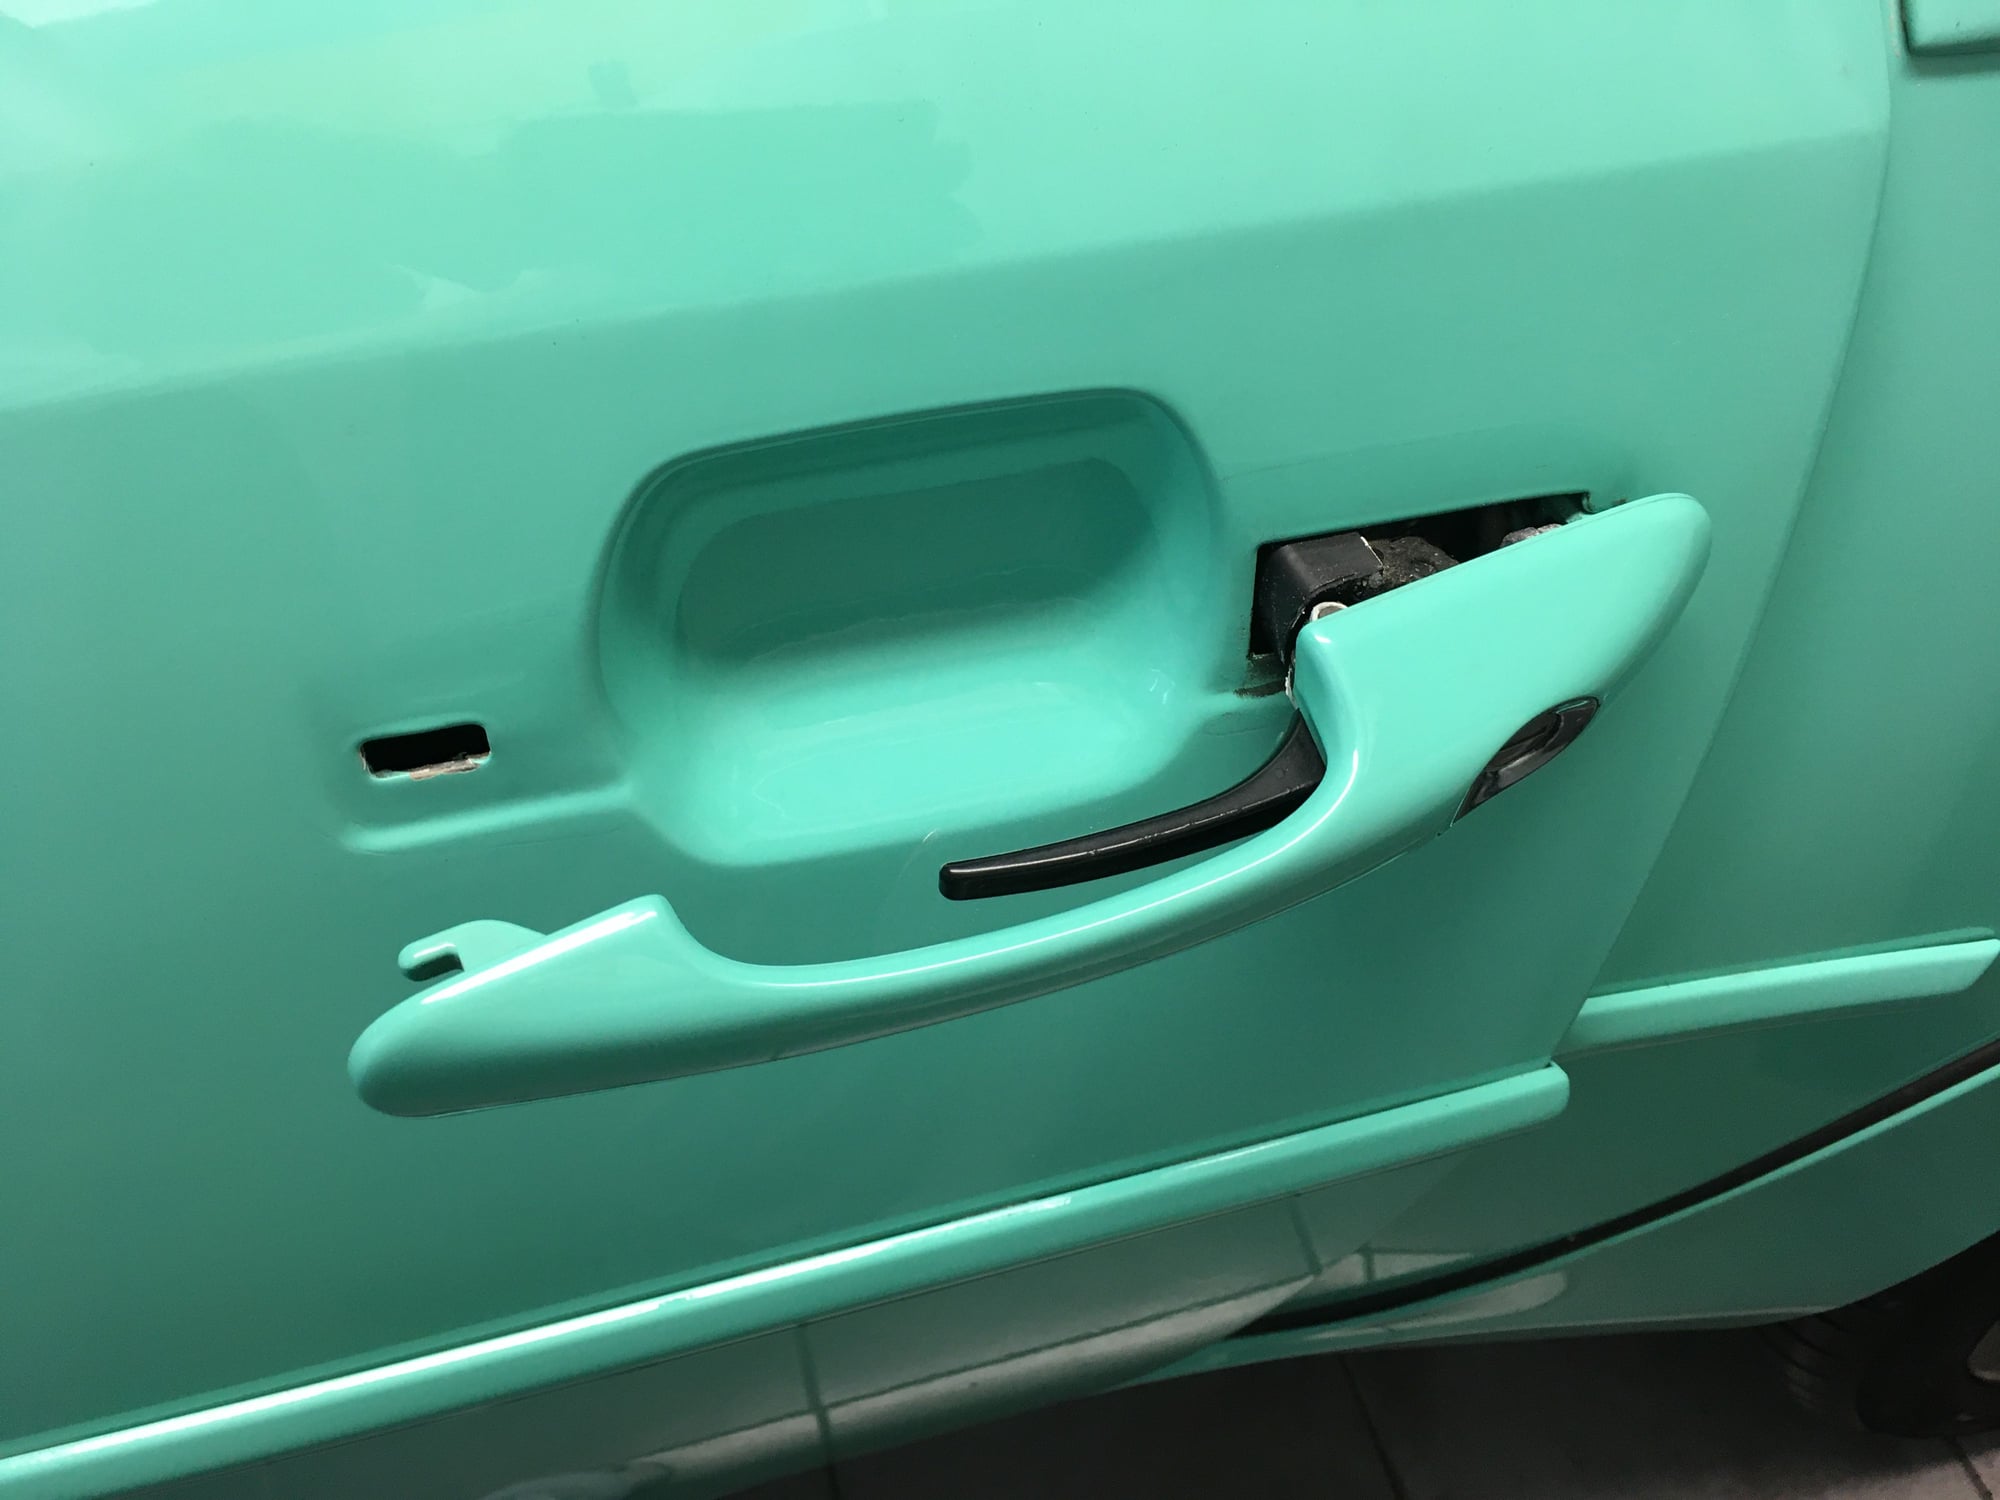
A bit of cleaning and polishing before the new ones go on..
Ahhh, that looks soooo much better.. A very satisfying job thats easy and can be done without getting your hands all dirty, and makes a big visual difference..
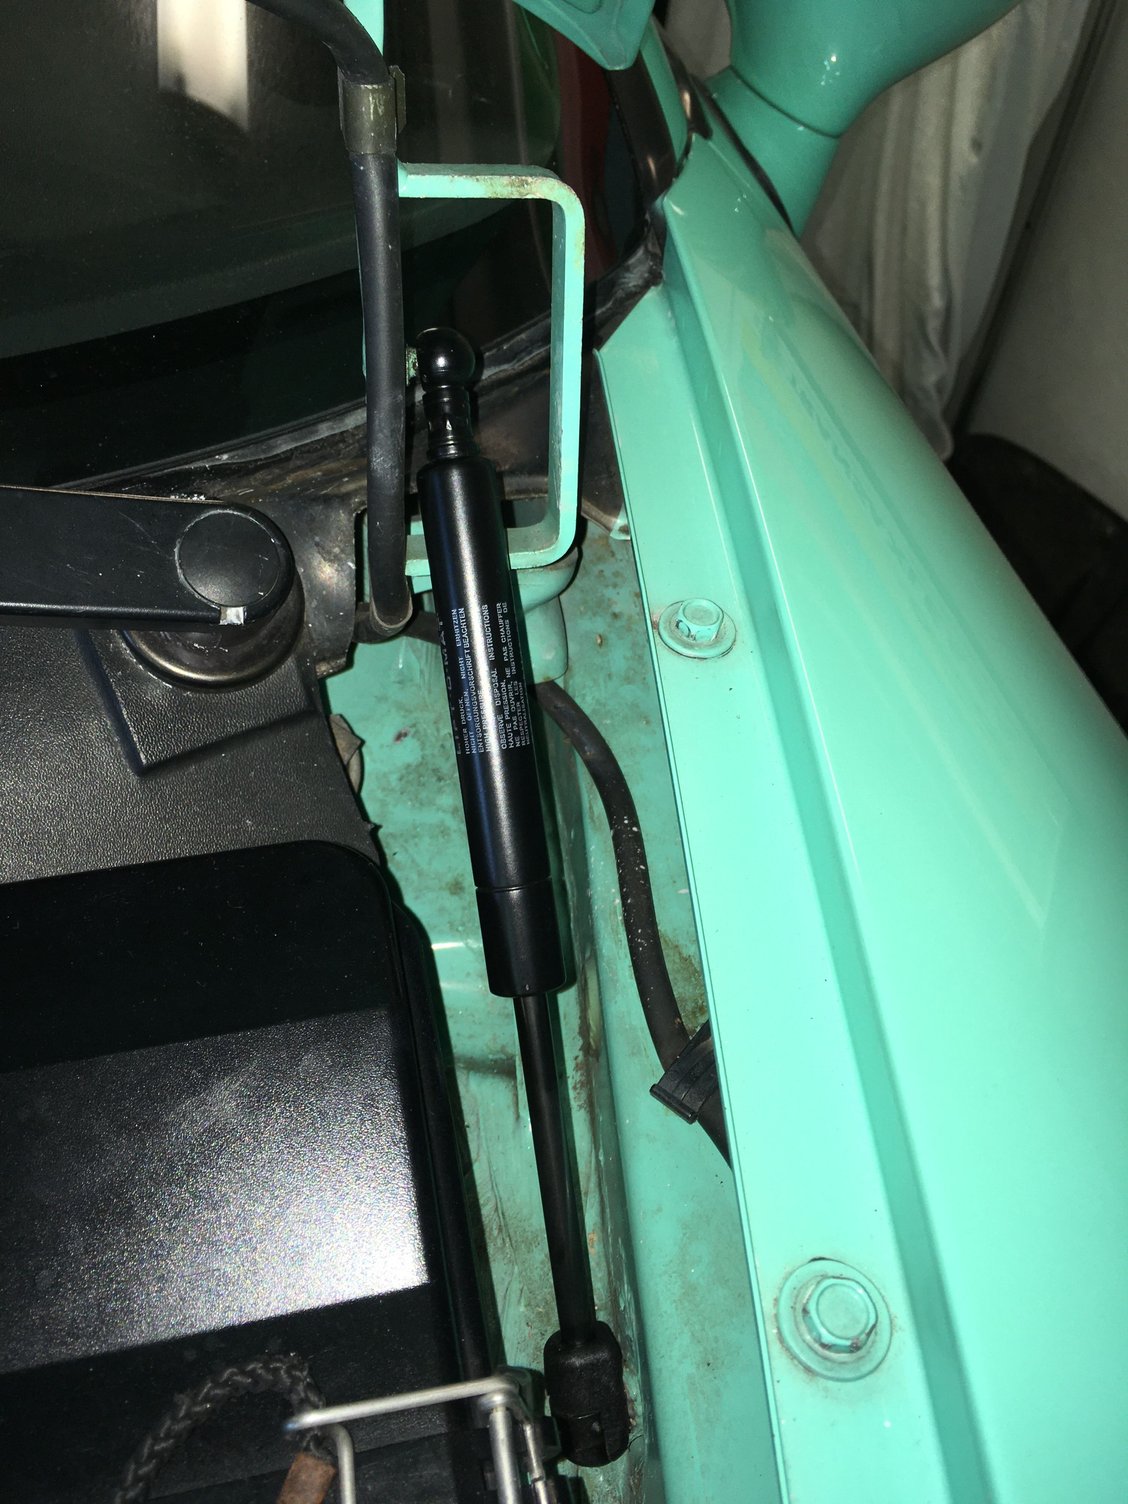
The old struts for the bonnet were quite tired and could barely manage to hold the bonnet open, so fresh struts going in as well. Another easy and satisfying job..
Yes, I know I know..!! I cleaned up the paint after the pic was taken..
Next up is to install the new DAB radio thats sitting on my desk...
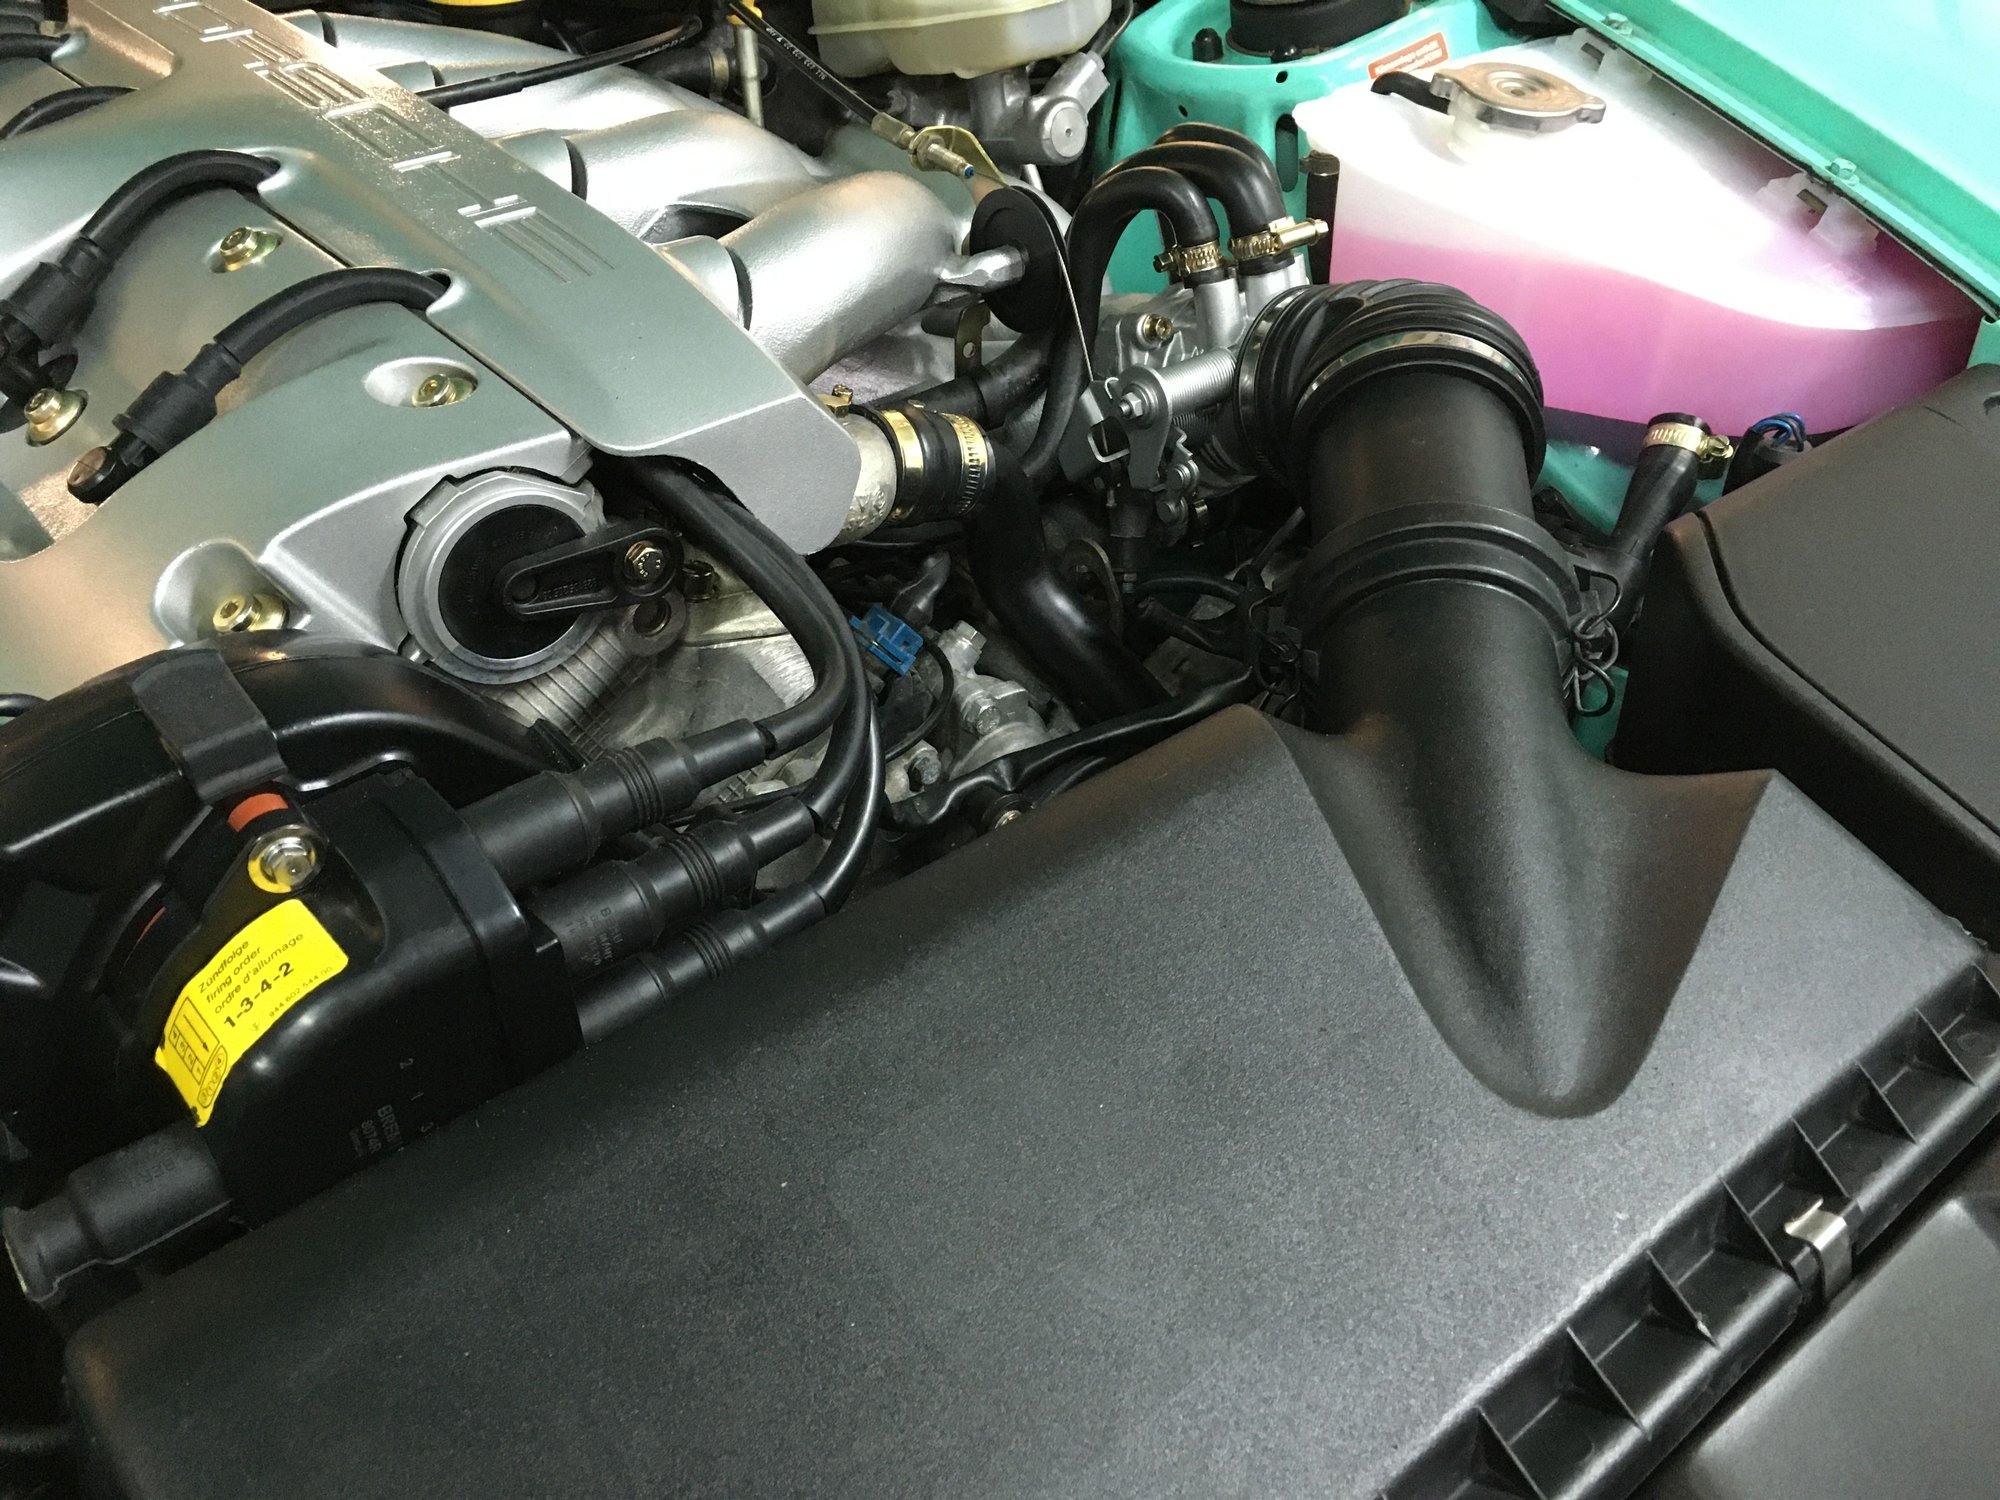
I am planning to tidy up that brake booster, but probably not until later as I am keen to get the car up and running. Its only cosmetic and not really visible when the engine is fully assembled and the covers are on. Good spotting on the clamps.. They original clamps are a bit of pain in the backside to remove and single use only, so I decided to install the hoses with worm clamps instead. Makes it easier if I have to remove the intake at a later point..
Alex
Agree, worm clamps are much easier. I have been trying to find the correct diameter for the Oetiker clamps in PET, but can't even find the coolant lines on the throttle body, much less the clamps. Any idea of how much coolant I would lose if I switch to the correct clamps?
Agree, worm clamps are much easier. I have been trying to find the correct diameter for the Oetiker clamps in PET, but can't even find the coolant lines on the throttle body, much less the clamps. Any idea of how much coolant I would lose if I switch to the correct clamps?
You would barely loose anything as this is almost the highest point of the coolant system so hardly any coolant sitting in there. When I removed the two coolant hoses on the throttle body only a few drips of coolant ran out, and the bigger hose in the middle is just the vent hose as you know, so all in all it should be a pretty straightforward job..
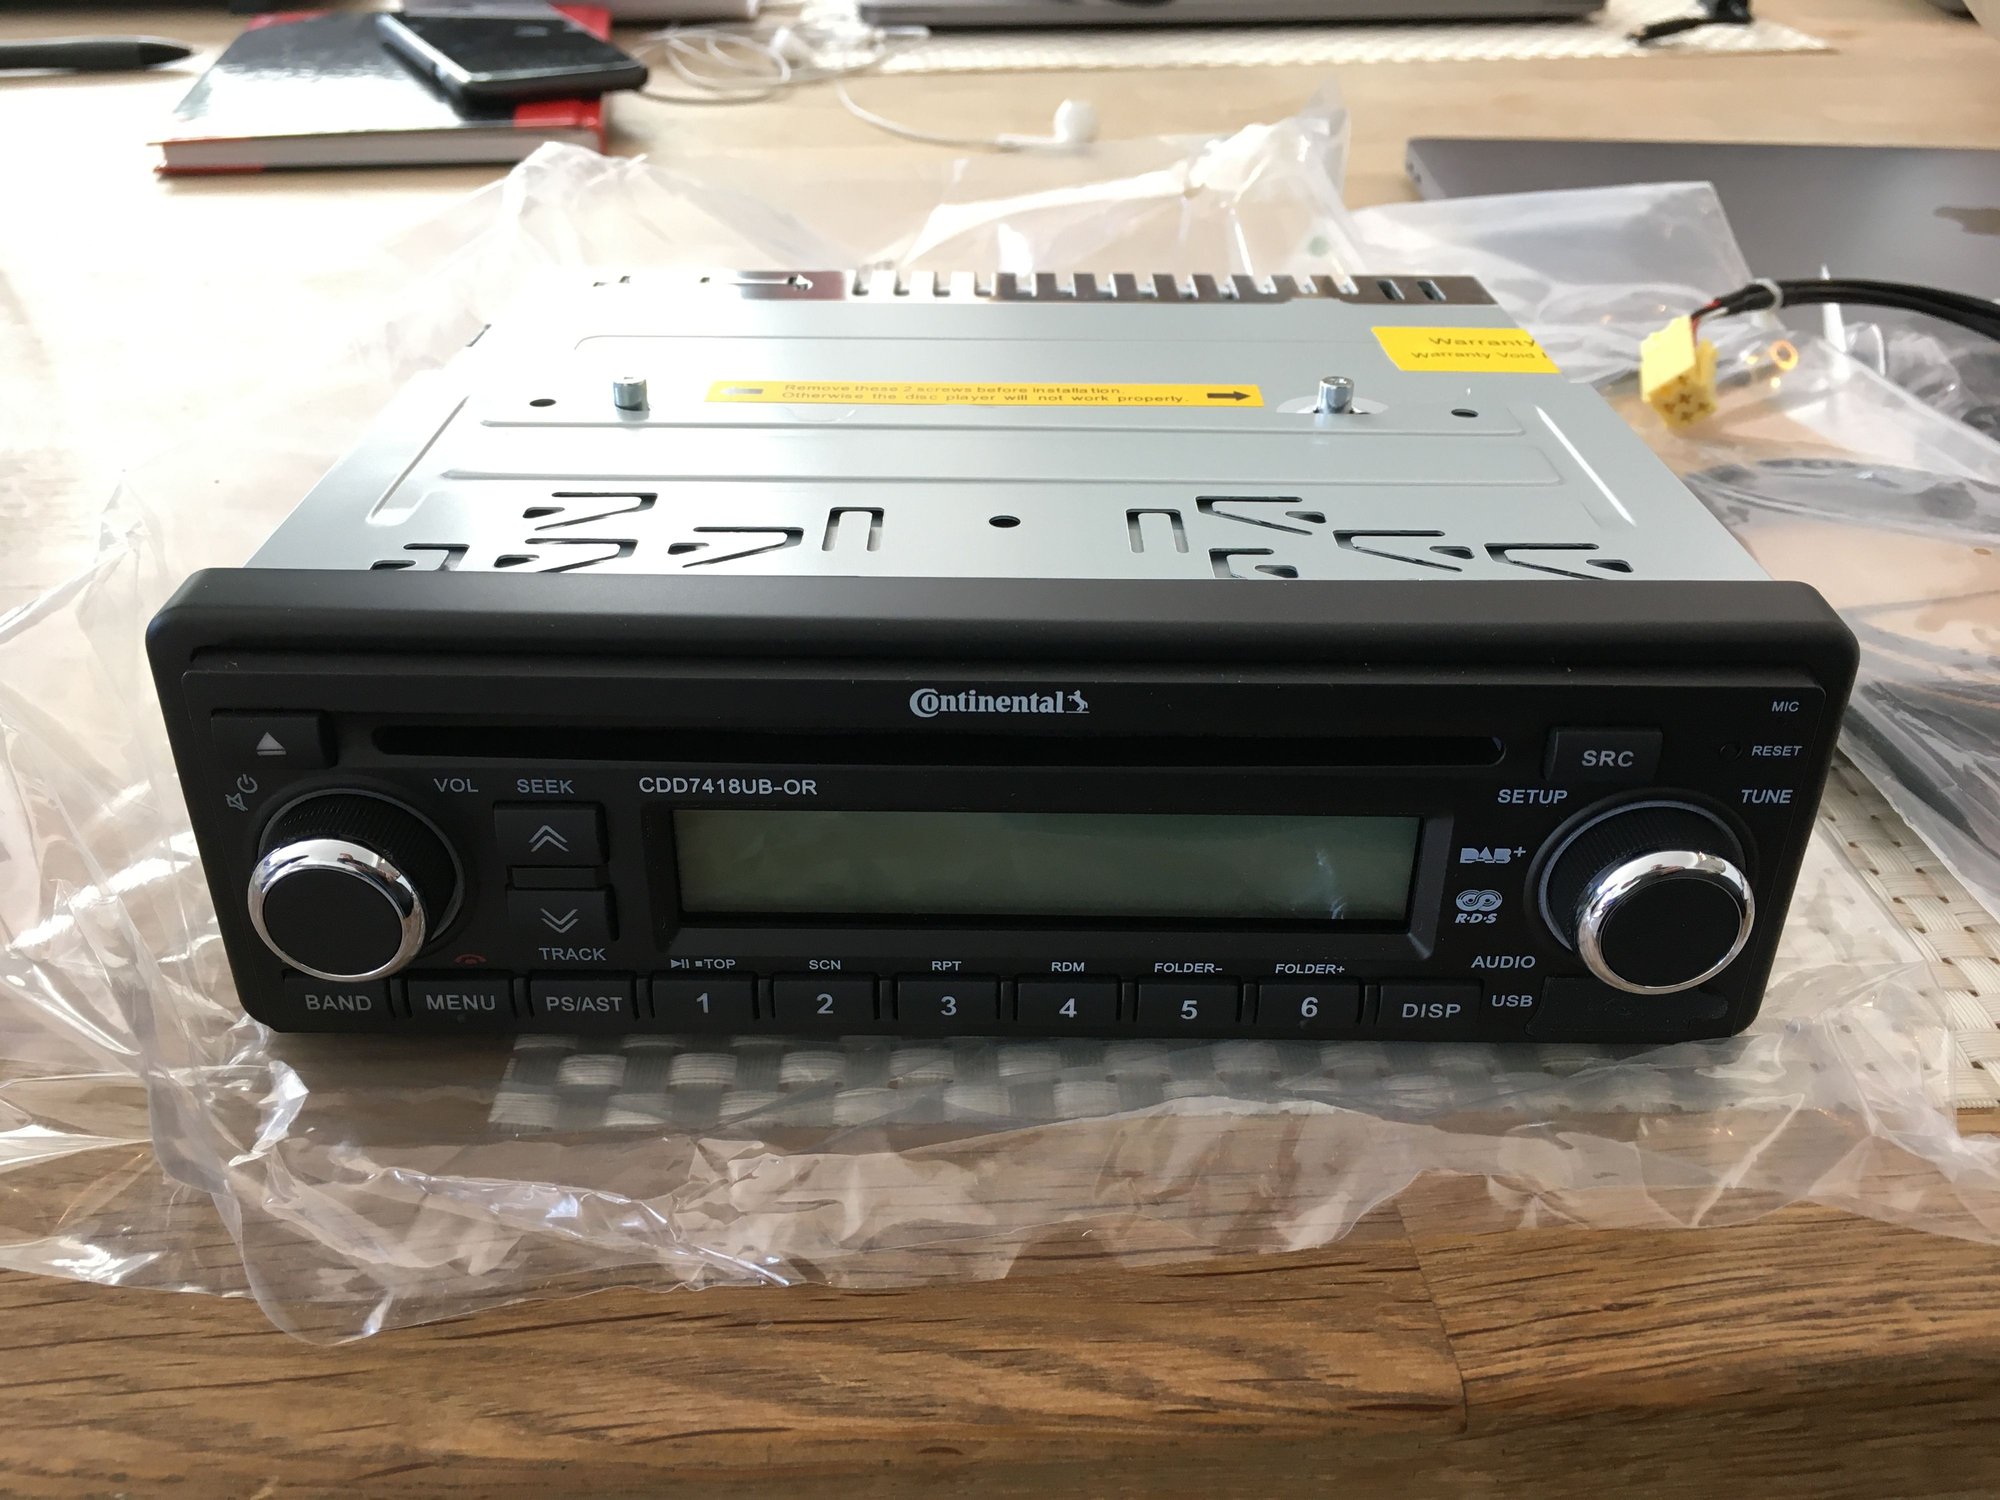
When I bought the car it came with no radio installed which I was slightly bummed about, as I would have liked to have the original Blaupunkt Symphony radio.. No problem I thought, I'll source a second hand one, surely these old radios with cassette player can't cost much.. Ahem, did I get wiser or what..! It seems like the Blaupunkt Symphony was only made for Porsche and came with the Hi-Fi option, so now they cost a small fortune.. I attended the big Stuttgart Classic car show in February before everything was shut down, and one of the vendors who specializes in old car radios and such wanted no less than 550 euros for an old Symphony unit.. No thanks for me, and instead it gave me the perfect excuse to fit something more modern.. I still wanted something that looks reasonably period correct with decent sound, and preferably with bluetooth and DAB radio.
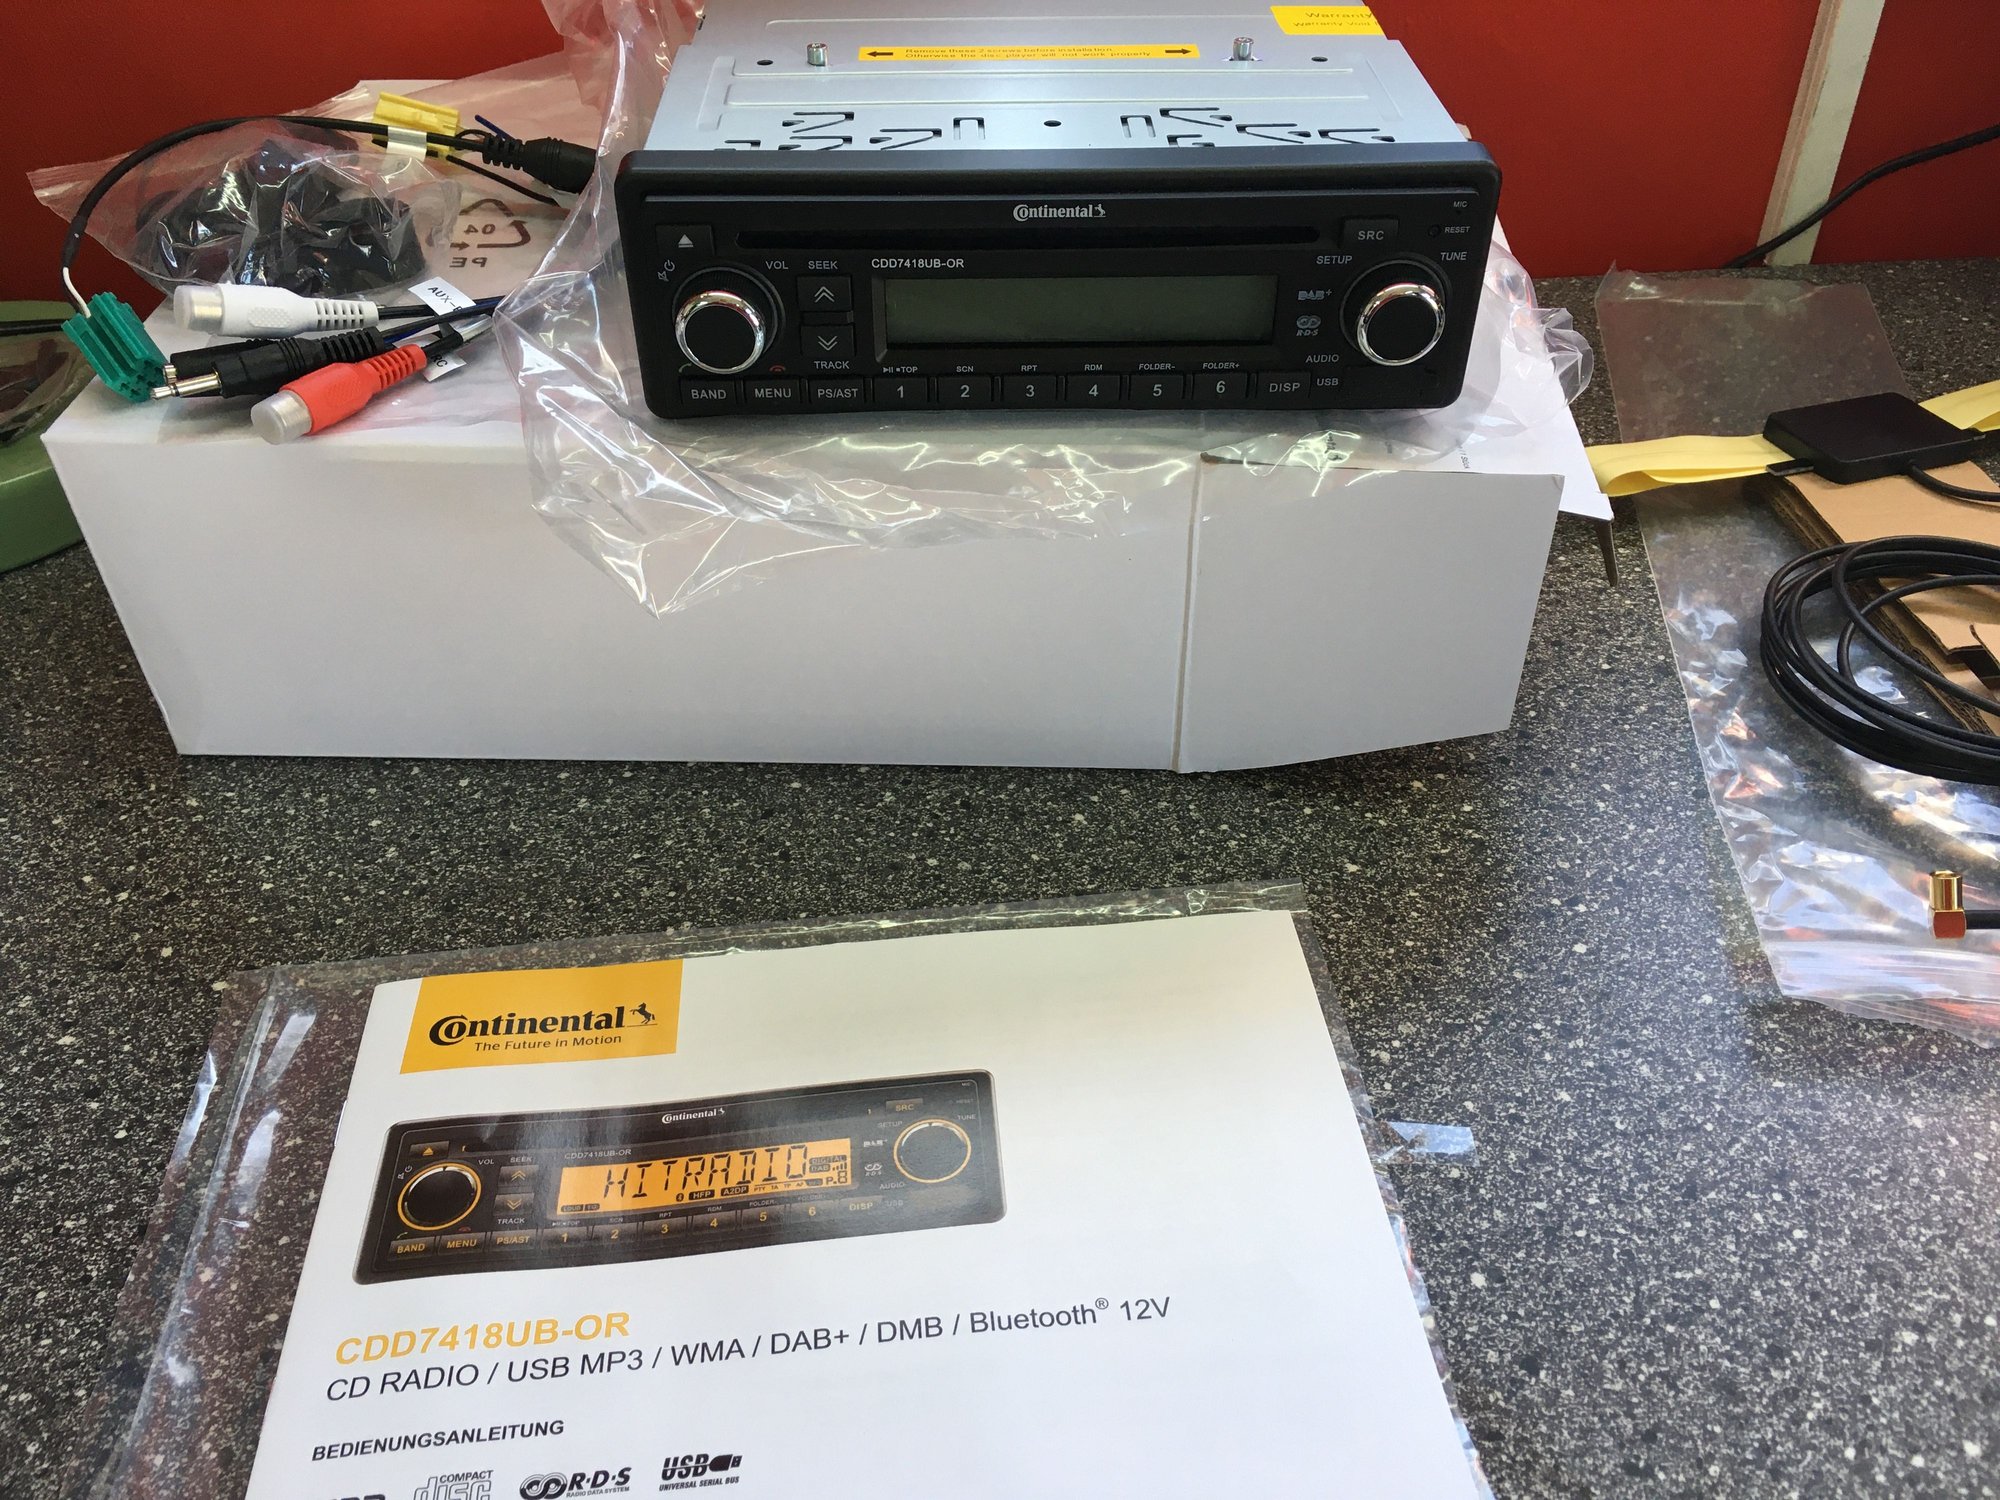
So in the end I went with this Continental unit..
There is also a cheaper version without CD-player, but it only has one dial button and I like the symmetry of the CD version with its dual buttons. And a CD player is also quite period correct I think.. It has bluetooth and DAB radio which is widely used all over Europe and gives a LOT more options than FM radio.
In order to make it fit with the original radio harness I bought an adaptor harness from Bergwill FX. I forgot to take a pic of it, but it basically consists of two parts, one for power options and extras, and one for the speakers.. So first I crudely connected the Conti unit up just to check if all 8 speakers were present and functioning. I chucked in an old CD and much to my surprise, not only were all speakers working, they sounded really good with crisp clear sound. I am certainly no car audio expert, but for my use and ears it sounded really good.. And much better than in my coupe with its standard speakers and a Becker radio.. After this important step, I then installed the DAB antenna at the top of the windscreen running the wire along the top edge of the headlining along with the microphone wire. Behind the passenger side a-pillar cover and glove box into the center console. My FM antenna plug had been butchered at some stage, so that needs repair before it can be connected, but I wasn't to concerned as I will most likely use the DAB radio anyway.. Got everything plugged in and tidied up, double checked all functions and then installed the radio itself.. I must say that I am very pleased with it.. I think it looks great, sounds excellent and connects to my phone really quick and reliable, whether its streaming music or phone calls.. Another win..
When I was out driving yesterday I did a scan of all the DAB radio channels available, and it came to 98 stations.. Not bad.. And if I need anything else I can just stream online radio, podcasts, sports news or whatever I fancy from my phone.. It works flawlessly, so now I am not feeling so bad about not having the original Blaupunkt Symphony in my car..
Next up was a couple of mechanical jobs I wanted to do.. As mentioned I don't have any service records since 2000 and no idea of when the gearbox oil last was changed, so I wanted to do that.. My coupe is my yard stick of how a 968 gearbox should feel with superb positive, smooth and quick shifts, and Minty was almost the same.. Equally positive, smooth and wonderful mechanical, but there was just a tiny hesitation when passing the syncros. Nothing I would have noticed on its own, only because I had my coupe's wonderful gear shifts to compare with. And if nothing else I wanted to know it has fresh oil in the gearbox..
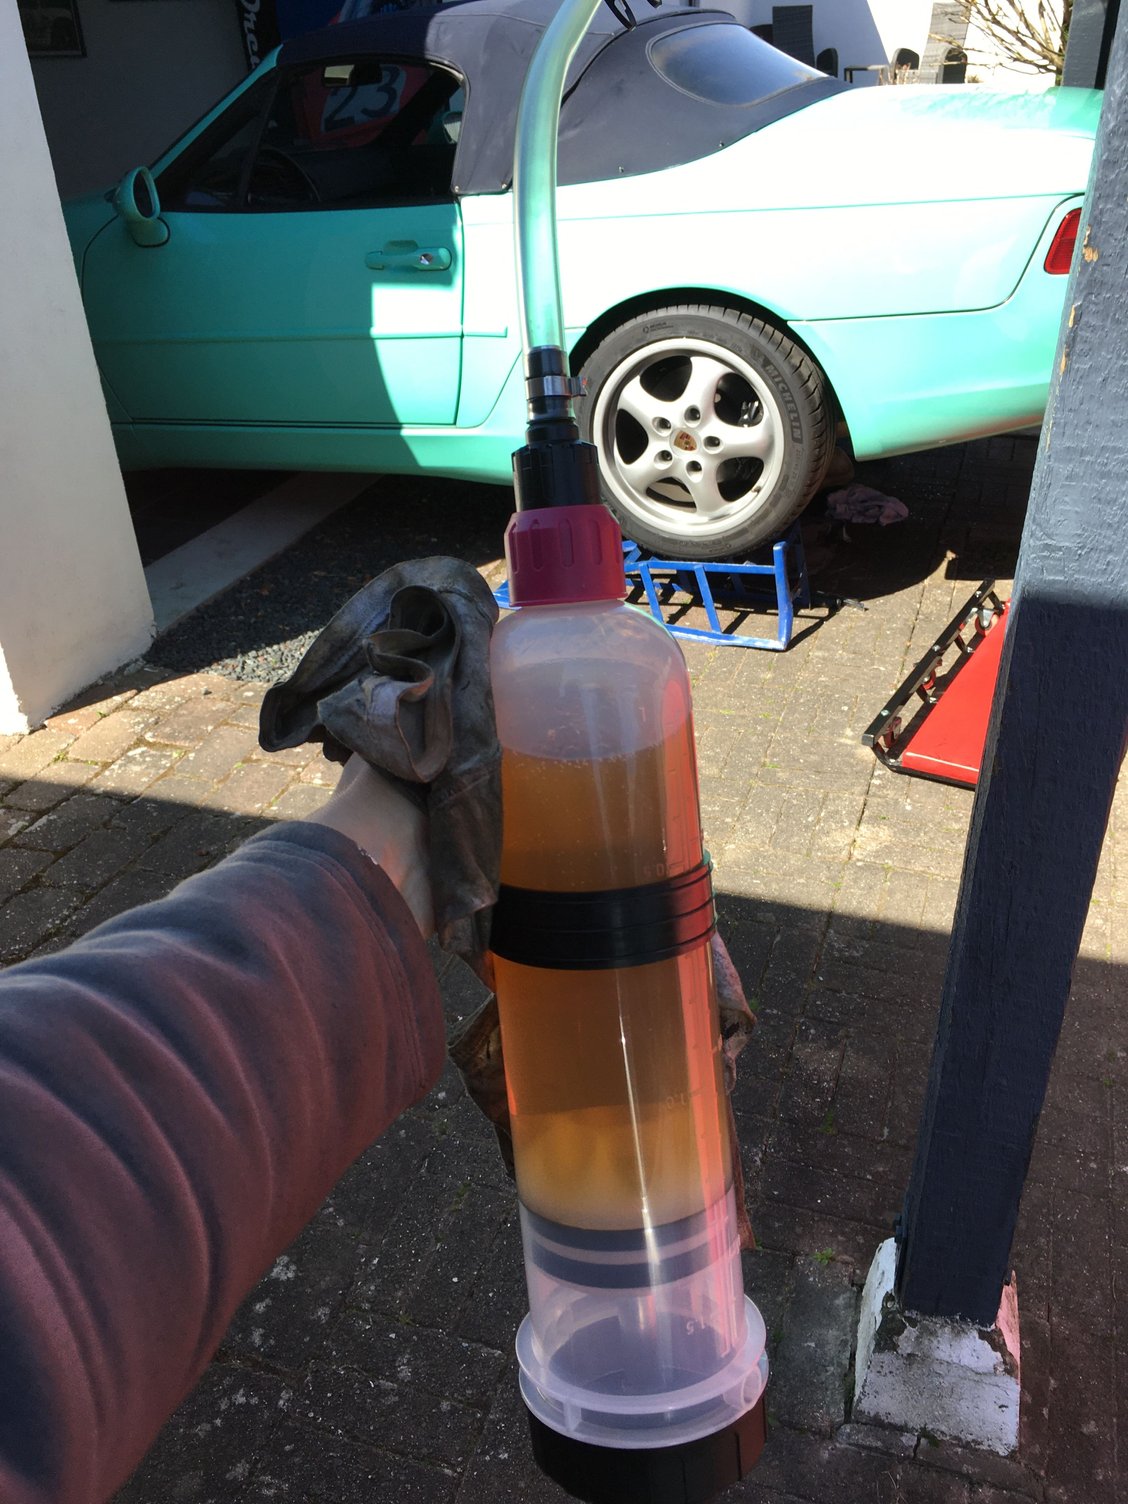
So Millers oil to the rescue again.. The two gearbox plugs came out with no issue and I could feel they had been tightened to the same torque specs. And to be fair, the old oil that came out actually looked pretty good and didn't smell bad at all, so I took it as another sign that Minty has been looked after by a competent shop, just no records to show unfortunately..
*** in the air and with this nifty little pump it was a breeze to change the oil.. 2,5 liters went in before coming out of the filler hole again.. Job done.. I was quite curious to see if Millers high tech nano oil and LS additives would make a difference. On my first drive the gear shift didn't really feel any different, but after some 50 miles or so I suddenly realized that the gear change now felt much more like my coupe and I could shift as quickly and easy. I went through all the gears a couple of times just to be sure, and the shifts were definitely more slick with none of that tiny hesitation on the synchros I experienced before. Minty was happy and so was the owner..
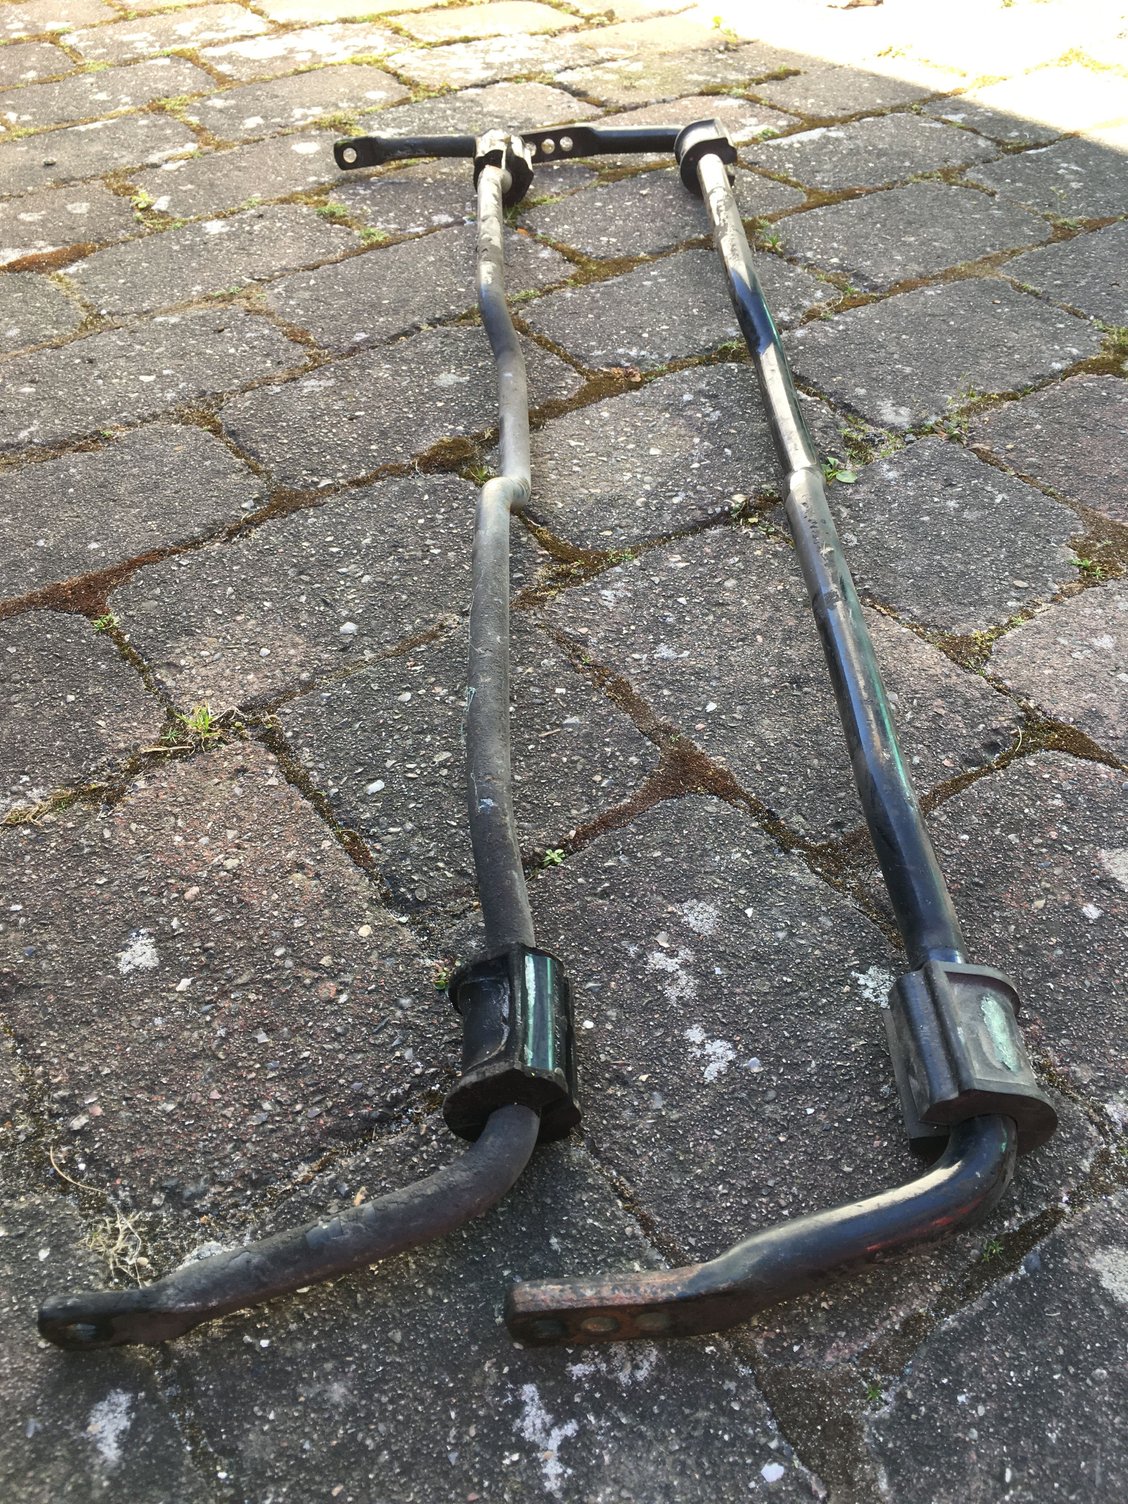
The next job while the *** was in the air was to install M030 sway bars.. The front one had already gone in when I had the front in air for the engine work, so now it was just the rear bar.. I installed it in the center hole and then I'll see how the balance is or if it needs adjusting..
On my last drive out I pushed Minty through the twisties a bit and she definitely corners more flat with less body roll and better turn in.. The tail feels slightly loose compared to the front, but it didn't let go at any time so the final judgement will have to wait. Could perhaps also be the shocks, even though they don't bounce and keep the drive comfortable..
So I am very happy with how euro minty looks and drives now.. There are still a few maintenance jobs and upgrades I would like to do, but she is perfectly capable now and more importantly reliable, fun and an absolute joy to drive.. Bring on summer..
Interesting to see the rear view compared to the NA version with the brake light.
I wouldn't mind having that 3rd brake light on the rear, I quite like the look and how it breaks up that large surface area.. But the rubber bumpers front and rear you can keep please..
I wouldn't mind having that 3rd brake light on the rear, I quite like the look and how it breaks up that large surface area.. But the rubber bumpers front and rear you can keep please..
Alex
And I like the bumperettes for the same reason (break up surface area) Different strokes.
Anything is better then the "ET" high mounted stop light they created for the 964.
Motosport, I didn't see if you answered Jeff's question on if you cut the door handle molding or stretched it over. I have two sets of it sitting around here to do on my cars. Need to order 4 hood support struts also.
I didn't know euros did not have the third taillight nor the bumperettes. I much prefer the euro version on both.
When I changed the door handle gaskets on my coupe, I tried heating the bigger rear gasket in very hot soapy water in order to slide them over the handle, but no matter how what I did the rubber would not stretch enough. So in the end I cut it and that is also what I did this time on Minty. Just cut with a sharp razer blade on the inside part right in the middle, and you can simply not tell when its installed, no matter how hard you look. The taps on the gasket keeps it in place and the cut is both on the inside and right under the door handle lever, so its simply not visible at all..
 05-01-2020, 02:26 PM


 I attended the big Stuttgart Classic car show in February before everything was shut down, and one of the vendors who specializes in old car radios and such wanted no less than 550 euros for an old Symphony unit.. No thanks for me, and instead it gave me the perfect excuse to fit something more modern.. I still wanted something that looks reasonably period correct with decent sound, and preferably with bluetooth and DAB radio.