When you click on links to various merchants on this site and make a purchase, this can result in this site earning a commission. Affiliate programs and affiliations include, but are not limited to, the eBay Partner Network.
My biggest concern was that sleeve. I tapped it out and back in again as suggested without loosening the other 2 bolts. Biggest issue was getting old belt off and snaking on new one!
Here’s that sleeve that gave me pause...
It is OK to use a pry bar to press slightly on the engine carrier. This creates just enough flex to allow the sleeve to come out and be put back later. See my post just above for pry bar placement. This is in the service manual.
So, how do you know which belt to get? I have a 991 GTS and Pelican lists two belts. One short and the other long. Is there an additional drive for the PDCC? I don't believe my car has this, so I am going to assume i need the shorter belt.
In the .2 world, the only difference between PDCC and non-PDCC is that the belt is double sided. The dummy pulley is the same diameter and in the same position as the PDCC pump.
Looking to do this on my GT3 in a week or two. Can someone confirm this is the correct part number? From what I've seen across a couple sites, it looks correct for GT3, but wanted to confirm. Any other big things to look out for on the GT3, aside from the carrier bolt (I plan on having the jack under the engine with wood as I remove it, in hopes of preventing any sag at all). -- Part Number =0PB903137D
ive had this thread bookmarked since i bought my car a few years ago. time finally came around for me to do the belt swap and thanks to this thread, i was able to save over a thousand dollars by doing it myself at home!
thank you @Class5Kayaker and everyone else that contributed to directions and photos in this thread! sooooo helpful!
additional data point:
i was able to remove the sleeve bolt by tapping it with a rubber mallet as well, and then same when putting it back in.
the most struggle i actually had was removing the vacuum lines and the intake tube from the throttle body LOL. these were all frikkin stuck tight and i thought i was gonna break one of the lines even. but thankfully its all good.
the most struggle i actually had was removing the vacuum lines and the intake tube from the throttle body LOL. these were all frikkin stuck tight and i thought i was gonna break one of the lines even. but thankfully its all good.
thanks again for this super helpful thread!
Those vac tubes are just shoved into rubber receptacles and they can seize up good. Threading a pick between the tube and the rubber and carefully working it around does the trick, but be patient. Pretty much everything in automotive is designed to be quickly and easily assembled at the factory with little/no regard to future serviceability. I swear some plastic clips are intended for one time use only though you�ll rarely find that admitted too.
Working on cars becomes a game of �what else is holding this on?�, �how hard should I force it?�, �how does this electrical connector latch?�.
thats a great idea and wouldve definitely helped me with unplugging those lines!
Hello All, just joined and this is my first post. Many thanks to the OP for the DIY and all others for the follow-up posts. Your info was spot on and I was able to change the drive belt this past week on a 2014 base Carrera. Some of this may be obvious but in case helpful, posting a few pictures with comments. Also, two comments on the spacer: 1) Didn't find a good way to lever the carrier plate so supported the engine from the bottom as mentioned and just tapped the spacer out with a block of wood and mallet. Hardly any force required. Same block and a few gentle taps for install. 2) For torqueing the carrier bolt, found that a 5 inch long spark plug socket fits perfect and allows room for a click style torque wrench. Thanks again! Since there was some discussion about belt length, posting this photo of the Conti belt and original Porsche belt. To get by the harmonic balancer, simply twisted the belt for both off and on steps. Positioned the belt this way for tensioning. Untensioned the spring and slipped the belt under the center smooth pulley.
Last edited by LeftOverParts; 01-16-2023 at 11:41 PM.
Reason: Clarification
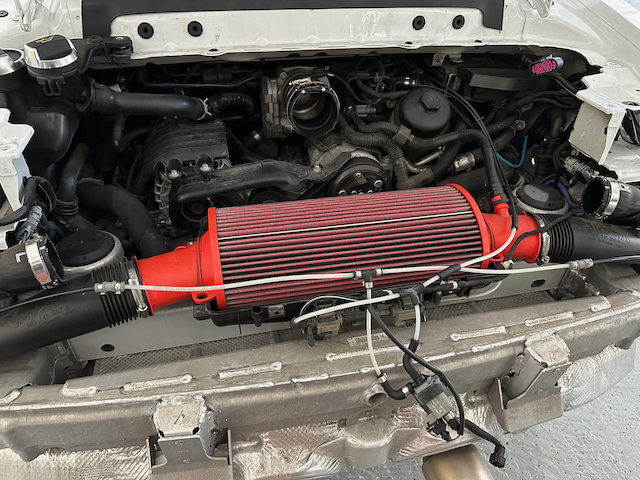
Just did the tensioner/damper and belt on my 991.2. Access is a little different, but mostly the same once you get the air filter off. If you follow the instructions for changing an air filter it gets you most of the way there. Last part is removing the lower air filter housing. I just undid a couple of vacuum hoses, but left most attached, and the housing pulls out of some grommets. I left the vacuum nest and lower filter housing together, just flipped the housing over towards the rear of the car so I could get access for the carriage bolt and removing the tensioner assembly. Some of the vacuum hoses looked like they were crimped on, and I didn’t want to remove any of those. Flipping the assembly out of the way let me not disconnect any of those. The hoses seemed flexible enough, but I’m not sure if they will all remain so flexible as the car ages. Either way, worked this time fine.
For the carrier bolt/sleeve, like others before, I found it necessary to loosen (not remove) that 16mm bolt at the top right and two nuts at the bottom holding the plate in place, and then I was able to use a pry bar as shown before to pry that apart. While prying it apart the sleeve slid easily into place. I used a 3/8” drive 16mm and shorter ratchet to do the top right bolt, and a 16mm box wrench to loosen the two nuts at the bottom. It was so easy to loosen that stuff and use the pry bar that I would recommend doing this from the get go and don’t waste time banging on it with a mallet.
Reinstalling the carriage bolt is a little tricky, but if you’ve loosened up that plate and using the pry bar to move it a few mm you will have the sleeve a little loose in between, which makes it way easier to slide the bolt inside of it and get everything aligned. Keep pressure on the pry bar, don’t let the sleeve bind up between the plate and engine and you can wiggle the bolt through and then feel where the threads are and get clean engagement. Again, loosening that plate and using the pry bar was critical to make this easy as possible.
Access to the tensioner assembly is tight, and having a stubby torx set like others suggested was critical. Once the two bolts come out the tensioner comes out from above and is easily replaced.
I found it helpful to have one of these belt tools for pushing and routing the belt during reassembly:
Start with the large crank pulley with the balancer on it, and then use the tool to guide the belt around the upper right pulley and the tensioner pulley. I found the bottom left pulley easiest to guide from underneath, and you can use the tool to kind of pre fold and start it from above before finishing from below. Finish at the alternator in the top left. While using the 30mm box wrench to rotate the tensioner clockwise, work the belt up and around the alternator pulley. It might be tight, but keep at it and should go on with some effort if needed.
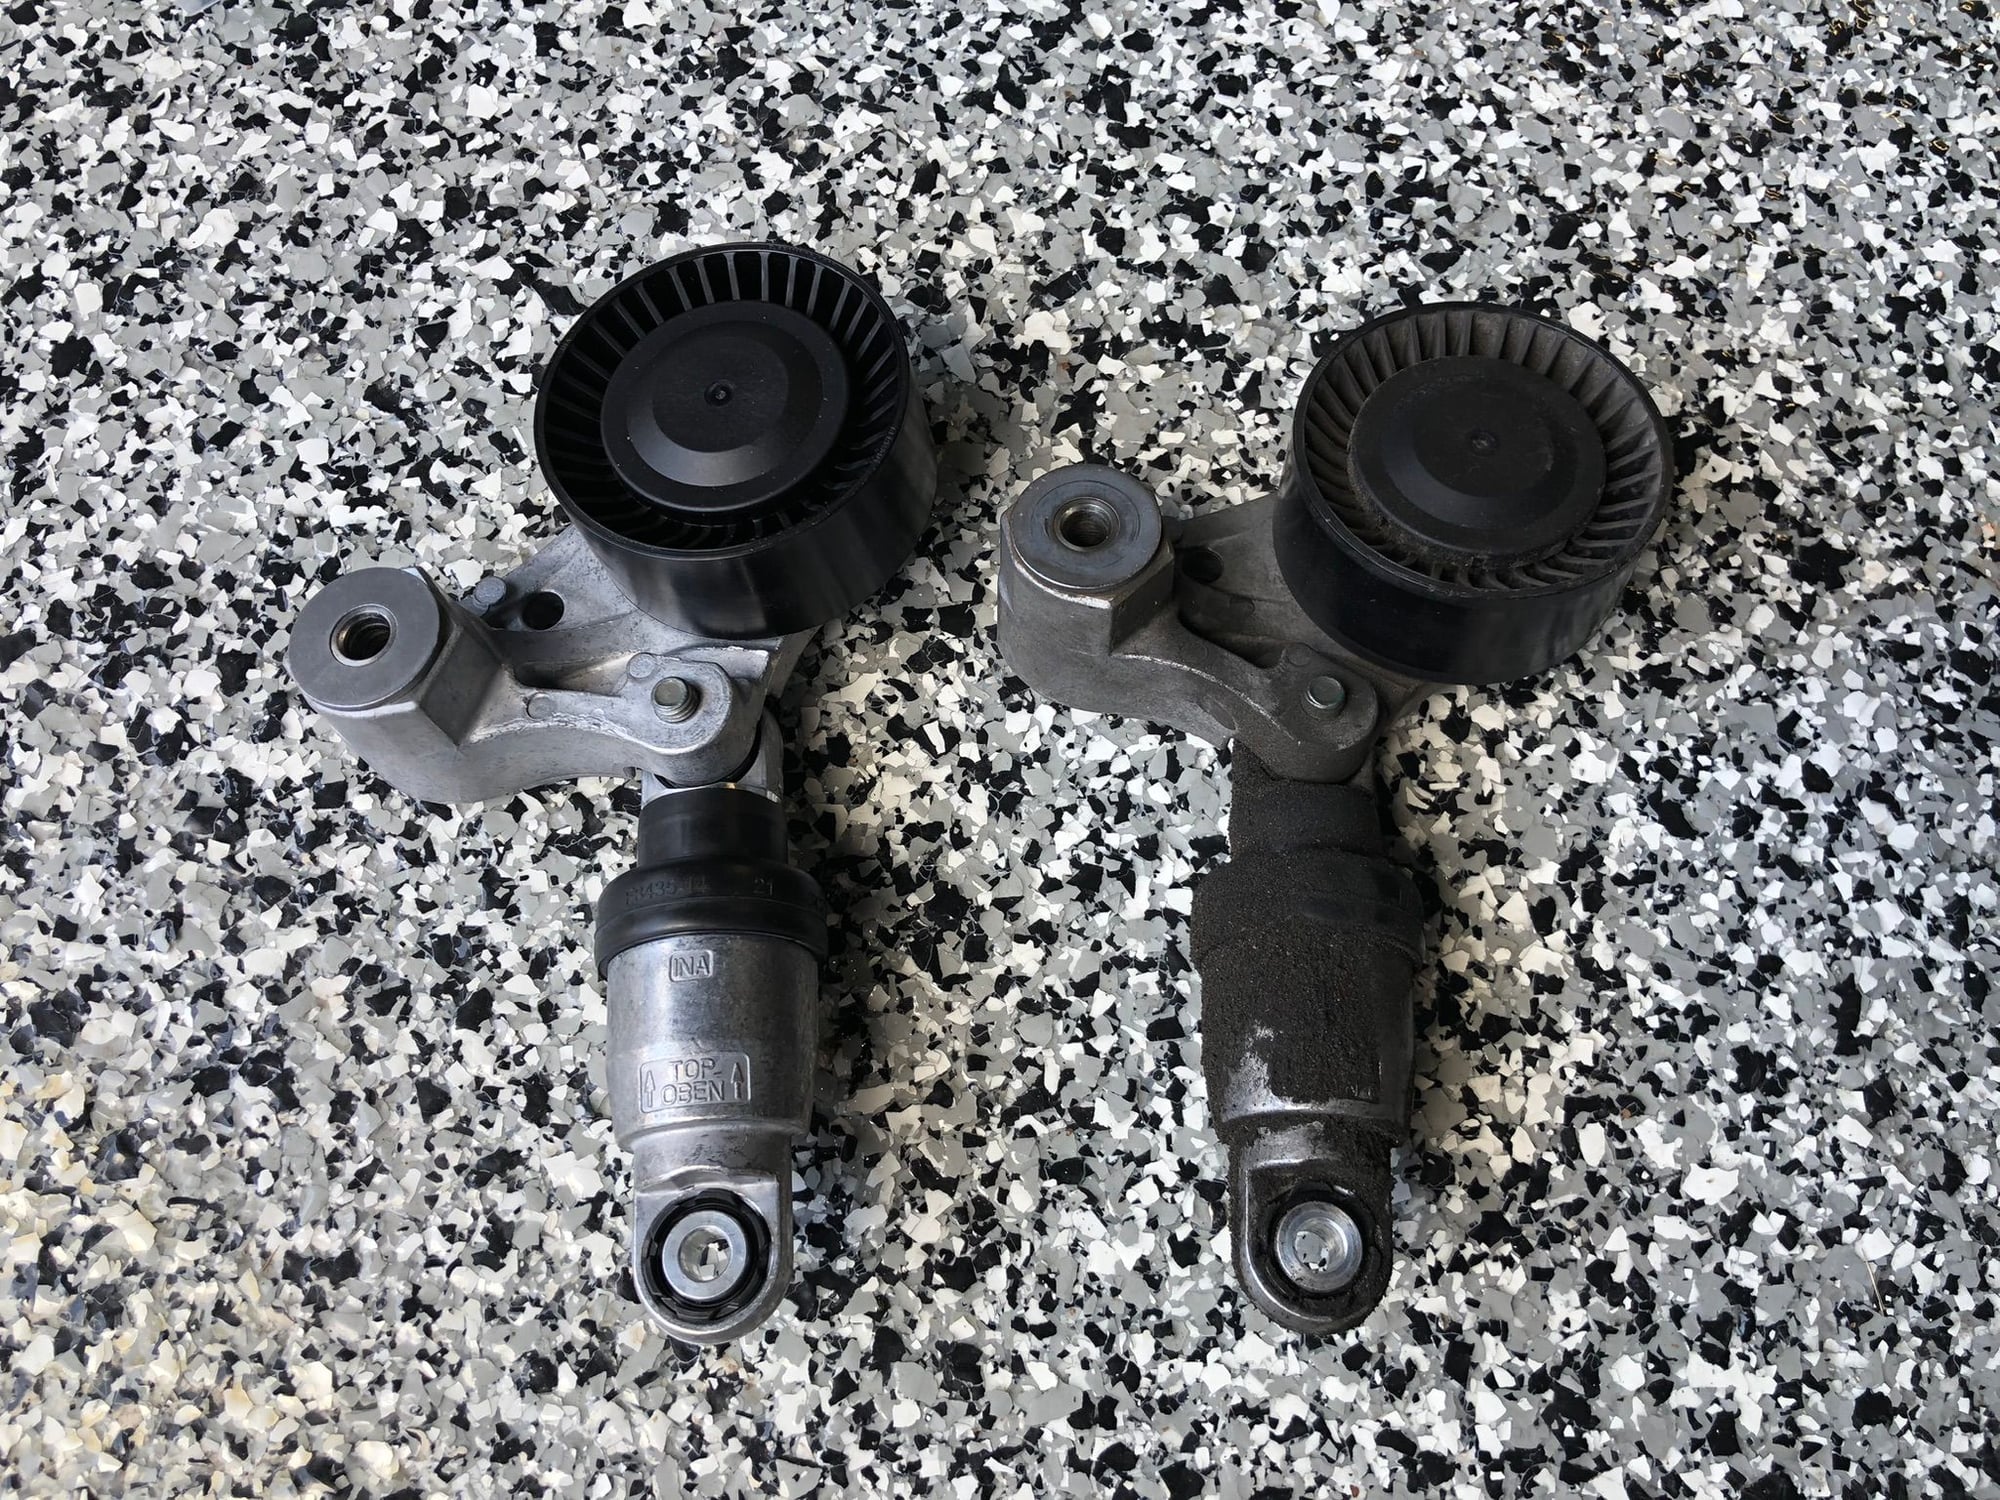
Here is my tensioner damper, which was leaking after 4.5 years and 15k miles:
the replacement damper provided significantly more resistance when rotating the tensioner during installation of the belt. The damper can be inspected from underneath the car. If it’s all mucked up like the one on the right, it’s time to replace. They go bad and start leaking just sitting there and they go bad from use, they just seem to go bad regardless. $30 part, but since the tensioner assembly has to come off to replace it, might as well just replace the whole assembly with the tensioner pulley and the serpentine belt “while you’re in there.” Good thing to inspect/do at the 4yr major service.
Excellent write-up by the OP, but one thing is missing in the first post...belt part numbers, sizes and what they apply to.
I came across the following Porsche part numbers:
9A1 102 217 00 or OPB 903 137E � 6 DPK 1825 � a double sided belt used in vehicles with option:
031 Porsche Dynamic Chassis Control (PDCC) combined with PASM sports chassis (-20 mm).
352 PDCC Porsche Dynamic Chassis Control & PASM Porsche Active Suspension Management.
9A1 102 218 00 or OPB 903 137A � 6 PK 1767 � used without Sport Chassis or lowering.
The K and PK are the same with the K being in SAE and PK in metric. The D designates a Double Sided belt. (source: Gates & Continental)
I replaced the serpentine belt on my 2018 991.2 T today. The posts above very very helpful. The only tricky step is removing the spacer in order to get the belt out. The rest was relatively routine if you've had the rear cowl off for filter maintenance.
Excellent write-up by the OP, but one thing is missing in the first post...belt part numbers, sizes and what they apply to.
I came across the following Porsche part numbers:
9A1 102 217 00 or OPB 903 137E � 6 DPK 1825 � a double sided belt used in vehicles with option:
031 Porsche Dynamic Chassis Control (PDCC) combined with PASM sports chassis (-20 mm).
352 PDCC Porsche Dynamic Chassis Control & PASM Porsche Active Suspension Management.
9A1 102 218 00 or OPB 903 137A � 6 PK 1767 � used without Sport Chassis or lowering.
The K and PK are the same with the K being in SAE and PK in metric. The D designates a Double Sided belt. (source: Gates & Continental)
I�m trying to confirm the belt length I need. I assume that since I have PDCC I need the longer, two sided belt. But the description above confused me a bit. Do I have to ALSO have a -20mm sport option? (The PASM I have is -10mm)

 06-11-2021, 03:47 PM