When you click on links to various merchants on this site and make a purchase, this can result in this site earning a commission. Affiliate programs and affiliations include, but are not limited to, the eBay Partner Network.
Yes, yet another oil change thread for the 991.2! But I wouldn't post this unless I thought it was truly useful.
First, many thanks to those who already created videos on this. I would never have tried without you!
However, there were a few things I always questioned, and have seen propagated in the forums and videos. I always felt that the techniques presented were a bit overly complicated, and had to believe there was a more elegant way of doing this job. I wondered, did Porsche techs really go through all these steps? (Prying out the plastic frame from the trapezoidal air inlet duct everytime? Prying off all those clips... everytime? This just did not seem possible to me in terms of design and durability.)
No need to remove plastic frame from accordion portion of air inlet duct.
No need to pry off all the fragile plastic mounting clips (except for one).
The first time I did this job, the heftier clips (composed of a Christmas tree and mounting post guide) broke despite being ultra careful.
I doubt they would stand up to repeated prying.
They have been impossible to find to replace (if anyone knows a part number, please let me know!!).
Lastly, prying them out is not even how they work!! You can simple depress a tab and slide the wiring harness housing off the rail portion of the mount.
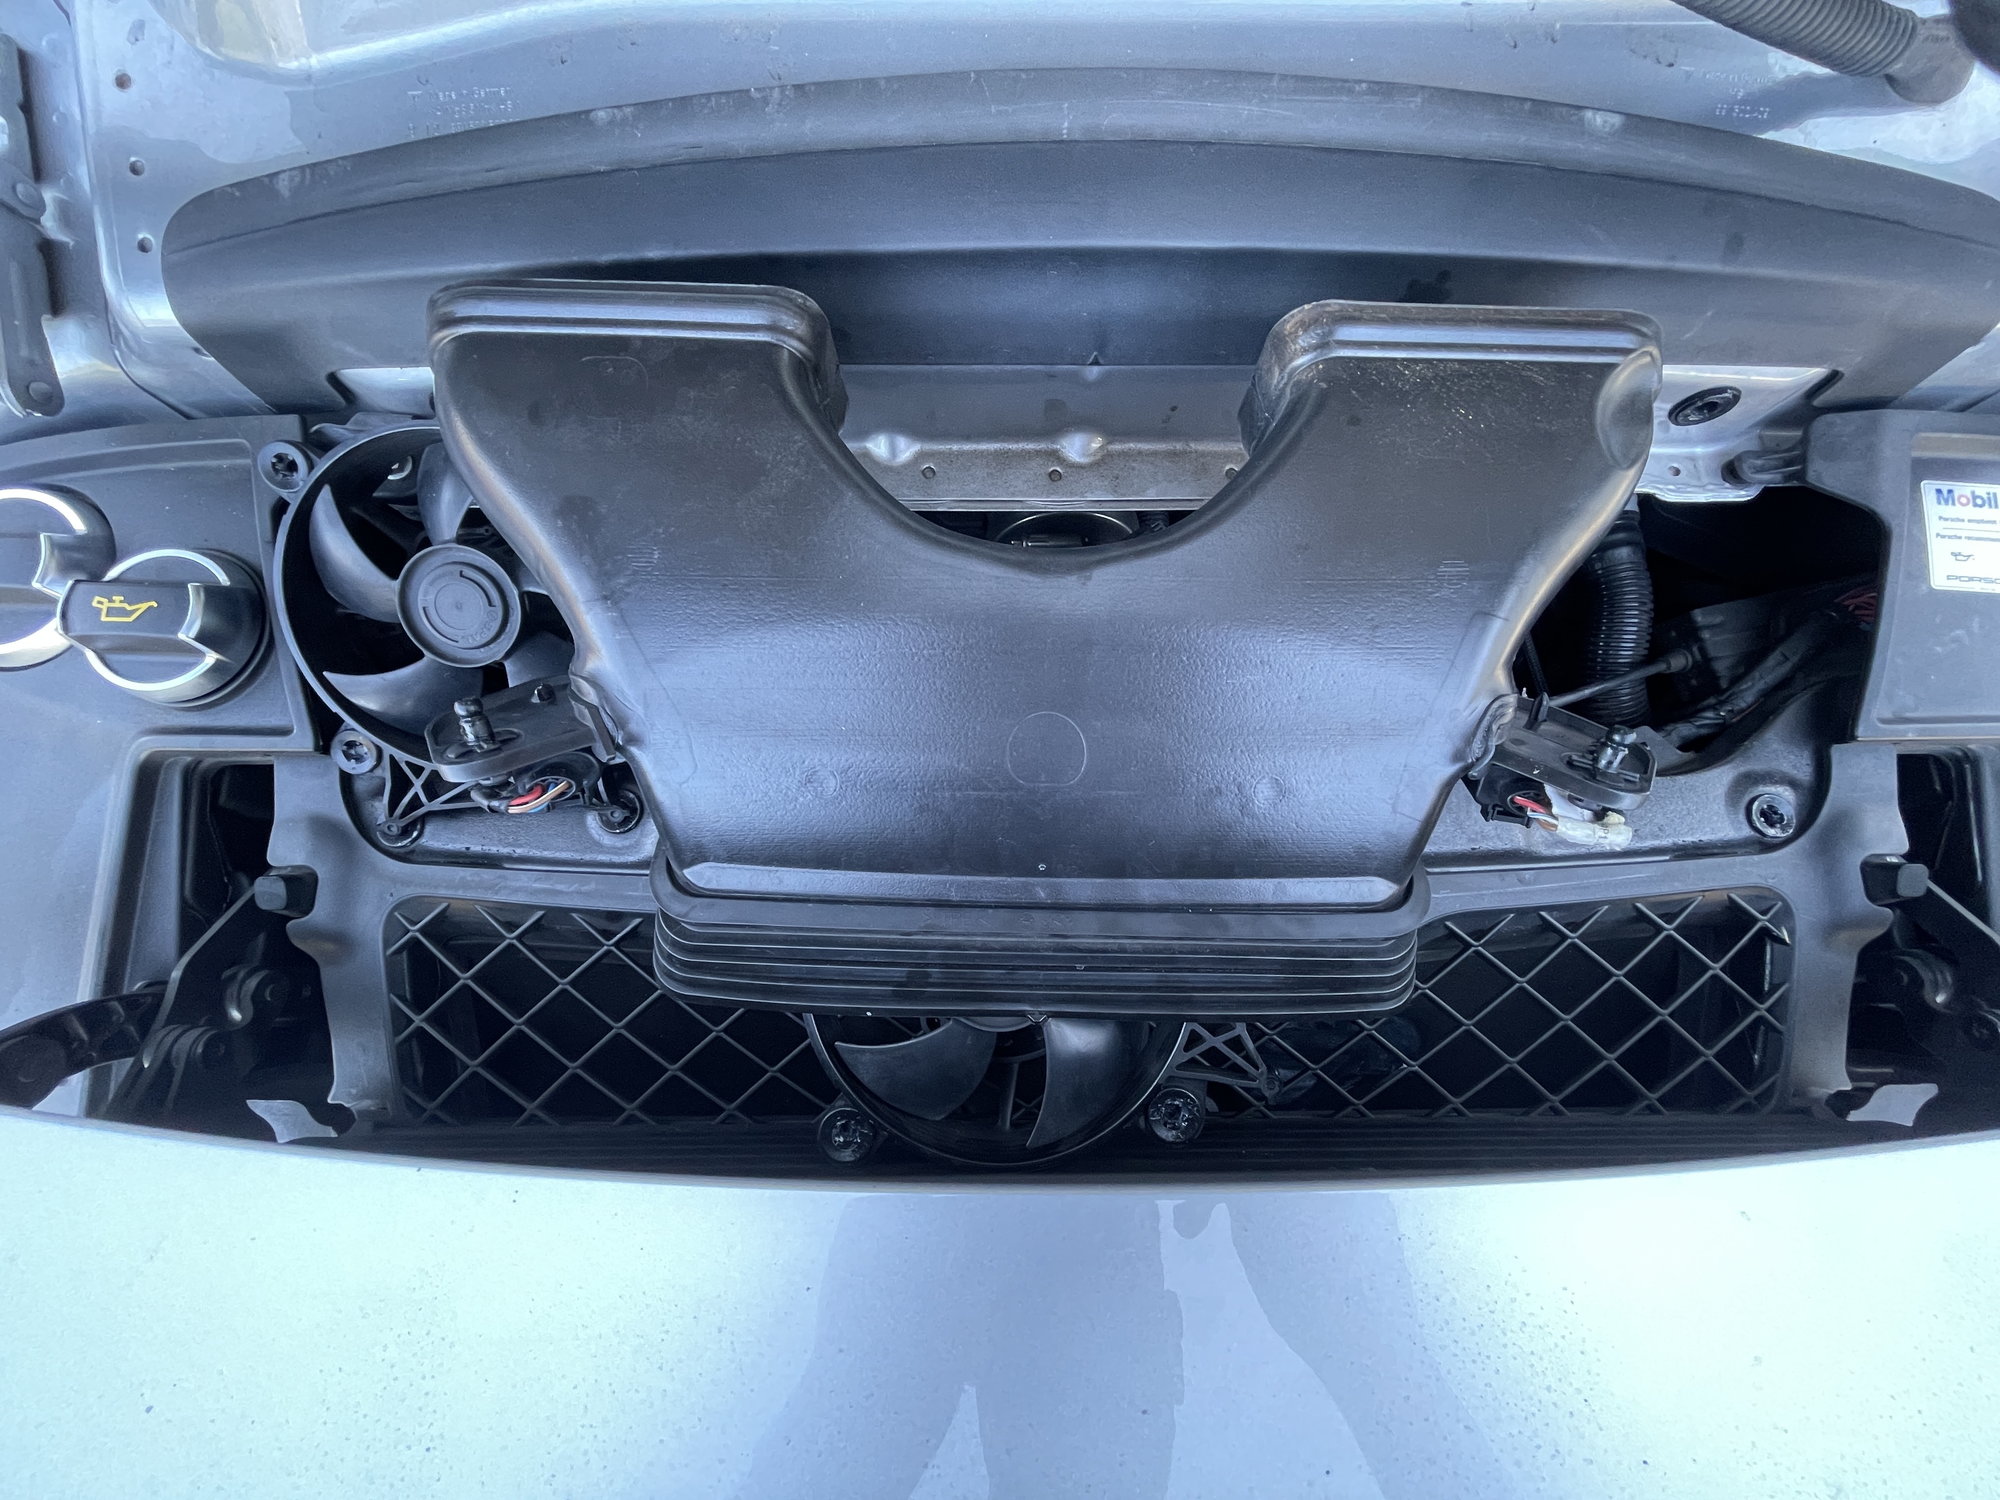
The right fan and air inlet duct can be removed as a single unit and swung out of the way.
In fact, you may not even have to unmount the left fan as there may be room enough to pop off and slide out the air inlet duct.
A few more tips:
Place a dab of silicone lubricant in all press fit rubber grommet mounts.
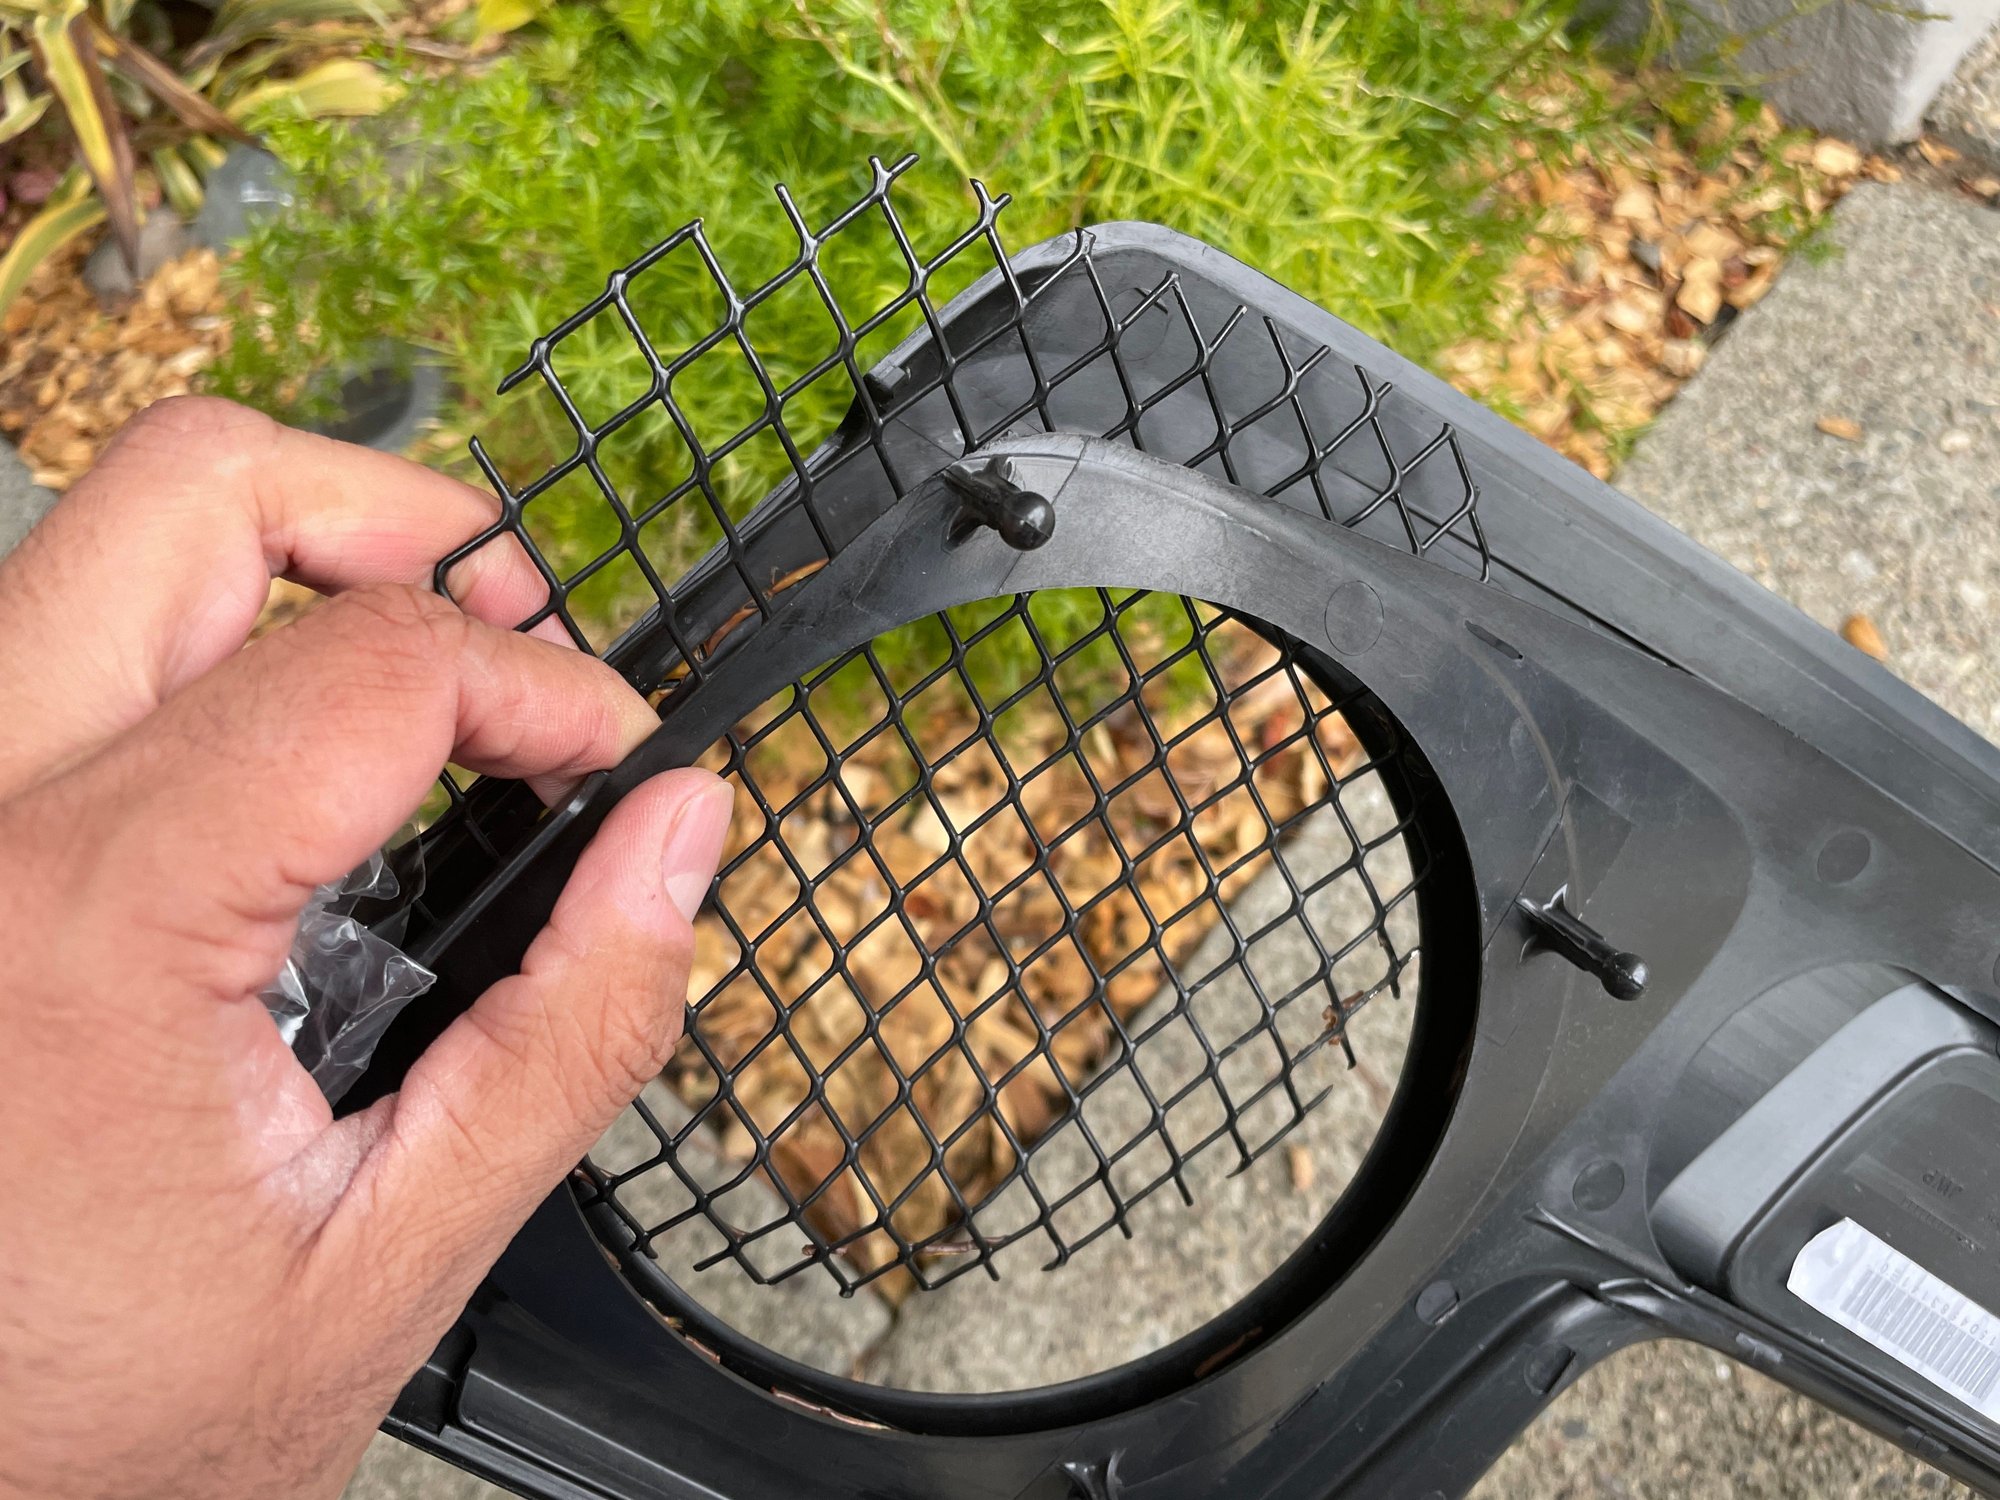
Engine cover (8 mounting points [4 on each fan])
Fans (3 mounting points per fan)
Air Inlet Duct (2 mounting points)
This is key, because it will ease removal of all these parts on subsequent oil changes.
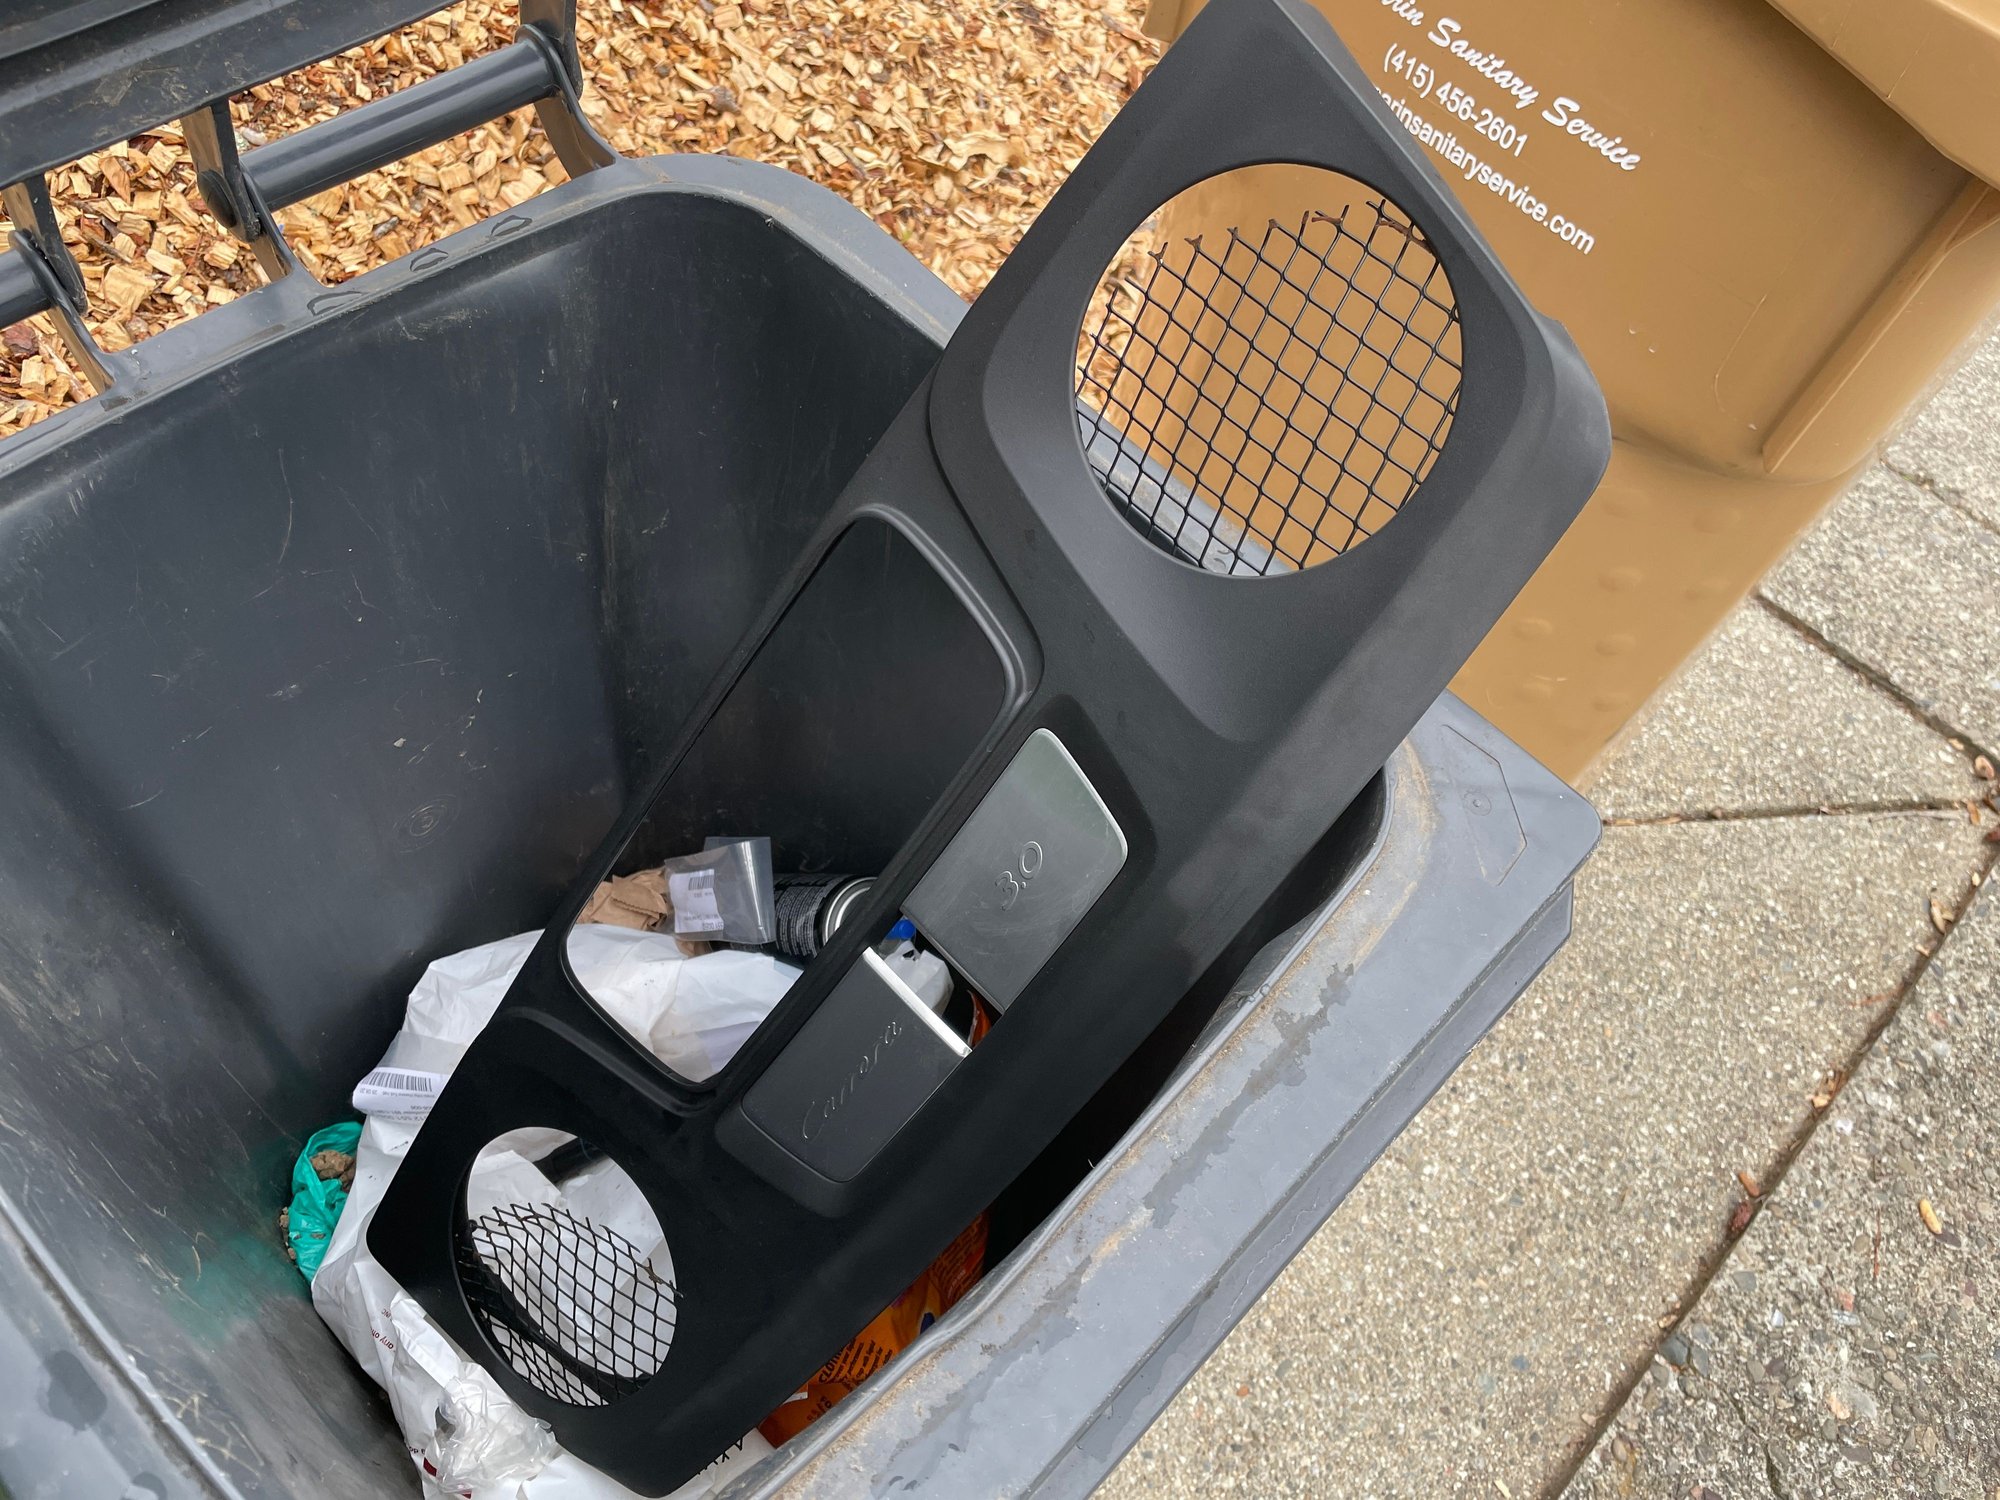
This first time I did this, the tabs within the rubber grommets were so stuck, the engine cover would absolutely not come out. Lifting up on the engine cover actually led to it separating from itself and getting destroyed!
German engineering at its finest. This cover is fragile and can easily separate. Do not force.
Hasta la vista baby. $239 down the drain, and the thrill of saving money on my first oil change up in smoke.
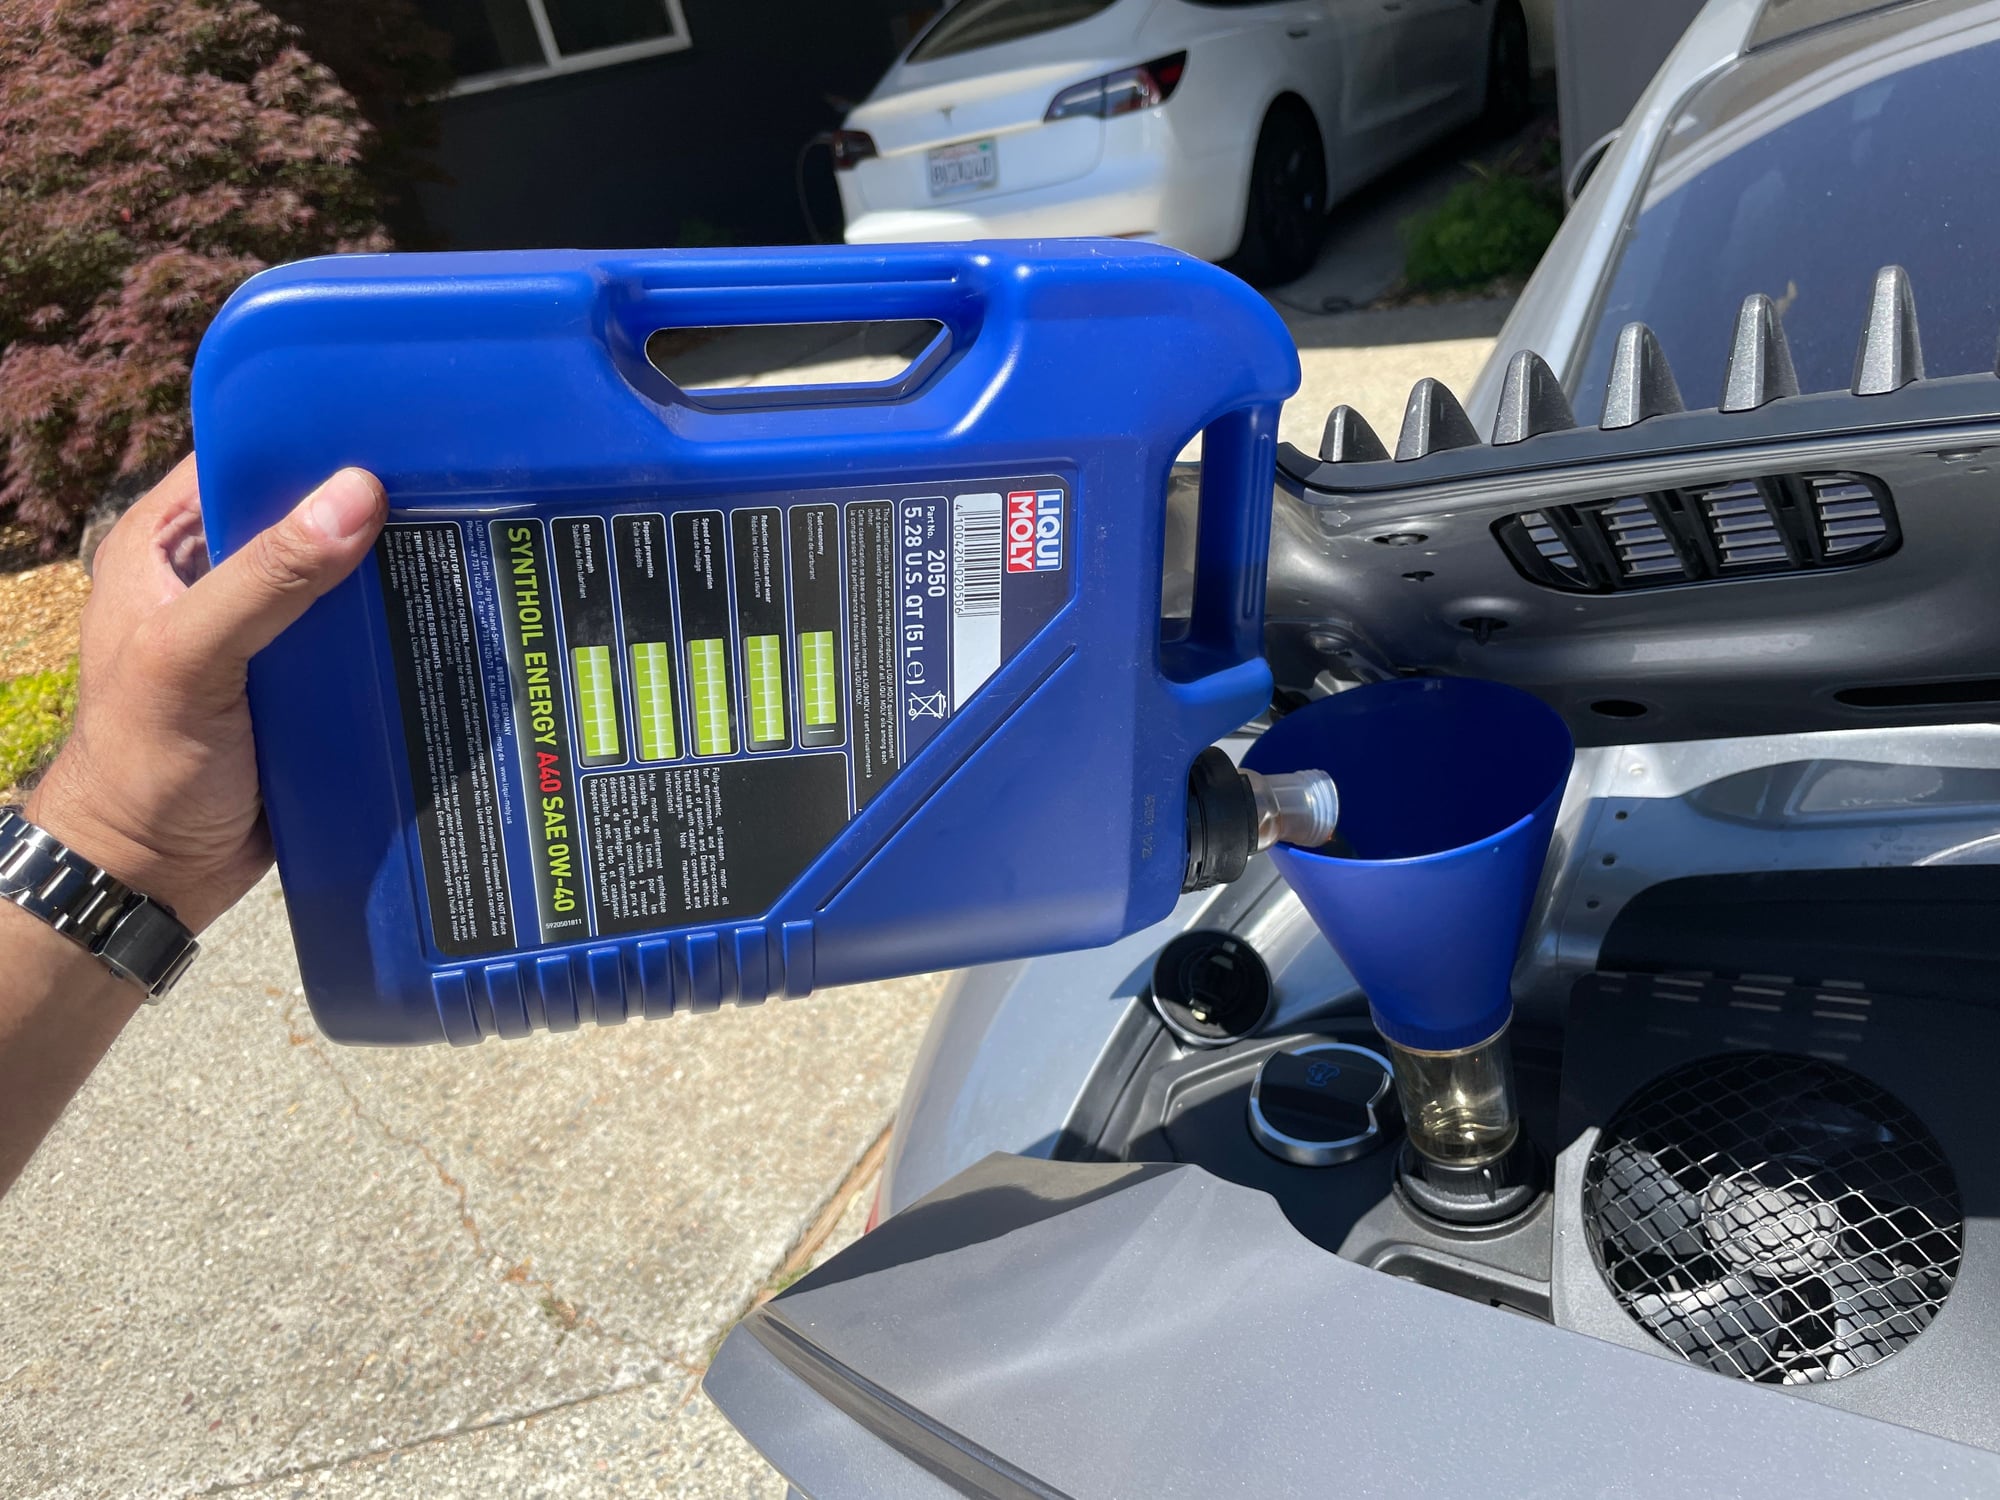
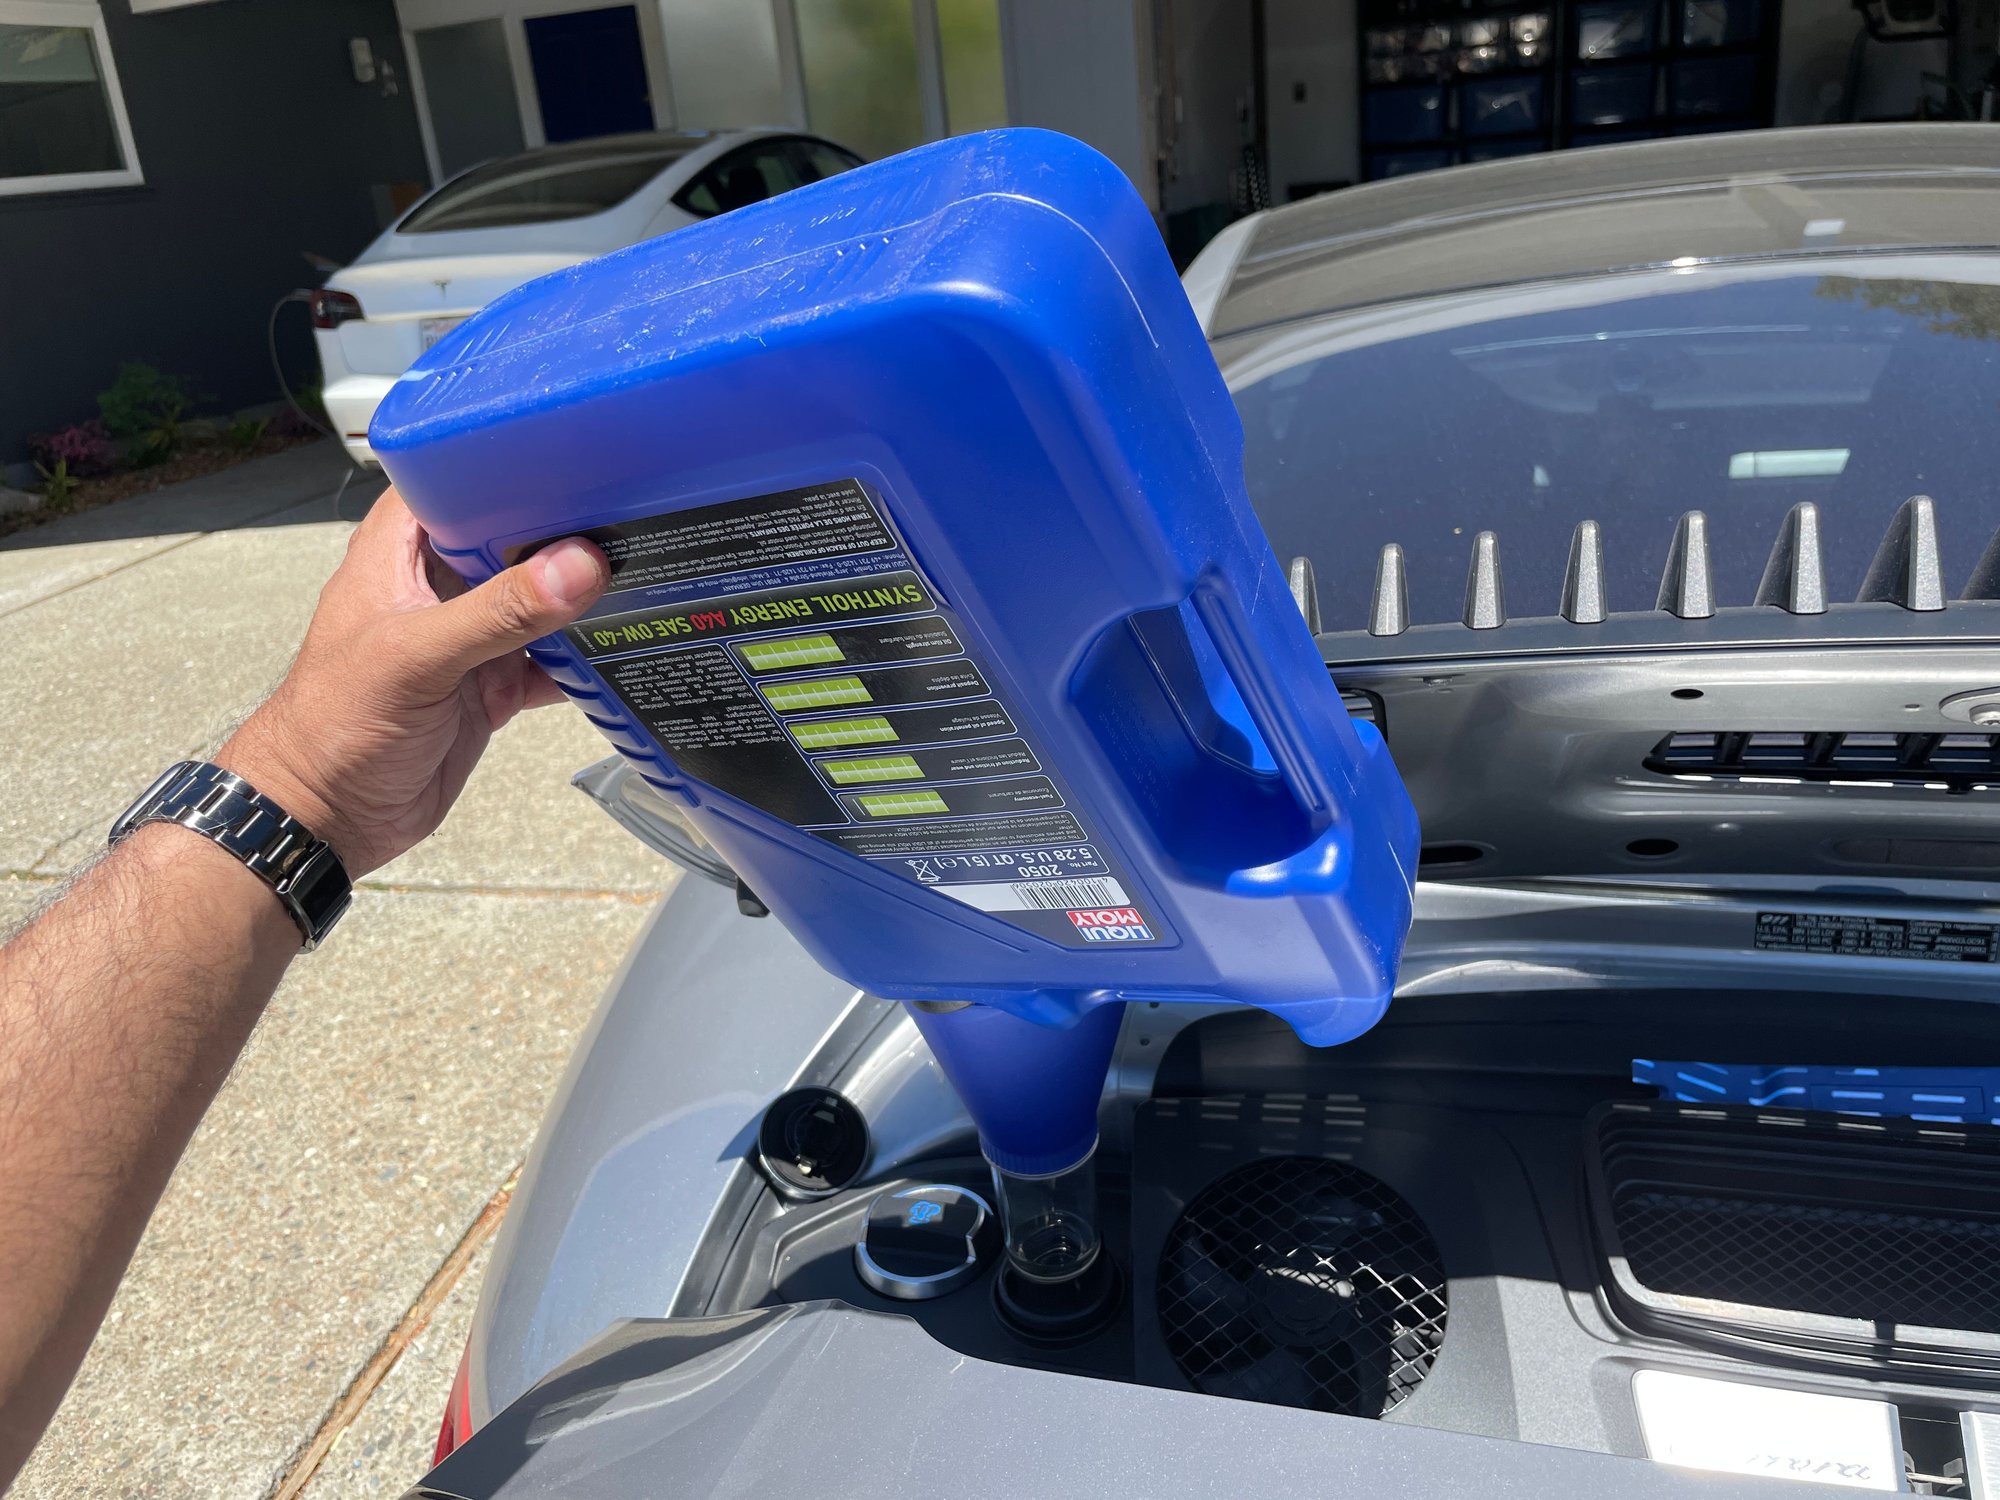
Orient in this way to get all the oil out. Why such a detail? You need to make sure your count remains accurate in how much oil you are adding in order to avoid overfilling.
Thanks to all on rennlist. Hope these pointers help!
UPDATE:
Ok guys,
Was thinking about this more, and just had to confirm.
THERE ARE NO CLIPS TO REMOVE AT ALL.
EVERYTHING FOLDS OUT OF THE WAY.
You don't even have to unmount the left fan.
1. Raise spoiler and pull off engine cover.
2. Unmount right fan.
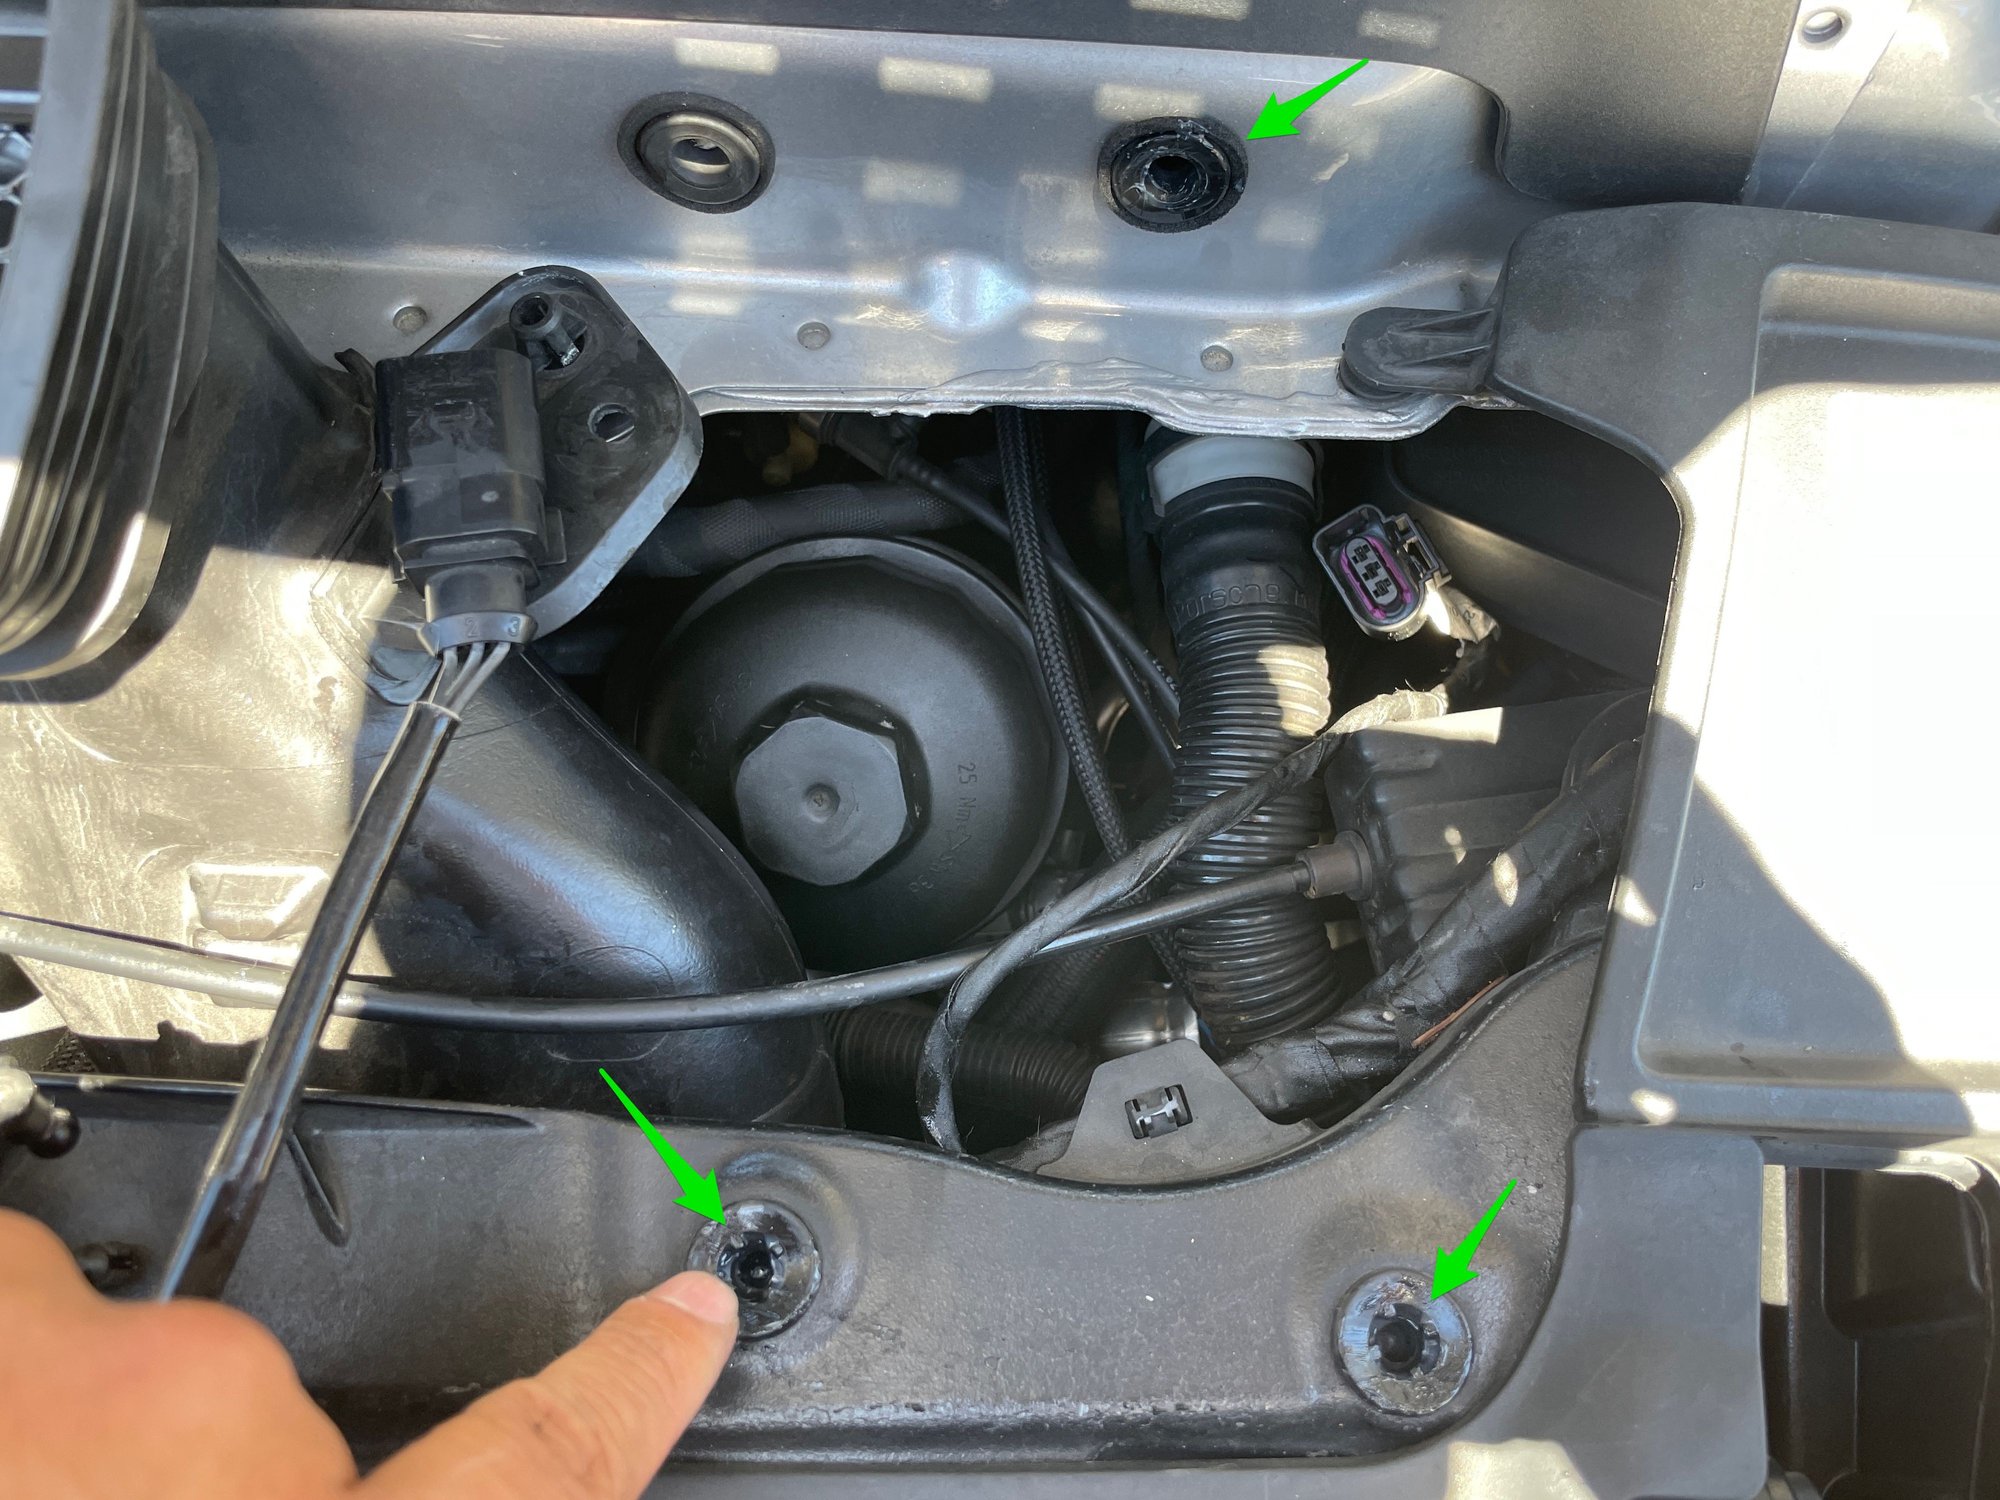
3. Disengage air duct inlet.
4. Unclip release cable from air duct inlet.
5. Pull up and fold both air inlet duct and fan over, granting access to the oil filter.
Air duct inlet and right fan folded over and out of the way. No wires unhooked, no clips removed. There�s just enough slack in the wiring to do the fold over shown above.
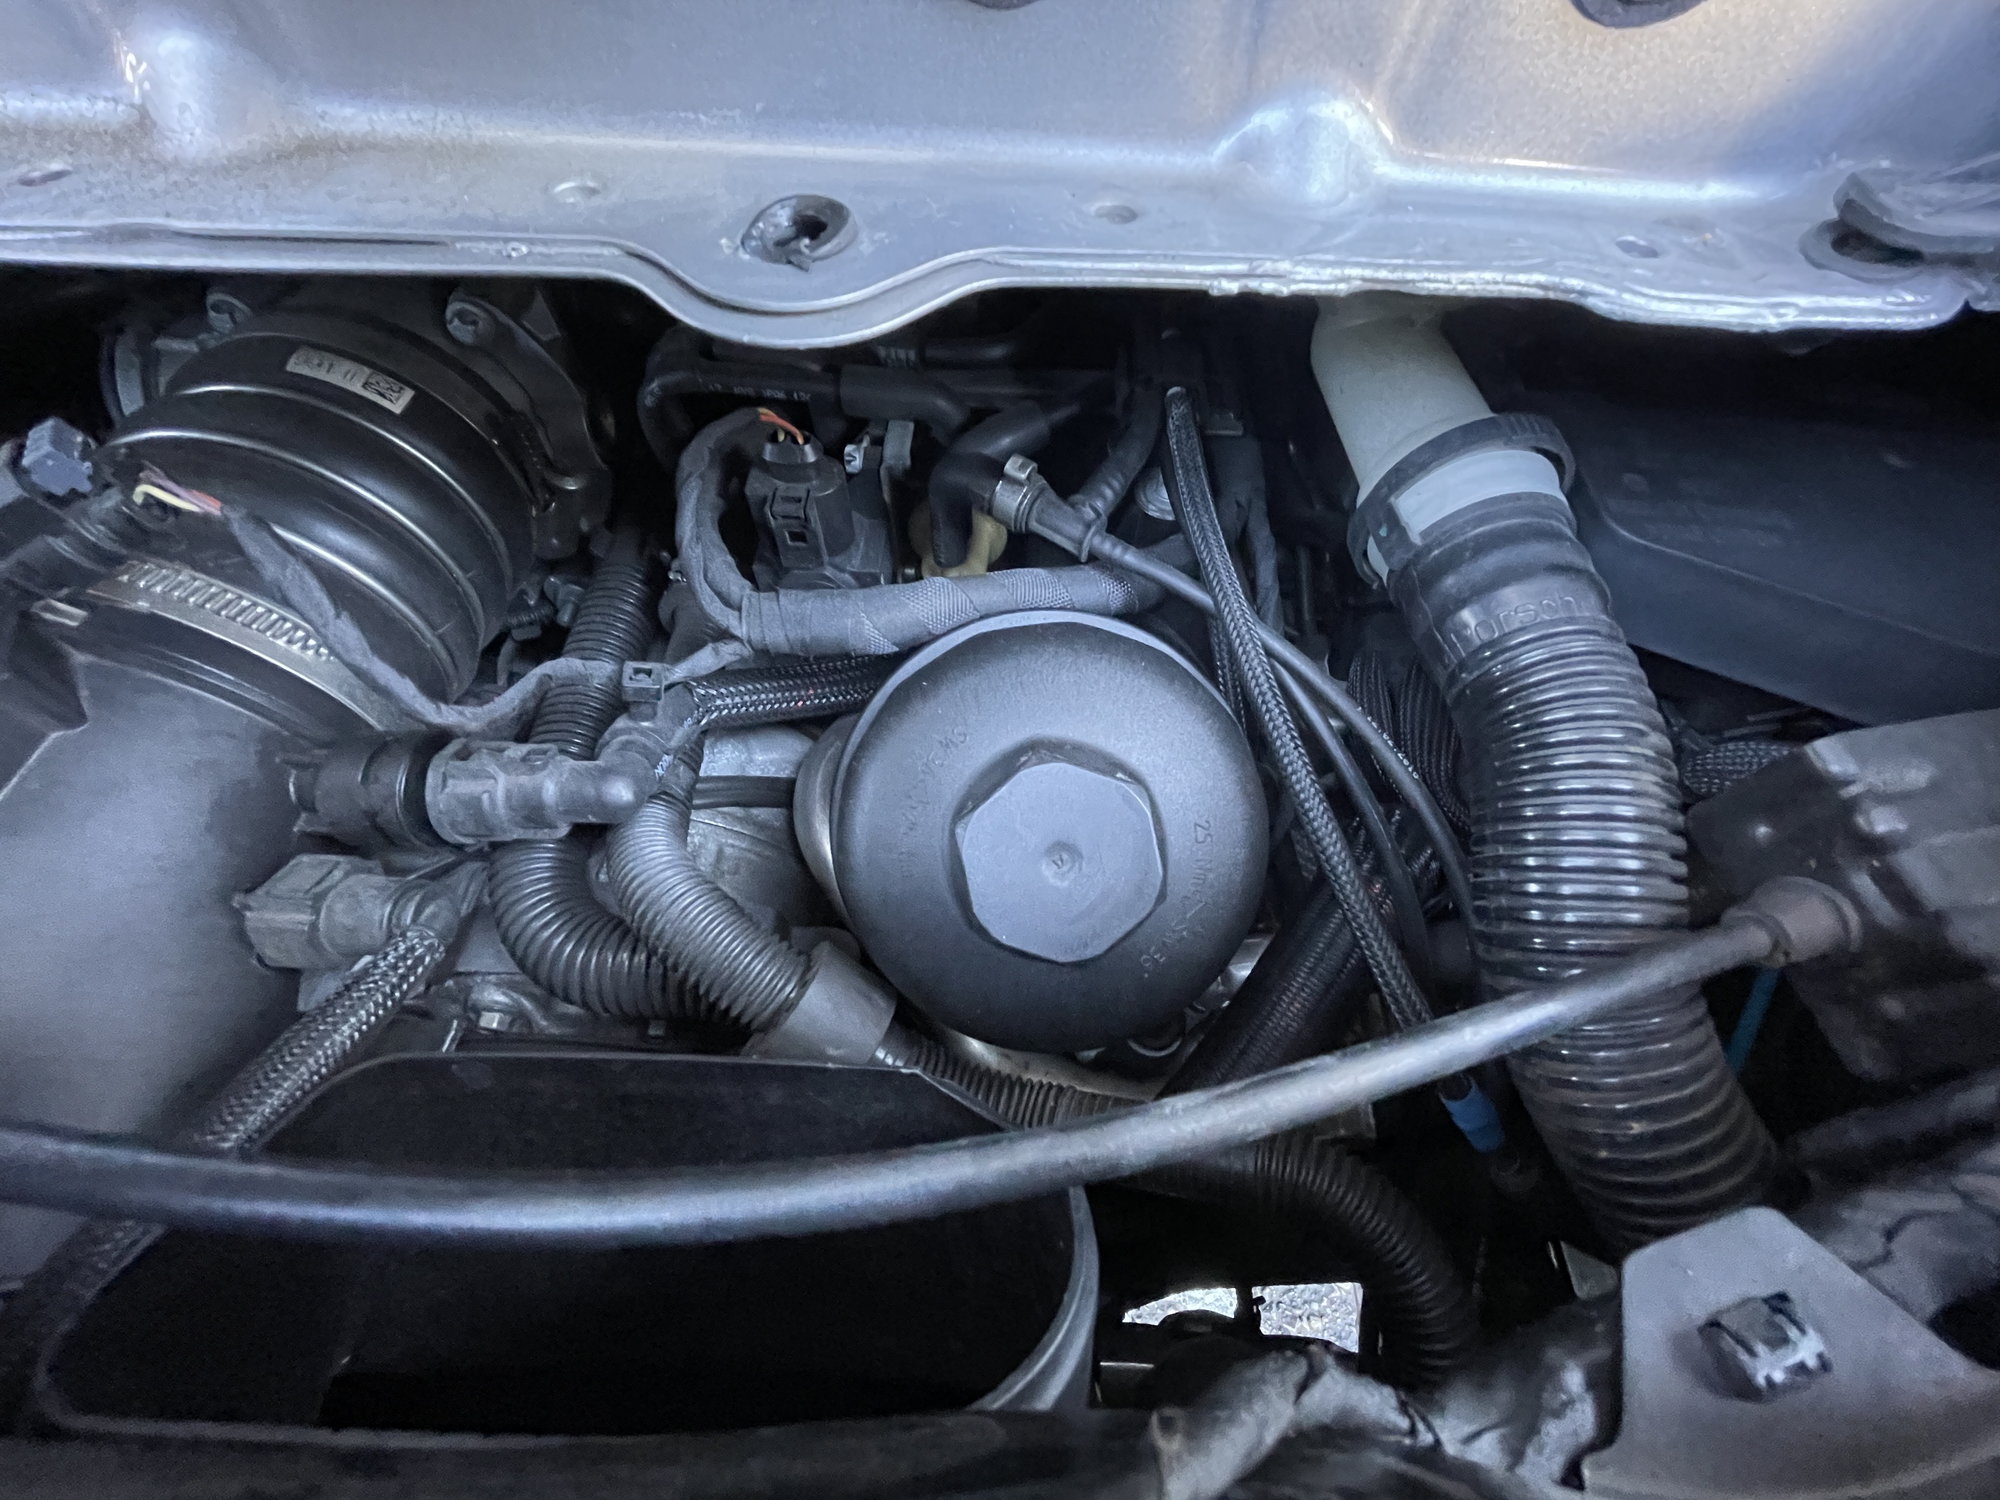
Oil filter easily accessible.
Makes so much more sense this way, has to be how the Porsche techs do it.
Enjoy your next oil change.
Just had my oil changed at the dealership. My tech pulled it all apart. Cover, both fans and air ducts. He sprayed the fans in all four corners before popping them back in. He felt his way through, without looking, while chatting to his buddy. LOL
Took him maybe all of 10-15 mins of actual work and the car sat up there for at least an hour...
Nice write up though. Makes me want to change my own oil next time.. Thanks!
It could be worse having worked on a neighbor's C7 Corvette.
As yours is a 991.2, on a 991.1 which is nearly 100% similar, we do not have all those clips on the center tubing. Also, the way the grills mount in the engine cover seems to be different.
Did my yearly oil service yesterday and used the "no unclipping" method described....worked a charm! Just removed the fans from their mounts, all cables/plugs remain in place, and then lifted out the ducting, turned it over along with the right side fan and the oil filter was fully exposed. Appreciate the info!
Many thanks to the original poster/thread starter [Devtec] and others who added their own experiences and tips to this thread. I own a 2017 C2S and am about to do my first oil and filter change, since my car is now beyond its Porsche warranty period including the CPO warranty extension.
I've printed off screenshots of the original posters summary [as updated and confirmed] and a couple of the photos that others posted to aid me in doing my own.
I did the oil and filter change yesterday afternoon, and everything went very smoothly using the descriptions and photos posted in this thread. I raised the spoiler, covered it with a large towel, then popped off the fan cover, the fans [mine only have one male ball-end post that mates with a grommet on the car body at the front of the fans, and two such ball end posts that snap into the body of the car at the rear], then removed the cable from the air duct and then removed and flipped the air duct as described and shown in the photos. No issues at all accessing the oil filter. I stuffed a couple of thick paper towels around the oil filter housing but they were not needed as zero oil spilled.
I raised the back end of the car and supported it on Rhino Ramps designed to hold a heavy pickup truck.
I used a molded plastic combination oil drain pan and storage container which can hold 12.5 quarts, and supported it using a cardboard box so that the dropping stream of oil from the drain wouldn't splash as much. This is where a stubby tool like the recommended plastic drain plug tool available from FCP and other vendors is very handy for removal and installation of the plug with minimal vertical space to work. I intentionally chose not to open the oil filler cap or loosen the filter cap when I removed the drain plug so as to slow the rate of oil flow to minimize any splashing, and that worked very well. After most of the oil had drained but was still flowing out, I loosened the oil filter cap and let everything drain for several more minutes until the flow out of the oil pan drain was a slow dribble. Then I removed the oil filter cap which came off with the filter firmly stuck to the bottom of the housing.
The hardest part of the job for me was pushing the new oil filter onto the fitting at the bottom of the oil filter housing. The filter I used was the same Mahle part number as the dealership had installed at the last oil service.
The new drain plug went in so easy with so little torque required that I wonder if it will stay. There was barely any feedback as it clicked into seated position. But no leaks!
I measured the amount of oil that was drained by transferring the used oil to empty 5 quart jugs from earlier oil changes on my other cars. The total was a little over 9 quarts.
For reassembly, I wiped a very light coating of silicone grease on all of the ball-end fittings that are designed to pop / snap into their respective grommets in the car bodywork. All of them were very easily re-inserted.
Thanks, again, to those who posted further encouragement to me, and reminded me to be sure to put the cable back into the engine air inlet duct -- I had forgotten to do so, but it was only about a 3 minute job to fix, most of that time was maneuvering the fan shroud off and on without removing the hard plastic trapezoidal ring within the outer lip of the rubber bellows.
I used my recently purchased iCarsoft POR V3.0 [after updating it] to reset the service reminder. It's a bit finicky in that it "demands" entry of year/month/date/hour/minute before it will accept the data to reset the oil service monitor.
Last edited by DR911s; 04-13-2023 at 04:49 PM.
Reason: Additional information
Curious to know where people are sourcing their oil, filter, drain plug, and O-ring from. I saw this kit on FCP euro (link below) which seems to have everything you would need.
Curious to know where people are sourcing their oil, filter, drain plug, and O-ring from. I saw this kit on FCP euro (link below) which seems to have everything you would need.
Oil: Walmart. (except my 992 GT3, it uses a special oil that Walmart does not carry)
Parts: I use OEM parts from Suncoast. https://www.suncoastparts.com/
Many thanks to the original poster/thread starter and others who added their own experiences and tips to this thread. I own a 2017 C2S and am about to do my first oil and filter change, since my car is now beyond its Porsche warranty period including the CPO warranty extension.
I've printed off screenshots of the original posters summary [as updated and confirmed] and a couple of the photos that others posted to aid me in doing my own.
Take your time and don�t yank on anything and it will work out well. Don�t forget to snap the cable back into the groove before you close the lid.
I purchase two 5 liter containers of oil for my 2017 991.2 Carrera S. I pour out one liter of oil from one container into an empty one liter bottle. That leaves me 9 liters of oil for the change. I drain the oil when hot and the Porsche is level, and let it drain overnight. Refilling with the 9 liters puts me right at the halfway mark of the lower and upper limits on the oil level display.

 07-30-2022, 12:48 AM