When you click on links to various merchants on this site and make a purchase, this can result in this site earning a commission. Affiliate programs and affiliations include, but are not limited to, the eBay Partner Network.
Yes, yet another oil change thread for the 991.2! But I wouldn't post this unless I thought it was truly useful.
First, many thanks to those who already created videos on this. I would never have tried without you!
However, there were a few things I always questioned, and have seen propagated in the forums and videos. I always felt that the techniques presented were a bit overly complicated, and had to believe there was a more elegant way of doing this job. I wondered, did Porsche techs really go through all these steps? (Prying out the plastic frame from the trapezoidal air inlet duct everytime? Prying off all those clips... everytime? This just did not seem possible to me in terms of design and durability.)
No need to remove plastic frame from accordion portion of air inlet duct.
No need to pry off all the fragile plastic mounting clips (except for one).
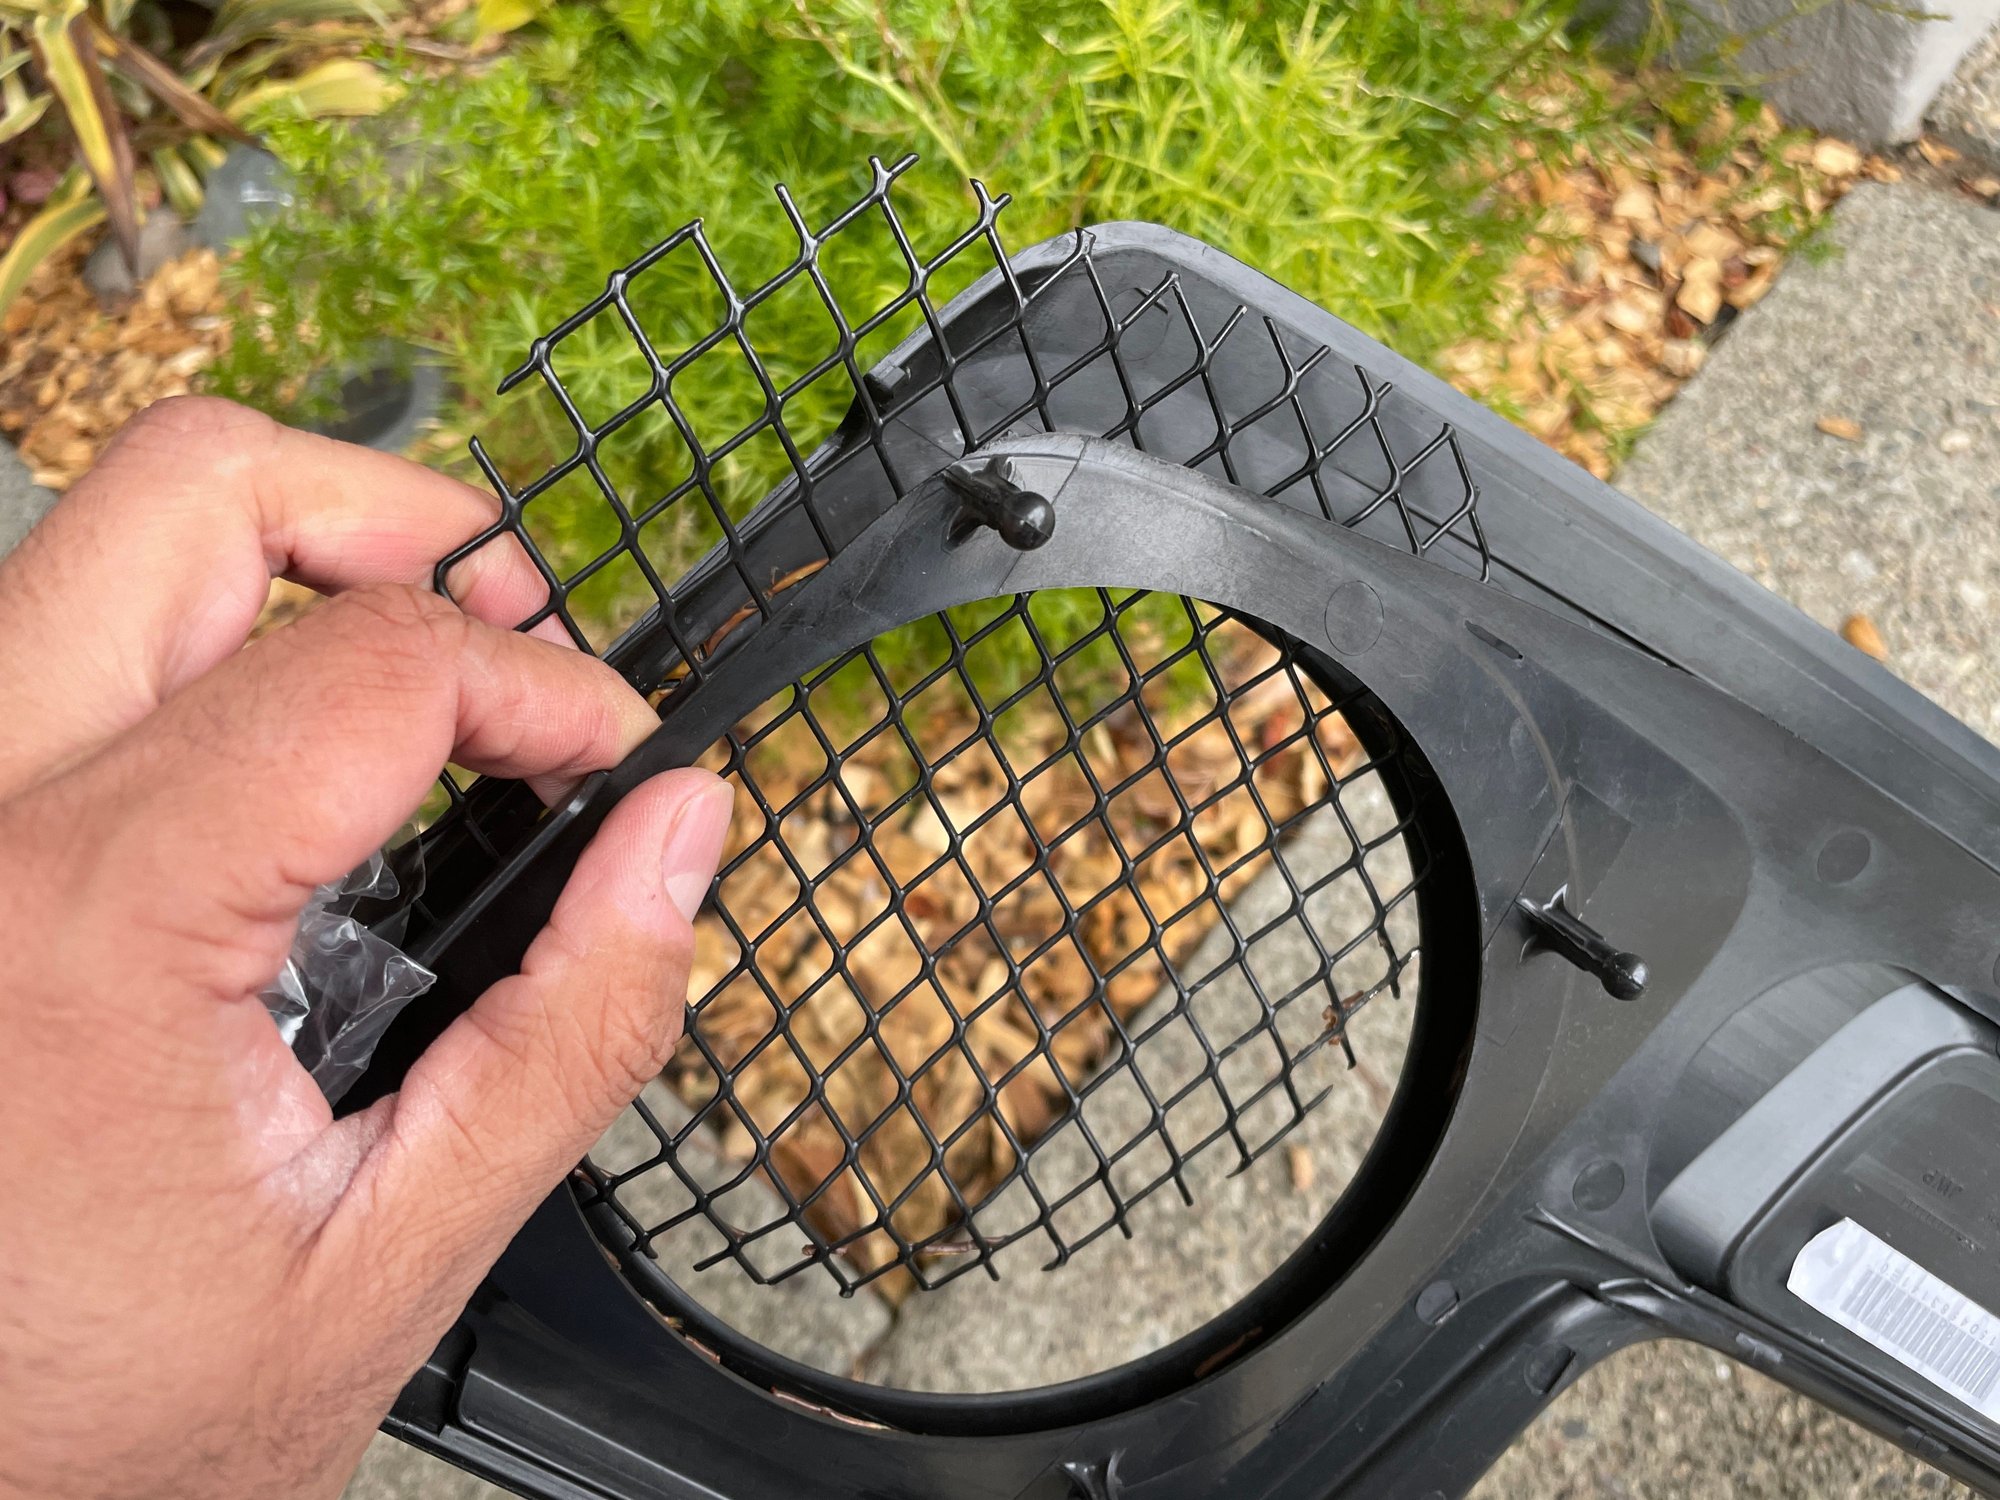
The first time I did this job, the heftier clips (composed of a Christmas tree and mounting post guide) broke despite being ultra careful.
I doubt they would stand up to repeated prying.
They have been impossible to find to replace (if anyone knows a part number, please let me know!!).
Lastly, prying them out is not even how they work!! You can simple depress a tab and slide the wiring harness housing off the rail portion of the mount.
The right fan and air inlet duct can be removed as a single unit and swung out of the way.
In fact, you may not even have to unmount the left fan as there may be room enough to pop off and slide out the air inlet duct.
A few more tips:
Place a dab of silicone lubricant in all press fit rubber grommet mounts.
Engine cover (8 mounting points [4 on each fan])
Fans (3 mounting points per fan)
Air Inlet Duct (2 mounting points)
This is key, because it will ease removal of all these parts on subsequent oil changes.
This first time I did this, the tabs within the rubber grommets were so stuck, the engine cover would absolutely not come out. Lifting up on the engine cover actually led to it separating from itself and getting destroyed!
German engineering at its finest. This cover is fragile and can easily separate. Do not force.
Hasta la vista baby. $239 down the drain, and the thrill of saving money on my first oil change up in smoke.
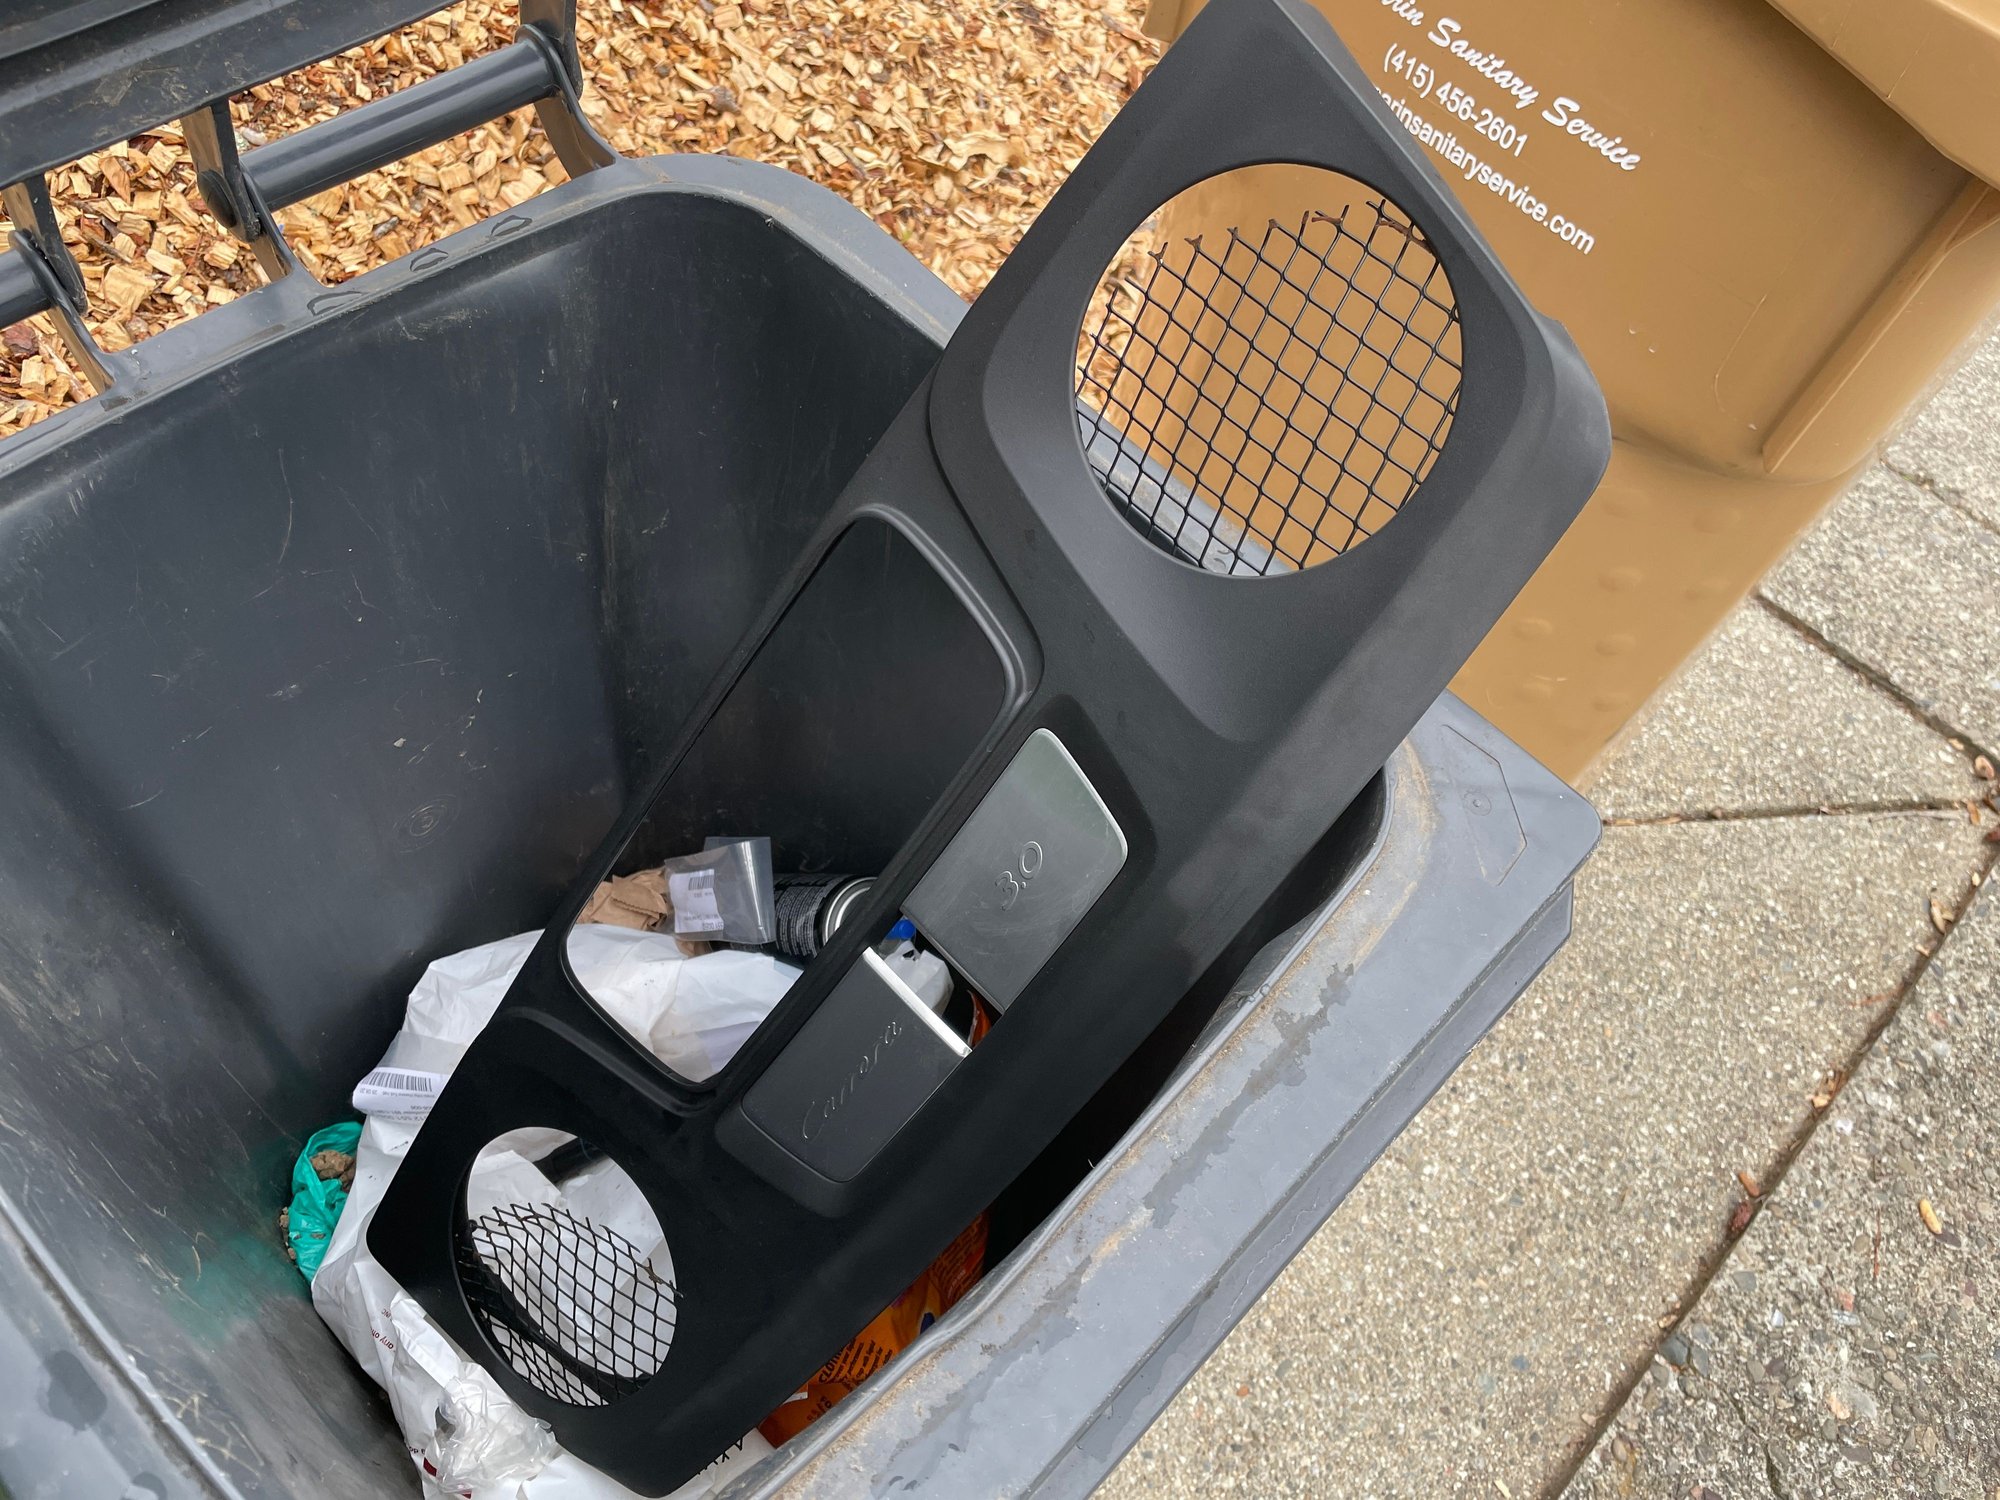
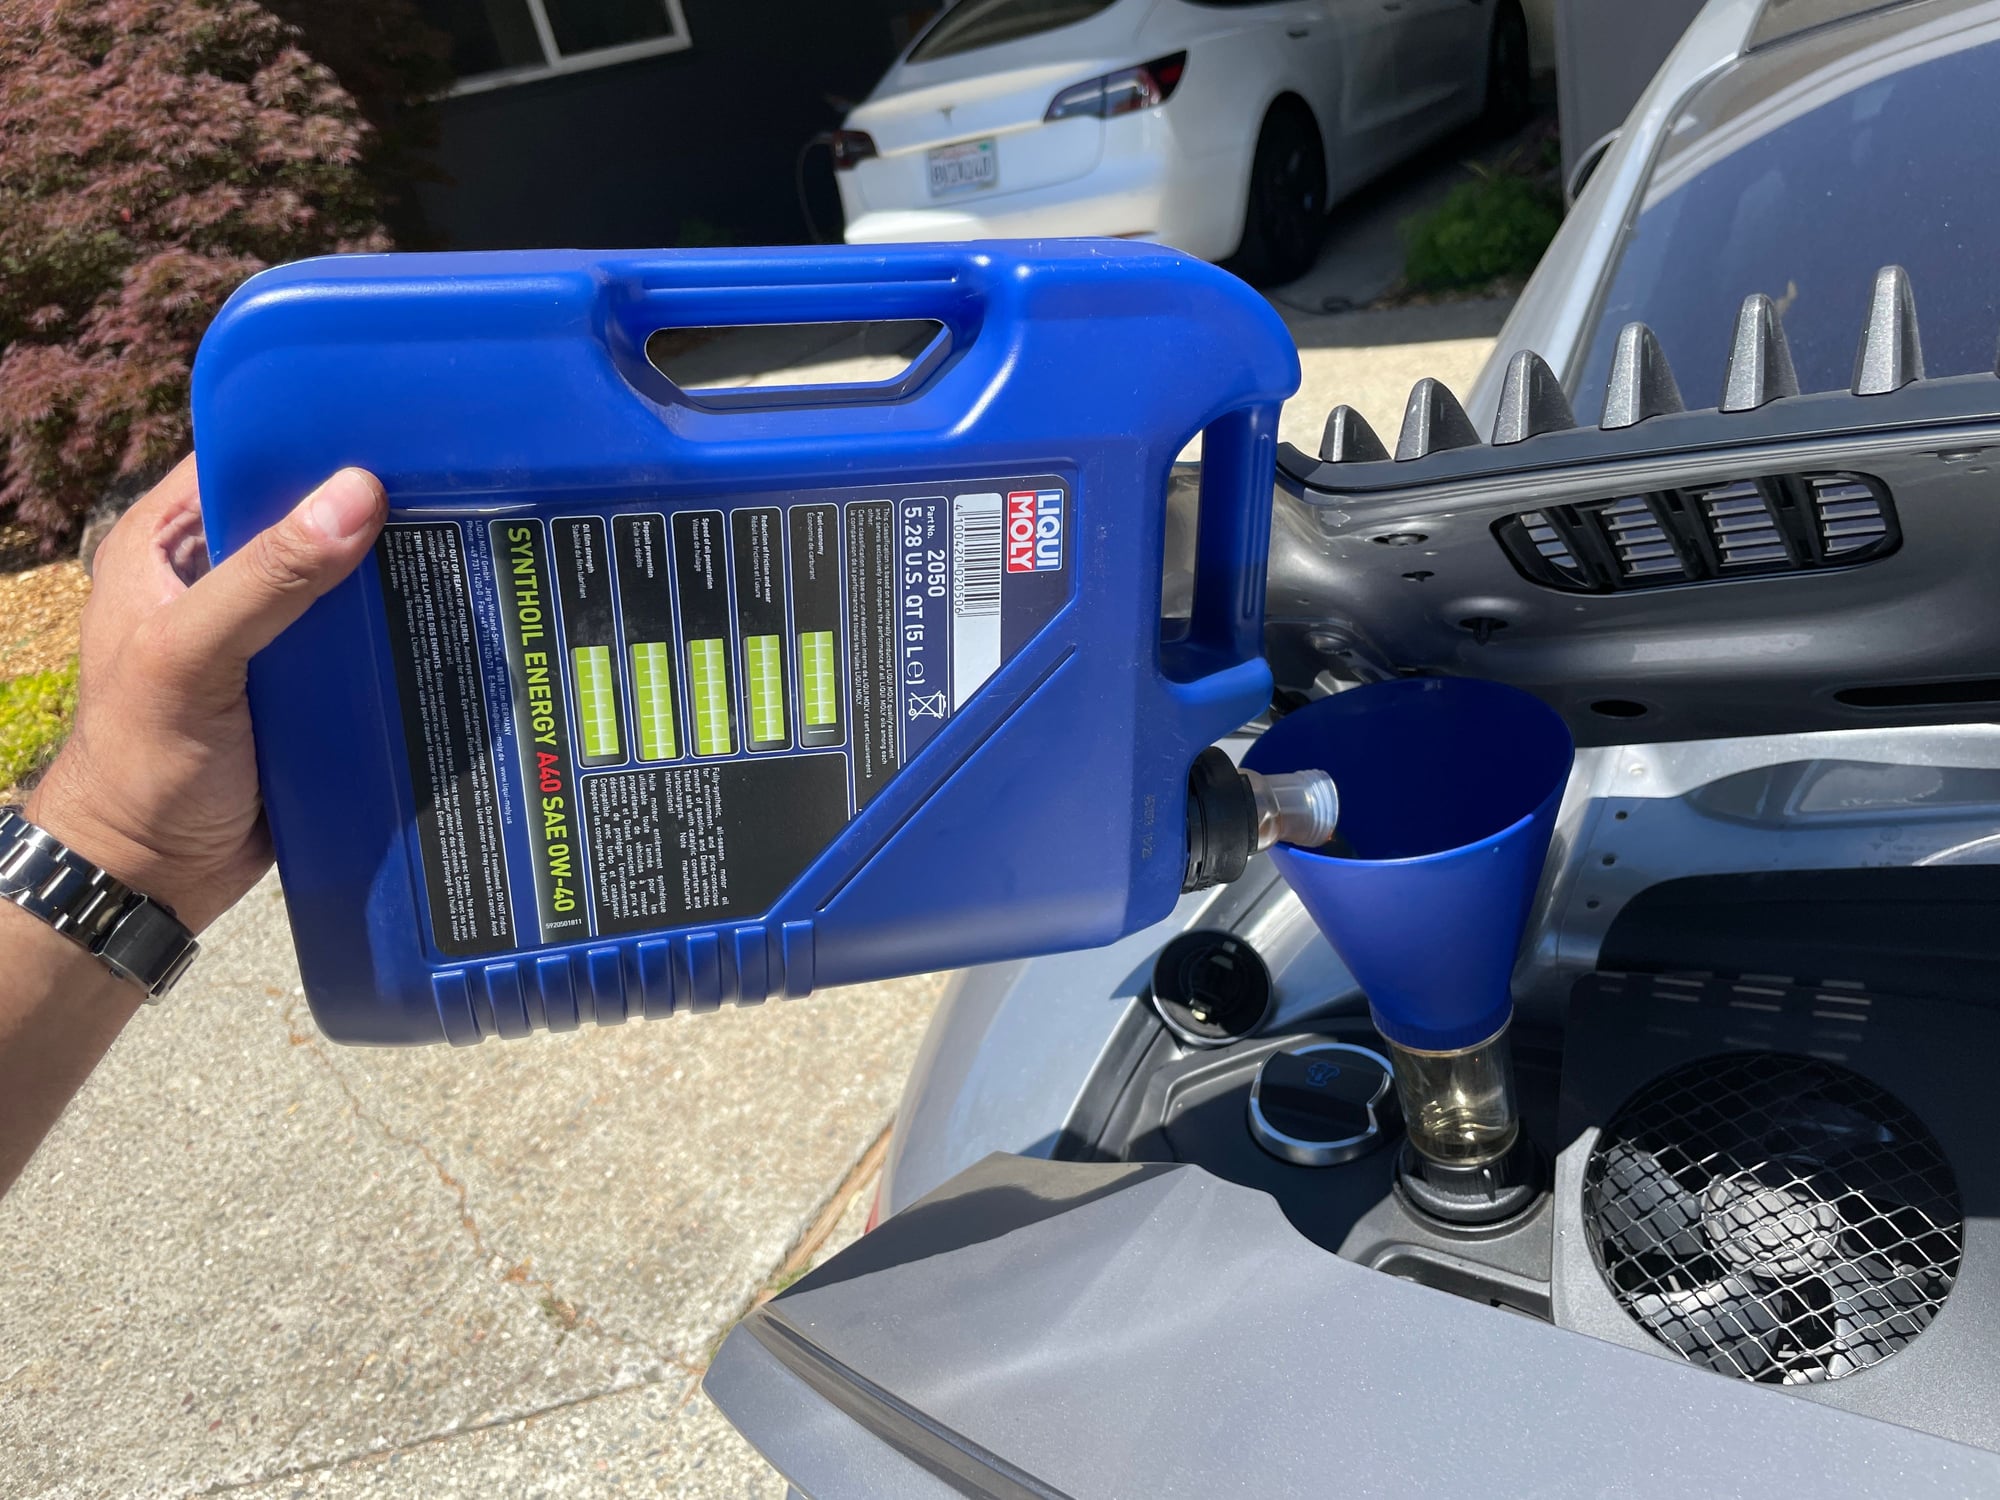
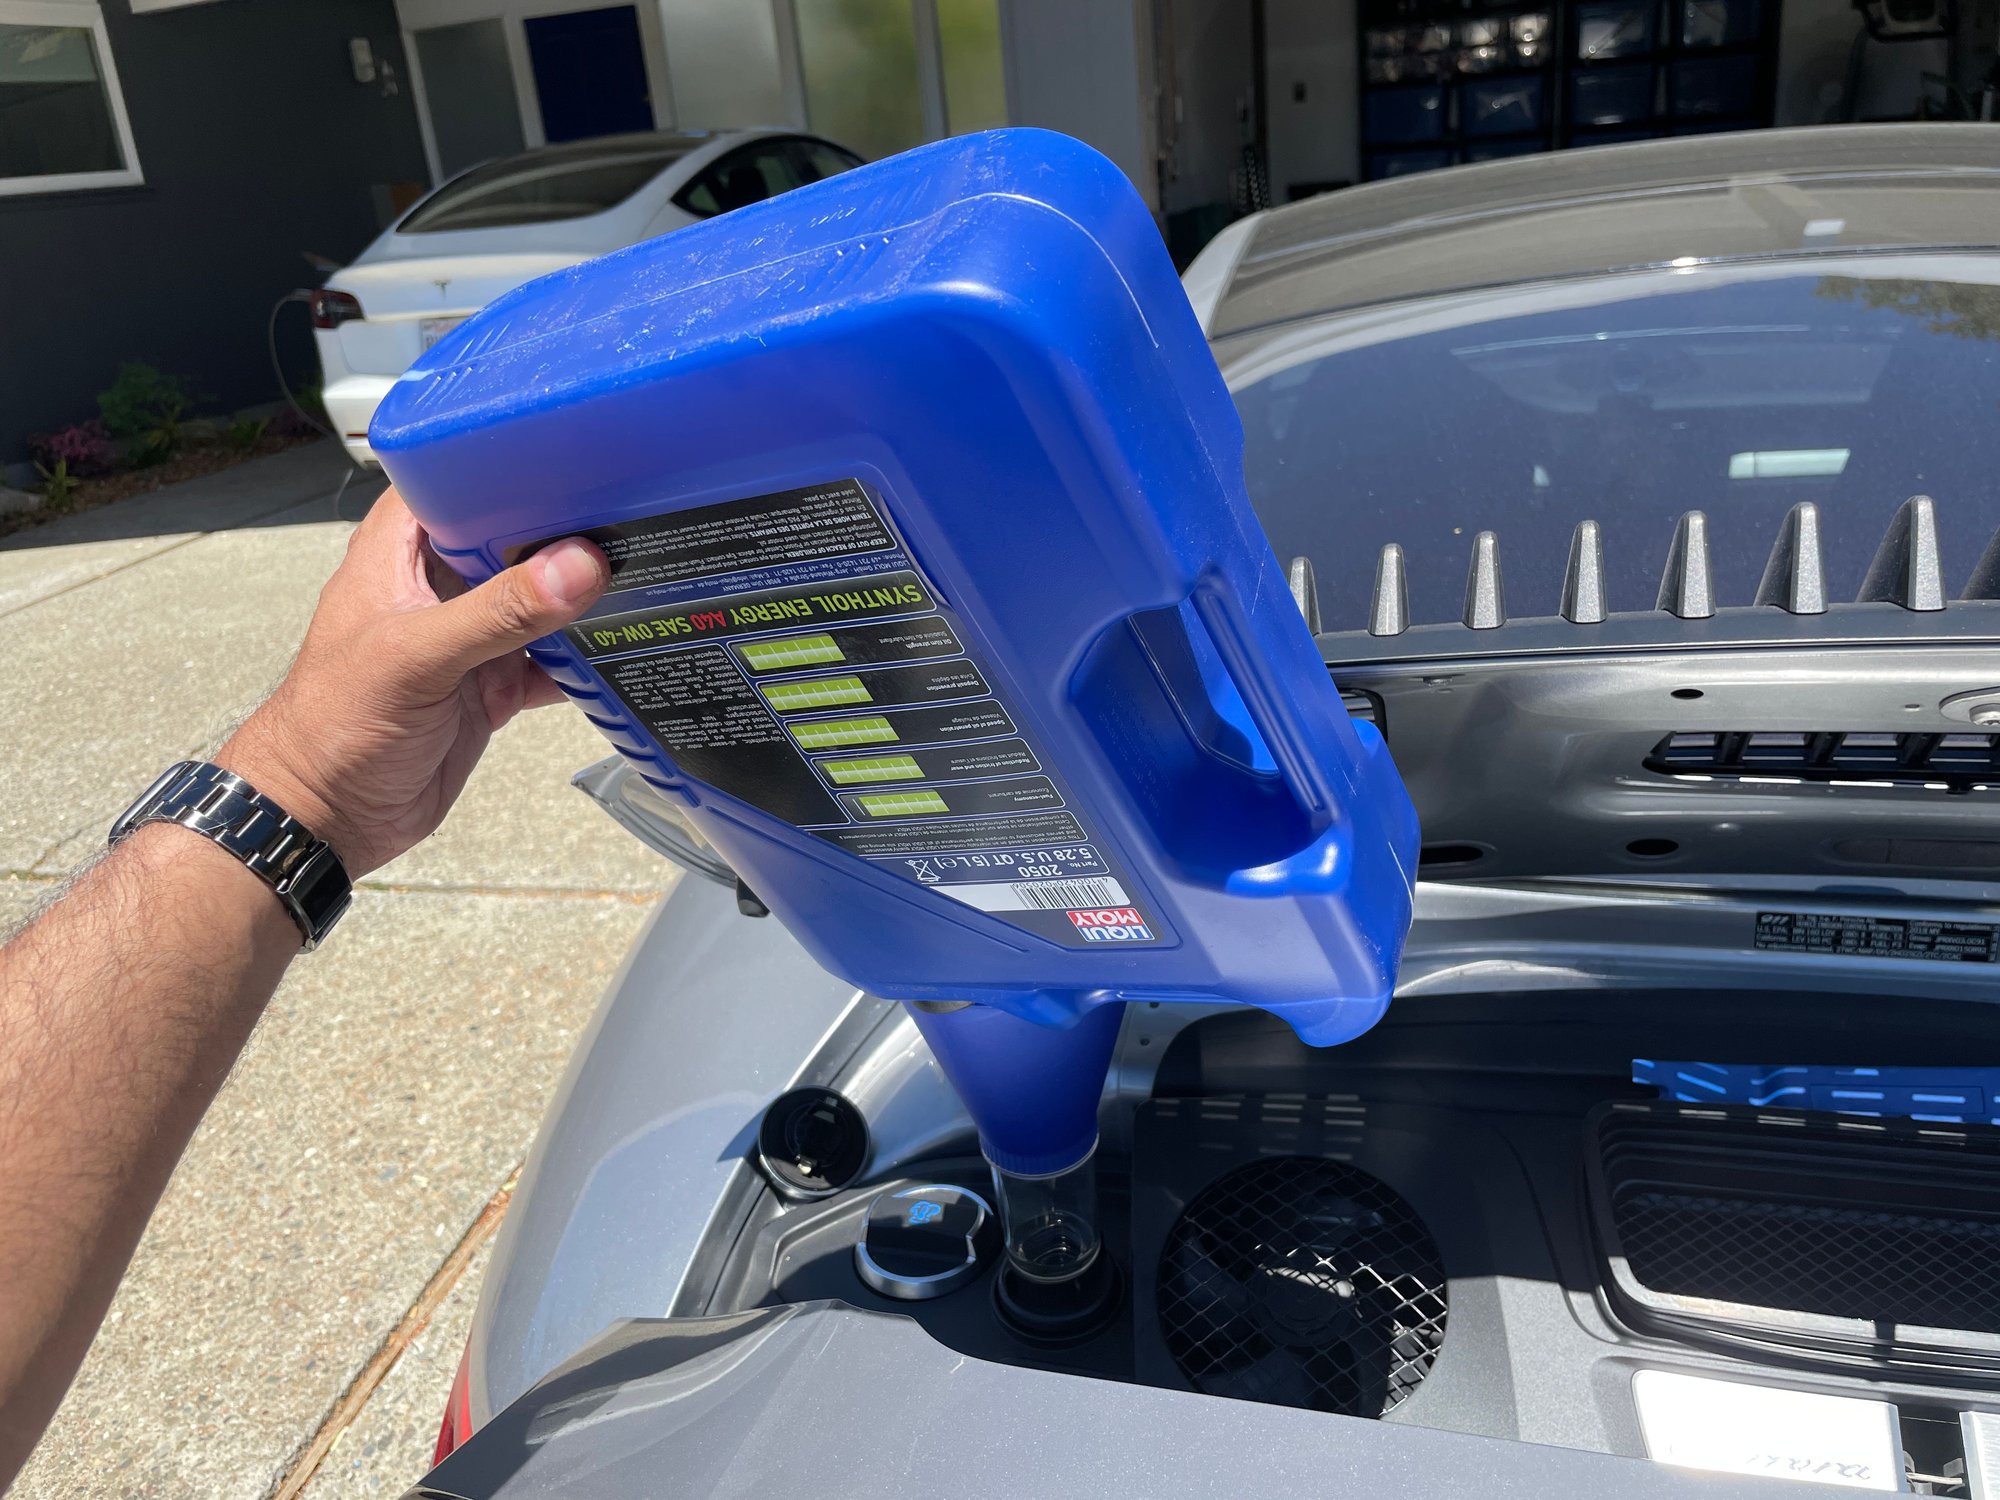
Orient in this way to get all the oil out. Why such a detail? You need to make sure your count remains accurate in how much oil you are adding in order to avoid overfilling.
Thanks to all on rennlist. Hope these pointers help!
UPDATE:
Ok guys,
Was thinking about this more, and just had to confirm.
THERE ARE NO CLIPS TO REMOVE AT ALL.
EVERYTHING FOLDS OUT OF THE WAY.
You don't even have to unmount the left fan.
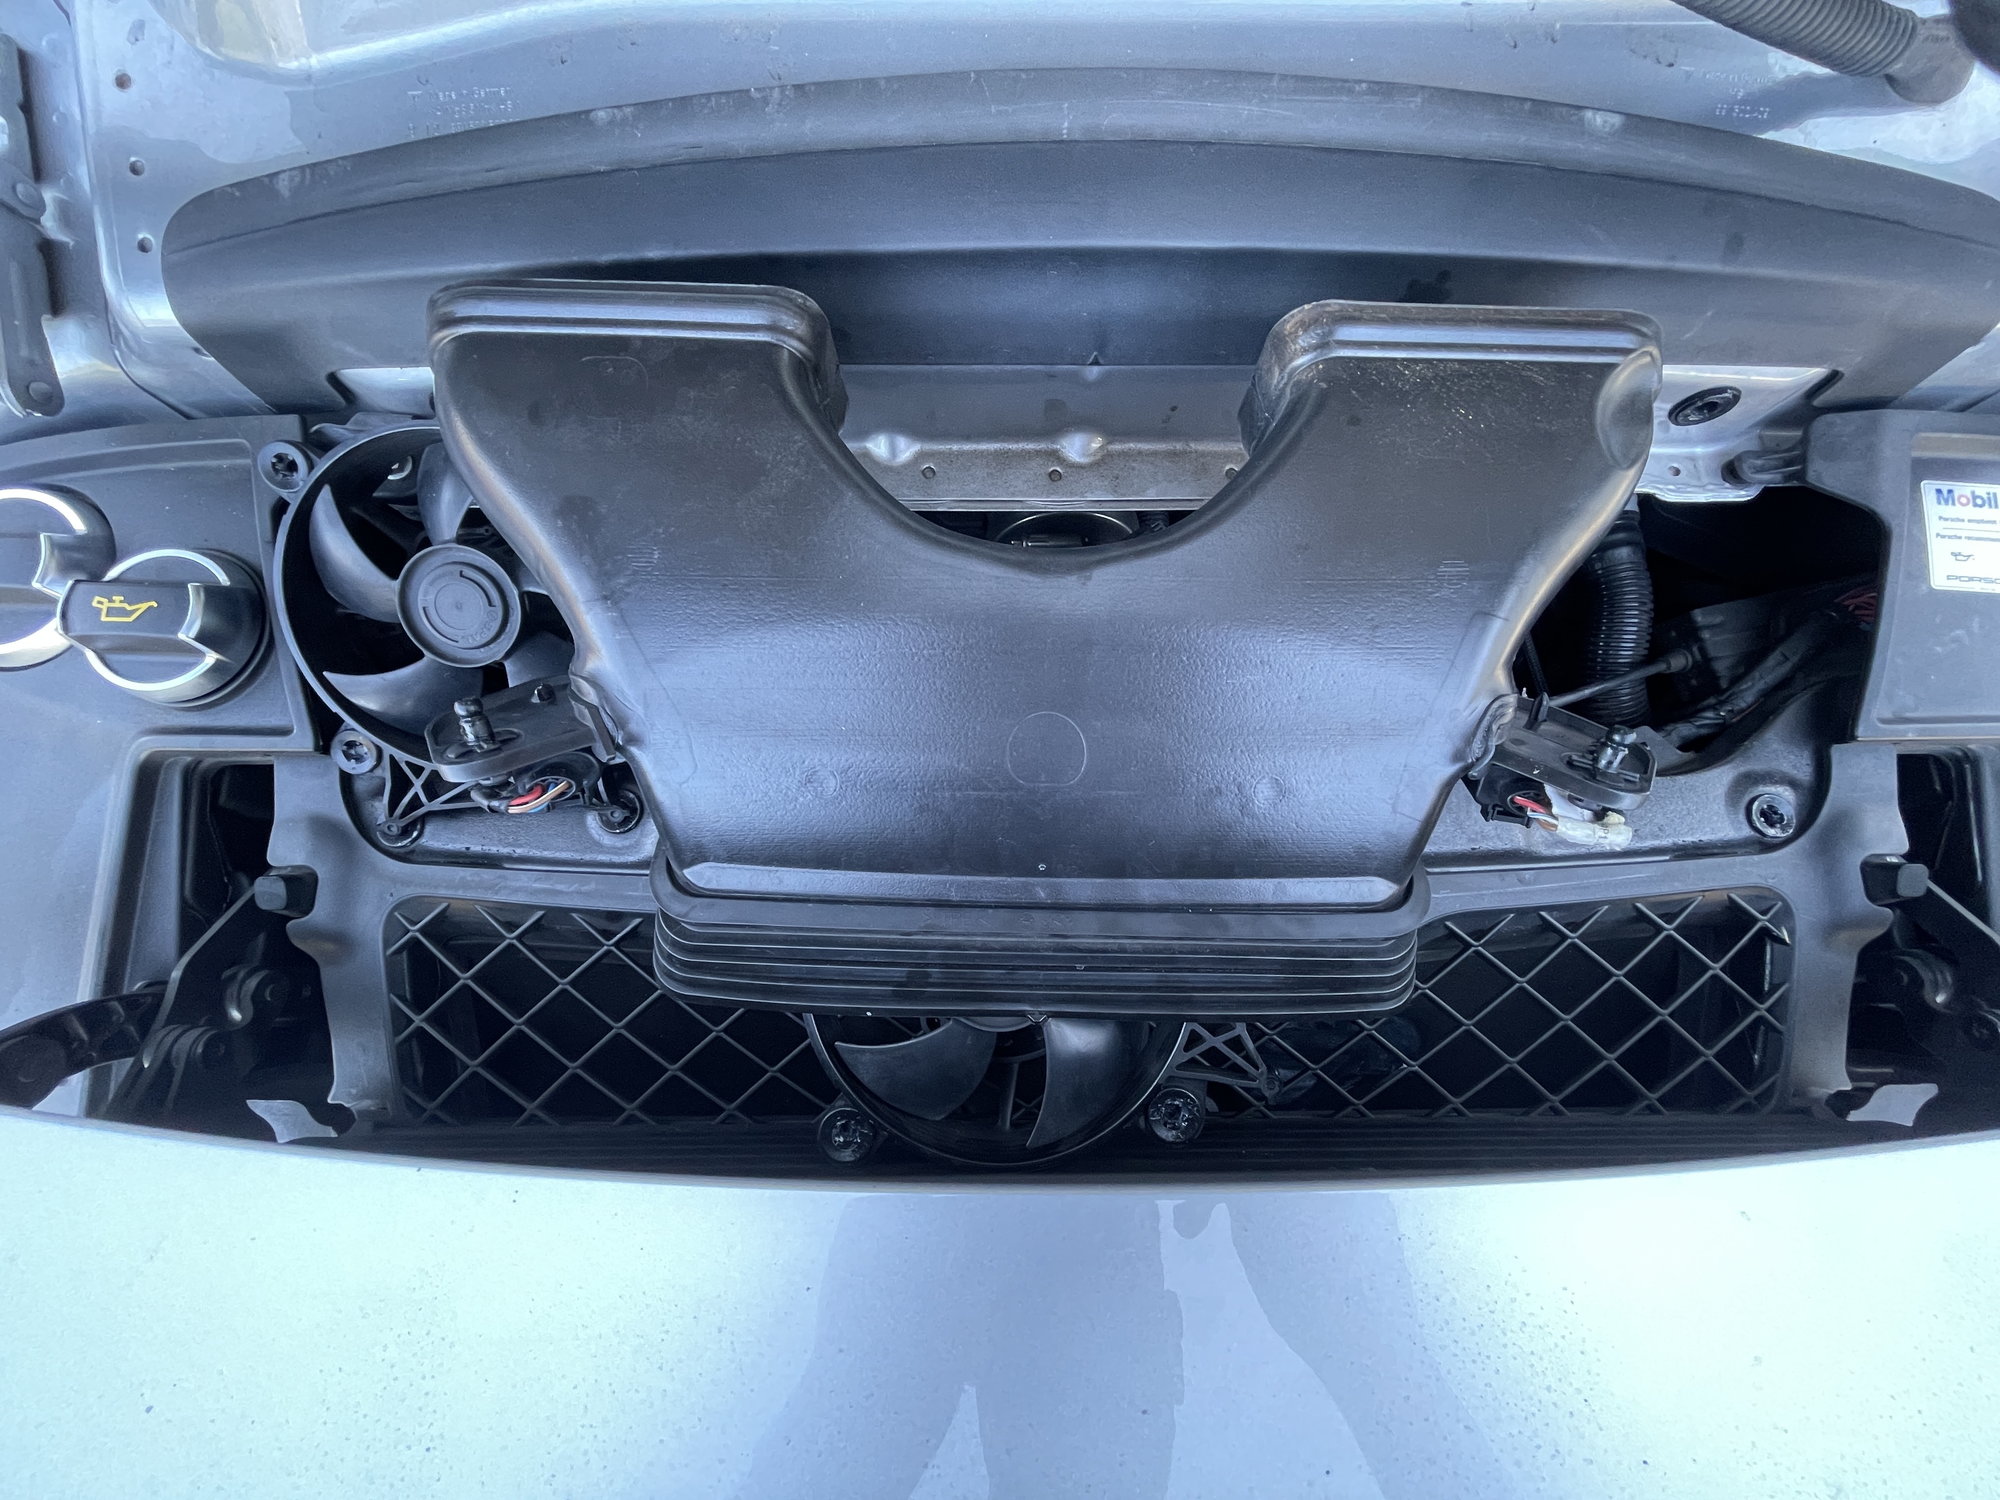
1. Raise spoiler and pull off engine cover.
2. Unmount right fan.
3. Disengage air duct inlet.
4. Unclip release cable from air duct inlet.
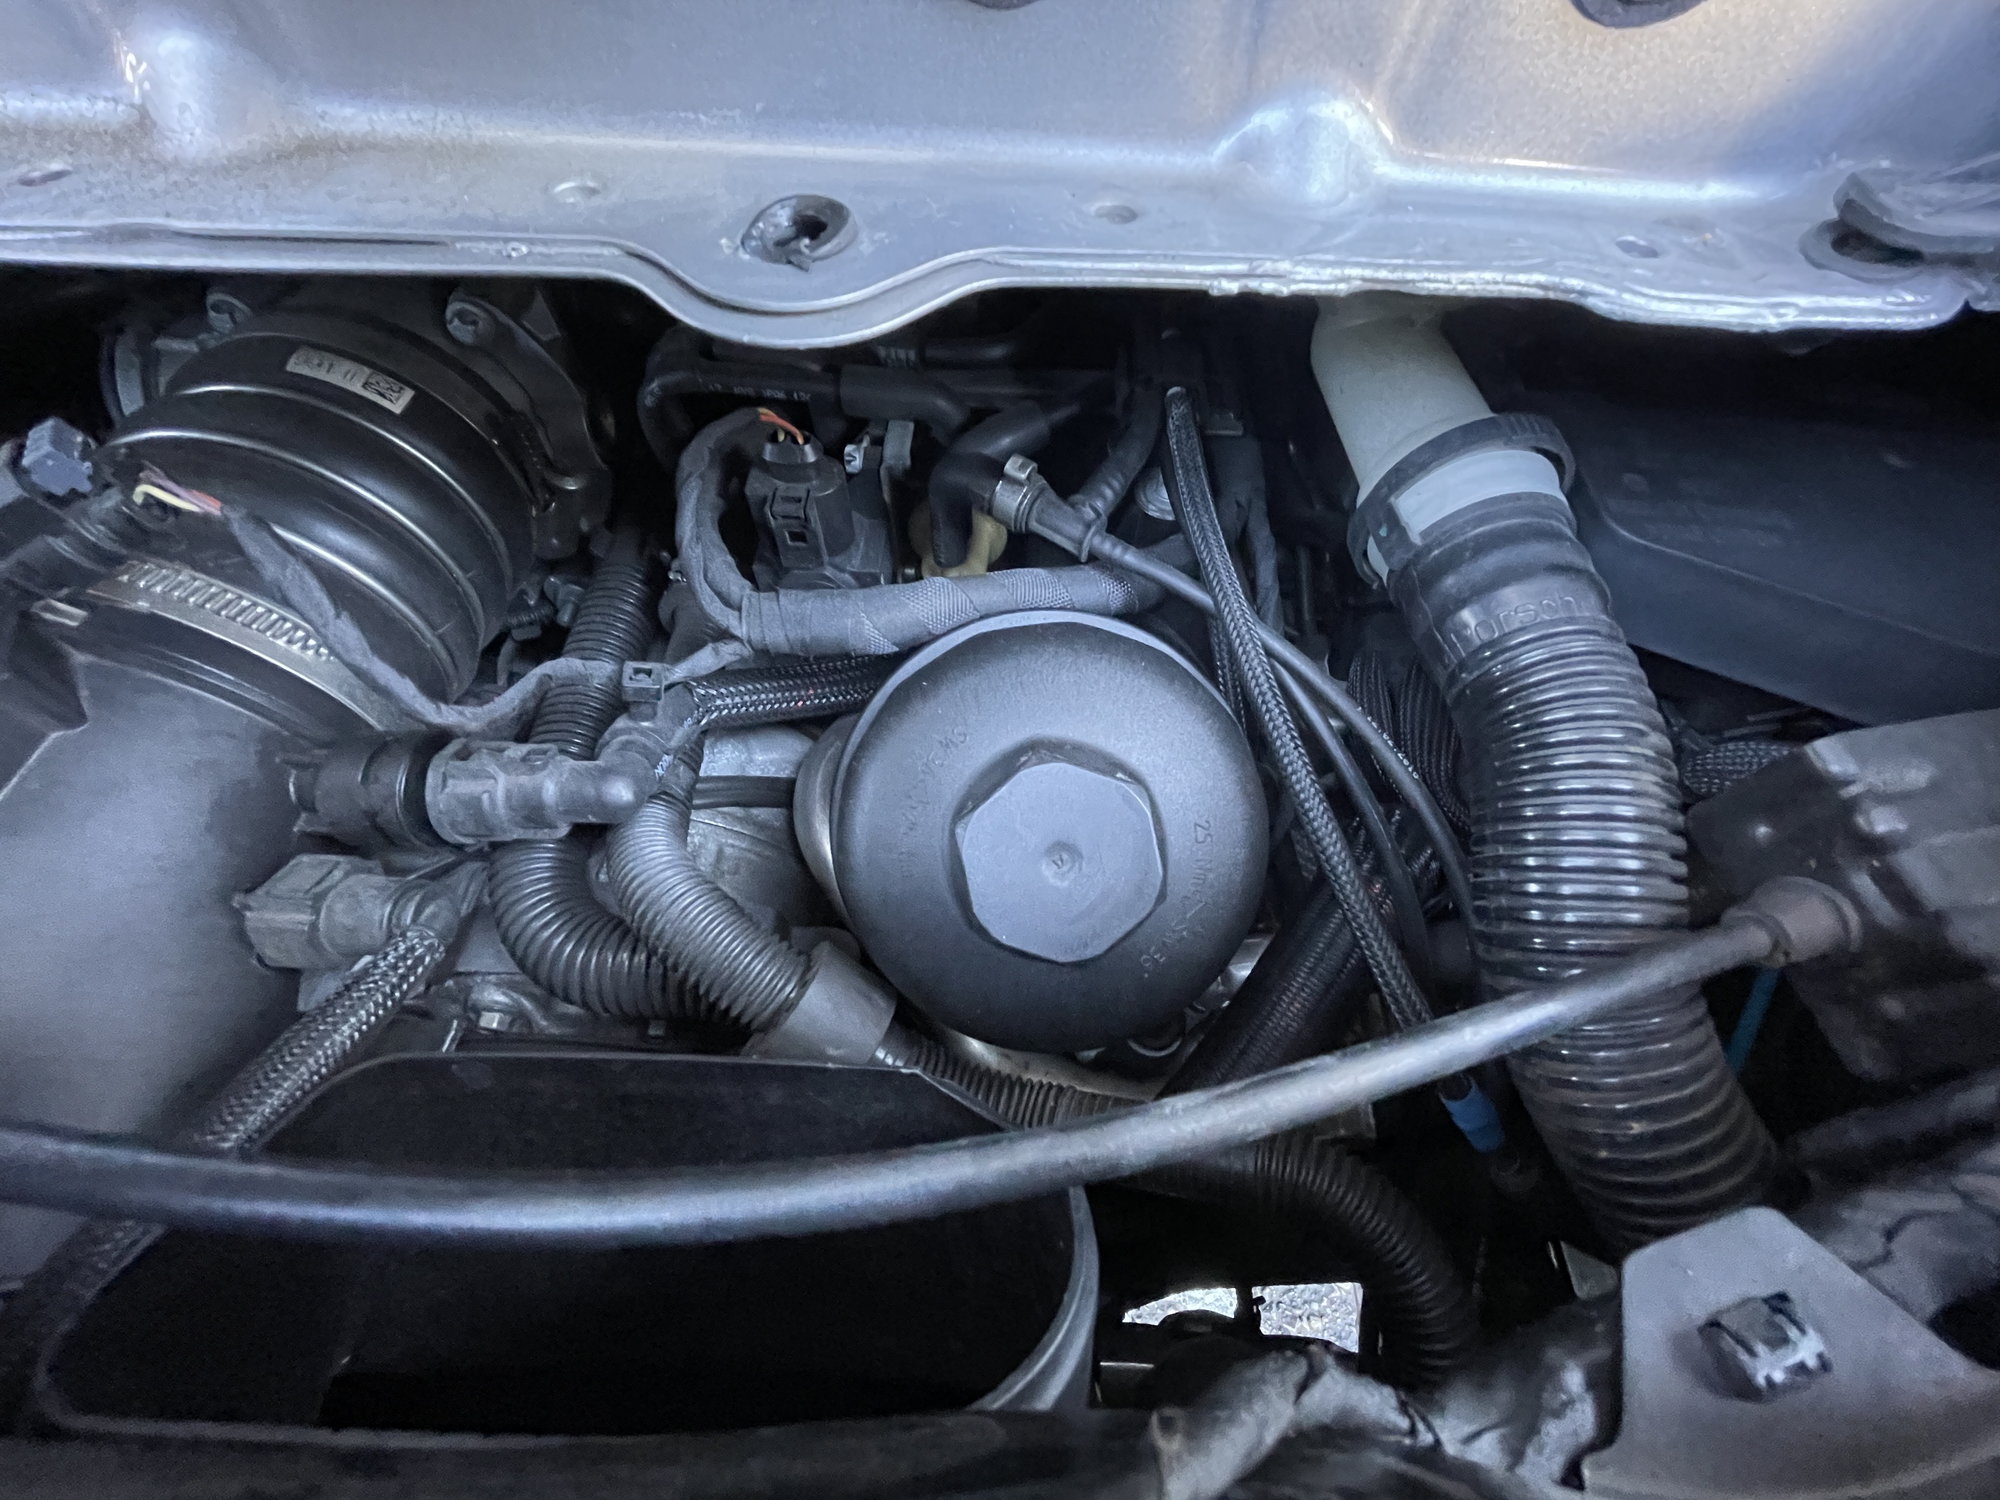
5. Pull up and fold both air inlet duct and fan over, granting access to the oil filter.
Air duct inlet and right fan folded over and out of the way. No wires unhooked, no clips removed. There�s just enough slack in the wiring to do the fold over shown above.
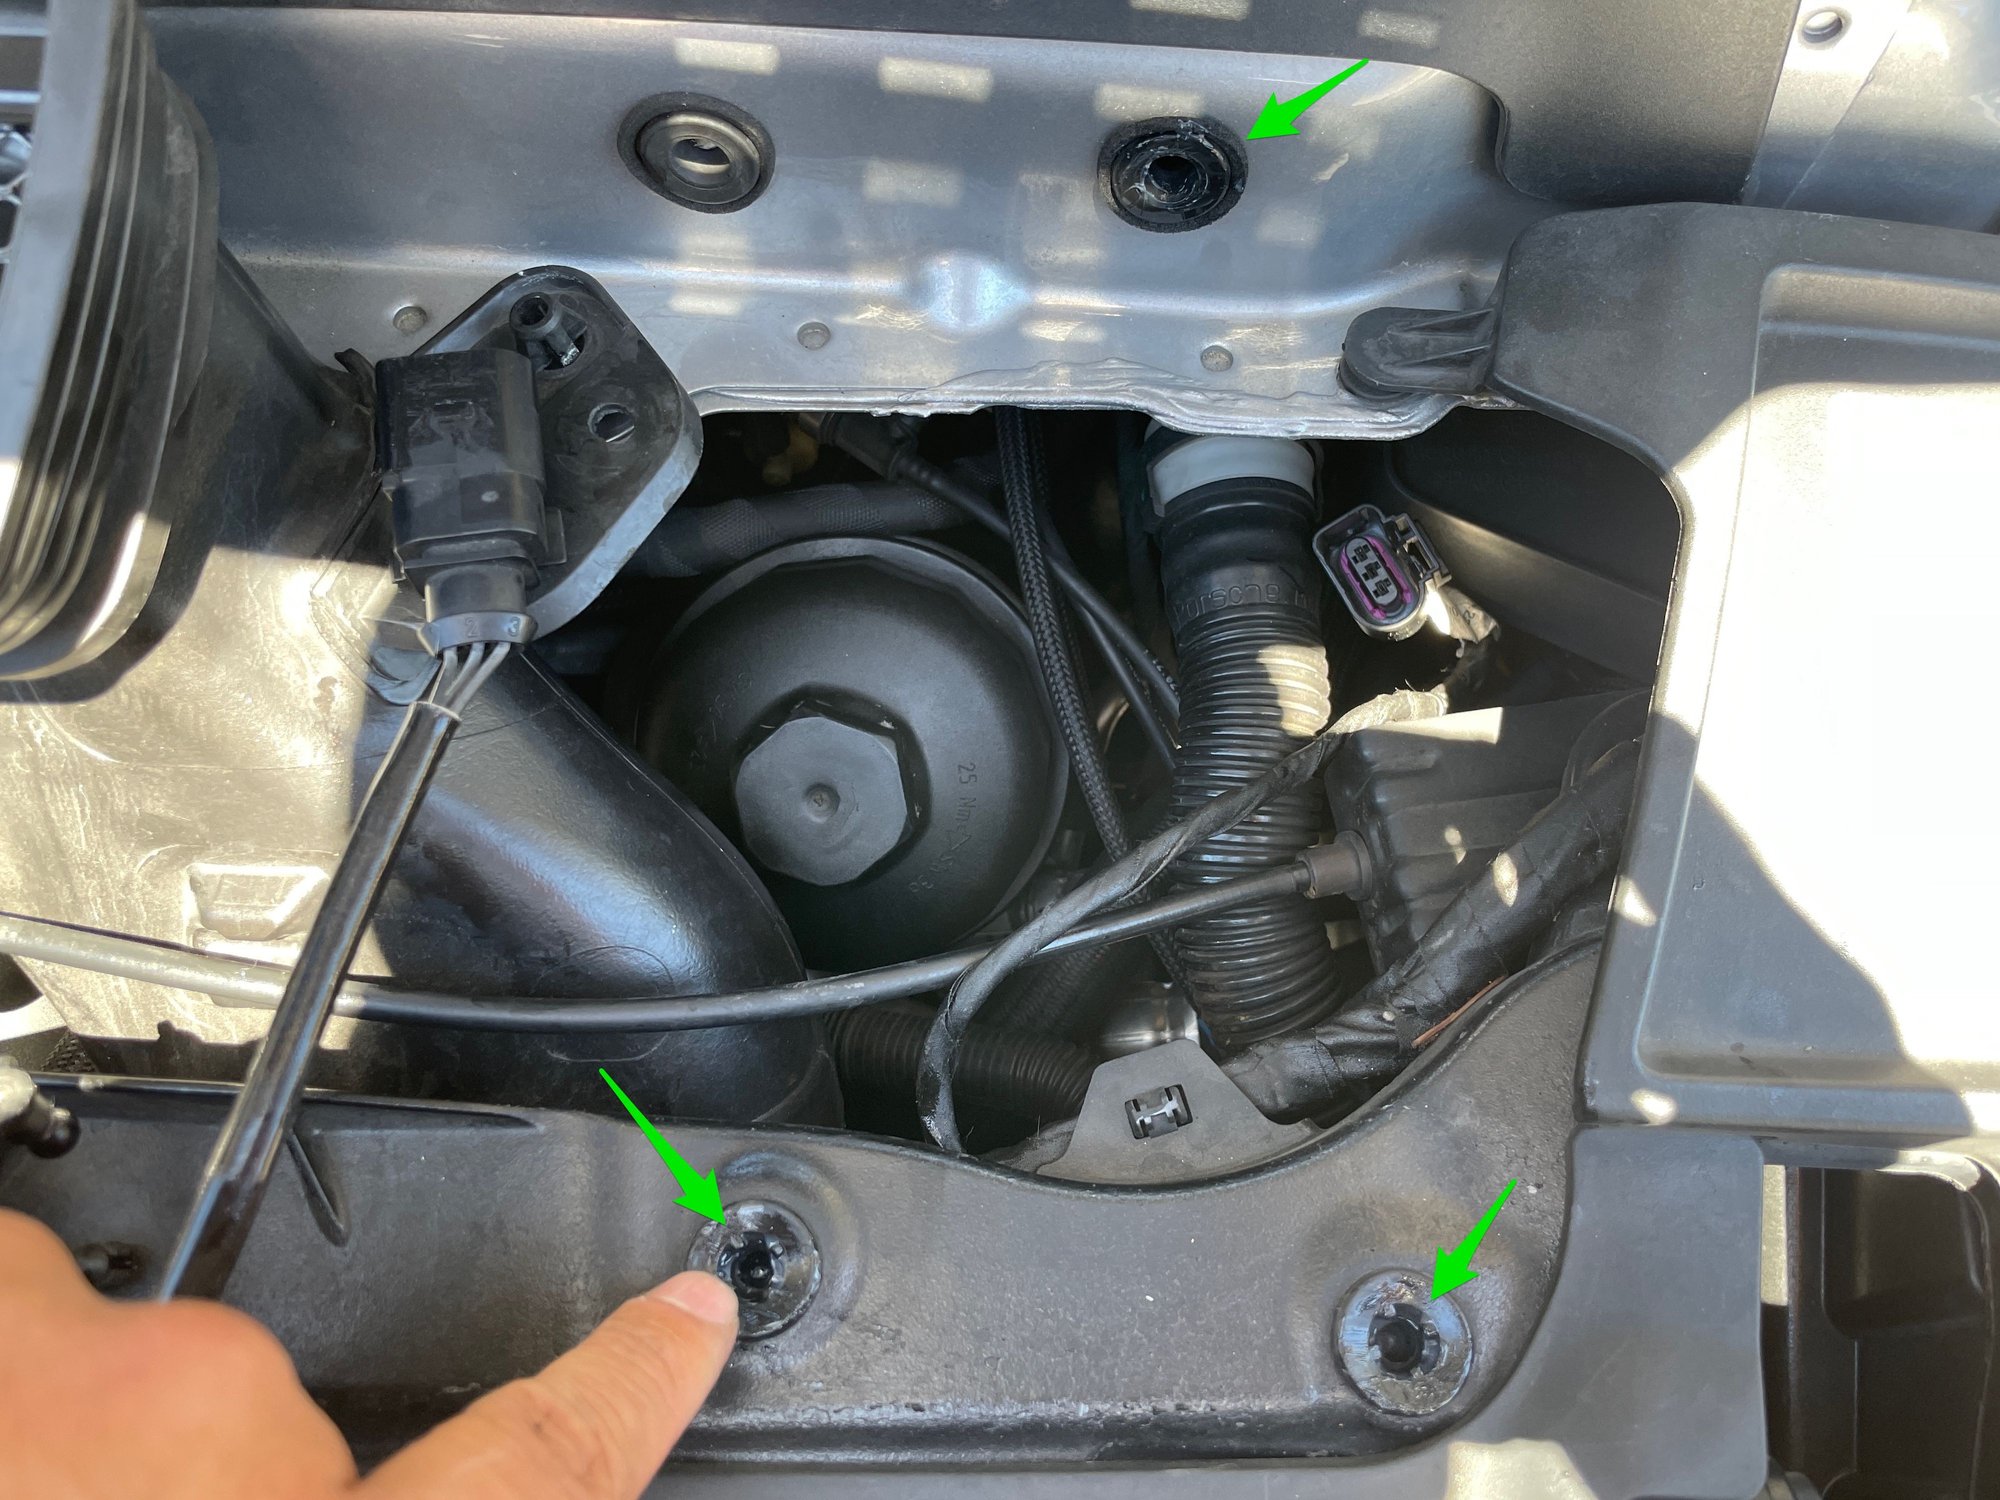
Oil filter easily accessible.
Makes so much more sense this way, has to be how the Porsche techs do it.
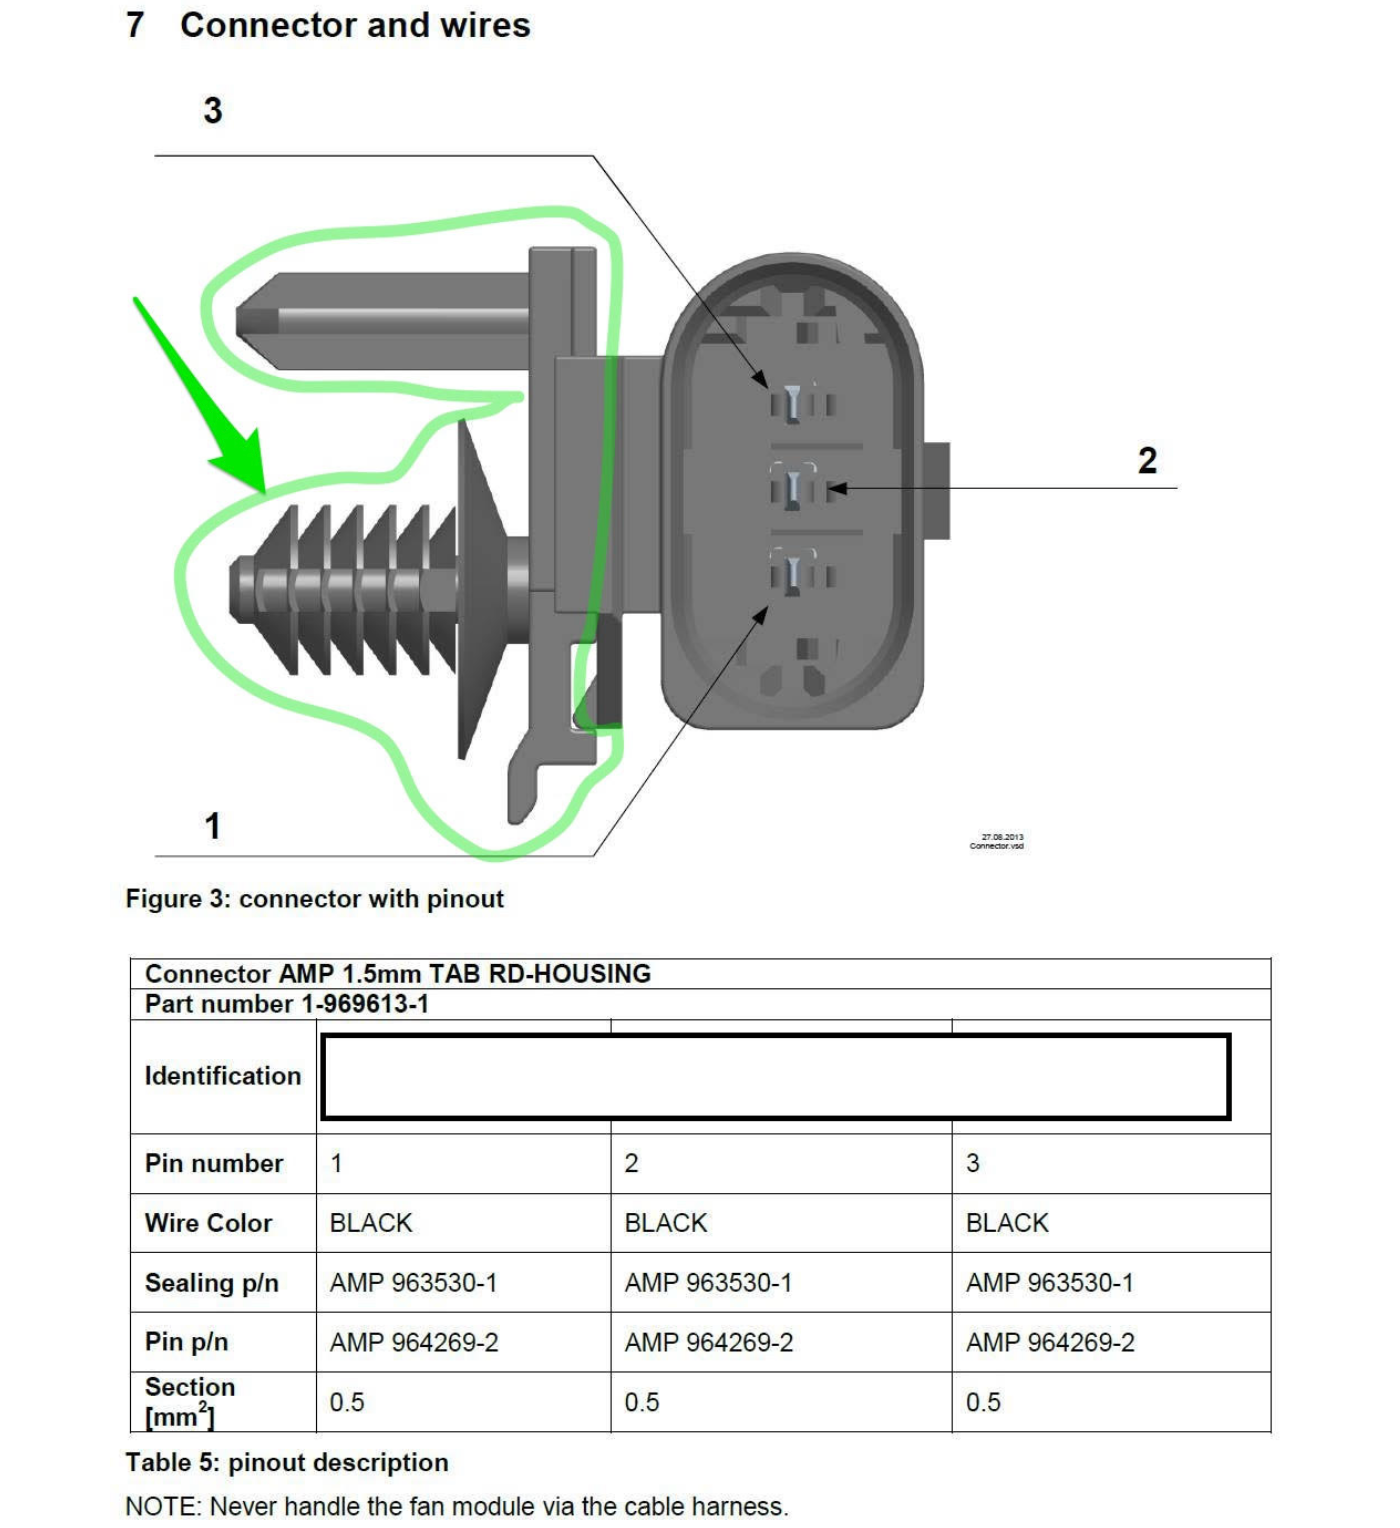
One of the mounting clips in question. There does not appear to be a Porsche part number associated with it.
If you must remove the wiring harness from the air inlet duct, just depress the tab to the left, and SLIDE the wiring harness housing off the rail on the mounting clip. The mounting clip can always stay in place.
Please see attached pdf for more info on this clip. Very hard to find. I ended up contacting TE connectors (the OEM manufacturer) and Aptiv (formerly Delphi parts) and they still have no idea where to find this clip. Odd as the wiring harness housing is a commonly used part in VW/Audi cars. I also contacted SPAL, manufacturer of the fans, and while they include the harness with the fan (of course), they don't have the clip.
Once again would appreciate any help finding this part as I can't stand that they are broken on my car.
@devtec It's always nice to learn new tips like not having to take off that rectangular plastic ring. I've got that same funnel and really like it. Shame about the broken cover. I've taken mine off a few times already and did not find it to be so fragile. Also, curious to know what silicon lubricant you would recommend for the plastic/plastic connection points?
@devtec It's always nice to learn new tips like not having to take off that rectangular plastic ring. I've got that same funnel and really like it. Shame about the broken cover. I've taken mine off a few times already and did not find it to be so fragile. Also, curious to know what silicon lubricant you would recommend for the plastic/plastic connection points?
Agree! Props for the tips on removing the cover and silicon lub.
@devtec It's always nice to learn new tips like not having to take off that rectangular plastic ring. I've got that same funnel and really like it. Shame about the broken cover. I've taken mine off a few times already and did not find it to be so fragile. Also, curious to know what silicon lubricant you would recommend for the plastic/plastic connection points?
First time I used some lithium grease I had lying around. But by next oil change it had turned chalky.
I recommend this stuff, as it is really viscous, heat resistant, clear, and will condition the rubber long term. I'd also recommend just coating the ball end of all the press fits, rather than placing a dab in the rubber grommet. Will keep things neater. Of course, any excess will melt away over time anyway from the engine heat.
@devtec It's always nice to learn new tips like not having to take off that rectangular plastic ring. I've got that same funnel and really like it. Shame about the broken cover. I've taken mine off a few times already and did not find it to be so fragile. Also, curious to know what silicon lubricant you would recommend for the plastic/plastic connection points?
Yes, I suspect it had been weakened by previous attempts. The cover is just two plastic halves glued together, with the wire mesh also glued in between. Just a warning that this is not the most durable part. The silicone lube gives removing all these parts a smooth pop, much more comforting than the creak of fragile plastic!
Yes, I suspect it had been weakened by previous attempts. The cover is just two plastic halves glued together, with the wire mesh also glued in between. Just a warning that this is not the most durable part. The silicone lube gives removing all these parts a smooth pop, much more comforting than the creak of fragile plastic!
hi temp silicone caulk will sort out the separated 2 halves.
My engine cover was broken on one side. Not sure when it happened since I'm the second owner. I did repair it by using Q-bond and it's now rock solid. My theory is that you don't see it when installed.
Also what did you use to reset the oil change reminder? Torn on what to get just to reset it on just my 991.2
It also does the Electric Parking Brake Pad Measurements for adjusting or replacing your Parking Brake Pads or Rear Rotors, along with resetting any Codes thrown for other issues.

 06-13-2021, 05:58 PM


 and you'll experience a whole new set of joy!

