When you click on links to various merchants on this site and make a purchase, this can result in this site earning a commission. Affiliate programs and affiliations include, but are not limited to, the eBay Partner Network.
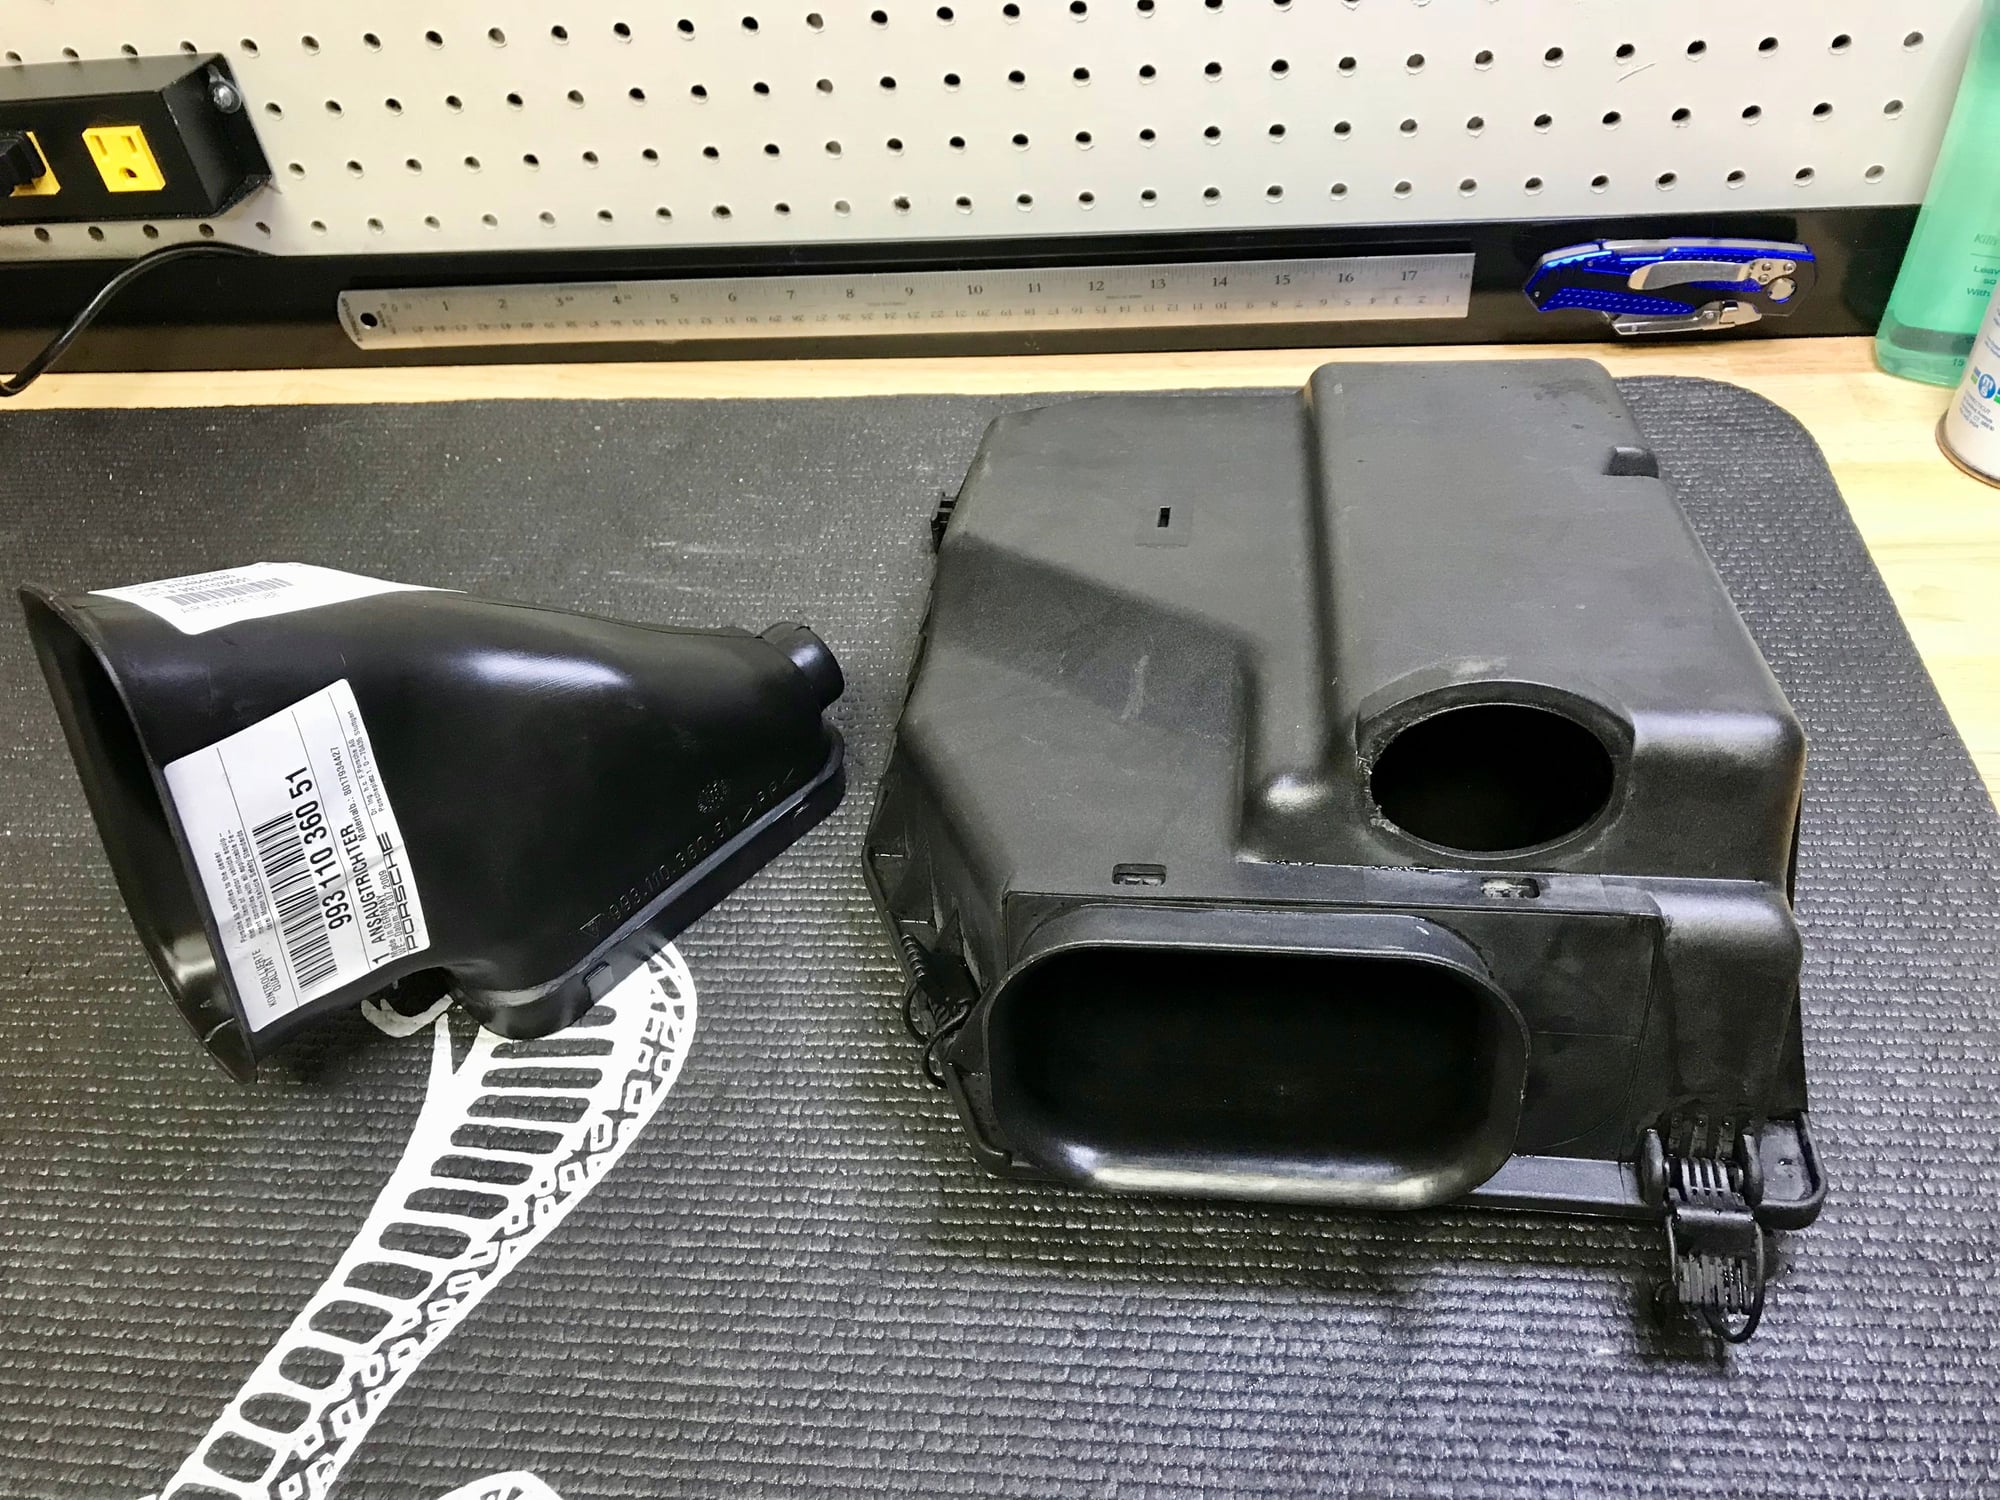
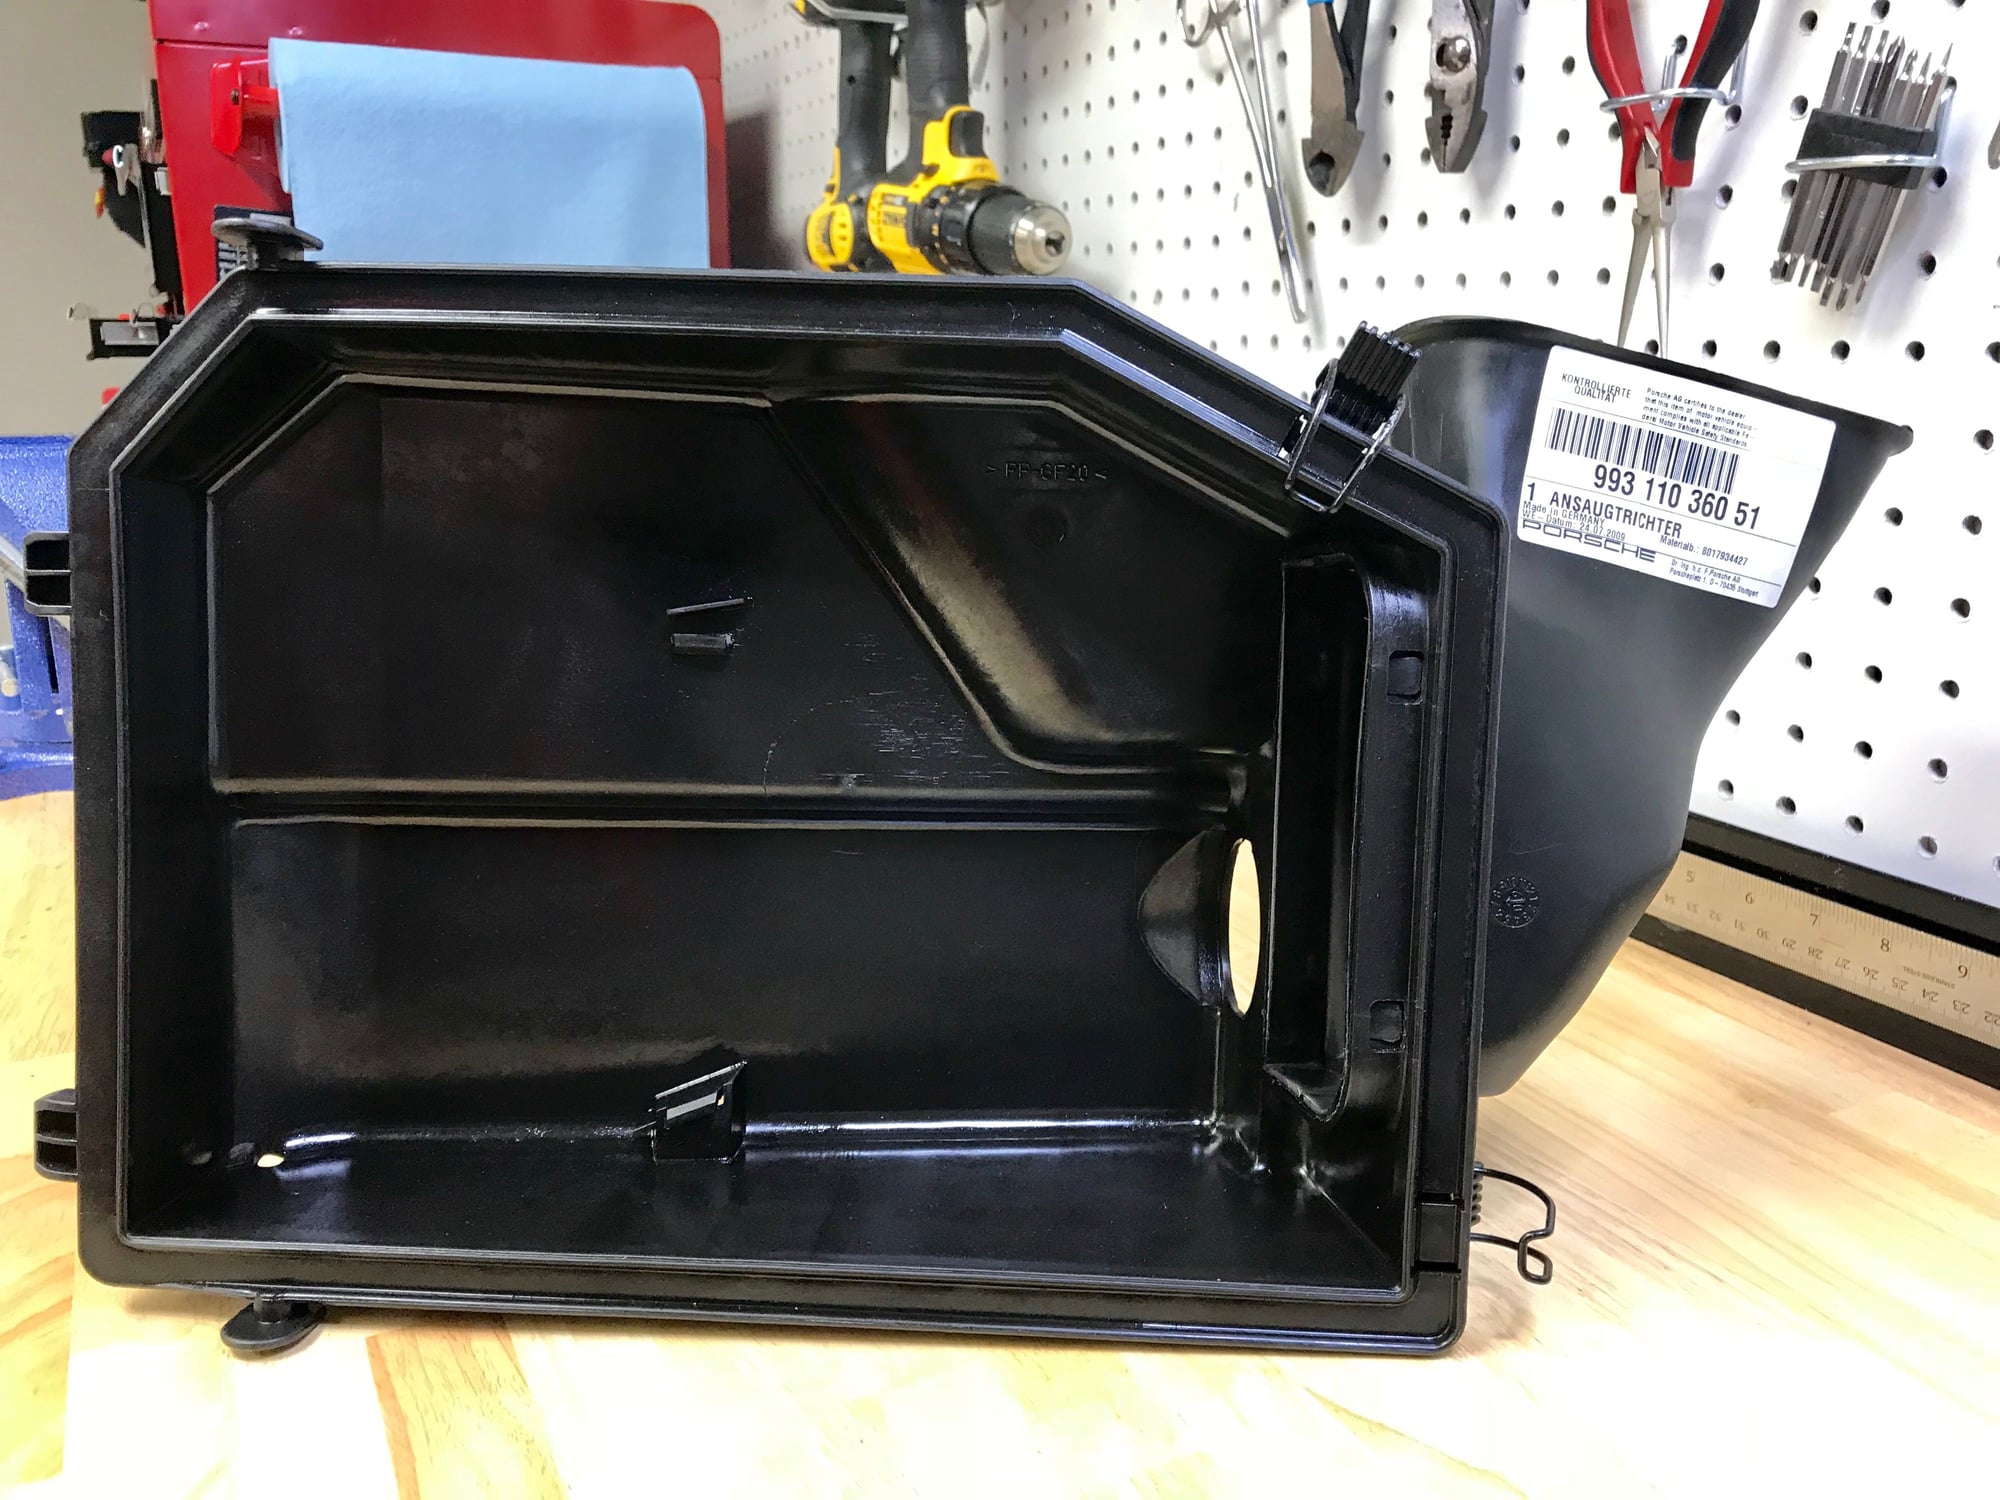
With the new fixed wing, It made sense to me to add the accessory air box trumpet to help feed cooler (or less hot) air to the manifold. It fits like a glove, and I figure won't hurt. Some one wrote their concern the trumpet would "choke" the influx of air but I don't agree. If you look at the size of the original air box's conduit the trumpet is actually larger. Anyways, I have not had time to consider the new physics, but as with ALL the upgrades/changes I make, I am certain it will add at least 20 hp LOL...
The headlight squirters are a quick and easy job. You can just pluck the old one out without doing any disassembly, remove and attach the water line, and press the new one into place. I had agonized over how to get access under the bumper cover to remove a broken one, but then decided to see what could be done from above. A little pick tool lifted it right out. It is held rather lightly in place by tabs on the body of the squirter.
Next, installing the door pocket re-inforcements as per fellow rennlisters.
Even though this project is discussed ad nauseam in this forum, I believe my experience offers a small extra value.The sequence of events that explains this is a little embarrassing and revealing of my lack of skills/experience. Yet, it may help future DIY'ers.
As time went buy, and I worked on the other items on the To-do list shown above, I ended up with two sets of re-inforcement pieces from two fellow rennlisters, "BesideTheBox" and "gmorat", if I am not mistaken. When time came to install, I chose gmorat's design first, based on the attention to detail and finish. However, when I first tried a dry-fit, the piece did not fit well. Since I had BesideTheBox's design in my hands as well, I did not hesitate to dry-fit that one and it was successful.
First, I trimmed a small piece of leather to expose the adhering surface on the pocket:
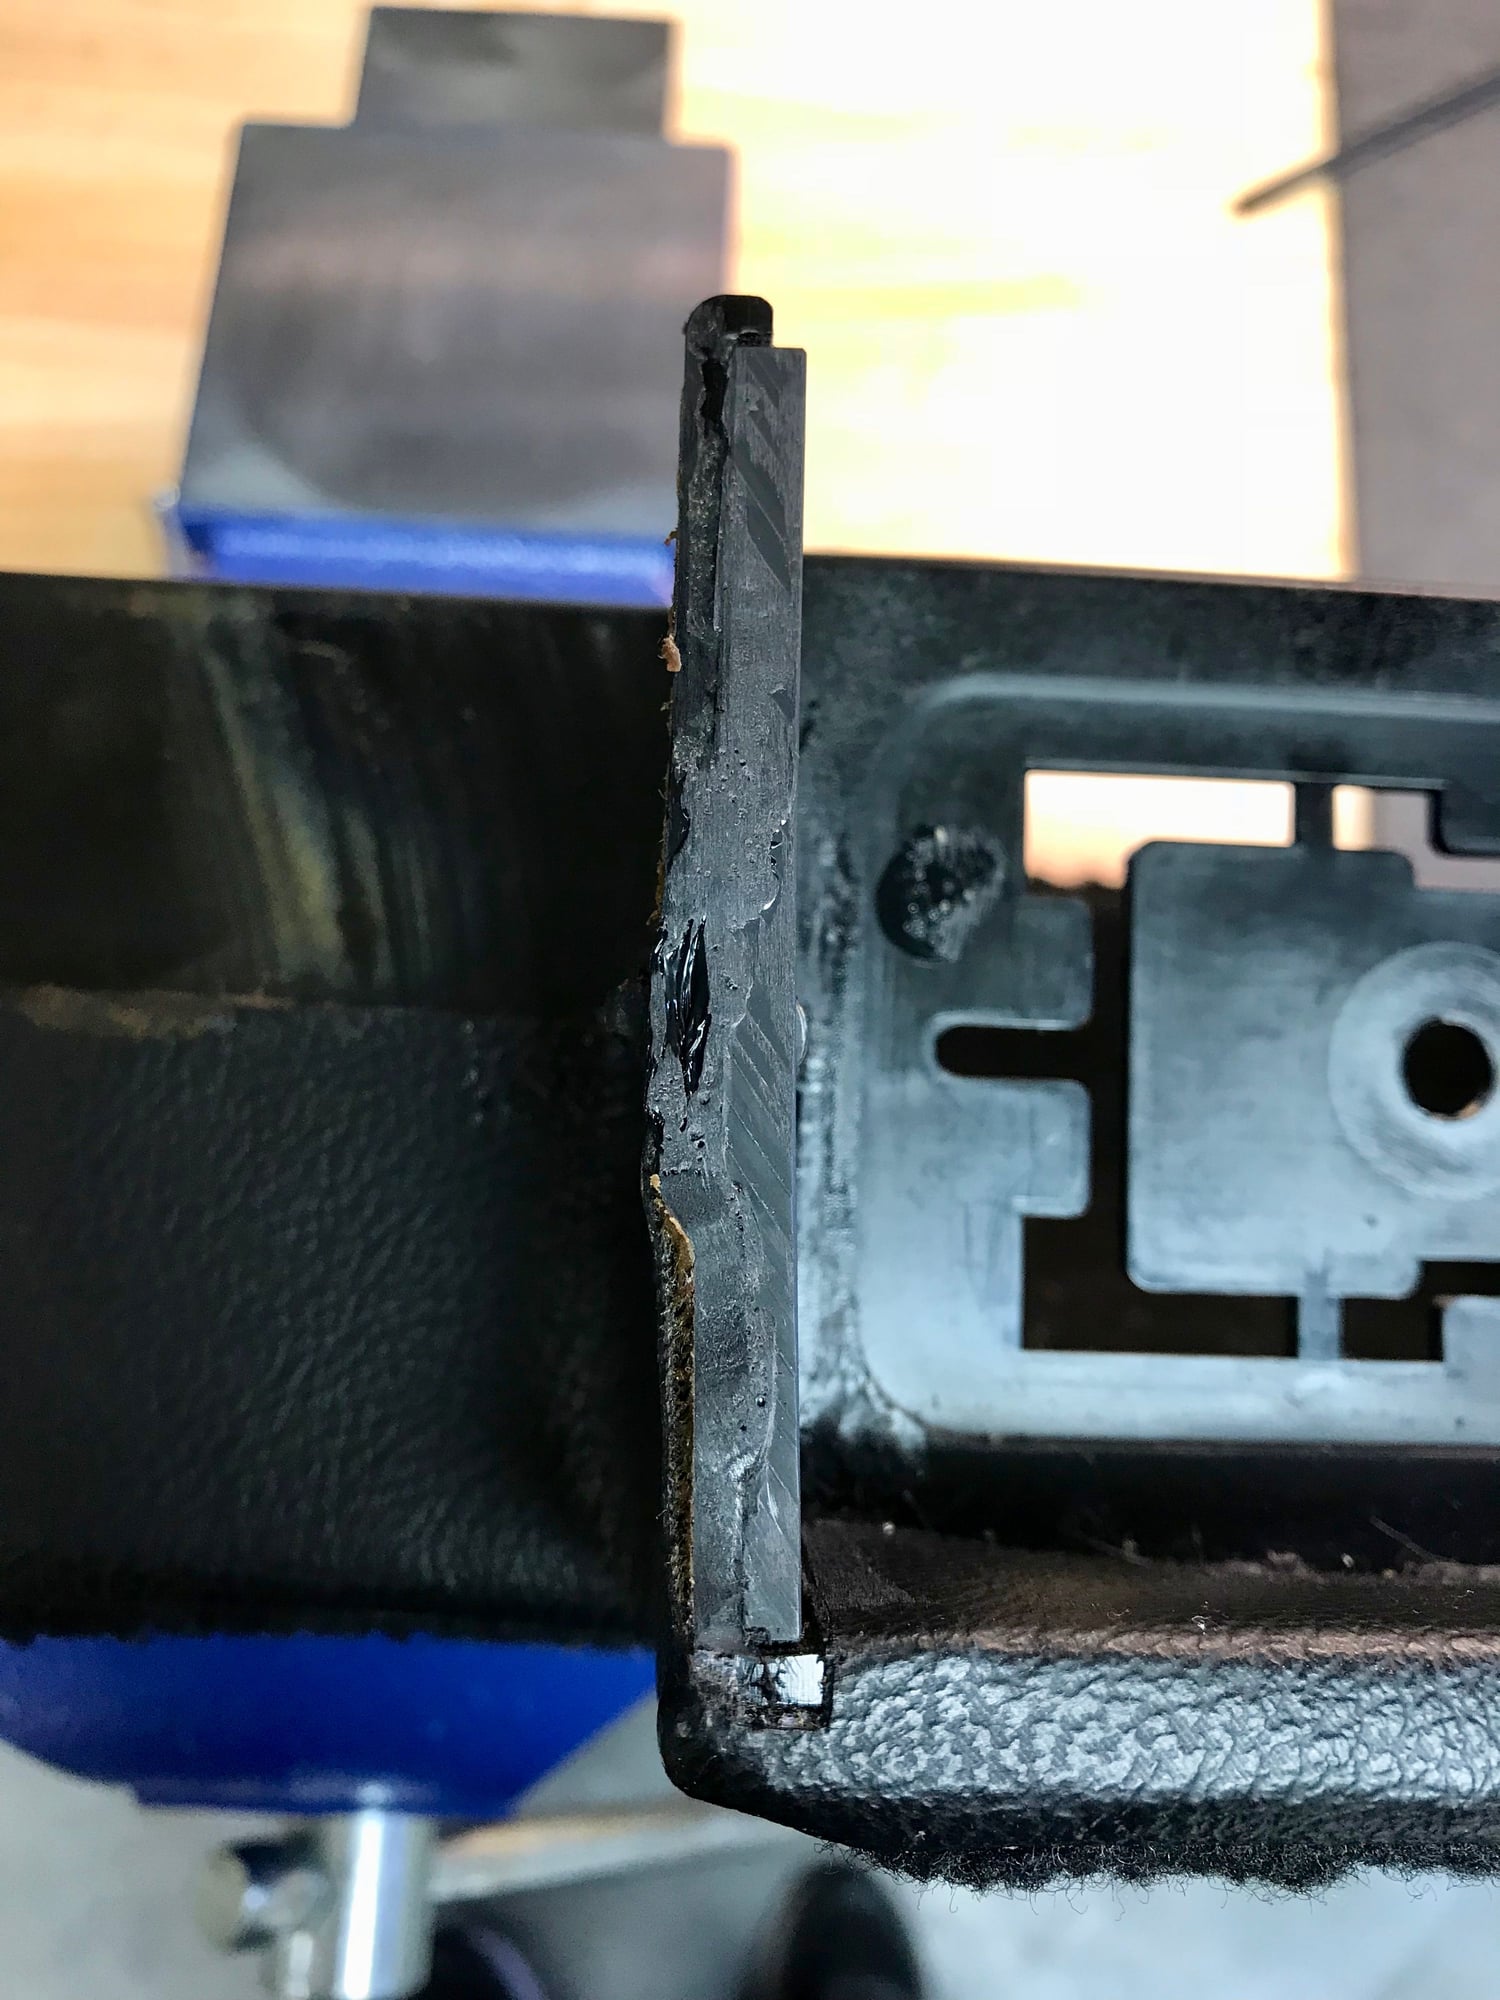
During dry-fit I pre-drilled a pilot hole on the re-inforcement corresponding to the bottom of the original crew hole:
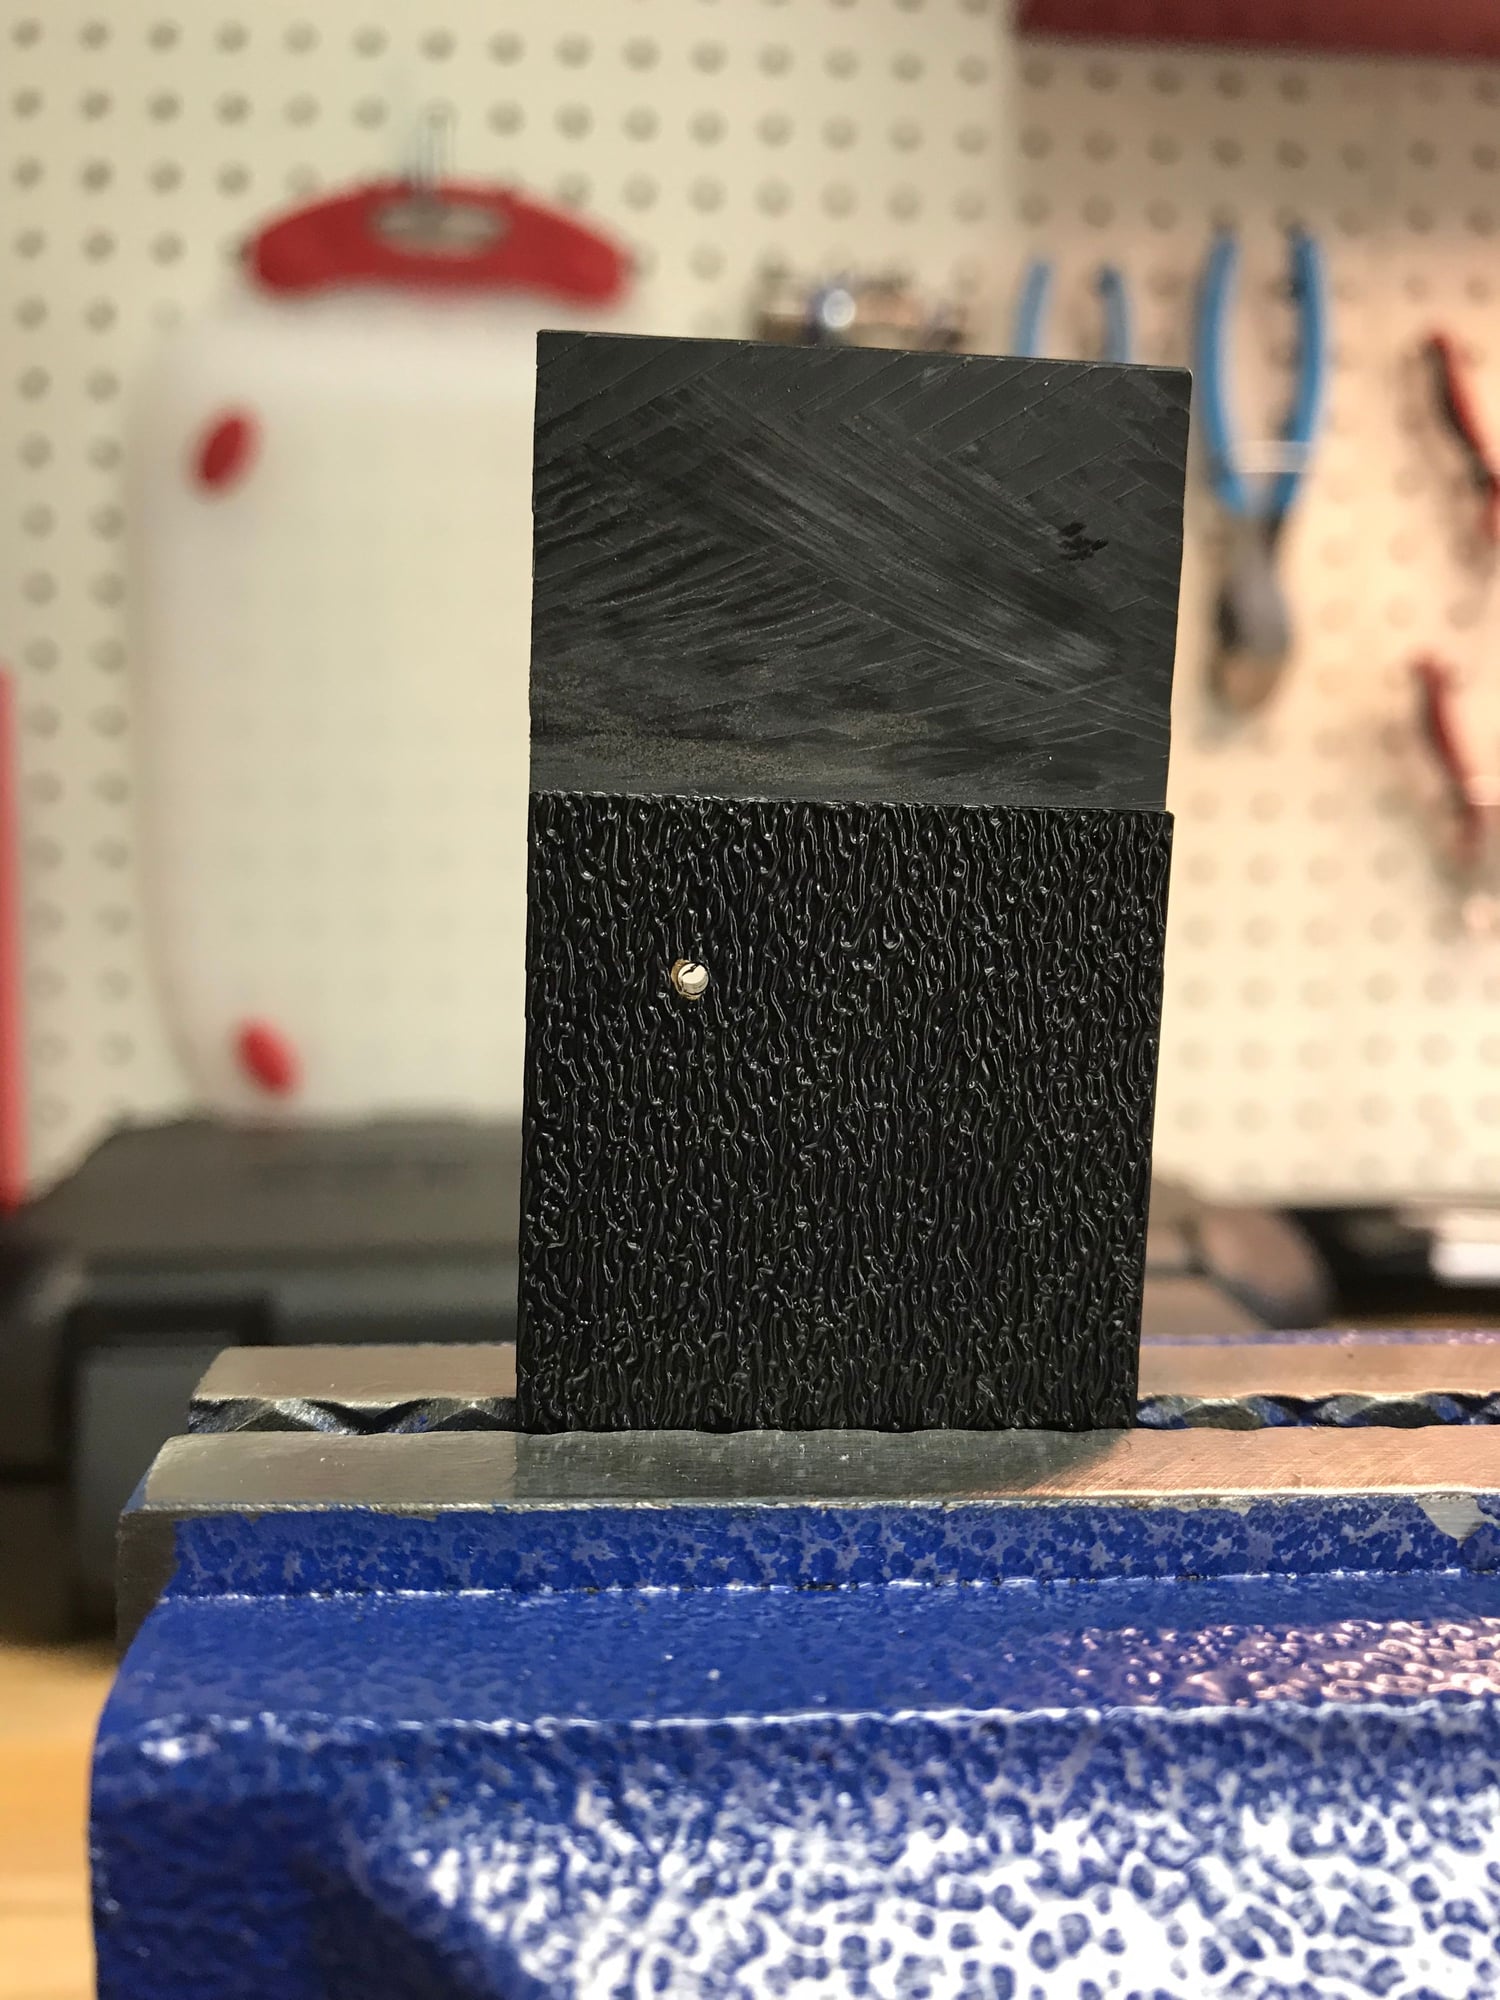
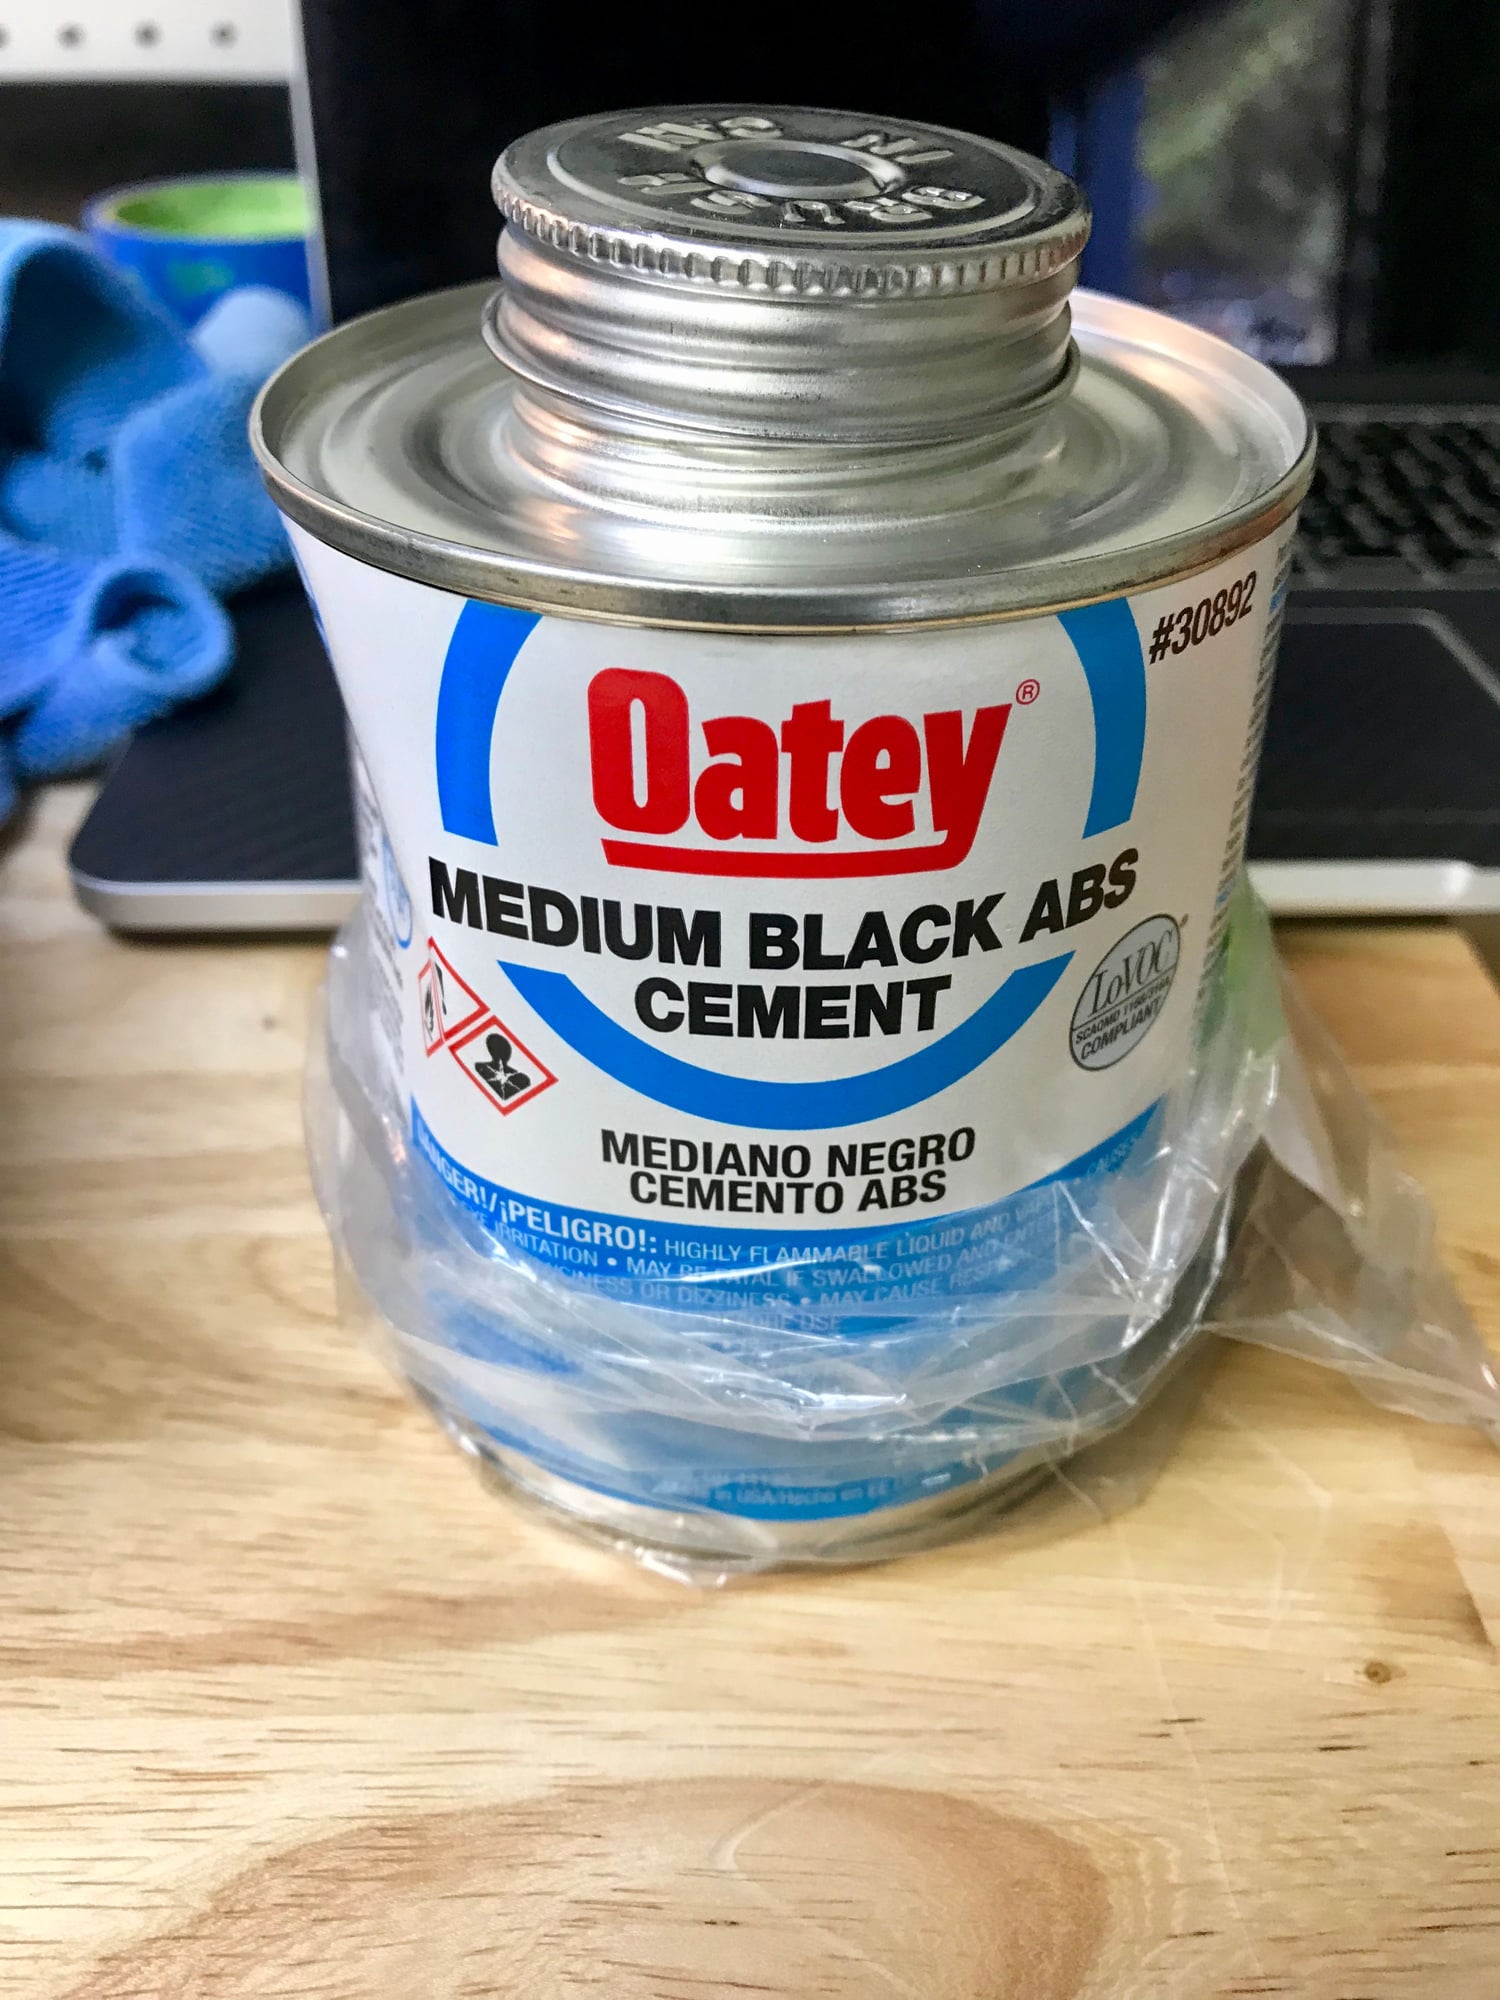
Glue, attachment, and sanding down the excess...
And installation with new screw...
After seeing the results I wasn't really happy with the "rough" look. It was kinda late to go out and buy sanding paper, and dismount, and sand... No patience for that. Instead, I picked up gmorat's design and decide to make it fit. After dry-fitting, I decided to Dremmel down the edge pointed by the arrow, in slow repetitive tiny amounts until about 1-2 mm were left on the edge. This facilitated the fit perfectly.
Again, glue, time, new screw, and installation...
This approach was cleaner and quicker, and offers a better look. As far as strength, both types of re-inforcements feel solid. I could not elicit a sign of weakness on either door (gmorat's is on the Driver's side and BesideTheBox's is on the Passenger's. This pockets remain closed 100% of the time in my car, so the final look is not a major issue. However, if I could do it all over again, I would chose gmorat's design for its better finish and simplicity. Mind you, the whole project is simple, but if you care a lot about the finish, gmorat's option may be better. You just need to know you may have to alter the piece a little bit to fit your pocket...
Both approaches are excellent. Just depends on your level of experience and tools/etc. Hope this helps someone out there.
On to next project!!!
__________________ Drive safely, but drive fast! hector
On to the sunroof. The existing felt lining around the edges if the sunroof lid was original and pretty faded by the elements. This made me consider replacing it as well as the inside seals. Uoon further inspection I had noticed the wind deflector, although functional, had evidence of rust on both sides where the smaller flap attaches. These also were original parts. I replaced everything with genuine Porsche replacement parts...
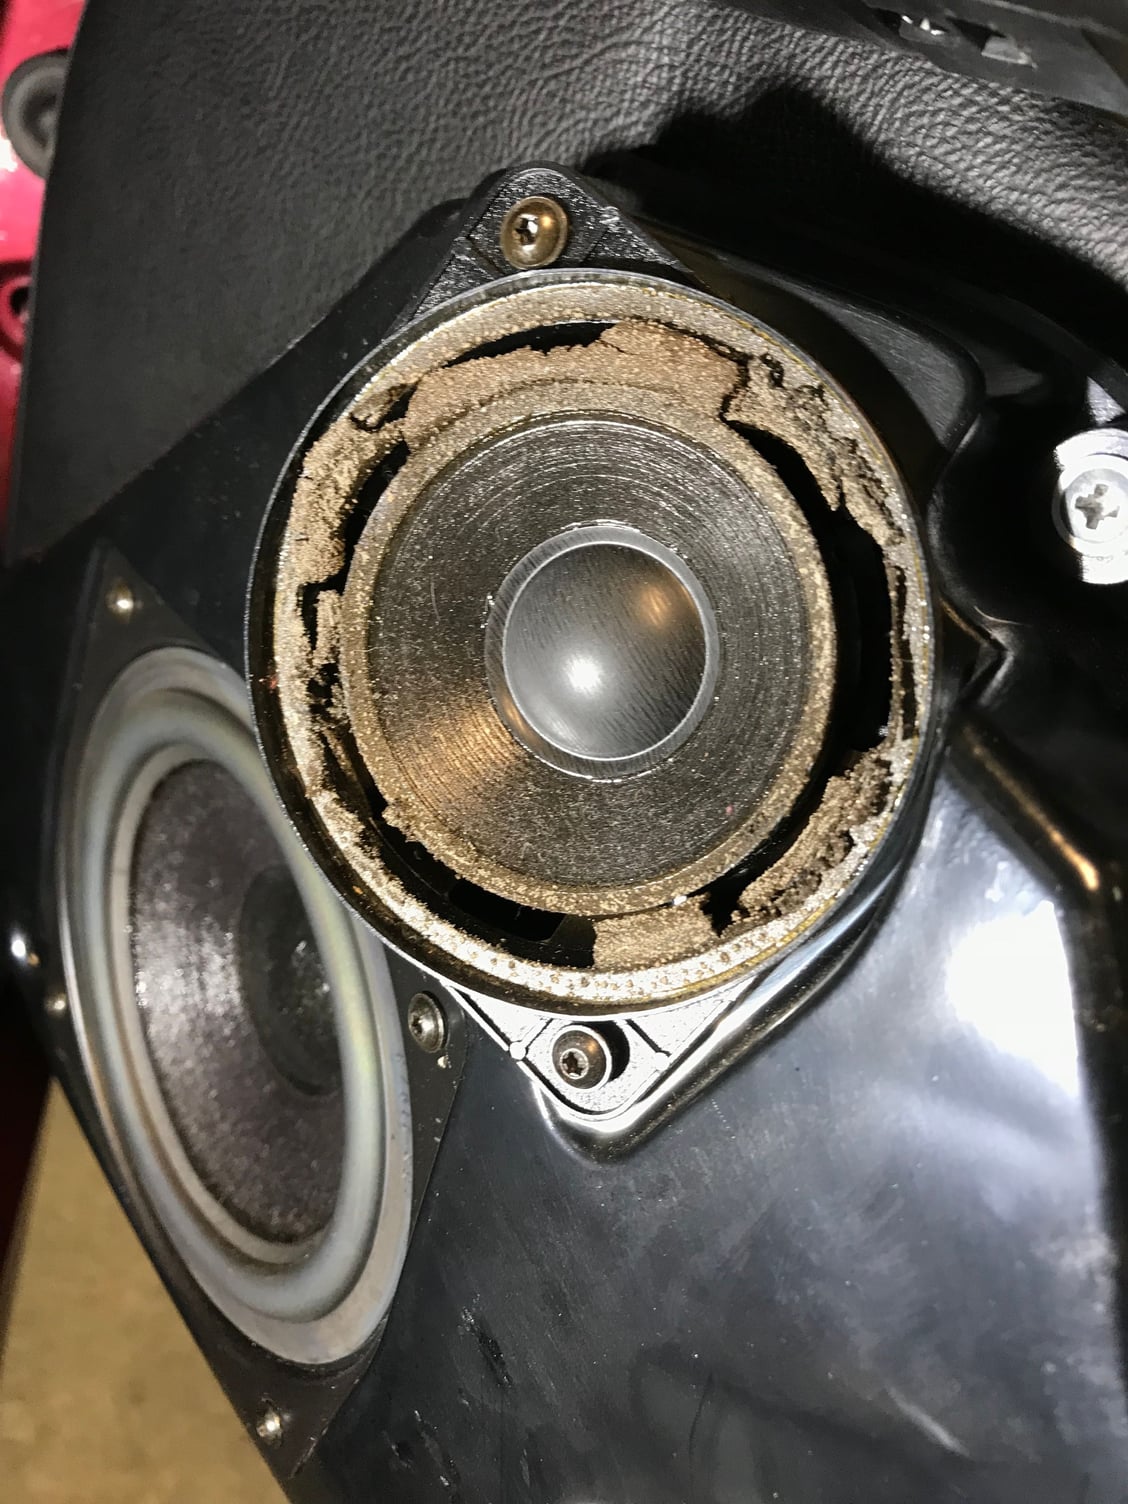
I had considering upgrading the speaker system. After so much reading, I came to the conclusion that it is best to leave my "Hi Fi -equiped" stereo system alone. I opted to replace the midrange speakers with Genuine Porsche replacements. They are cheap and sound pretty good to me. I do not see the advantage of a high dollar, complicated project when I spend no more than one hour at at time when I drive my car. Would it have been a daily driver I might have considered something else. This was quick and painless...
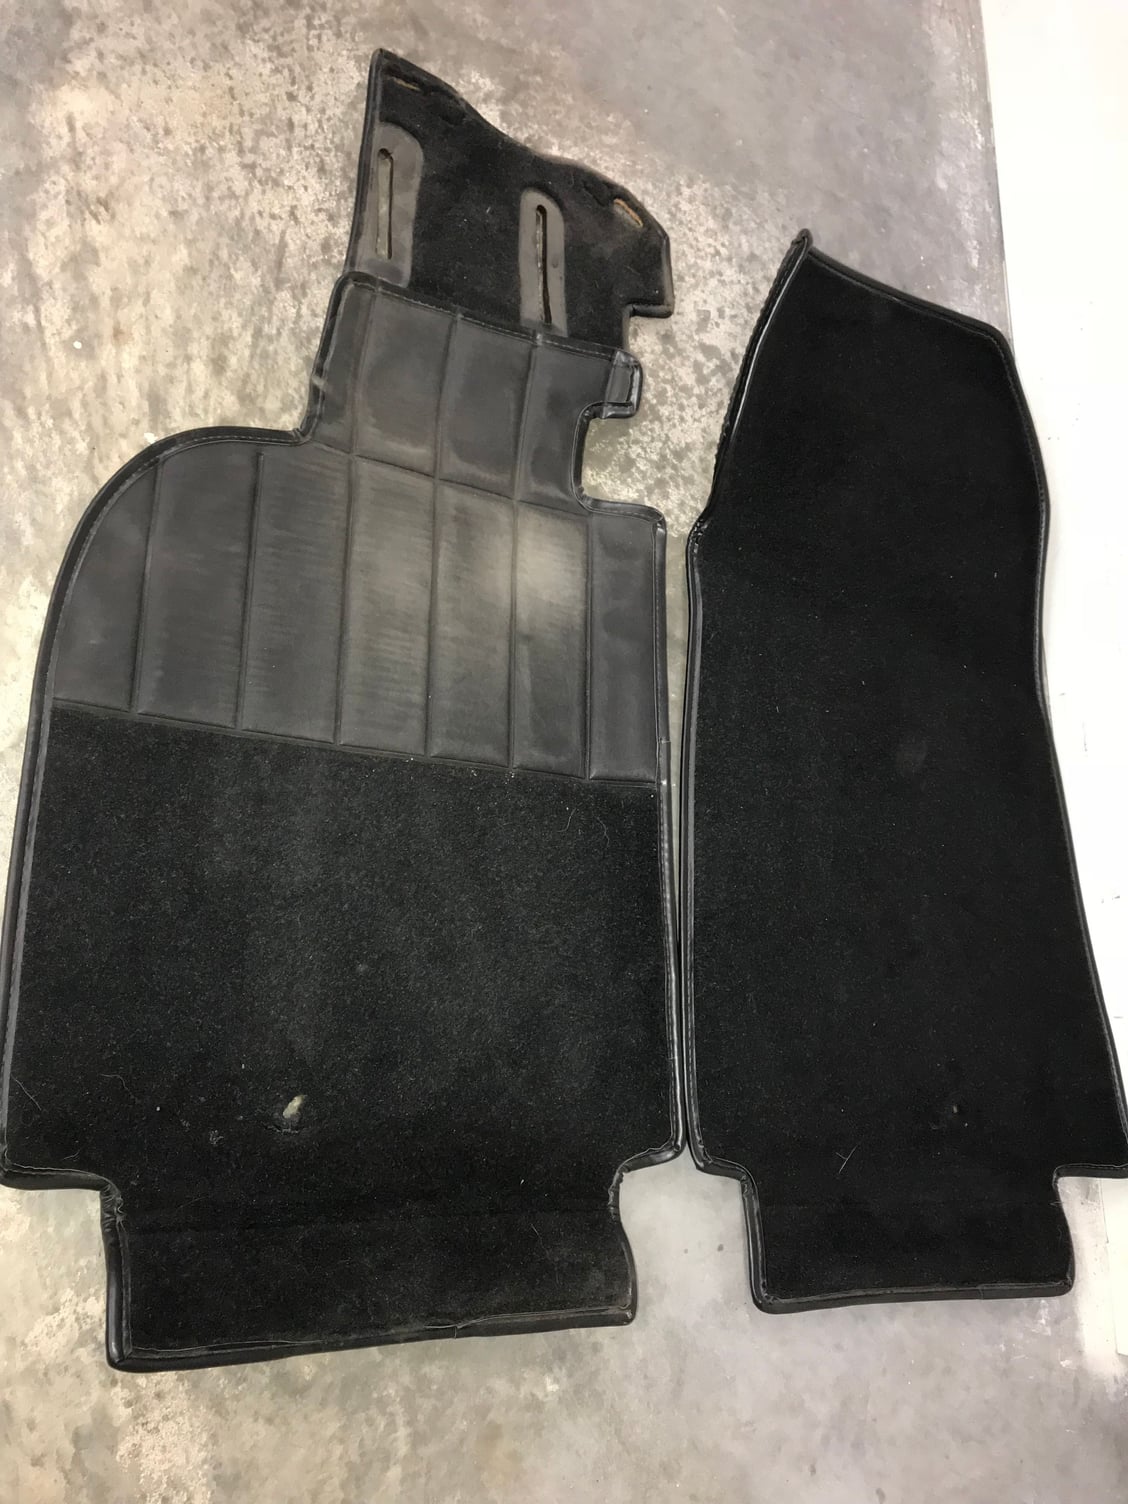
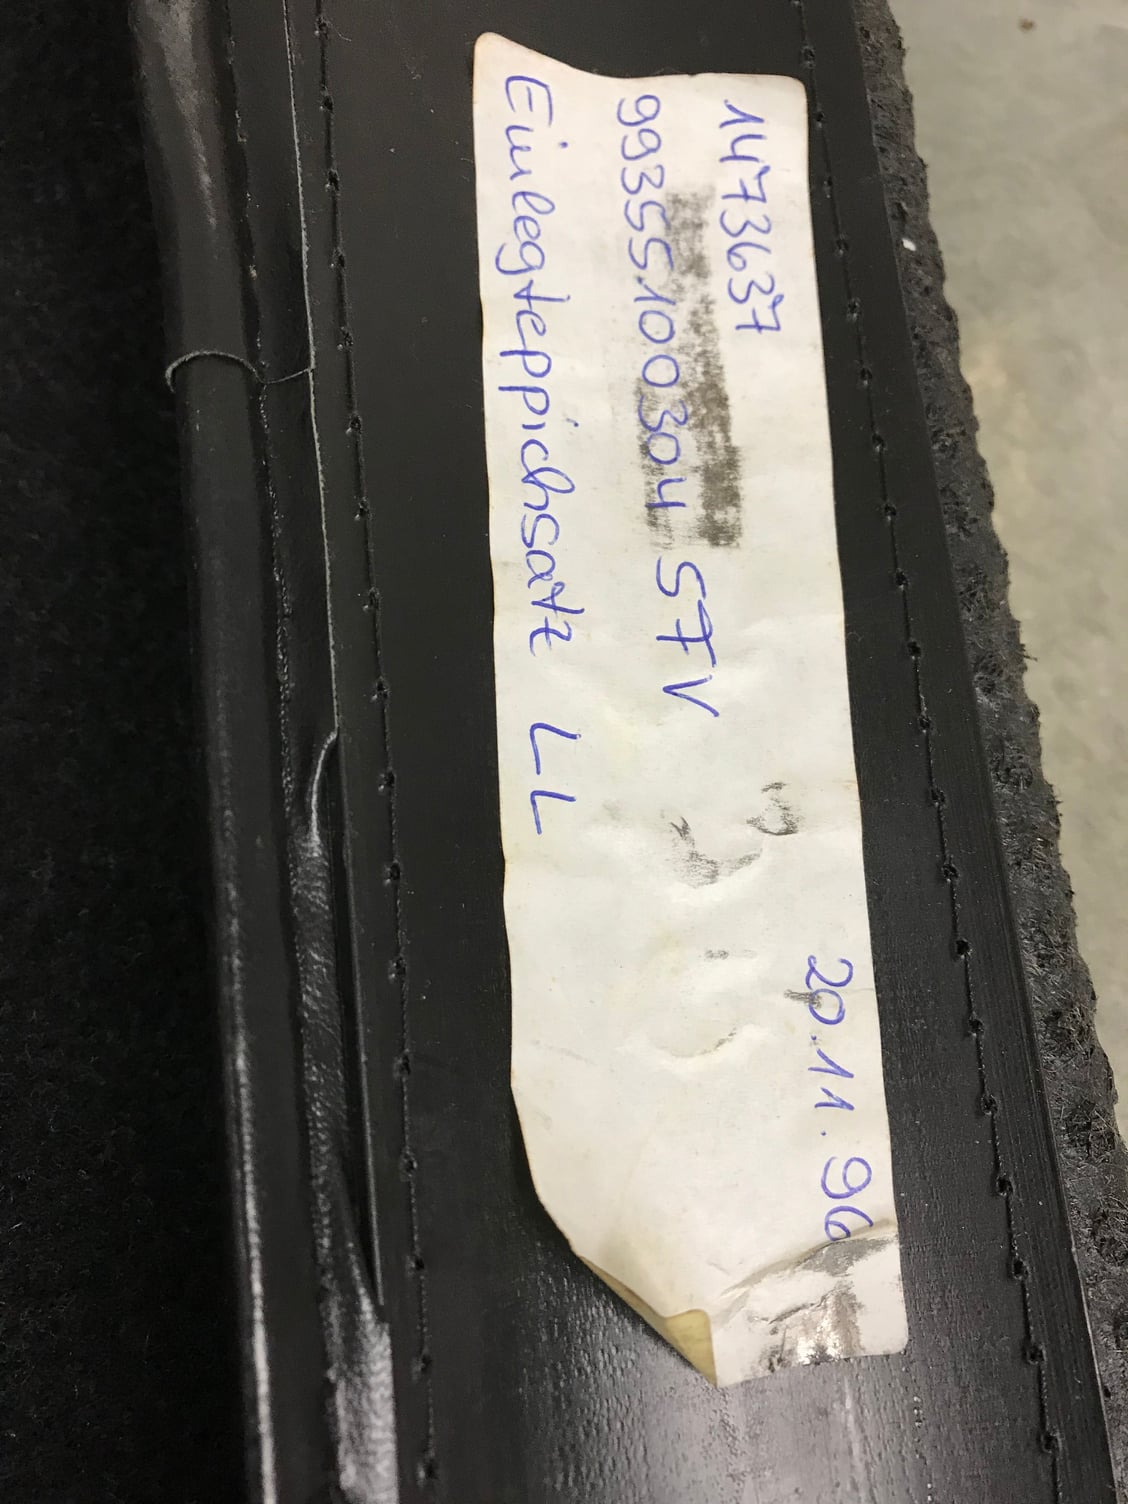
So it was a rainy weekend and looking for something to do I turned my attention to the car's floor. Not bad for a 21 year old car, but, as always, there was room for improvement. The floor carpets (not the mats, which are also original, but optional equipment) are the original ones, and you can see the hand-written id tags on them. The front carpets could use a little TLC...
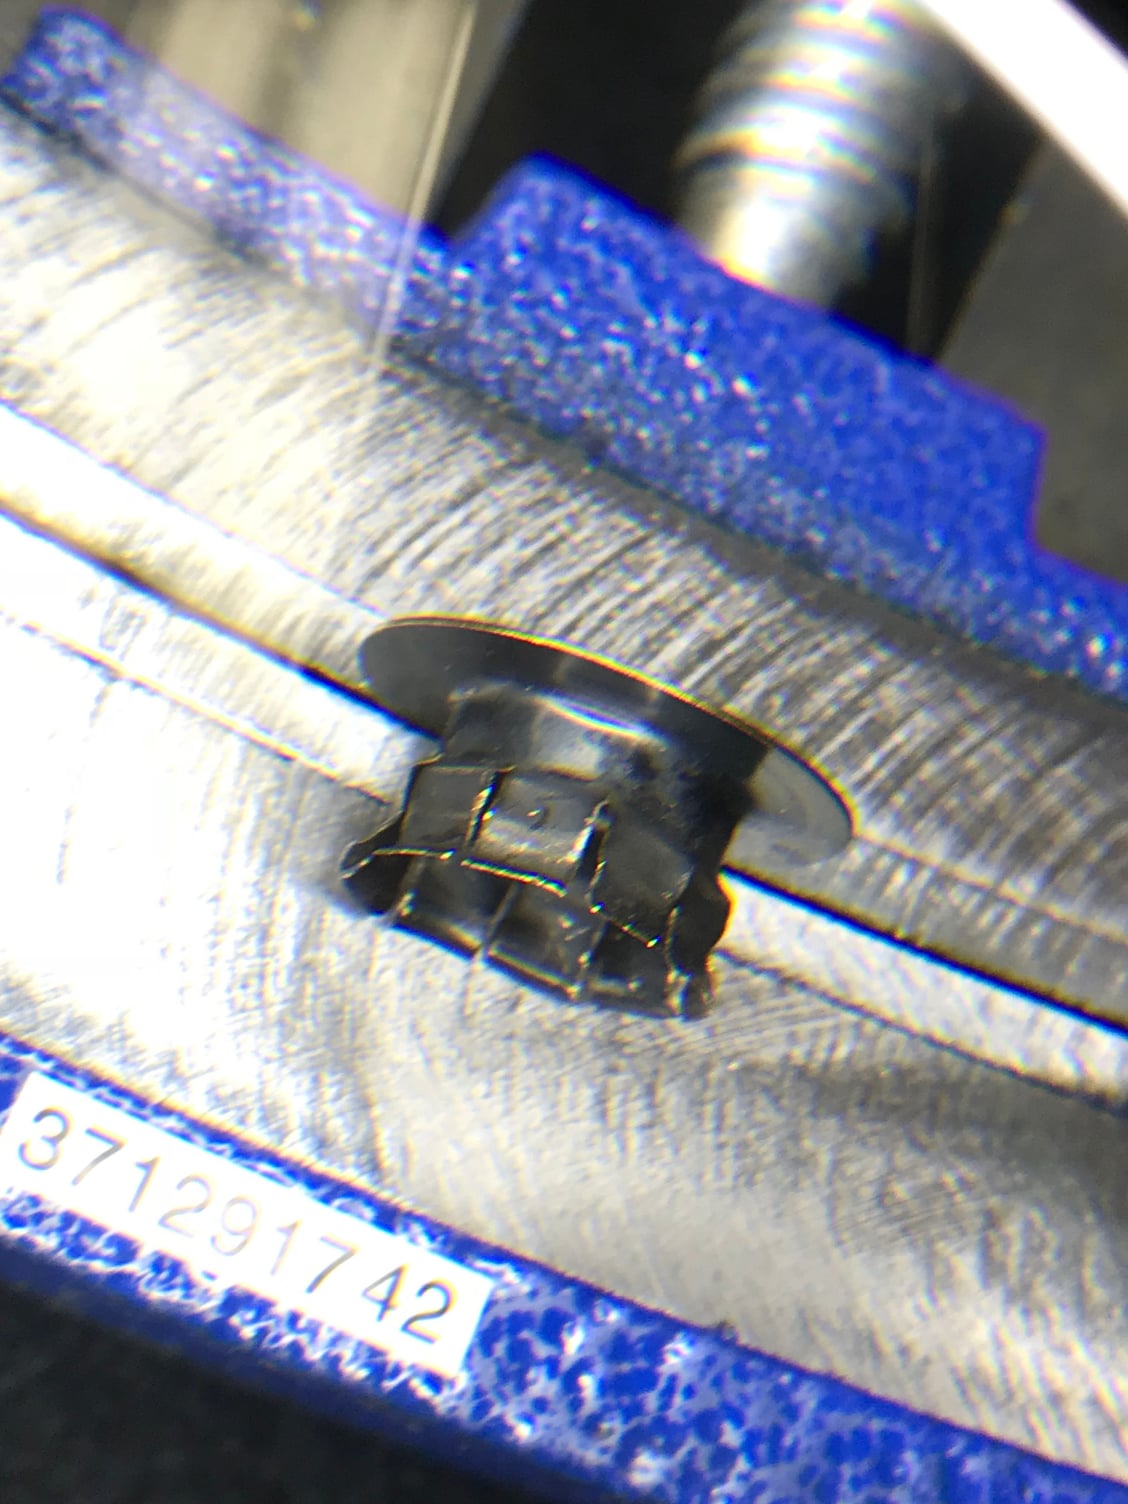
The fastener set up was pretty much gone with the carpets' eyelets lose and completely unattached to the units. The plastic screws were fine.
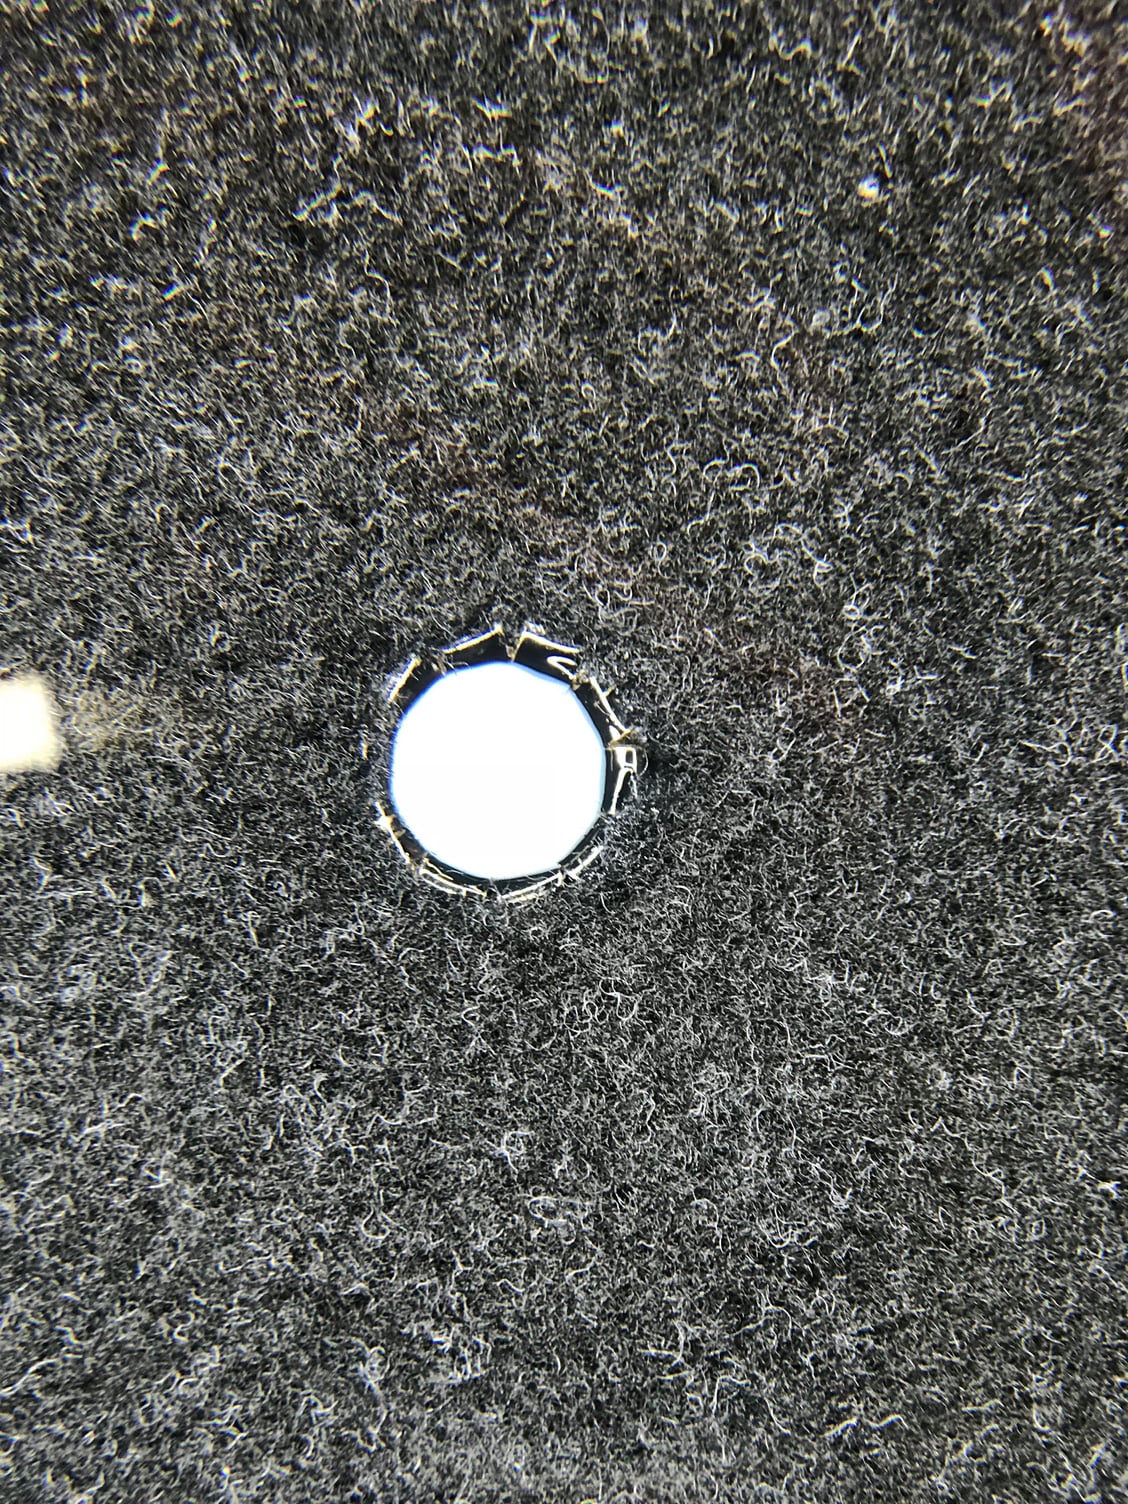
I tried to restore everything to the best of my abilities using the existing hardware. Essentially, I re-opended the eyelets, re-passsed them through the old holes in the carpets, and closed the metal clips back down unto the carpet mat, trying to clinch and secure as much material as allowed. I then sprayed the eyelets black. Pretty rudimentary fix, but I was able to keep all original materials, and I do not think it looks that bad, either...
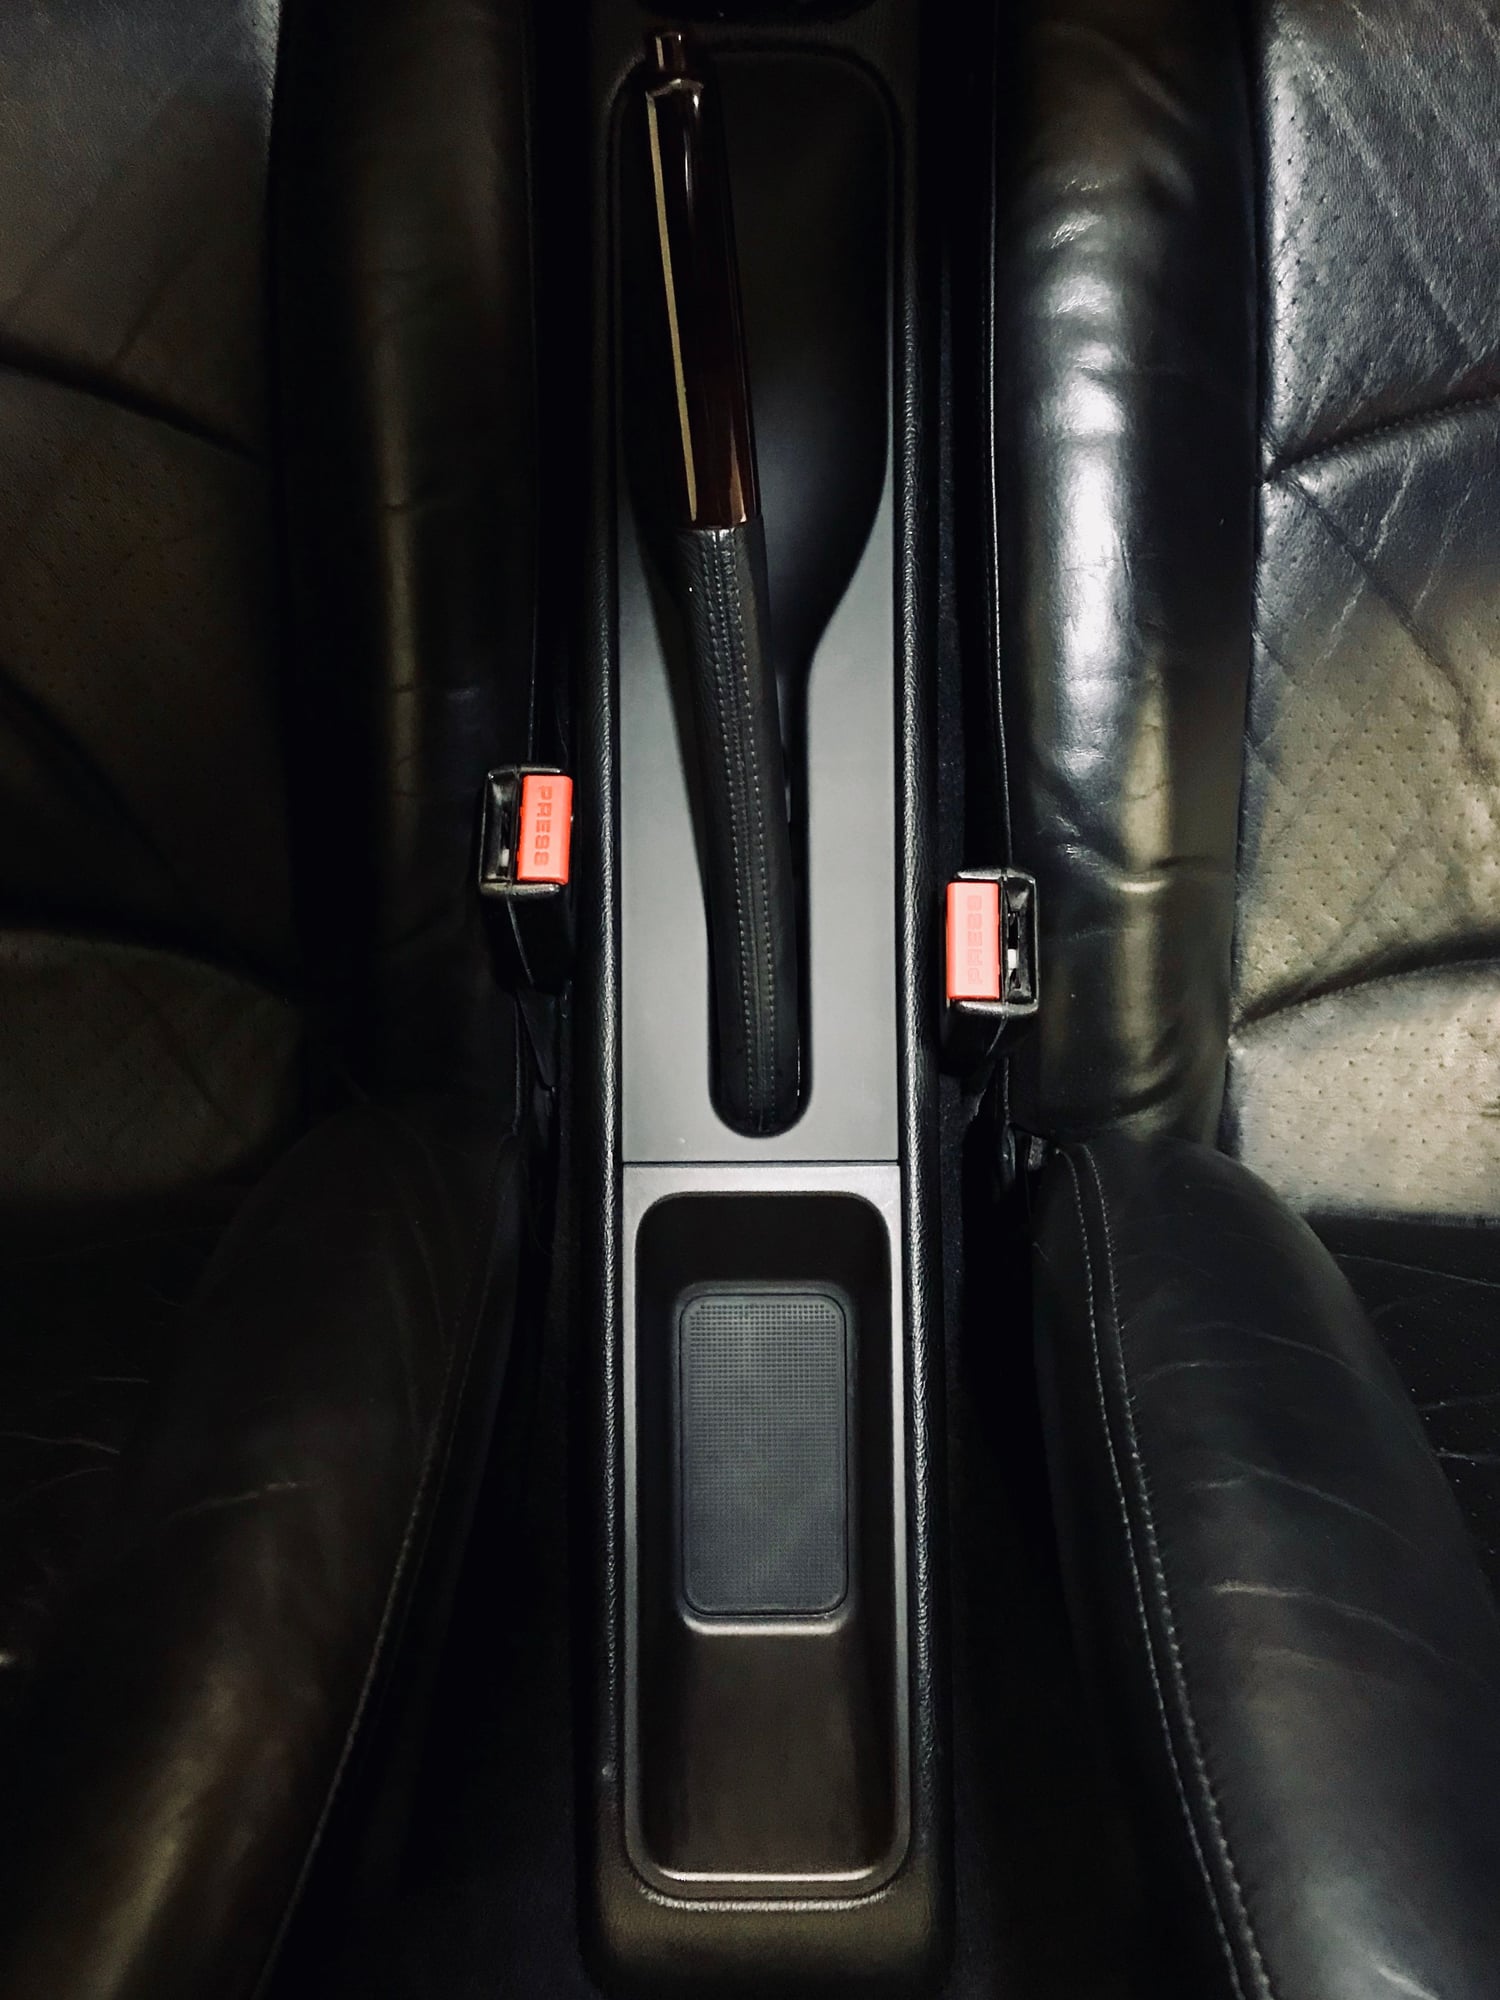
Applied a little vinyl/leather care product and it looks pretty nice to me.

 02-18-2018, 05:47 PM