When you click on links to various merchants on this site and make a purchase, this can result in this site earning a commission. Affiliate programs and affiliations include, but are not limited to, the eBay Partner Network.
Looked closely at mine and the old originals have cracked and broken apart. Want to replace them and see them available on Pelican and elsewhere. looking for a project while stuck at home, anyone tackle this job? Is it too difficult for an average guy with average mechanical skill? Or is it fairly easy?
It is very easy once you get to the two hex nuts that hold each handle on.
I did it recently and here are my thoughts.
Once the door cards are off, not hard, just lots of Phillips screws and a couple of socket head cap screws, just put a slit or two in the vapor barrier plastic so you can get your hand into the door cavity. Then seal it back up with some clear packing tape. Trying to remove 25-year-old film and getting it nicely back in place seemed like it would be a challenge to me.
Use care to not drop the two nuts that hold the handles on, they are easily dropped and can be hard to find in the door cavity.
Two small screws in the door jamb side of the door hold a plastic shroud over the interior lock mechanism that hides one of the door handle nuts. The shroud can take a while and some flexing to remove and reinstall, take your time flexing the shroud and eventually you will get it back in position so it can be reattached.
It is very easy once you get to the two hex nuts that hold each handle on.
I did it recently and here are my thoughts.
Once the door cards are off, not hard, just lots of Phillips screws and a couple of socket head cap screws, just put a slit or two in the vapor barrier plastic so you can get your hand into the door cavity. The seal it back up with some clear packing tape. Trying to remove 25-year-old film and getting it nicely back in place seemed like it would be a challenge to me.
Use care to not drop the two nuts that hold the handles on, they are easily dropped and can be hard to find in the door cavity.
Two small screws in the door jamb side of the door hold a plastic shroud over the interior lock mechanism that hides one of the door handle nuts. The shroud can take a while and some flexing to remove and reinstall, take your time flexing the shroud and eventually you will get it back in position so it can be reattached.
Seems this is now hitting most 993s out there. Close to 80% of the last 993s I have seen have the issue and also almost all have the shrinking rubber under the right headlight at the edge....I placed a rubber shim under mine to pop it out flush.....
Easy DIY, takes a little time but the 2nd door goes much quicker as your learning curve increases. When I did mine I looked at the PET page to see how everything inside the door is assembled and configured.
I assumed that the door cards would have to come off to do it, but is it fairly straight forward beyond that?
I did mine last summer. Totally worth the effort. The hardest/annoying part was getting the plastic vapor barrier off without cutting it. I ended up sealing it all back up with a neat duct tape job.
Good luck and let me know if you have any questions.
It is very easy once you get to the two hex nuts that hold each handle on.
I did it recently and here are my thoughts.
Once the door cards are off, not hard, just lots of Phillips screws and a couple of socket head cap screws, just put a slit or two in the vapor barrier plastic so you can get your hand into the door cavity. The seal it back up with some clear packing tape. Trying to remove 25-year-old film and getting it nicely back in place seemed like it would be a challenge to me.
Use care to not drop the two nuts that hold the handles on, they are easily dropped and can be hard to find in the door cavity.
Two small screws in the door jamb side of the door hold a plastic shroud over the interior lock mechanism that hides one of the door handle nuts. The shroud can take a while and some flexing to remove and reinstall, take your time flexing the shroud and eventually you will get it back in position so it can be reattached.
Hope this helps, Andy
The job is quite easy. My biggest struggle was the last items that Andy mentioned. And some PB Blaster will help with the handle nuts that can have some rust.
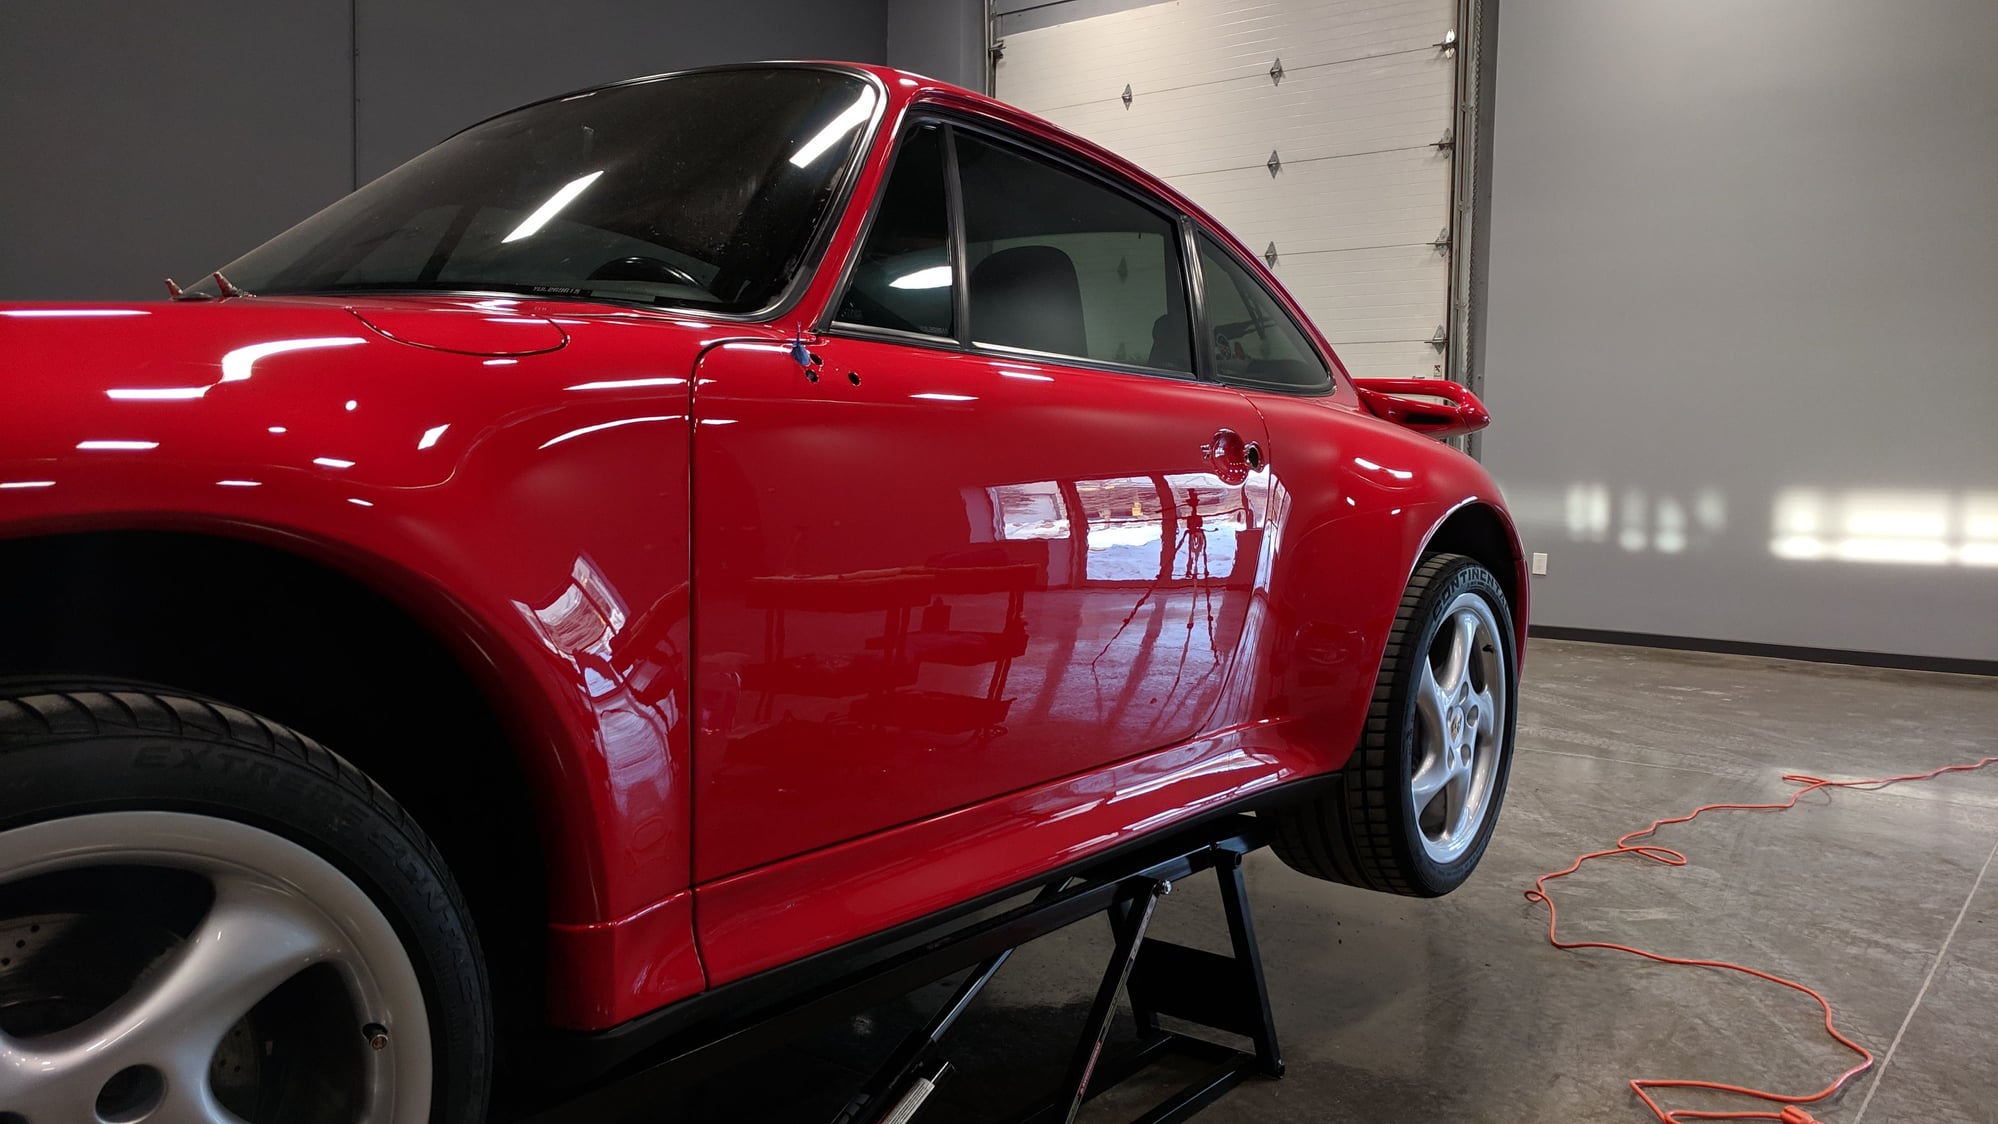
I recently did this to The Refinery 993, and it looks much better now with the new gaskets. shiny, brittle and cracked door handle gaskets Handle being removed Great opportunity for paint correction now that the handle is out of the way 2 Step Paint correction underway!
My vapor barrier had already been cut and taped from previous work. I removed all the crusty old tape and used some scrap PPF to reseal the area It worked great.
Put a rag in the door cavity below the handle area to catch the little nuts if they try to escape. Soak in penetrating oil the nuts/bolt before removing, they will have rust. 1/4 flex ratchet works best with extensions and sockets. A ratcheting wrench may also be of assistance. May want to consider disconnecting battery as the power door lock servo can be easily triggered while in there.

 03-22-2020, 02:46 PM


 It worked great.


