When you click on links to various merchants on this site and make a purchase, this can result in this site earning a commission. Affiliate programs and affiliations include, but are not limited to, the eBay Partner Network.
I have 3 question : where is still possible to buy for a decent price the RSR tie rods, did you install the tilt kit as well and in the picture with M 003 Aerokit, which tires are you using?
I have BS RE71 225/40 & 265/35 on the Speedlines, they are sticky as hell and I get better laps w/ them than w/ the NT01, 235/45 & 275/35 on 8.5 & 10 but not as good as 245/35 & 285/30 MPSC
I have an original pair from Porsche Motorsport and a spare pair from Tarret
No tilt kit, maybe the big torque turbos profit from it but I don't like what it does to the suspension geometry, When you reduce squat you also reduce feel and feed back, there is no free lunch
[[color=#222222]I have BS RE71 225/40 & 265/35 on the Speedlines, they are sticky as hell and I get better laps w/ them than w/ the NT01, 235/45 & 275/35 on 8.5 & 10 but not as good as 245/35 & 285/30 MPSC
So the best laptimes come out with the largest tyres? How did you manage in the rear, did you work the inner side of the wheel arch?
No tilt kit, maybe the big torque turbos profit from it but I don't like what it does to the suspension geometry, When you reduce squat you also reduce feel and feed back, there is no free lunch
After having read some other your contributes in past threads, I desumed to do the same, because torque is very few compared to turbos and not that brutal as for those engines.
I think I'm going to take this in stages as others have done:
1:
Front control arm monoballs (because I only want to do this job once)
Front ball joints
Steering rack bushings and brace
Some kind of RSR style inner tie rod to get rid of the rubber
Rear, all bushings in RS rubber
Rear toe rod turnbuckle style (rennline)
Adjustable sway endlinks
Coilovers. Right now debatings PSS10 vs HR street performance. I just want a setup that works well on the street, firm but not too jarring, with good height adjustability.
I'll run this setup at the ride height I'm at now, which is ROW M030
Camber plates and rear monoball top mounts
2.
RS style uprights (maybe BBI if theyre still making them)
Consider turnbuckle style rear kinematic and camber arms
Solid rear carrier bushings
Run at or slightly above RS height
3.
Potentially upgrading the coilover setup
Get the thick ones(they match the thickness of the oes) if you are going to run solid sides in back @RS height, the regular thin ones are for cars lowered to ~RSR height
H&R are Bilsteins relabled and valved by H&R, I have their most robust version which is the same as the original Cup shocks, but had a digressive revalve done by Bilstein San Diego when new. In this form they are great w/ 600/750-800 # shocks. If you only want a street shock the PSS10 is fine except for the mounting issues w/ camber plates. These are digressive stock, If you want a better shock I'd look at Motion Control, you don't have to get the race shocks w/ separate canisters.
If getting the RS or clone wheel carriers you need the outer tie rods too they are shaped differently than the standard versions. Then use whichever of the 3 different inners you want
So the best laptimes come out with the largest tyres? How did you manage in the rear, did you work the inner side of the wheel arch?
After having read some other your contributes in past threads, I desumed to do the same, because torque is very few compared to turbos and not that brutal as for those engines.
It all comes down to grip from the compound and inertial/gearing costs, the shorter lighter tire w/ the stickiest compound will be fastest, Those 3 tires are mostly the same for compound grip the 285/30 is the star wrt gearing cost, The Nittos the worst in that regard
You are right to be concerned w/ clearance on the inside, the right side is worst on the left it's the lip thats worst, 10ET65 places the tire as well as it can be positioned, w/ the 285 on a really low car a smll bit of clearancing is necessary on the right side, up front anything more than a 225 will rub on the inner wall at full lock, generally this isn't an issue
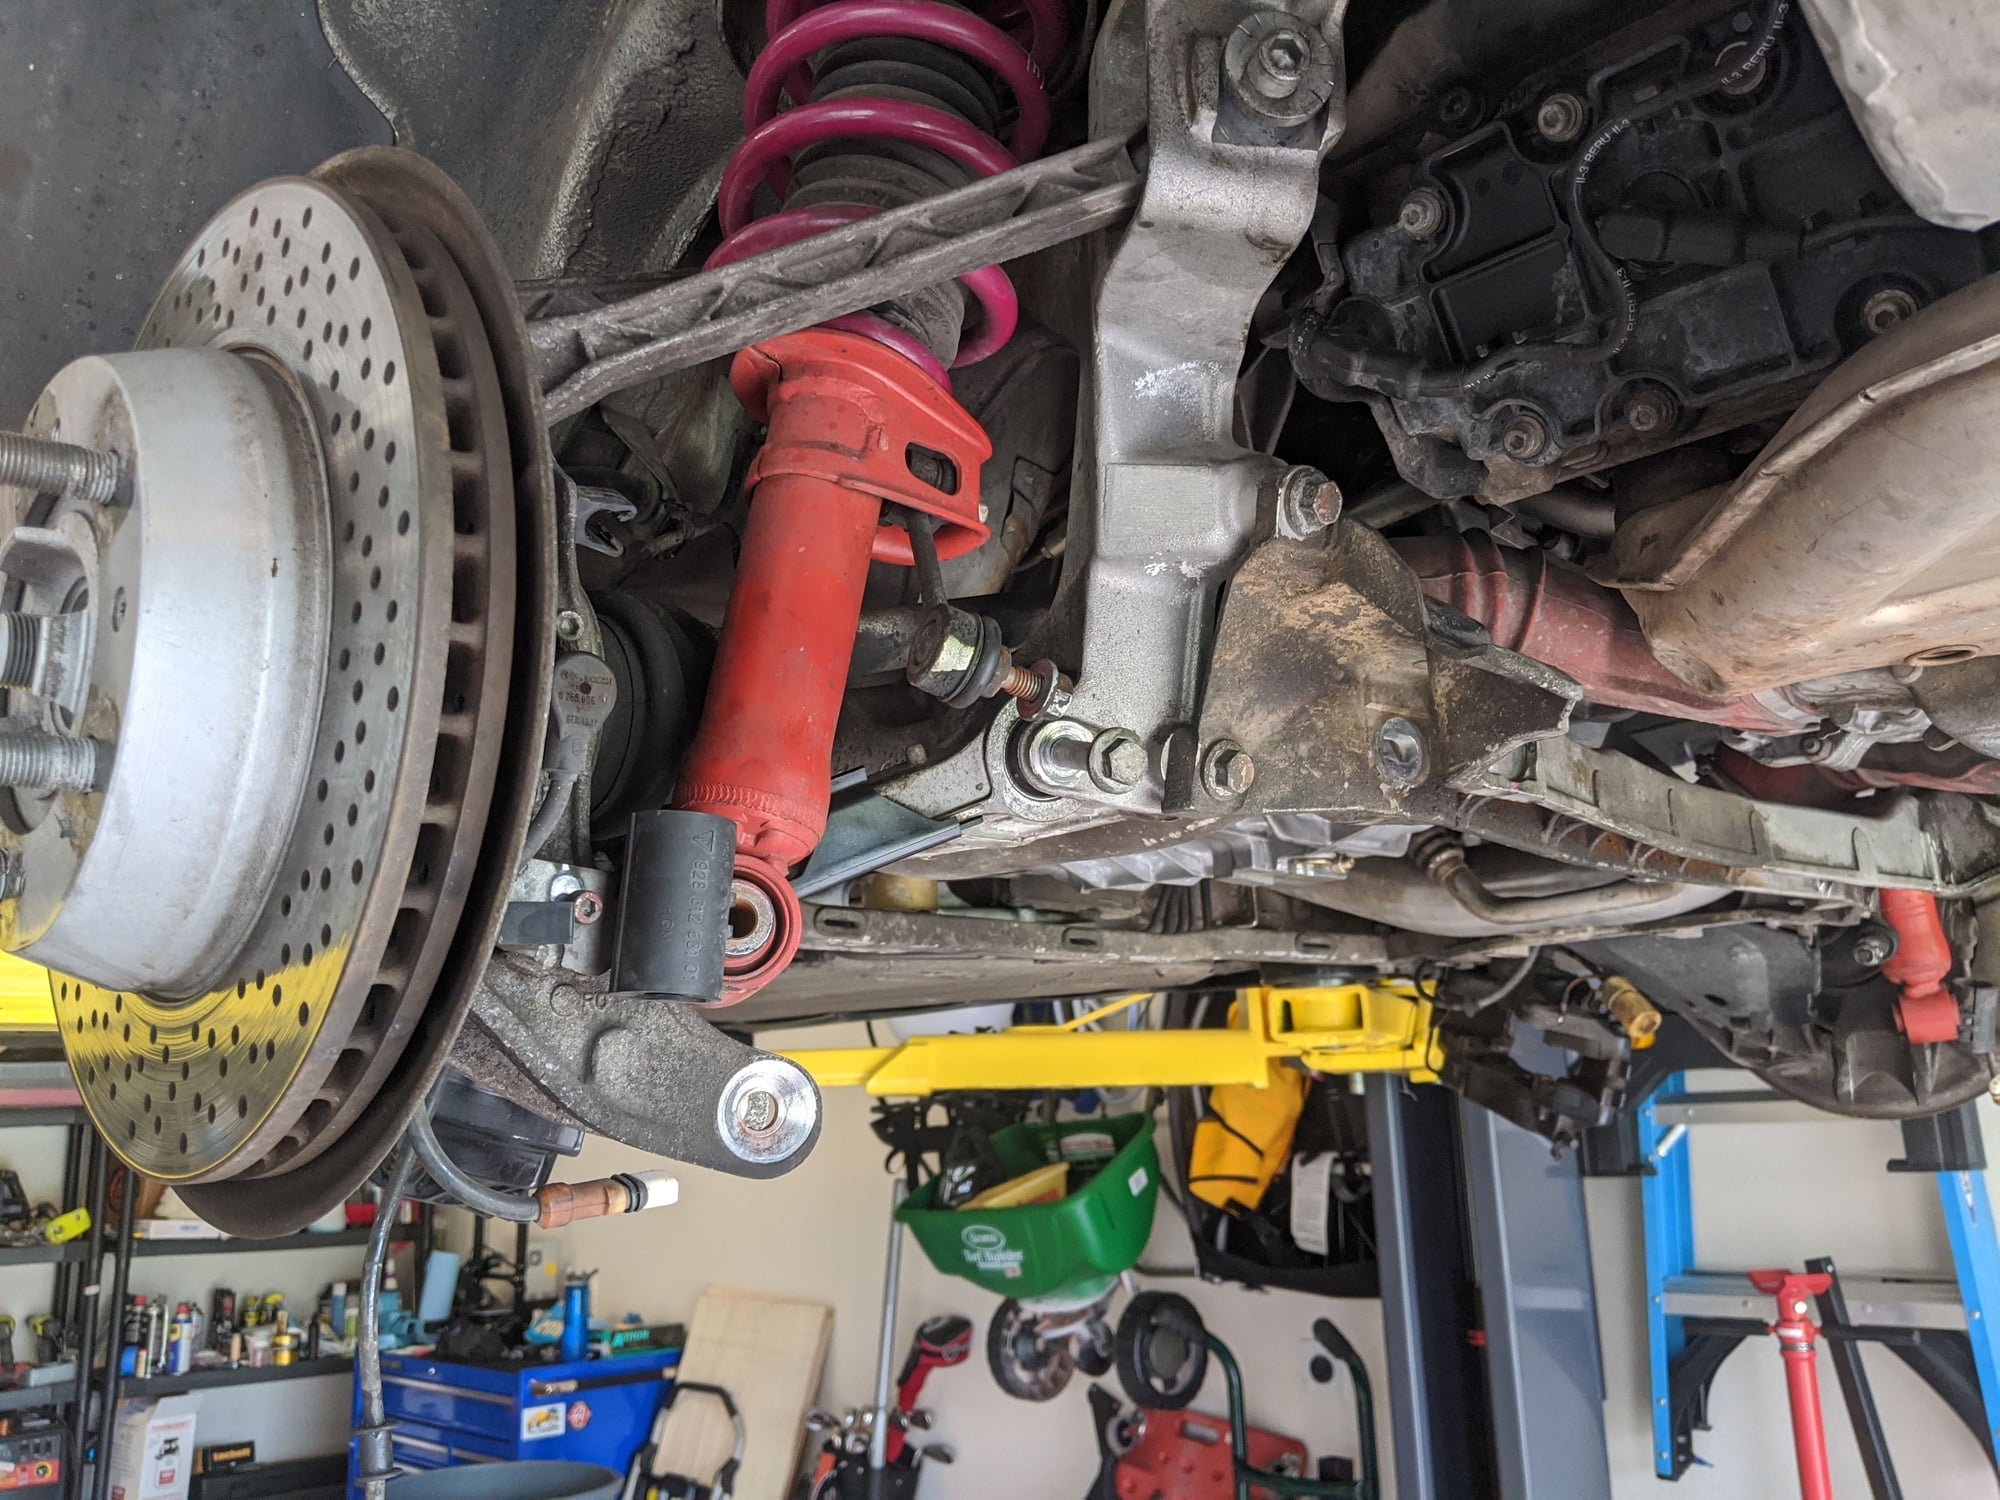
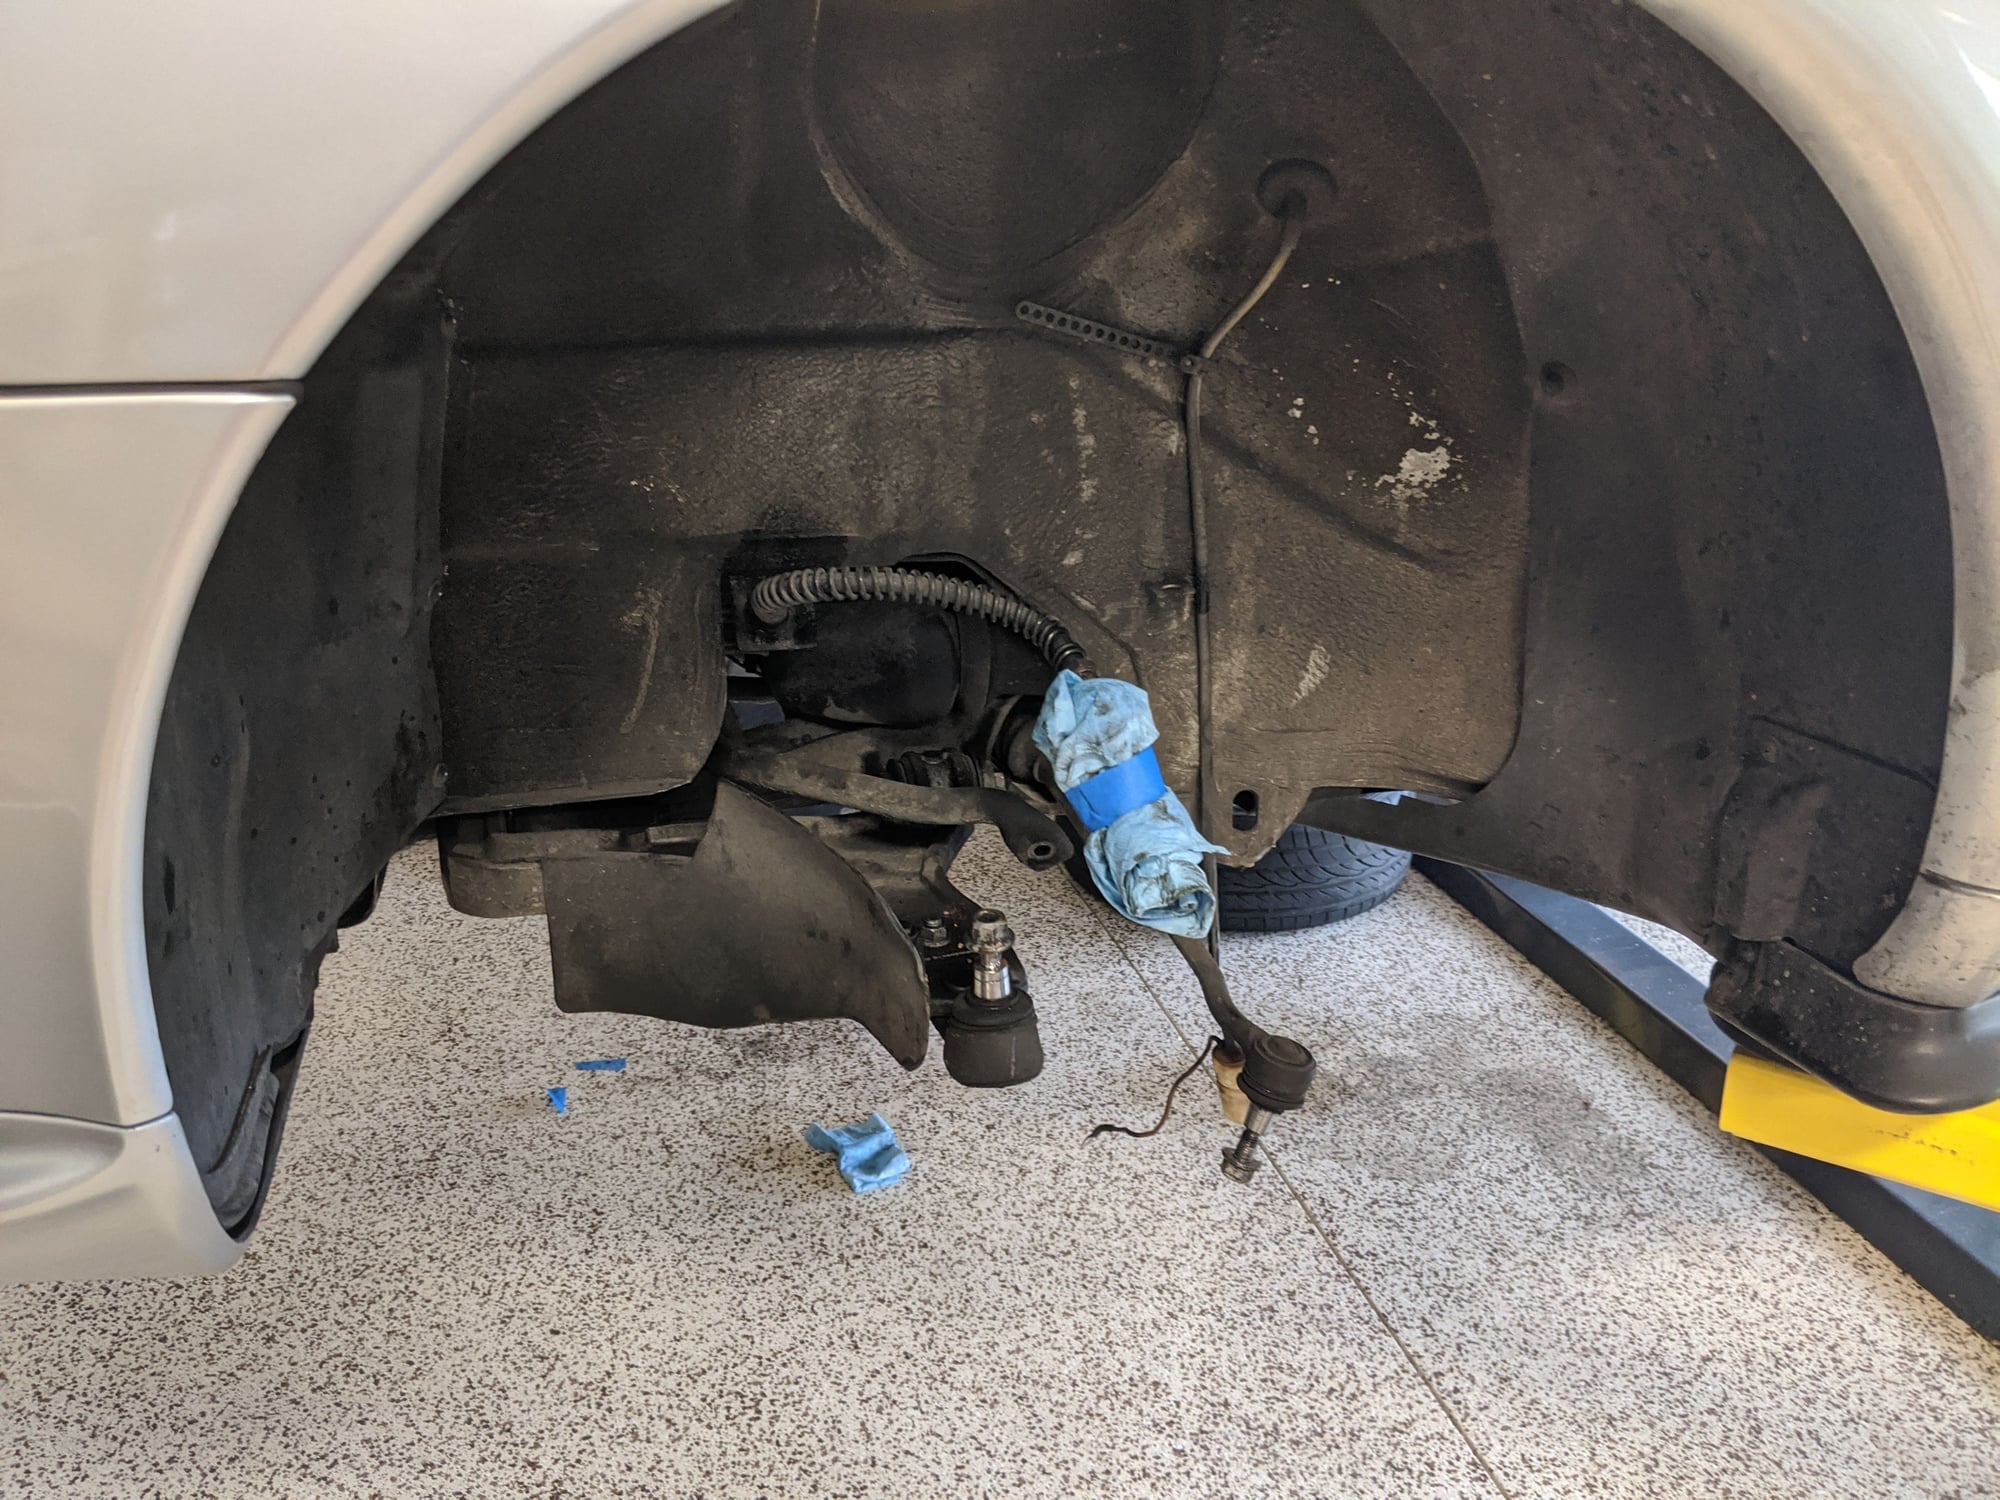
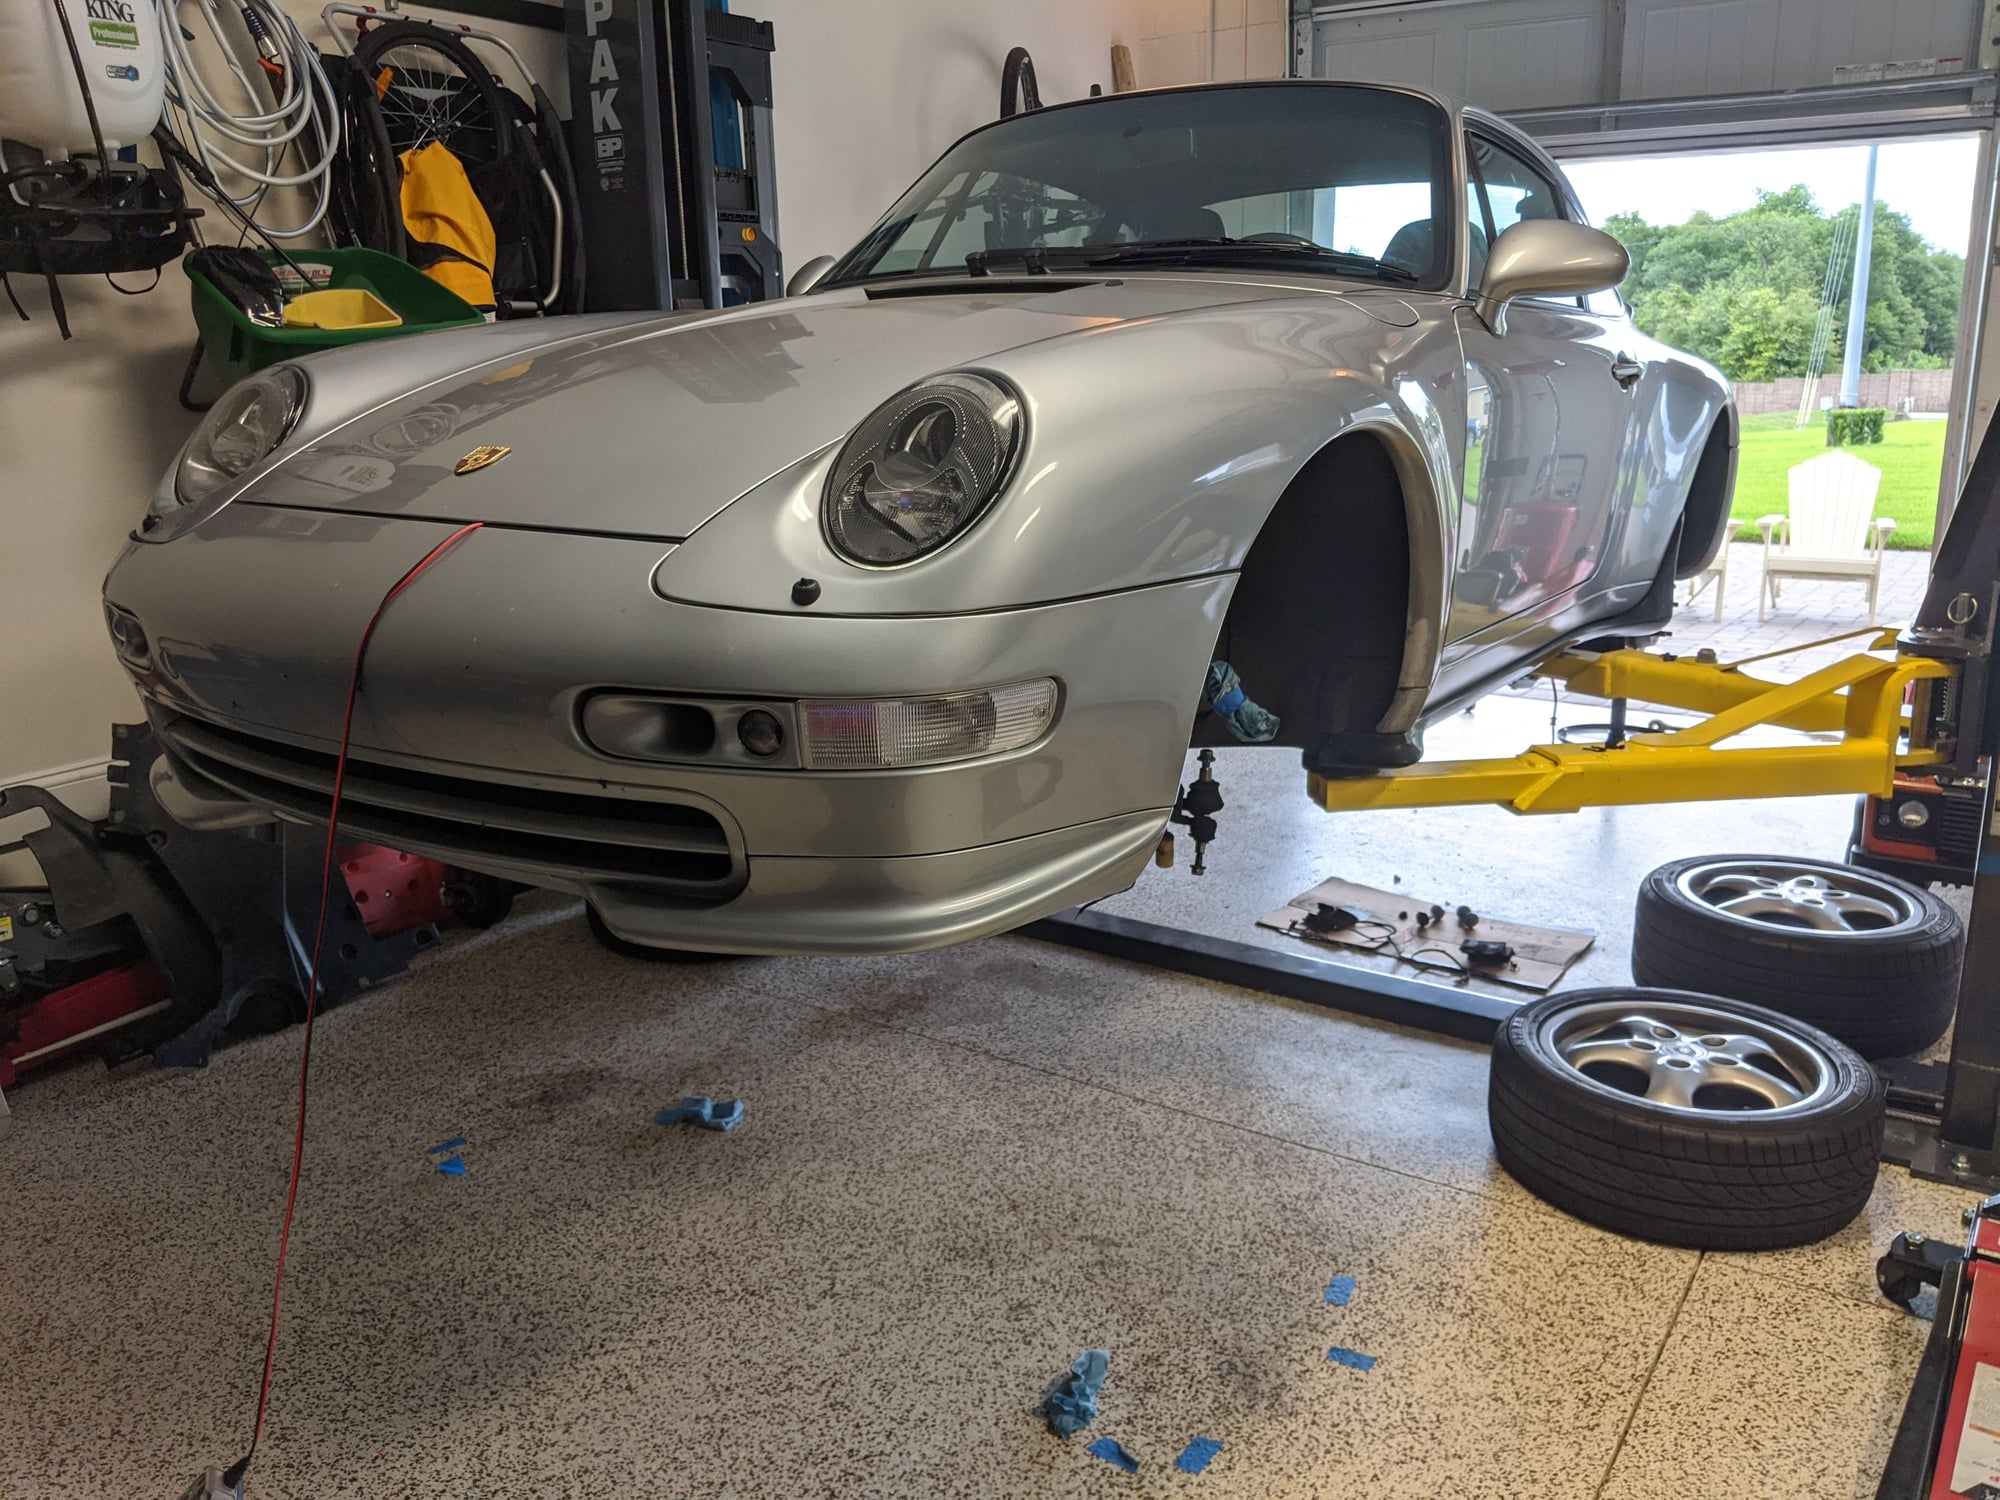
Done most of the teardown. Rear is ready to dismantle, just waiting on an impact screwdriver kit to try and remove the rear disc retainer screws. If that doesn't work I'll just drill them out. Fronts all undone besides the control arm.
Rears all unbolted and ready to come out The lift really makes working on cars enjoyable. Both front struts were blown and had leaked out all of their oil
I've gone off the deep end with my plan. I'm going to get the following.
- MCS 1 way adjustable coilover setup. Any input on spring rates? The guys putting this together are recommending 280/448, what do you guys think?
- BBI billet uprights and steering arms
- RS sways and adjustable droplinks
- Rennline sealed monoballs (front control arm, and one for rear control arm)
- Rennline control/KT/Toe arms with rubber boots
- Rennline solid subframe mounts
- Tarret camber plate and rear mount
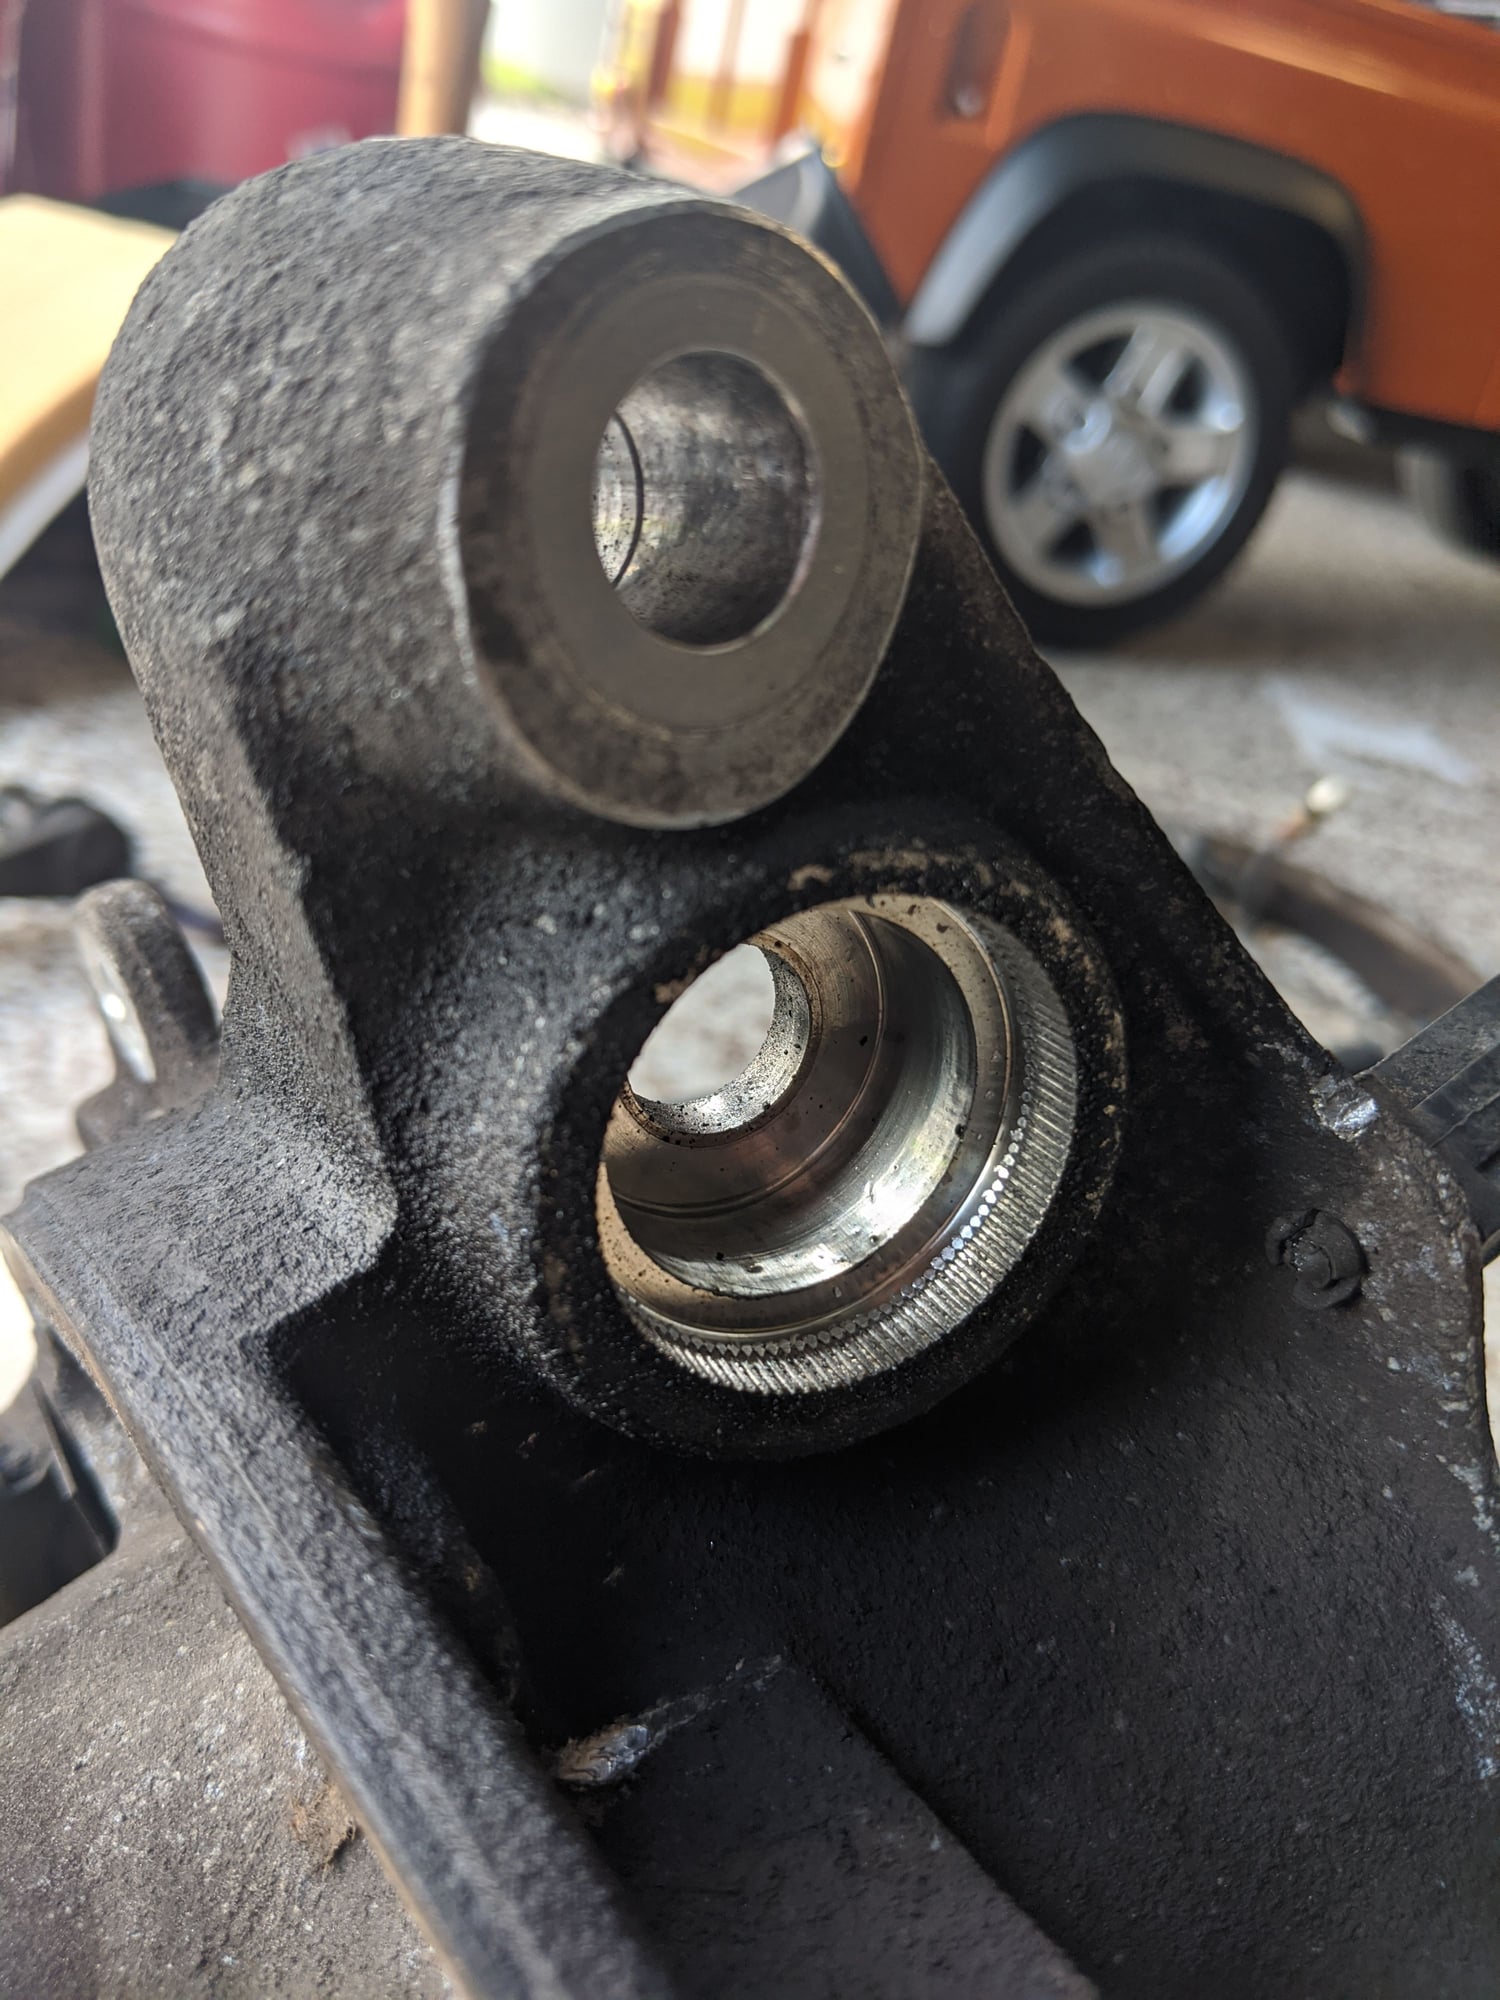
Further disassembling the rear suspension. The only snag was that I had one extremely seized ball joint. Took me a bunch of heat and pressure to release. The problem is that I pressed out the whole ball joint sleeve from the knuckle. Do they sell these parts seperately or did I just buy myself a new rear knuckle?
I would use a ball joint separator or a press to remove that sleeve from the ball joint. Harbor freight sells a $12.00 tool that works great for this. That steel sleeve is supposed to be part of the aluminum carrier. Once the sleeve is removed, I bet if you can chill the sleeve in the freezer and then heat the aluminum carrier with a heat gun you can press it back together The aluminum expands more than the steel so likely it was enough to let go the sleeve when you heated everything together.
I would use a ball joint separator or a press to remove that sleeve from the ball joint. Harbor freight sells a $12.00 tool that works great for this. That steel sleeve is supposed to be part of the aluminum carrier. Once the sleeve is removed, I bet if you can chill the sleeve in the freezer and then heat the aluminum carrier with a heat gun you can press it back together The aluminum expands more than the steel so likely it was enough to let go the sleeve when you heated everything together.
I broke 2 ball joint separators on this. One exploded and the other bent. Never seen that happen before.
I'll keep trying with more heat, but this thing is completely seized.
Oh jeez. Well I guess you need a press then! I am sure if you call around a machine shop can pop that sleeve off for you and press it back in your carrier. Good luck!
Oh jeez. Well I guess you need a press then! I am sure if you call around a machine shop can pop that sleeve off for you and press it back in your carrier. Good luck!
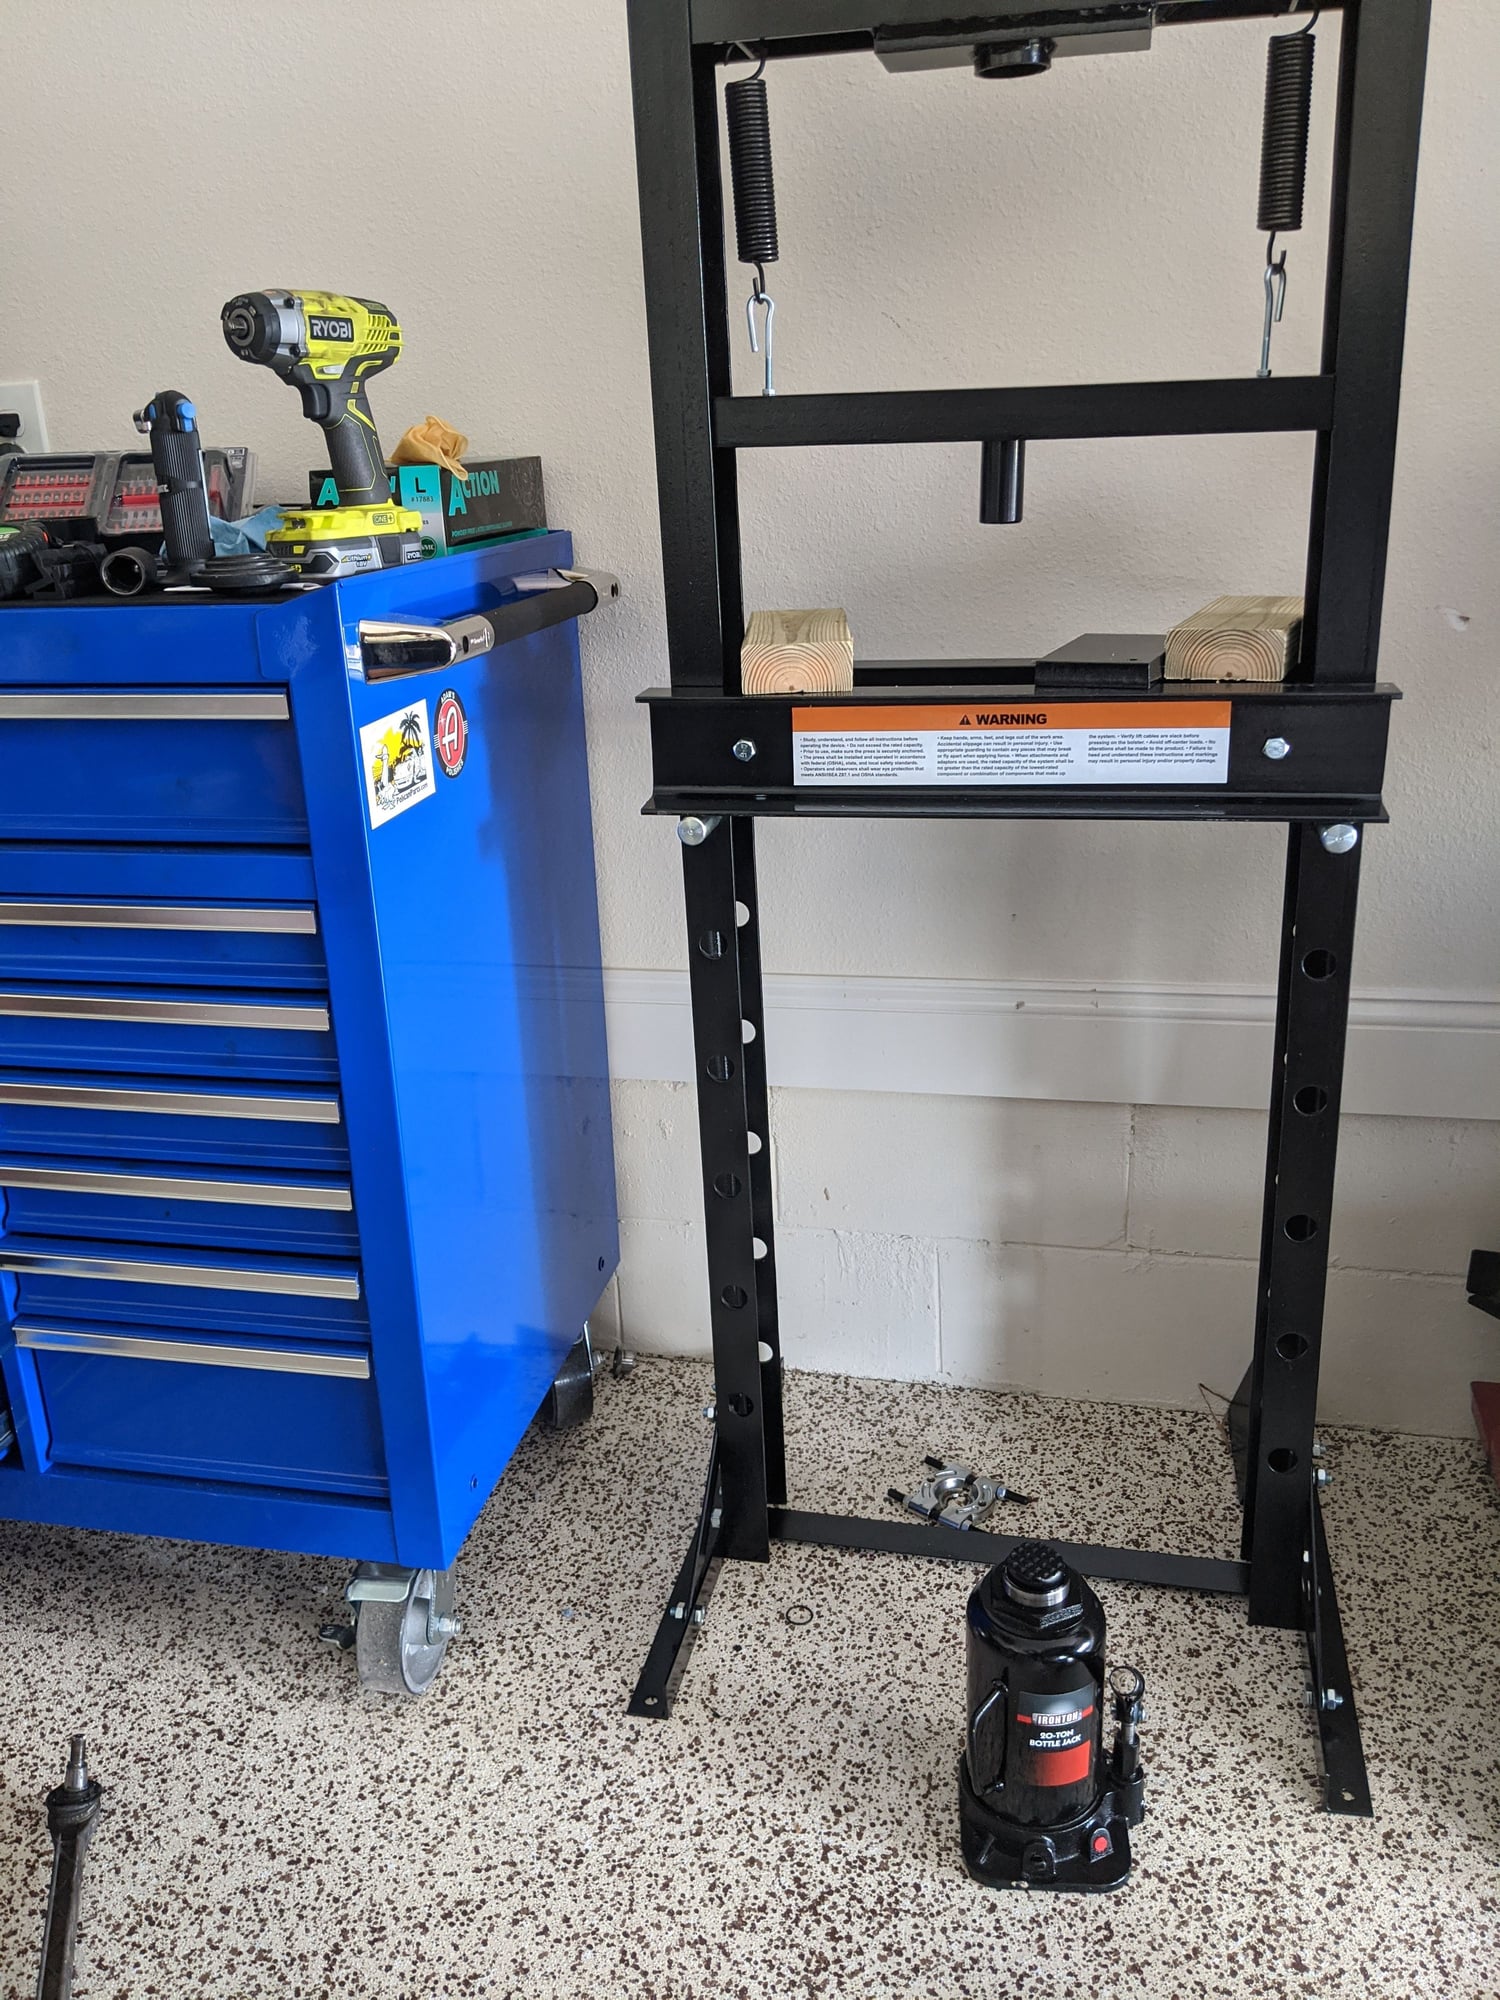
I've got a 12 ton press on the way. Well see if I can save this thing.
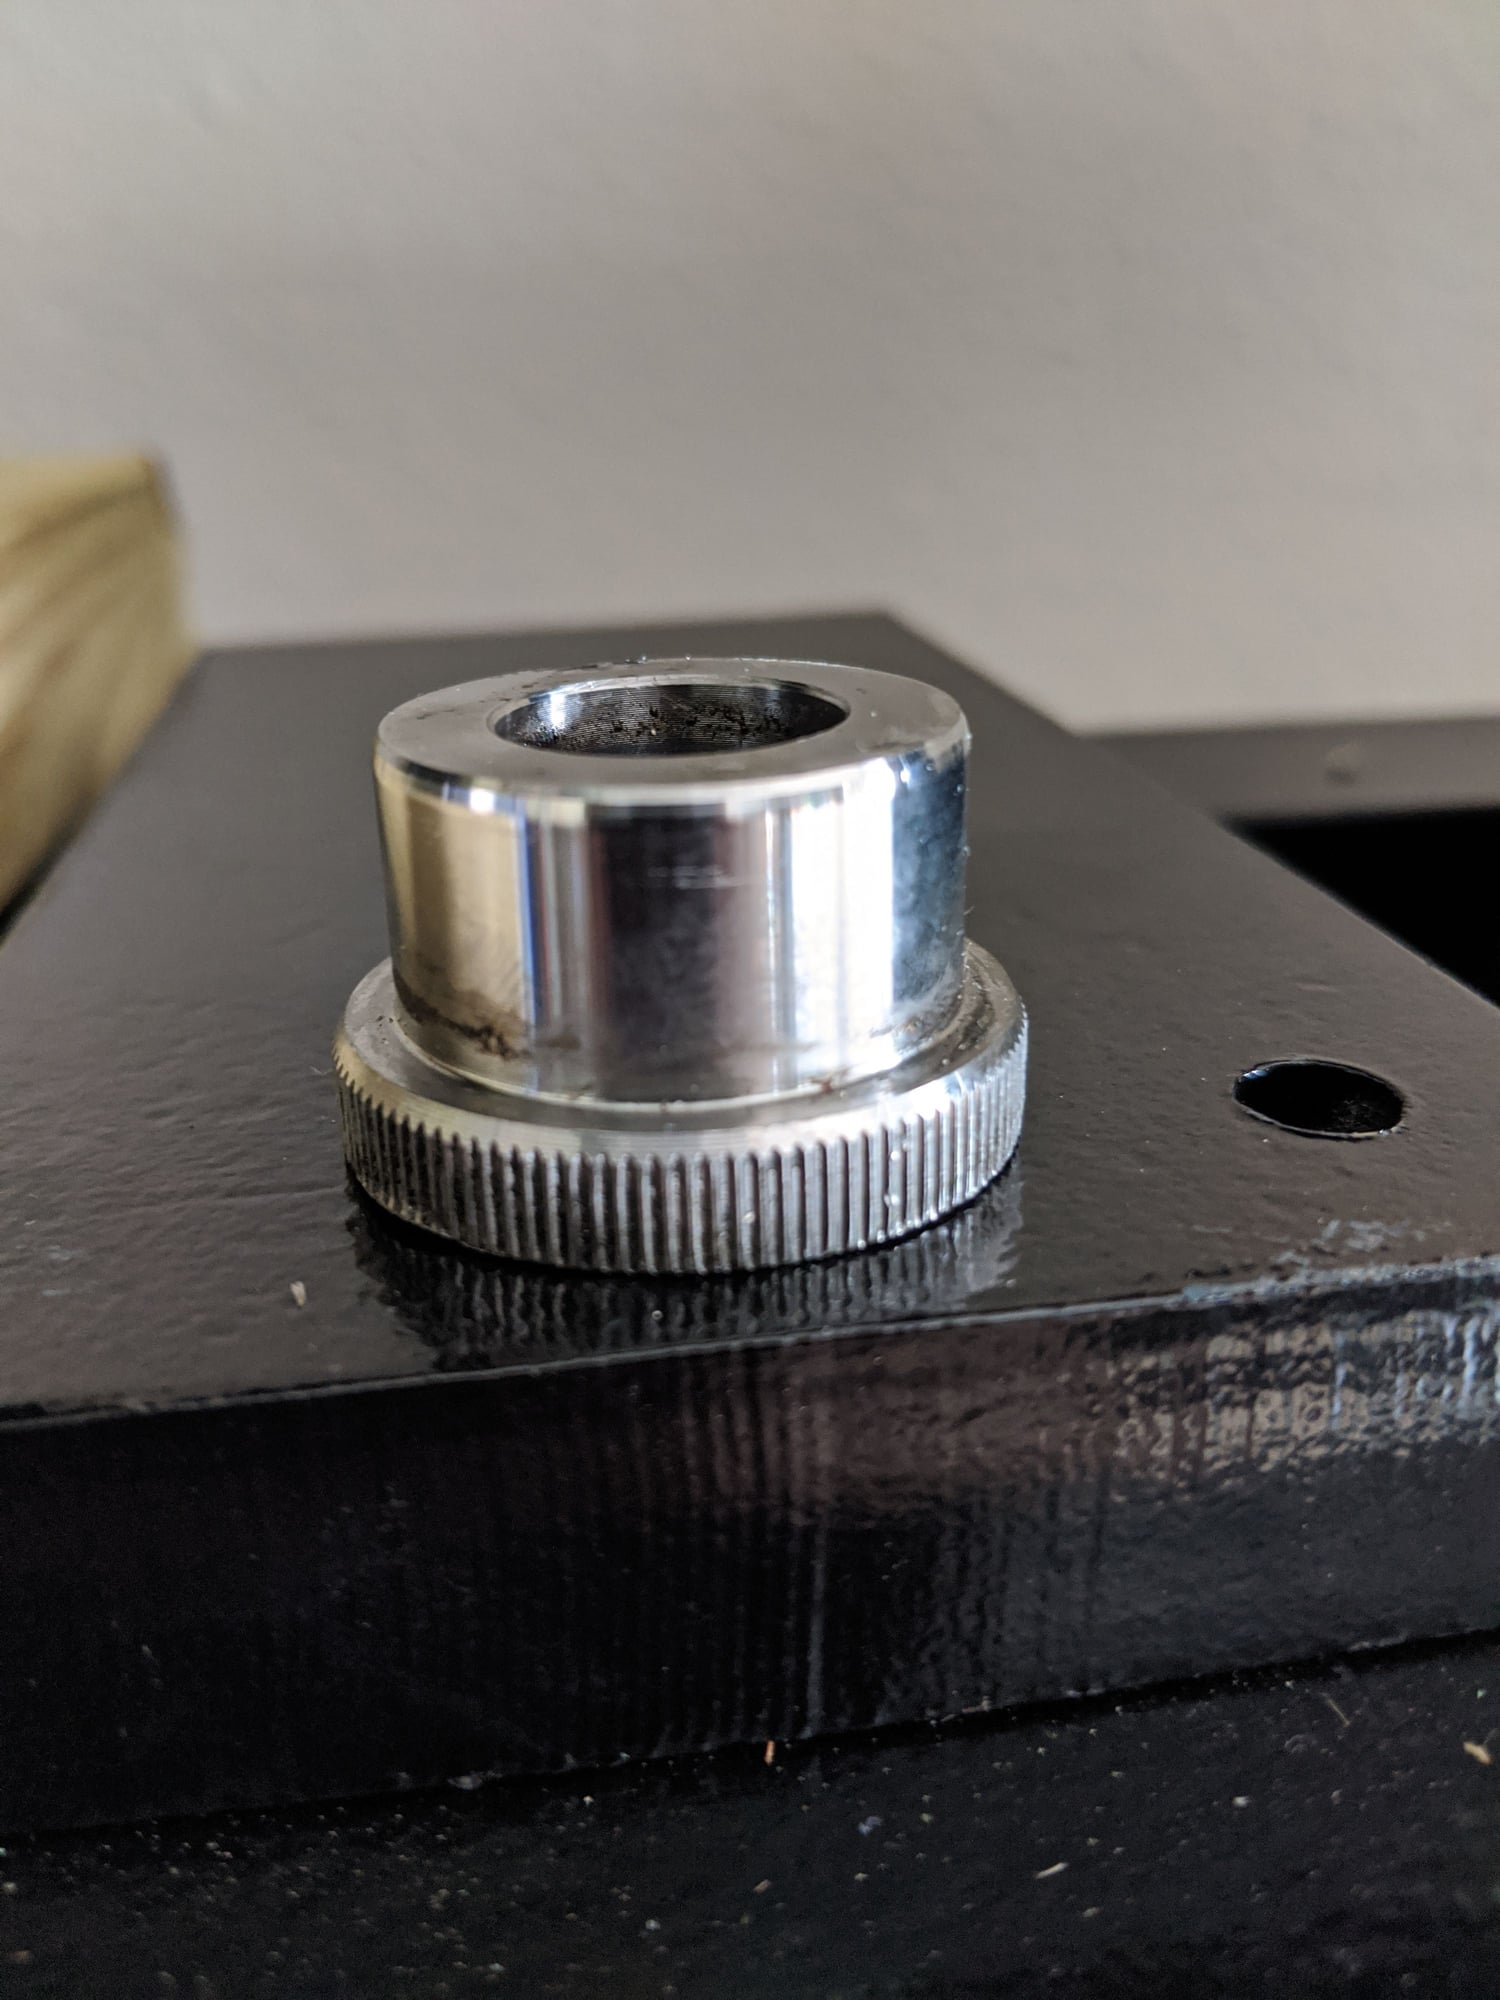
So I got the steel insert separated from the ball joint, but holy crap was it an ordeal. I got this beefy 20 ton press thinking it'd be a breeze, but let me tell you it took all of the 20 tons. The frame of the press was twisting under the pressure and it didn't give way gradually, it just let in one snap. The hydraulic ram jumped out of it's spot and landed in my lap. Really crazy.
The dastardly insert. All the parts ended up scattered on the floor.
Now I'm just in a waiting game for parts. Will likely be till end of June/beginning of July as I wait for the bbi uprights and the mcs coilovers.
Next up for me is to remove the front control arm bushings and steering rods.

 05-17-2020, 01:08 PM