When you click on links to various merchants on this site and make a purchase, this can result in this site earning a commission. Affiliate programs and affiliations include, but are not limited to, the eBay Partner Network.
I was going to buy a 20,000 mile cab earlier this month and one of the reasons I passed was these stone guards. I�ve found that when they dry out to the point where they are cracked they are harder to get off. I just couldn�t stomach a repaint on a really low mile car (there were other issues with the car also).
Onami, mine were almost to that point. In some ways, it was actually easier to get them off, as the small chunks were the focus. I�ve seen non-checke guards being taken off that break up anyway as they are getting removed. Sox of one, half dozen of another.
Originally Posted by Onami
I was going to buy a 20,000 mile cab earlier this month and one of the reasons I passed was these stone guards. I�ve found that when they dry out to the point where they are cracked they are harder to get off. I just couldn�t stomach a repaint on a really low mile car (there were other issues with the car also).
Ed, These were the worst that I have seen. My detailer said the same thing. He did say he wouldn’t let that deter him from buying the car, but there were other issues that in total made me pass.
Slightly OT here as this has nothing to do with effective removal of the stoneguards: for anyone contemplating such, how well have you tried cleaning them?
I was at this very juncture some time back and was dreading the possible mishaps. So as a last-ditch effort, I bought some "tough" degreaser/cleaner (I think from Home Depot?) and went at my original cruddy guards which were a super yucky, mottled and nearly charcoal looking mess ...remember, these are clear on top of GuardsRed so they looked really bad! To my shock, after some scrubbing with a shop rag (those coarse red rags), with time and careful but tough scrubbing, this is what I got:
I really wish I had taken a "before" pic as they were hideous looking and decades old. I have no idea if anyone's guards are beyond repair, but this is worth undertaking IMO. And if it doesn't work, well you still have the nuclear option
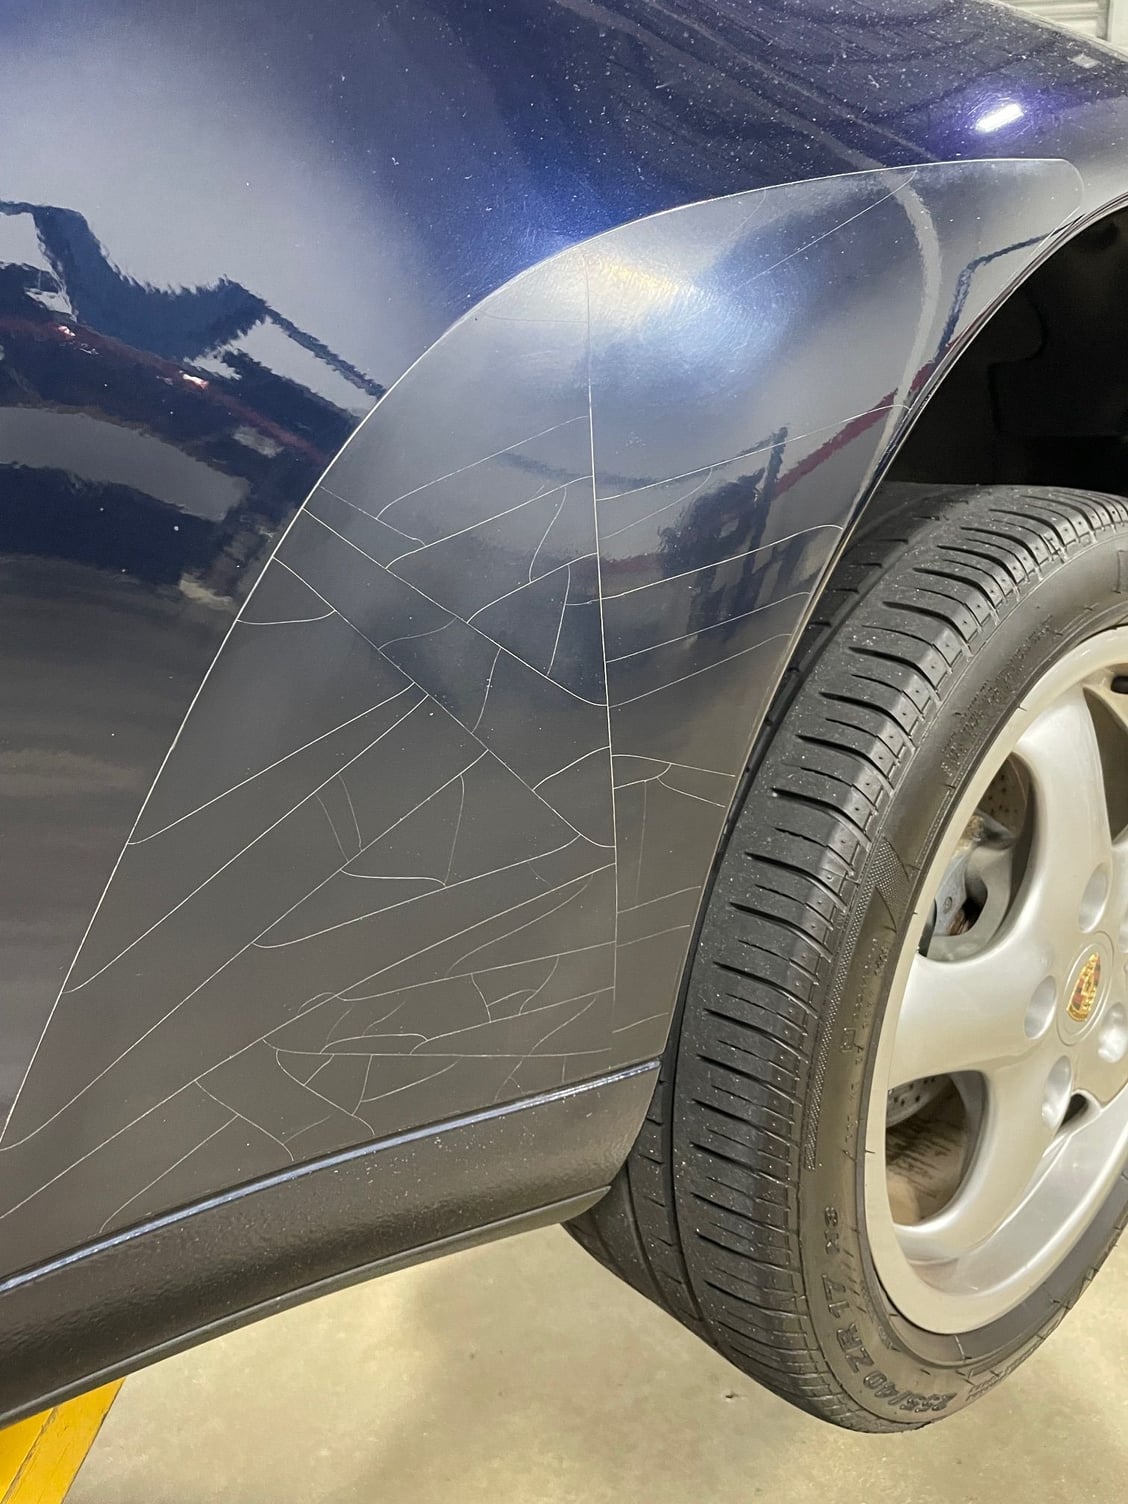
To "Onami" and the picture of the blue car. Mine looked like that as to all the cracks, but the surface of the plastic was far worse. Heat gun, plastic razor blades and naphtha and all good. An infrared temp gun is not needed, but if you have one ,you can monitor the application of heat to tell when the acrylic adhesive starts to loosen (soften). Takes some of the guesswork out of it. Follow up with an adhesive remover as it has in addition to naphtha , also Xylene and ethyl benzene and probably toluene. Some acetone can also help. It all has to do with chemistry.
This system always works for me.
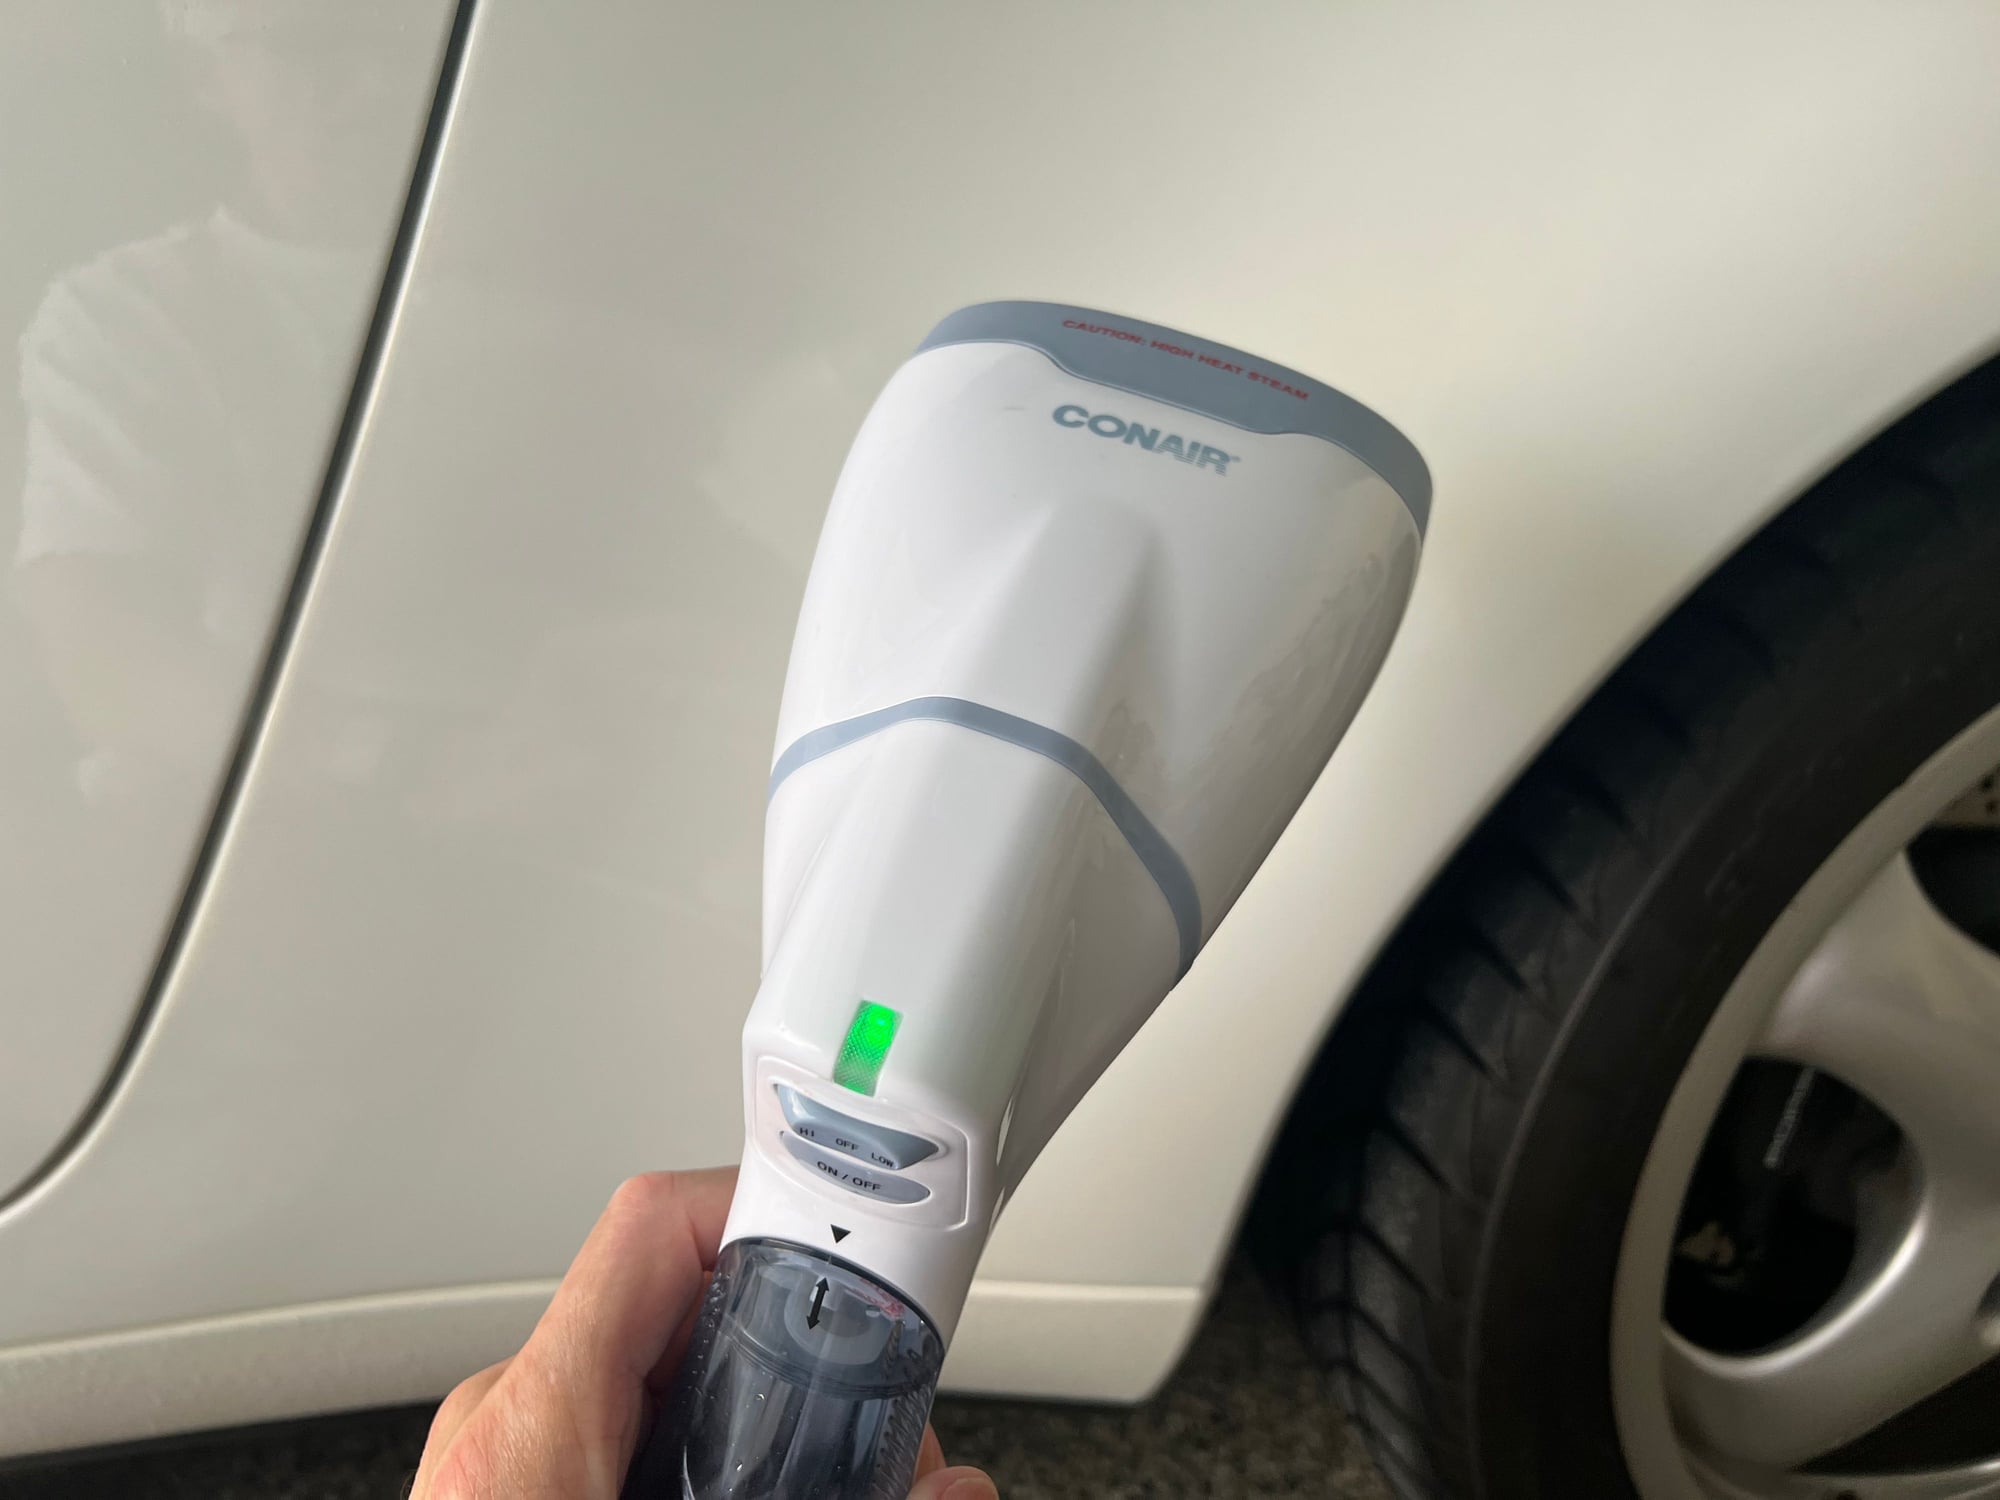
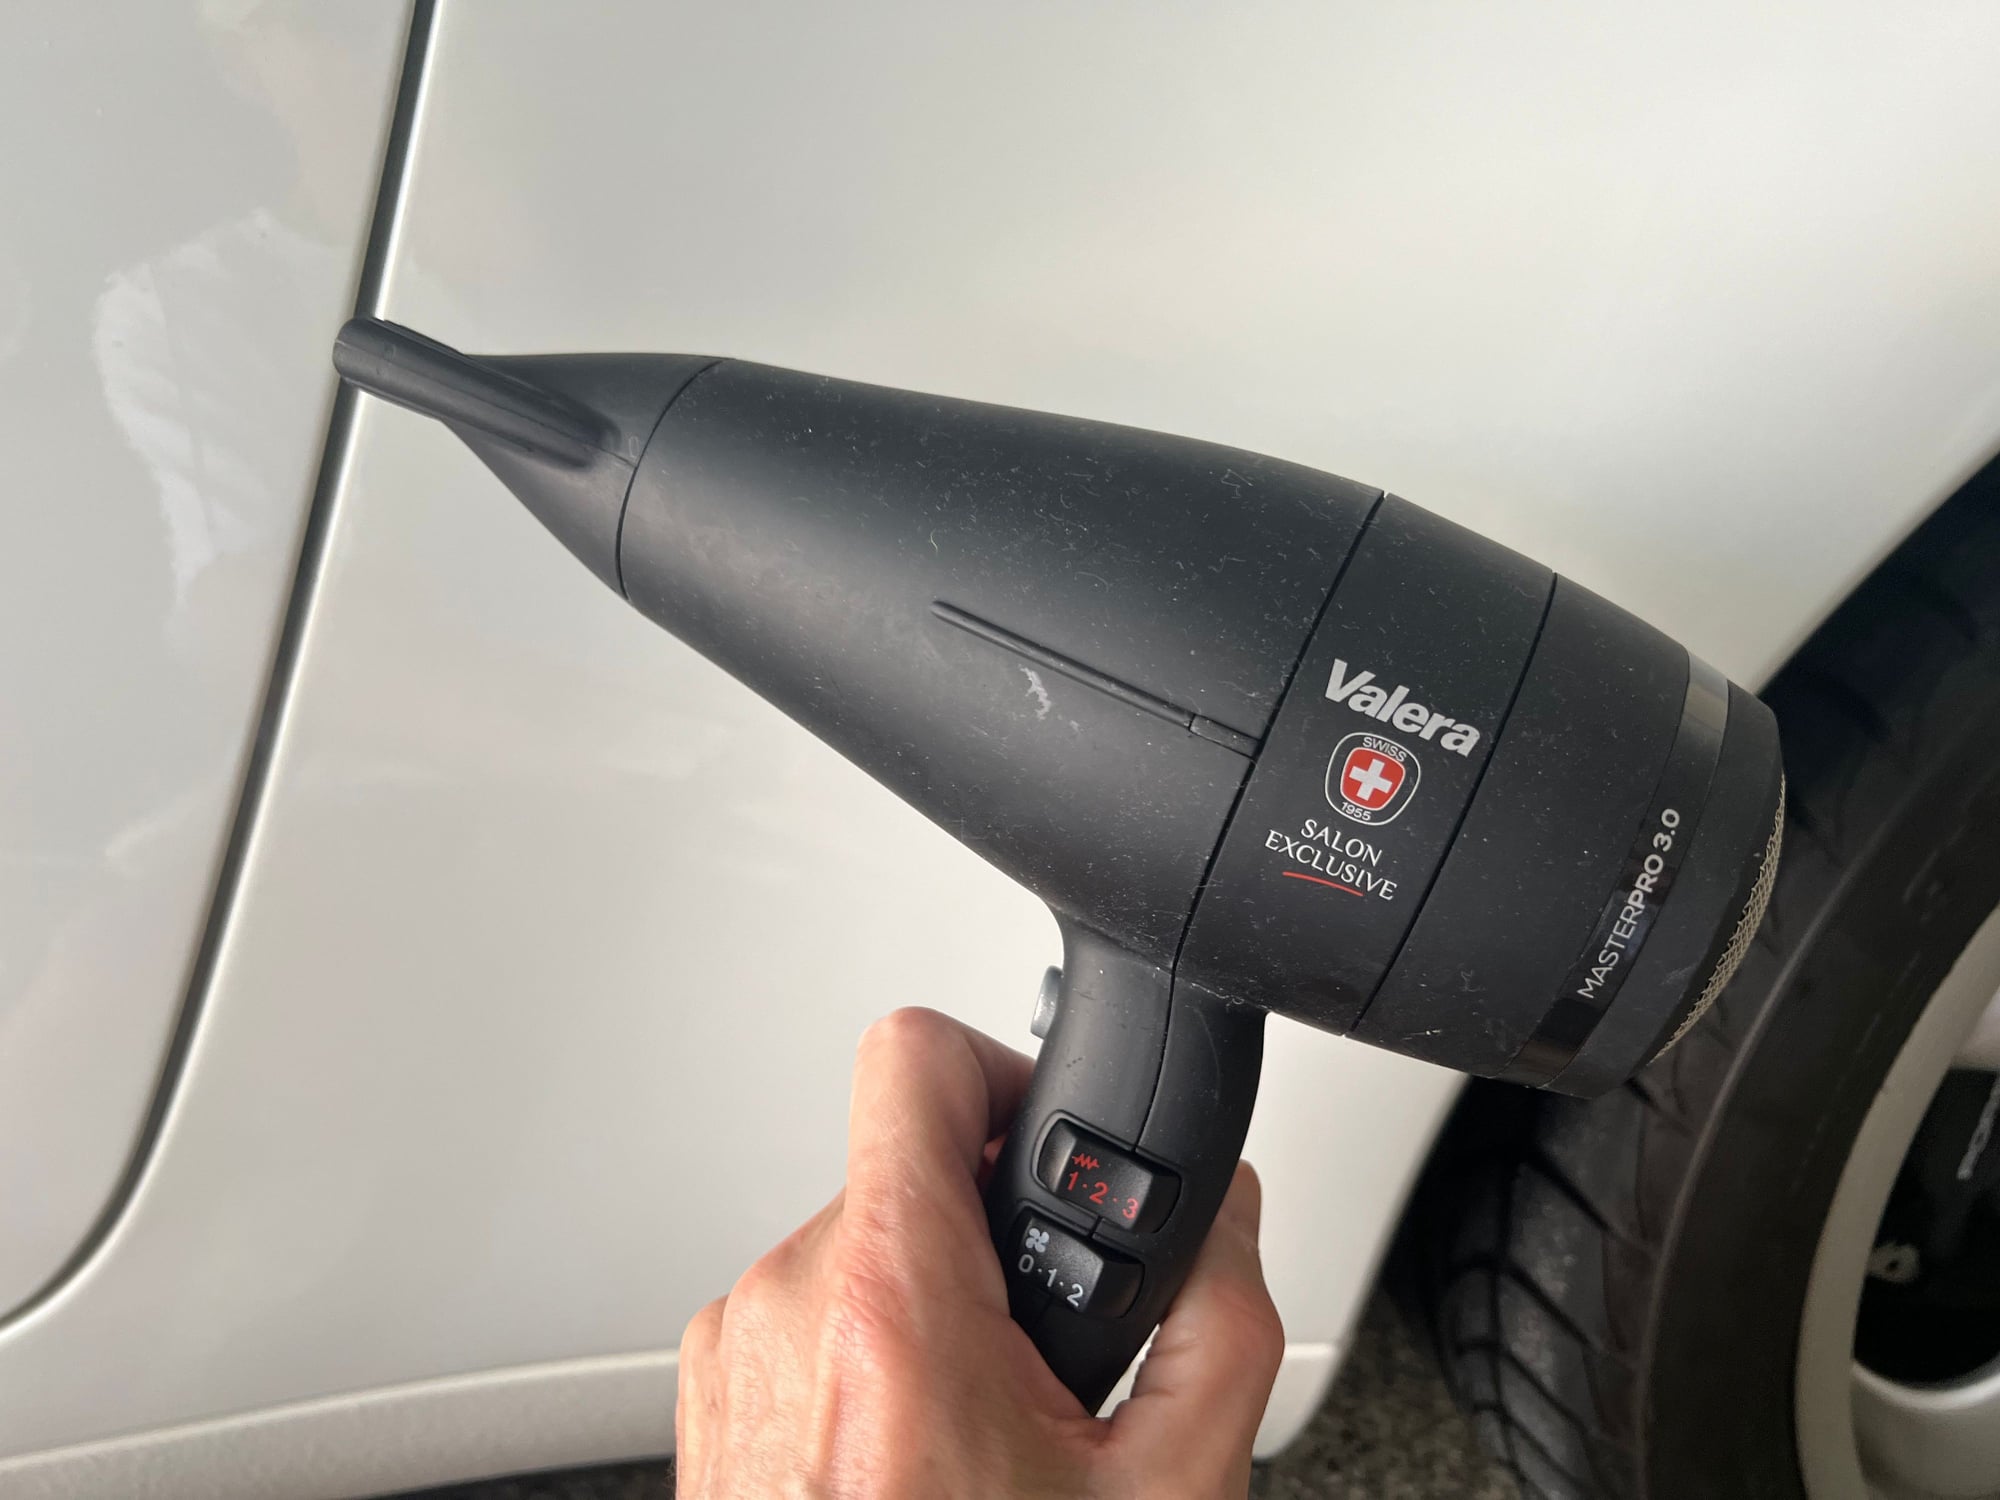
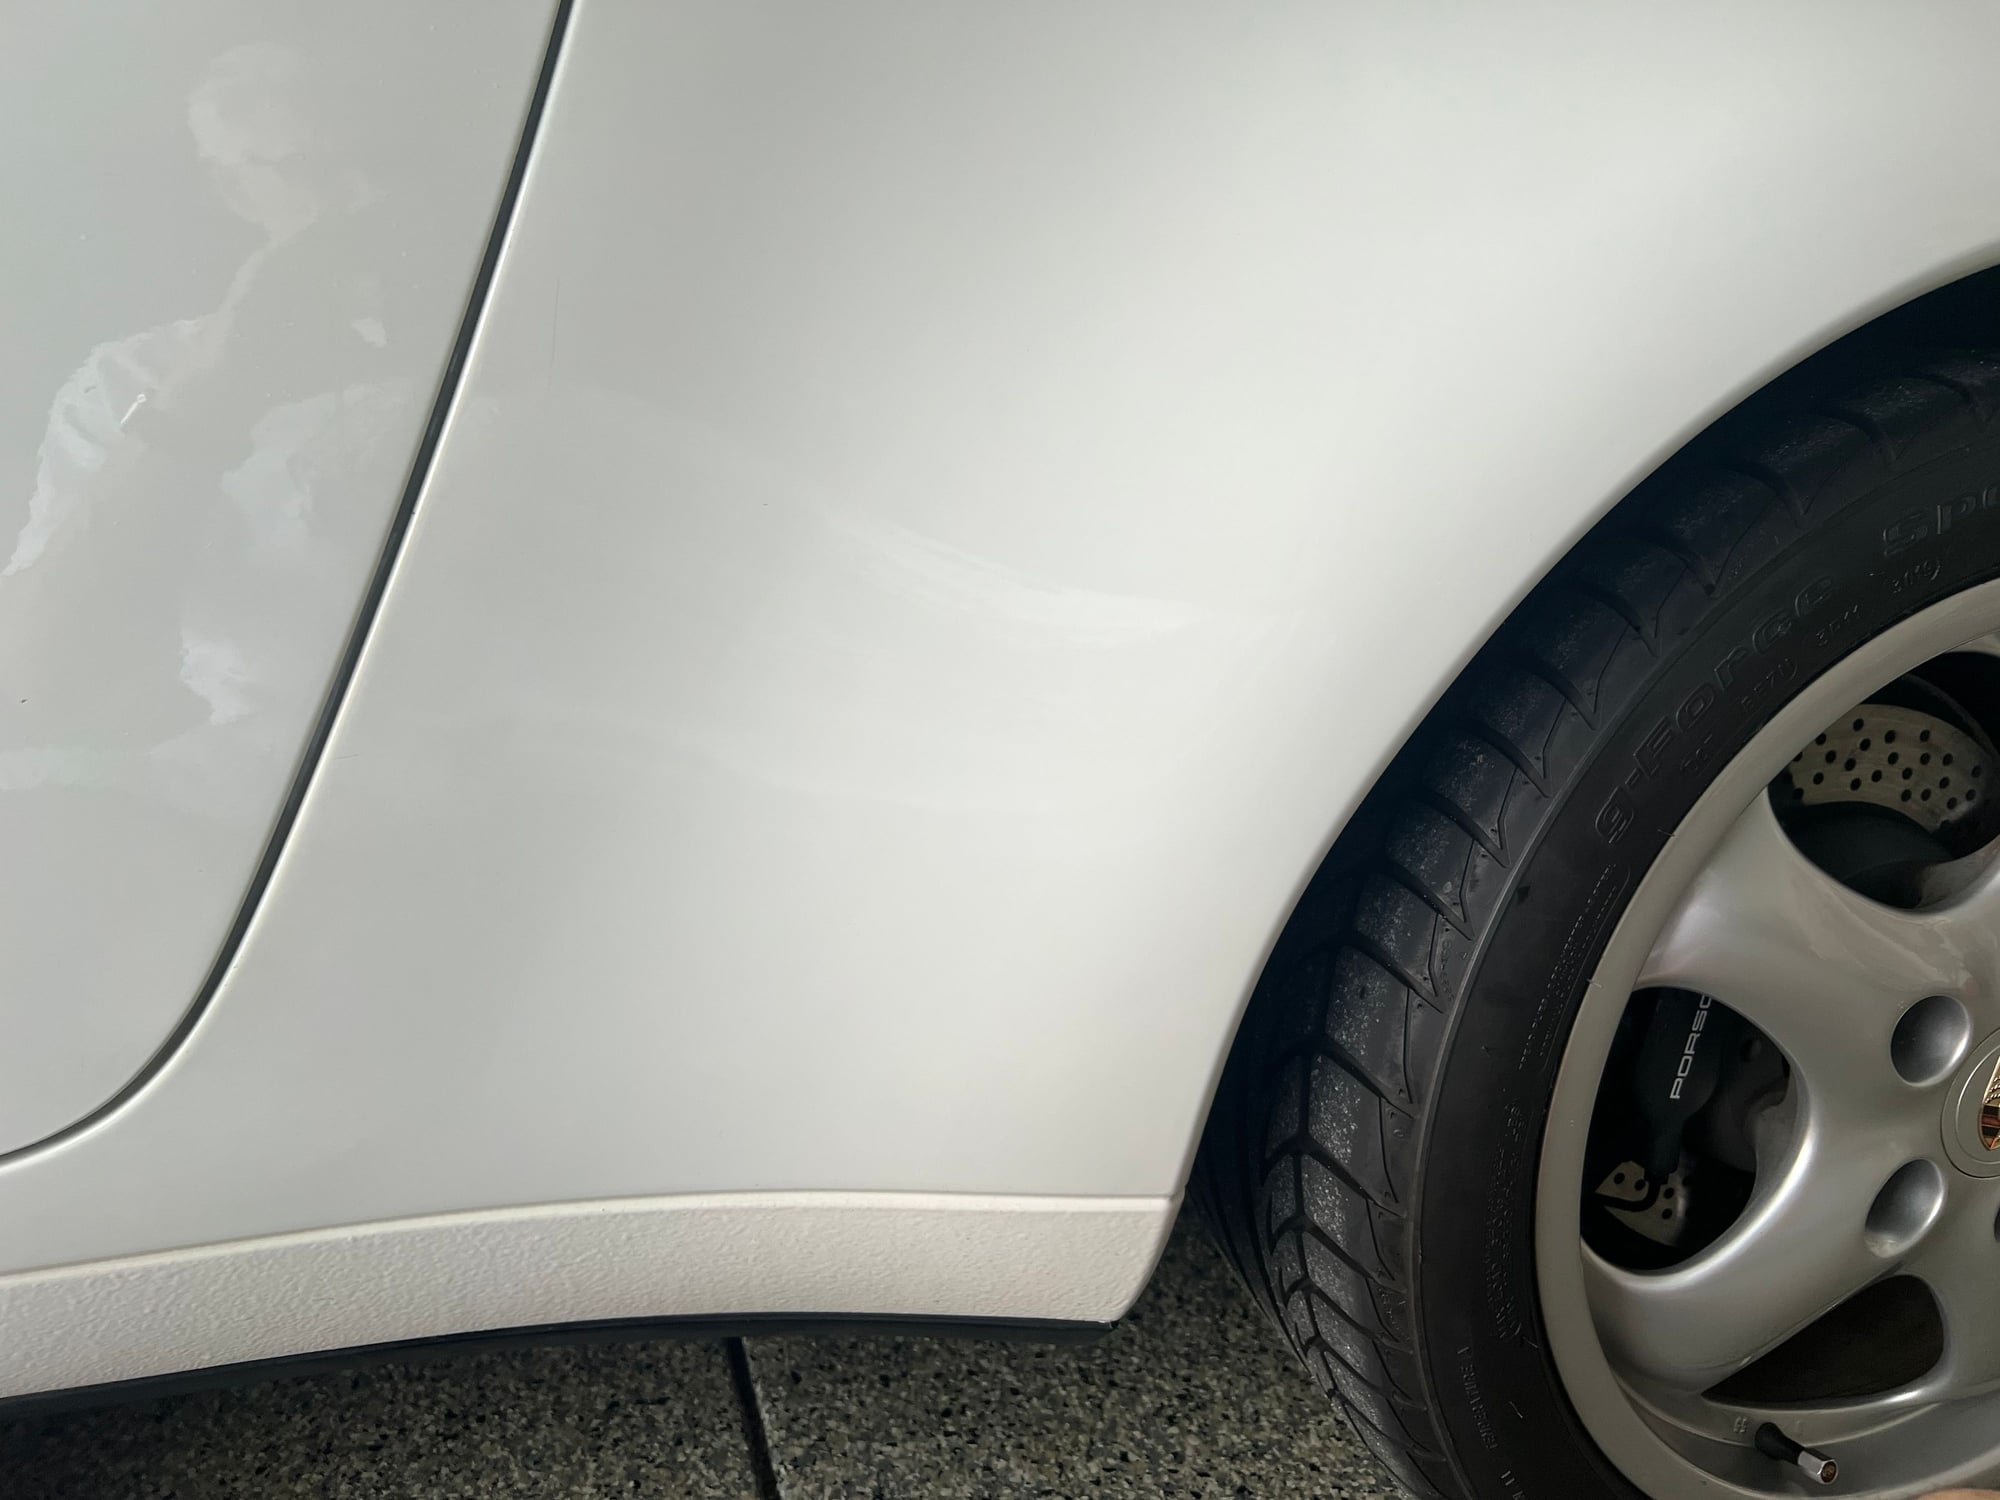
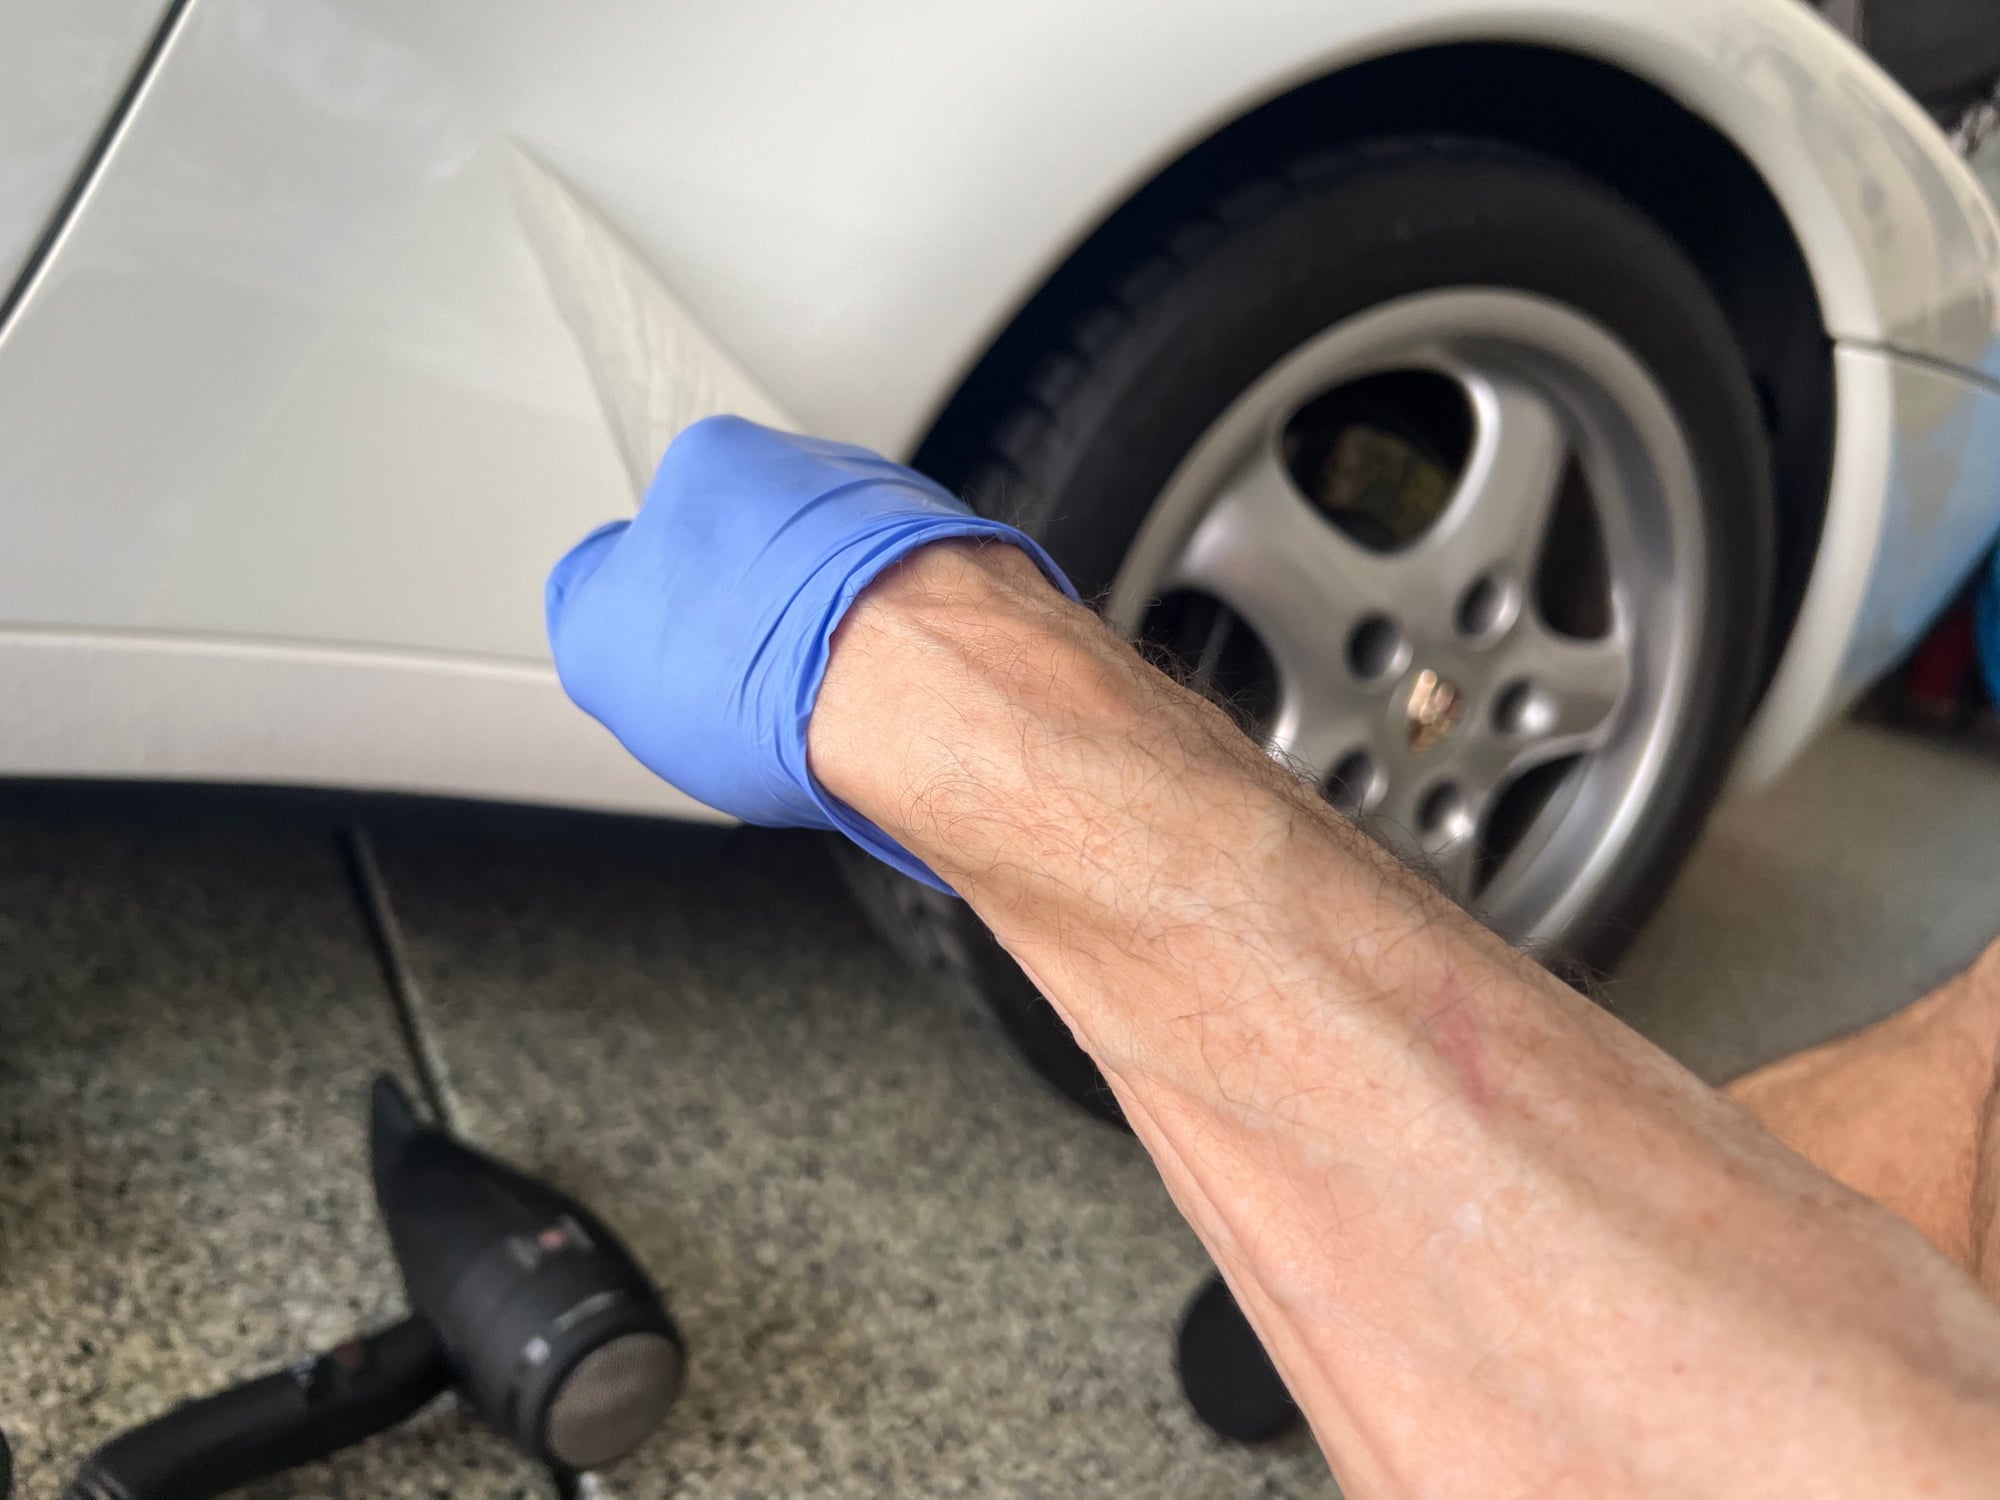
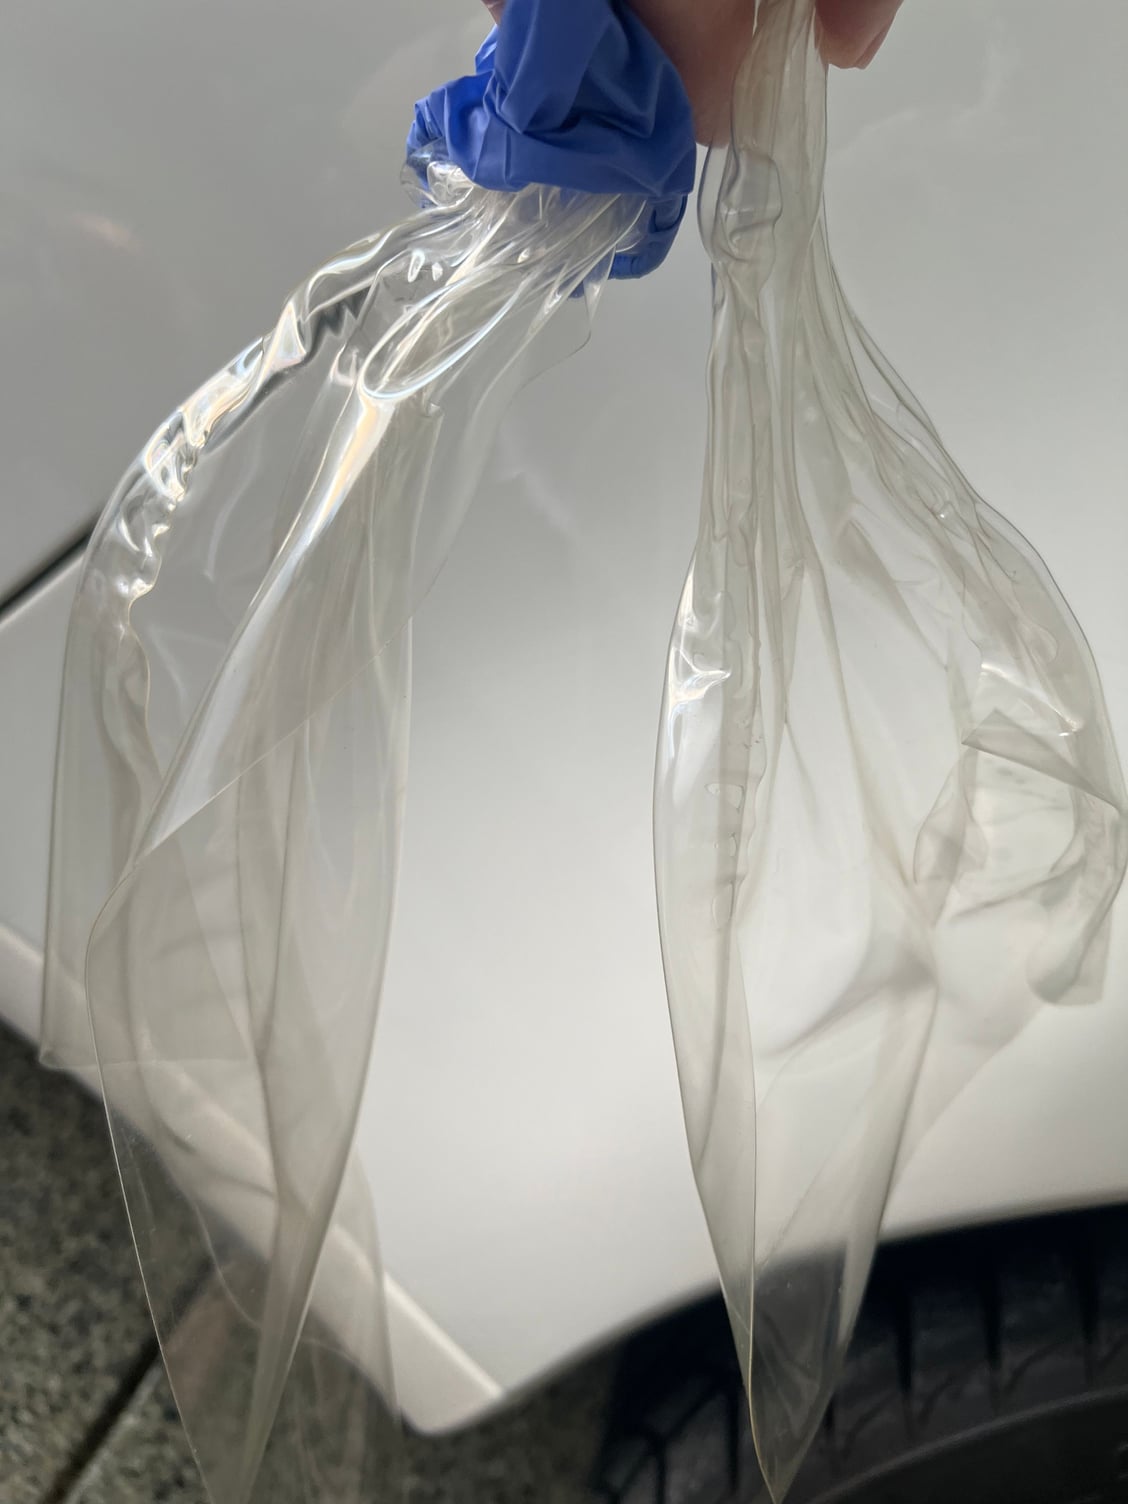
Took my Clear Mask stone guards off today in about 15 minutes and will install new ones when received in a few days.......second time I removed with no issues - steamer and hair dryer......no tools except for cleaning up some adhesive that came off in 2 seconds.....really happy with this Suntek product from Clearmask.com - $24.00 a set.... Steamer used on high first over the guard High heat after steamer as I peeled the film and heated below the pull, as I peeled.. All clean ready for new ones..... Very easy 30 second peel off in one whole piece - both sides....way easier than the OEM painted ones that come off in clips and take patience Film was yellowed although looked okay on the car - next photo... Old clear guard before removal after about 6 years I believe - edges are a bit visible - I use rubbing alcohol and Qtip/edge of a microfiber towel to clean edges usually to keep looking good between changes.....
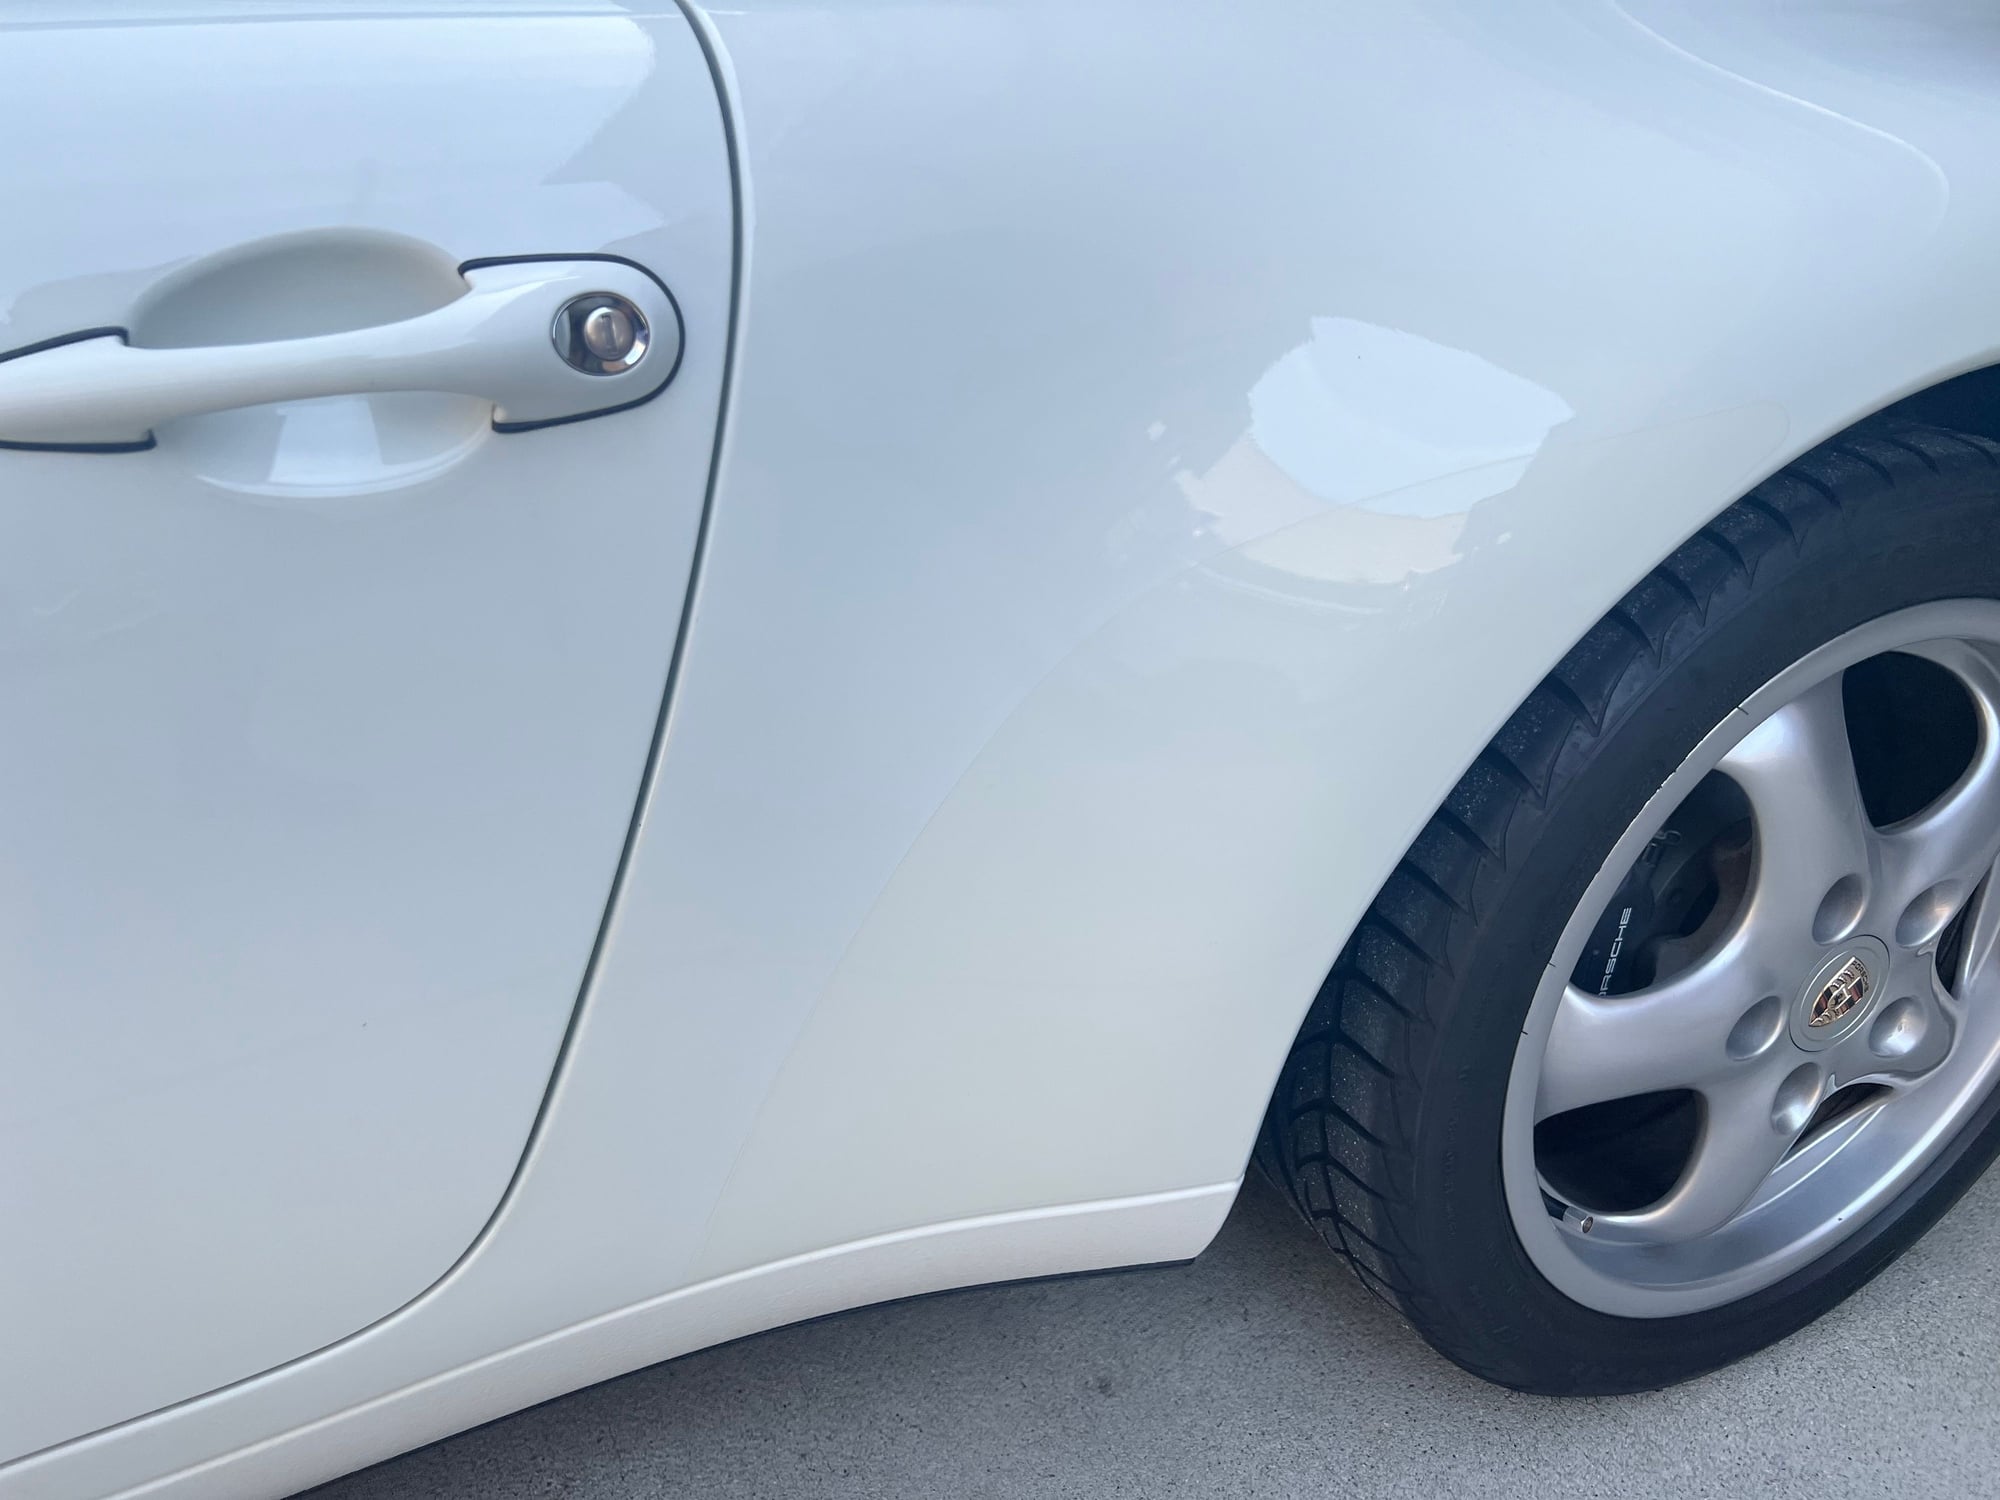
clearmask.com......installed new ones today in under a half hour.......really enhances the car's appearance....new like.........key is to really use the slip solution to position for no air bubbles and to place them exactly in the right spot..... keep those hands clean!!

 02-19-2024, 10:25 AM