When you click on links to various merchants on this site and make a purchase, this can result in this site earning a commission. Affiliate programs and affiliations include, but are not limited to, the eBay Partner Network.
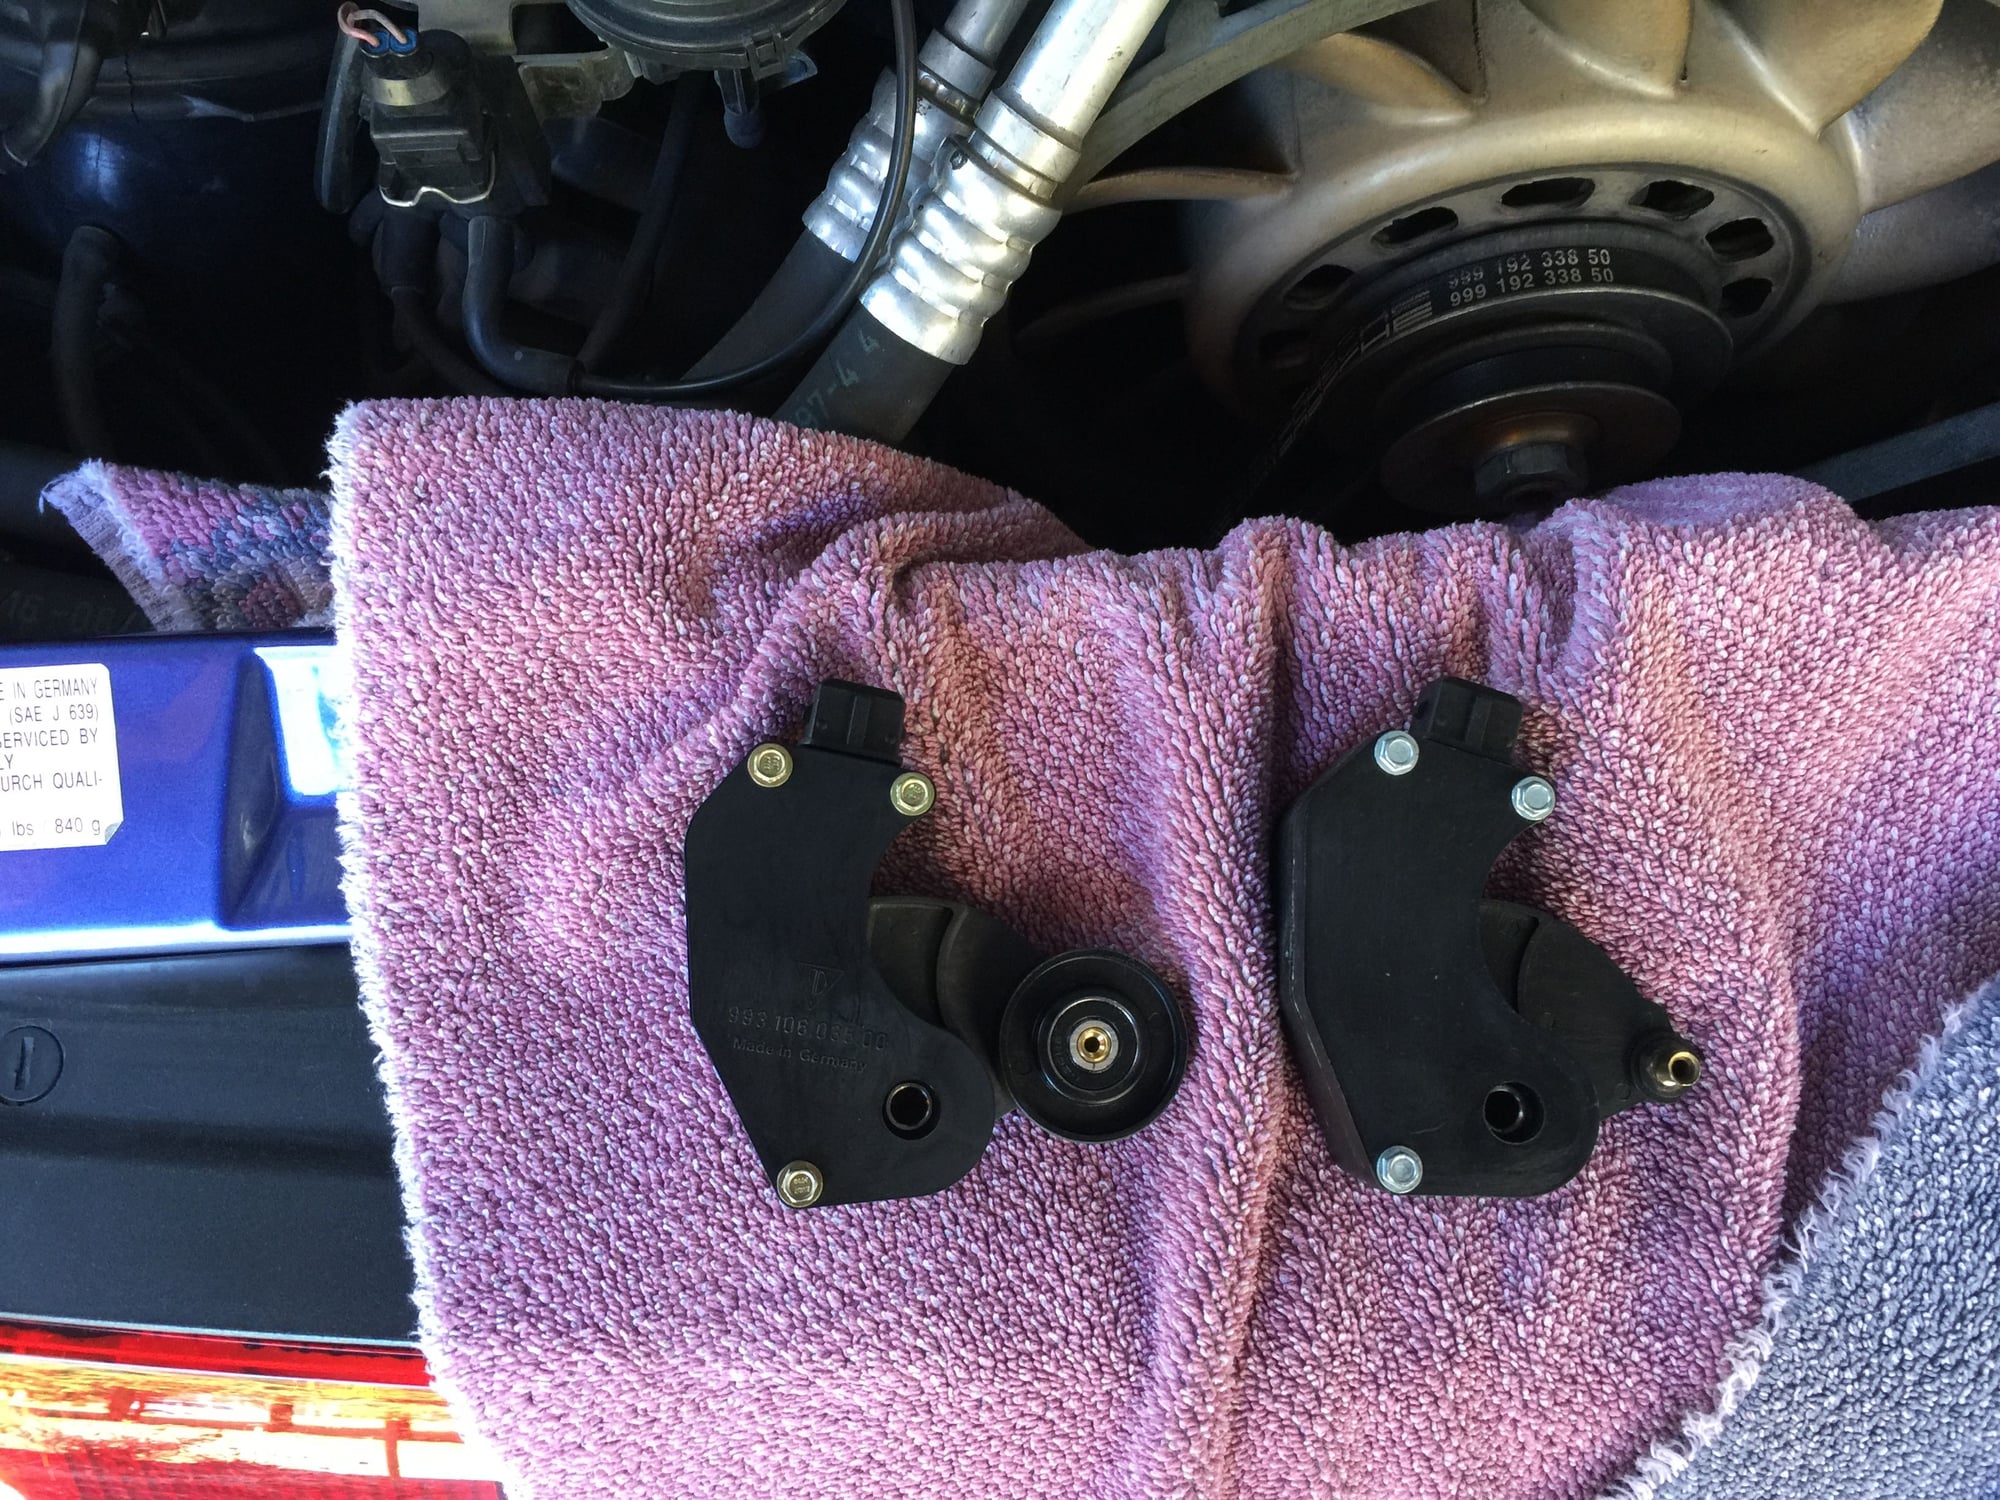
My fan belt sensor failed last week. Thankful it wasn't a blown belt, I ordered what I thought was a genuine Porsche replacement part for $79 with free shipping from RM European. http://www.rmeuropean.com/Products/9...00-MFG260.aspx While manufactured by the OEM, however, it was not a genuine Porsche part. Given their proclivity for failure, I opted to purchase a genuine Porsche sensor from Sunset for $85 (plus $17 for shipping). http://www.sunsetporscheparts.com/oe...he/99310603500 It turns out that the sensor that failed was also a knock-off. Perhaps the genuine Porsche part will have better luck.
This was billed as an easy DIY with just one bolt and one plug-in, but I found this to be a real PIA. Granted my hands are the size of baseball mitts, but there's no room to work with a ratchet, and positioning the unit and setting the screw took far longer than I anticipated. I also couldn't seem to find any good installation threads, which is why I'm posting this now.
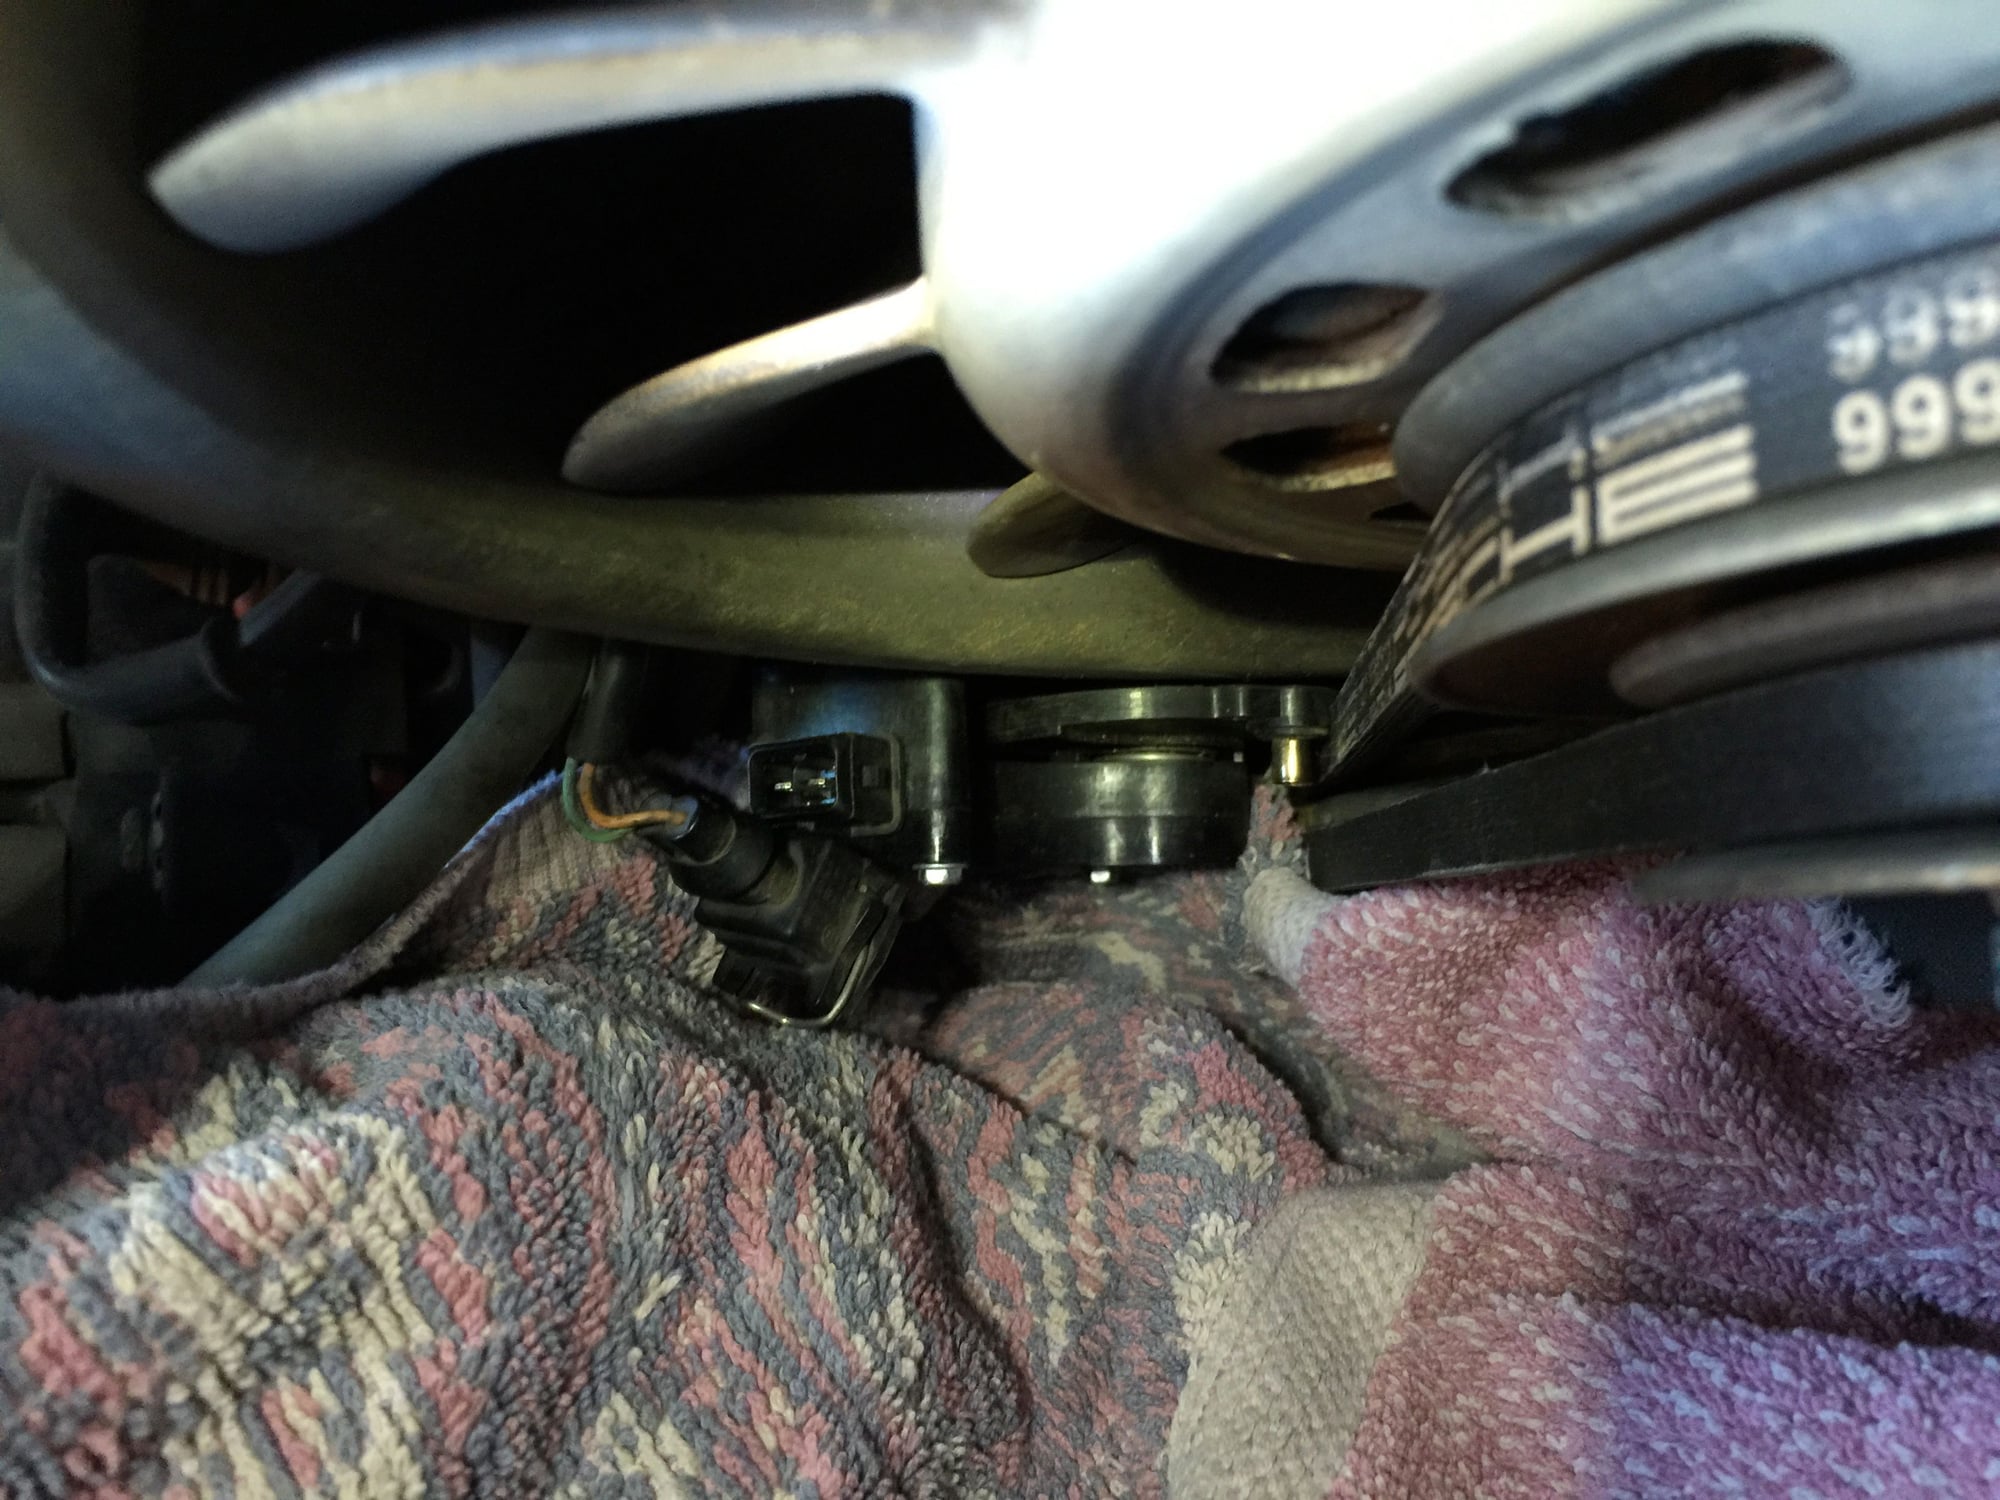
First step is to disconnect the plug at the top of the unit. Simply push in the retaining wire at the base, and the plug pulls right off.
Next, slide a towel under the work area to help prevent the bolt and/or allen wrench from falling under the crankshaft pulley. It's very tight in there, and easy to lose your grip. I dropped a 5MM socket wrench at one point while trying to set the screw, and the towel saved me. Use the 5MM allen wrench to loosen the bolt on the old unit, then unscrew carefully and remove. Be careful not to let the screw fall.
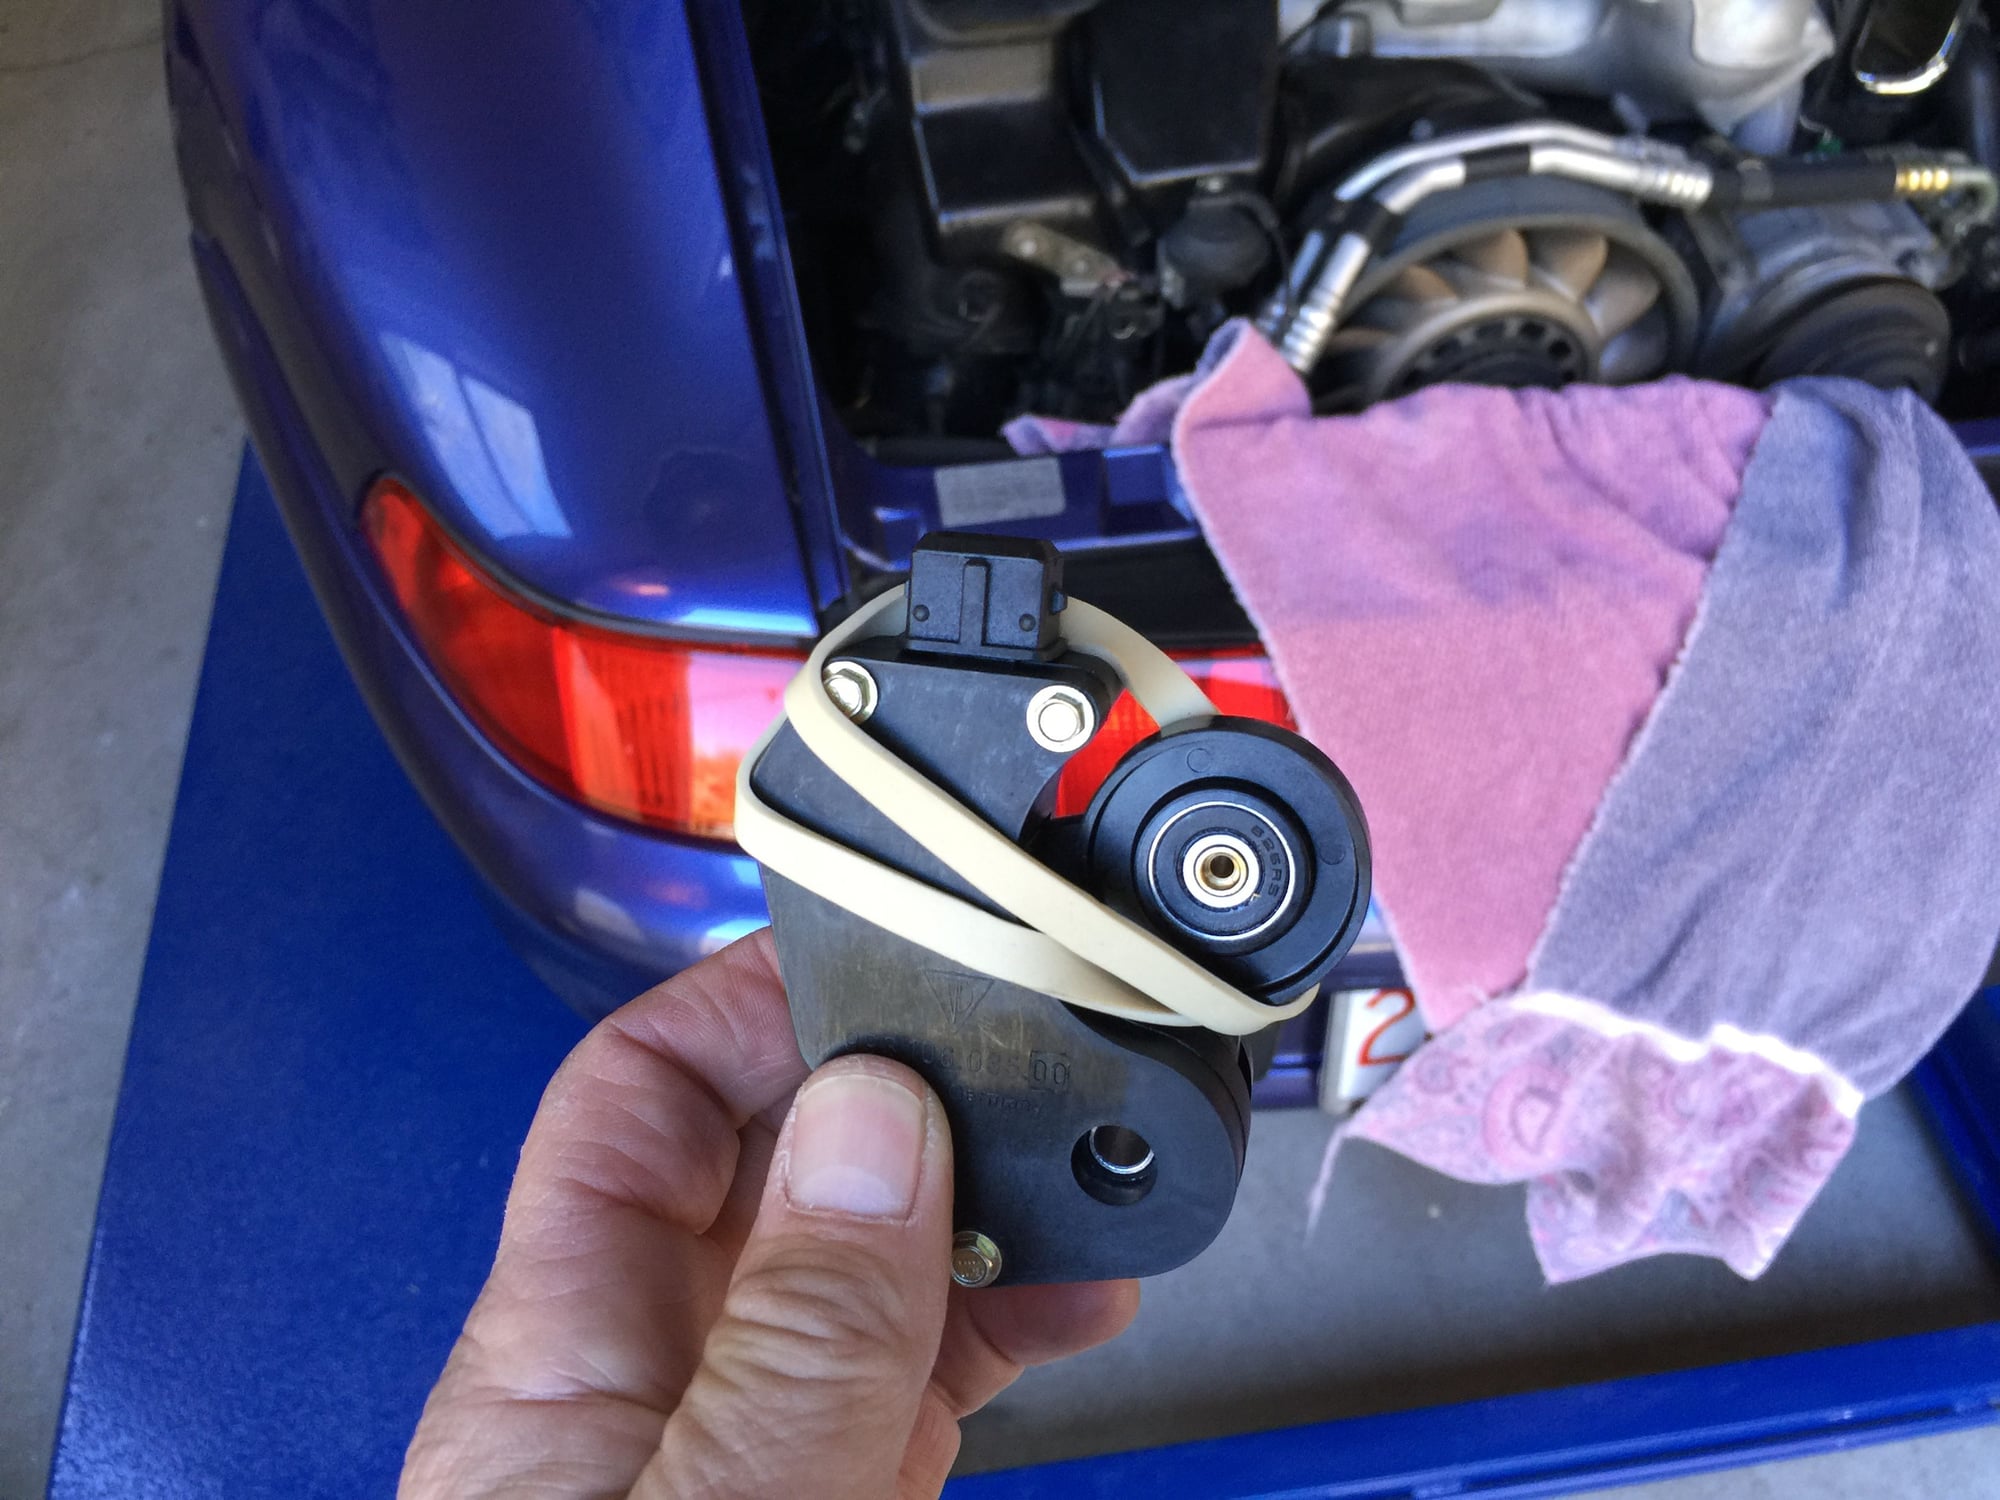
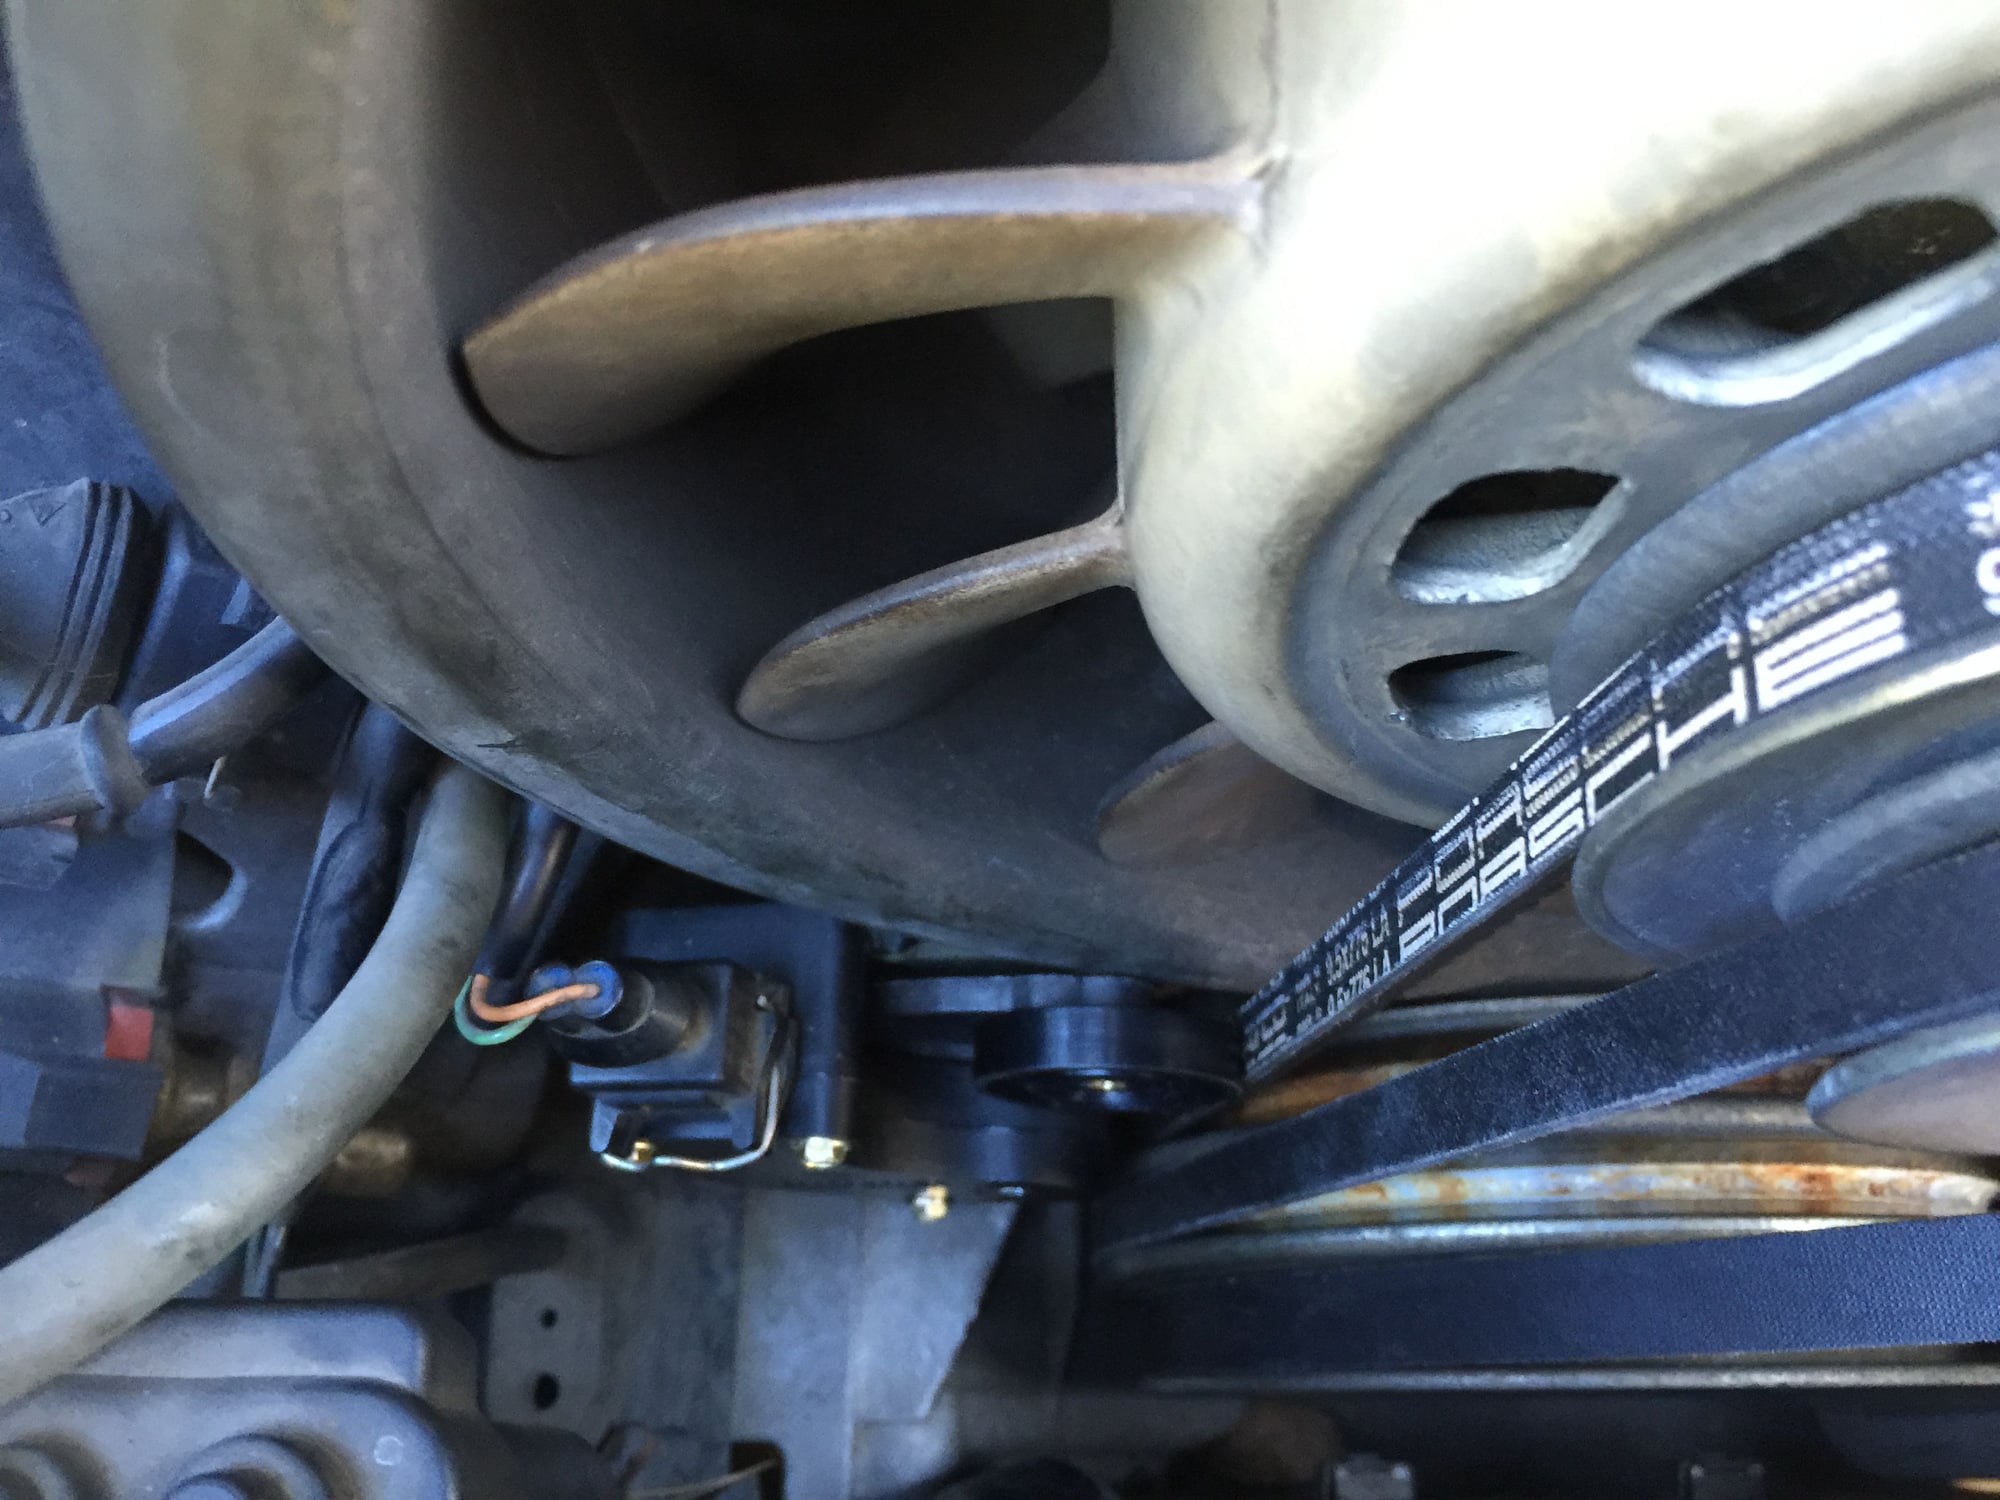
Next, with the towel laid out, place a 5MM allen wrench and 5MM socket wrench within arms reach (when you get the sensor set in position, you'll want the wrench nearby). Also a good idea to have a flashlight handy. Now it's time to set the sensor in place. But before you install the sensor, take a rubber band and pull the wheel up and out of the way for the install. Installing the unit is tricky enough, you really don't need the wheel in the way pressing against the belt.
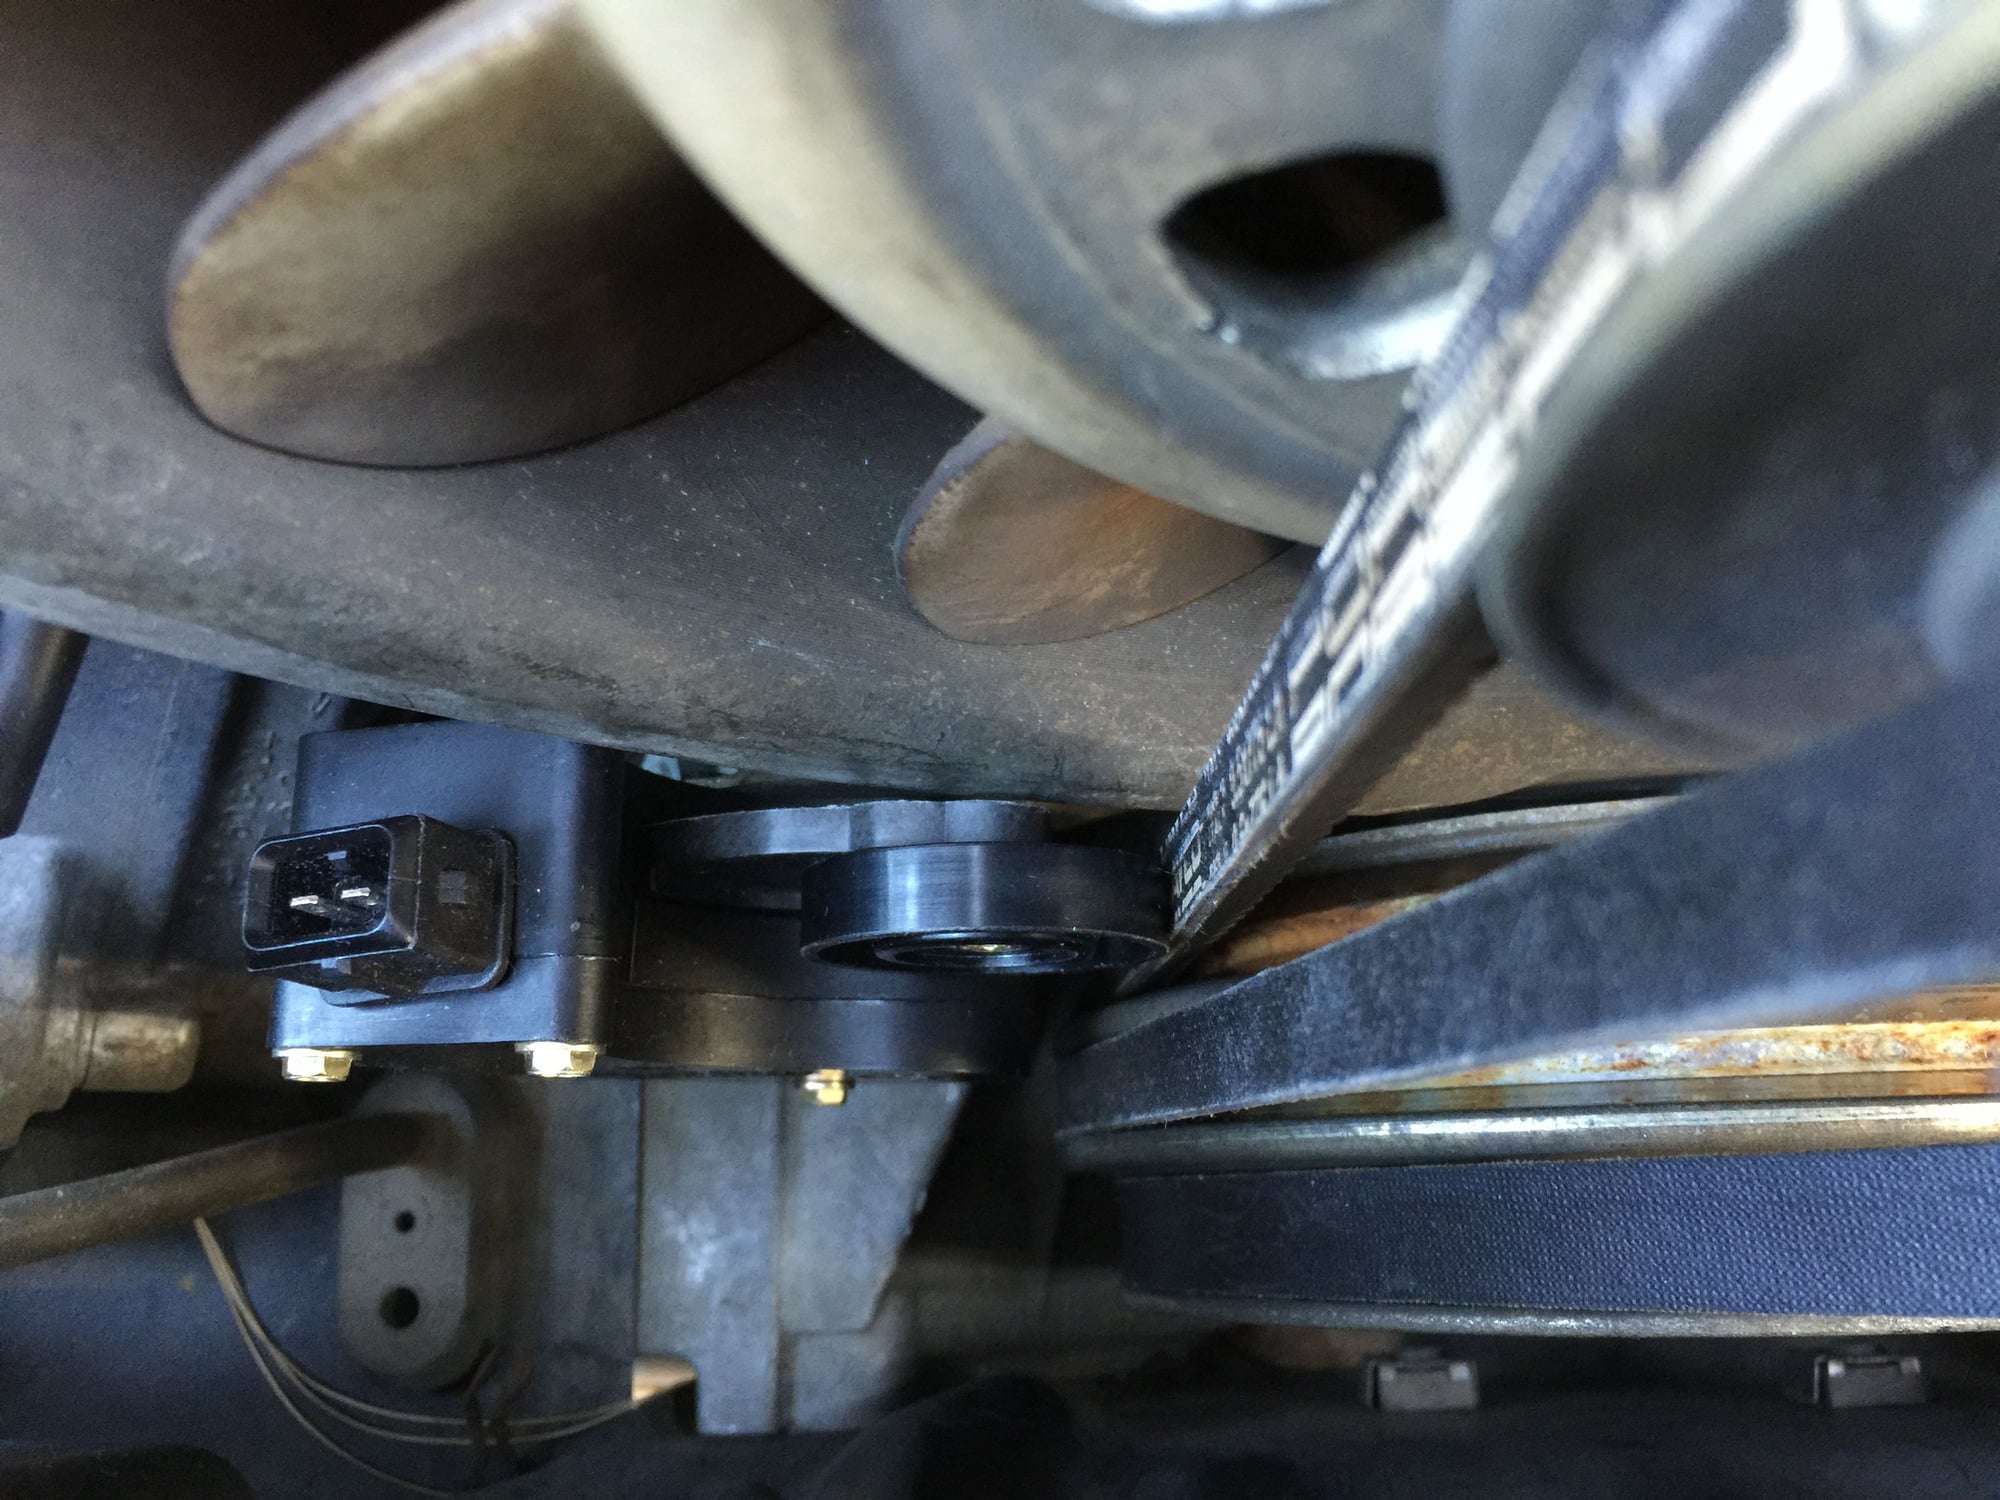
The sensor has two plastic tabs in back that set into positioning holes. The hole for the 5MM screw is located between these two tabs. It took me almost 15 minutes to get the unit properly positioned and secured. It was impossible to see what I was doing, and I had to work more by feel than by sight. The trick for me was to first set the bottom tab into the bottom hole, then carefully rotate the unit until the second tab found its positioning hole. Once the unit is properly positioned, you need to insert the 5MM bolt without upsetting the position of the unit. So you need one hand to hold the unit steady while you insert the bolt by hand, and then try to screw in the bolt. You can't screw the bolt in by hand, which is why you need to keep the 5MM wrenches handy. There's no room to work a socket wrench, but I did find it helpful to to use a 5MM socket that I turned by hand. Once the bolt is set, you can use a 5MM allen wrench for the final tighten. Now simply remove the rubber band, and plug the unit back in (remembering to push in the retaining wire).
Uh oh...
Genuine Porcshe Fan Belt Sensor
Note the two positioning tabs
Push in retaining clip and pull out plug
New genuine Porsche part on left, old failed unit (an OEM knockoff) on right
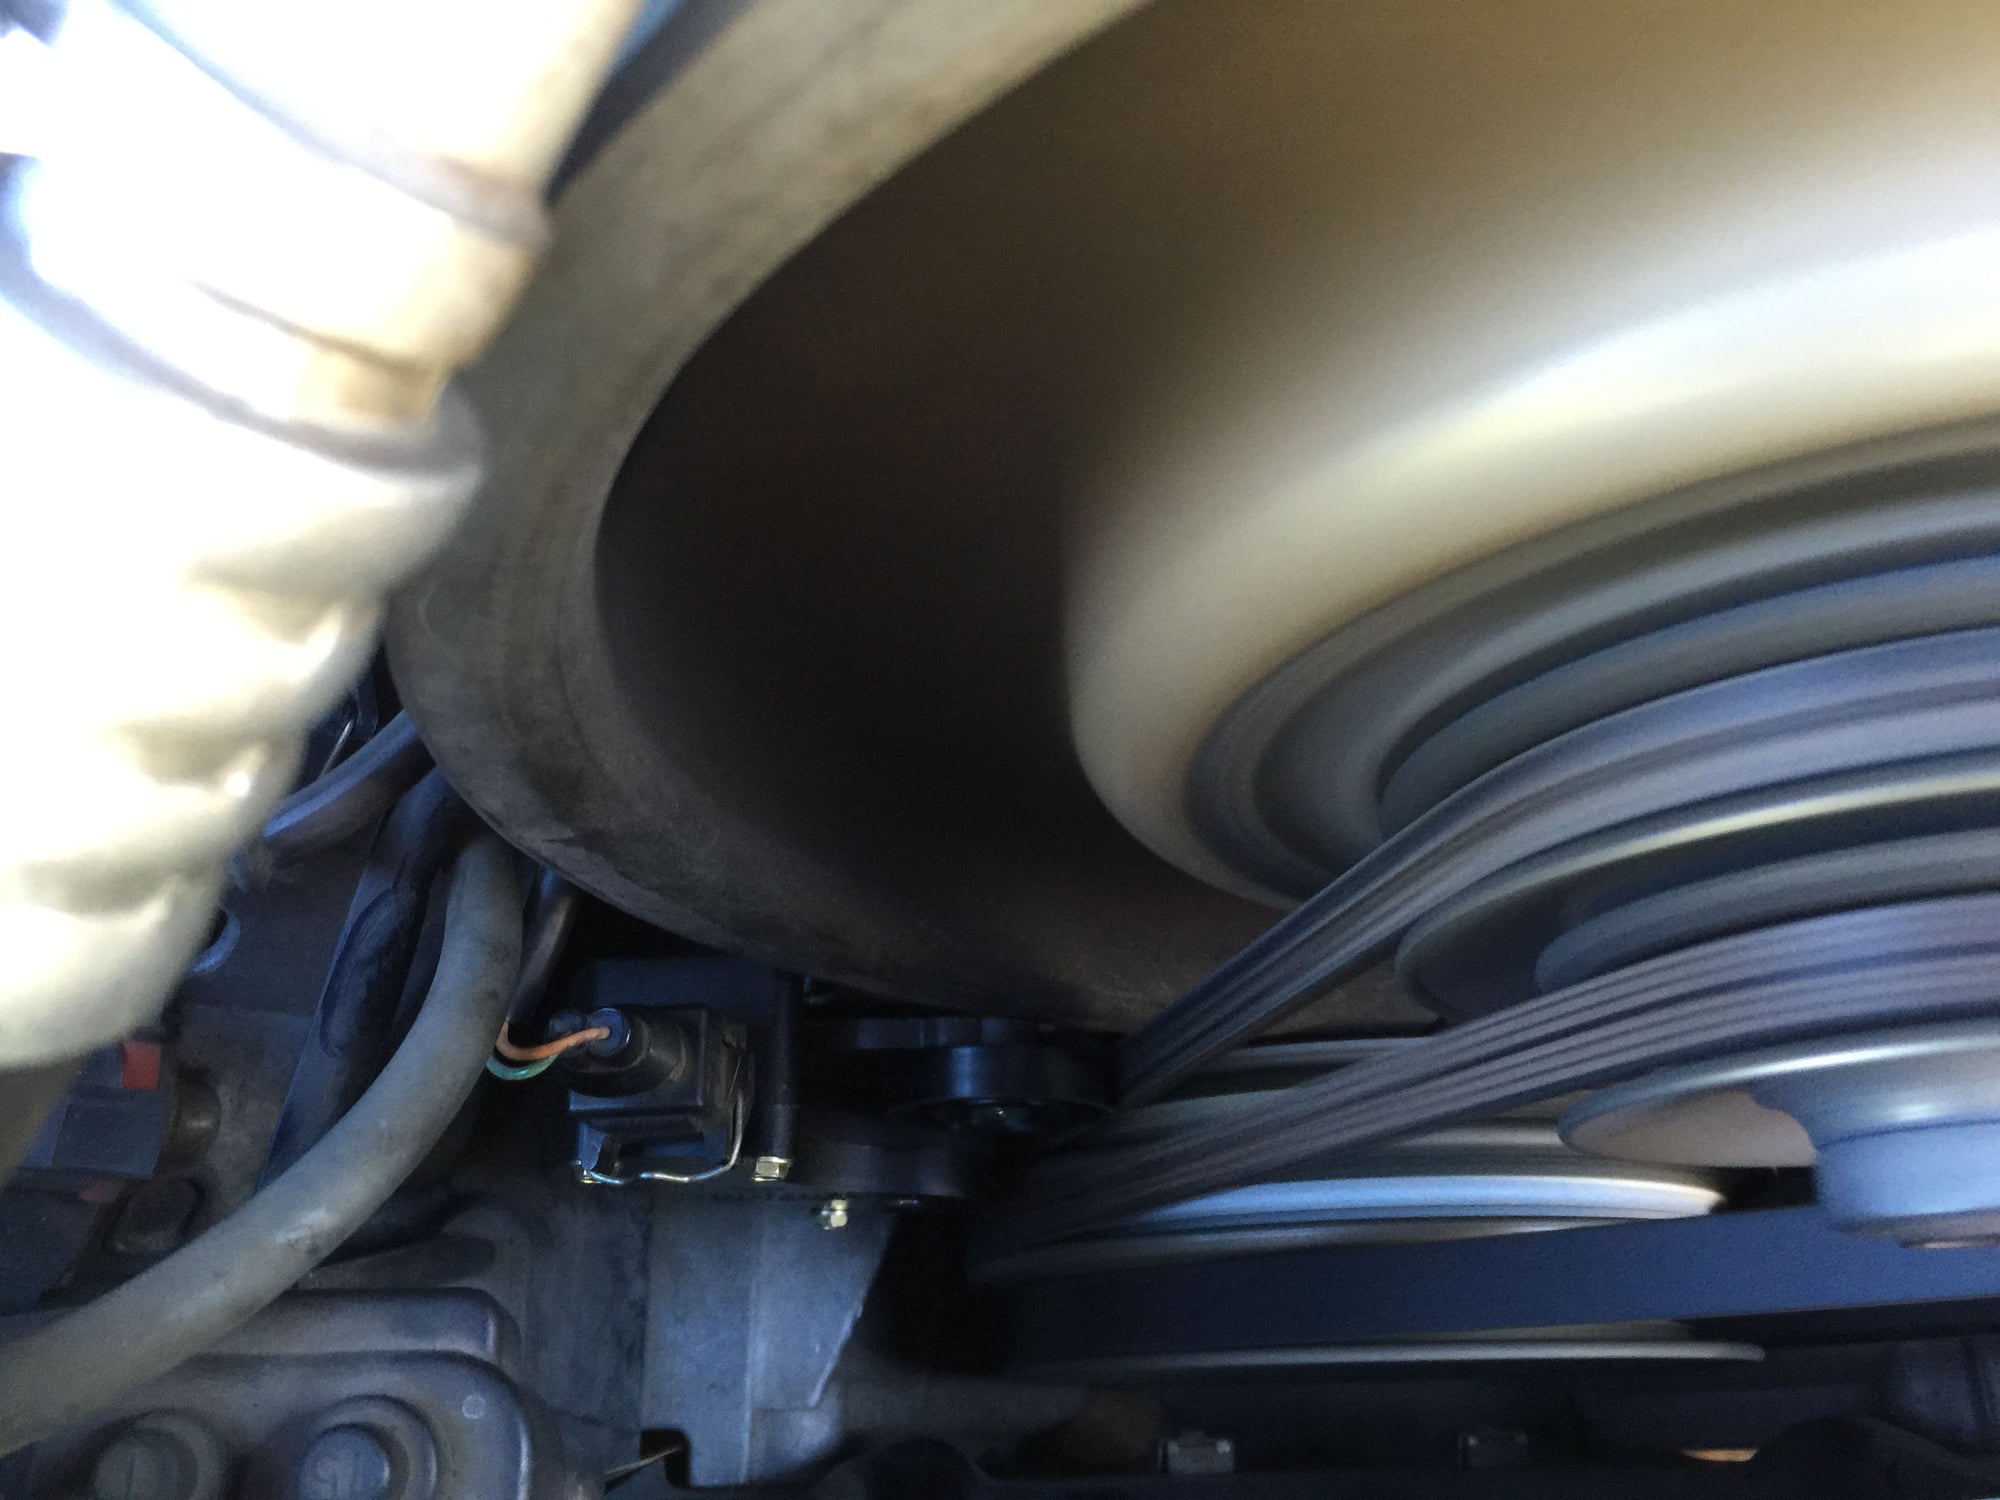
Use a rubber band to pull wheel up and out of the way for install
Hand tighten bolt with 5MM allen socket (use 5MM allen wrench to tighten last turn)
I think the turbo engine sits an inch or two further back. Pretty much do it by Braille. Couldn't use an hex socket. Had to use a 5mm hex bit, and tiny 1/4" box/open end to tighten. Fun stuff.
Nice write up Jim. I noticed a little wear on my pulley wheel (ie flat spot). Your tip about placing a towel to prevent parts falling into the abyss is key...it should be done almost anytime you work in anything in the compartment that is smaller the a golf ball! Thanks for posting.
Nice. Mine started to squeak intermittently the other morning. What's the best practice there to prevent failure and prolong its smooth operation?
When mine started squealing, I ordered a new part in anticipation of impending failure. I put a couple of drops of silicone lubricant on the roller axle and the squeal would go away for a while but would always return, sometimes in a month, sometimes a week. I eventually changed the part out before it failed. I don't know that the lubricant prolonged the life of the part, but it made it less aggravating to drive for a couple of months until I could get a good day to work on the car.
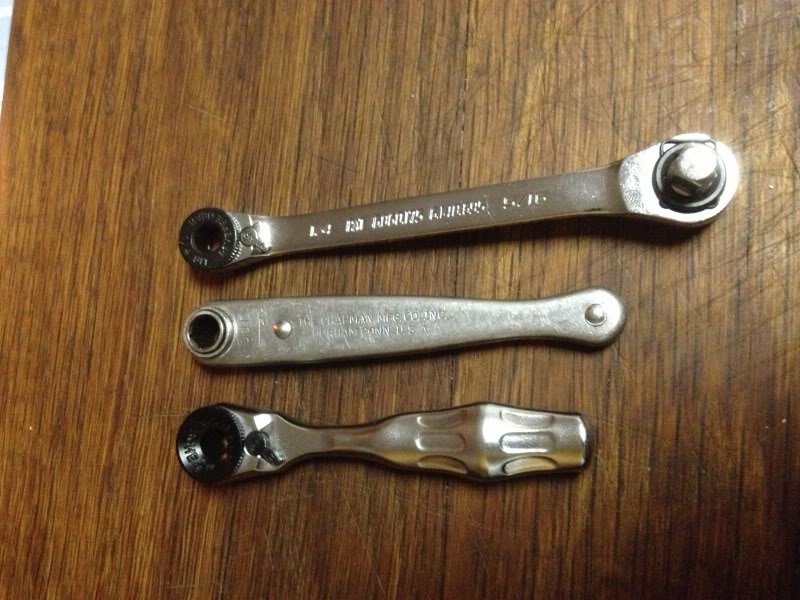
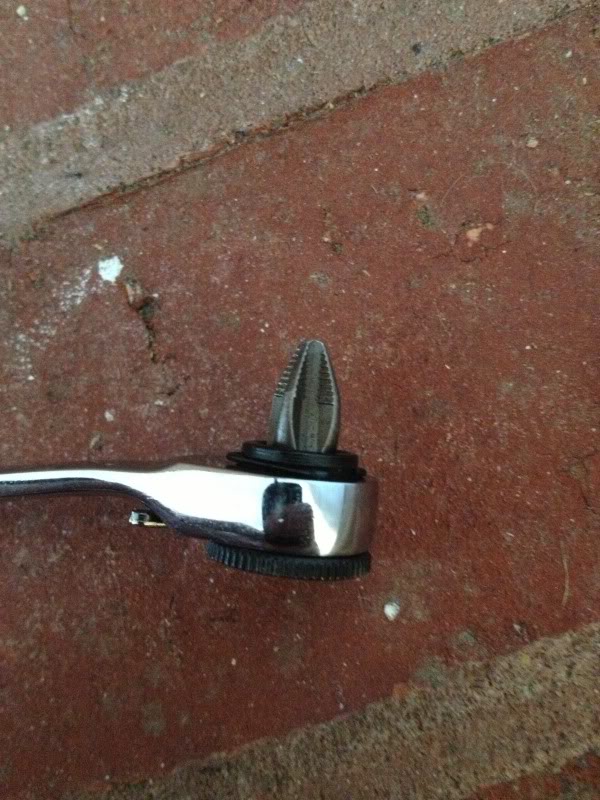
I've removed mine several times. I've had great luck using a small ratchet wrench. These wrenchs have been so useful in the tight 993 engine bay. I happen to like my gearwrench brand, but there are so many others that make them now.
Nice. Mine started to squeak intermittently the other morning. What's the best practice there to prevent failure and prolong its smooth operation?
I pulled mine a few years ago, disassembled, cleaned, and lubed it. Then added a tiny machine screw/nylock nut, to roller assm. and re-installed. Been trouble free since. I use dielectric grease on all electronic connections.
Nice write up Jim. I noticed a little wear on my pulley wheel (ie flat spot). Your tip about placing a towel to prevent parts falling into the abyss is key...it should be done almost anytime you work in anything in the compartment that is smaller the a golf ball! Thanks for posting.
Yes, the towel idea is simple but brilliant. I'm sure that will save me a headache in the future.

 03-13-2016, 01:41 AM