When you click on links to various merchants on this site and make a purchase, this can result in this site earning a commission. Affiliate programs and affiliations include, but are not limited to, the eBay Partner Network.
I would not put the filler on. Leather is a natural product and you are just adding something that could break in the future. I did you seats with color plus 9 years ago and refreshed the bolsters 3 years ago. The refresh is easy because of the perfect color match.
Back at it this week. I have full coverage on the uppers and two coats on one of the seats. The other seat has a few very deep creases and I am going to try filling just two of the deepest. I know there are some who advise against it but I trust Joanne at Colorplus and don't think it will make anything worse. We'll see!
Next step is to airbrush the uppers. Never used an airbrush before so I plan to spend some time practicing on the weekend before tackling the seats.
Here are the uppers ready for spraying. For those who have sprayed - do you recommend 20 psi or 30 psi?
Don't know what pressure to use since I didn't use an airbrush, but what you're trying to do is to get a VERY thin coat to even out the texture. Basically like misting the paint/dye onto the seat. I held my sprayer at least 12 inches from the seat and let the paint mist around the area. At this point, you're not painting/dyeing anymore. You're just trying to create a uniform texture onto the leather. Those little mist droplets falling onto the seat surface evenly will do that. Not sure how to explain it better....
If the surface appears too matte afterward, don't worry too much. You can take a microfiber towel and sort of wipe down to and buff the surface after things have completely dried to lessen the matte appearance.
Thanks guys - assuming the new coating holds up over time I will be very satisfied.
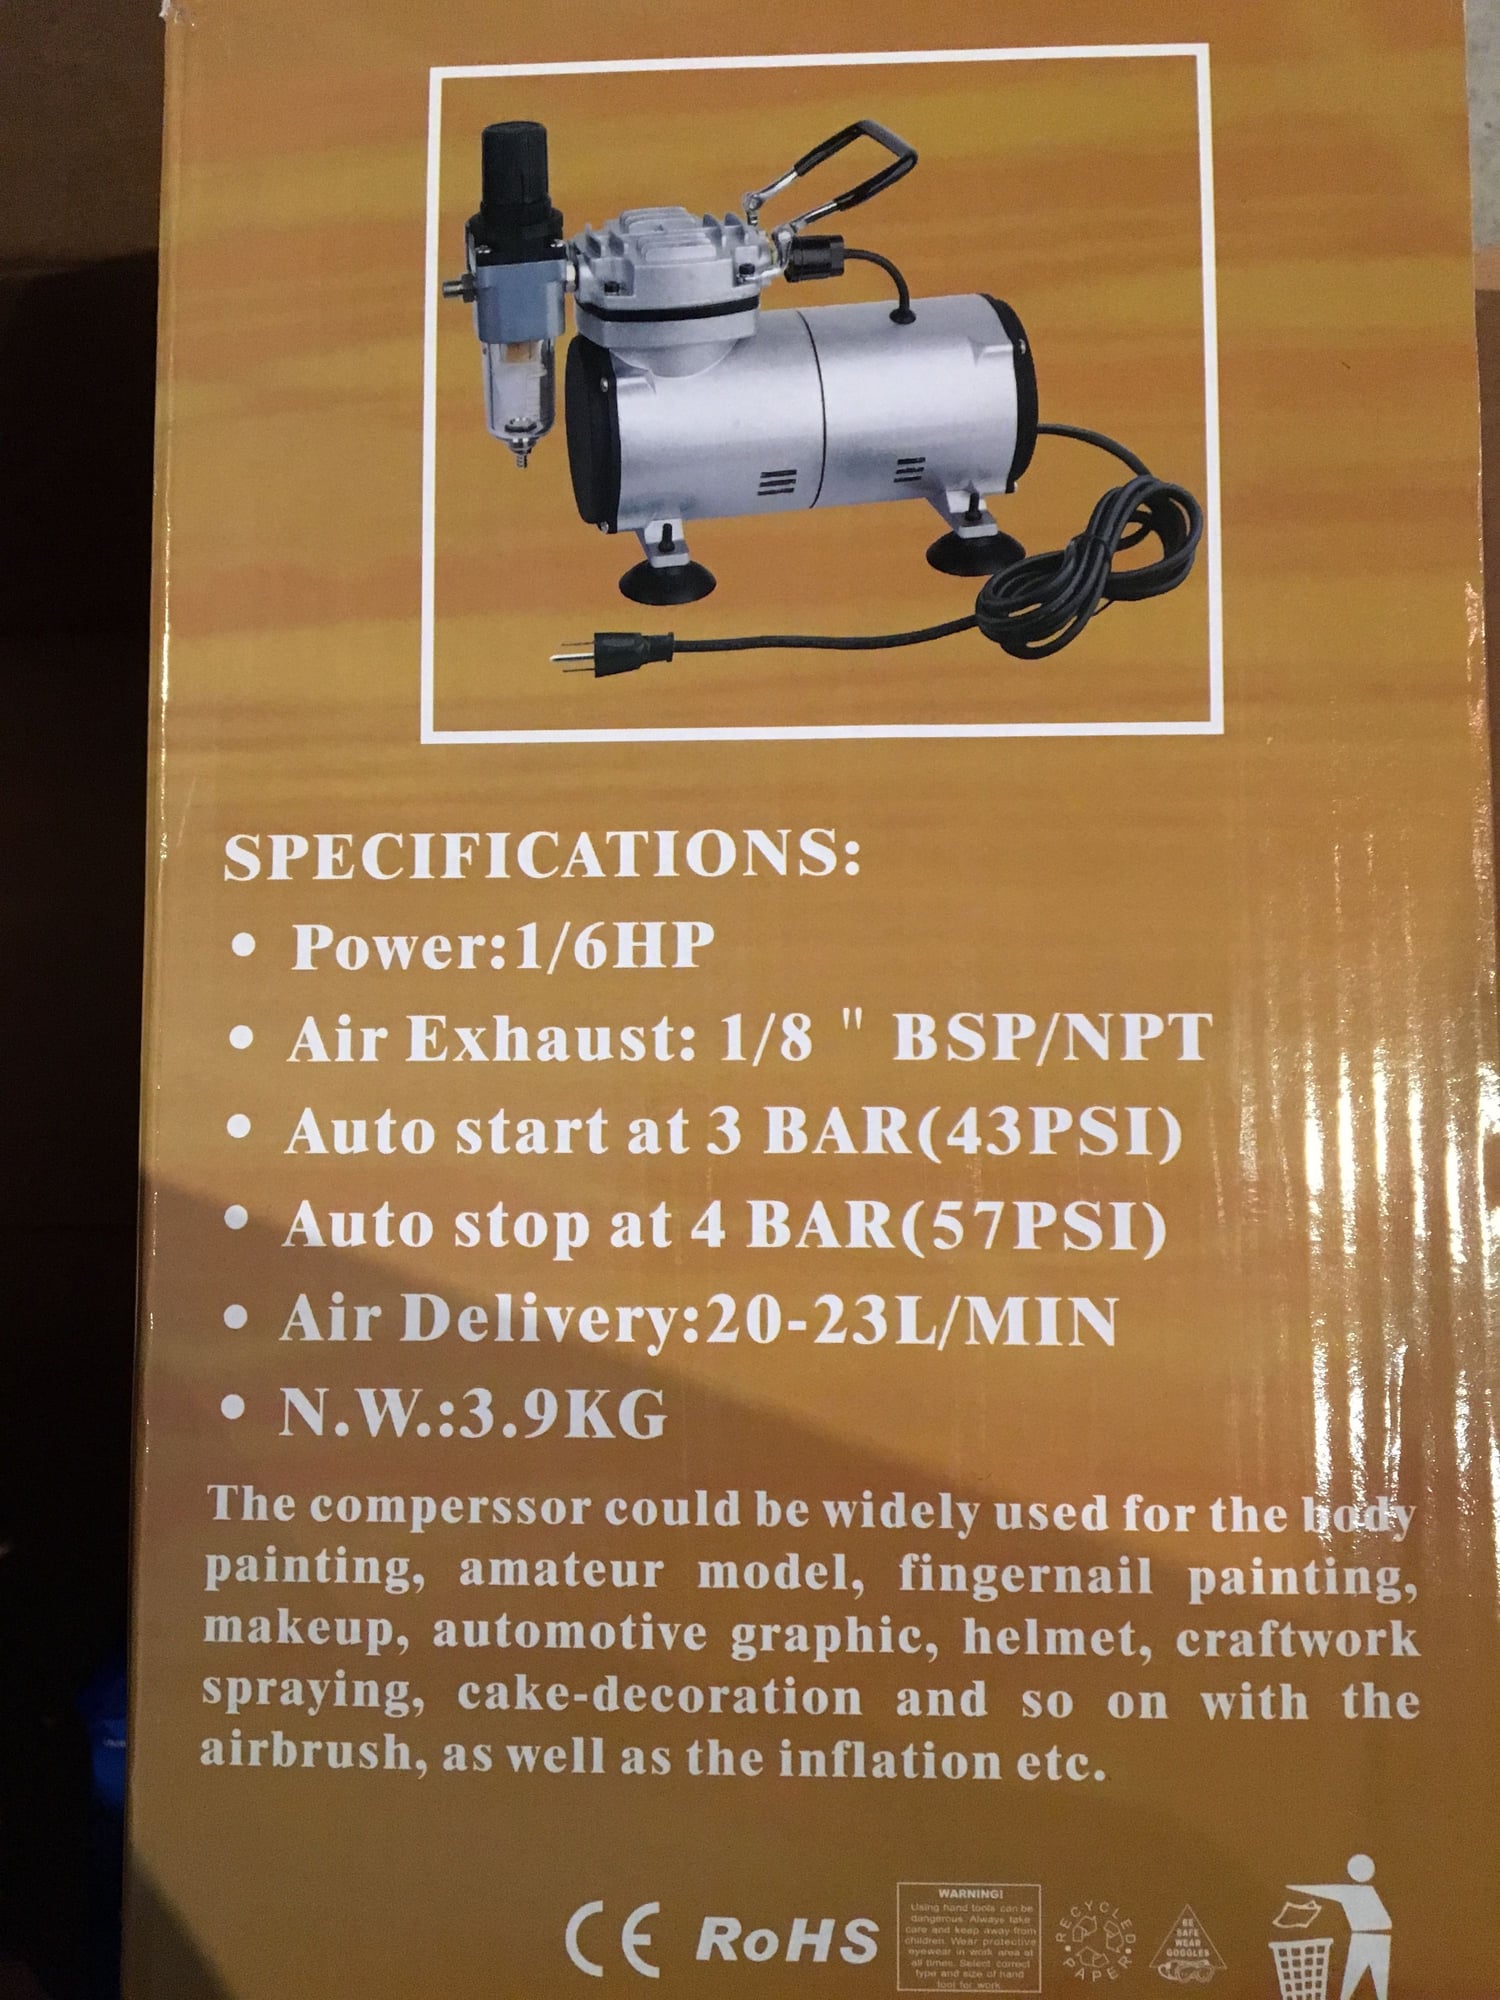
My airbrush paint room didn't work out as well and it seemed from my last post. The culprit was the cheap airbrush I bought. In the end I couldn't really justify spending $350+ on a higher end airbrush + compressor so I tried a $150 item. It ran fine for about 7-8 min but then shut down and 2 hrs later was still re-generating.
I noticed that the refractory period was pretty long when I was practicing with it but I think it just plain gave out yesterday. I'm returning it to Amazon today.
I did get through most of the one upper and now have to decide if I just re-assemble without the airbrush, or if I try to find a local (Toronto) friendly who has a decent set-up I can borrow.
I was pretty skeptical of the airbrush as soon as it arrived and I read the feature copy on the side of the box. The paragraph section was the give-away....
I was pretty skeptical of the airbrush as soon as it arrived and I read the feature copy on the side of the box. The paragraph section was the give-away....

 04-01-2016, 07:10 AM