When you click on links to various merchants on this site and make a purchase, this can result in this site earning a commission. Affiliate programs and affiliations include, but are not limited to, the eBay Partner Network.
That is a great result, I was on the fence about doing this but now I have seen yours I am going to do it. I do not have that horrible soft touch finish thankfully. My 986 is silver so I think it could look really cool.
I went a different way with mine. First I painted it in silver PlastiDip which came out great, but didn't hold up any better than the original soft touch paint. Then I decided to give it an old school touch and covered it with a hounds tooth fabric. I may try doing the horseshoe too as that is starting to look bad or I might replace it with an unpainted black piece.
That looks fantastic. I�d like to do it with several interior pieces in my guards red boxster s
I'm currently working on converting sport seats to Boxster Red. I took a swatch of leather to a paint store and they computer matched the color into a spray can. It's PPG solvent based spray paint and was easy to use with great results.
OP... your console came out great. Your efforts were well rewarded.
I went a different way with mine. First I painted it in silver PlastiDip which came out great, but didn't hold up any better than the original soft touch paint. Then I decided to give it an old school touch and covered it with a hounds tooth fabric. I may try doing the horseshoe too as that is starting to look bad or I might replace it with an unpainted black piece.
Hey, that's kinda cool. Where did you source the material?
excellent job! My 996 is slate grey and am repainting the center console to match. Will show pix when done...Need something to break up all that Graphite grey in the interior.
Is there a specific primer that is best for the plastic?
One thing that I learned while painting my parts was that Duplicolor plastic adhesion promoter "primer" isn't a sufficient primer by itself. You should use that stuff and then a regular sandable primer on top. I used VHT sandable primer as I find their products spray well. I used Duplicolor Acrylic and would not use that again as the base. It sprays way too heavy and easily runs. I'd use something from the VHT lineup if I did it again. Their wheel paints would probably work well and they spray nicely. For the clear coat, use Spraymax 2k.
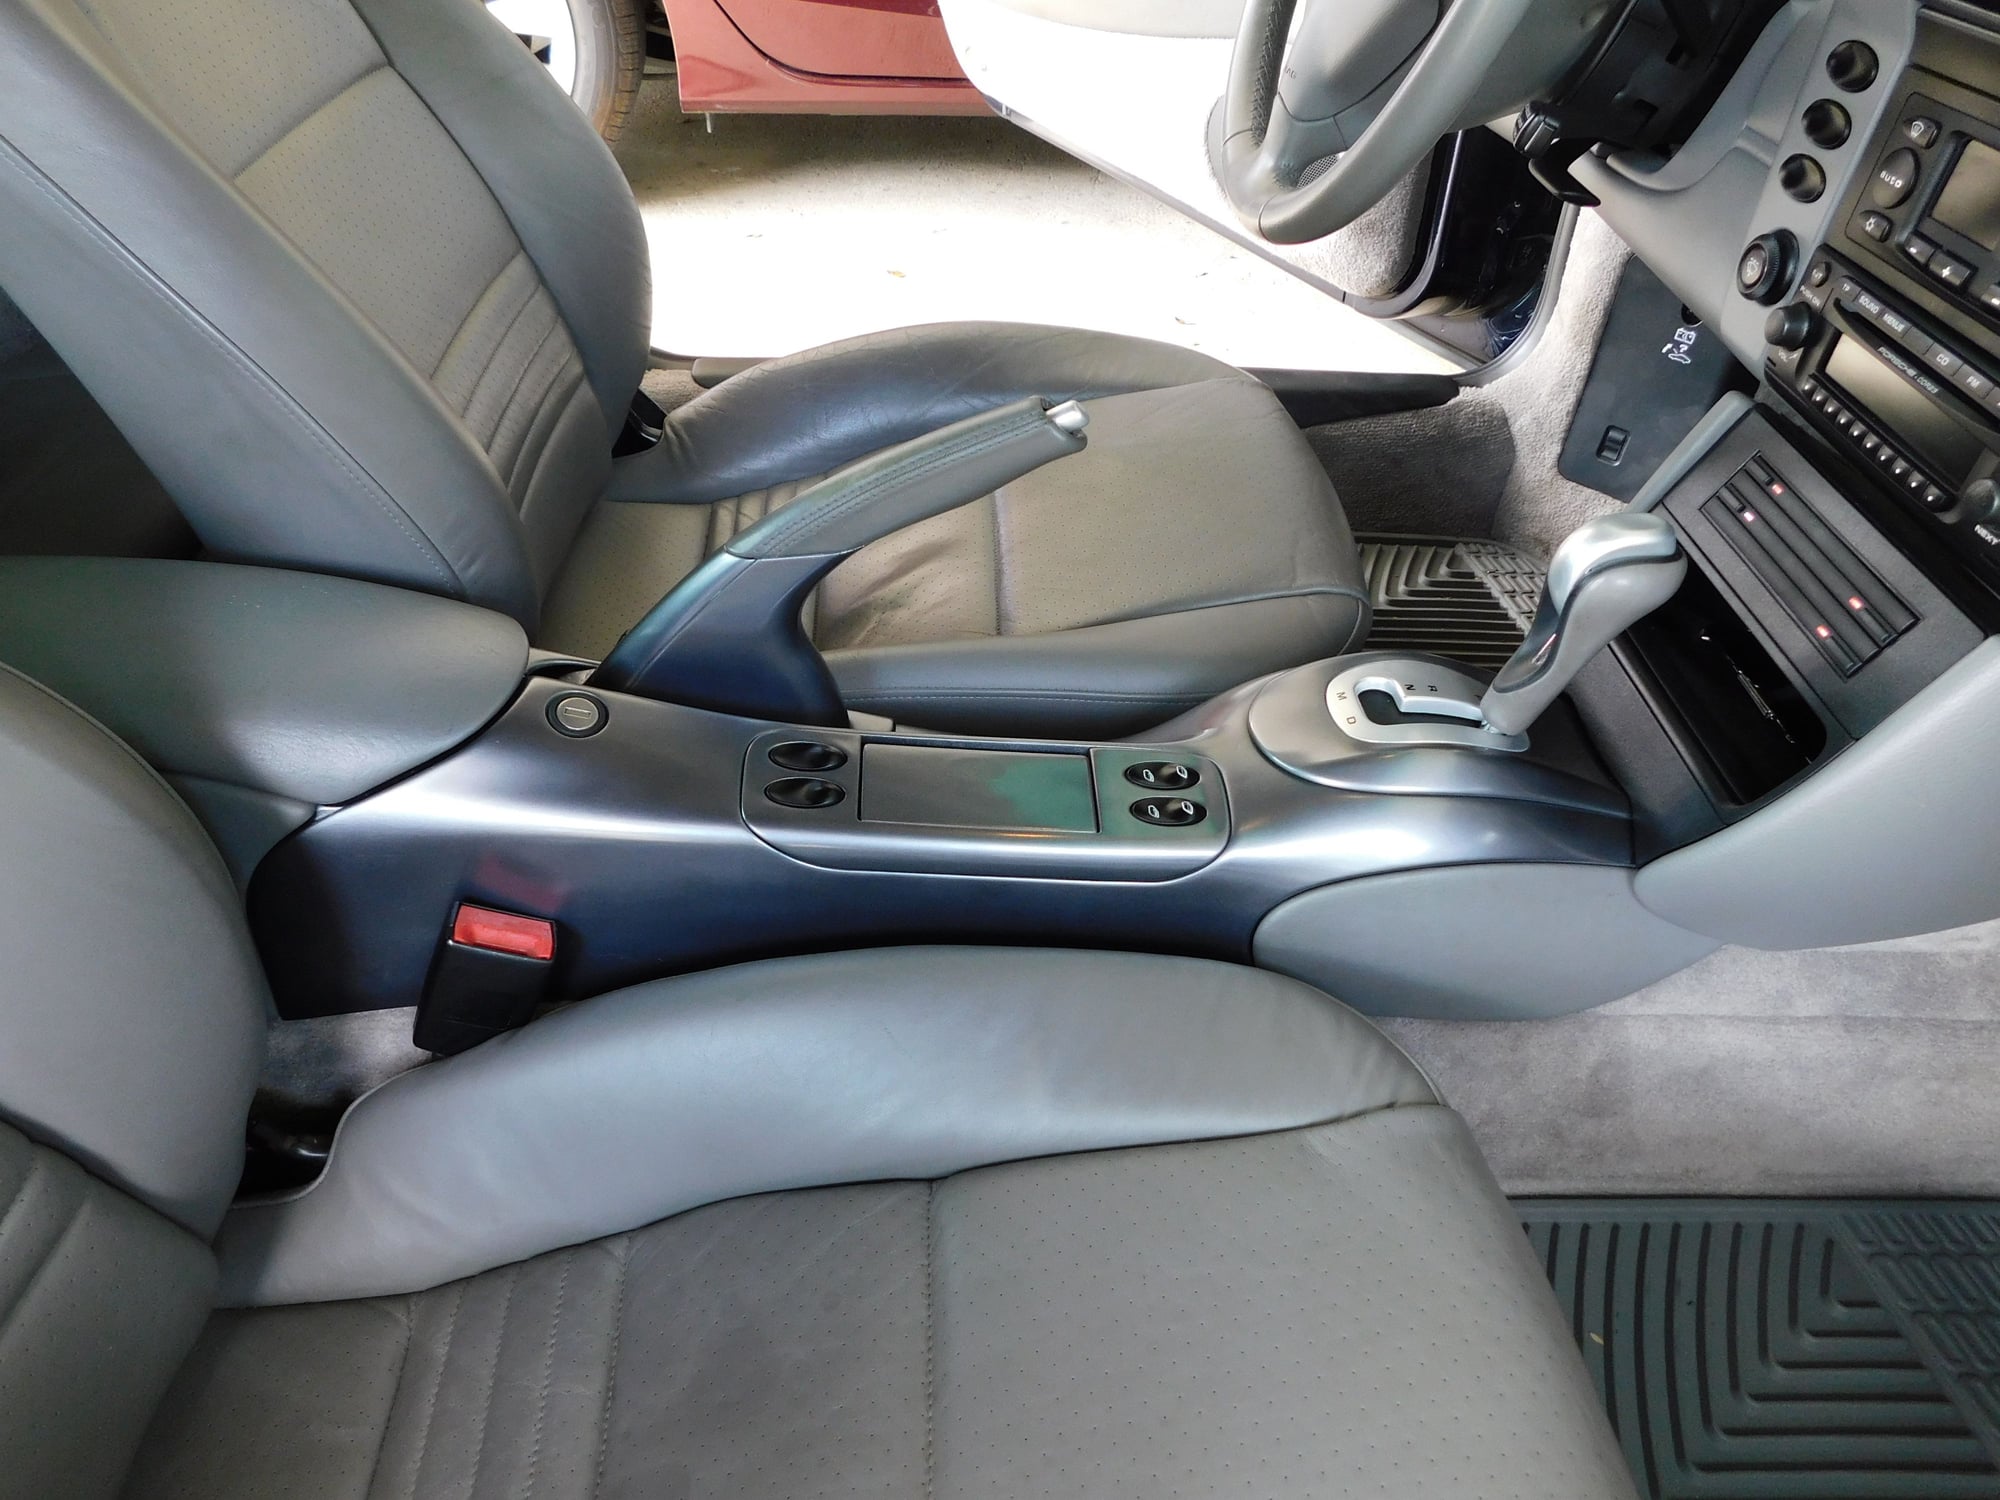
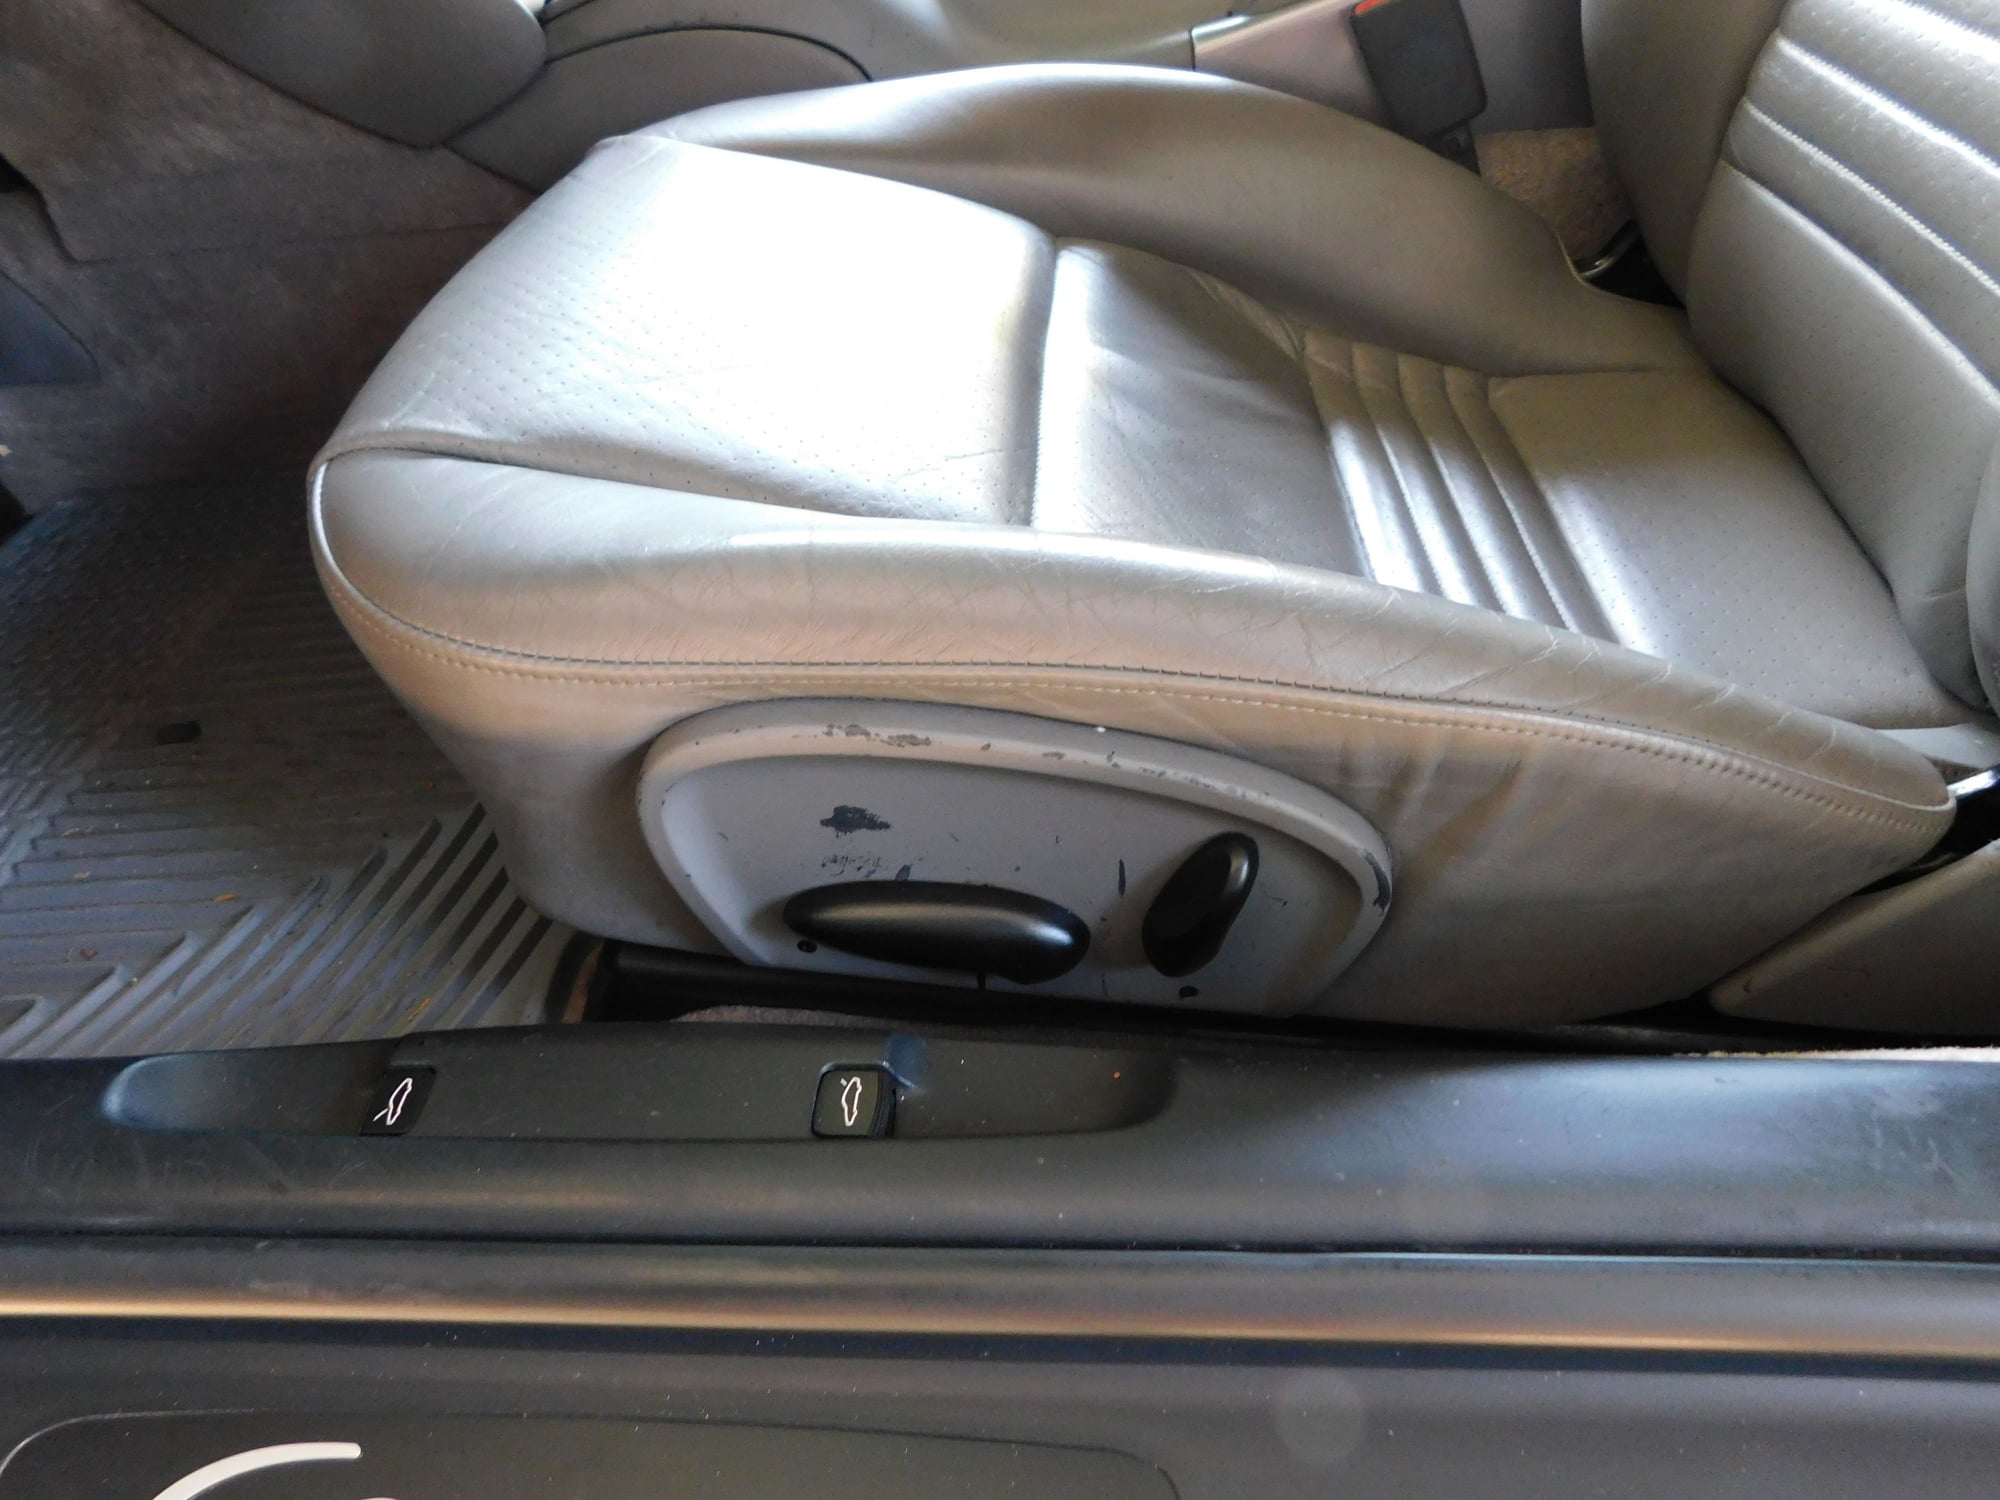
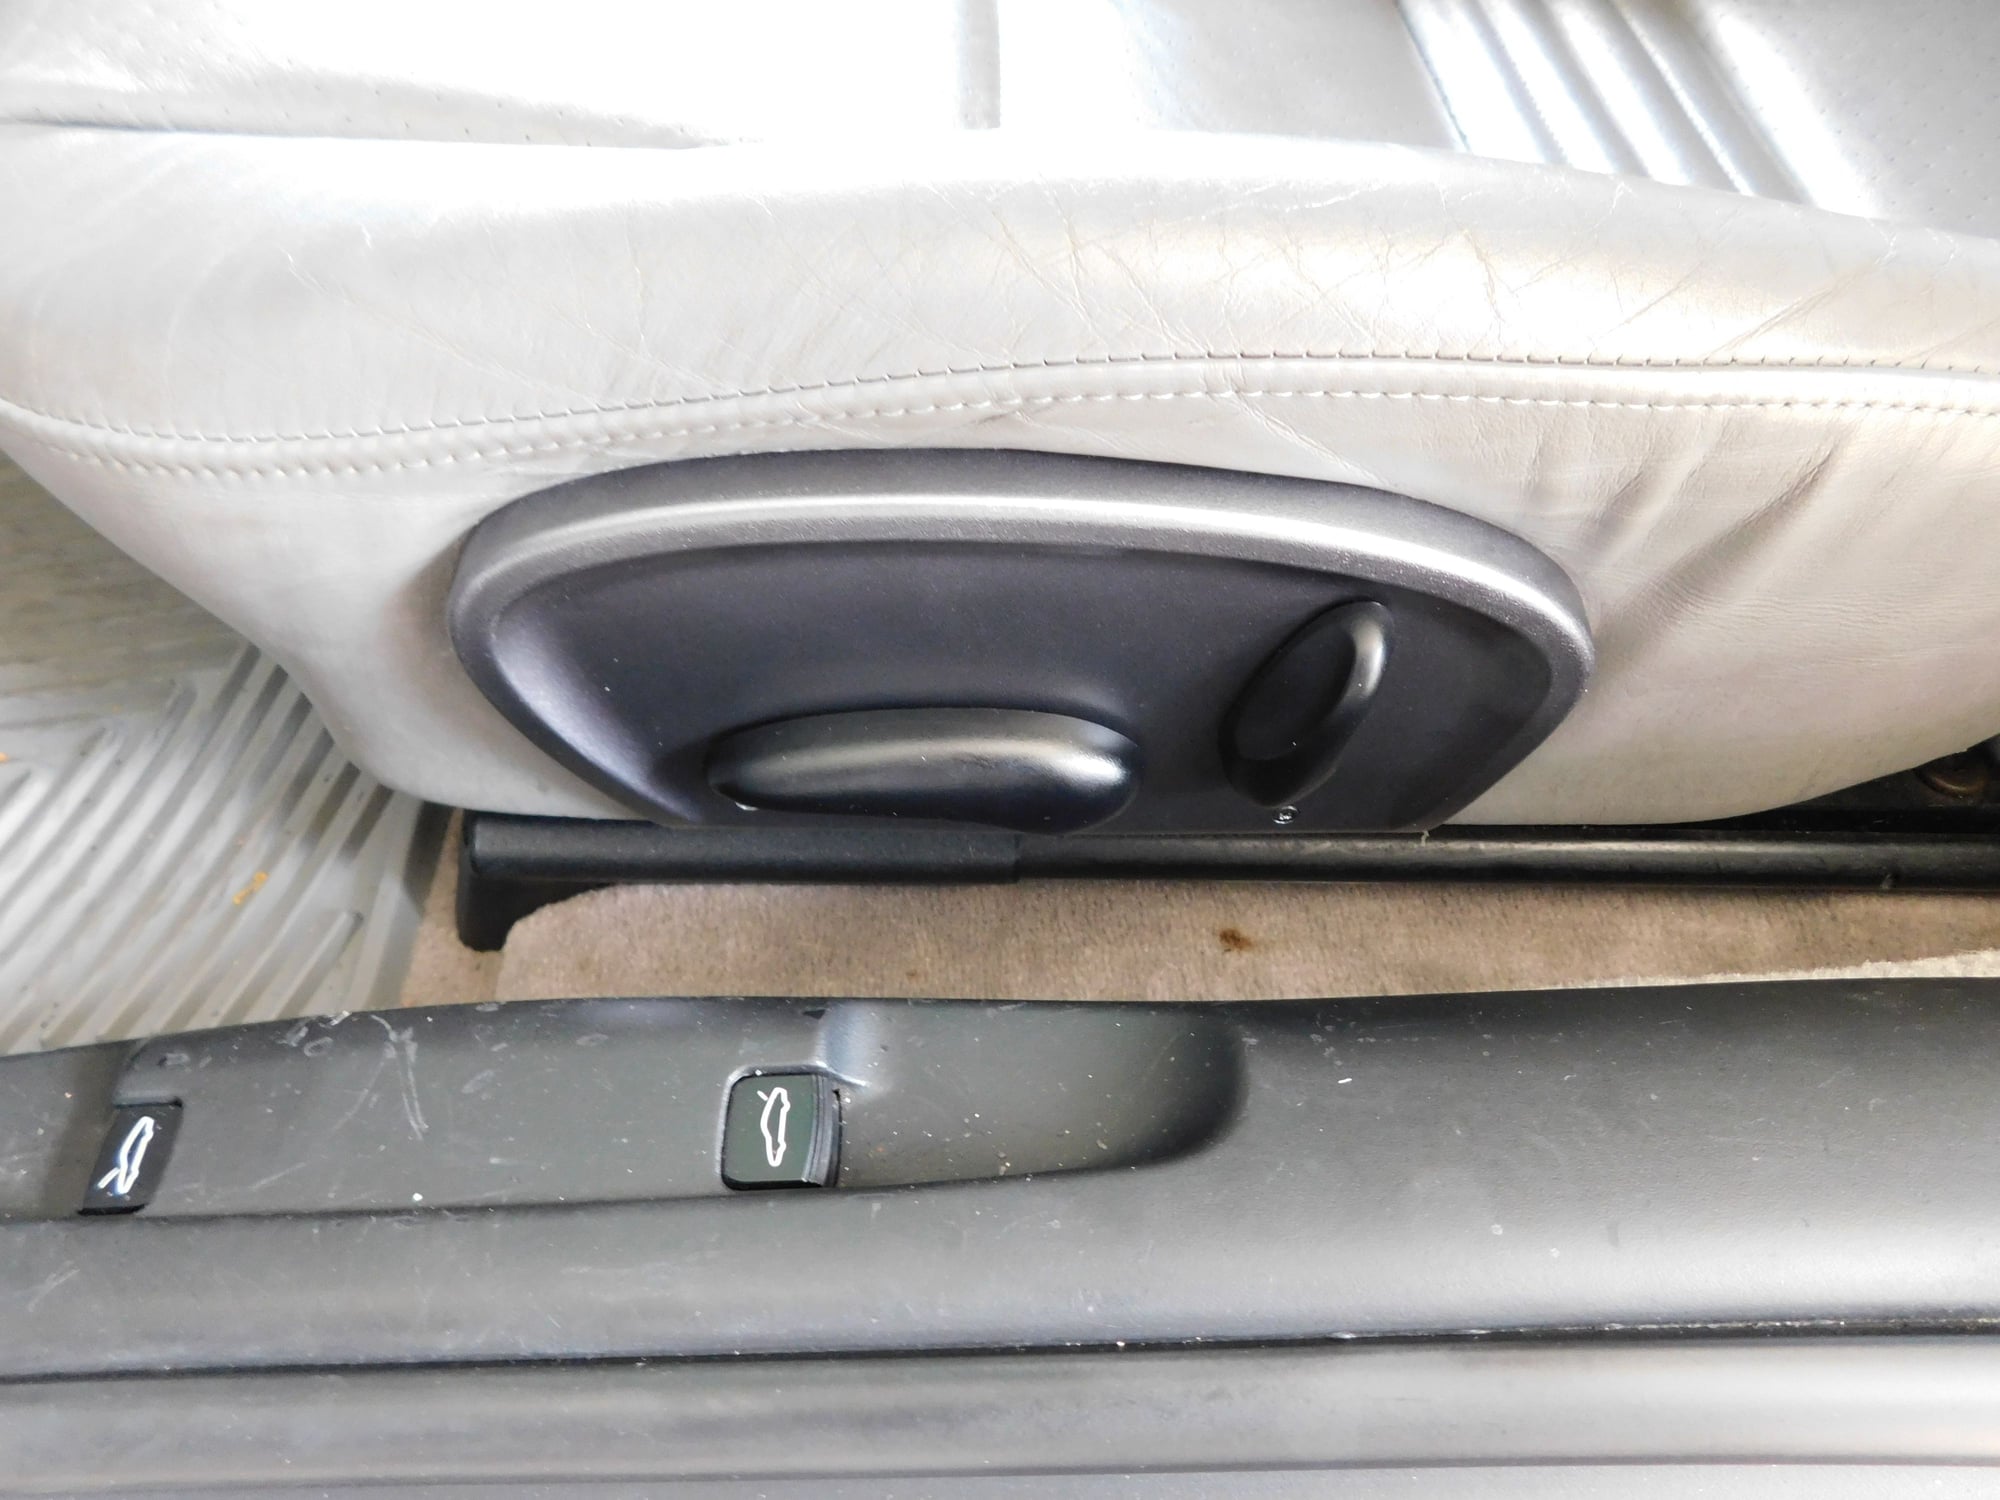
[QUOTE=sasilverbullet;15192550]Spent the weekend painting my center console and seat adjustment covers.
I am VERY impressed with the color and sheen! One thing the pics don't show is the smoothness, smooth as glass!
I used Tamiya Gun Metal (TS-38) over Tamiya fine(not the regular one, to thick) lt grey primer.
First I used Lacquer thinner to get all the old crap off.
Then I wet sanded with 150, to 220, to 320, to 400, then 600. This was a LOT of work!
Then first coat of primer.
Sand with 600, then 1500, then 3000, 4000, 8000, and finally 12000.
Second coat of primer.
Sand again with 600, then 1500, then 3000, 4000, 8000, and finally 12000.
Light coat of Gun Metal.
Sand with 600.
Heavy coat of Gun Metal.
Sand with 600, then 1500, then 3000, 4000, 8000, and finally 12000.
Cure overnight.
Polish with Meguiars ultra finishing compound.
Wax with Meguiars Hi-tech yellow wax.
DONE!
In the coming weeks I'll do the bezel around the A/C cluster and the side vents.
 10-24-2020, 06:20 AM