When you click on links to various merchants on this site and make a purchase, this can result in this site earning a commission. Affiliate programs and affiliations include, but are not limited to, the eBay Partner Network.
Asked a couple questions, read a lot, and decided to just jump in the deep end!! Car was purchased in November with a couple issues known (and a lot of others not known).
Two weeks ago the clutch started slipping, and after putting almost 5000 miles on it since November I decided it was just time to take her down and do a major refresh: On the list:
Radiators (all 3)
coolant lines (all rubber)
Coolant pipes (for obvious reasons)
Condensors (suspect leaking, AC performance not great)
Heater core
Clutch
Rear Main Seal
Transaxle rebuild
Coils
Plugs
Bearings
Brakes
Suspension refresh
Turbo refresh (I have K24's) and an unknown tune
Headlight upgrade
Basically.... get it back to a very solid stage to where I can enjoy the heck out of it, both on and off the track for several years.
Yes, the list is extensive. Yes, It will take time. Yes, it will cost probably a lot more than I've budgeted. But I'm a believer in the "do it once, do it right".
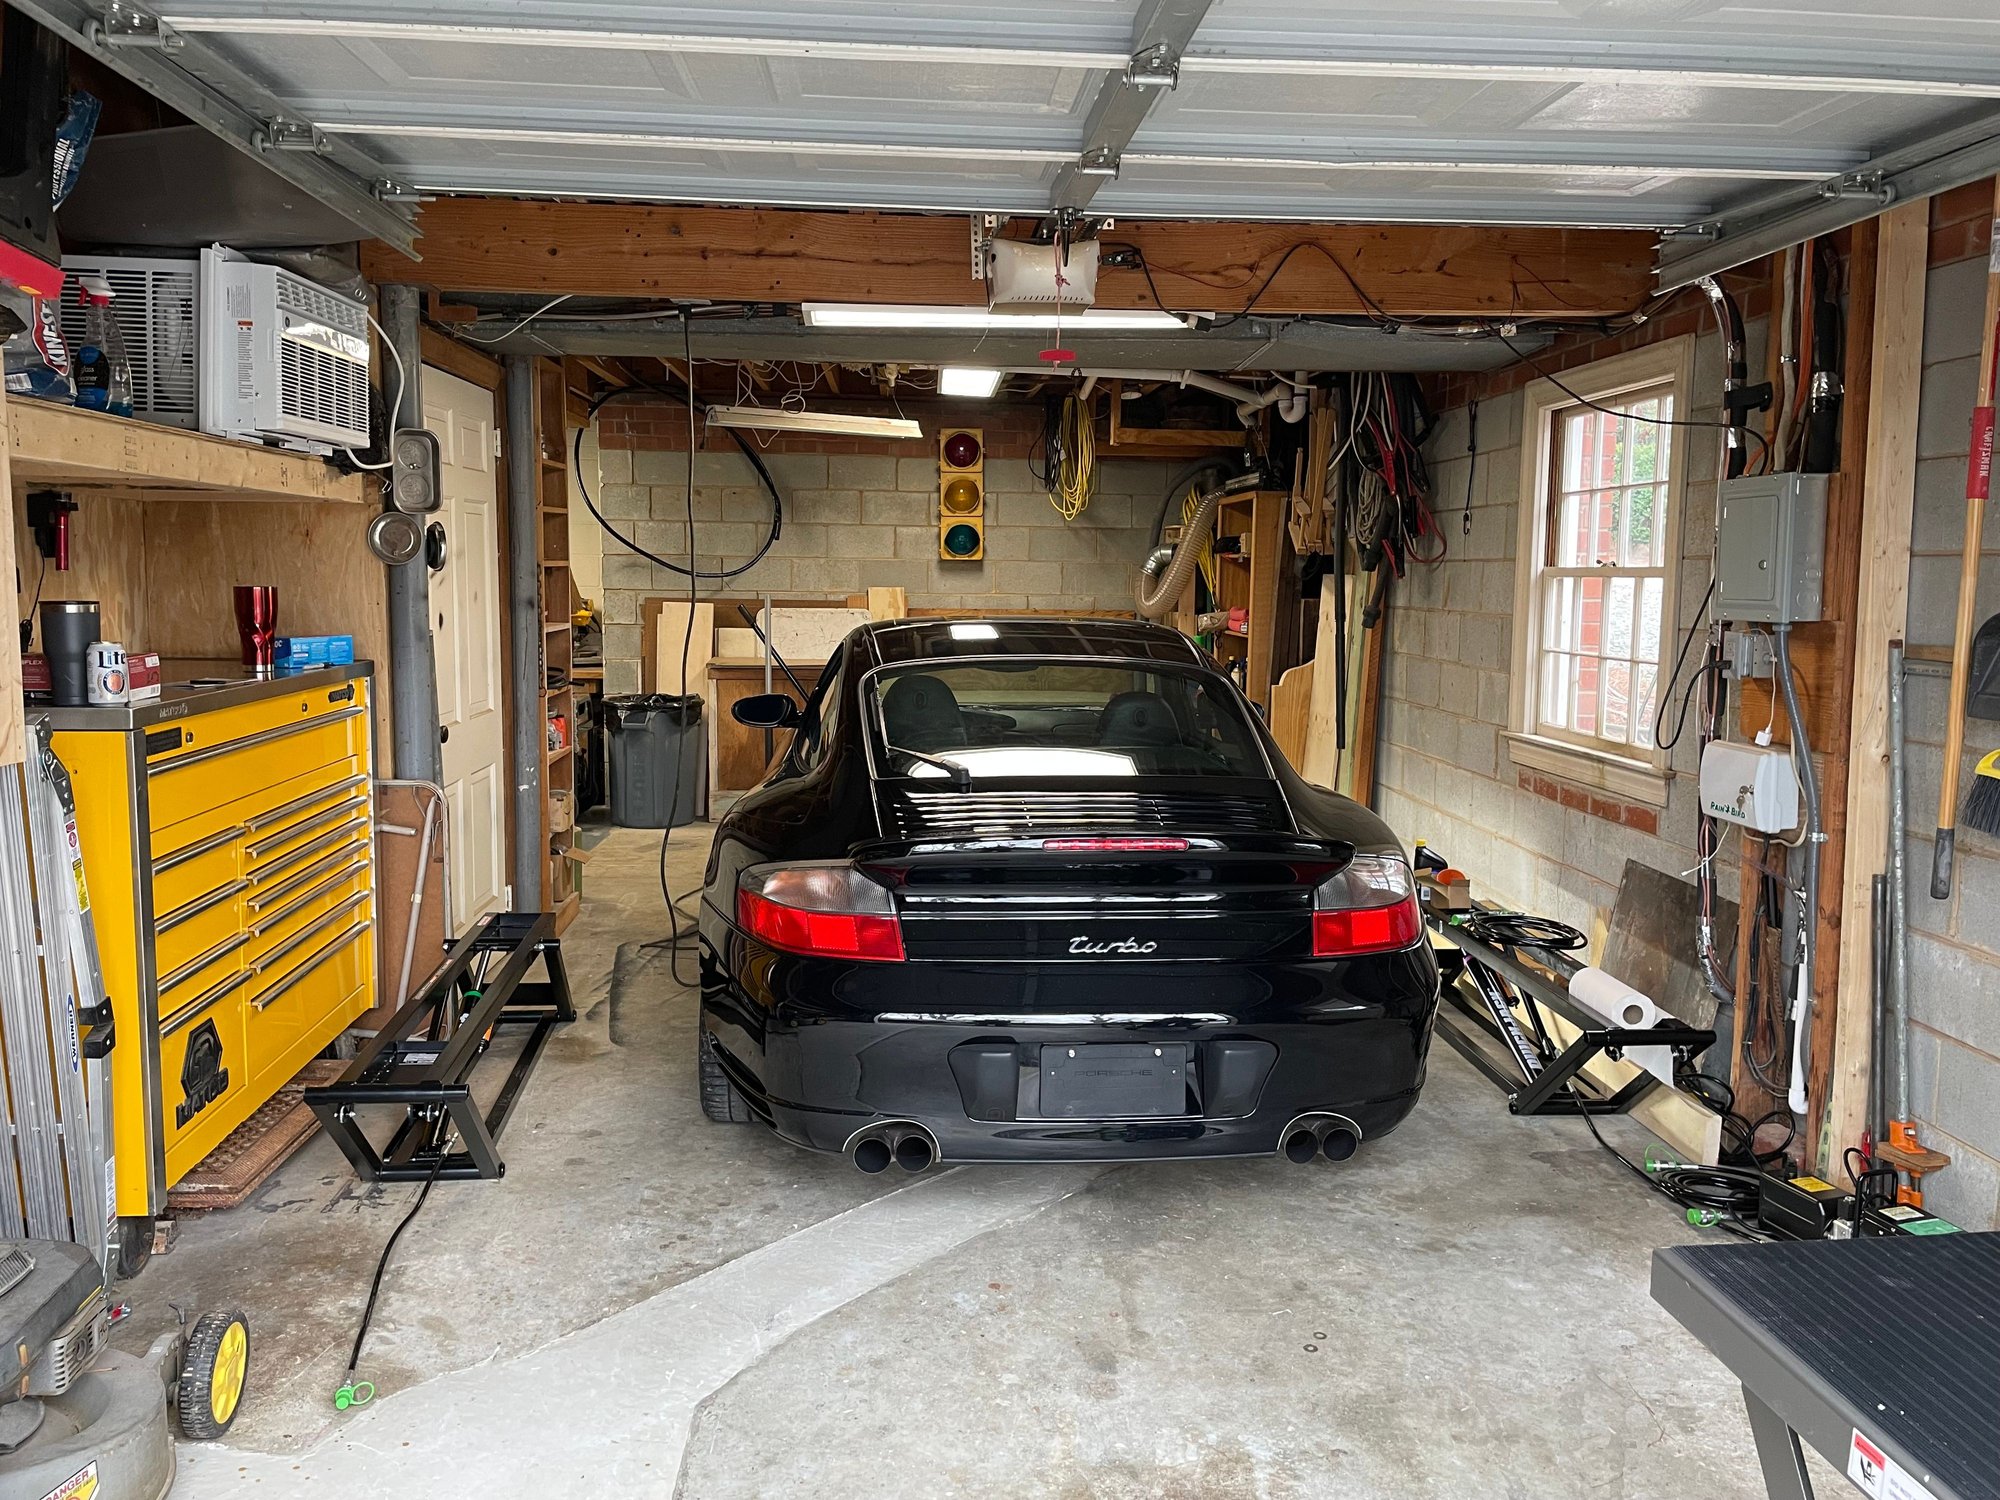
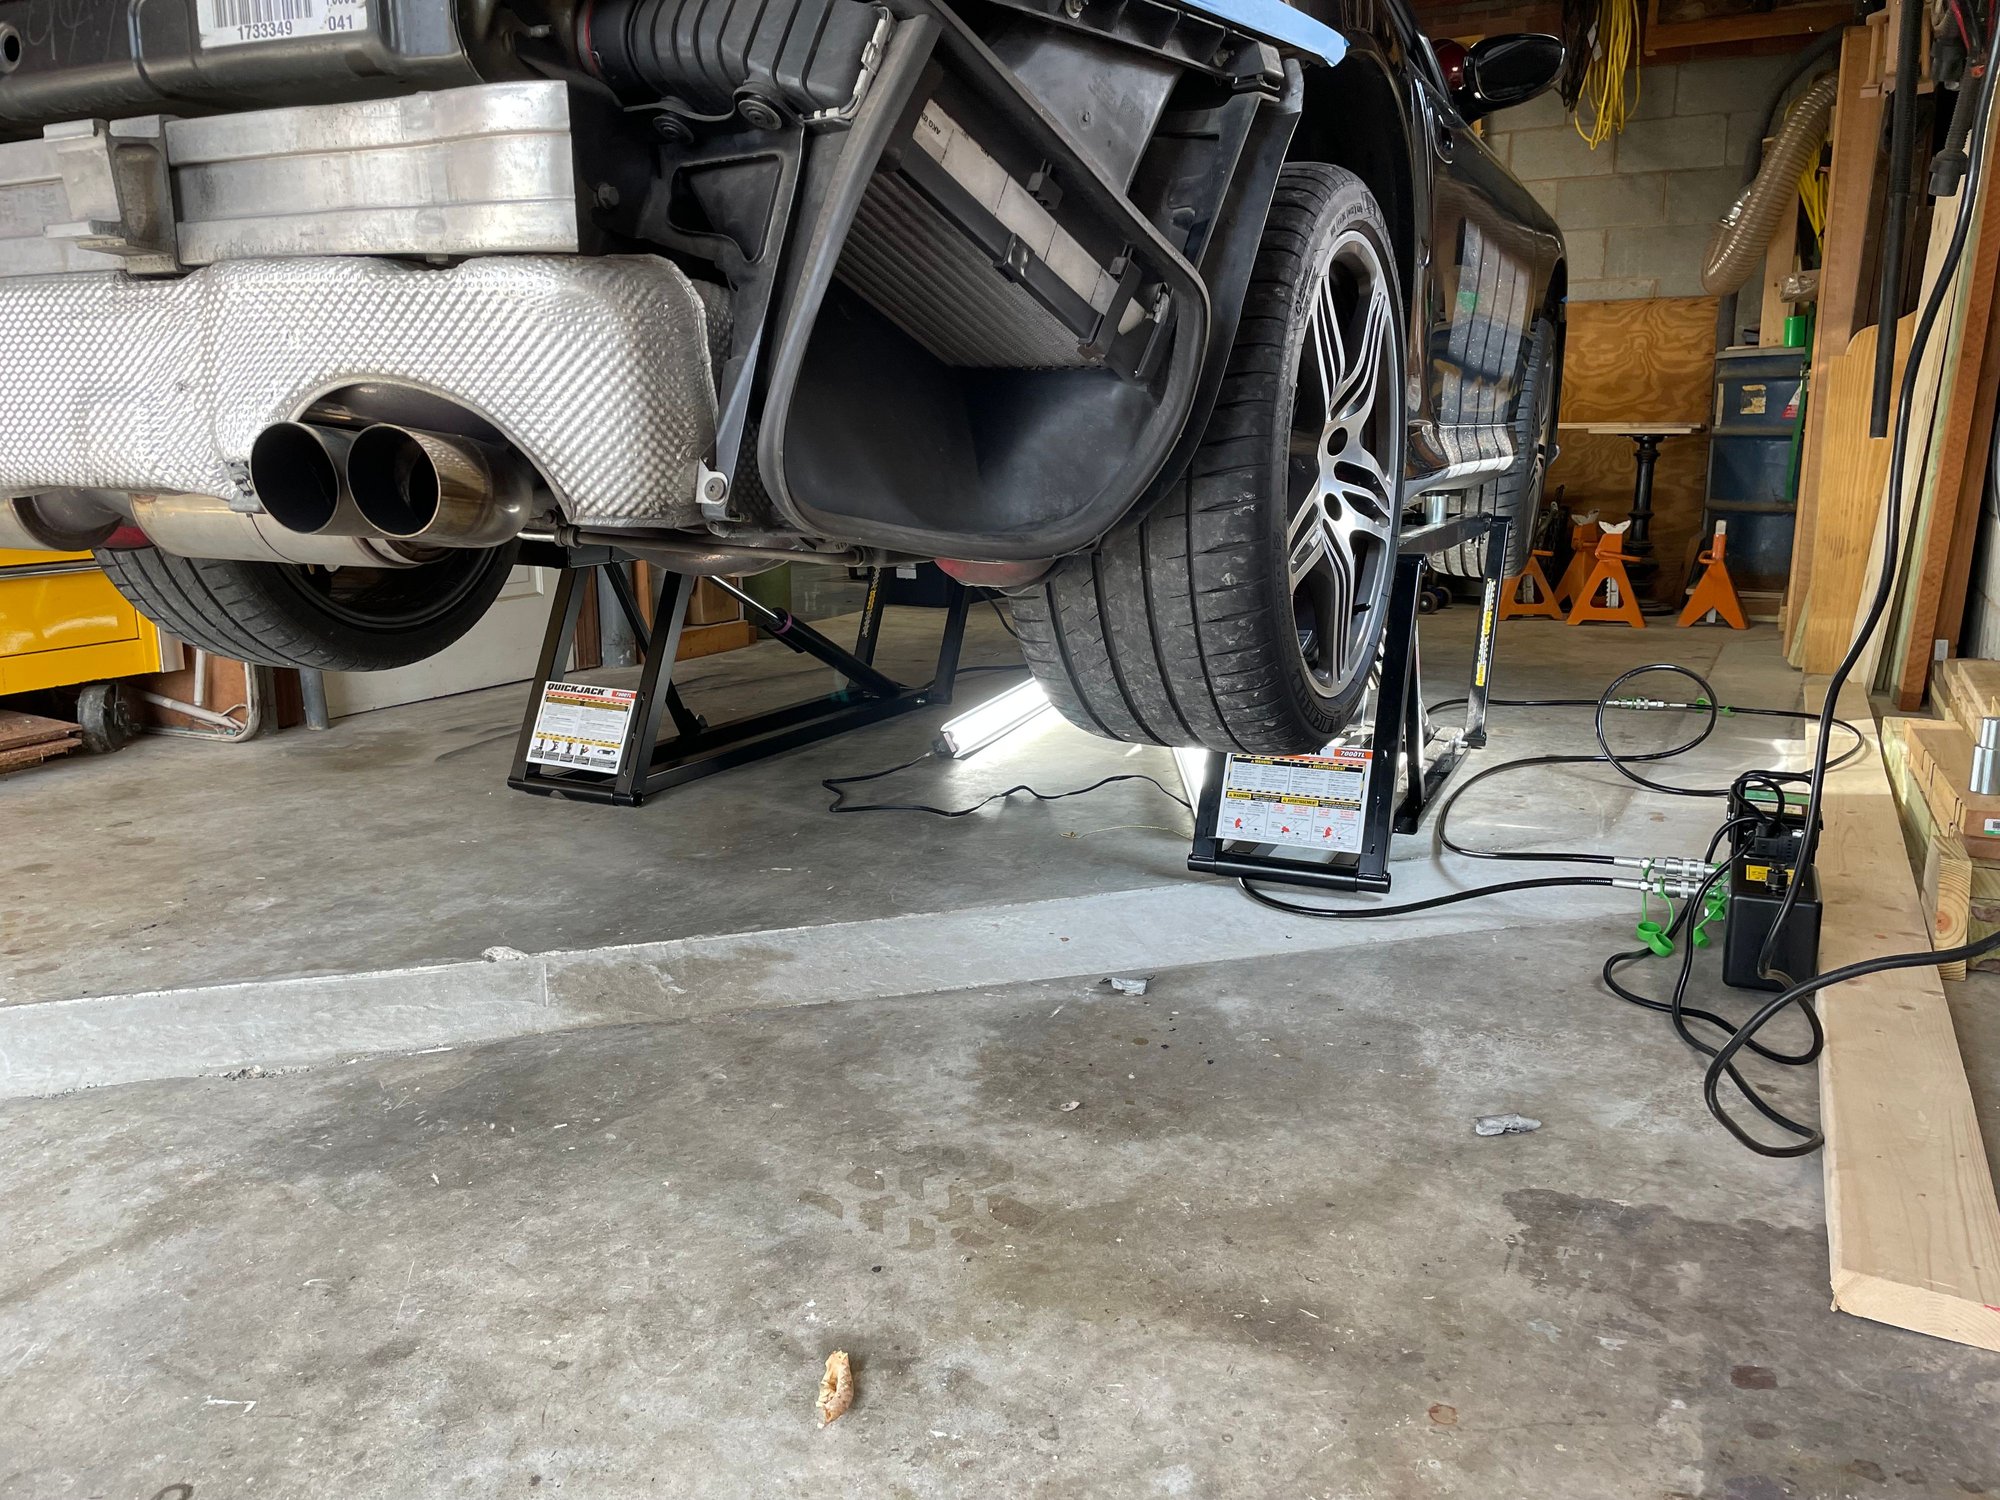
So without further ado. No fancy garage. No two post lift. I did buy the QuickJack 7000TL, which fits perfectly between the wheels and is a gem to use.
First day was QuickJack assembly (and then waiting 24 hours for the hydraulic adhesive to cure).
Today I started with things I could do while it was on the ground, and the adhesive finished curing.
First up:
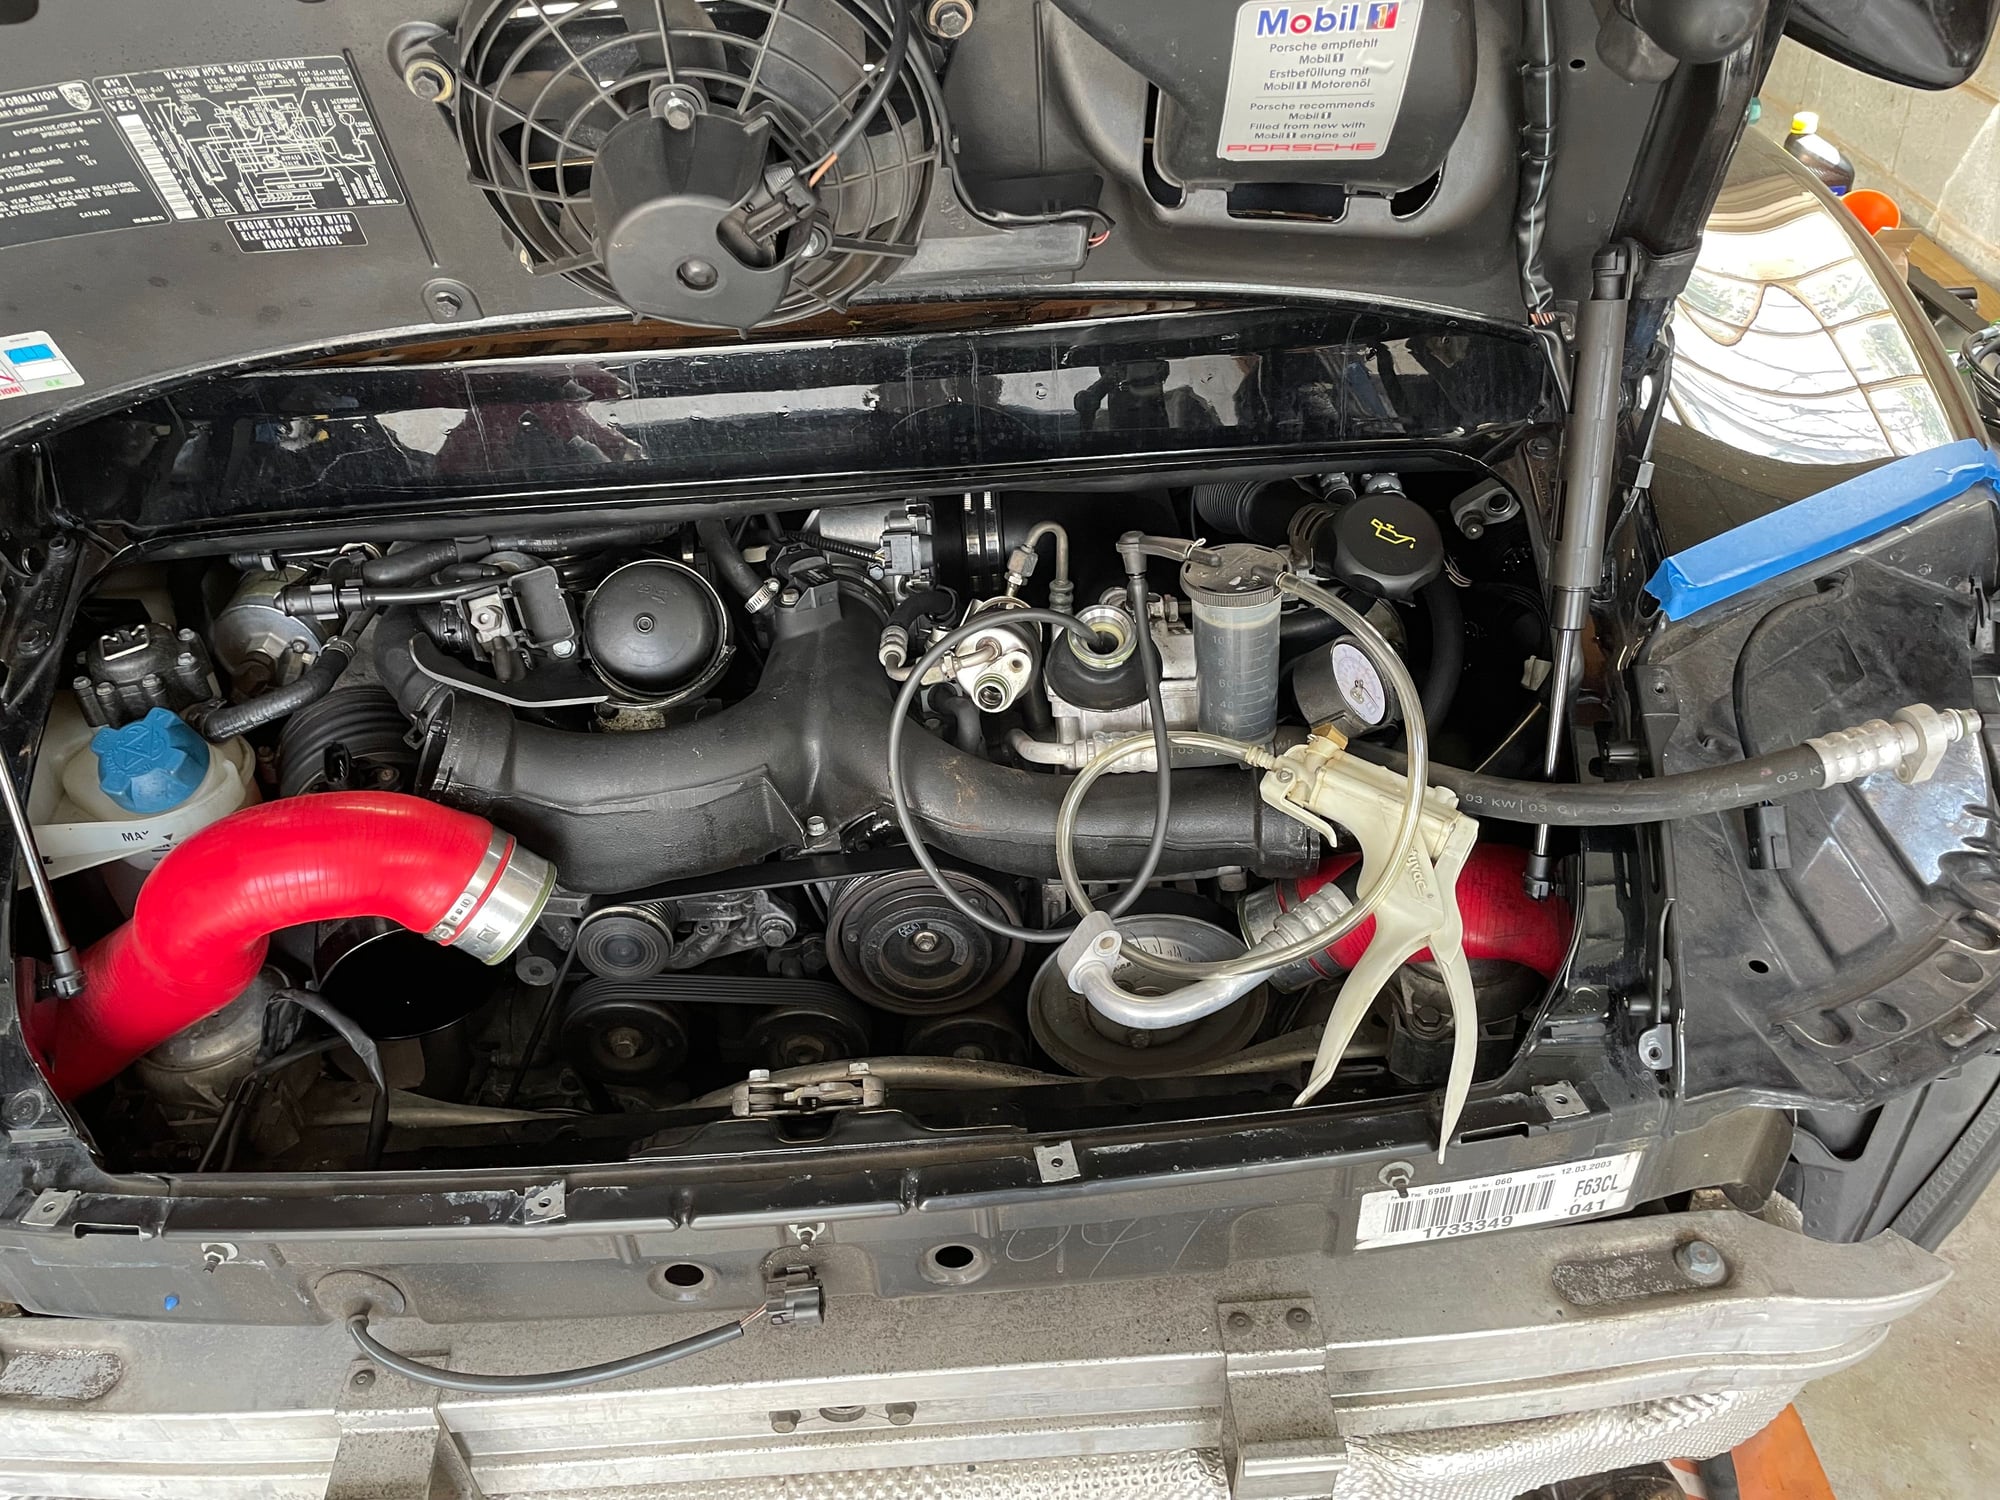
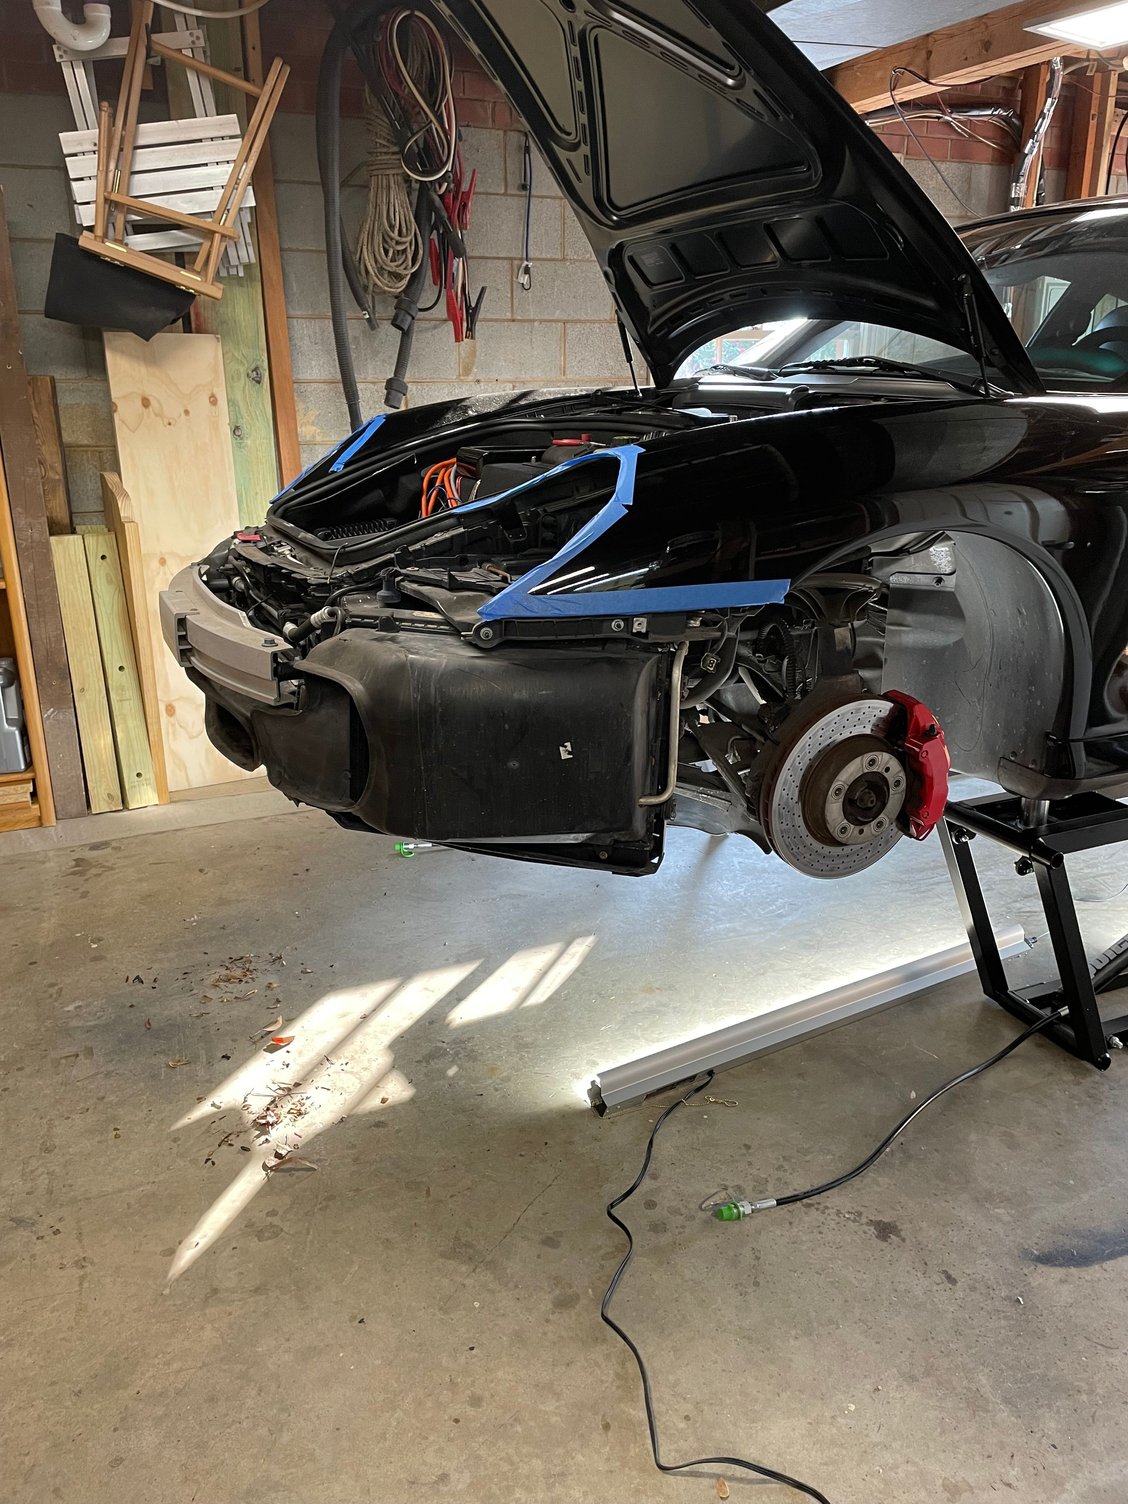
Rear bumper
Intake (mine is an EvoMotorsport).
I had a shop recover the AC coolant earlier this week. Ready for surgery!
Old School since the glue hasn't finished curing yet on the quick jack fittings.
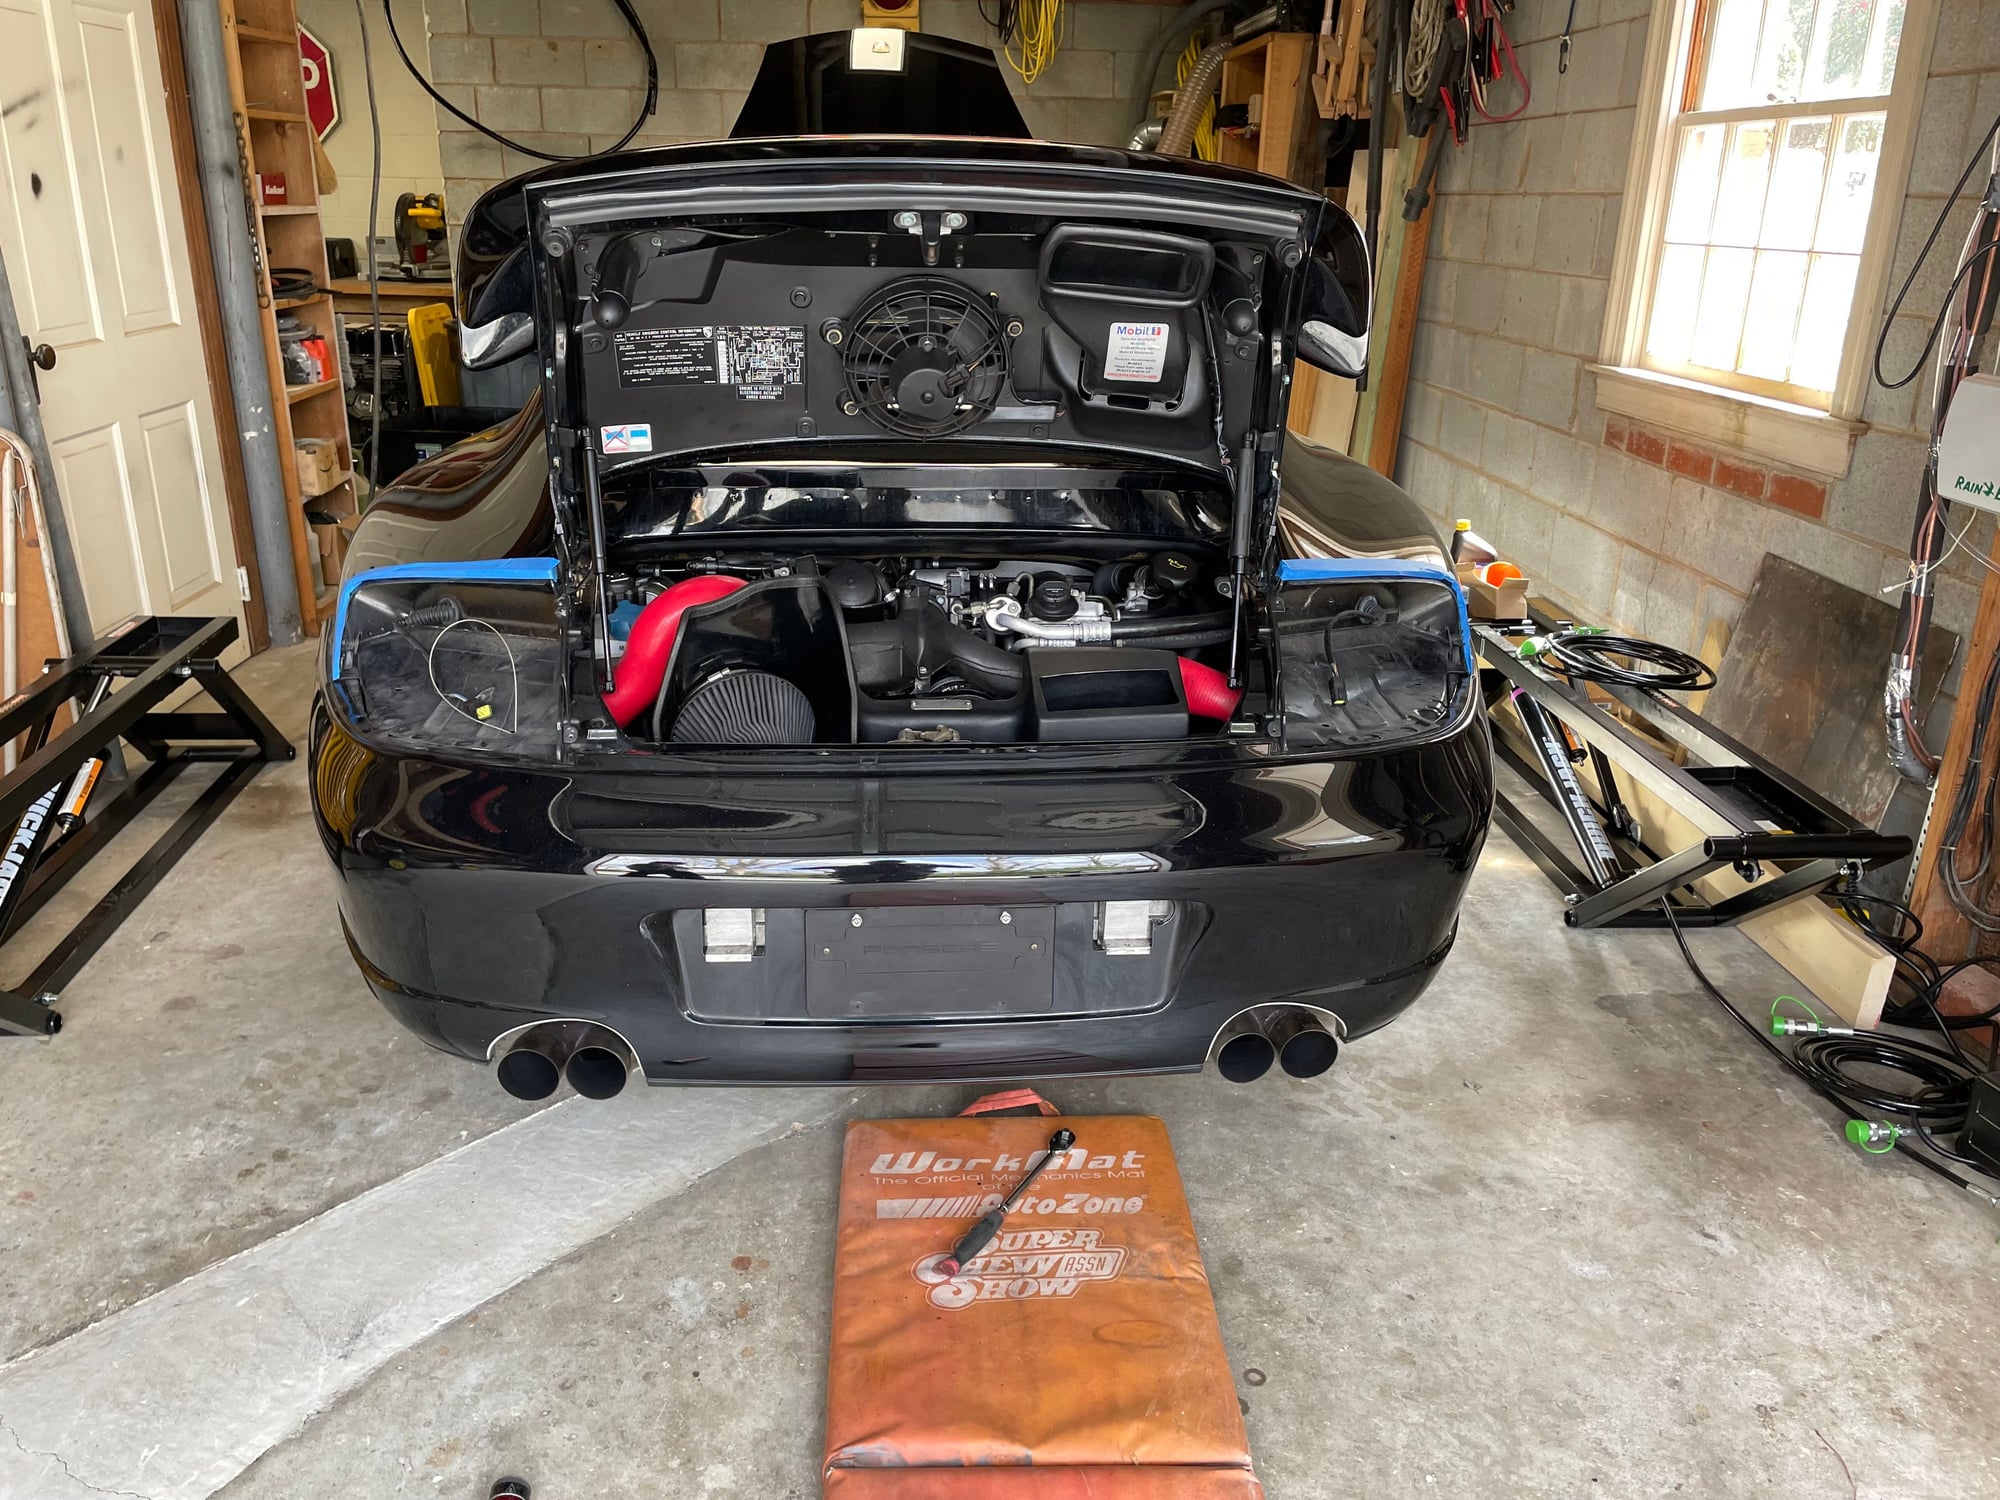
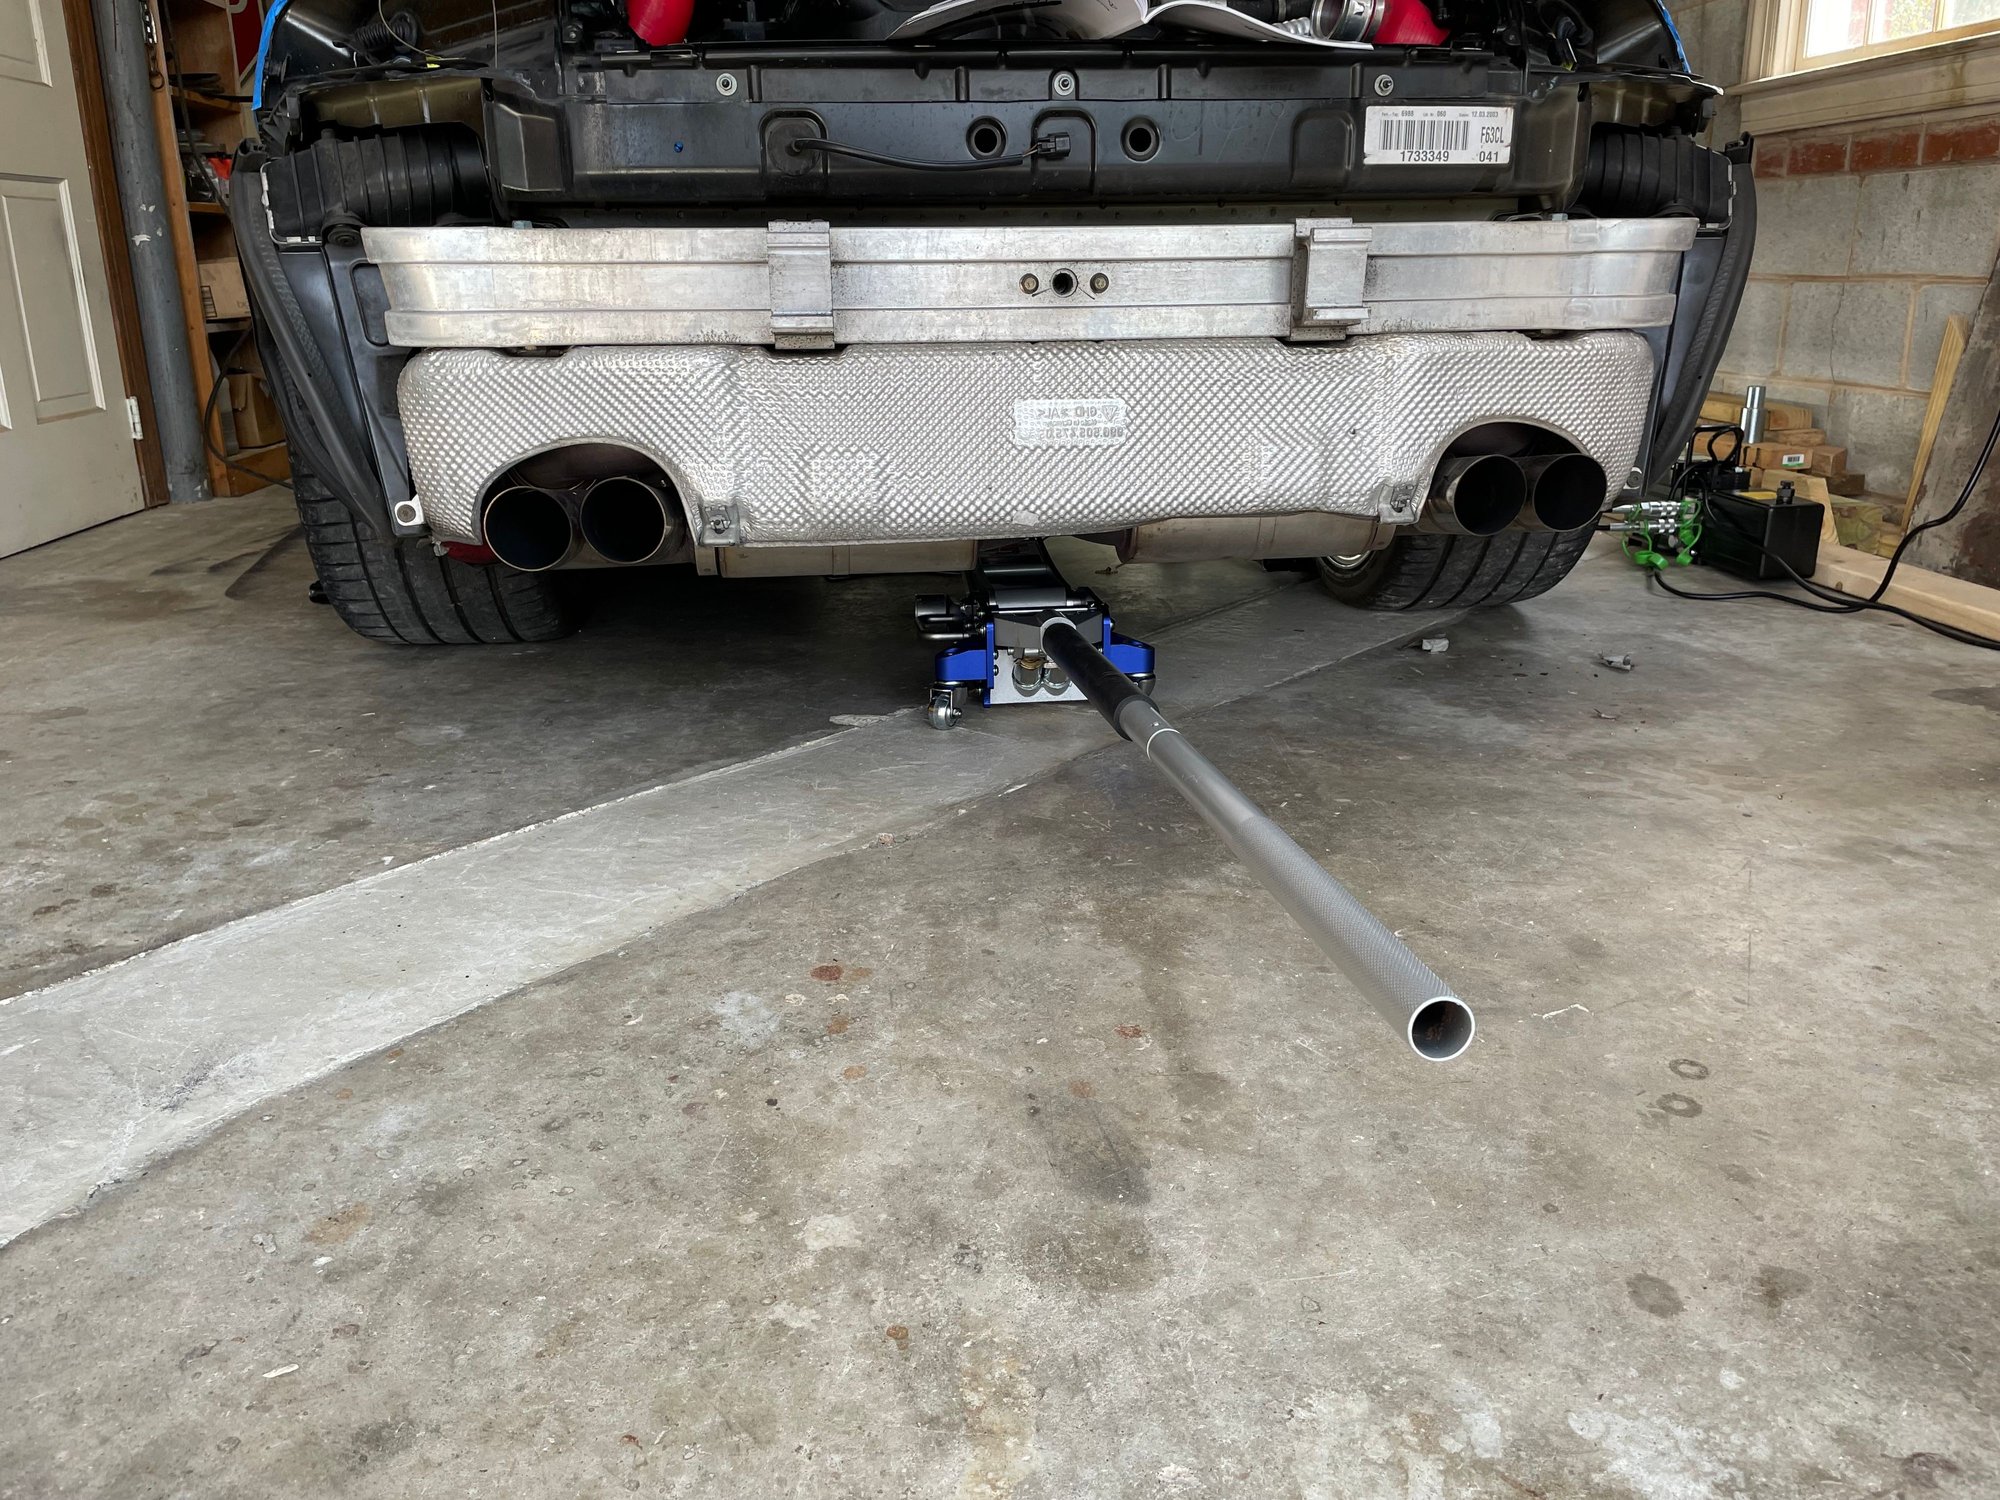
Dang glue hasn't cured on the hydraulic lines... gotta get old school with the mat. Mighty Vac sucked out all of the Pentosin easily. So the QuickJack with the additional pucks won't quite fit under the car. Floor jack on crossmember makes quick work of that. lined up Lined up. And in the air. OOOPS That hydraulic Line! Front coming apart
Last edited by 17ram2500; 03-20-2022 at 08:27 AM.
Reason: mispelling
The cheap harbor freight lights are really nice. We got that hydraulic line moved asap. See later pics.
The QuickJack lift really impresses. Quite a nice setup.
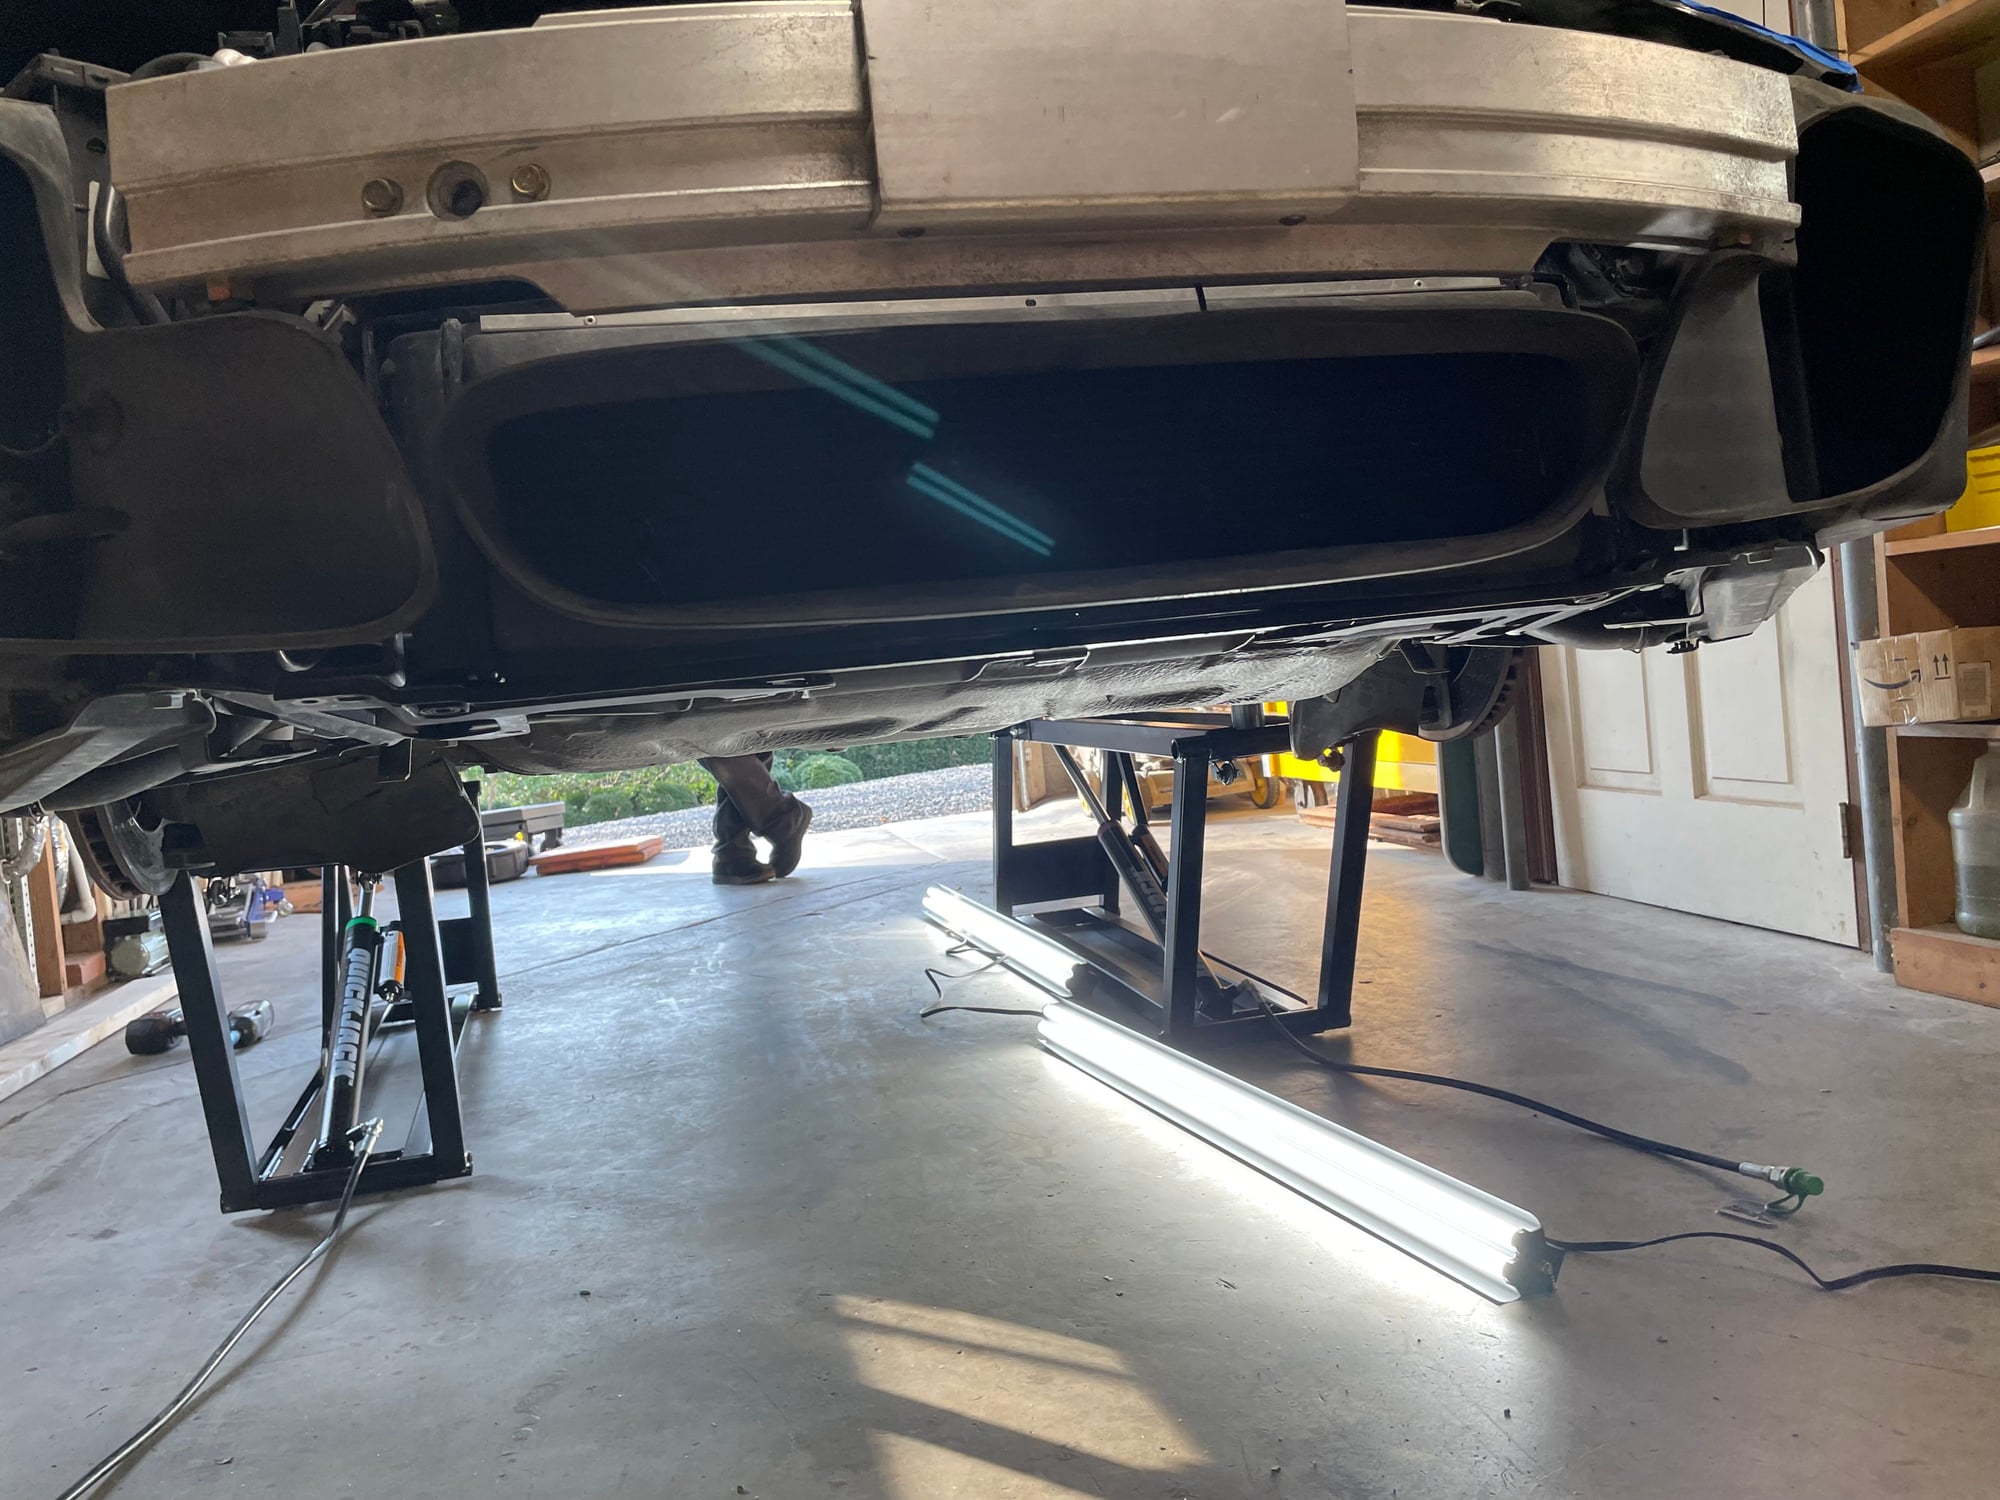
Should have enough height to get the engine out. Fingers crossed; or we are going to get creative quickly! Forgot to get a shot of the front before. Oh well.
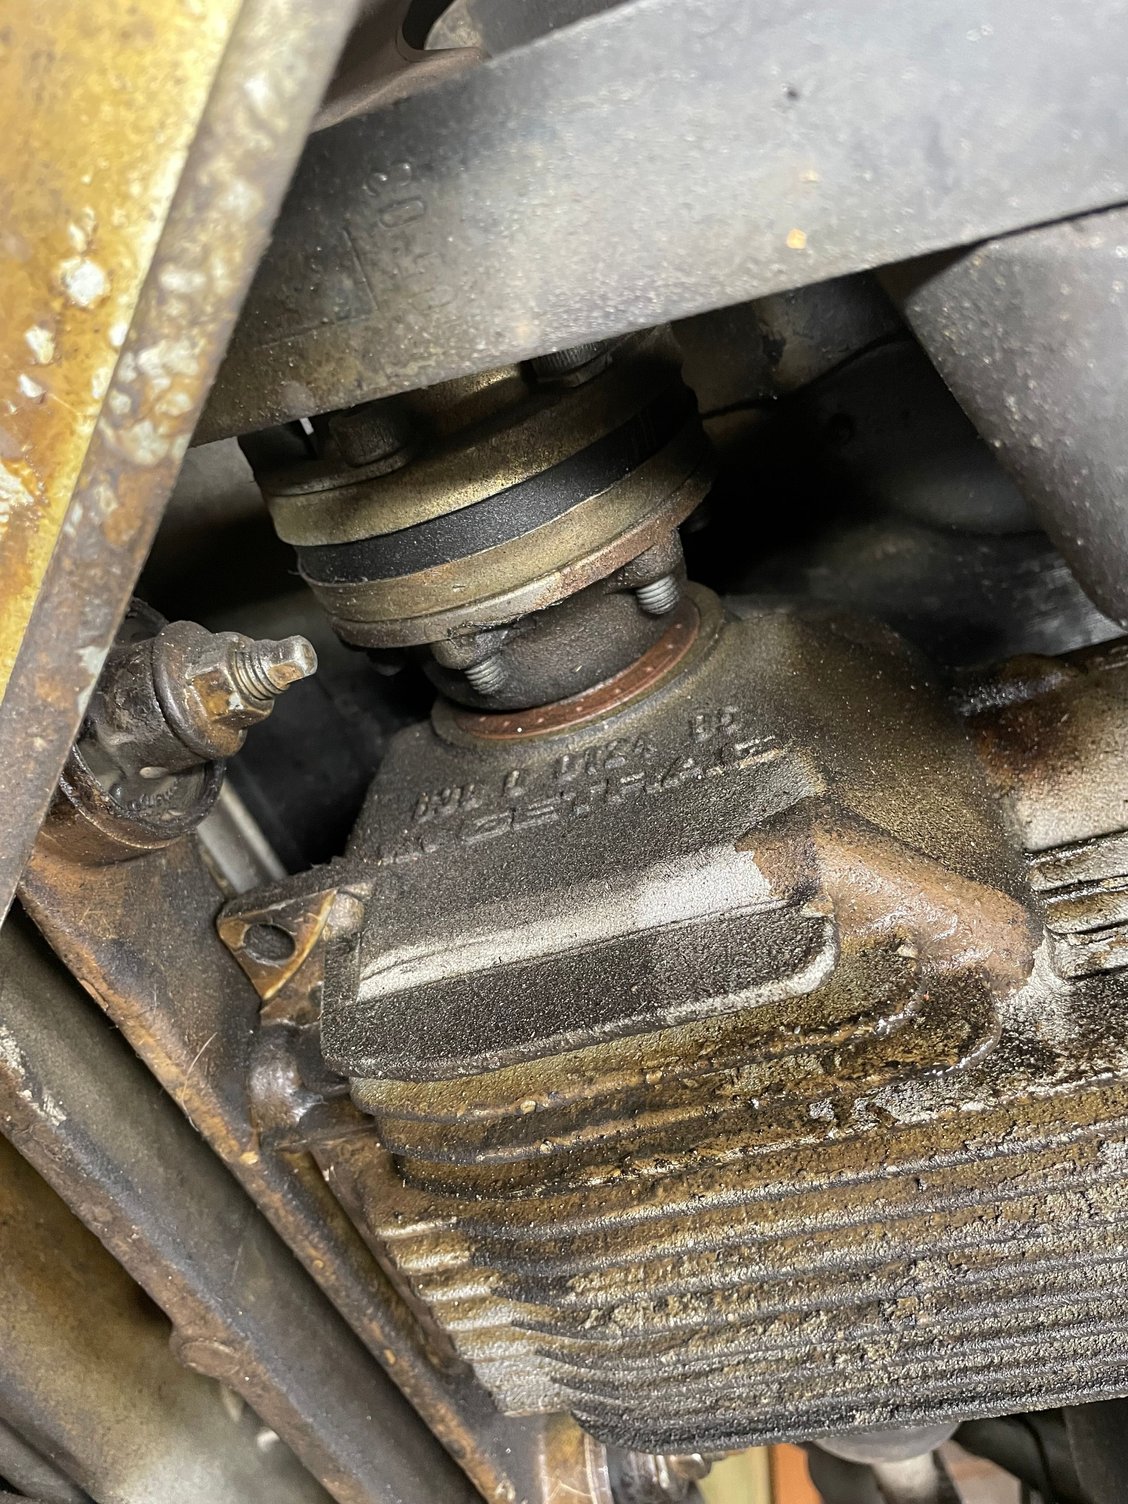
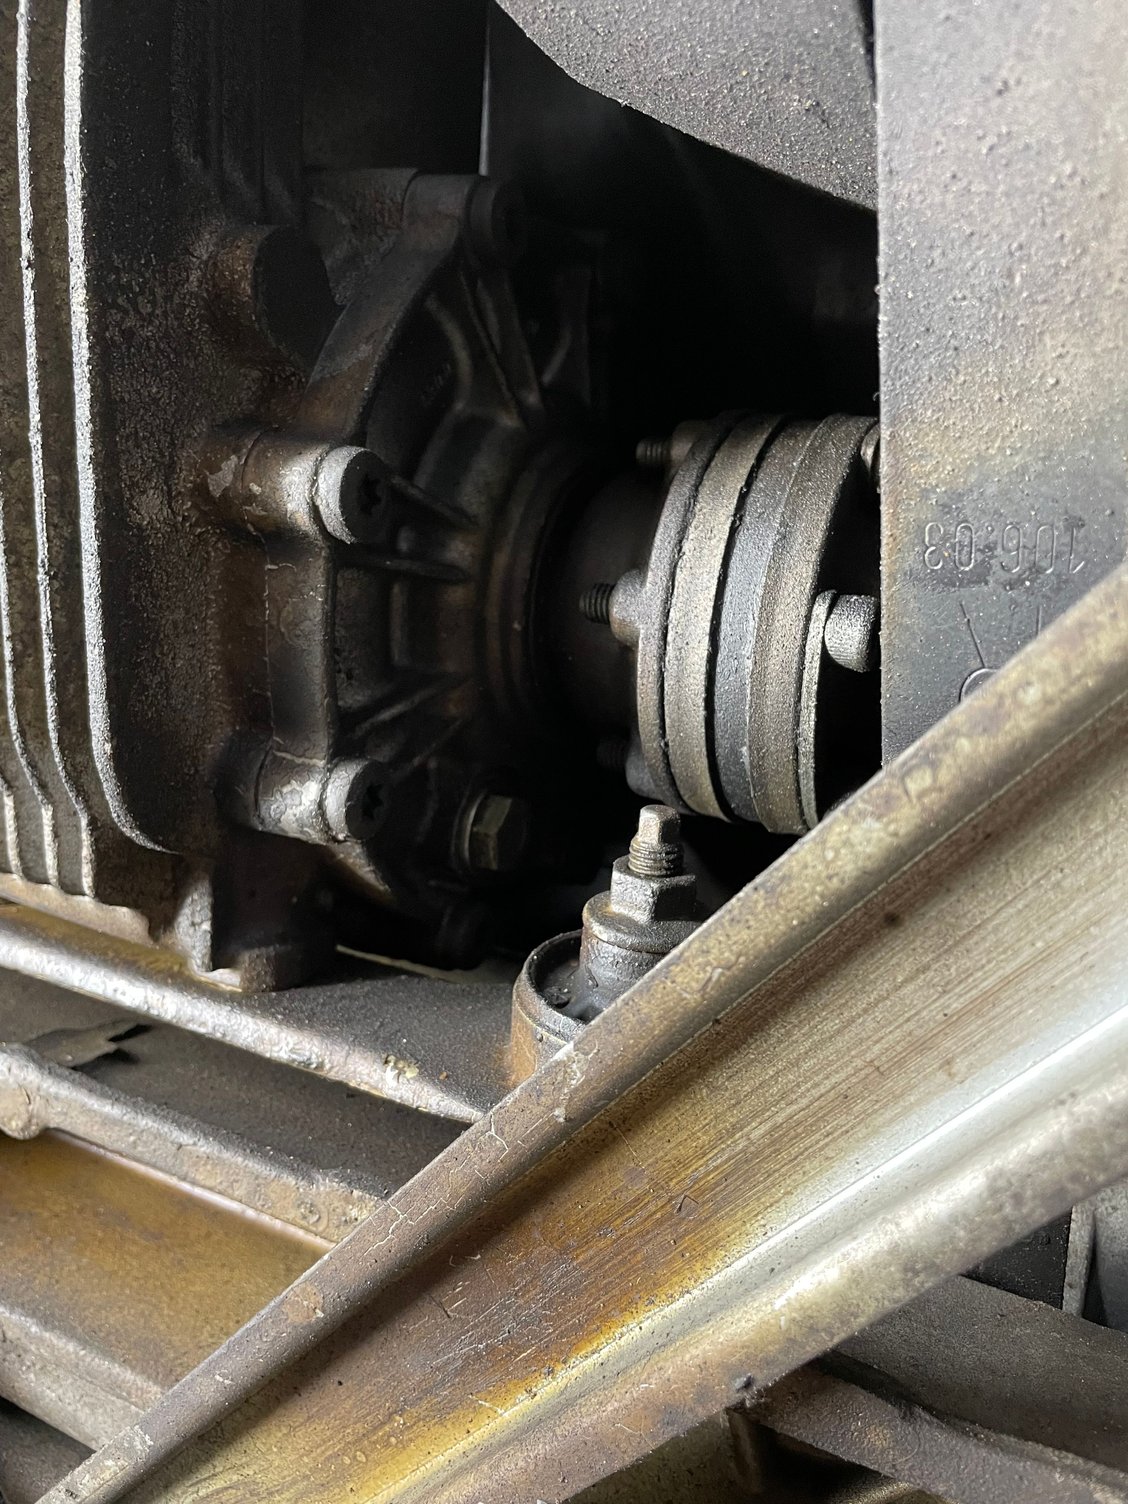
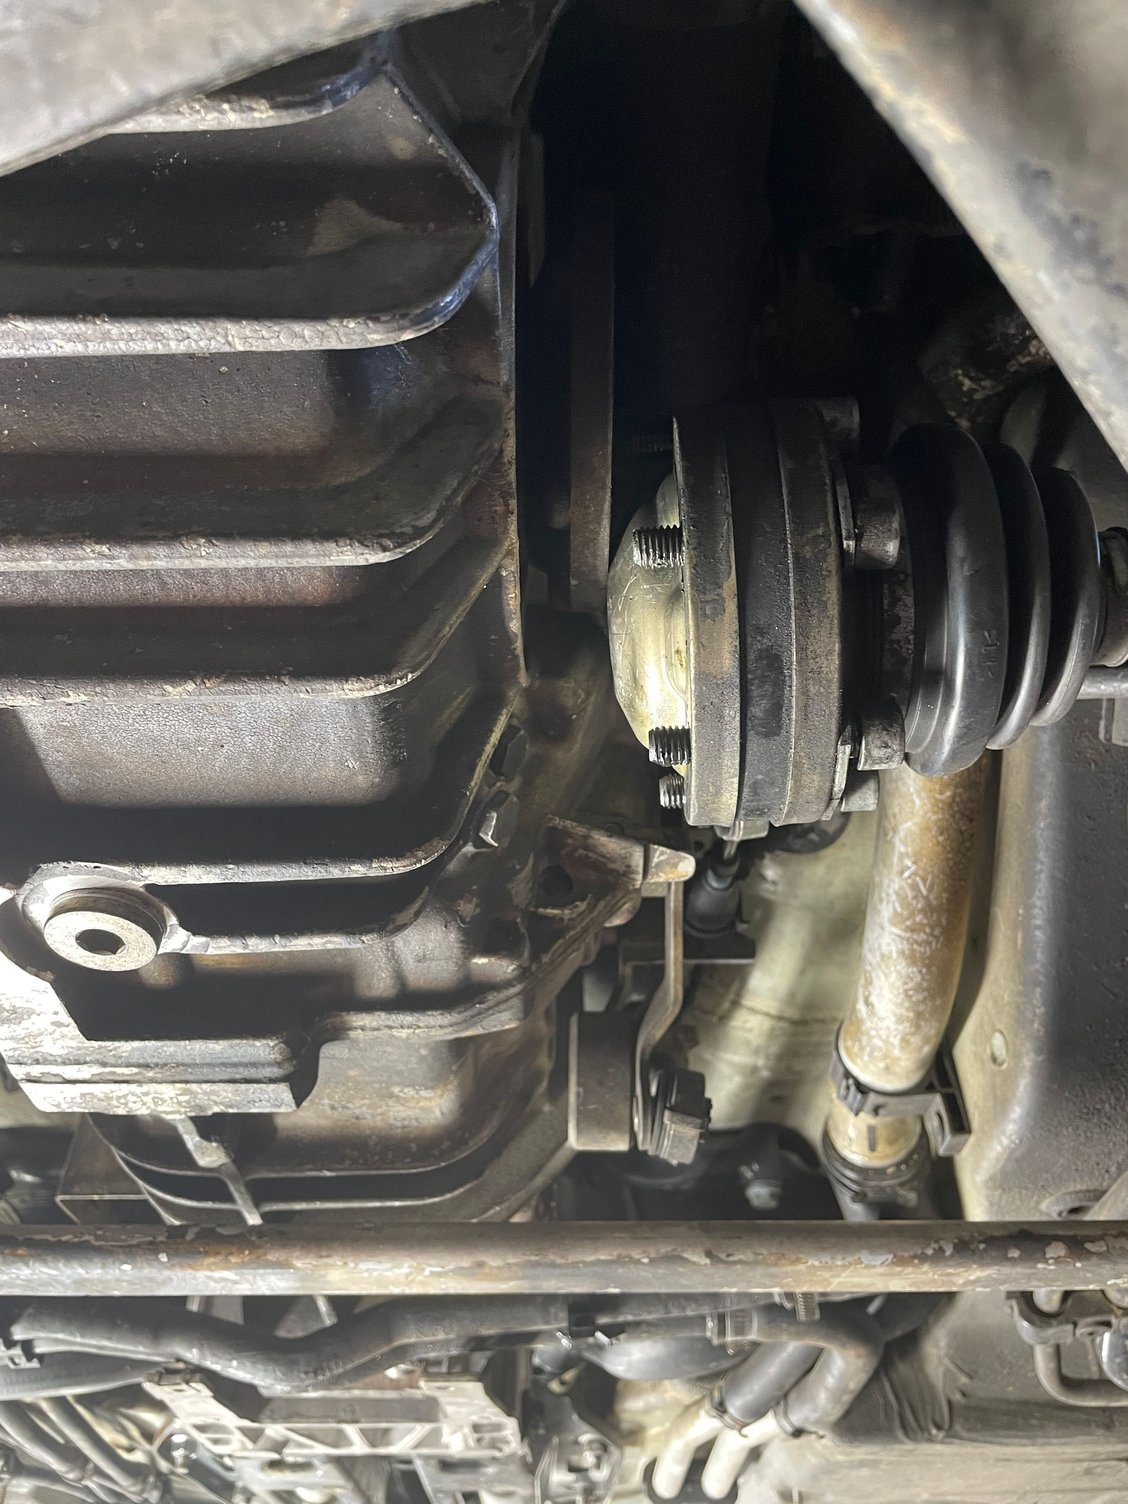
Well... I don't like this.
Appears both axle seals on the front diff are leaking.
Diff is covered in grease, but below axles and not above. Or this.
Again... more gear oil on the front axle. It's not quite dripping off the drain plug, but it's close. This all looks good. so does this.
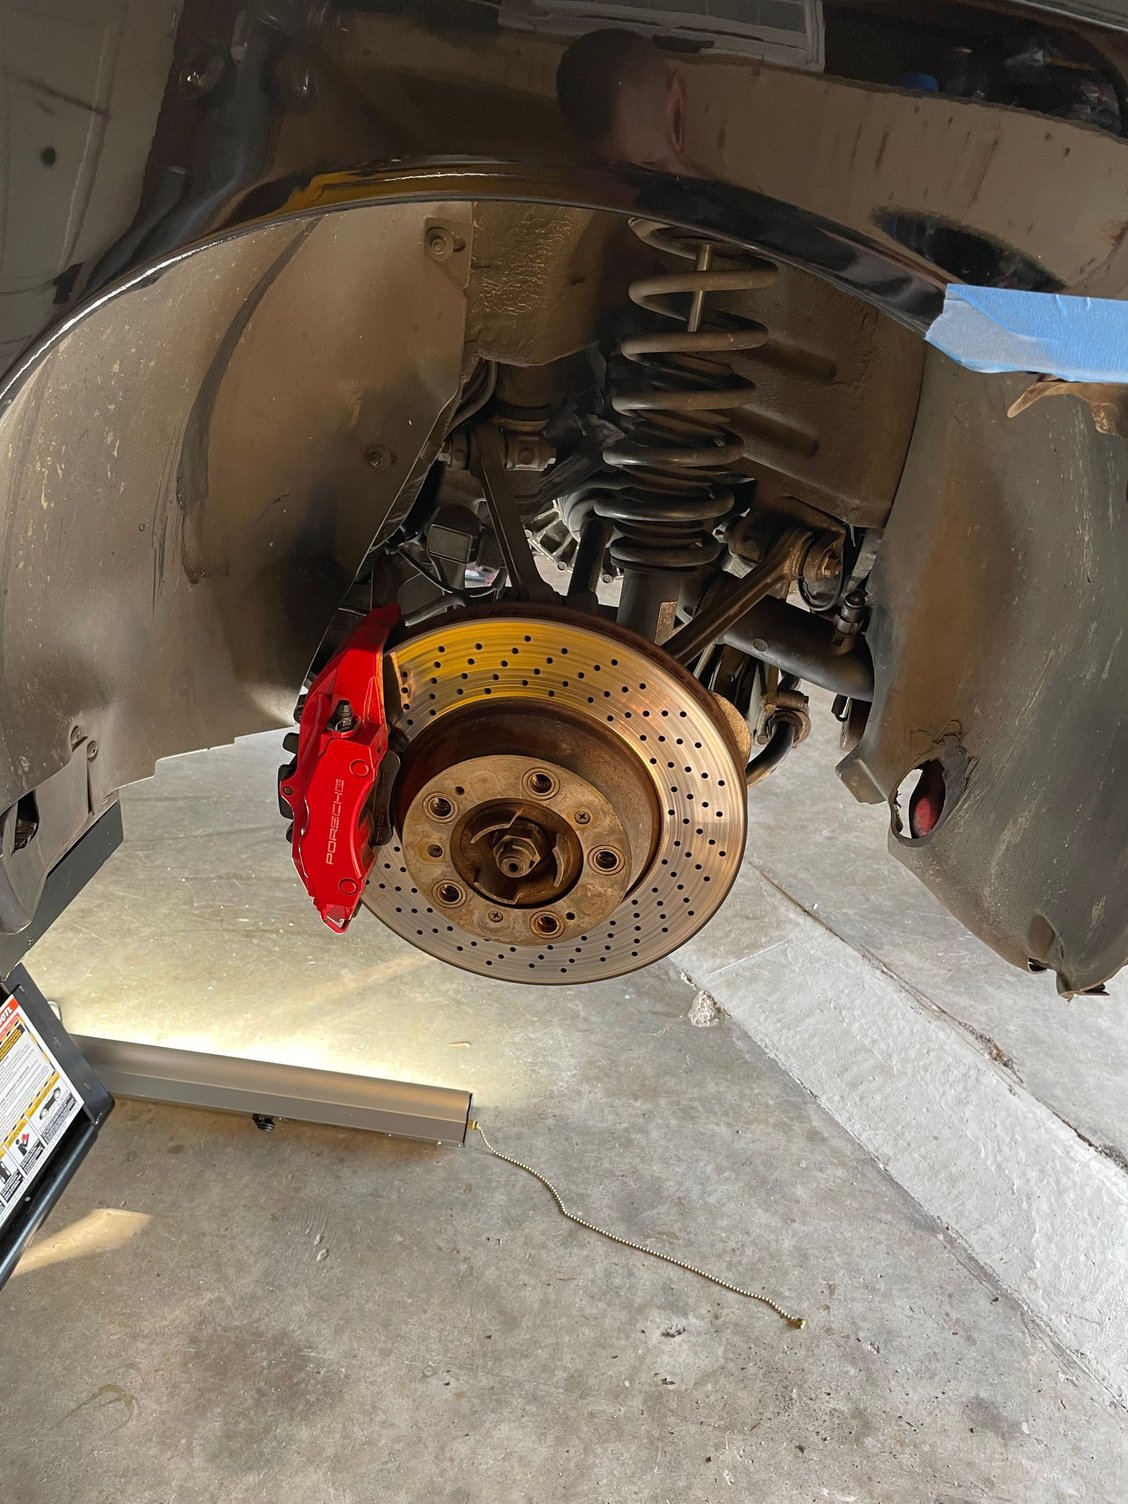
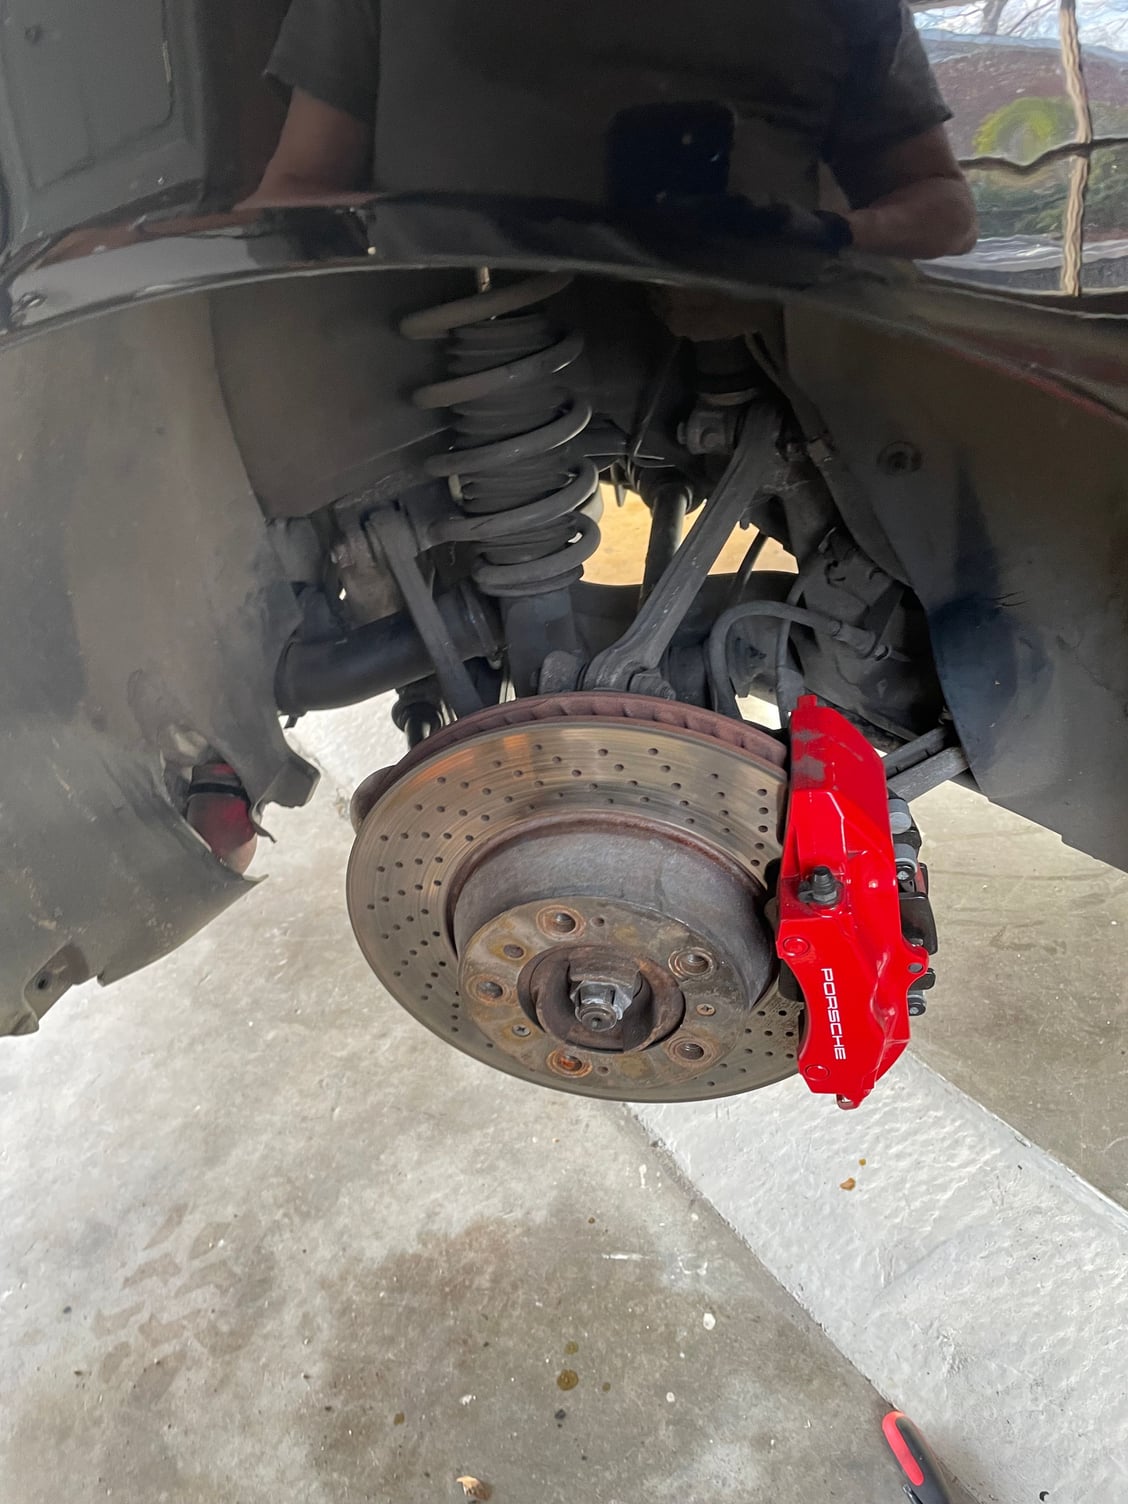
the 19" rear are really rubbing. I've got a figure out a solution. s Same problem on this side.
Last edited by 17ram2500; 03-21-2022 at 08:57 AM.
Reason: clarification
I don't have pics of the final yet. Both rear radiators are removed, coolant drained. Center radiator ready to come out tomorrow.
Will also get the power steering lines disconnected tomorrow and start on the prep for dropping the engine.
Thoughts:
Honestly, car is pretty easy to work on.
Car itself has not been treated as well as I'd have liked. Lots of missing or mis-matched fasteners, mainly on the heavily serviced bits. That will be corrected.
Most everything looks original until you get to the rear of the car with it's mods. And the dang stereo (yes, that is getting remedied).
I'll go through a bit more detail tomorrow in getting the engine/trans out.
You dont need to drain the pentosin, just drop the motor a few inches and undo the 2 connections by the firewall.
when you drop the motor a little you can also get to the fuel line connections a lot easier.
also just drain the coolant through the 2 allen head bolts at the front of the motor. Blow some air through the overflow line to get it all out easily.
Other tips:
bag and tag all the bolts
replace any rubber seal for whatever you take off
Yes. I wanted to change the pentosin. It (is/was) quite dirty. I prefer fresh fluids. I plan on disconnecting the lines at the firewall after it's dropped.
Bagging and tagging all bolts. Got a full case of ziplocks from Costco. LOL.
And yes... all rubber (within reason) is getting replaced. I will track this car several times a year. I don't want a mess on the track - or the street!
Quick question. I have the same lift are those posts the SUV adapters? Or something else? Also on the photos where you say "I dont like this" what are you referring to? I lost my nice garage in the divorce and now I am a "driveay" mechanic! No power in my much smaller than your garage but I can run a cord from the house if I "HAVE" to do work in the garage. I usually wait for a nice day. Did the brakes last week when it was 65 here!
Good project! I wonder if you are high enough to take the engine out.... I remember a post from 32Krazy mentionning 34 inches is needed to take the engine out...https://rennlist.com/forums/996-turb...gine-drop.html
Quick question. I have the same lift are those posts the SUV adapters? Or something else? Also on the photos where you say "I dont like this" what are you referring to? I lost my nice garage in the divorce and now I am a "driveay" mechanic! No power in my much smaller than your garage but I can run a cord from the house if I "HAVE" to do work in the garage. I usually wait for a nice day. Did the brakes last week when it was 65 here!
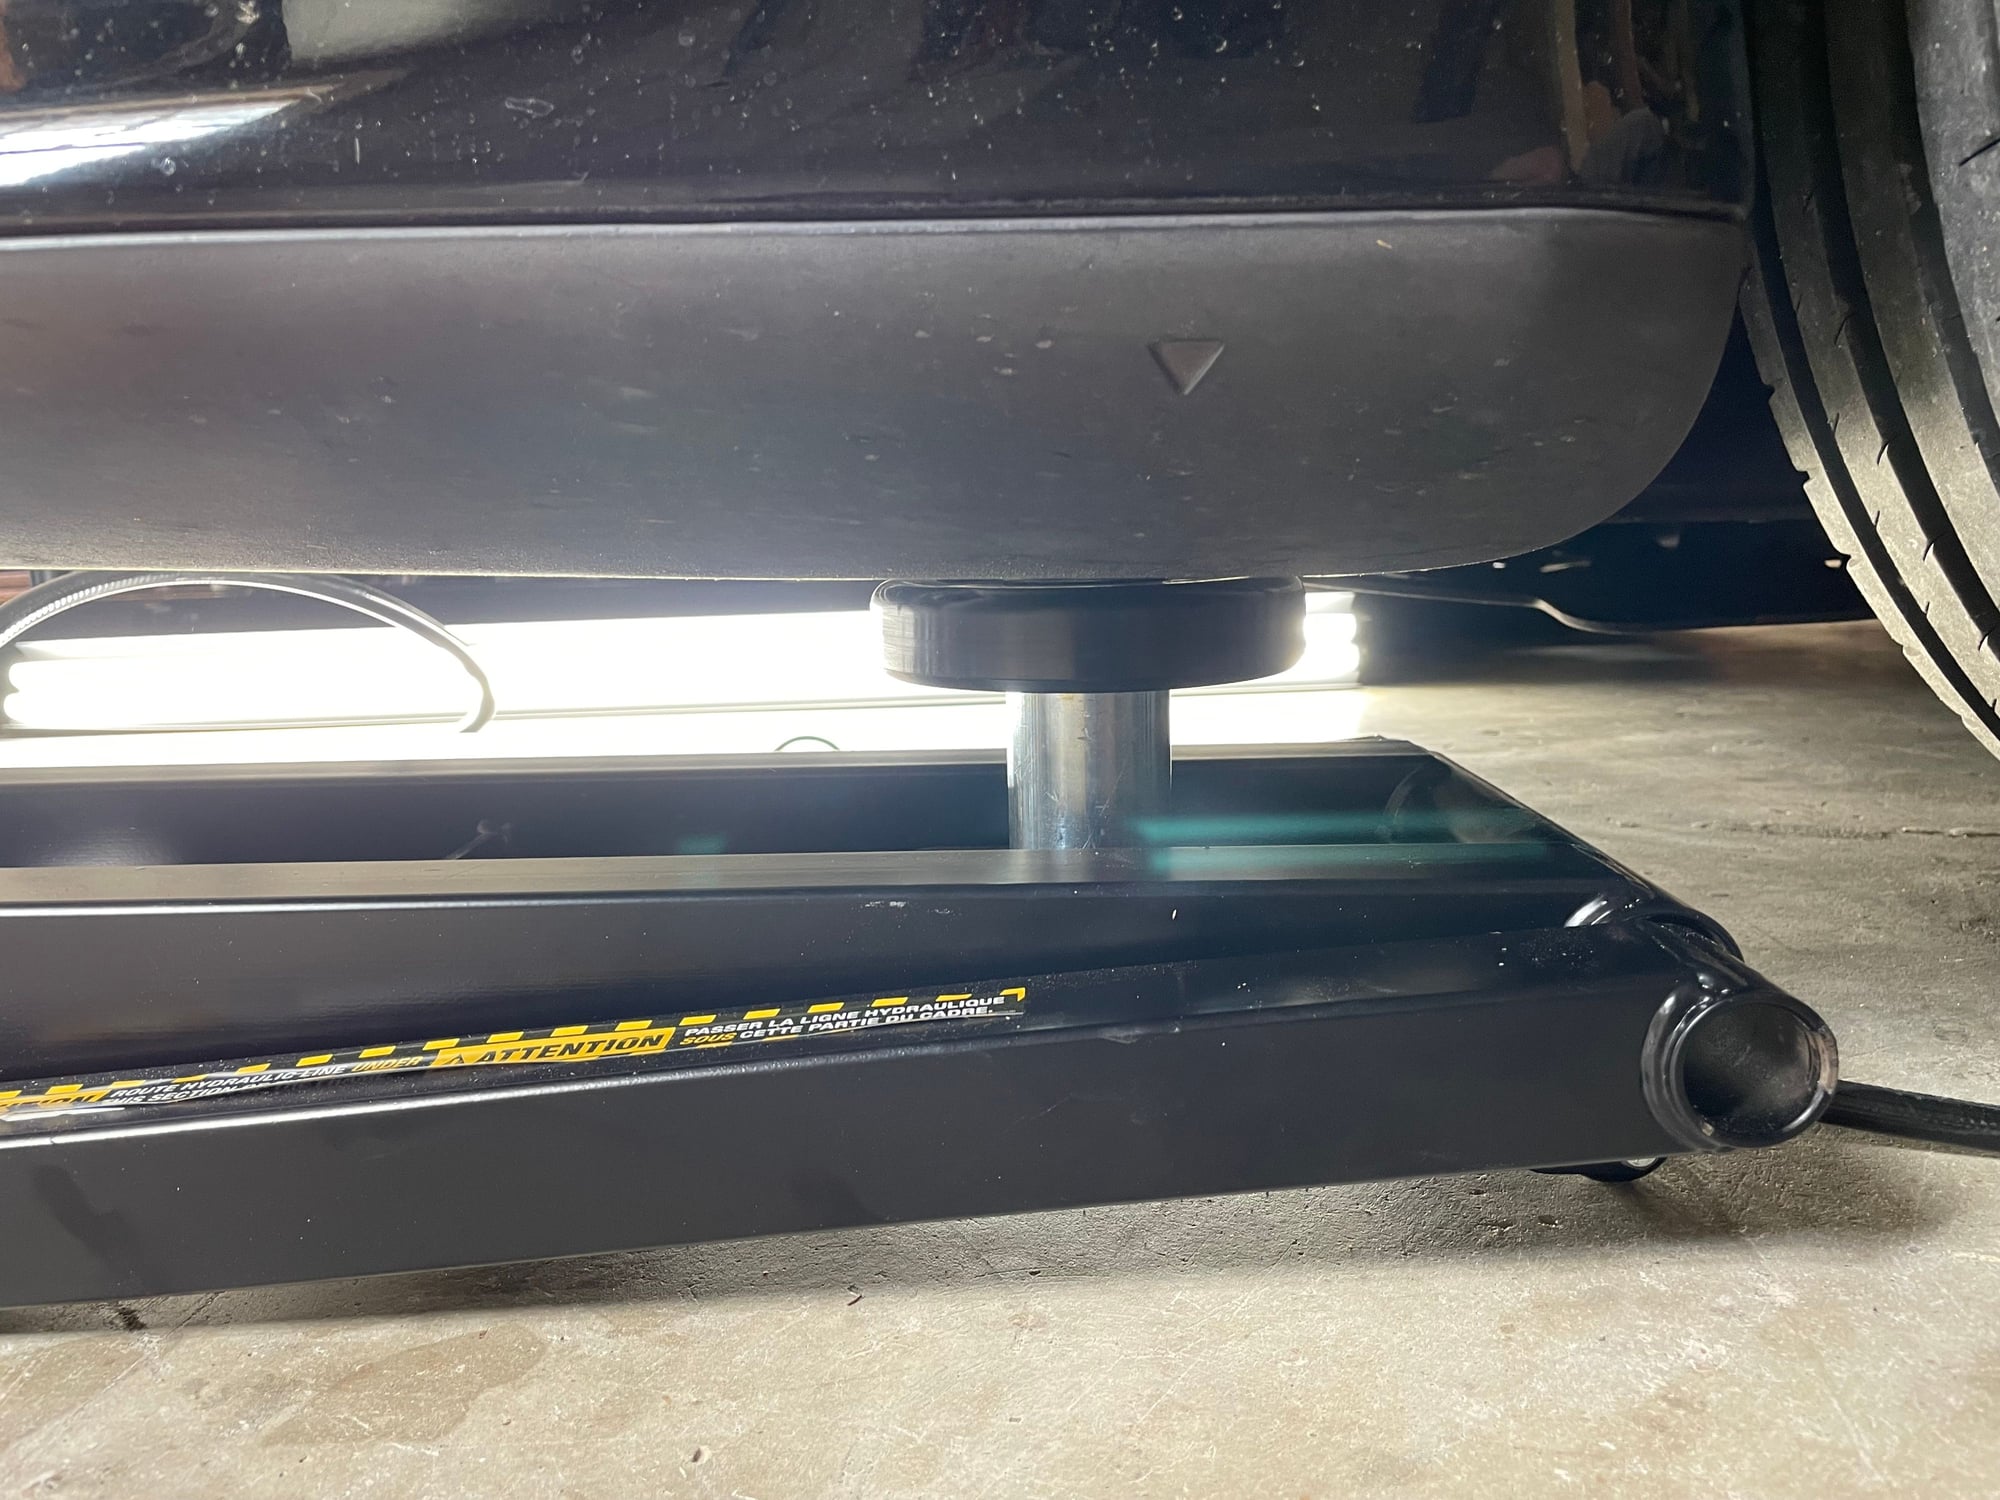
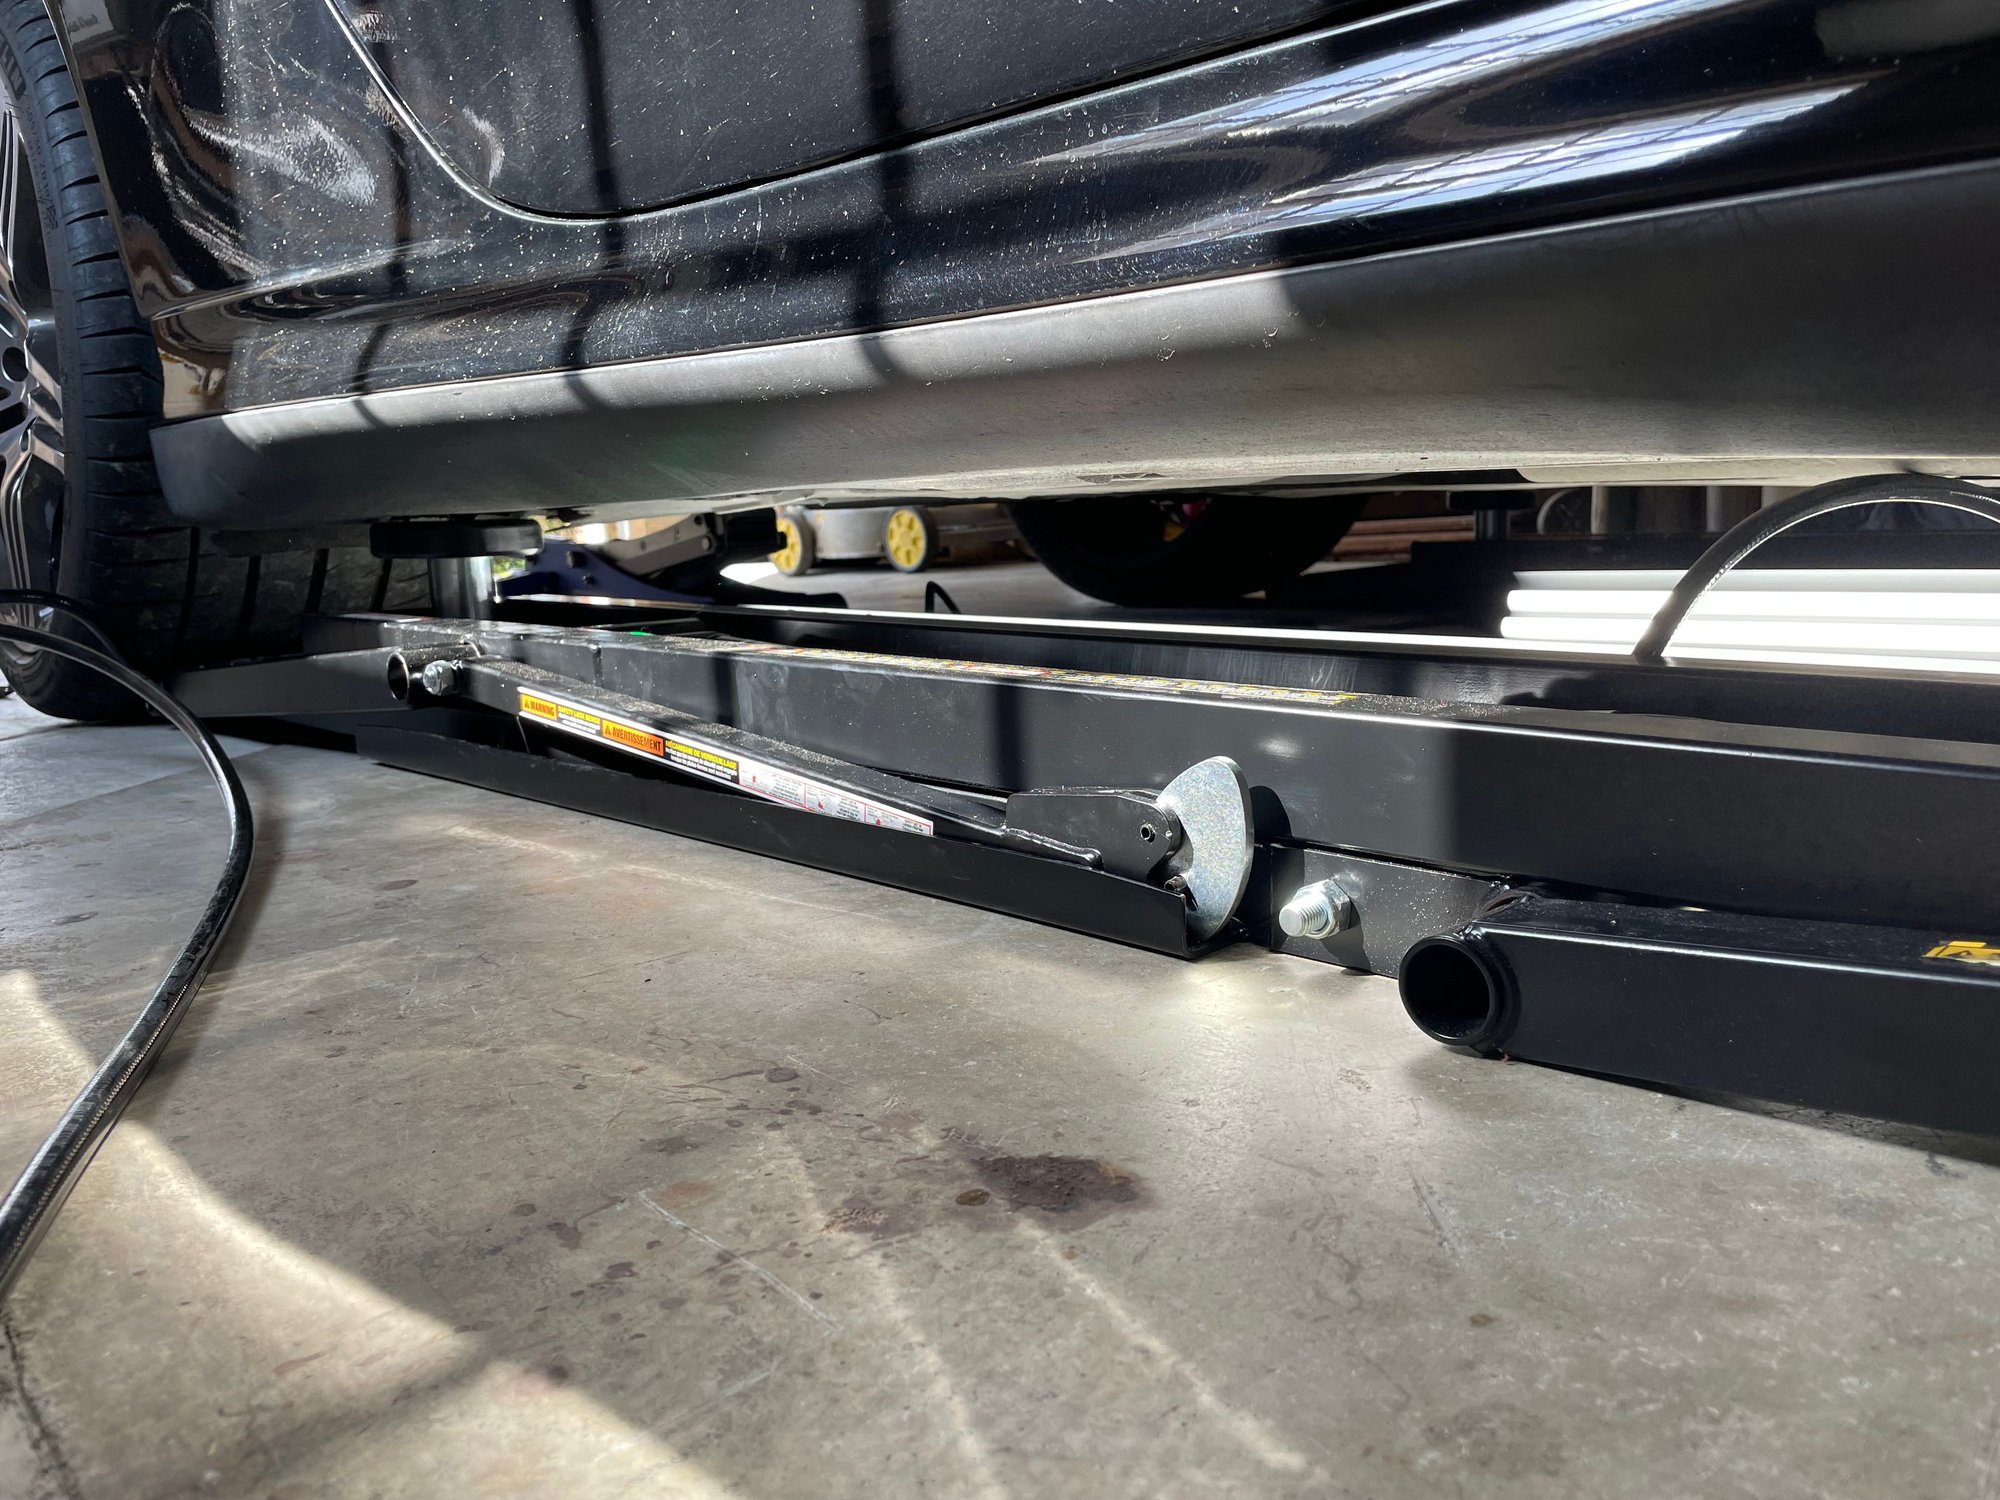
So... those are the SUV adapters. Square body in base. round up top. they had an "extender" that's about 3". I think we could have gotten the engine out with that installed and the lift off the "stops" and at it's highest setting. As it was, we were very close with the setup we chose.
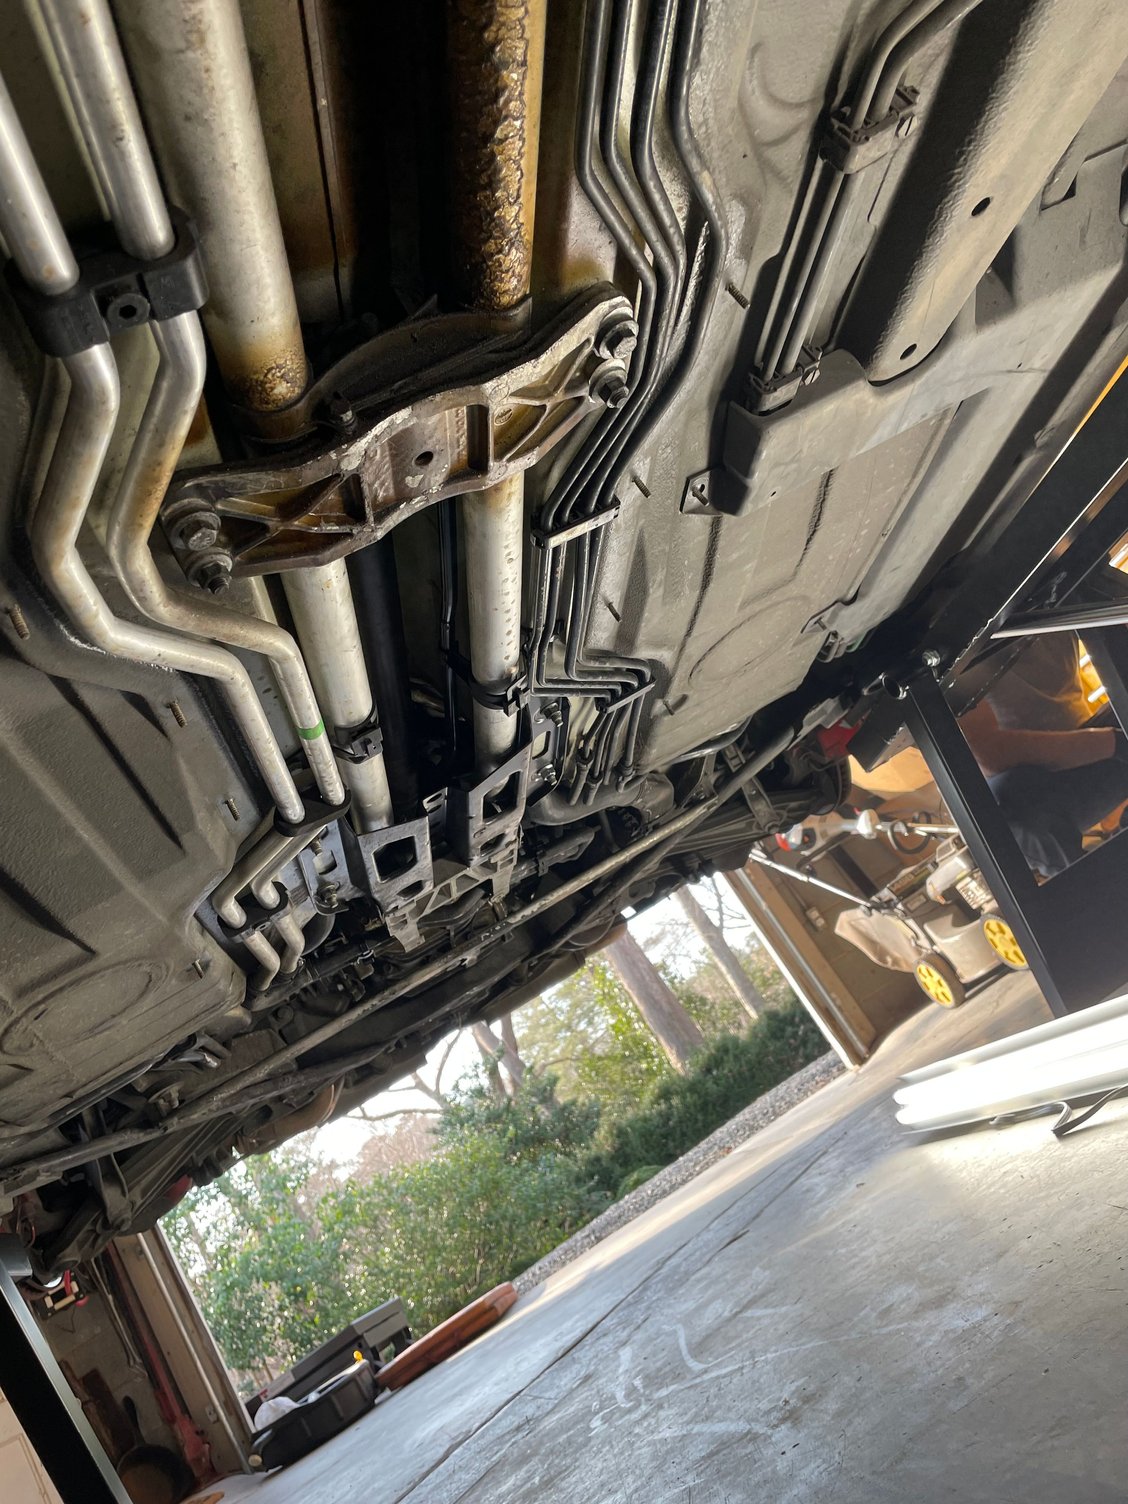
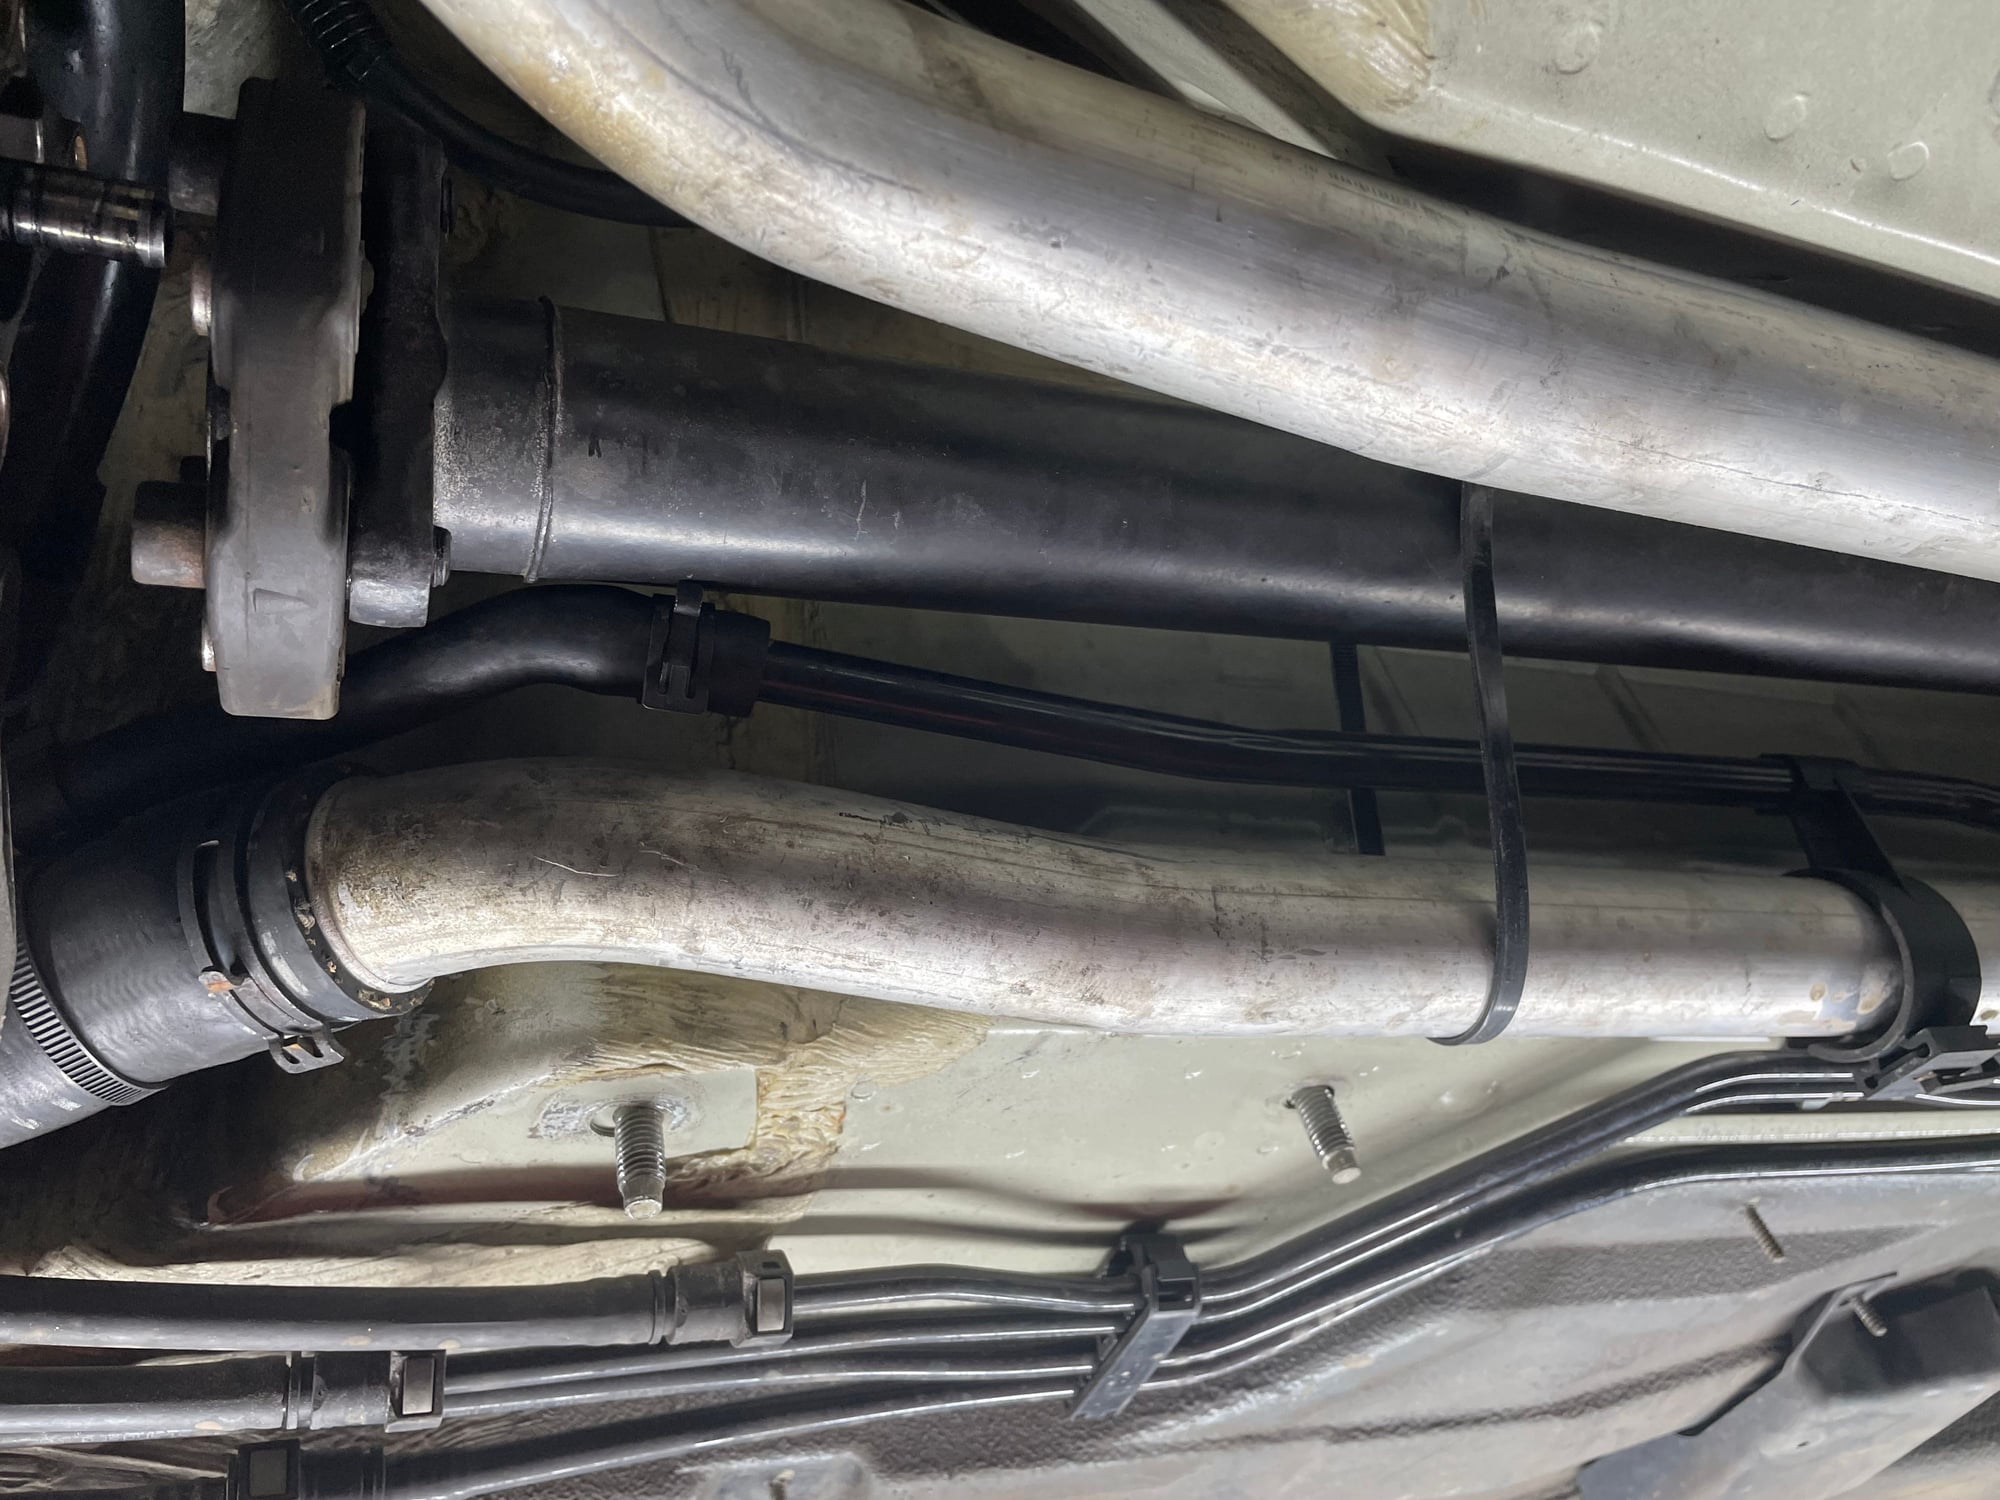
What I didn't like what that I inadvertently caught the hose under the lift body; if you look closely on the right hand side, you can see the hydraulic line under the lift base. This was discovered after pics and quickly resolved. the hose did not appear to have any damage.
I have to say, I love this lift! Freaking fantastic!!
With the engine flat on a harbor freight lifting table, the engine needs 39 inches of clearance.
I think that's a little higher than what we had. With the exhaust removed, the heat shield removed, we were able to get it out with about 32" of clearance.
This did result in a rather sketchy moment (no pics, too focused). What we did was put Jack stands (firmly) against the front subframe on either side. We then used floor jacks under the rear control arm bushings. On top of said floor jacks we added a 4x4x6" tall of wood. It took two of us operating both floor jacks in unison. We jacked the car up slowly the 5" required, slid the engine and trans out, and then slowly let the car back down onto the jack.
This was not ideal, and honestly I expected it to occur no matter what method of raising the car I used. the low ceiling height in my garage is just over 6'. There is simply not much room to lift anything high (and not enough room for a post lift, and even if it were there, it wouldn't clear.
I'm experience in lifting vehicles in treacherous conditions (big off-road guy here) and in general have a great sense of balance about how to lift safely. Still. this was not a comfortable move. It's an expensive car, and though I calculated the risk as being low, it was still risky. Do not attempt unless you are comfortable.
So.... I'm not sure who worked on this car last. But man on man would I love to have a discussion with the last folks who worked on this car. I mean damn.
Half the bolts don't match; lots of torque values clearly inconsistent. It's just a mess. Luckily a sortable one; but this car has been hacked on like a 20 year old clapped out Honda, not a Porsche.
Thankfully it's back under the stewardship of someone who cares, and really enjoys this car. Overall, things today went pretty smoothly. Had the engine out in about 6 hours; and trans separated and starting to clean up the mess in a couple more. honestly it's pretty easy to drop, and of course now having done it once it would be a lot easier to do it again.
So last night left off with getting both side radiators out. Today I had the help of a friend and decided to spend that focusing on getting the engine on the ground. Most of the coolant was out, so I set about doing things to get ready to take the engine out.
Disconnect front driveshaft at the back of the trans - three bolts, and it pops loose with a small pry-bar. I zip-tied this to the big main coolant line just to keep it out of the way.
Then I pulled all 6 axle bolts out on both sides. I did three bolts on each side at a time with the e-brake set. Then released the e-brake, rotated both axles, and did the next three. Quite easy. You can push the axles back off the transaxle, leaving plenty of room to drop the trans.
 03-19-2022, 11:42 PM