When you click on links to various merchants on this site and make a purchase, this can result in this site earning a commission. Affiliate programs and affiliations include, but are not limited to, the eBay Partner Network.
Greetings all. Some of you may have read my intro thread and if not, I am a new owner of a lovely 997TT. Liesl II is a beautiful 2008 Guards Red on Natural Brown 6-spd manual turbo. I feel fortunate to have found and purchased her as many of you know, manuals are just getting hard to find. She drives like a dream and feels so familiar after owning a 997 C2S for over 6 years. Big difference though and not surprising is when I put my right foot down and those turbos spool up and jam me back in my seat. All I can say is WOW!
As a longtime car enthusiast and like many of you, I love to modify my cars and make them my own. Liesl will not be an exception and I have a list of things I plan on doing. Previous owner already tuned her and she should be putting out around 550 hp / 550 lbft tq which is plenty for me. I’d like to add some aero bits, wheels, led tails and break up the sea of natural brown.
Here’s how she sits now and I’ll update this thread as I start modding. Enjoy.
So I am a fan of the LED tail lights on the 997.2 so as on my C2S, I changed out the OEM tails with LEDs. Takes all of 10mins to install, zero loss of functionality, no errors on the dash and I achieve a dramatic change in appearance. And this is entirely reversible of course if ever I want to sell Liesl (not likely) for those purists out there.
And since I was working on Liesl’s wide rear end, I took the opportunity to replace her exhaust tips with something a little more stylish. I was looking for quad tips but the only ones I could find were almost $800! Fortunately I found some Agency Power tips that add a little character to her bum for less than $200. Was a bit of a pain to install without removing the rear bumper but with time and patience they mounted on perfectly.
Also threw on the obligatory license plate holder with alma mater and profession to round her out.
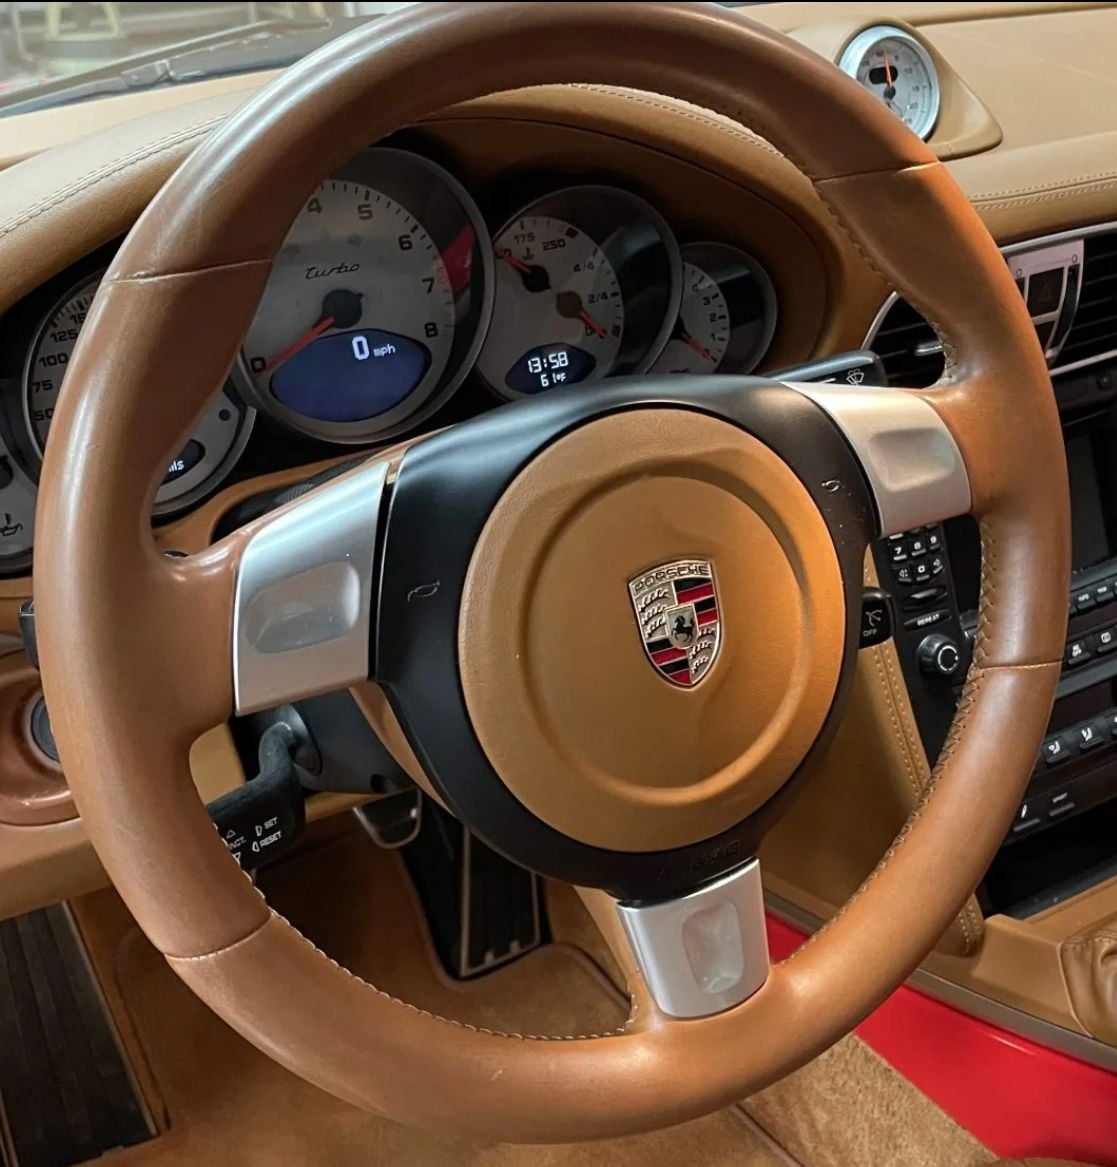
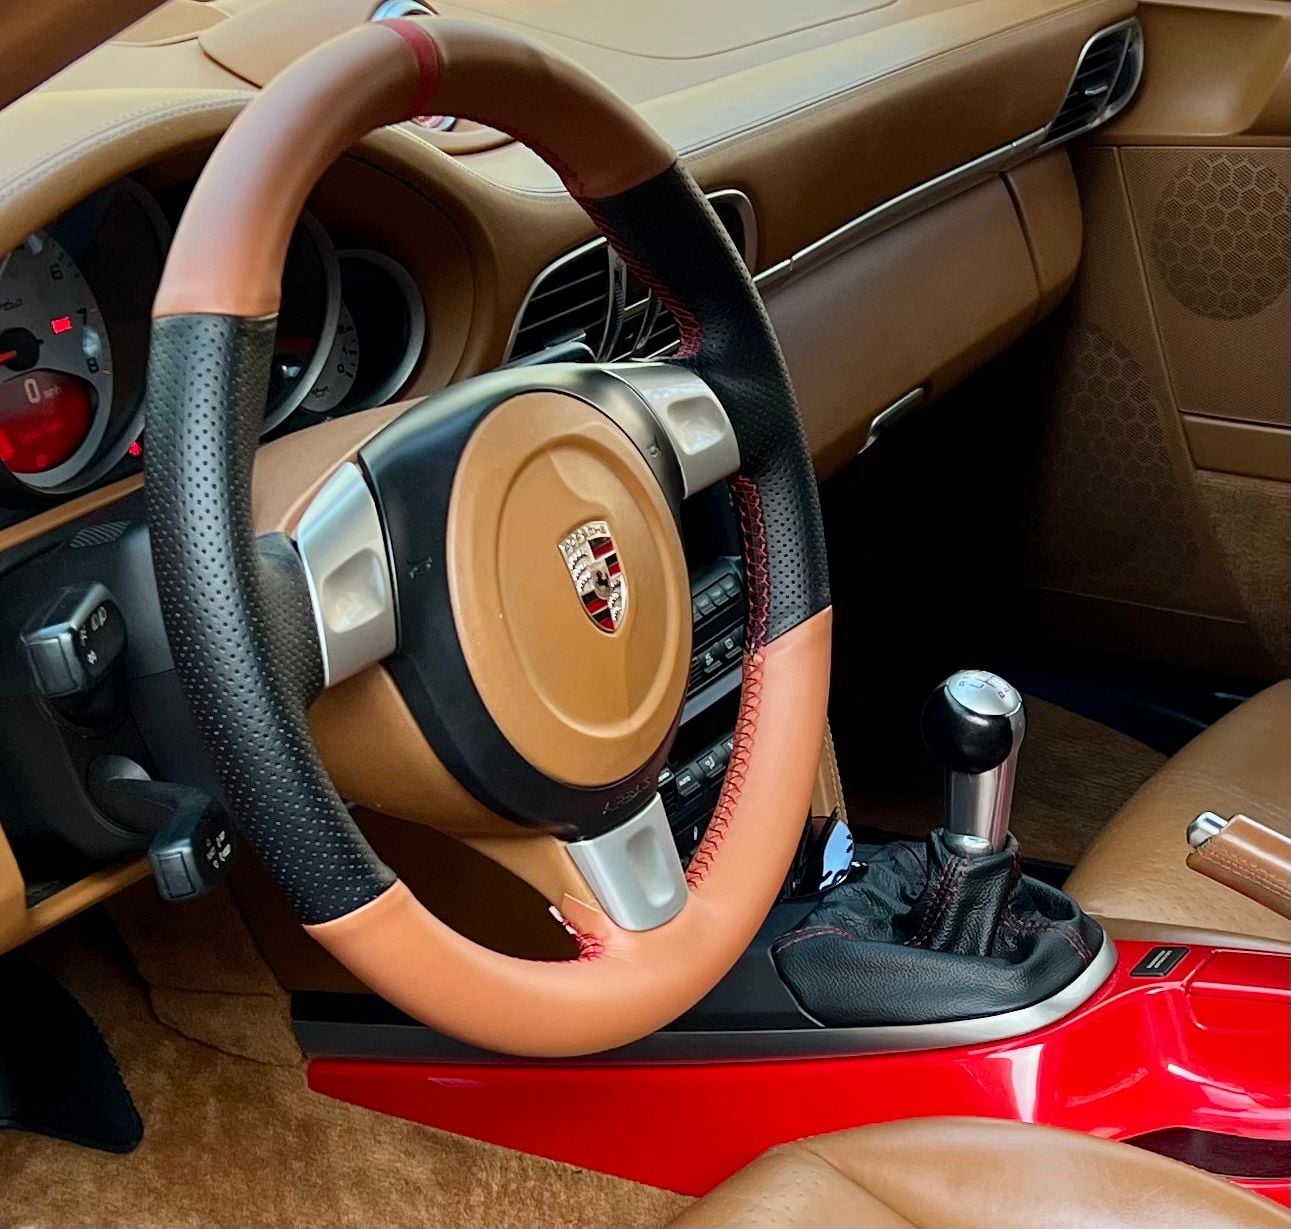
Next projects are all about the interior. I do love the natural brown but there’s so much of it. My plan is to add black accents to tastefully break up the brown. First thing I tackled was the steering wheel. After disconnecting the battery, I popped out the airbag and removed the wheel. And for the next 3hrs, I stitched a perforated and smooth leather cover over the original wheel. I choose to add the red stripe at 12 o’clock with red thread throughout.
To be honest, I wasn’t sure how good it would look so the beauty of the cover is that I can easily remove it if I don’t like it. I remounted the wheel, popped the airbag back in and reconnected the battery. And voila, here it sits. The brown leather of the cover is not quite a match for the Porsche natural brown but in the sun, does blend rather well. I’ll drive around with it for a bit and see if it grows on me.
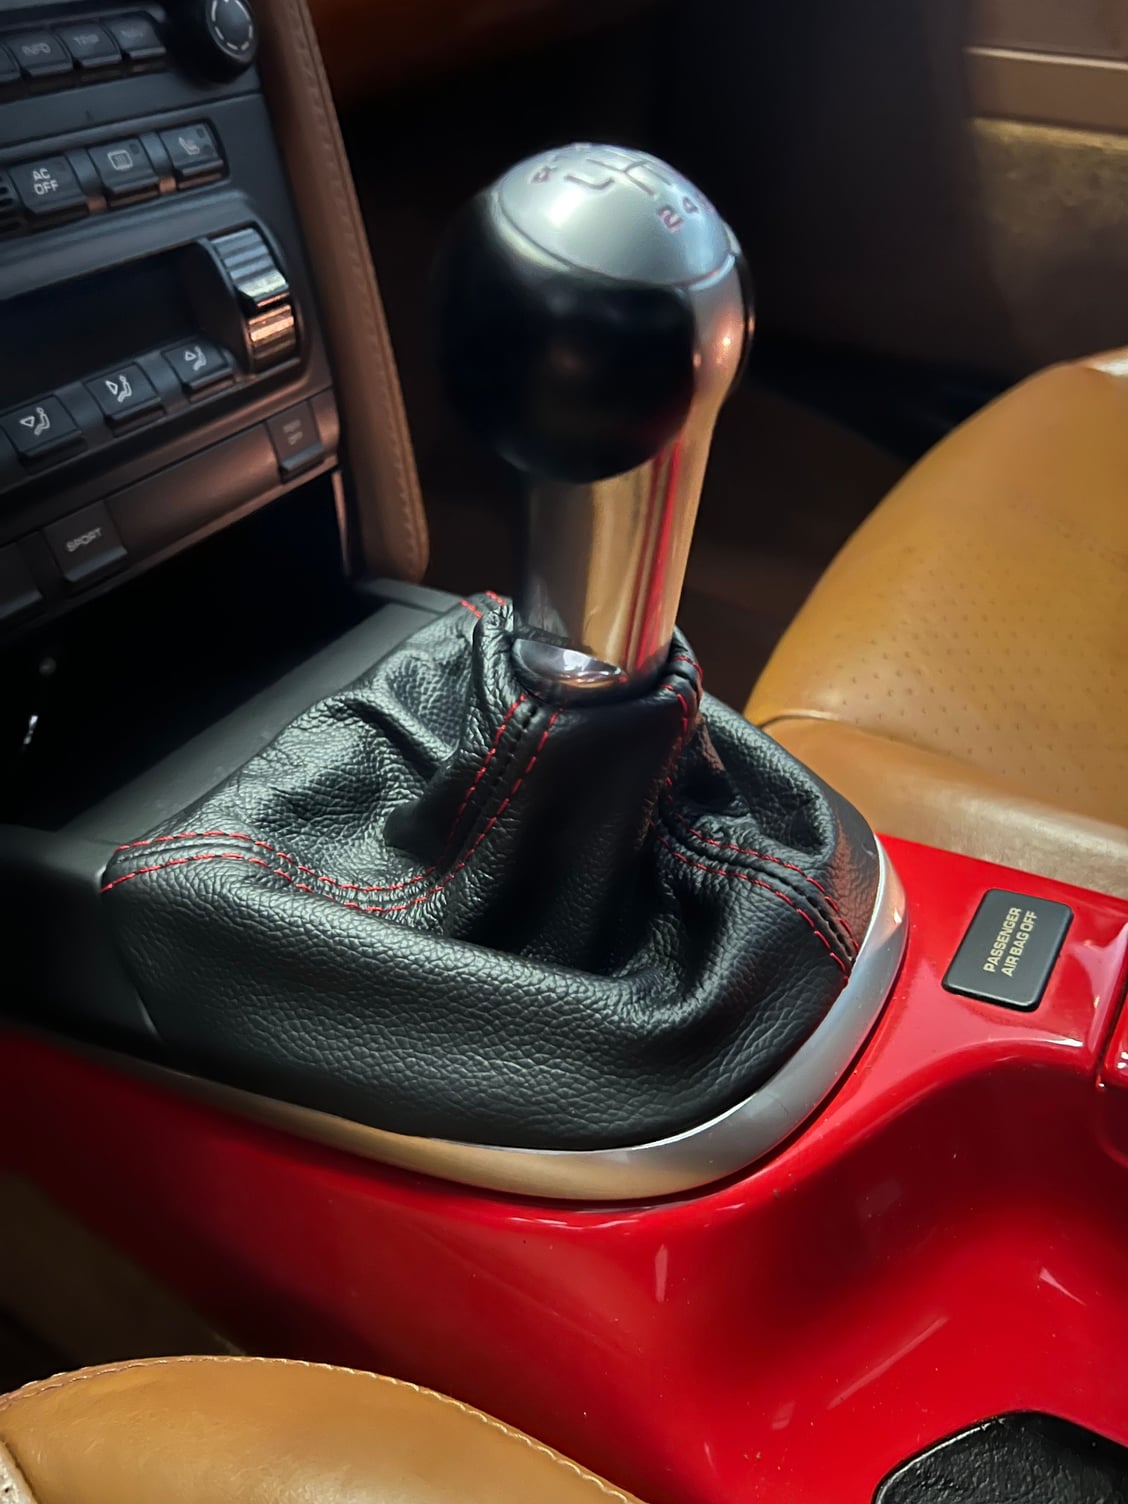
Next for the interior was replacing the shift boot, dyeing the shift **** and painting the plastic surround at the base of the PCM. YouTube was a wealth of knowledge on how to remove the ****, boot and surround. First thing I did was remove the leather boot from its plastic frame which I had to reuse with the leather boot I purchased. The original boot believe it or not is stapled to the plastic frame which I thought interesting. I then attached the new boot to the frame with adhesive and set it aside to dry.
The shift **** was next and to properly dye the leather required a 3 stage process. First I had to properly clean the leather to strip away dirt and oils. Second I carefully taped off the metal parts of the **** and dyed the leather with 3 coats of black. Third I sealed and protected the newly dyed leather. Came out really well and it will be interesting to see how the dye holds up.
On to the lower surround of the PCM. This is actually a delicate plastic piece which required patience to remove and careful handling. After removal, I cleaned it up with GPC and sanded down some nicks and scratches in the plastic that accumulated over the last 14yrs. Next I used a degreaser to ensure the paint would adhere properly. I then used black rustoleum paint which in my experience matches well with OEM black and is durable. Came out really nice.
And then reinstalled everything in reverse order of removal. I think this came out great.
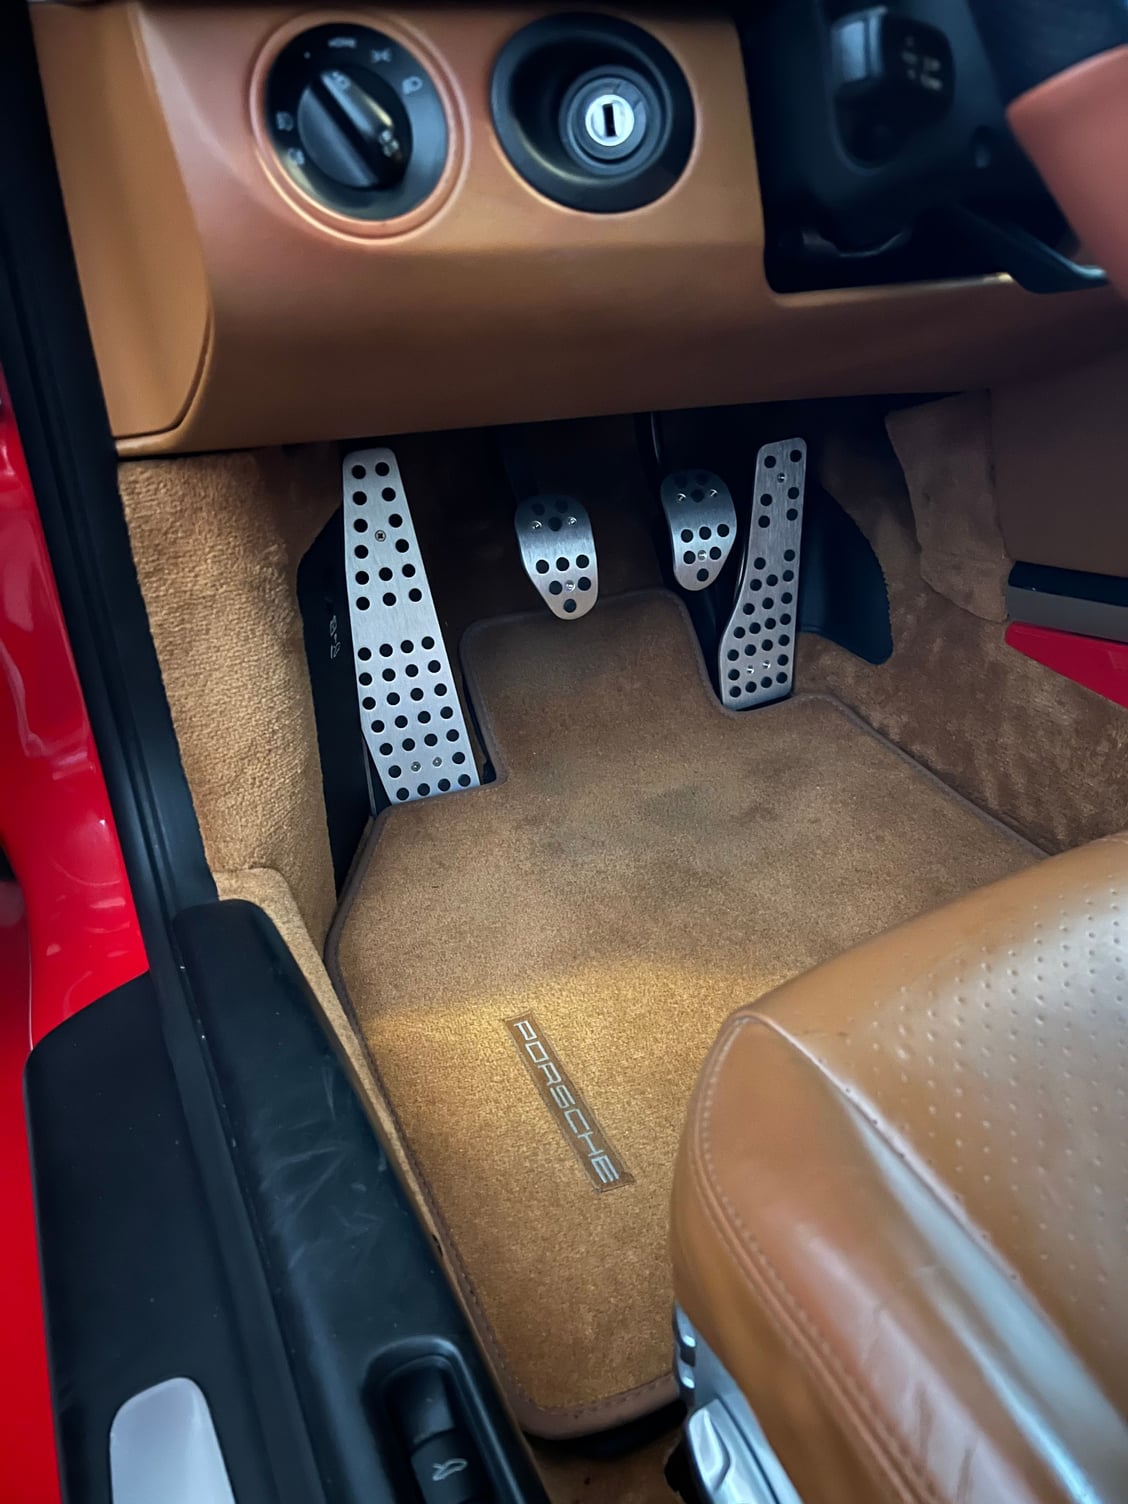
So next I did pedals. Stock OEM pedals are rather boring in my view so I looked to spice it up. Many options to choose and I went with a simple classic look and style that I had also done with my C2S. For those who have never done a DIY with 997 pedals where you have to drill into the old pedals, two pedals are easy and the other two are a challenge. Why are two a challenge you ask? I’ll tell you why - the brake pedal base is made of medal unlike the clutch pedal base, and the accelerator pedal has structural support honeycombed behind the flat surface which makes attaching screws and bolts a pain in the ***. I ended up just taking out the accelerator and dremeling out the interferences so I could properly secure the new pedal on top of the base. And with the brake pedal, I used the new pedal as a template to guide my drill bit which kept slipping on the angled metal surface without the use of a template. After a good 90min I was not only successful with the install but remembered why pedals are a pain in the butt.
Not a great before but a much better after. Oh, and you can see that I popped out the key bezel, sanded out the nicks and scratches and painted it black.
What to do next? How about the sport chrono clock face to tastefully compliment the rest of the red on the car. To be honest, I was a little nervous about this mod so took this one slowly and deliberately. Popping out the clock was easy enough but I was very careful about disassembly not wanting to break anything or lose any fasteners. I’m fortunate that my smallest allen wrench was the correct size for the outer clock shell and that my jeweler’s flathead screw driver was thin enough to remove the inner bezel. When removing the lower clock hands, I briefly lost one and almost panicked before I found it. Whew. After that drama reassembly with the red face and bezel went well. Install of the clock back into the dash took less then 2min and I really like the way it came out.
Here’s the before and after. You don’t want to know how long it took me to get the “997”.
Last item for the interior for a bit are floor mats. Want to go black to add some nice contrast in the cabin. Found a nice set front and back stitched with red thread on the piping and red embroidered Porsche. Perfect!
i see you have the 997.2 style black center pcm stack. did your car come with that option or did you purchase it that way? i didn't see any mention of you replacing or modifying that.
 03-20-2022, 01:19 AM


 .
.


