
V8 Conversion
 03-01-2015, 11:36 PM
#1

Hey guys, I'm just starting to work on a Boxster V8 conversion and I thought I'd share my build with you. My name is Vlad, and I'm a 27 year old Mechanical EIT from Toronto, Canada. This is my first Porsche and first car build, so please bear with me.
PS you can also follow this on my blog at rollingshell.com or instagram at PorscheLSX
PS you can also follow this on my blog at rollingshell.com or instagram at PorscheLSX
 03-02-2015, 03:38 PM
#2
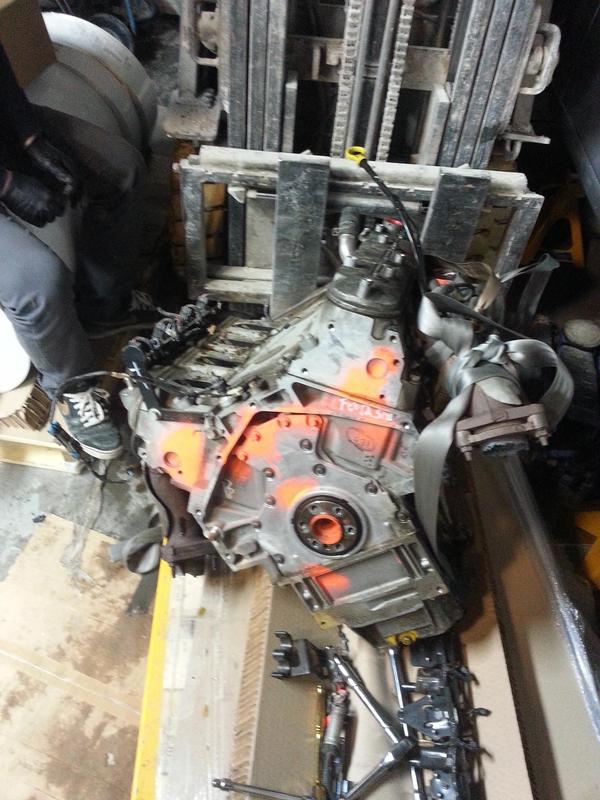
The first thing that I bought was an engine. Jalopnik had a gret guide on how to build an LS engine on a budget, so I decided to go that route. I first picked up an LM4 aluminum block from a 2004 Envoy XL. The guy at the scrap yard said that it was tested and had great compression, so I couldn't pass it up for the price.
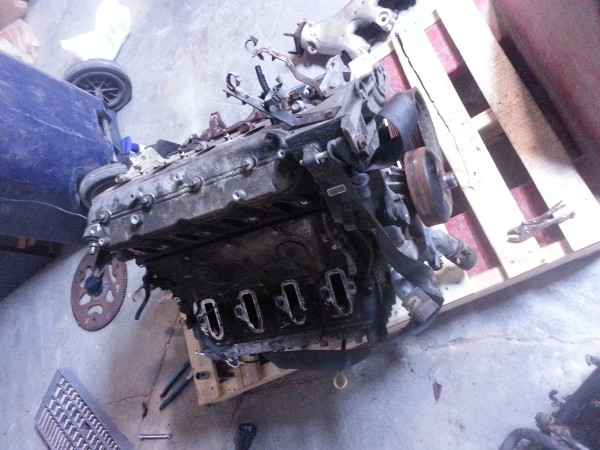
I spent the following week tearing it apart and cleaning. The engine looked good, but it did have some rust. I managed to snap a couple of exhaust manifold bolts which was a major pain (you can see more pics on the blog)
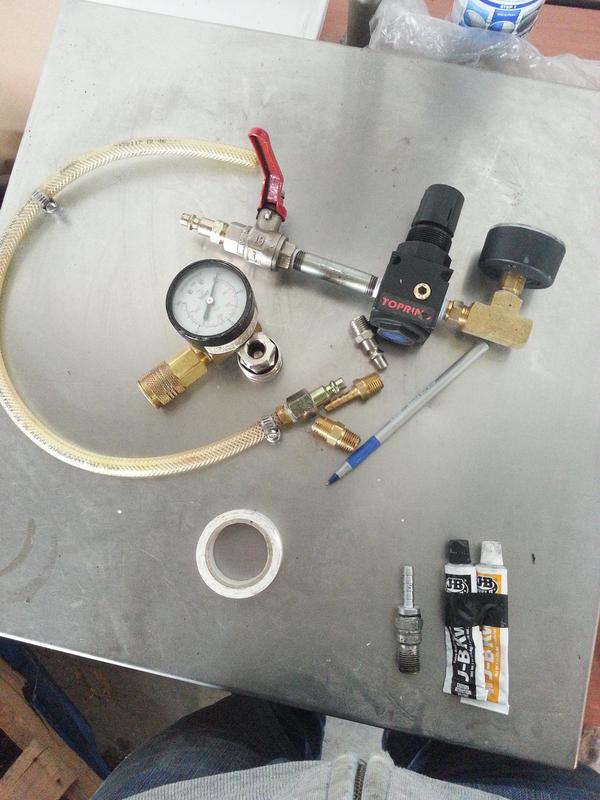
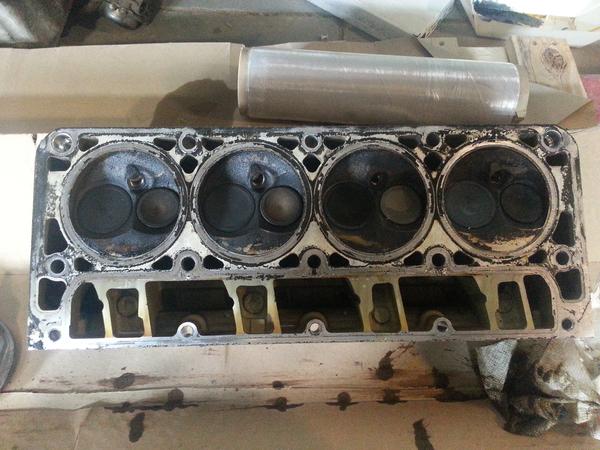
I got a whole bunch of NPT fittings from my dad and put together a leakdown tester to see how good the engine internals were. To my surprise it pretty much had 0 compression. You could hear the air rushing out pretty much everywhere. At this point I decided to take off the heads and clean up the valves to see if that would solve the problem.
I spent the following week tearing it apart and cleaning. The engine looked good, but it did have some rust. I managed to snap a couple of exhaust manifold bolts which was a major pain (you can see more pics on the blog)
I got a whole bunch of NPT fittings from my dad and put together a leakdown tester to see how good the engine internals were. To my surprise it pretty much had 0 compression. You could hear the air rushing out pretty much everywhere. At this point I decided to take off the heads and clean up the valves to see if that would solve the problem.
 03-04-2015, 01:28 AM
#6
03-04-2015, 01:28 AM
#7
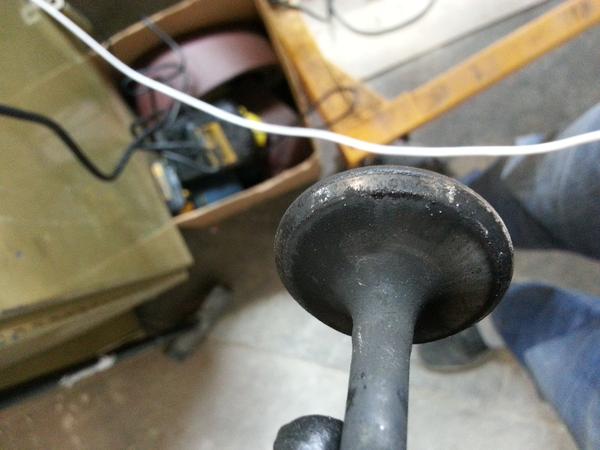
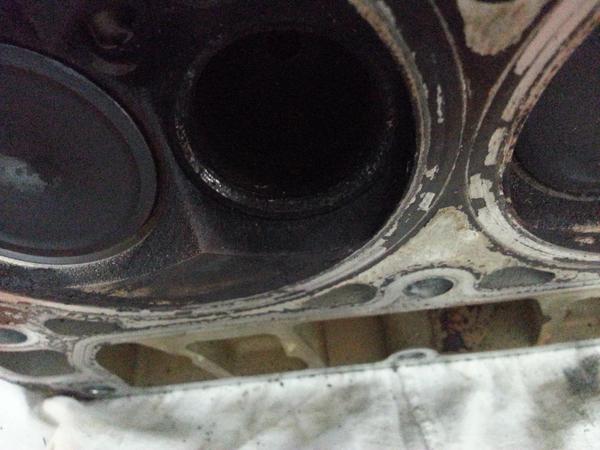
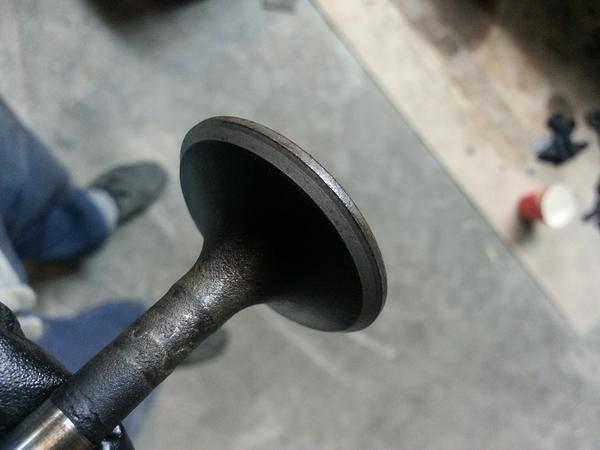
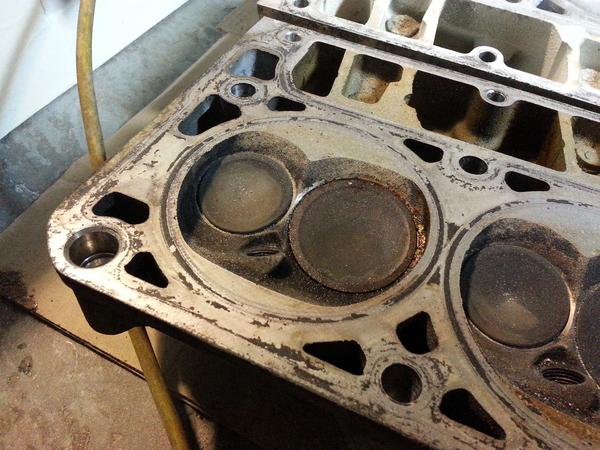
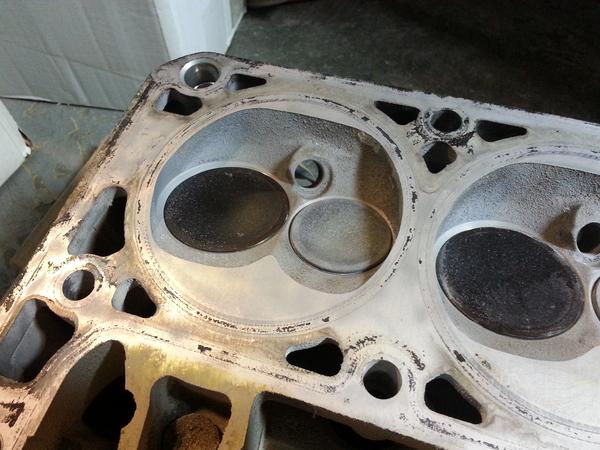
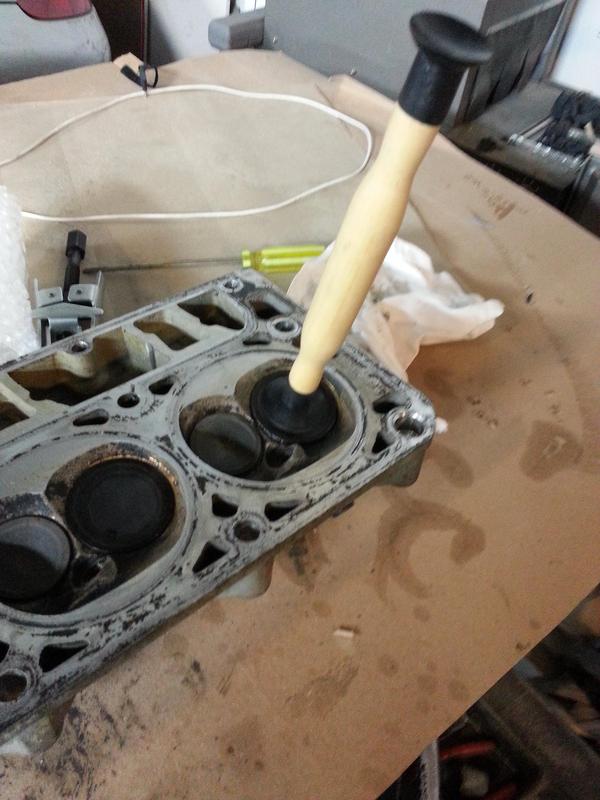
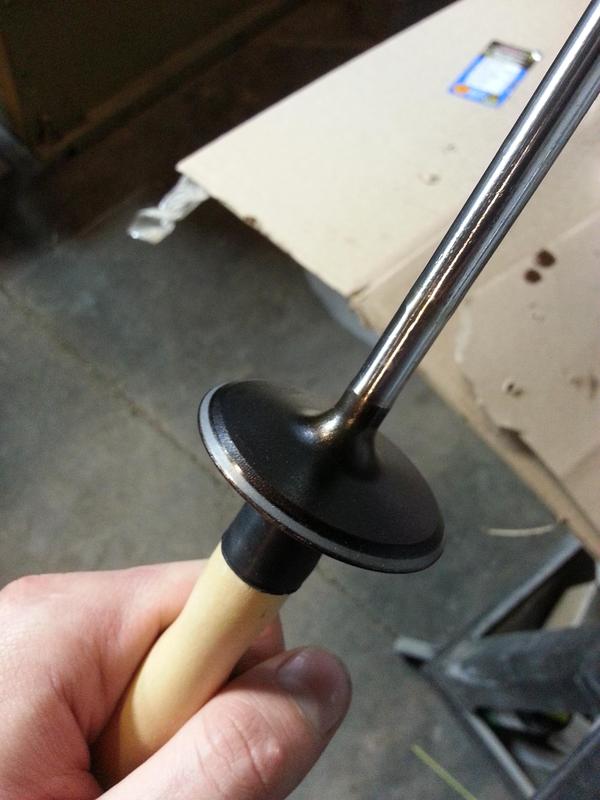
I took the heads apart and as expected the valve faces and seats were pretty gunked up and pitted, not to mention all the crap and leaves that were in the cylinders. Since I didn�t have money to get the valves recut, I decided to lap them. Most people are against this, but this is a budget build, so screw it. I used a hand drill and a little piece of air hose to do the job. Again, most people advise against this, but there was way too much pitting to do it by hand.
Trending Topics
03-04-2015, 01:29 AM
#8
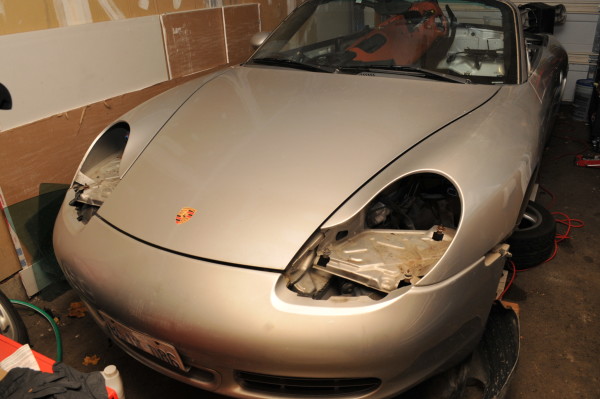
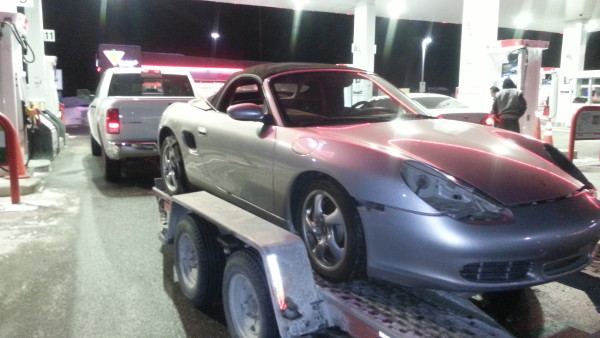
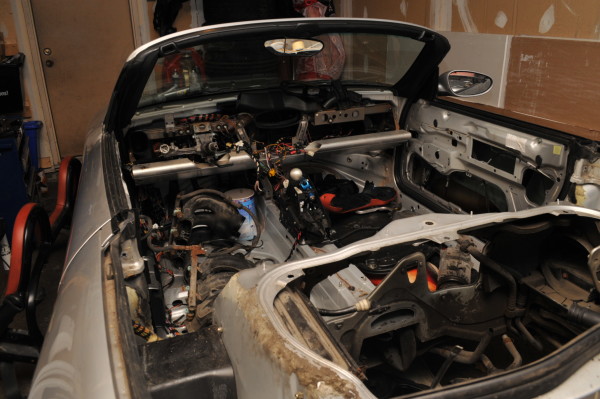
Here are some pictures of my car. It took me a while to find a good one actually. I posted several wanted posts on Kijiji, and signed up for notifications on eBay and every major city on Craigslist. A few things came up here and there in the States, but nothing really worth the drive and hassle of importing it to Canada. After a couple of months of searching I found this best. Had to drive to Ottawa to pick it up, but it was worth it. It looks pretty bare in the pics, but thats actually how I wanted it. I'm pretty much trying to make a street legal track car.

03-06-2015, 04:53 PM
#11
I did another leak-down test after lapping the valves. This time the results were better, but pretty inconsistent. The leakage numbers were between 5 and 25%, and you could clearly hear the air escaping past the piston rings. I decided that continuing forward would cost me much more than what I paid for the engine, so it went back to the scrap yard for a refund.
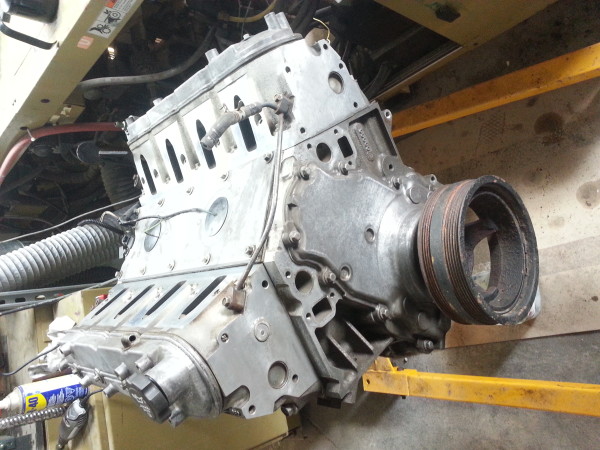
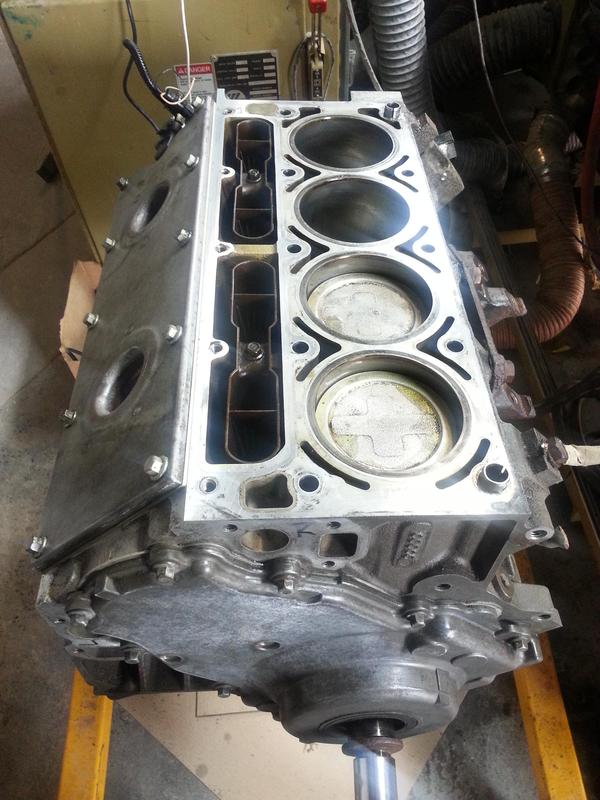
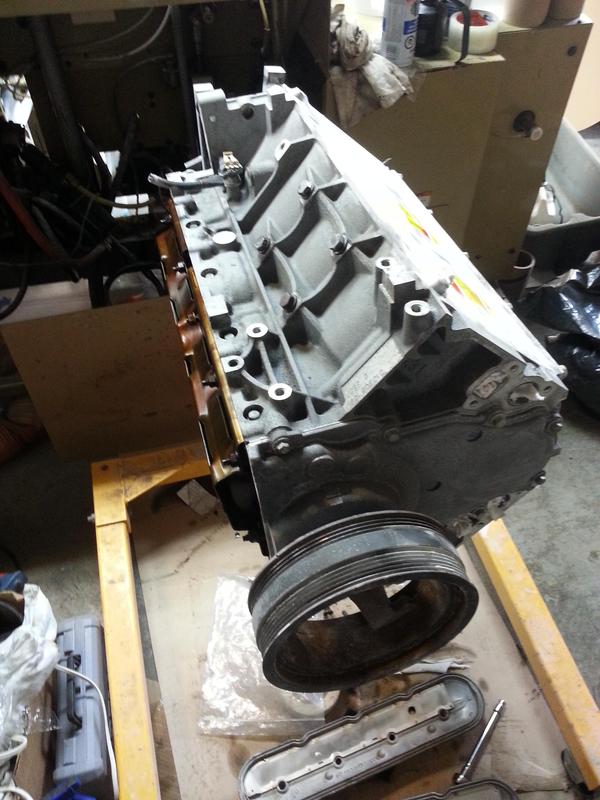
For the next engine I spent a little more and got an L33 aluminum block. These came with 799 heads, which are pretty much the same as the ones that came on LS6 Corvette engine, minus the sodium filled valves. It was a little overpriced at $1200 CAD, but I couldnt afford to sit around waiting for a good deal. The engine looked pretty clean, and only had 80,000 miles.

For the next engine I spent a little more and got an L33 aluminum block. These came with 799 heads, which are pretty much the same as the ones that came on LS6 Corvette engine, minus the sodium filled valves. It was a little overpriced at $1200 CAD, but I couldnt afford to sit around waiting for a good deal. The engine looked pretty clean, and only had 80,000 miles.
03-06-2015, 04:54 PM
#12
My buddy purchased a soda blaster for his business, which came very handy for cleaning the engine. Definetely not a fun process, but it's worth it. If you are planning on doing this, make sure you do in in a ventilated booth or outside. Lab goggles are also a must!
Before:
After:
Blasted engine block:
Before:
After:
Blasted engine block:
03-06-2015, 07:38 PM
#13
Race Director

Just a head's up but after any blasting of the engine parts via some abrasive a thorough cleaning, make that two thorough cleanings will be required to ensure no blasting grit remains in the oil passages.
03-06-2015, 07:46 PM
#14
I had the oil pan on, and the cylinders were taped off nicely. I will for sure do a flush before running it