When you click on links to various merchants on this site and make a purchase, this can result in this site earning a commission. Affiliate programs and affiliations include, but are not limited to, the eBay Partner Network.
Here is a product only (not performance) review of the two catch cans I ordered off of Amazon. Based on images and review or comments the knockoff is an exact copy of the mishimoto but here are my findings:
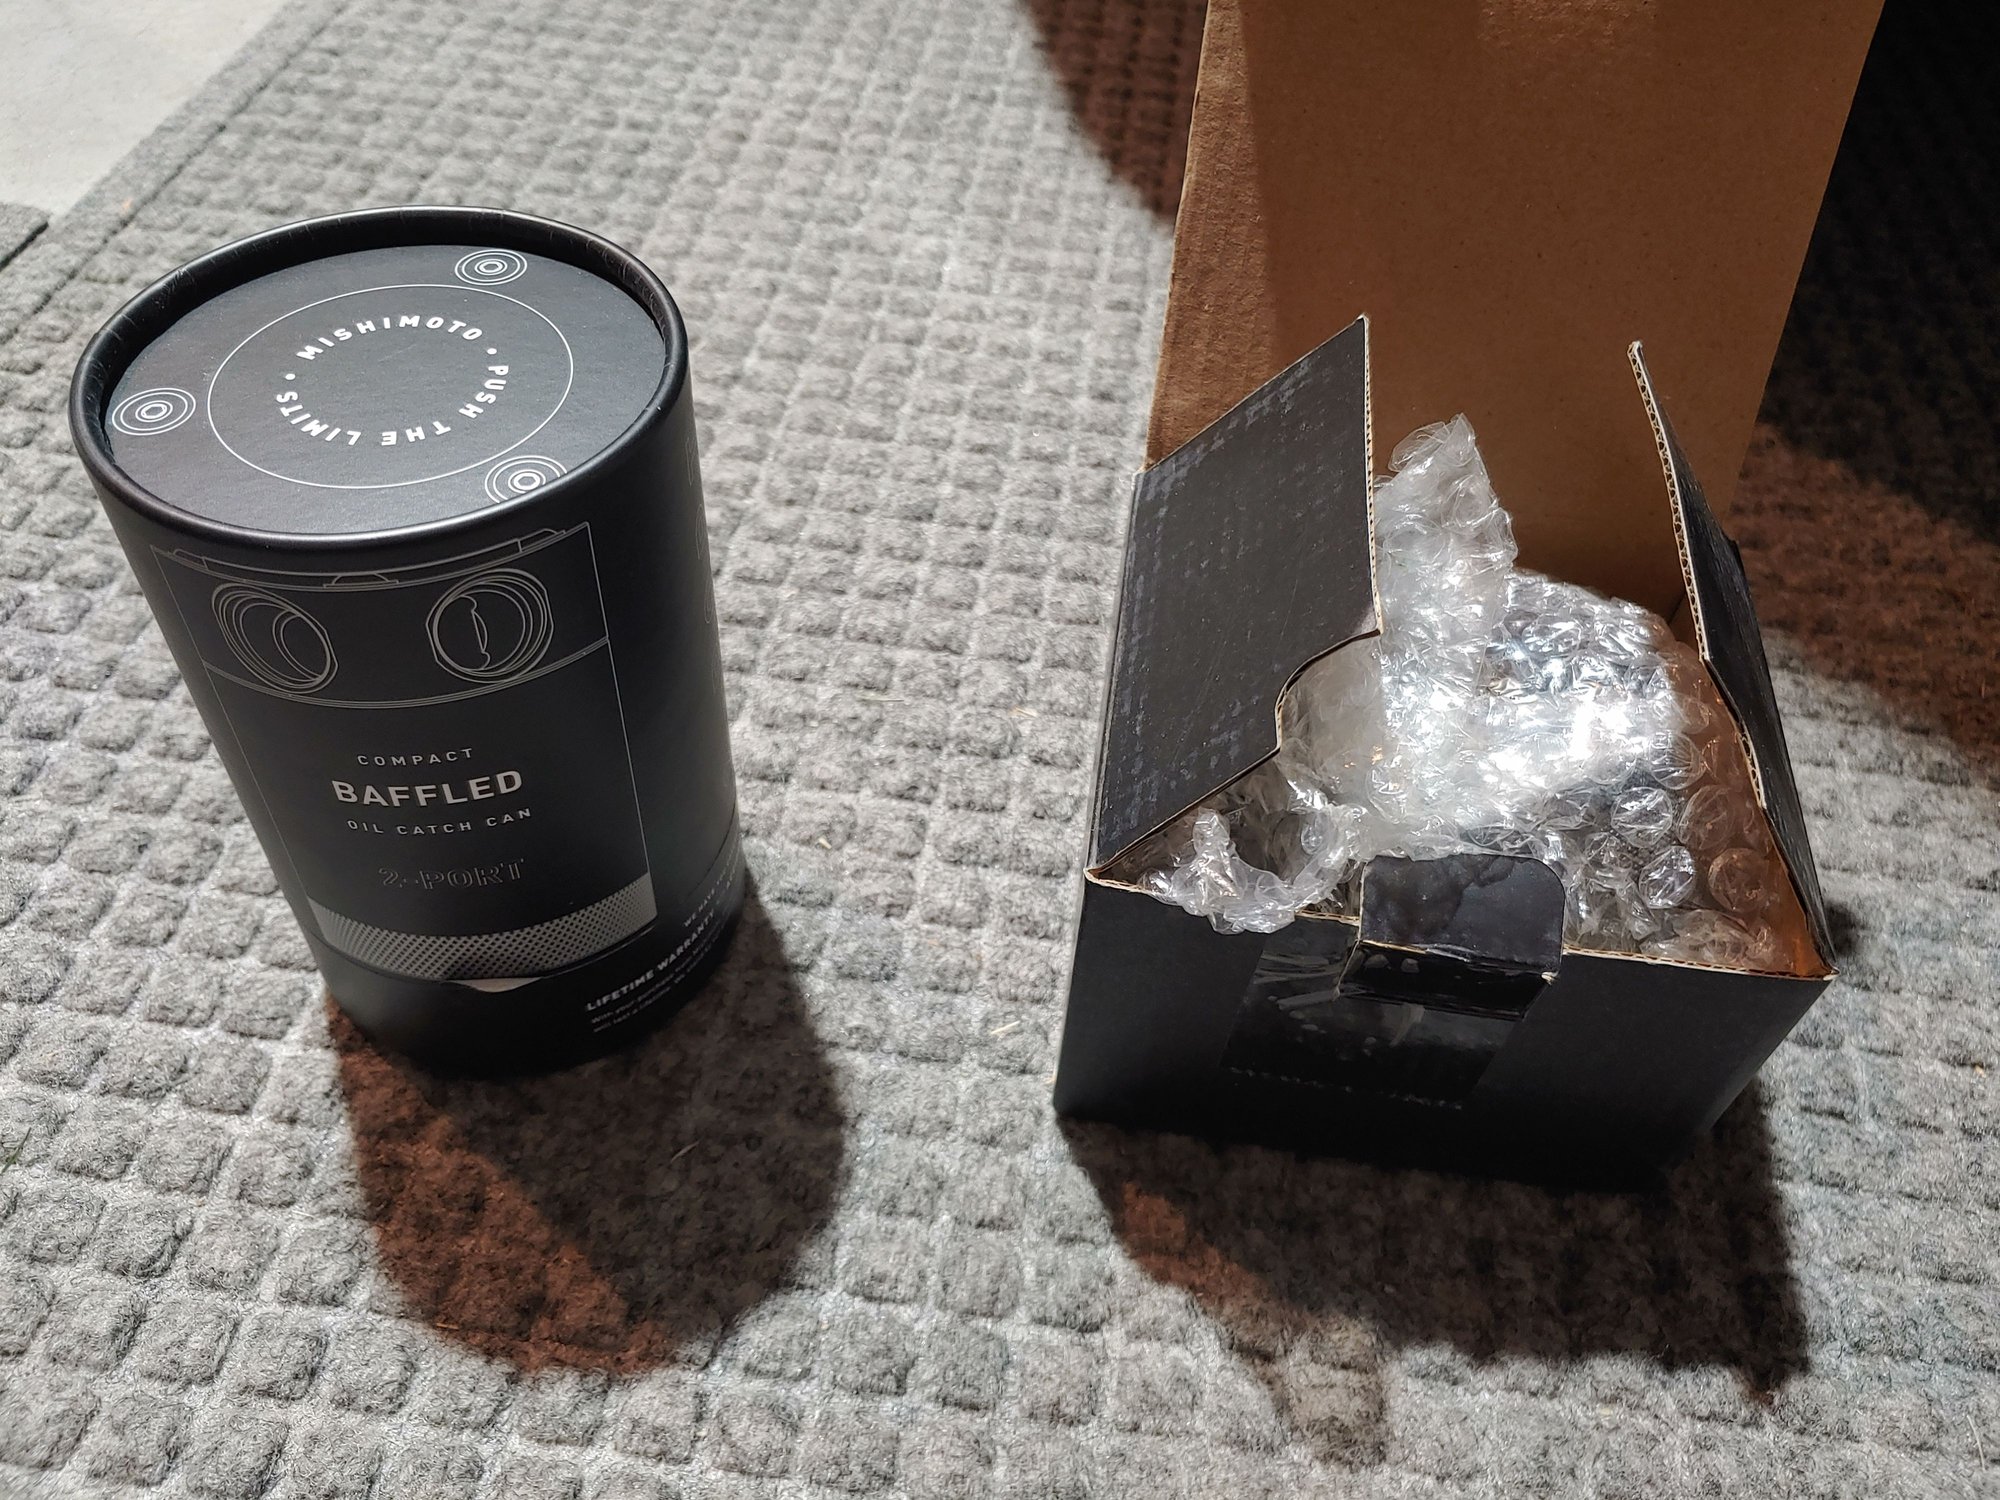
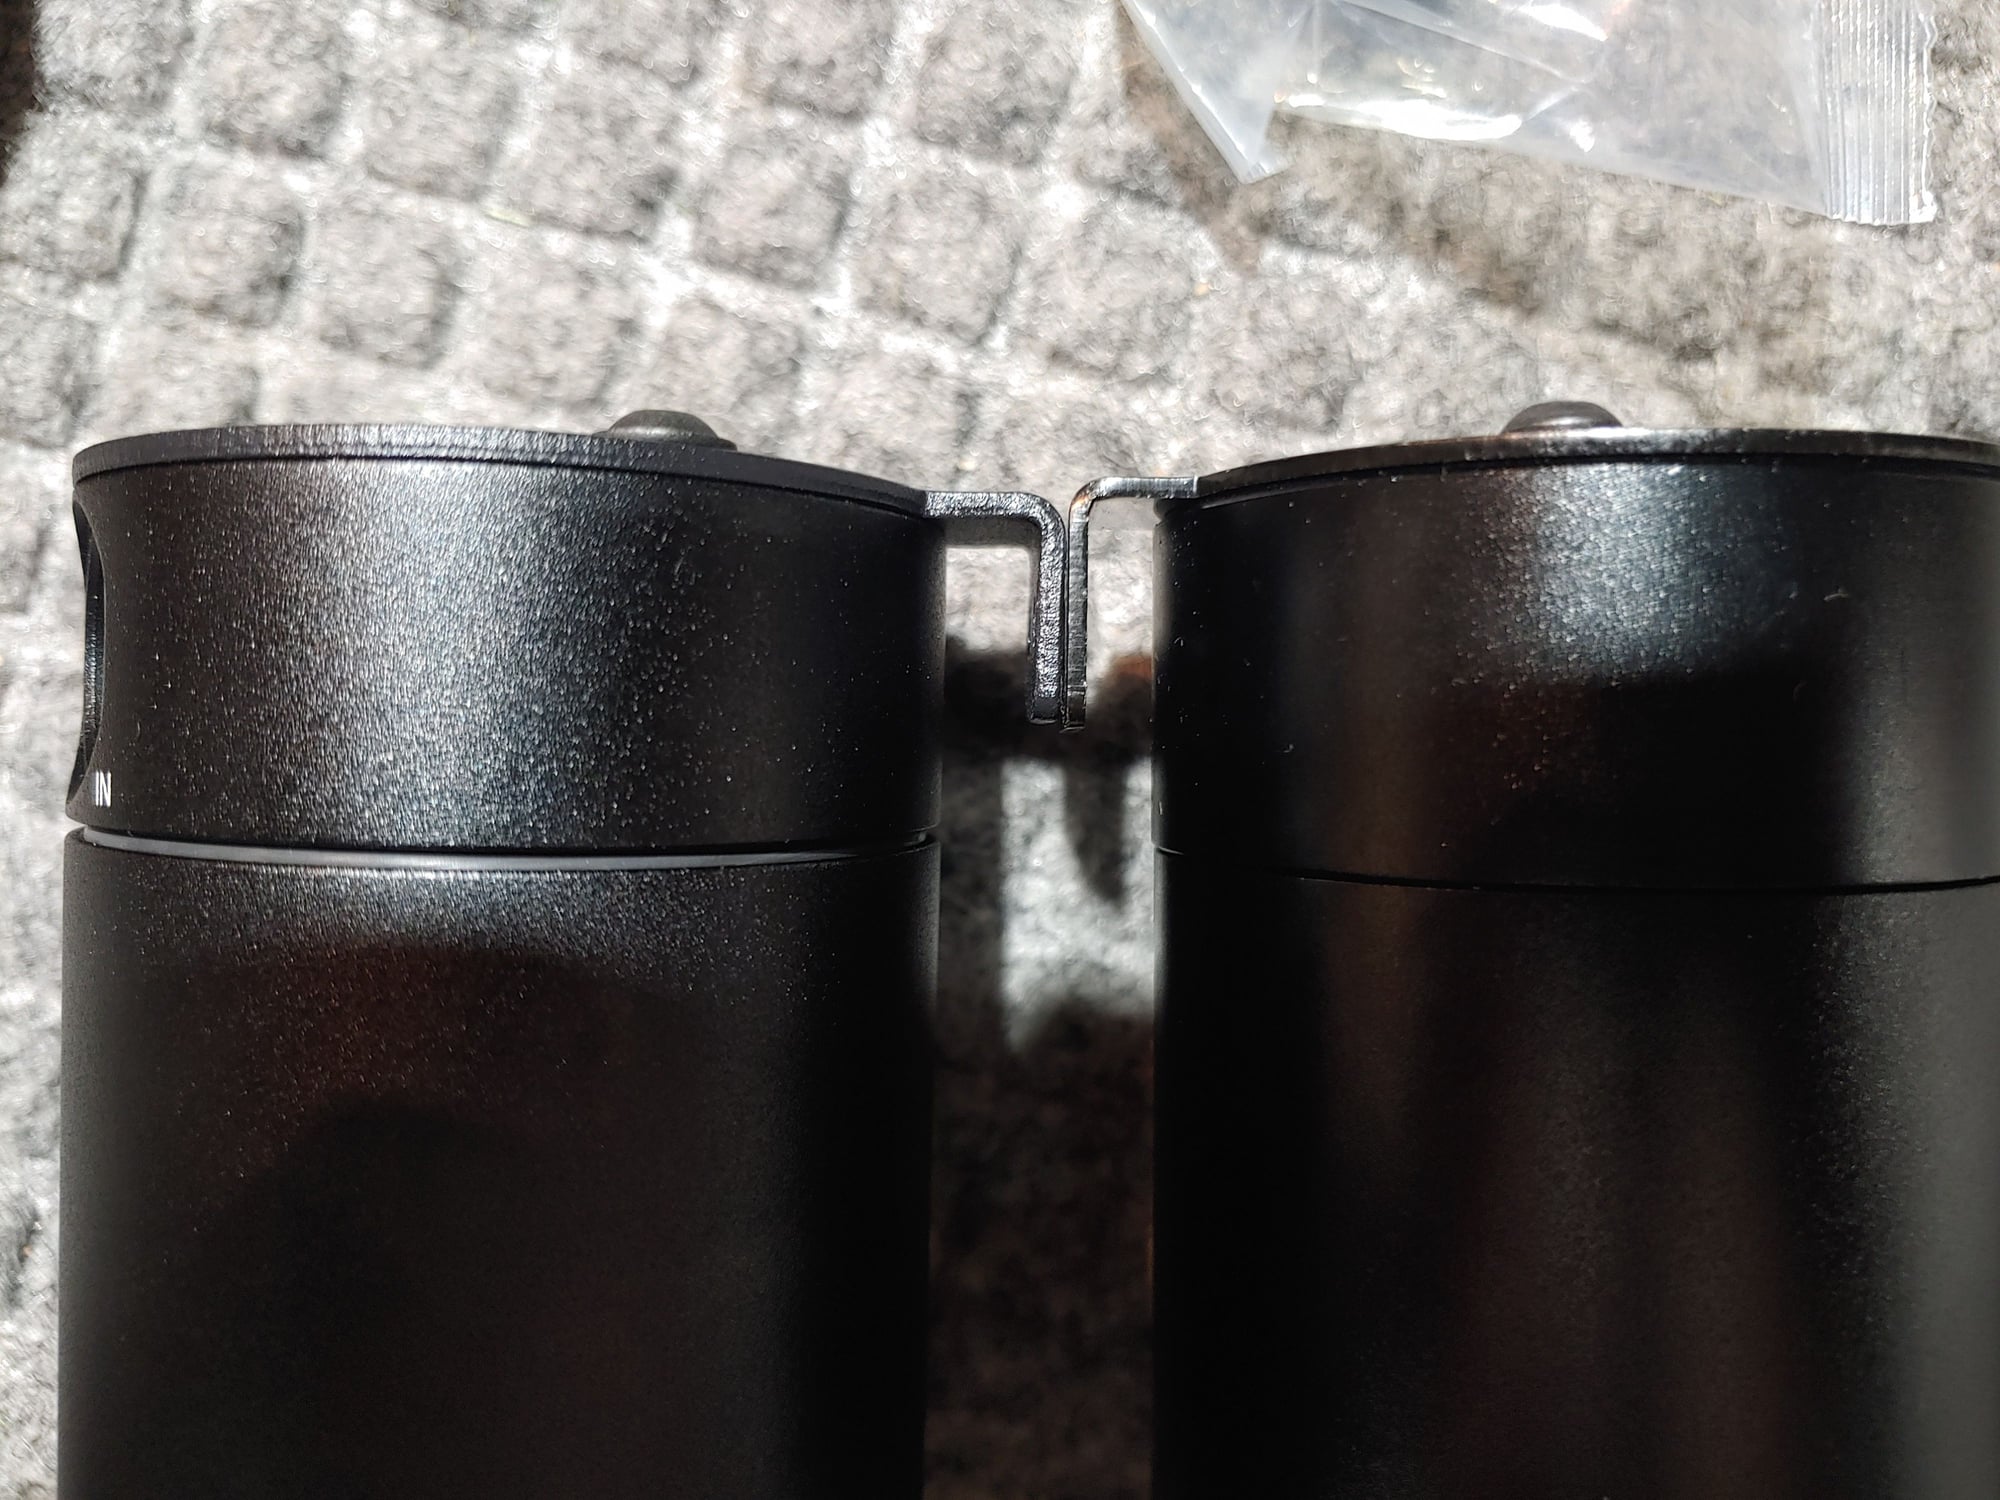
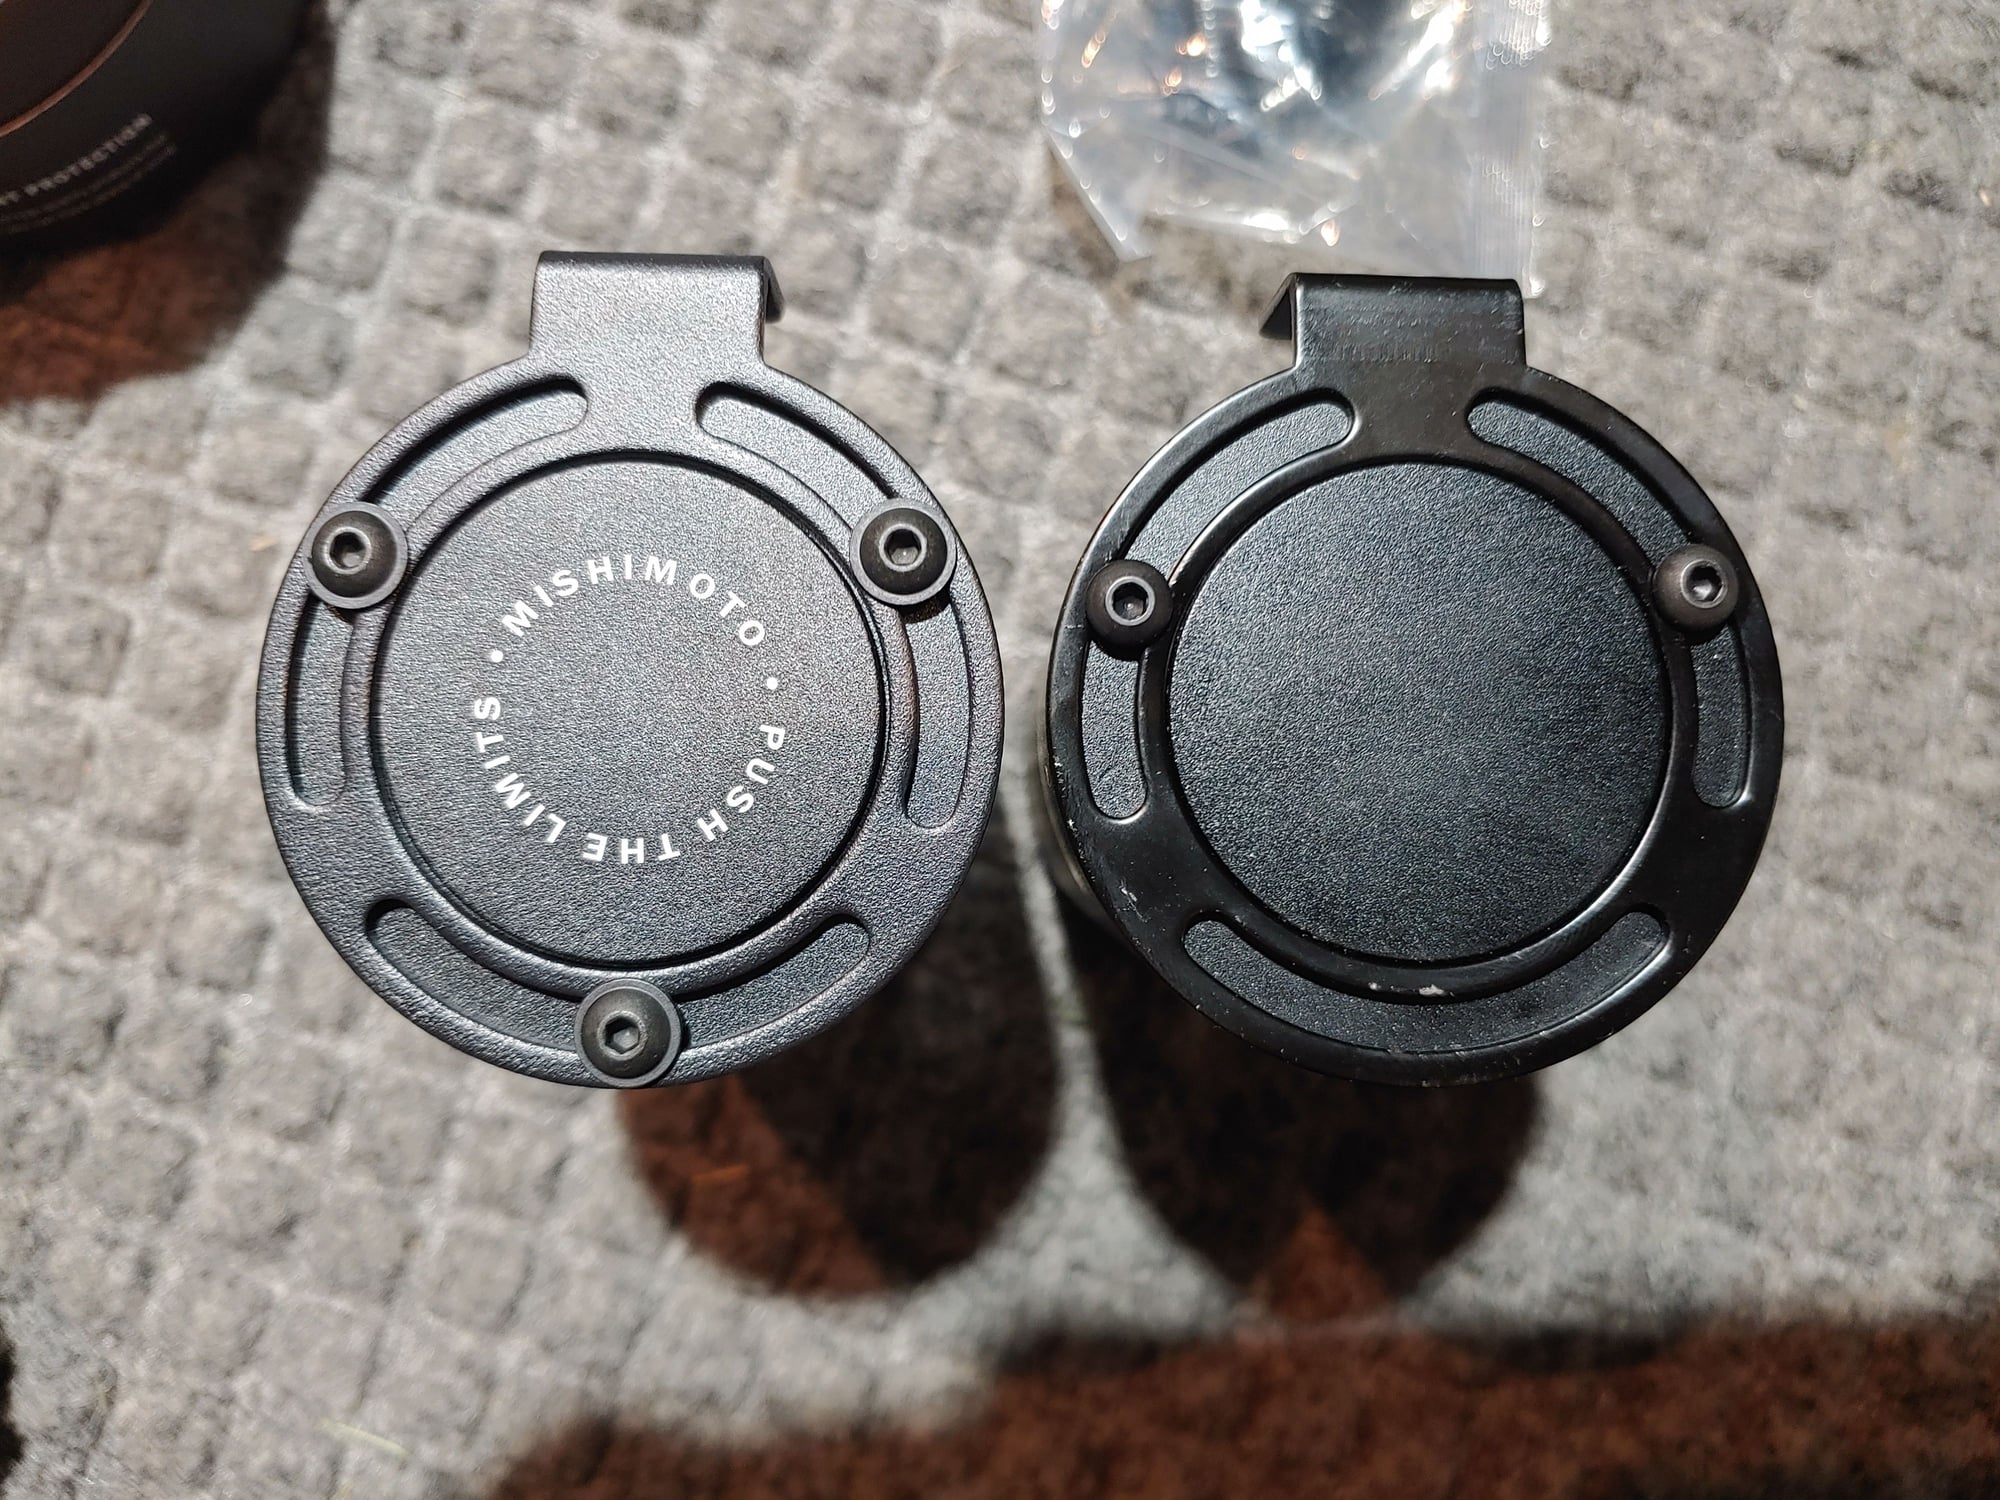
in all images the mishimoto is on the left the knockoff on the right.
Packaging you're obviously paying for that with the mishimoto. fancy boxes are not important, at least to me, as they say, it's what's inside that counts, but as other customers complained about the knockoff the way it's packaged it can get scratched and damaged in the Box and mine had a few marks on it with the mishimoto no chance of damage.
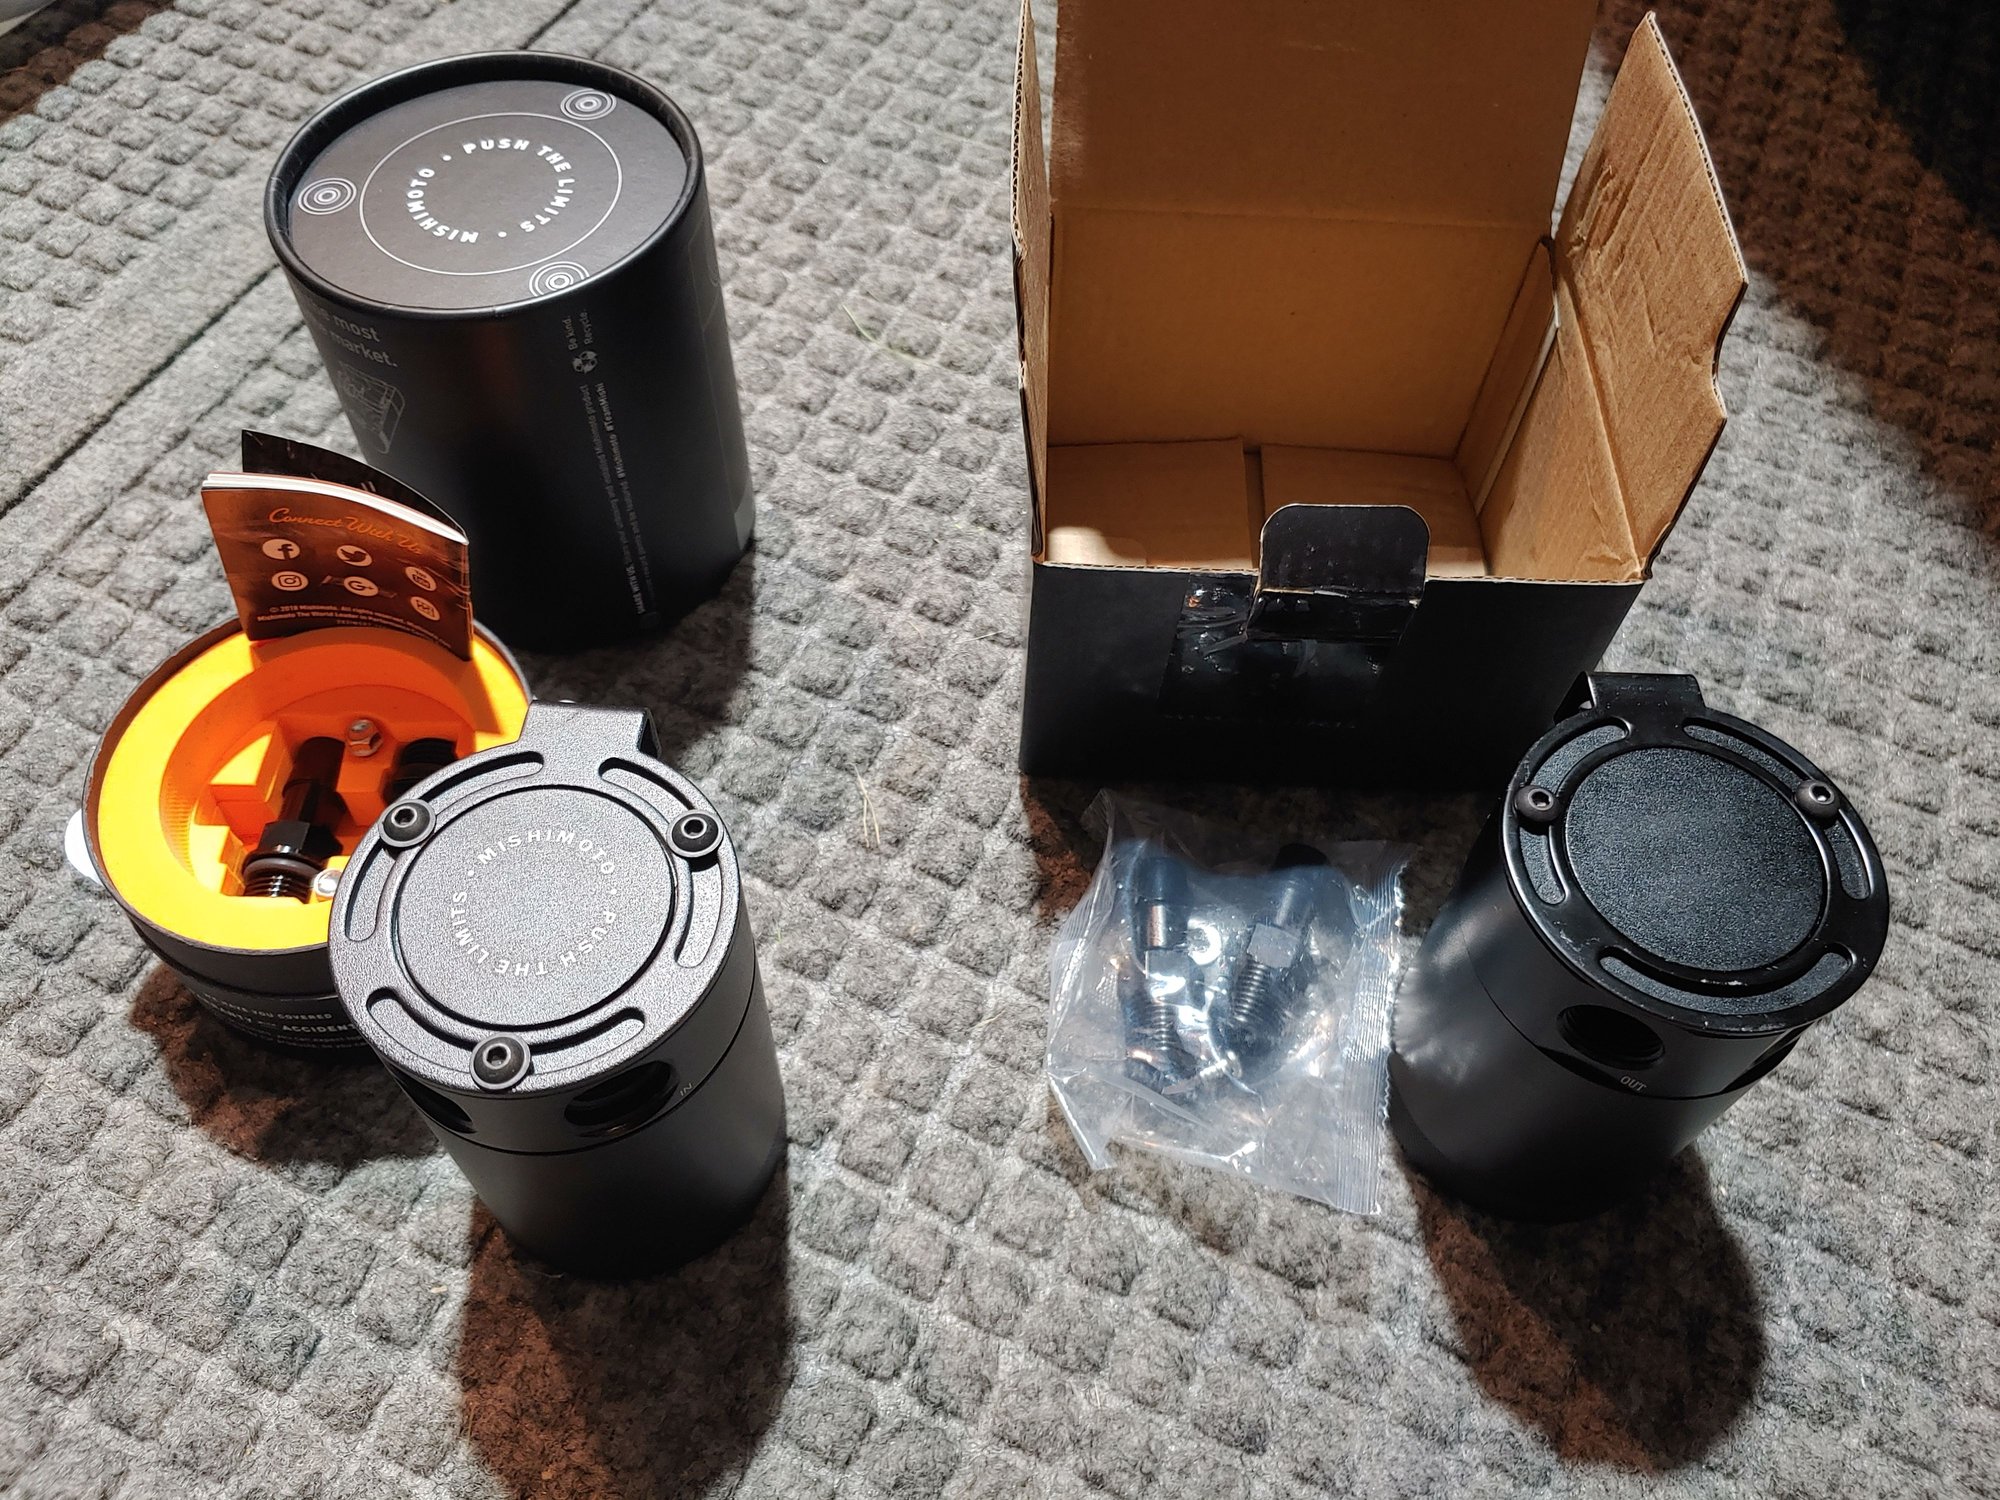
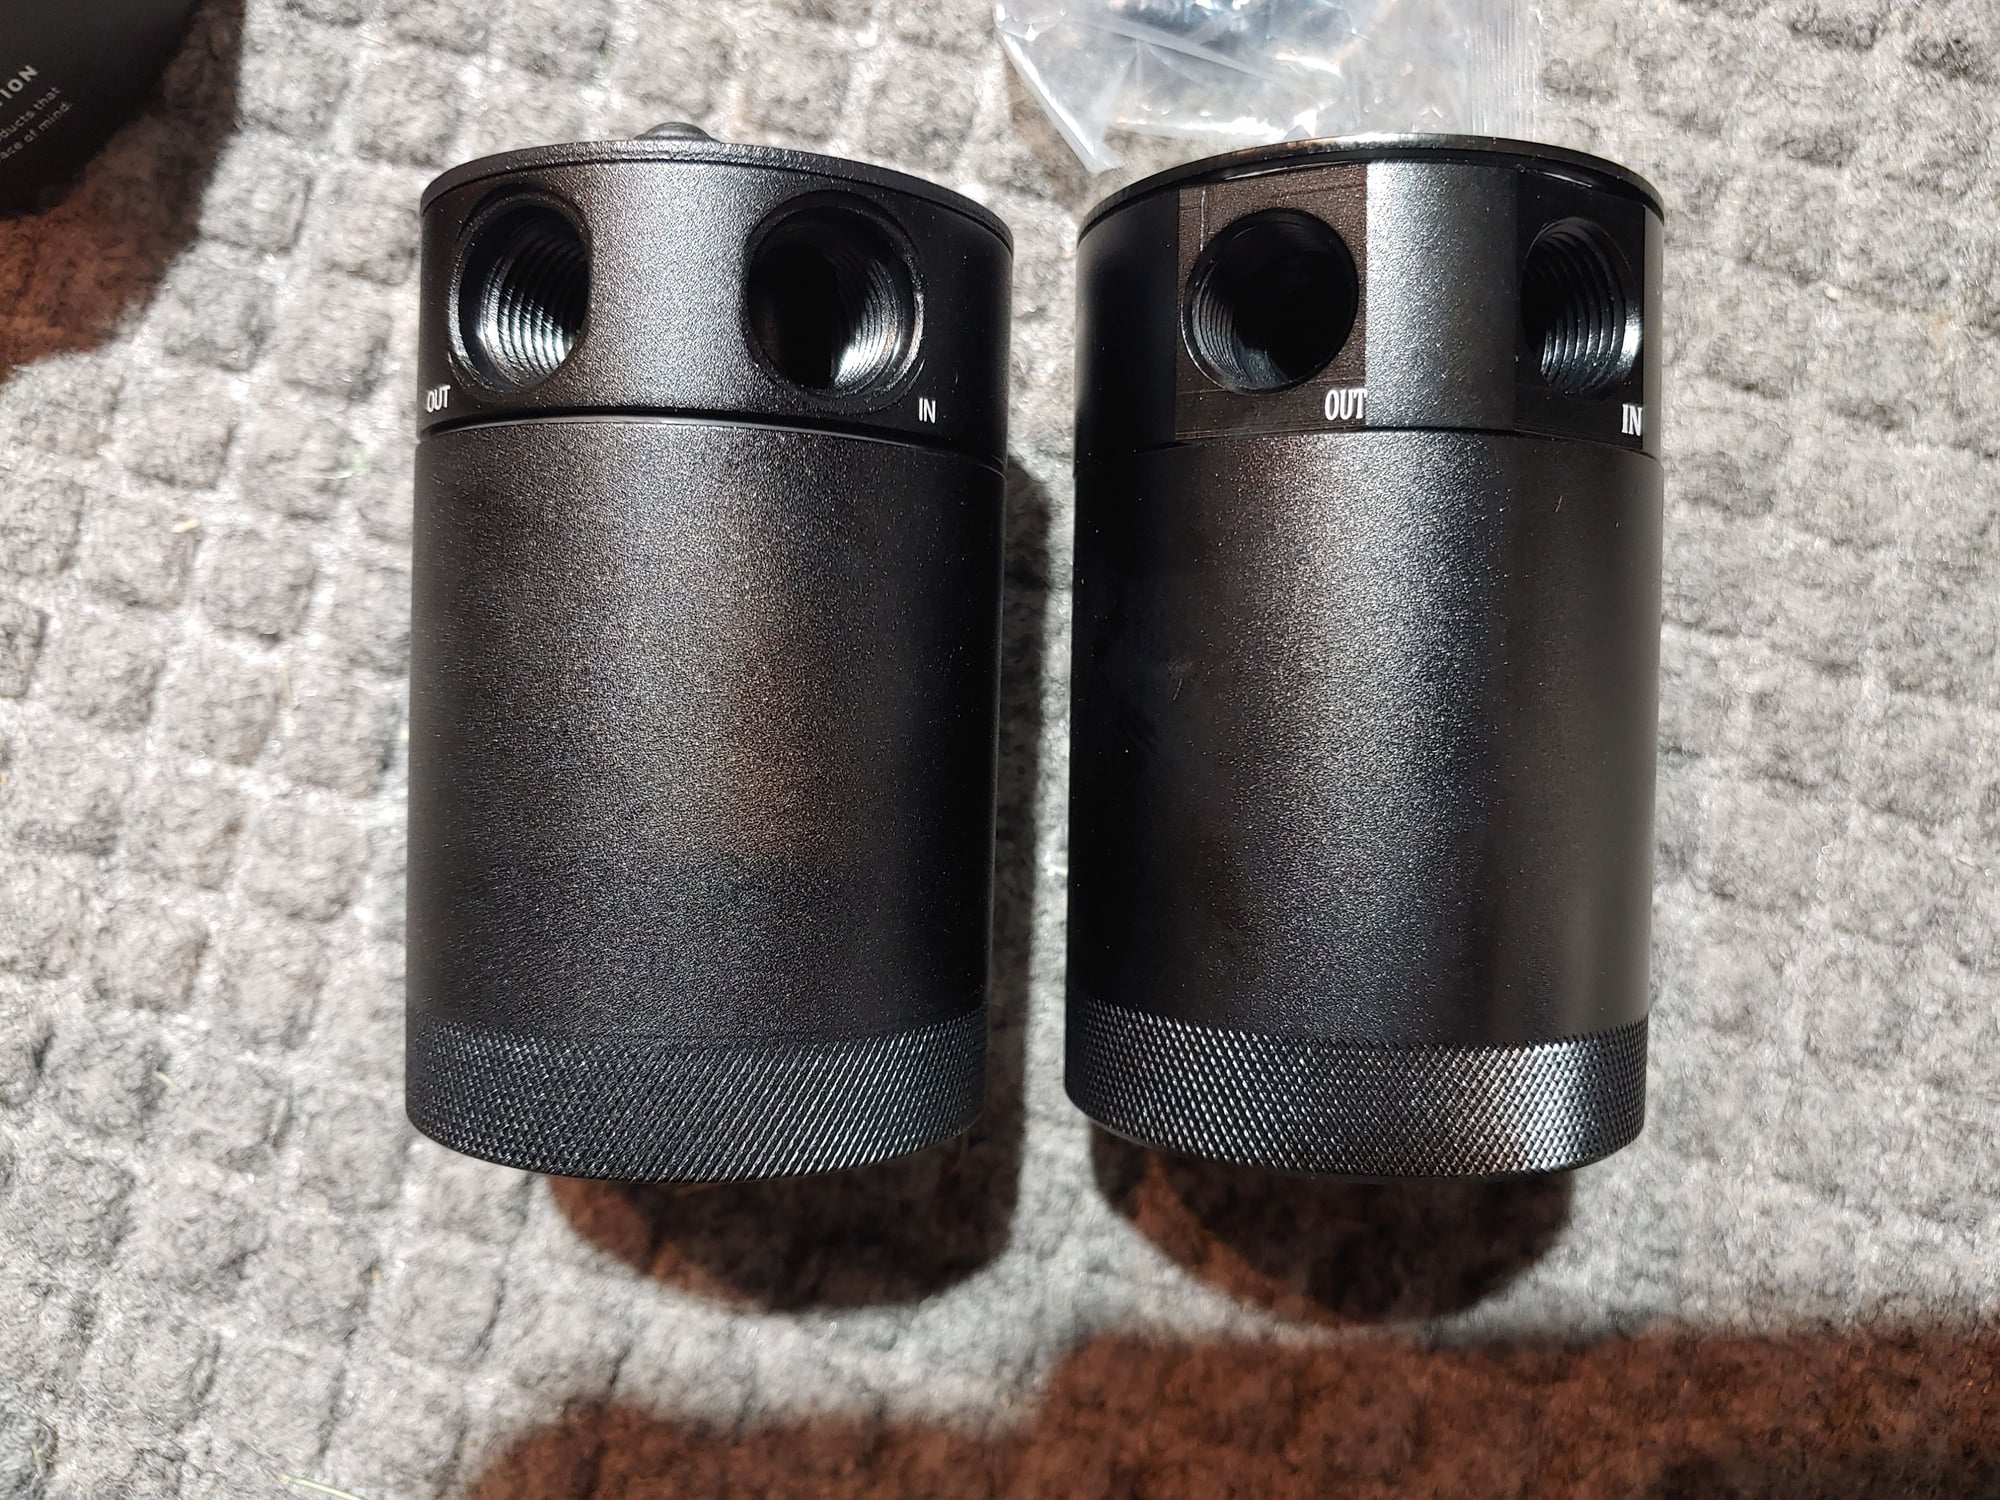
the can itself the top cap and bottom are very similar between the two however the finish on the mishimoto is a a little nicer especially the lid it has a nicer thicker finish and texture.
the bracket is also similar in shape but the finish on the mishimoto is nicer in addition it is held on by three screws and is thicker gage, there was a complaint or two of the knockoff breaking at the mount. The knockoff bracket with the two screws was warped and not sitting flush with the top of the can in addition when you screwed off the bottom of the catch can it made a lot of noises and didn't spin on freely like the mishimoto.
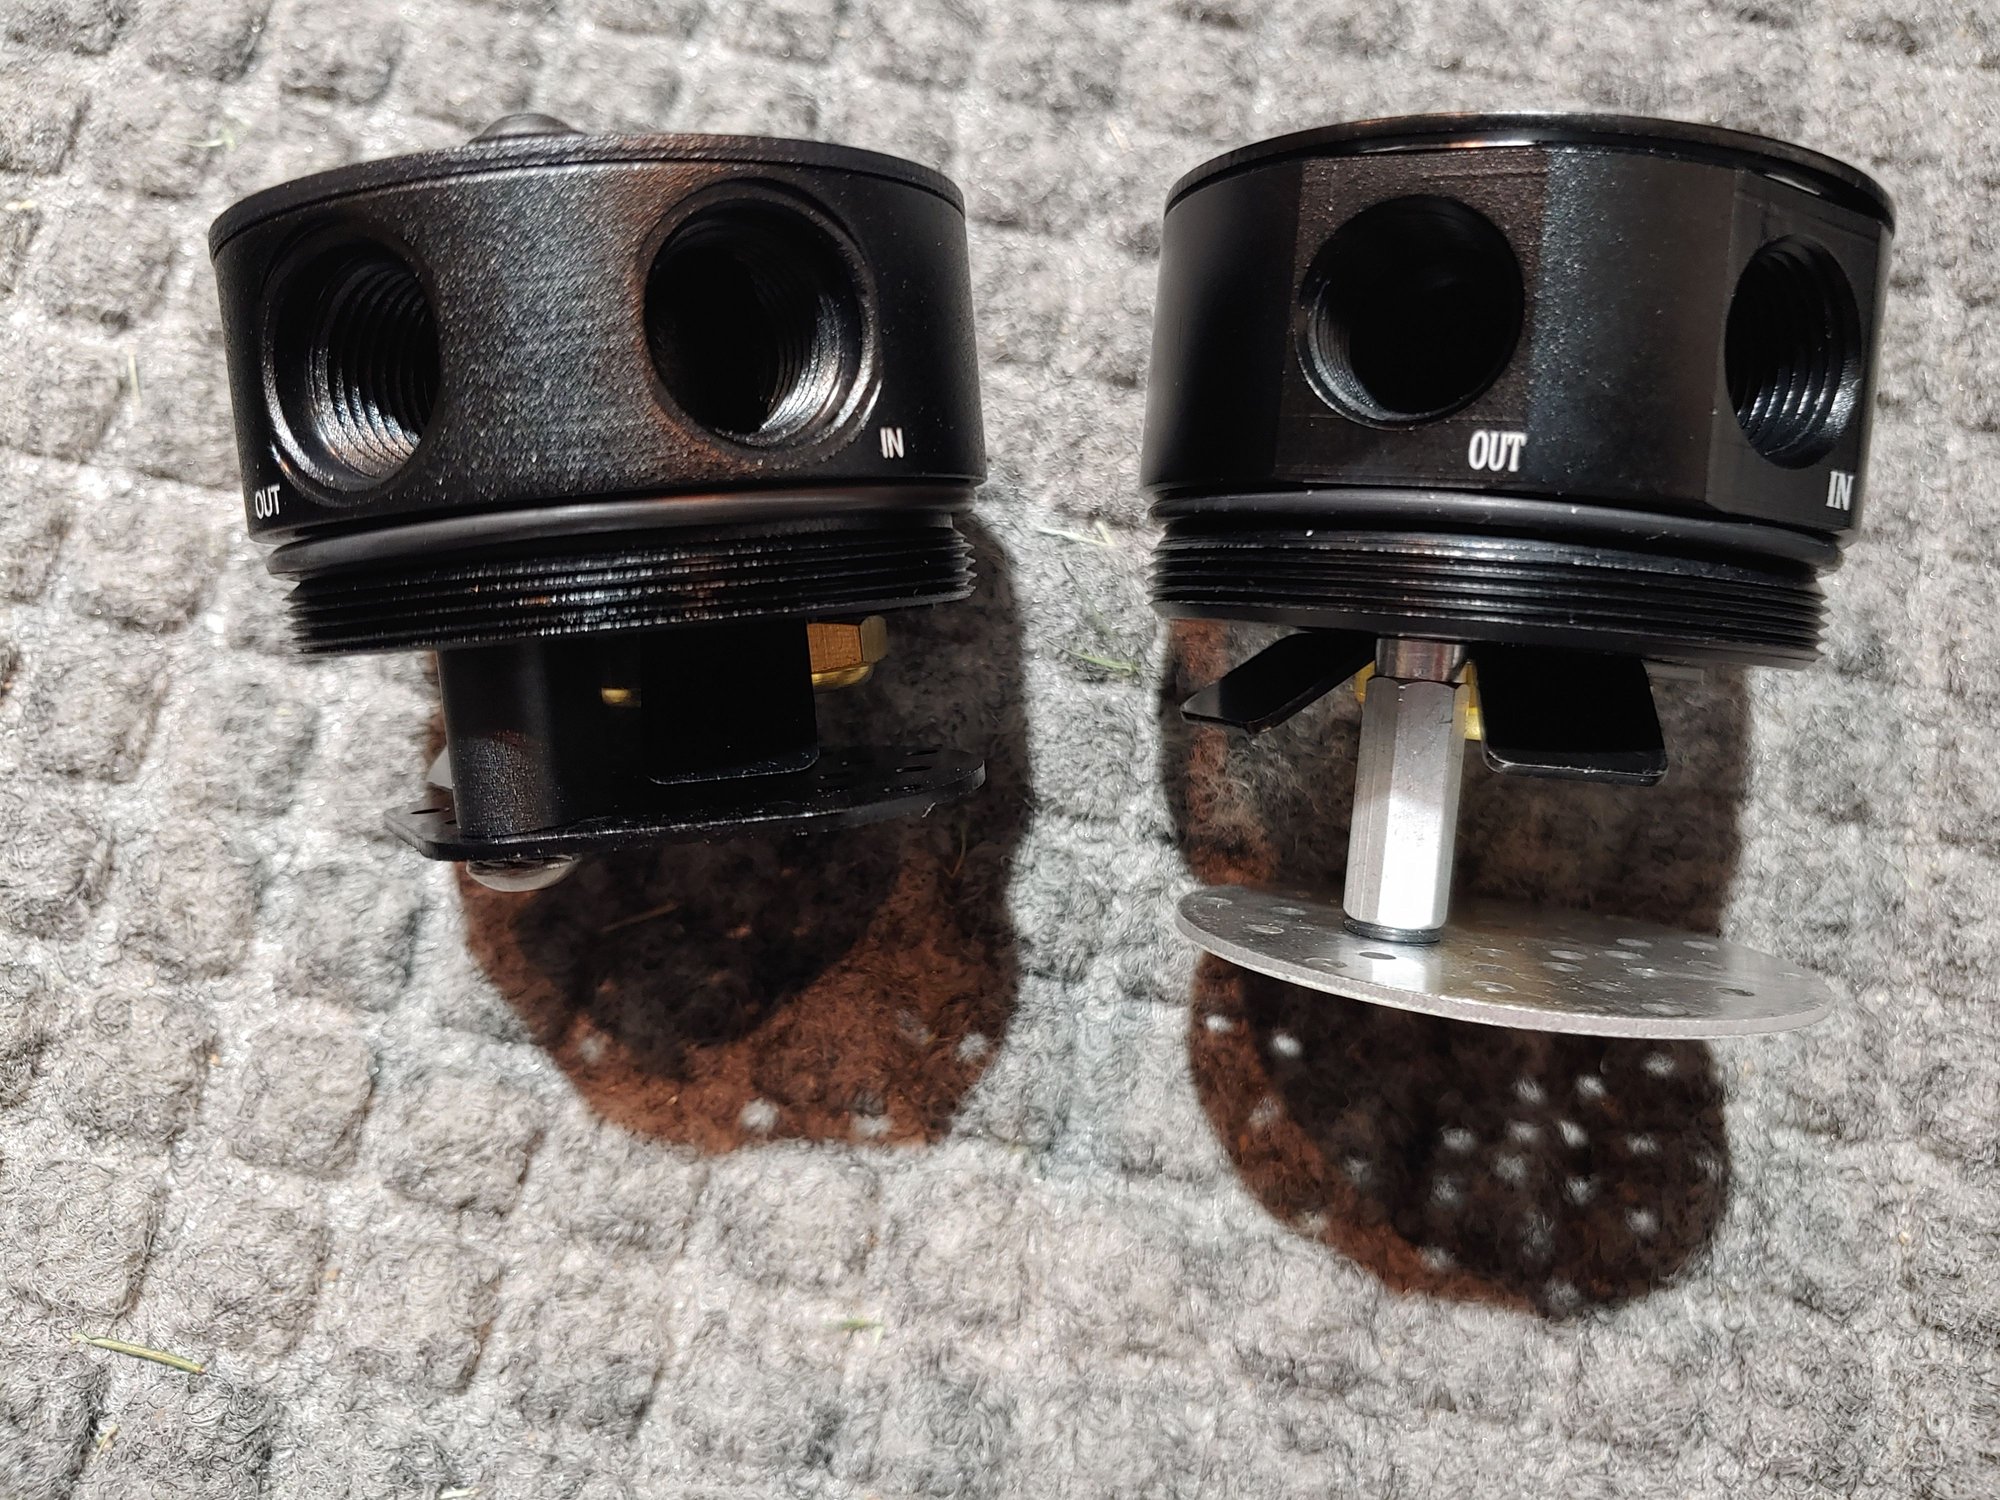
the internals are also a bit different the baffle plate sits lower on the knockoff the holes are not finished well and have rough edges potentially dropping some shavings, the diverters are angled a little different and the baffle itself is completely round taking up the whole Space of the can where the mishimoto has two tapered sides that may improve flow or condensation.
I didn't remove the bronze filters to see how different or similar they might be but when blowing through the ports they felt like they flowed the same
the drain is also different the knockoff sits flush with the bottom of the can where the mishimoto is raised on Amazon many complain that the knockoff leaked as I'm sure oil sits on top as opposed to away from the threads like on the mishimoto
the two Barbed fittings that come with the mishimoto are also a better quality and have O-rings
as others have mentioned the included barbs are only a half inch and they are M16 by 1.5 so I am ordering M16 by 1.5 by 16 mm new barbs on eBay to better mate up with the hose we need to fit to our other breather connections. The ones I found on eBay aren't cheap but will be worth it for a nice clean look and connection
the price of the mishimoto is six times the knockoff version it's hard not to keep the knock of and try it out but I could tell the quality of the mishimoto is definitely better and the effectiveness of it are likely better and I'm trying to help my engine not hurt it so I'm keeping the mishimoto I'll share back how the install goes.
if I knew I was keeping my car for a short-term or wanted one of these for an older car or needed to install multiple catch cans then I might consider trying to knock off I'm sure it works as other reviewers mentioned but then also some mention that doesn't so it's a toss up how well it might work
Last edited by Corvetteboy6988; 08-21-2023 at 02:01 PM.
Im researching some contacts for those of us in the States to get NORMA connectors, after contacting NORMA themselves.
I believe these are the NORMA part numbers that are the same as ours, in different configurations:
NORMAQUICK V2 NW19-0degree
NORMAQUICK V2 NW19-50degree
NORMAQUICK V2 NW19-90degree
I also ordered several PCV/emissions/breather hoses off Amazon for several different applications, that looked close to ours, all where less than $20 each, with the intent to cannibalize the norma connectors, and maybe even use the hose to replace our expensive OE ones.
Ill post back what I learn of course.
Example:
Nothing back from Dorman or Wurth USA, who Norma themselves suggested to contact regarding purchase of normaquick V2 connectors in the States.
Good news is, several of the breather hoses for other vehicle applications I bought off Amazon, have Norma fittings the correct size to match ours, and you can simply cut the pipe off and use the connects, for under $20, so not much more than the likely cost of 2 norma connectors and shipping.
Here is my install for a 955 Turbo (on my 2005 CTT), just finished last nite.
- Billet M16x1.5 - 5/8" aluminum barb fitting for catch can (since the ones included with the can are only 1/2") -https://www.ebay.com/itm/165737094675
- Breather hose to cannibalize Norma fittings, and braided covering -
. I verified these normas are all made out of the same material, per the stamping, not sure if they are all genuine norma, as some have black orings,
others orange, and dont have the exact same stamping as our OE ones, but they are identical in appearance and function.
- Other Breather hose options that also work for Norma fittings -
Install was pretty straight forward thanks to all of you who previously posted and worked out all the kinks. THANKYOU
I used the configuration interrupting the breather line right off the AOS (at the 90 elbo norma connector that is part of the 3 way - 2 check valve attached to the AOS on a 955 turbo).
1. removed the 90 norma on the 3 way valve and AOS outlet.
2. cut plastic hose from the norma connectors on the amazon breather hose (Mini cooper one) with a razor slit along the length of the hoes over the connector, end result is 2 norma connects, with the correct 19mm diameter, one is a 90deg, the other a 50 degree.
3. removed the braided cover from the Mini breather hose and cut in half
4. cut the rubber breather hose in half, so 2.5ft sections, and slide over the braiding from the Mini hose near the AOS connection points / norma ends of the rubber hose
5. routed the hose to check the length and placement, all was good with the 2.5ft pieces, however the one hose running to the outlet side of my can, the barb end closest to the power steering resvoiur in my lay out, has to bend pretty sharp and is flattening/kinking the hose a bit. A longer section of hose, maybe 3 ft would have been better, and I might make this correction. I routed the hose from the AOS above the valve cover and just below the cam sensor. The hose from the 3 way I routed down between the valve cover and the airfilter box where the heat shield is attached to the air filter box.
5. used needle nose pliers to spread the ends of the rubber hose, and then sprayed the 90 and 50 degree norma ends with hair spray, and pressed them onto their respective hose sections. Its tight, so twist and push, but they will get on there.
6. Bent the 90 degree mount that came with the Mishimoto CC flat, this was the hardest part for me. I dont have a vice, so used blocks of wood and a mallet to get it relatively flat (had to repaint it as the original paint cracked and got marred when flattening), to then fit it with the CC provided screws to the top round section of the driver air filter box, as Trinitony did. I pre-drilled the holes in the air filter box. even though the screws with the CC are self taping, and I might come back with some nice stainless steel allen head bolts and nuts to make it more secure. Its pretty secure as is, especially once you connect the hoses. I do have the CC mounted level, but it makes removing the can base difficult cause it hits the bottom of the circular part of the air filter housing which I mounted it to. I have to pull the can a bit away from the air filter to then make clearance to unscrew it. I might bend the bracket so it angles the catch can up and away from the air filter housing a bit at the bottom of the can, but its level and I can remove it with a little bend upward.
7. installed the larger barbs on the CC, then pressed the opposite norma ends of the rubber hose onto the barbs
8. Mounted the can to the bracket with the 3 original bracket screws.
9. reinstalled the side beauty cover to check for clearance, no issues
10, reinstalled the top throttle body silver beauty cover, a little tight on the AOS side, but can get it down secure on its rubber mounts.
The trickiest part with this routing method was working in the tight space off the AOS since the 3way and AOS connects are set to run into each other, plus, the beauty cover in step 10 is made it fit over the original 90 degree norma coming off the AOS, so there is no clearance really and I didnt want to trim/cut it, so the new hoses have to point downward as much as possible. I tried reversing the 90 and 50 degree normas, on the AOS and the 3 way, what I ended up with worked the best.
Took it for a quick 2 mile ride and no issues. Ill be putting 40 miles on it today with work, so will do another check to make sure all is good and see if anything is caught yet.
I used no clamps at the norma nor CC barb end connections with the rubber hose, since they fit so tight. I might put some black zip ties for piece of mind once everything checks out to be working after some more miles.
And as mentioned, Ill likely get a longer rubber hose piece for the outlet side to eliminate the little bit of kinking due to the sharp bend, the longer piece will route back by the positive battery jumping terminal location and then bend back towards the can, making for less kinking. I might also try adding a spring at the sharp bent to keep in from kinking before trying the longer hose.
Also the can mount, have to bend that a bit more to make spinning the can bottom off easier.
Only thing I would do differently again is perhaps a different CC with the inlets both point straight out in the same direction. The angled away from each other of the Mishimoto CC inlet and outlet make it tight to the beauty covers and tougher for routing the hoses without kinking them. Could have also gone with a bigger catch can, as others have mentioned, but thats more money and this can seems to do the job well.
I apologize, these pictures are terrible, ill post back some clearer ones.
Last edited by Corvetteboy6988; 08-25-2023 at 11:59 PM.
Follow the above DIY posts, can't use those fittings for the Lexus, maybe the bracket, only the can.
If they sell the can only then that would work.
plus you can do for cheaper with the correct hose and fittings than trying to make this kit work.
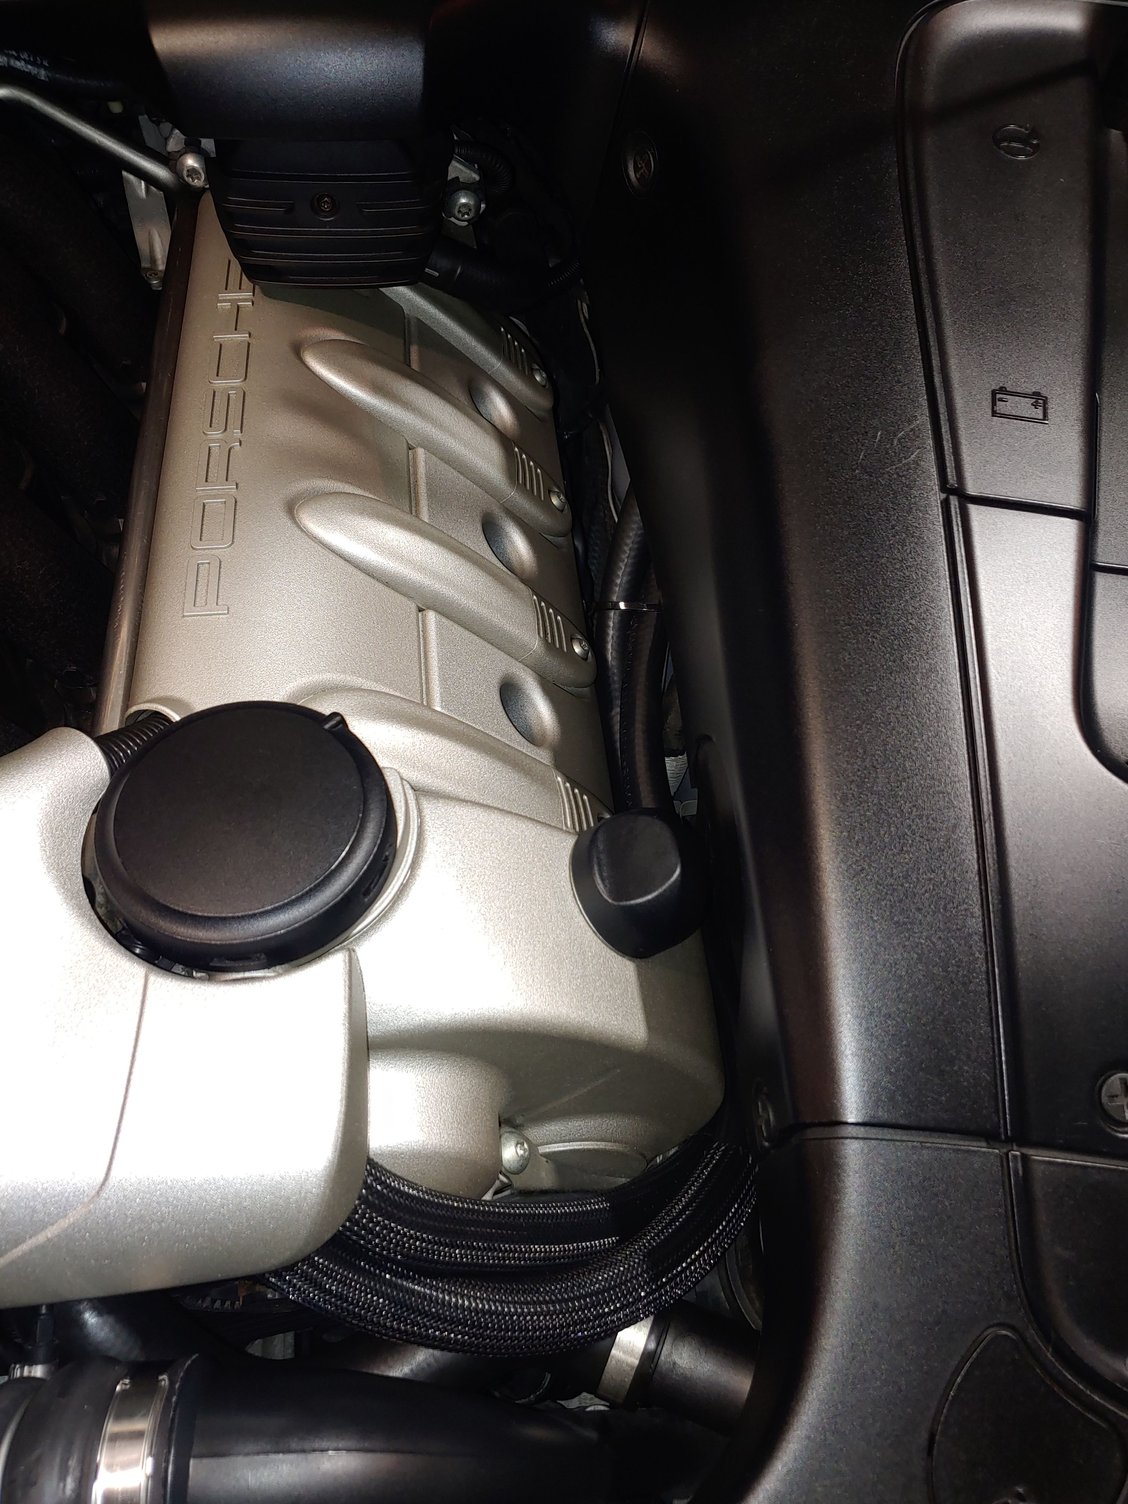
I realized in my post 124 I never posted a pic of the final install with everything back on:
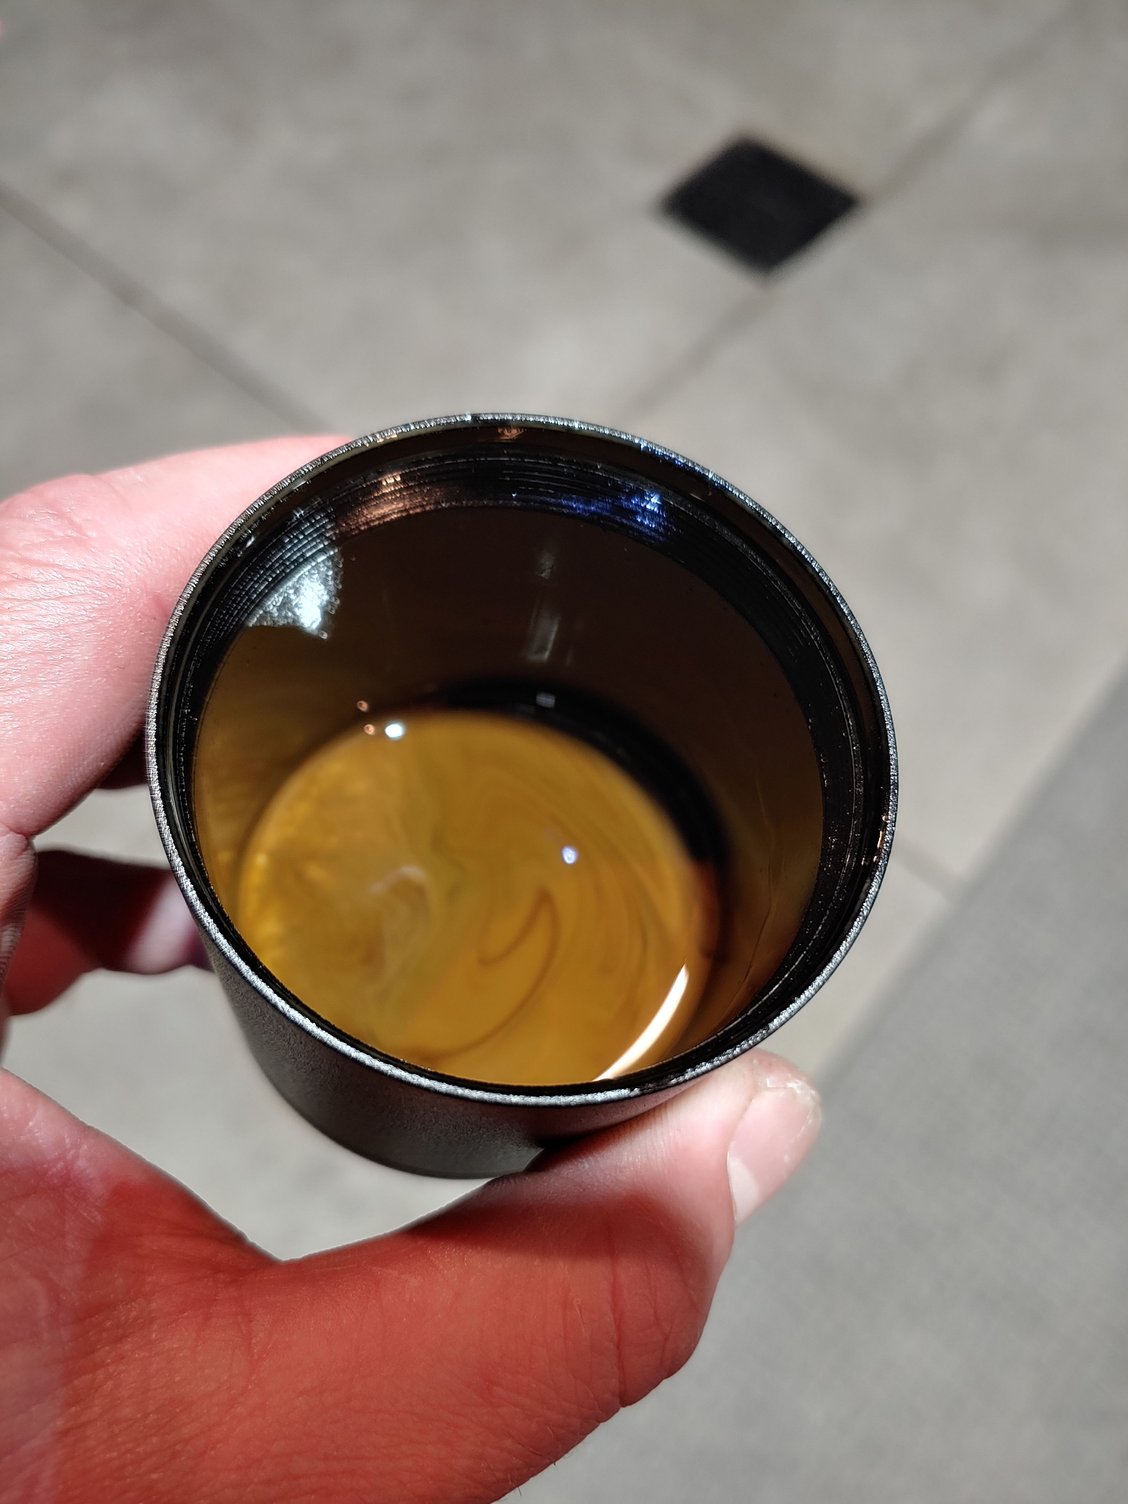
here is the contents of the can after about 3000 miles. A little over 1 oz, and looking like everyone elses who showed their cans. Recall my setup is catching all coming off the aos, not just one of the out puts from the 2 way valve.
my intercooler drivers side bottom hose still had about a teaspoon or so of oil from previously as I didnt empty since adding the can. I expect nothing to be in it next oil change.
I Will say, on certain occasions I would get a puff of smoke from the exhuast on start up with a warm engine, but not any more since the can install.
One has to becareful with the connections to the can. Some cans have IN labelled ont the right side, and some brands have IN on the left side Getting ready to do an install on the Mini and noticed that.
After reteadong this thread, I noticed Dilberto mentioned a friend, and also Jeff Spahn run the setup to the catch can right off the AOS as you Joefus suggested and Idrew above. Noting like repeating what fellow members already shared with u$, lol.
Jeff Spahm how well is your setup working In theory it should be doing he job of both catch cams on the others prefered and secondary set ups.
Dilberto, please chime in if you know how your friends set up is doing
Jsworld, what are your thoughts on his routing vs what you have (prefered location)?
I got my Mishmoto and knock off cc today, ill share the comparison shortly.
My catch can is picking up a fair amount of oil and brown sludge between oil changes. I also check it after 2000 mile drives. 50cc -100 cc between oil changes.
I realized in my post 124 I never posted a pic of the final install with everything back on:
here is the contents of the can after about 3000 miles. A little over 1 oz, and looking like everyone elses who showed their cans. Recall my setup is catching all coming off the aos, not just one of the out puts from the 2 way valve.
my intercooler drivers side bottom hose still had about a teaspoon or so of oil from previously as I didnt empty since adding the can. I expect nothing to be in it next oil change.
I Will say, on certain occasions I would get a puff of smoke from the exhuast on start up with a warm engine, but not any more since the can install.
Very nice install! Impressive work. I may get inspired to do my own install if I can ever find the time...
I bought this catch can as its the only one with proper size hose fittings I could find at a low price. The inlet is supposed to be wehre teh baffles are, you can switch them (has predrilled holes). Have to custom make a mounting bracket for it, no dipstick tube or bottom drain. Might be worth tapping a hose barb onto it, running a hose with on/off valve down so its easy to drain when changing the oil.
I have all those members in this thread that paved the way before me for to thank for the successful install of mine! I couldnt have done it as well as I did without all the help. I simply built on previous work by finding some affordable amazon breather hoses to repurpose and steal the norma connectors from for a simple connection to our AOS, since norma connectors are hard to source on their own.
Jamescoop, I like those braded hoses. I used the recommended emission hose from local Autozone, but my bends are a bit tight near the can, so the hose does kink a bit, maybe the braiding on these you are using would hold shape better. I might install springs in mine like others to help.
The braiding on my hoses near the AOS is simply cosmetic, I stole those too like the norma connectors from the amazon mini cooper breather hose.
Like Trinitony and Jsworld have mentioned previously, this is a must do mod, and only wish I had found this thread sooner and did this years/miles ago, engine would be a lot cleaner.
SIDE NOTE:
Im gonna try HPL's cleaner oil, to help with cleaning my engine up from all this recycled oil vapor over the years, not to mention I dont know how well the previous owner to 40,000 miles took care of her. I do have oil consumption in the 1 qt per 1000 mile range, so seeing if it will clean up the piston rings to help. Then the catch can should help from the top side keep things cleaner. I always change oil every 4000 miles with quality A40 oil, so it should then stay decently clean.
they have a euro oil as well. Well know Dr/ working for them and their products, sounds like good stuff from BITOG forums.
And NOT a solvent, like all the other flushes which I would be way concerned about putting in our engines, with all the bore scoring! https://www.advlubrication.com/colle...engine-cleaner
Ill make another thread on what I learn from this.
Last edited by Corvetteboy6988; 12-07-2023 at 05:38 PM.


 08-21-2023, 11:37 AM