When you click on links to various merchants on this site and make a purchase, this can result in this site earning a commission. Affiliate programs and affiliations include, but are not limited to, the eBay Partner Network.
Recently installed 2nd battery under the spare tire using OEM parts.
Bought a used OEM rear battery box, which came with an Bosch isolator. Also, got few other bits and pieces like OEM ground cable, 2/0 gauge cables, battery switch and whatnot for the rear battery.
Rear battery size is H8.
My car had H8 battery installed, so I simply moved the old H8 battery from under the driver's seat to the rear, then put a new H9 battery under driver's seat.
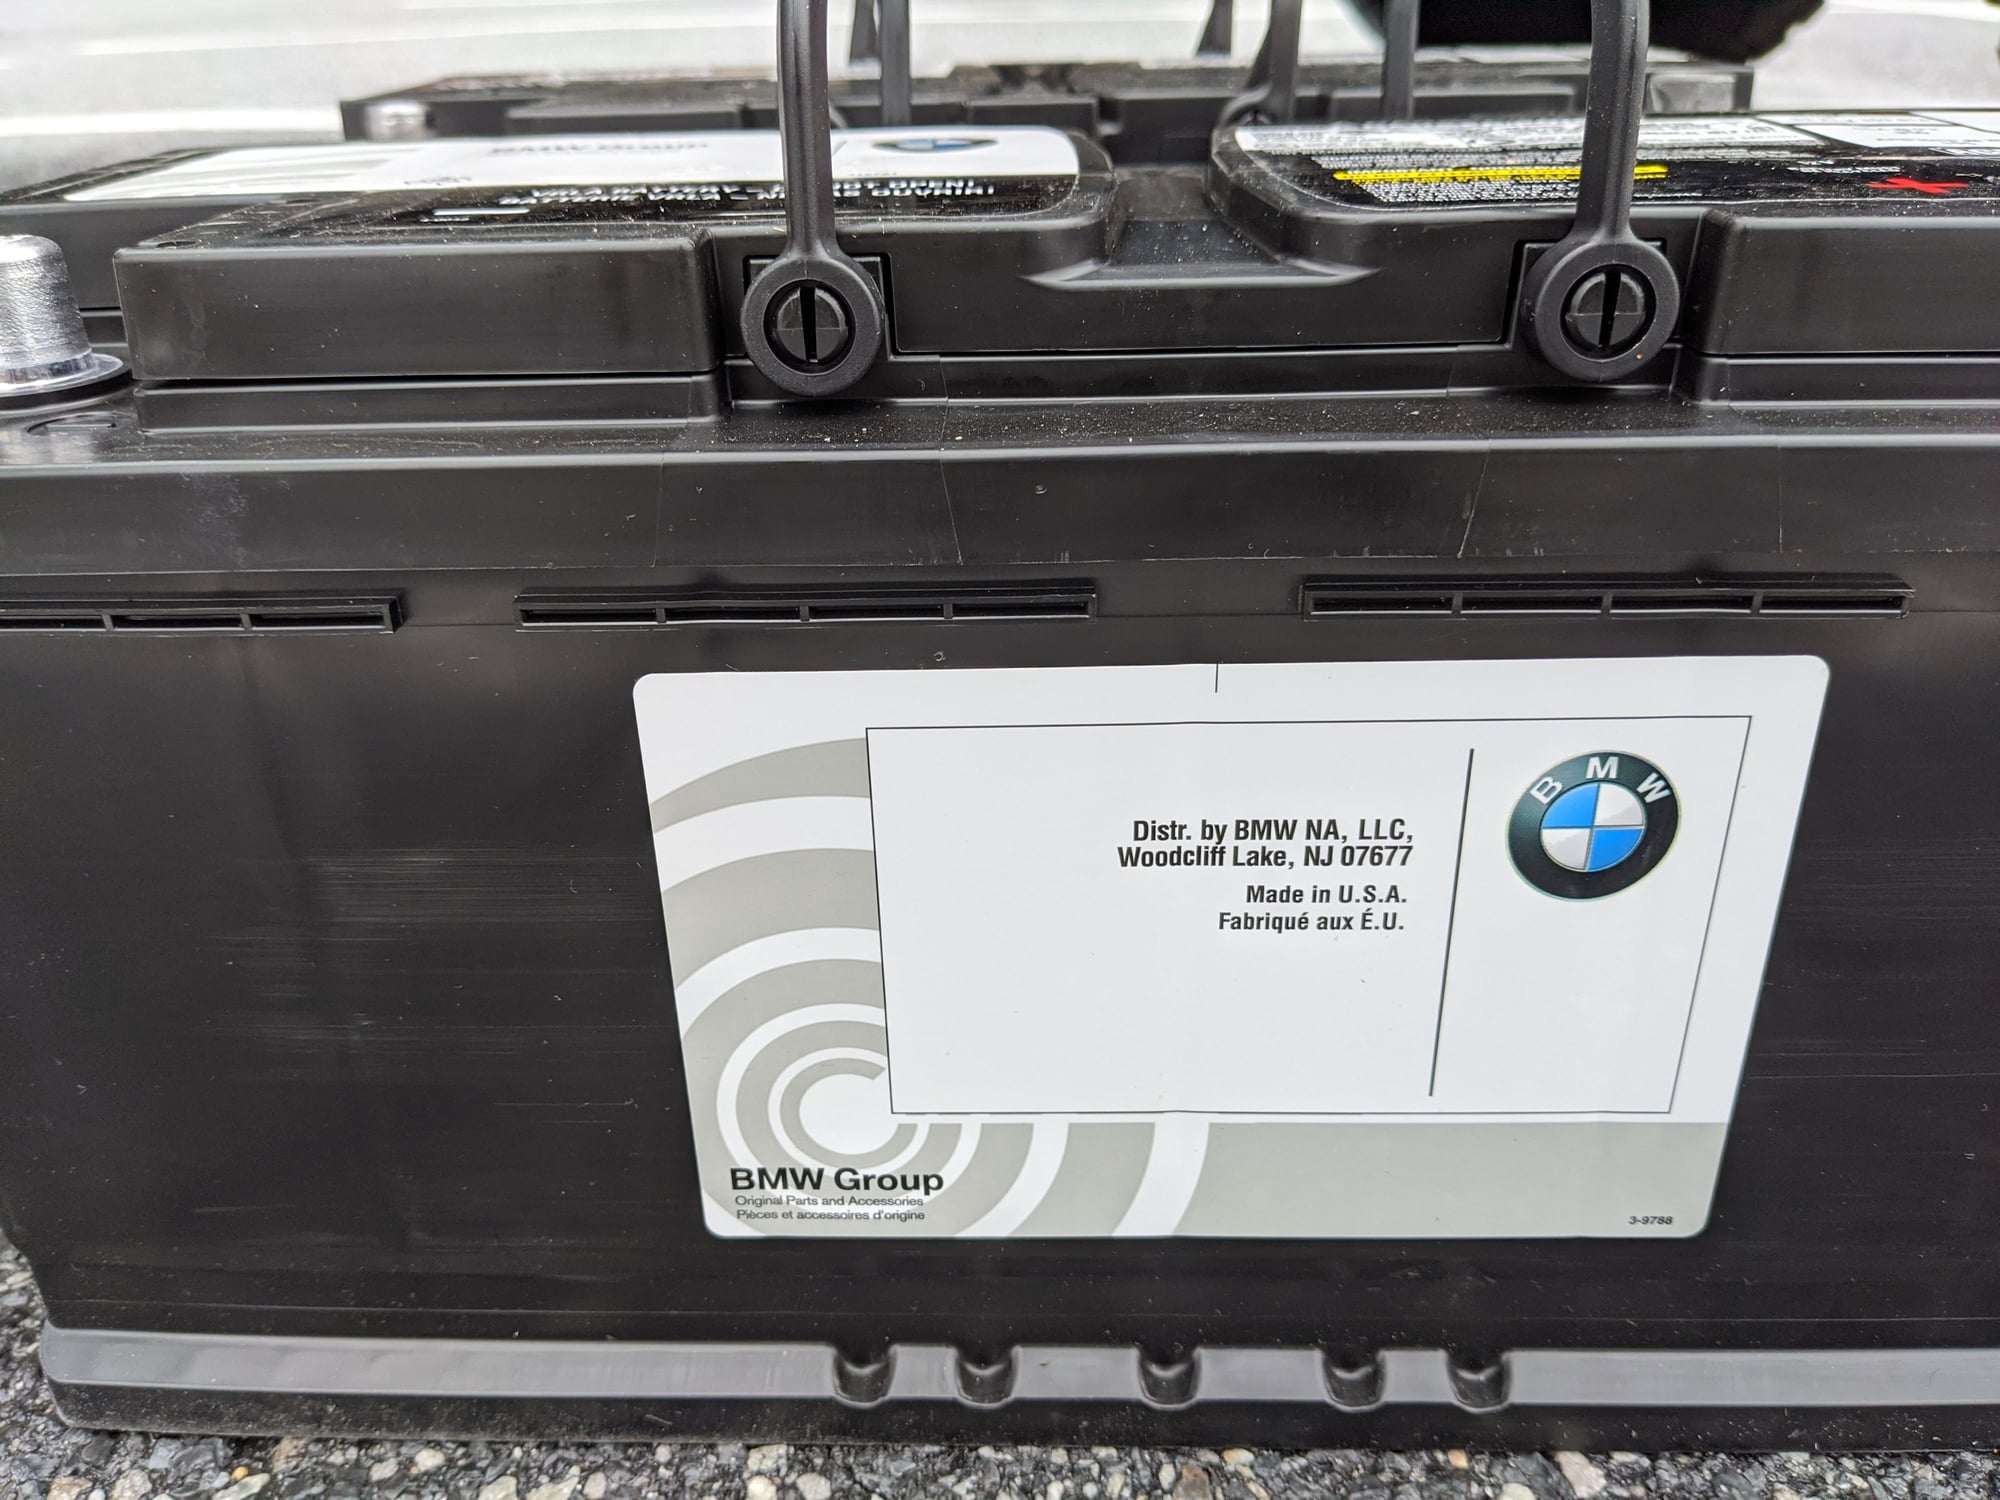
Bought a BMW H9 AGM battery (61-21-2-353-814 Ep Battery 105AH 950CCA) per recommendation in post #26 in https://rennlist.com/forums/cayenne-...nne-gts-2.html Word of caution though, if you're putting H9 battery [under the driver's seat], you need a new longer positive battery cable 95561209010. Otherwise cable would be too short, see post #24 in the above link.
I believe factory mounting point for rear battery cable is at the red arrow point in the picture below, but I didn't use it.
You can see how I connected the rear battery cable under the seat (green arrow). That way, rear battery will utilize pyro fuse just like front battery.
For isolator trigger wire, I utilized one of the unused ignition switched power source in the driverside fuse box.
It is connected via switch so I can disconnect them if I want to, but normally both batteries will be connected whenever the ignition is on. When the ignition is off or when the switch is off, I can drain the main battery without worrying now since 2nd battery in the trunk is now a "backup starter battery", which is simplified version of OEM algorithm used for the optional rear battery.
There is a factory channel that runs from under driver's seat to the rear.
Rear battery tray (cover is off) factory ground cable (right side) Red is 2/0 gauge cable. Also, 4 gauge cable is running to new fusebox in the right side compartment
H8 on top, H9 (longer) on the bottom. both batteries are same height and width, but H9 is slightly longer
Last edited by Petrolhead_007; 01-23-2020 at 08:04 PM.
Word of caution though, if you're putting H9 battery [under the driver's seat], you need a new longer positive battery cable 95561209010. Otherwise cable would be too short, see post #24 in the above link.
That's interesting. Our 2008 Turbo had an H9 installed and so I obviously didn't have any trouble with cables. I wonder if Turbos had H9s and the other models had H8s?
Thanks for documenting your build, it looks great!
I'm just wondering if you've had any experiences from your lift kit such as described by Martini where the suspension makes any loud banging sounds? I've read on the Touareg forums conflicting reports. Some people have no issues, others have some. The tracks I go down often leave a wheel hanging in the air, and some of what I've read about spacer kits has me concerned about putting excess stress on the shock. I must admit I don't understand a lot about suspension geometry.
Can I also ask you to explain why you modified the bushing? What was the key reason for this?
And Martini, did you get to the bottom of your banging issues?
Could you give us your feedback on the Rising Tuning lift kit? Pro's/Cons? Who did your install? Did it impact ride quality? Any weird noises? etc. Did you measure the lift before and after?
Would love to get your honest thoughts on the kit and whether you would recommend it.
Could you give us your feedback on the Rising Tuning lift kit? Pro's/Cons? Who did your install? Did it impact ride quality? Any weird noises? etc. Did you measure the lift before and after?
Would love to get your honest thoughts on the kit and whether you would recommend it.
I got my spacers from ebay and my indy installed it for me. No issues so far after more than 5, 000 miles of regular use. Been happy with it so far. I actually noticed more floating feel after I changed to the all terrain tires as compared to the top spacers.
Thanks for documenting your build, it looks great!
I'm just wondering if you've had any experiences from your lift kit such as described by Martini where the suspension makes any loud banging sounds? I've read on the Touareg forums conflicting reports. Some people have no issues, others have some. The tracks I go down often leave a wheel hanging in the air, and some of what I've read about spacer kits has me concerned about putting excess stress on the shock. I must admit I don't understand a lot about suspension geometry.
Can I also ask you to explain why you modified the bushing? What was the key reason for this?
And Martini, did you get to the bottom of your banging issues?
Thanks in advance.
It's hard to explain without actual pics but post#13 can give you some idea. When you sandwich the spacer between the top plate (#1) and concave support (#5), you should also fill the space in the center, above shock mount (#4) http://www.autoatlanta.com/porsche-p...section=402-00
Basically I had old shock mount bushings laying around and I cut it to same height as the lift kit spacers, and stuffed them inside the dome of top plate (#1). It will all makes sense when you are installing the lift kit. I highly recommend this since if you skip this then you might get noises under full compression.
Btw this lift kit doesn't put any extra stress on shocks, as it's simply "lifting the body". Even with the lift kit, car doesn't sit higher than cars with air suspension set to max. So long term stress on cv joints and other components should be minimal.
Anything new on this build? Getting the itch to do a dedicated off pavement rig and a 955 V6 just popped up locally on facebook marketplace
Nothing new right now and I don't know if I'll be off roading/camping this year, since everything (off road parks/trails, campsites, national or state parks) is closed until further notice.
Bought a used OEM rear battery box, which came with an Bosch isolator. Also, got few other bits and pieces like OEM ground cable, 2/0 gauge cables, battery switch and whatnot for the rear battery.
Rear battery size is H8.
My car had H8 battery installed, so I simply moved the old H8 battery from under the driver's seat to the rear, then put a new H9 battery under driver's seat.
Just got a free AGM H8 battery and don't know what to do with it. Cayenne has a subwoofer so no dual battery for me. I just installed a dual battery tray in my truck but it takes a Group 78. My '88 911 takes an H8 but I just put another new lightweight tiny battery in it. My Airstream probably needs new batteries but they are Group 24. Dammit.
My wife's best friend lives with us and she has a '12 Touareg that will probably need it, with our luck.
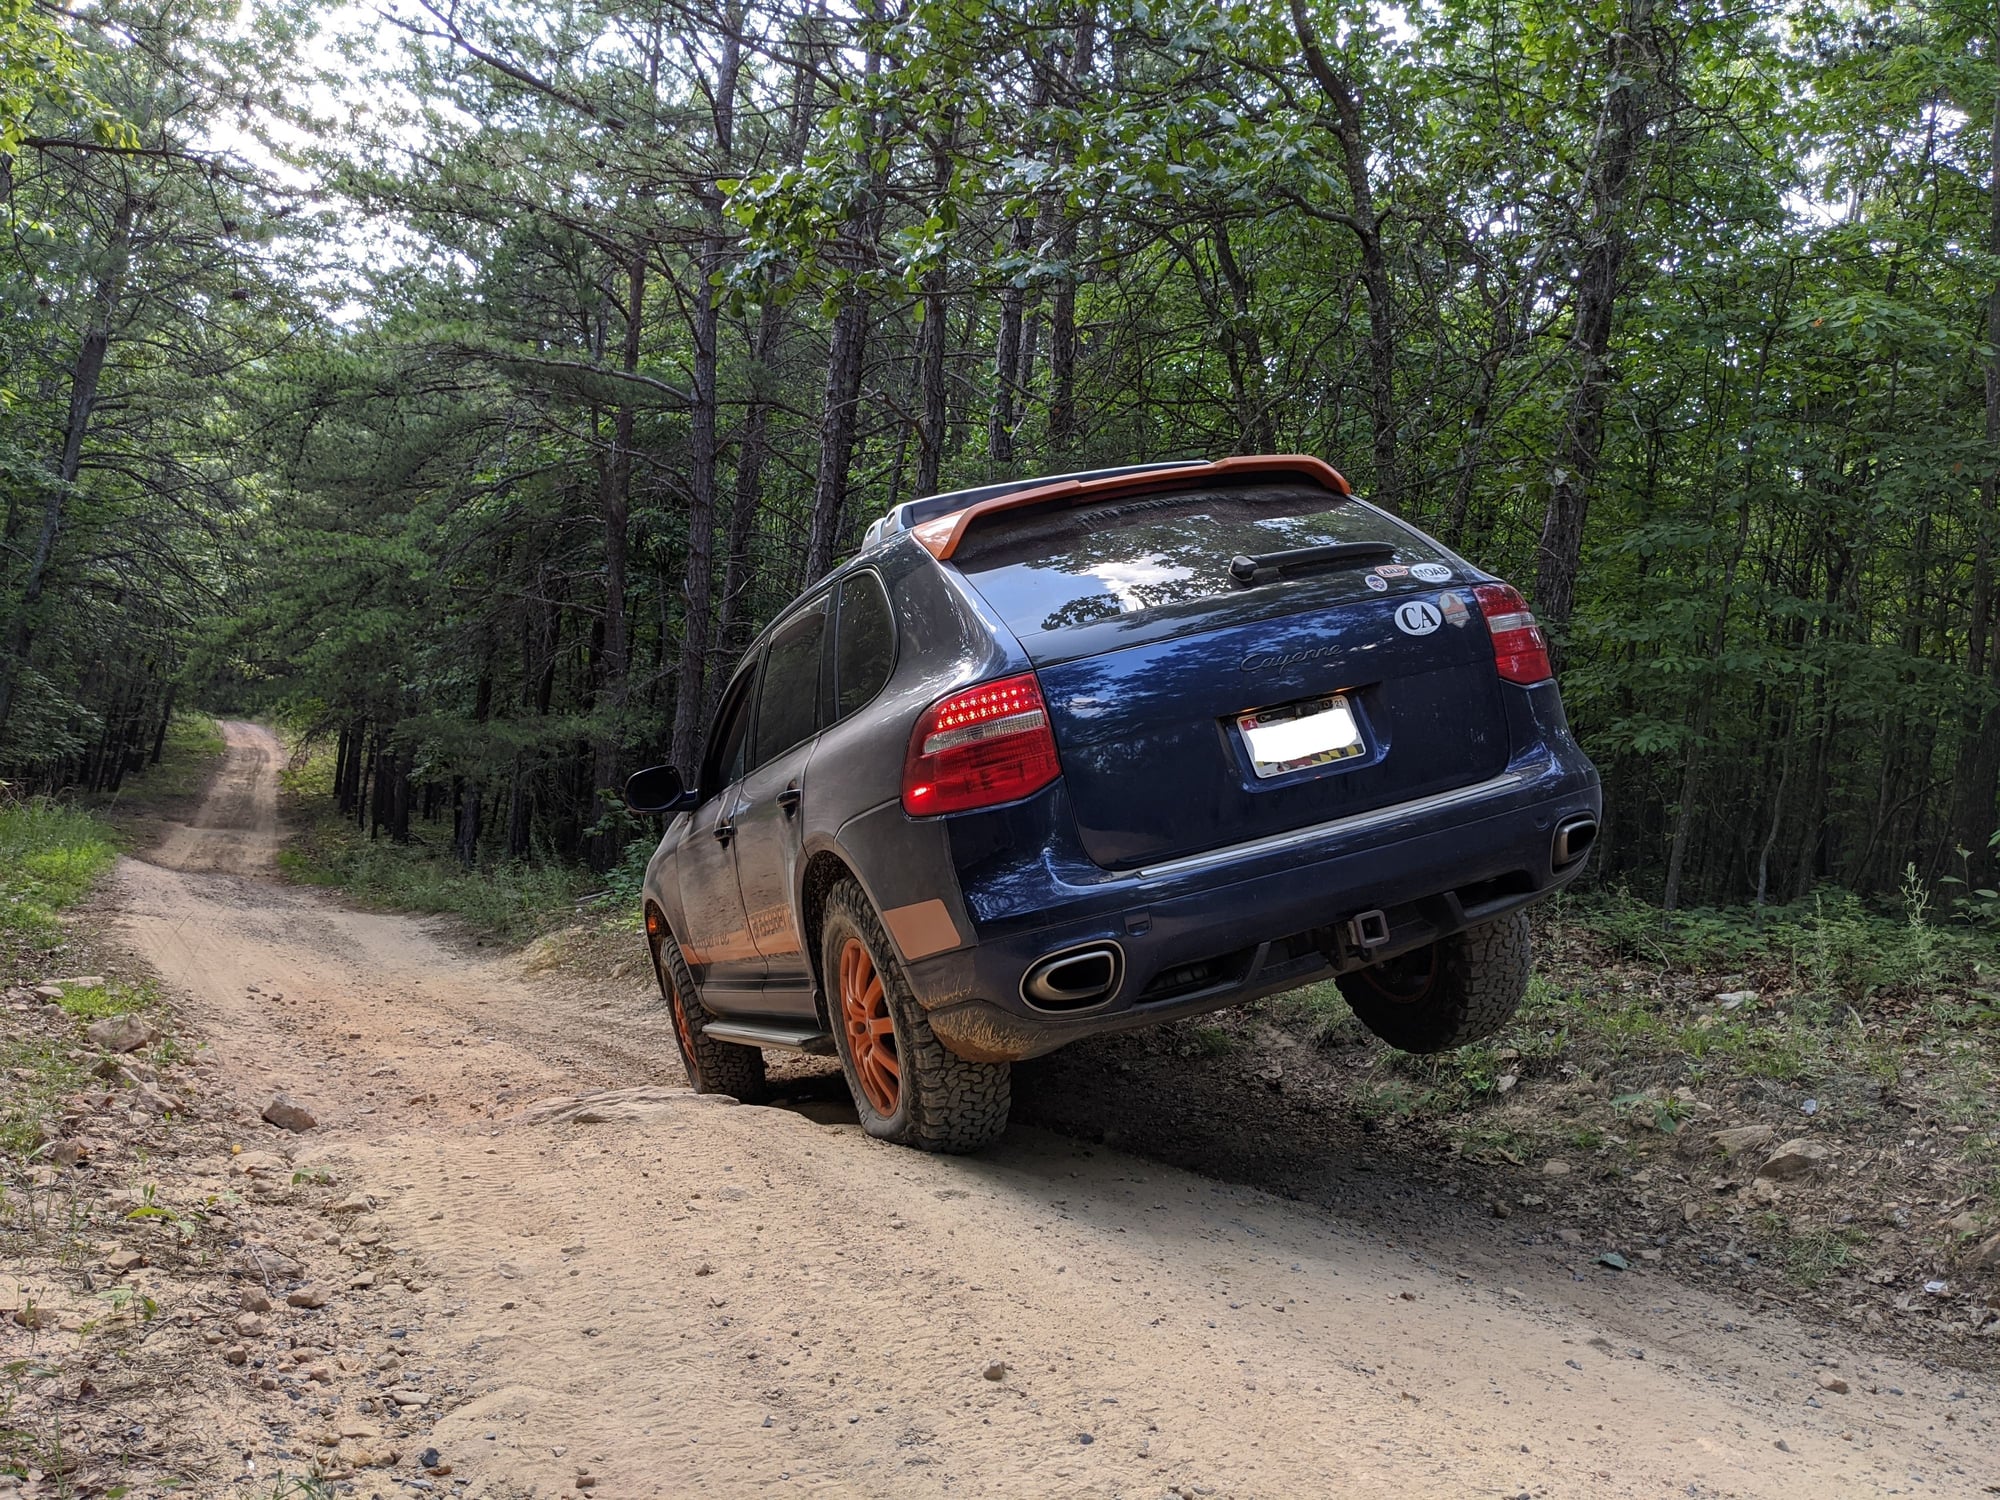
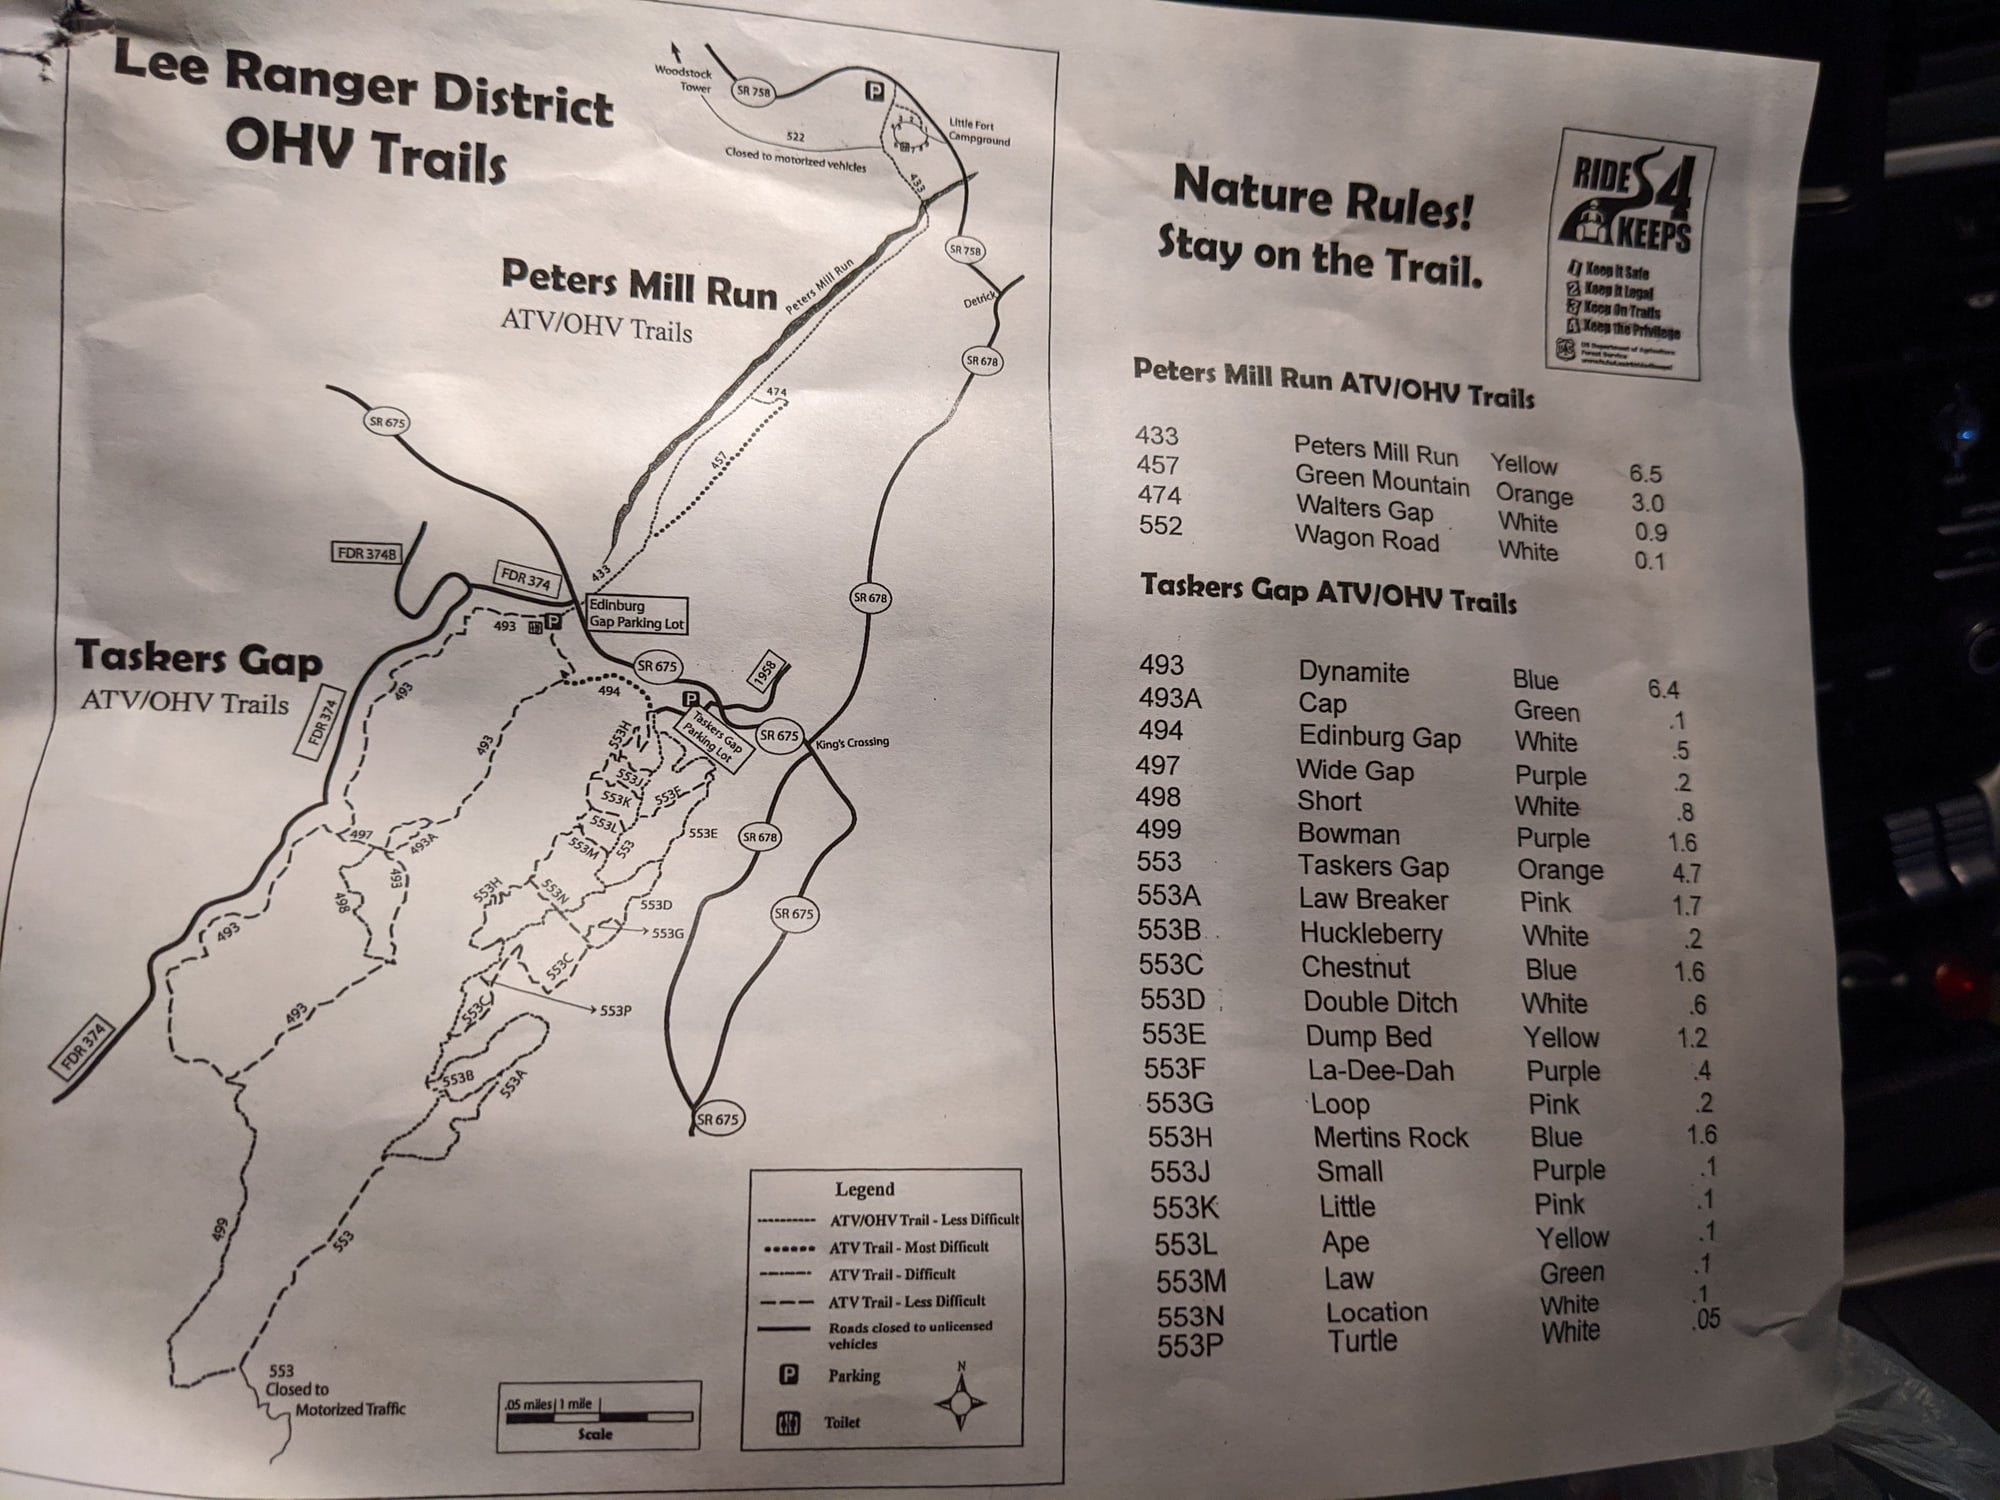
This weekend I did some off-road driving for the first time since last year. It is called Peters Mill Run/Taskers Gap OHV Trail Complex in VA.
Packed some lunch and just it case, an extra spare wheel in the trunk too. You need to buy $5 day use permit/wristband at one of the stores. It was a nice way to spend a day outdoors exploring, I probably will make it an overnight camping trip next time since it's a long drive from my home (2.5-3hrs) .
Btw I was following a MB G55 and it lost one of its mufflers at really rocky section of the Peters Mill Run trail.
I wouldn't call it scenic since the trail goes thru deep forest and not that many scenic overlooks, but I could be a bit unfair after doing epic trails in the Rocky Mountains. Overall it was definitely worth checking out since it's not too far from me. Roads leading up to the trail are pretty nice as well.
I used Retractable ratchet straps to hold the spare tire. Then I usually keep it covered with cheap 72x80 Mover's blanket from harbor freight
Peters Mill Run trailhead, north entrance (Near Little Fort Campground) . Aired down to 20 PSI all around, and ate some lunch before starting the Peters Mill Run trail. It's about 8 miles of somewhat easy but rocky trail, takes about 2.5 hours.
You can see a muffler that came off the silver G55 Merc on the ground. Maybe it was already rusty before and it was just a coincidence that it fell off?
One of only few scenic overlook spots in the trail
Still need to make and install protection plate for the right side of the fuel tank

 01-23-2020, 07:48 PM