When you click on links to various merchants on this site and make a purchase, this can result in this site earning a commission. Affiliate programs and affiliations include, but are not limited to, the eBay Partner Network.
Top notch build for sure, super cool! In my opinion, the TransSyberia is the pinnacle of the Cayenne models so it's always cool to see replica builds. Thanks for sharing!
thanks sweetskillsrk, just to confirm, my Cayenne is a real TransSyberia and not a replica, but I do agree with you on tribute builds
Oh, this is the real deal? I did not get that from your post, sorry. I just reread your post closer and I now see that you mentioned you owned a few..., my apologies. Well, that just makes it all the more awesome, a true TransSyberia beefed up! Monster winch too, I'm sure it could easily handle just about any spot you might find yourself.
Finished the wiring on the roof rack and surprisingly, everything worked. The pre wire was done six months ago, so it’s nice To have things work the first time.
Waiting on center mounts and a few other parts and then the rack will be installed for the last time.
Picked up the modified center supports for roof rack and installed.
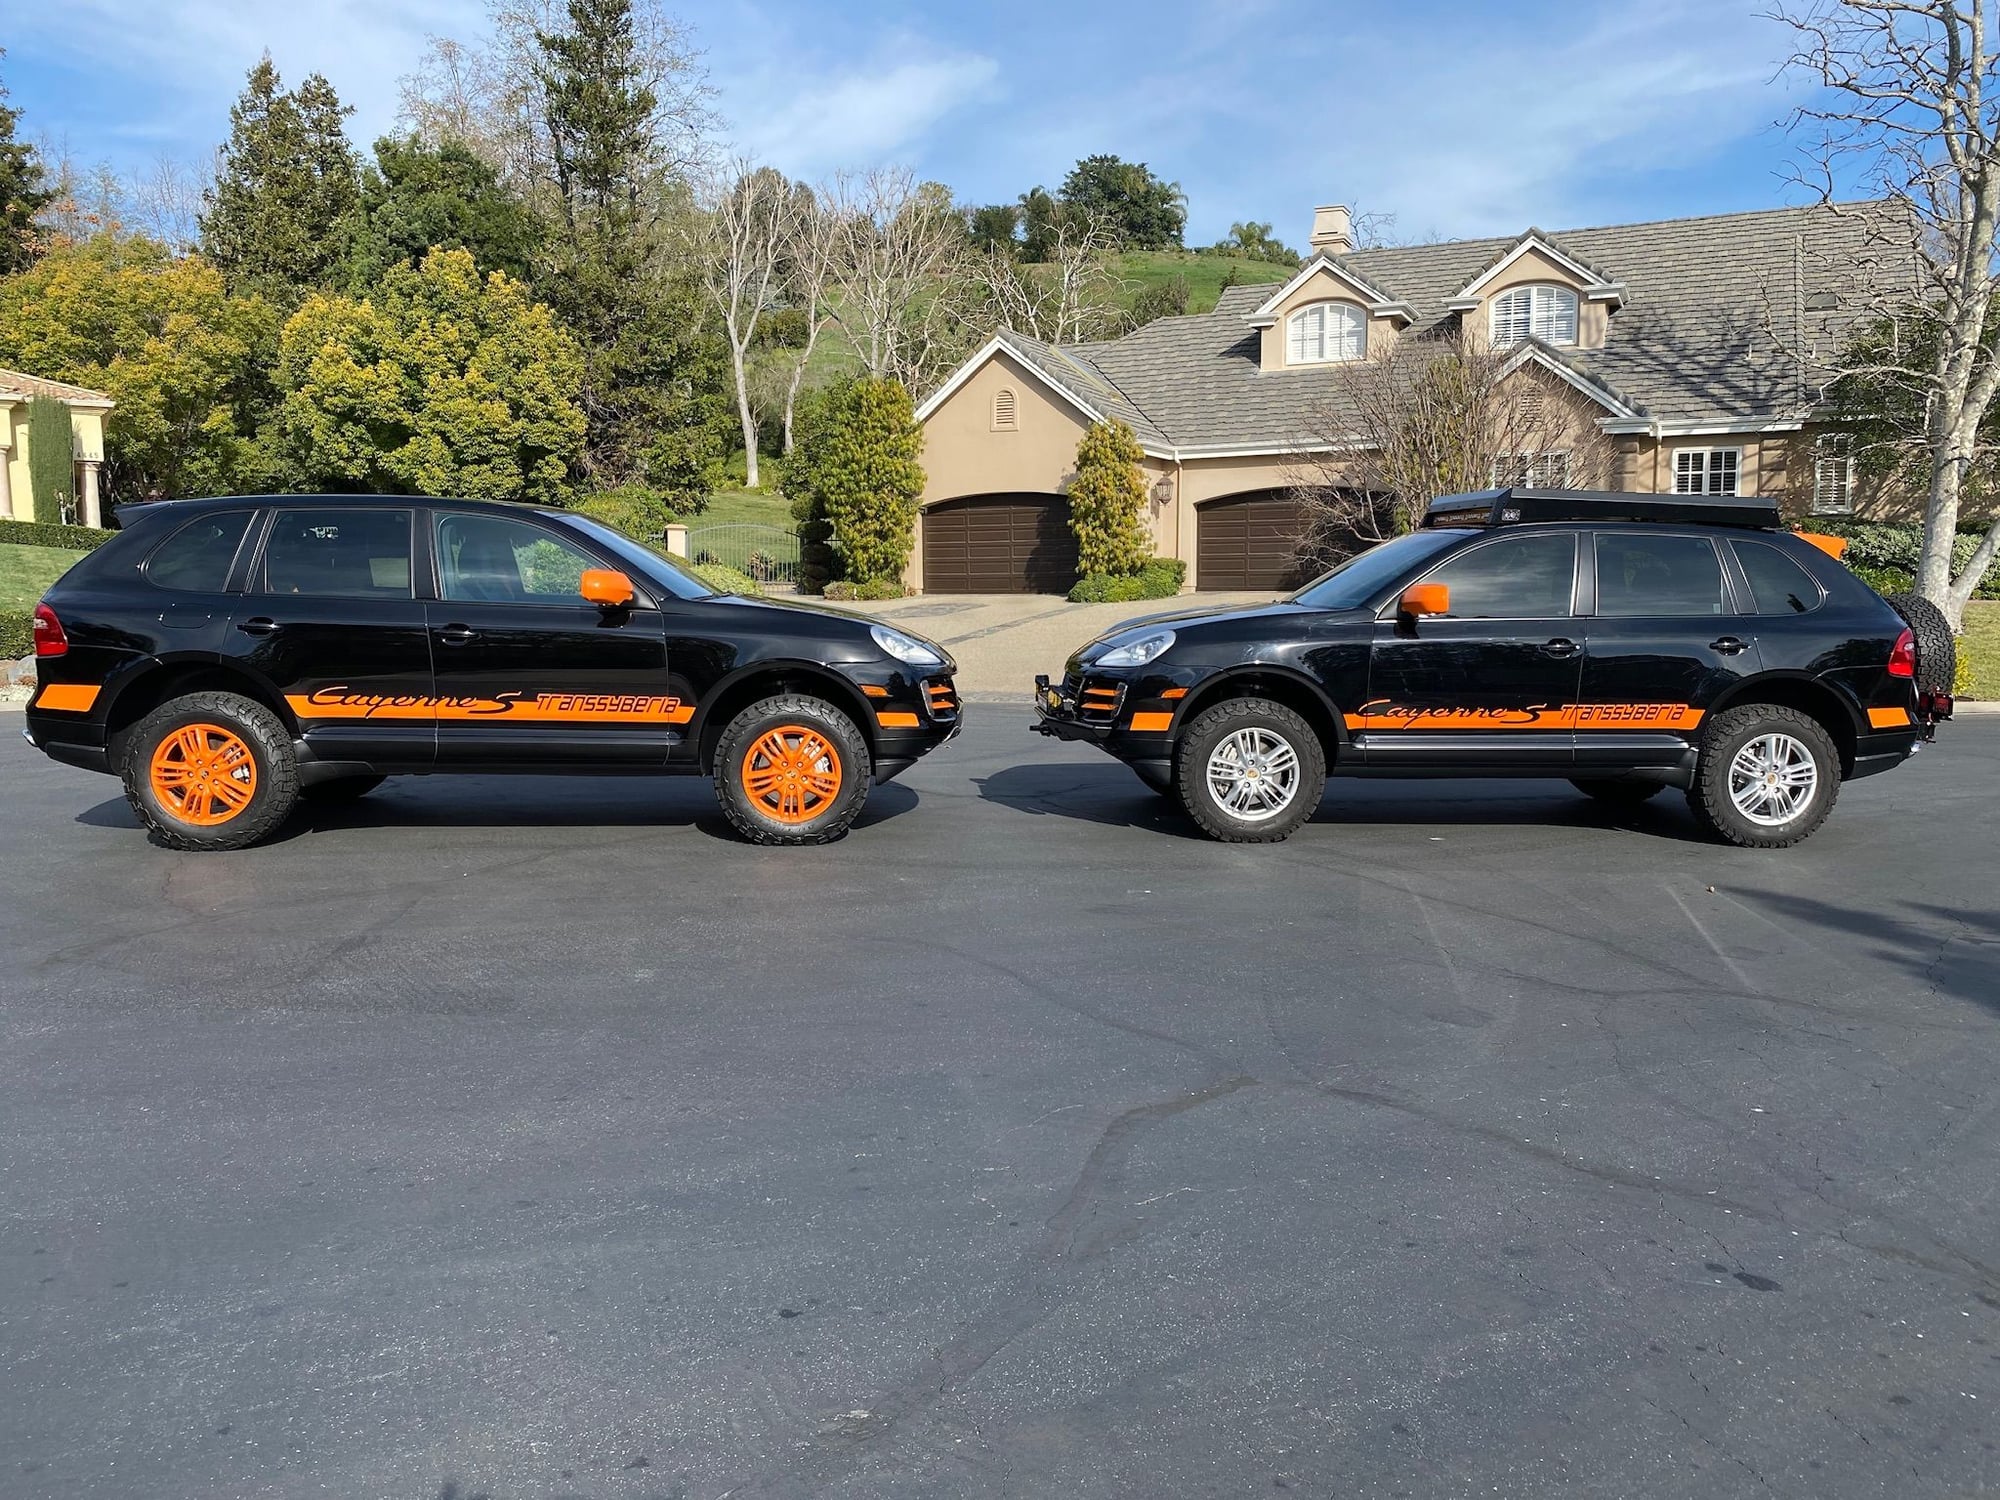
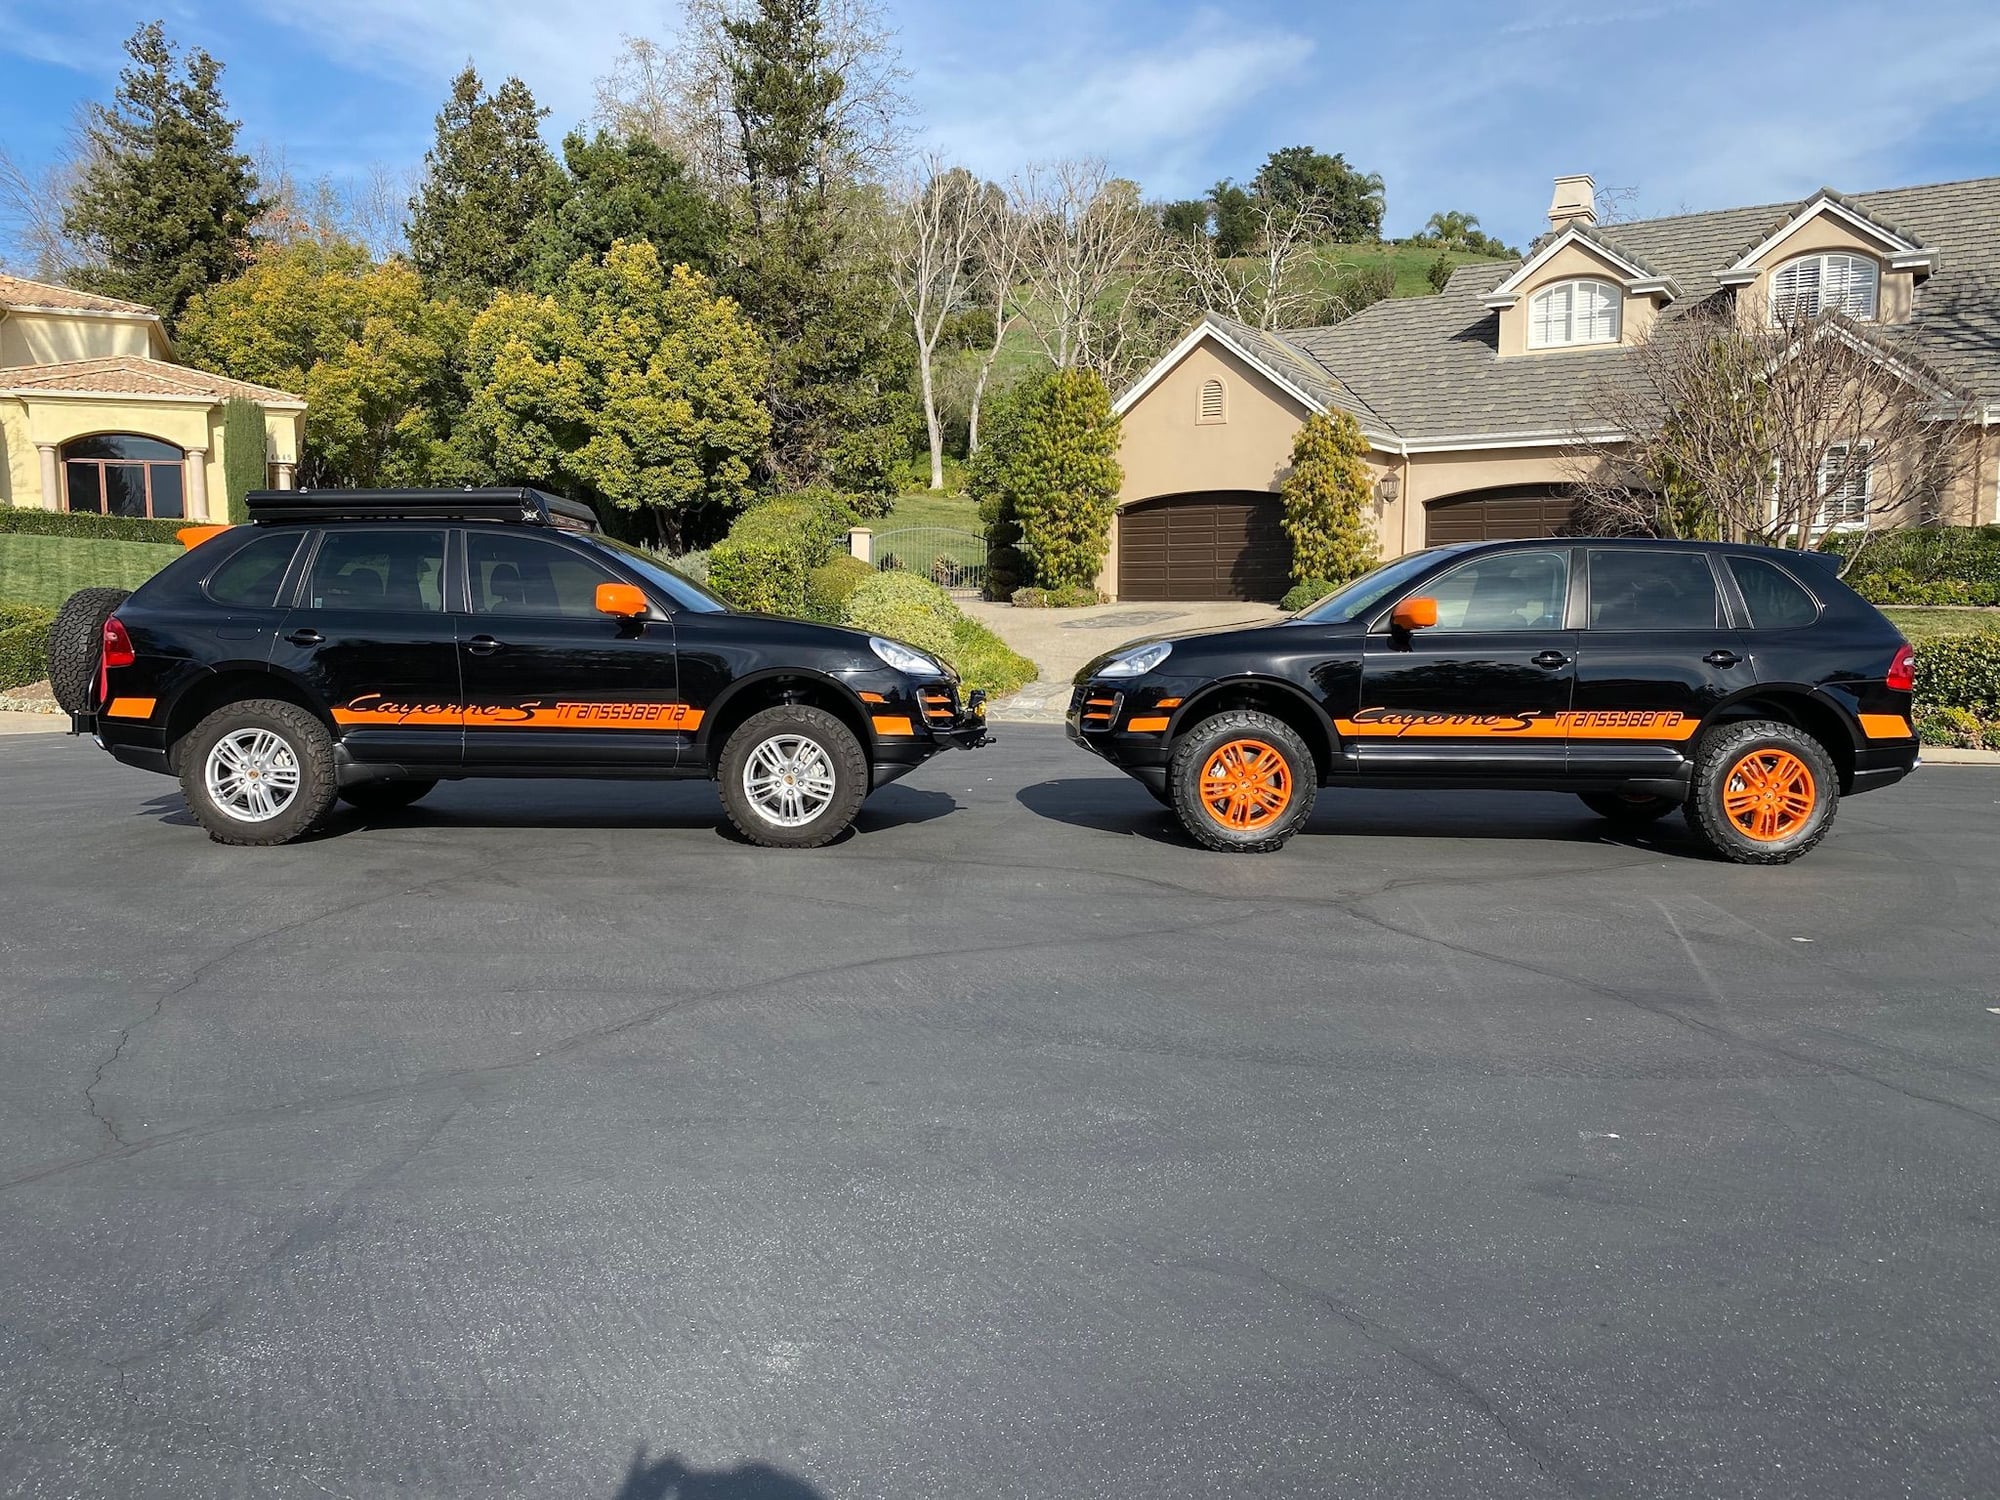
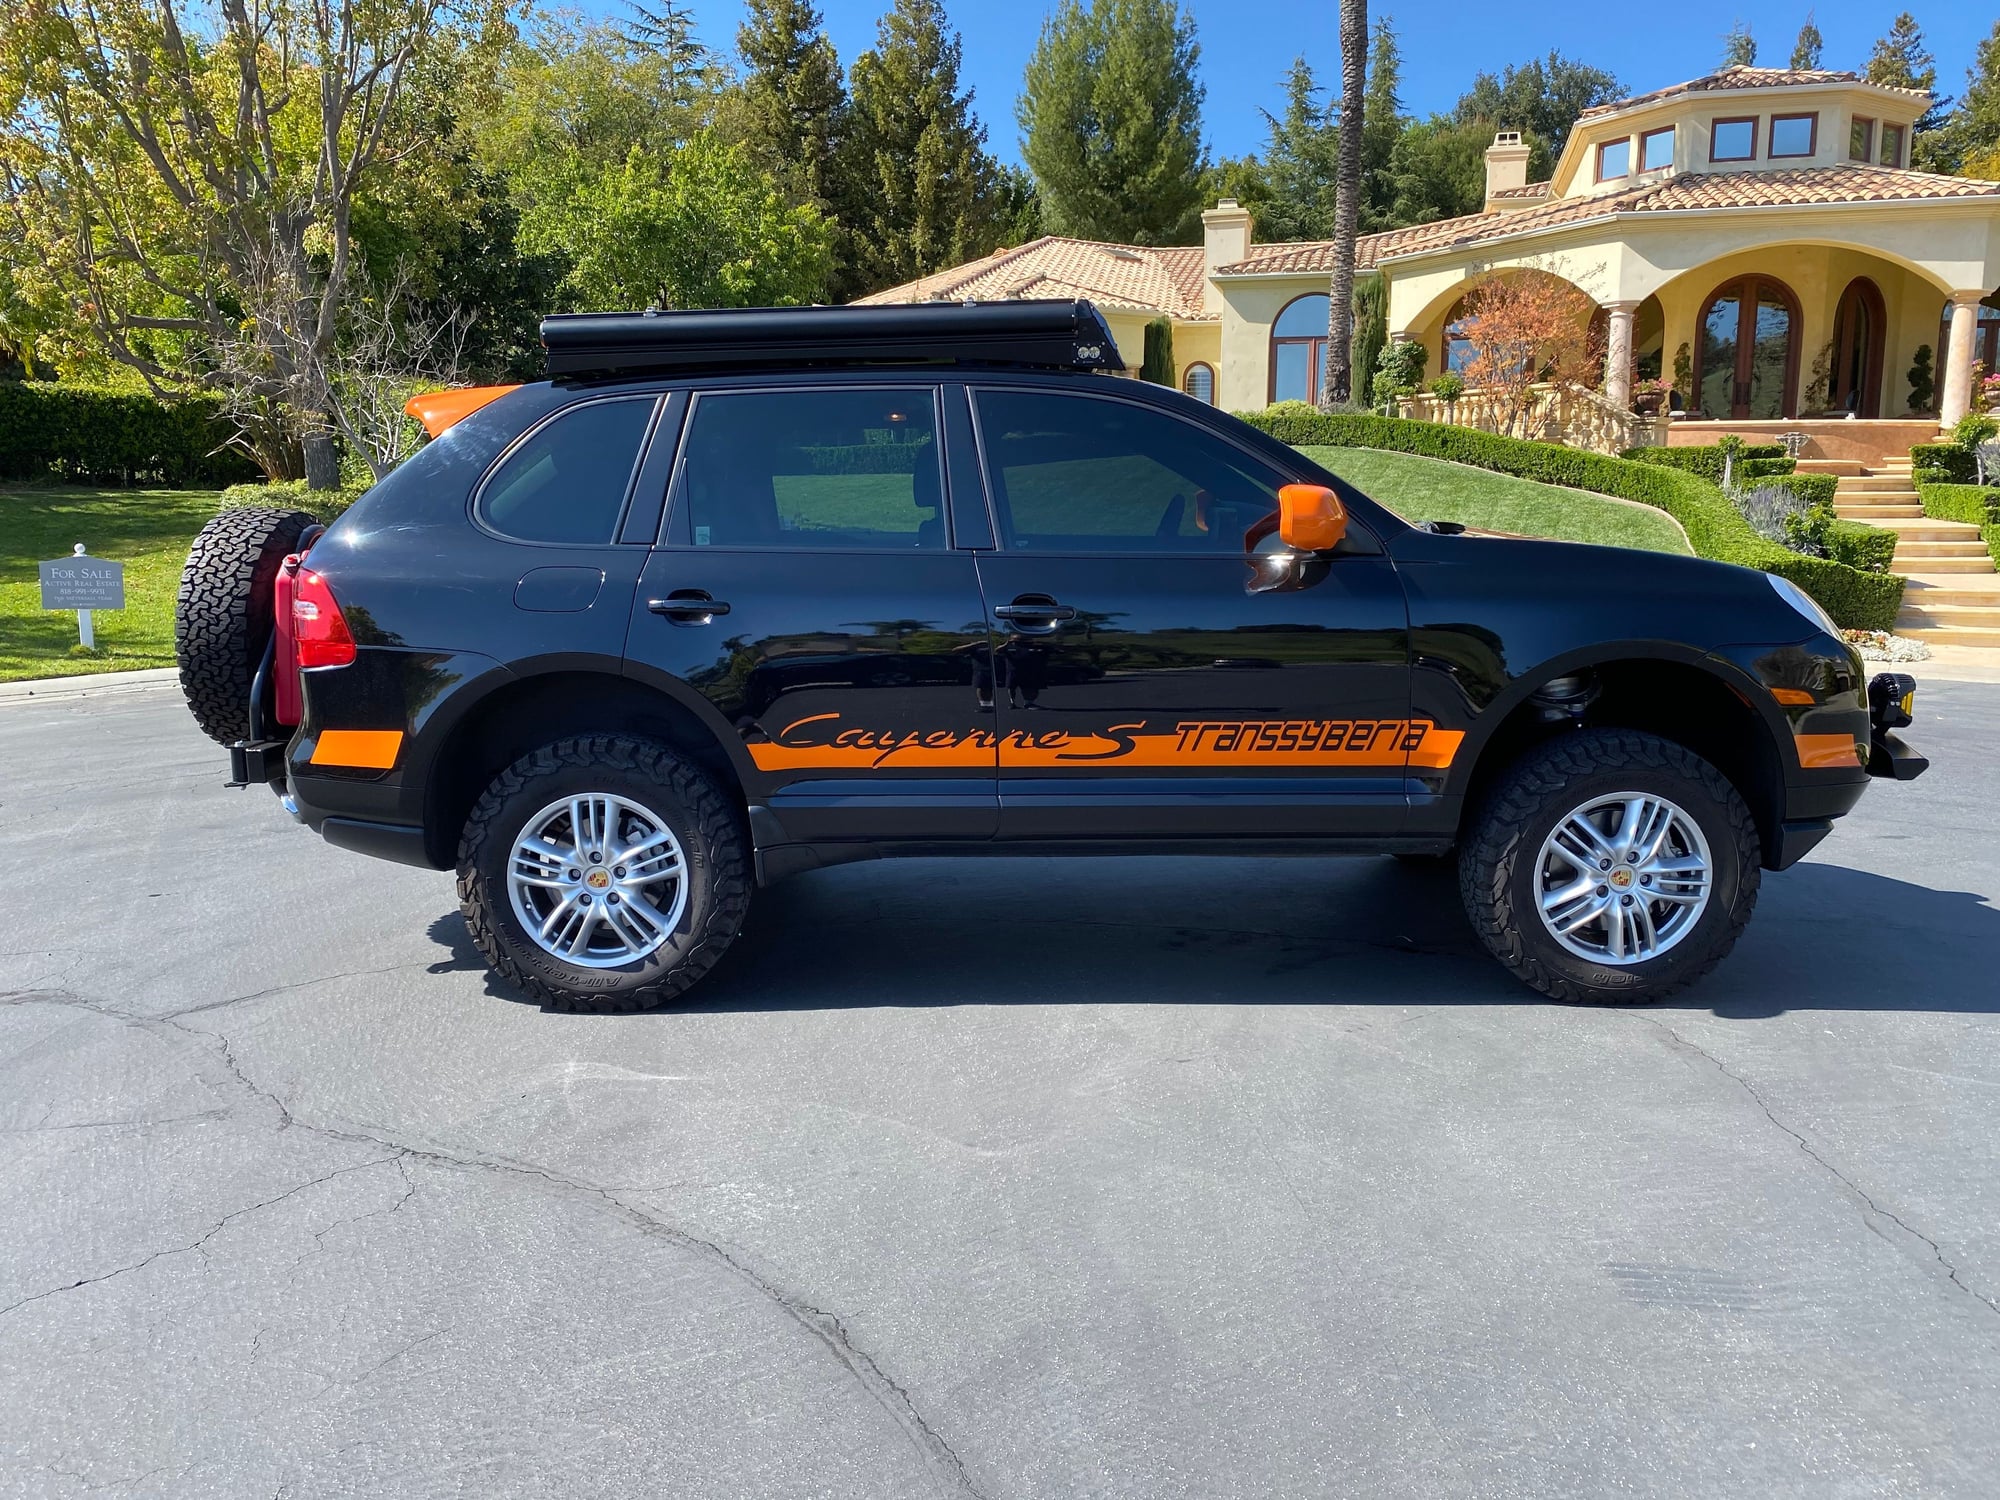
I took some side by side pictures of my stock TransSyberia and the modified. I think I will be changing the color of the wheels to the orange in the near future.
Went over to a friends house for “Happy Hour” and we decided to open up the awning....... two man job. Setup, in under 2 minutes, it will provide enough shade for a couple chairs.
I have been researching the options on the ride height. The PASM active air suspension works great, but limits the ride height based on speed. The max height is only good for 19 mph, next height is good for 50 mph and normal setting is good for around 80 mph. I like the look of the car at the second to highest setting and the options I found where to to change the height setting parameters in the computer, which "no" Porsche dealer will do.....2. shorten the linage from the sensor to the suspension arm, tricking the system into inflating the bags more and.....3. Option is the one I went with and made by a PRG, who is a member on Rennlist. The PRG system is by far the best option to gain 2" in ride height across the spectrum of ride heights. With the other two options pointed out, the bags are being inflated more, which makes the ride a bit more stiff, where as the PRG system gains the 2" lift with brackets and spacers, while allowing the bags to more or less stay at the same pressure as intended for each height setting. There are new sensor links that make it so you can fine tune the height.
Below are pictures and some notes on install. The kit is very well designed and the parts are well made and Greg at PRG is a pleasure to speak with and is very knowledgeable. What I really like about this, is the kit can be removed and put back to stock in a couple hours and anyone with some basic wrenching can install.
All in All....very happy with the outcome of the 2" lift. The install is very straight forward, the car drivers as nice as prior and I achieved what I was looking for.
Remove sway bar link bottom bolt
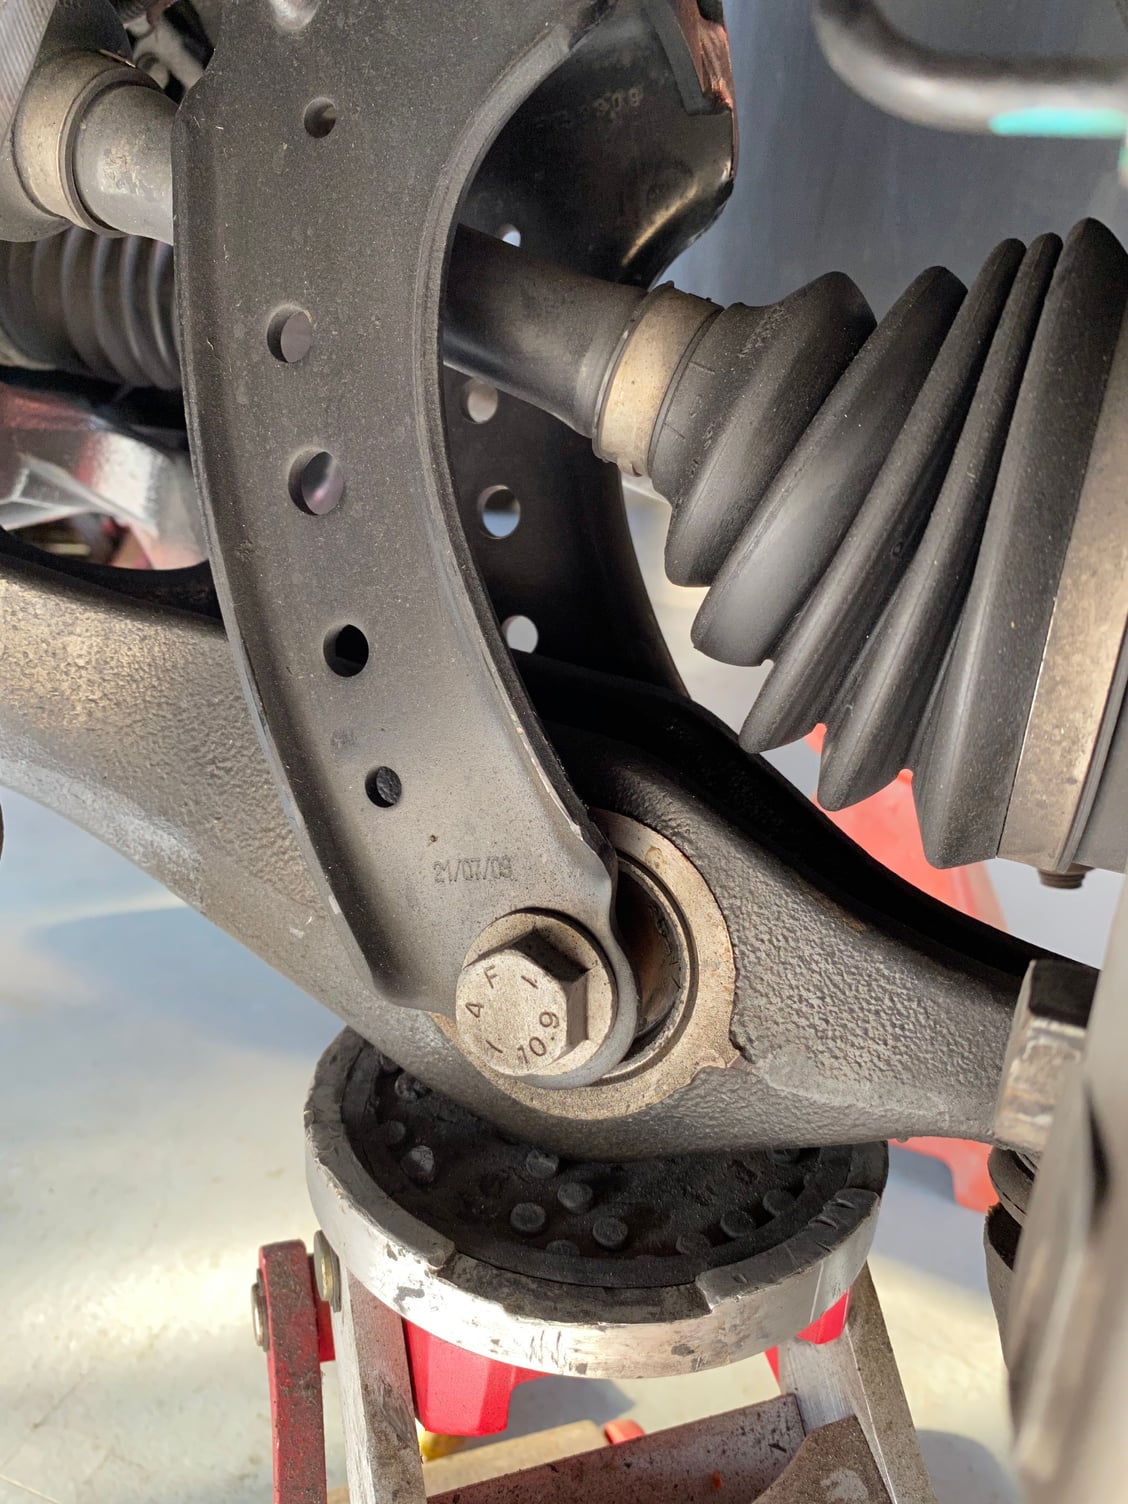
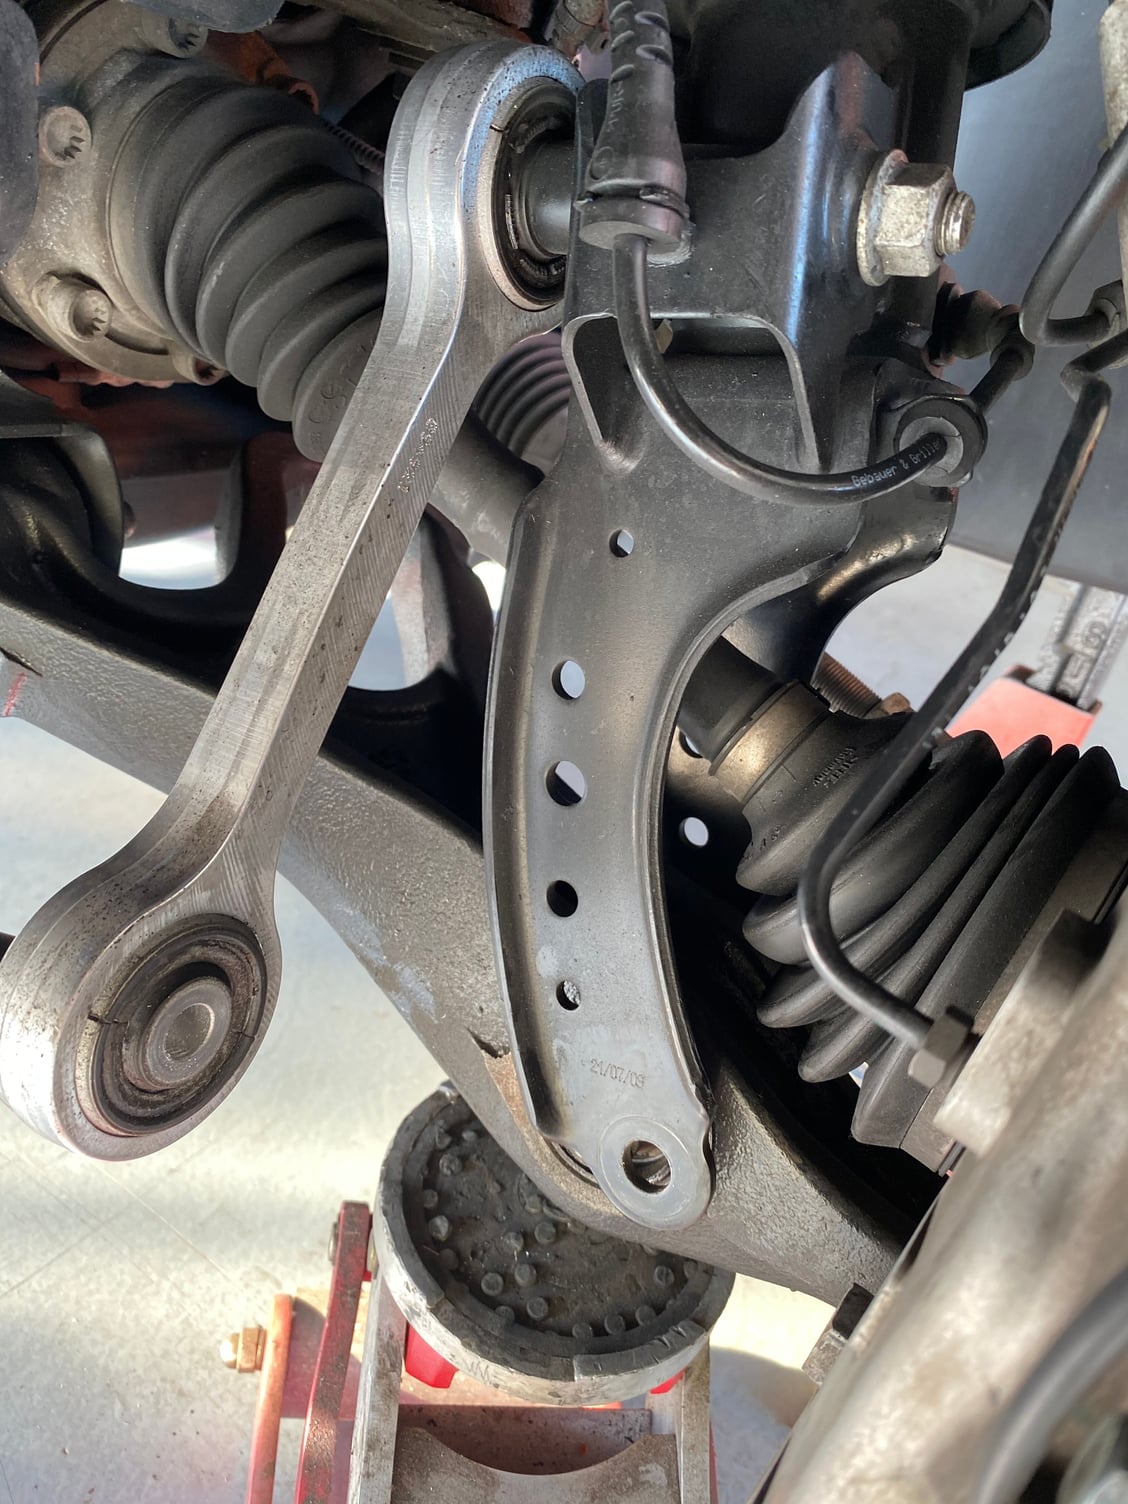
Remove bottom Strut bolt
Install brackets on each side of strut....the bolt heads are on the inside and the lock nuts are out. The center bolt is larger than the outer. Don't tighten bolts completely, it will allow for better alignment of re-installing the bottom strut bolt. I made the mistake of not lowering the ride height, less air in the bags and found I could not push up on the strut and down on the lower arm enough to get the bolt in with the added length, so I took the upper ball joint off and it allowed the lower arm to drop down far enough to get the new lower bolt in.....it was quite easy. Once I got the strut bolted in and upper arm back on, I went back and tighten the bolts on the strut brackets. I re-attached the sway bar link and then went it did the same process to the other side.
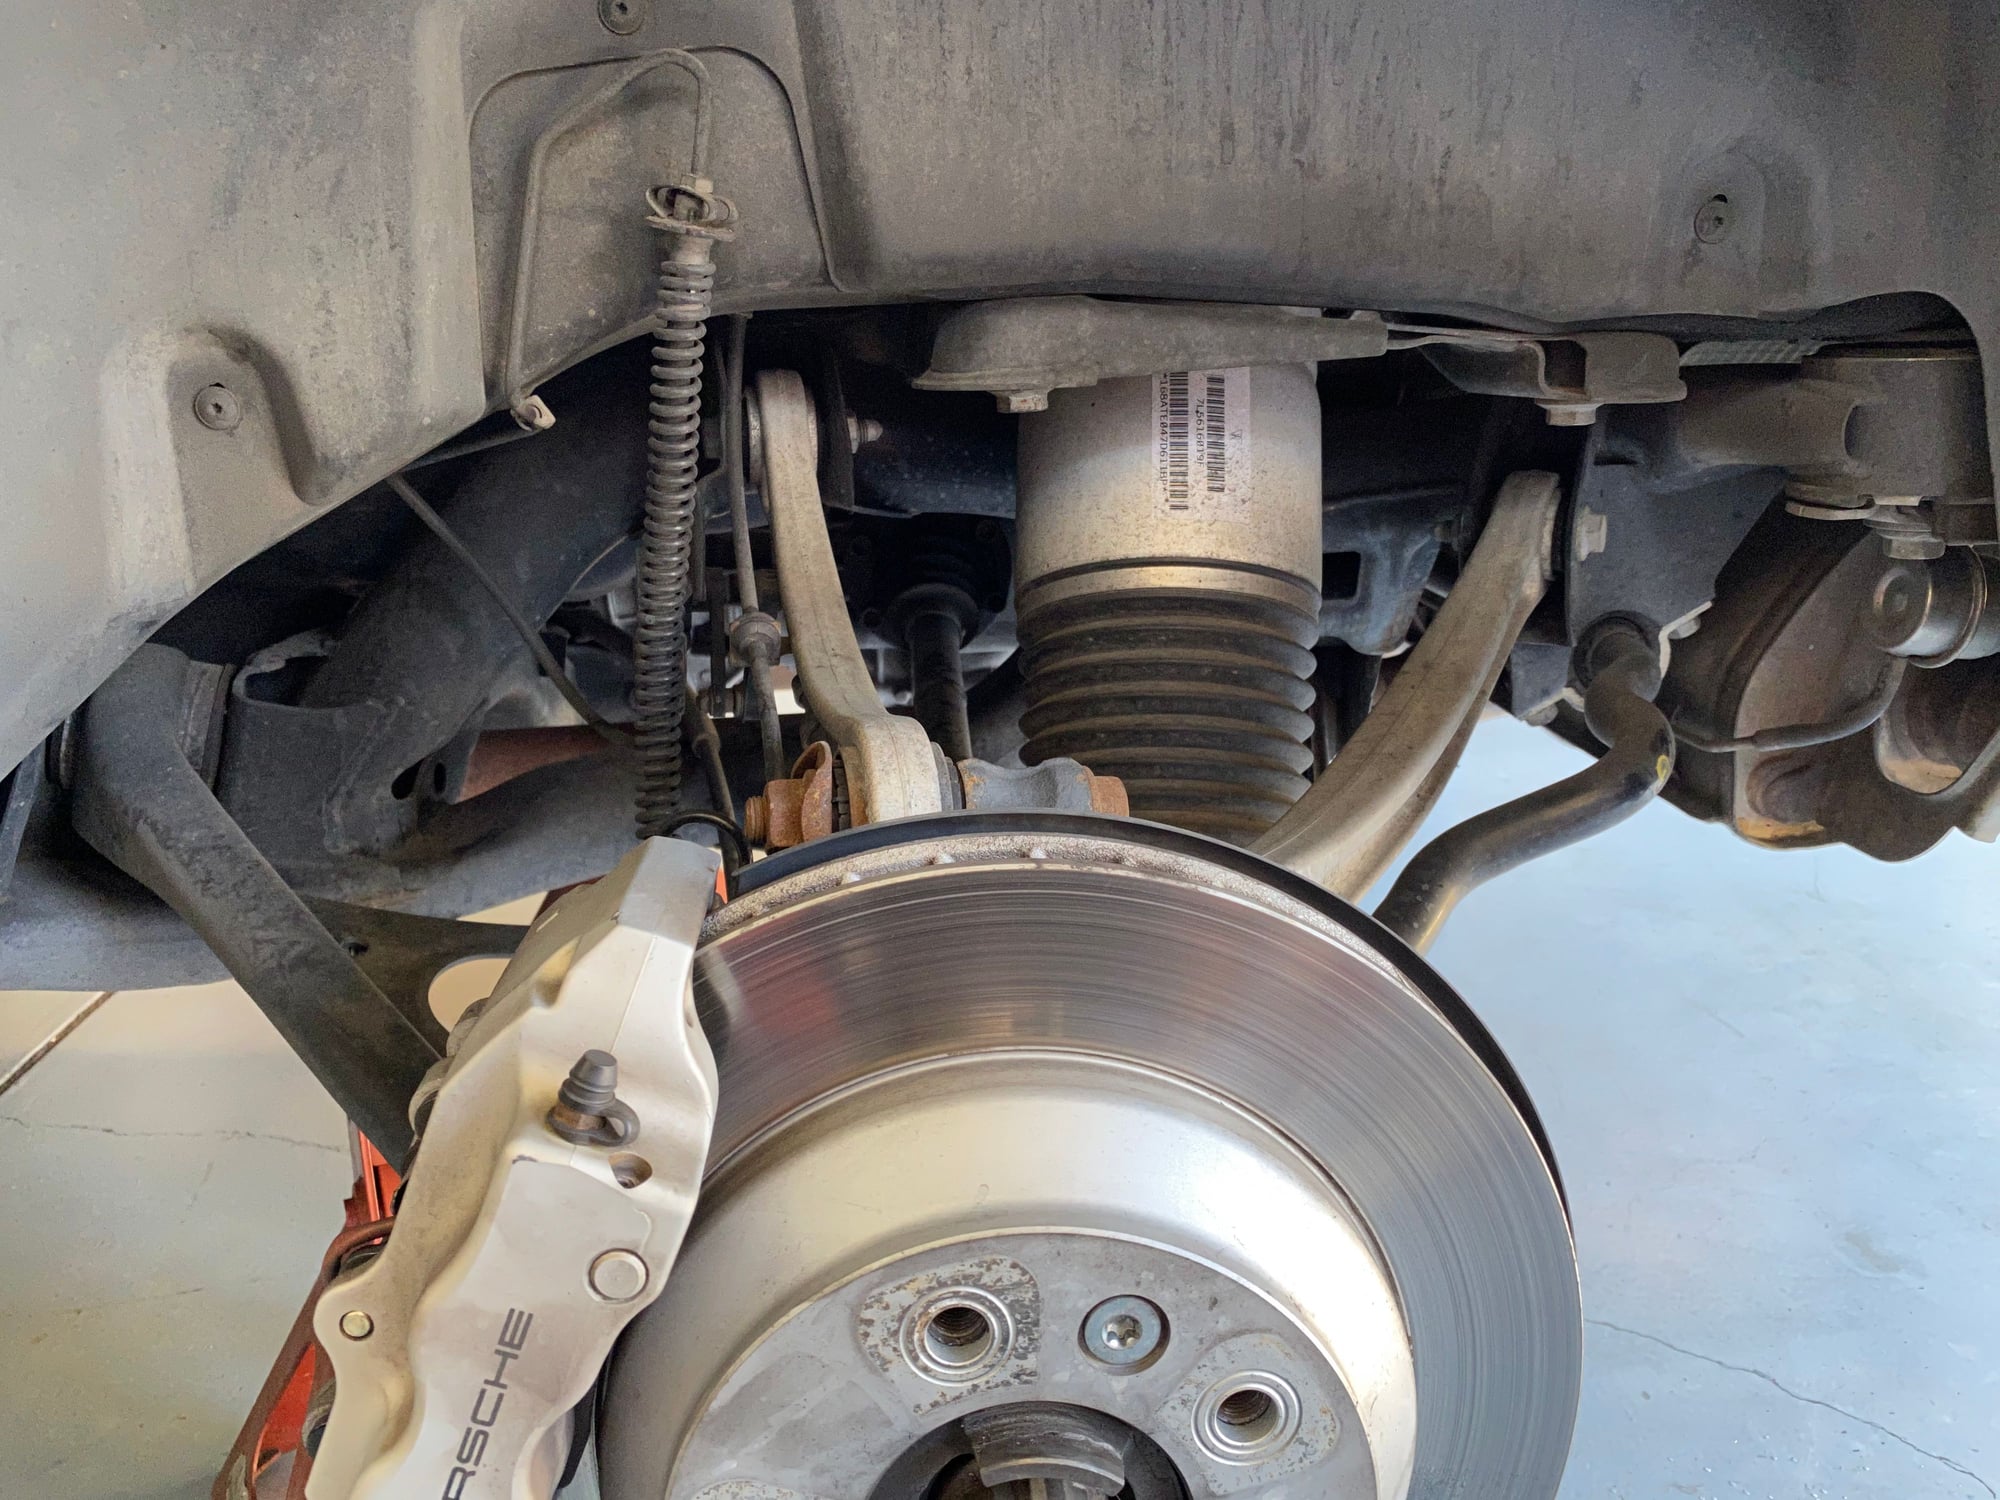
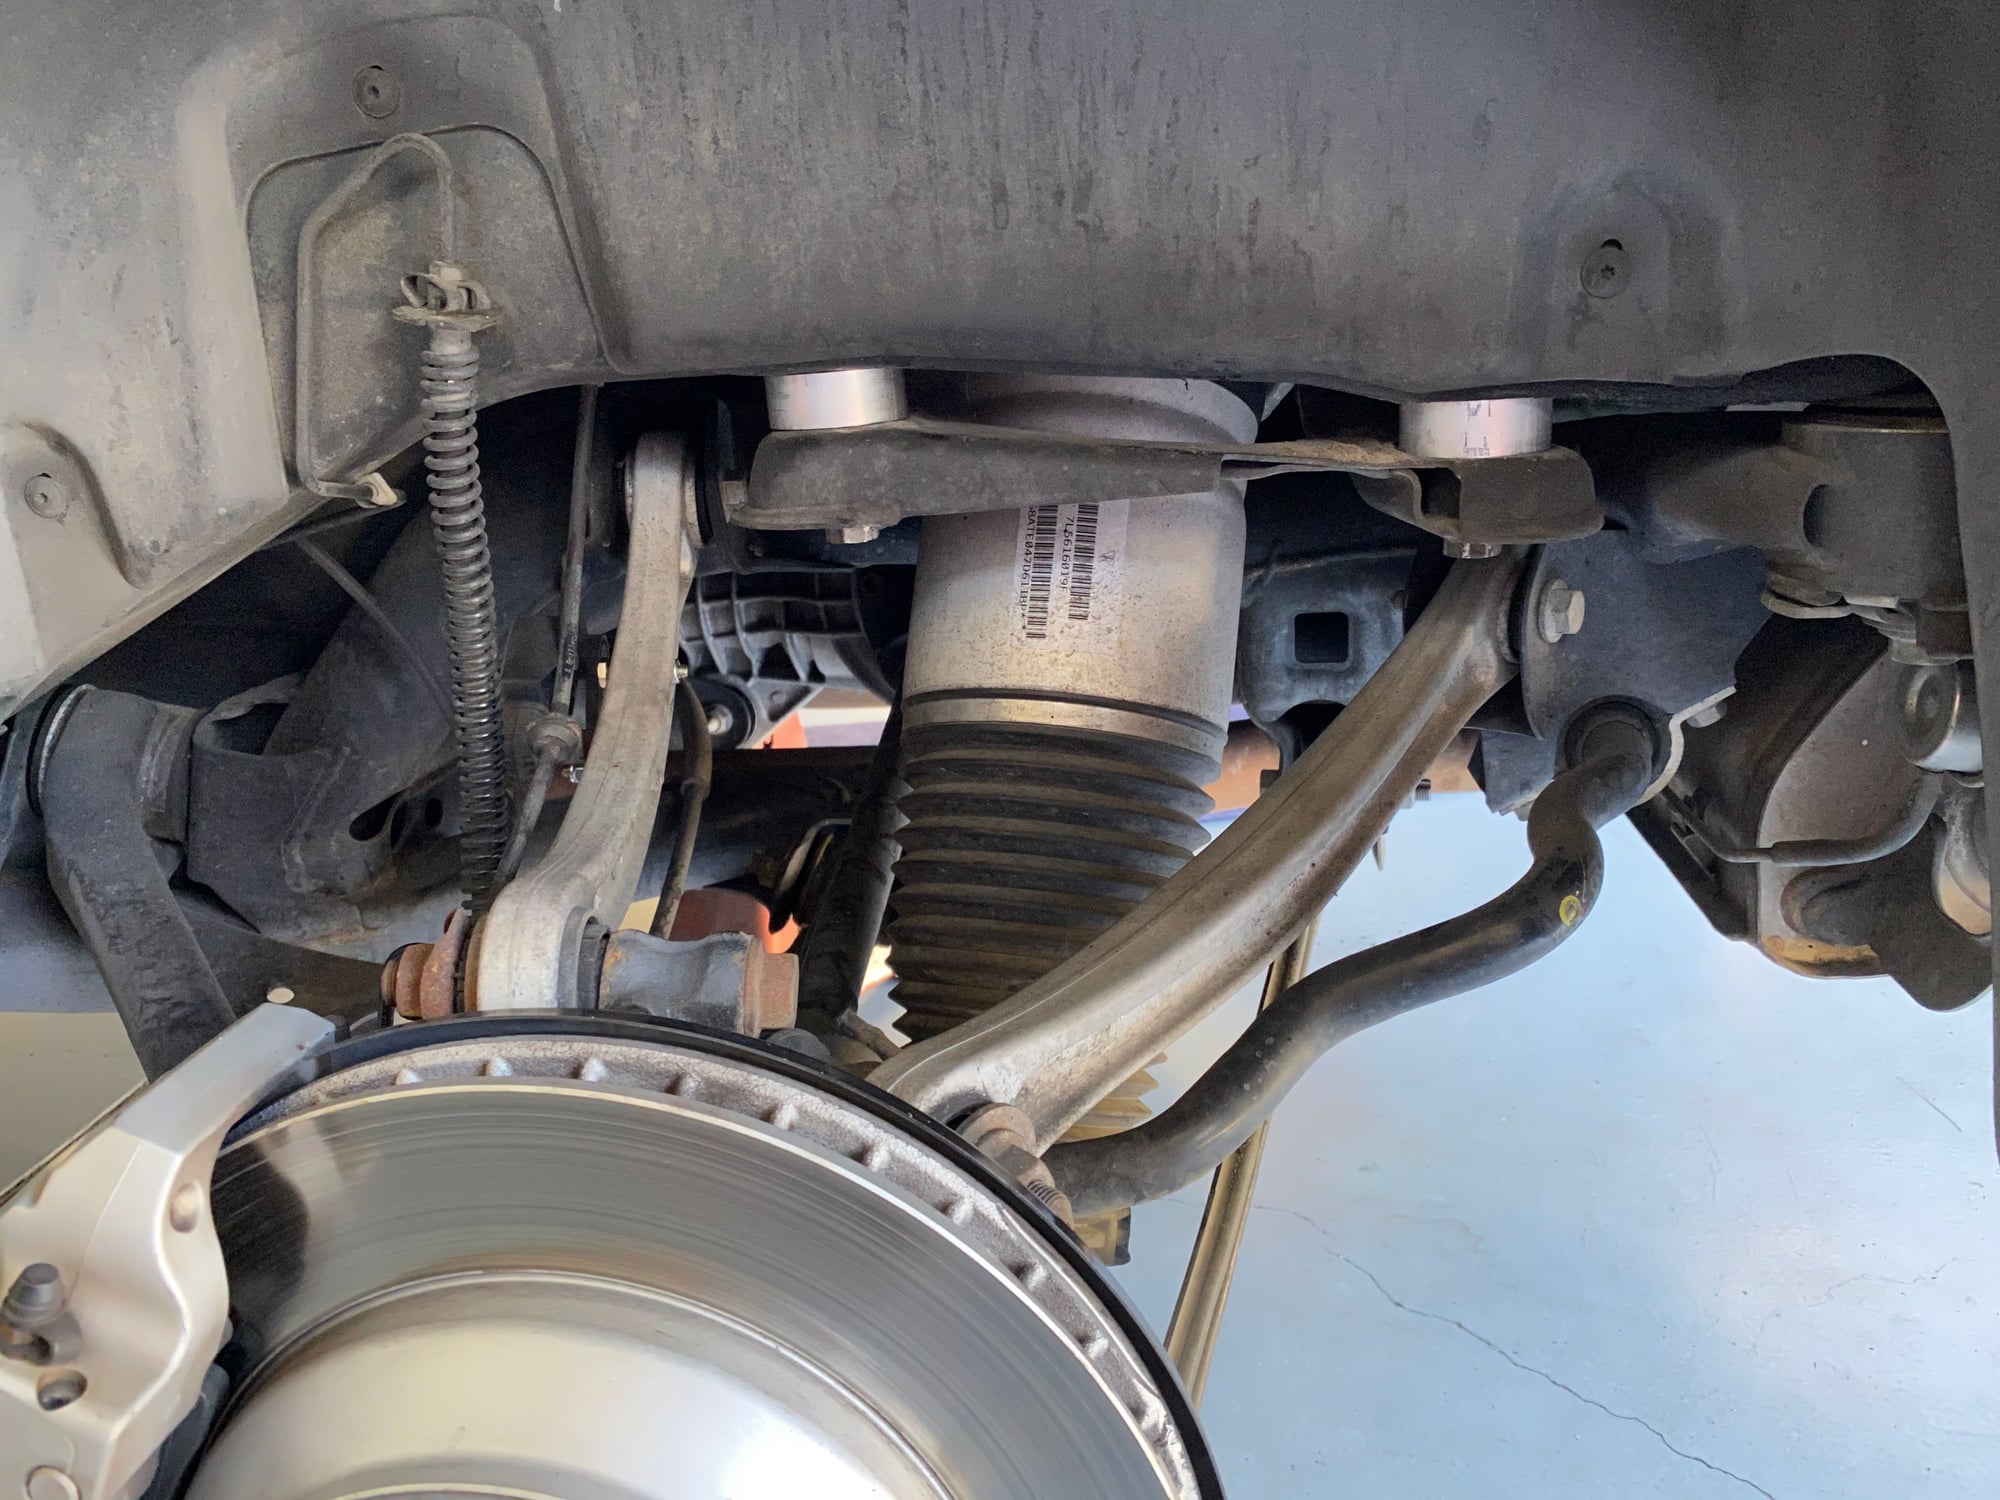
Rear spacer and links install. There are (2) bolts on the bottom of the frame rail near the outer edge. This is part of the shock mount and the spacers will be installed between the frame rail and the mount.
Take the bolts out and get a couple pry- bars and separate the mount from the frame and install the aluminum spacers. I did one side at a time and then used a tapered pry bar to go up through the hole in the mount to align the spacer and the threaded hole ion the frame. Once aligned, re-install same bolts that came out.....they are plenty long enough.
Rear sensor links.
You will need a thin 10mm wrench to hold the bolt from spinning, when removing from car.....be careful not to put too much torque on the plastic arm off the sensor. Remove link from both sensor and arm.
Greg at PRG said to measure the stock link and shorten the new link a 1/4" to start with, which will make the strut raise slightly.......In my case, the 1/4" was right on the money and I have the same height measuring from top of wheel well to ground.
Greg mentions that you might have to open up the hole to 1/4" on the plastic arm. I did not have to do anything. Install the new link and repeat on the other side.

 02-13-2020, 11:27 AM