When you click on links to various merchants on this site and make a purchase, this can result in this site earning a commission. Affiliate programs and affiliations include, but are not limited to, the eBay Partner Network.
I’m starting this as a log of my experience with buying and owning my ‘09 Turbo S. In another forum they had a sub for something similar so as not to mess with general; maybe mods might want to do something like that here if there is enough interest.
There is a great DIY here on rennlist.
(add link later)
Worked great. Personally I could have used some info on choosing the right battery. I ended up at autozone with an H9 AGM for $220 and a 3 year warranty. (Old one was an H8 non-AGM, IIRC.)
took me 33 min including fetching tools and cleaning up.
Oddly, I got a PSM error on startup (that was not there prior, but still a new to me car). Tool error message said something to do with voltage so I hoped it would just be related to unplugging the battery. Tried clearing it with a Foxwell, and a few start/stops… no joy. So I drove it around the block, turned PSM off, then back on, and it cleared.
the damndest thing… the idiot who previously wrenched this thing did not give a F… the trim pieces for the back of the driver seat rails are gone. The trim pieces covering the wires and bolts in front of the seat are gone. The trim piece on the driver left seat rail is just sitting there because all the tabs are gone. The 2nd clamp in the back that grips the battery was just loose in the bottom of the battery tray… next to the VENT HOSE which was left unceremoniously under the old battery to be squished. So that battery was venting to the cabin… Re-attached both on reassembly and no further issues other than the PSM error listed above.
I’m facing the daunting task of all of these fluid changes and various refresh and maintenance items around the 80/90K mark.
Today I tried to fix the headlights by dropping by a local dealer. They must have been in a good mood, he offered to try to clear the code and update the headlight modules and assign them (?) to the VIN, FOR FREE.
unfortunately, no joy.
im going to try to have and independent shop here in SLC attend to it, and see if they can win.
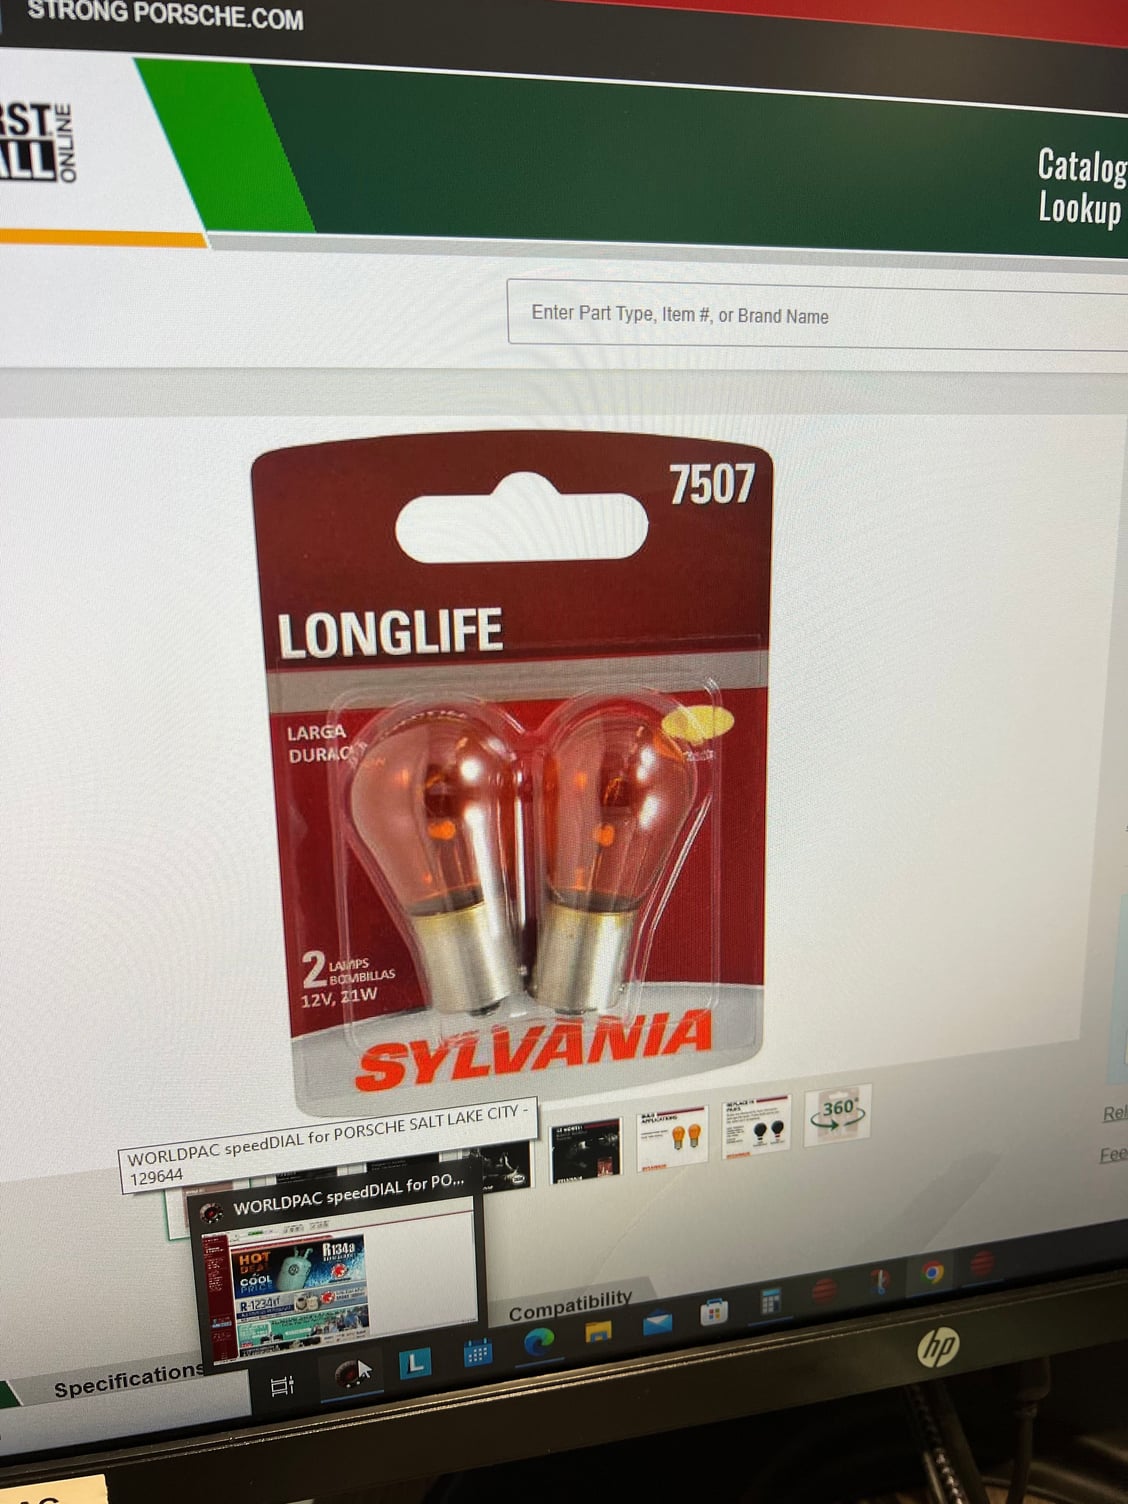
parts also helped me find the genetic for an 975 2009 front turn signal bulb. Sylvania 7507 if you are curious.
Ordered $3400 worth of parts and stuff on FCP Euro
I ordered $3400 worth of maintenance parts and stuff on FCP Euro
OK, I probably should have negotiated lower when I bought it. $2,400 for four corners’ worth of brakes? (Please tell me if you find a better source!?)
About $1k worth of fluids, wipers, filters, more fluids, etc. (brakes, brake fluid, coolant, oil, diffs, transfer case, transmission, pdcc/power steering (the same, I think), cabin and engine air filters, wipers, hood strut… I am sure I’m missing something.
FCP were so helpful, helping me navigate all the various service kits and such. I think I’ll DIY most of this with ramps and a creeper, but I’m sure I’ll eventually find one fluid change I’d rather just pay to have done. 😢
I feel so good about using them with the free lifetime replacement. Brakes, oil, etc, “free for life” from here on out, plus labor and shipping. Can’t beat that with a stick. Thanks FCP Euro!
I tried to adjust the seat for my wife today and the damn thing gave up the ghost. This is a bit of a tale and hopefully helpful for the next poor soul.
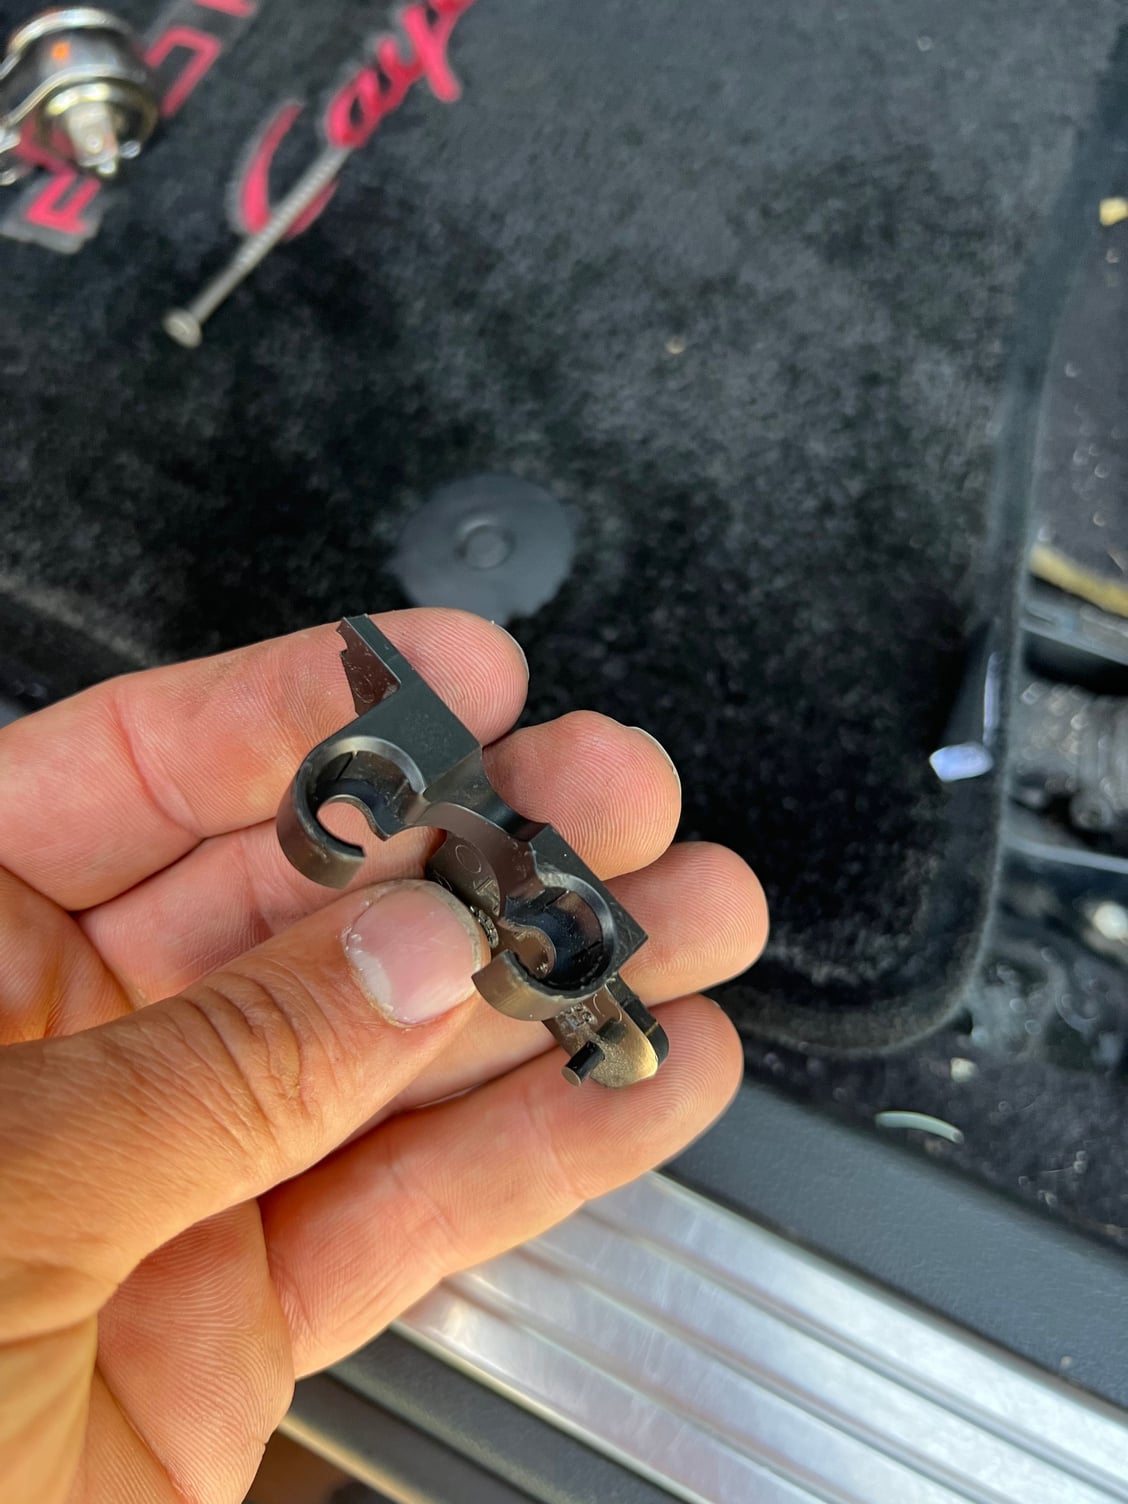
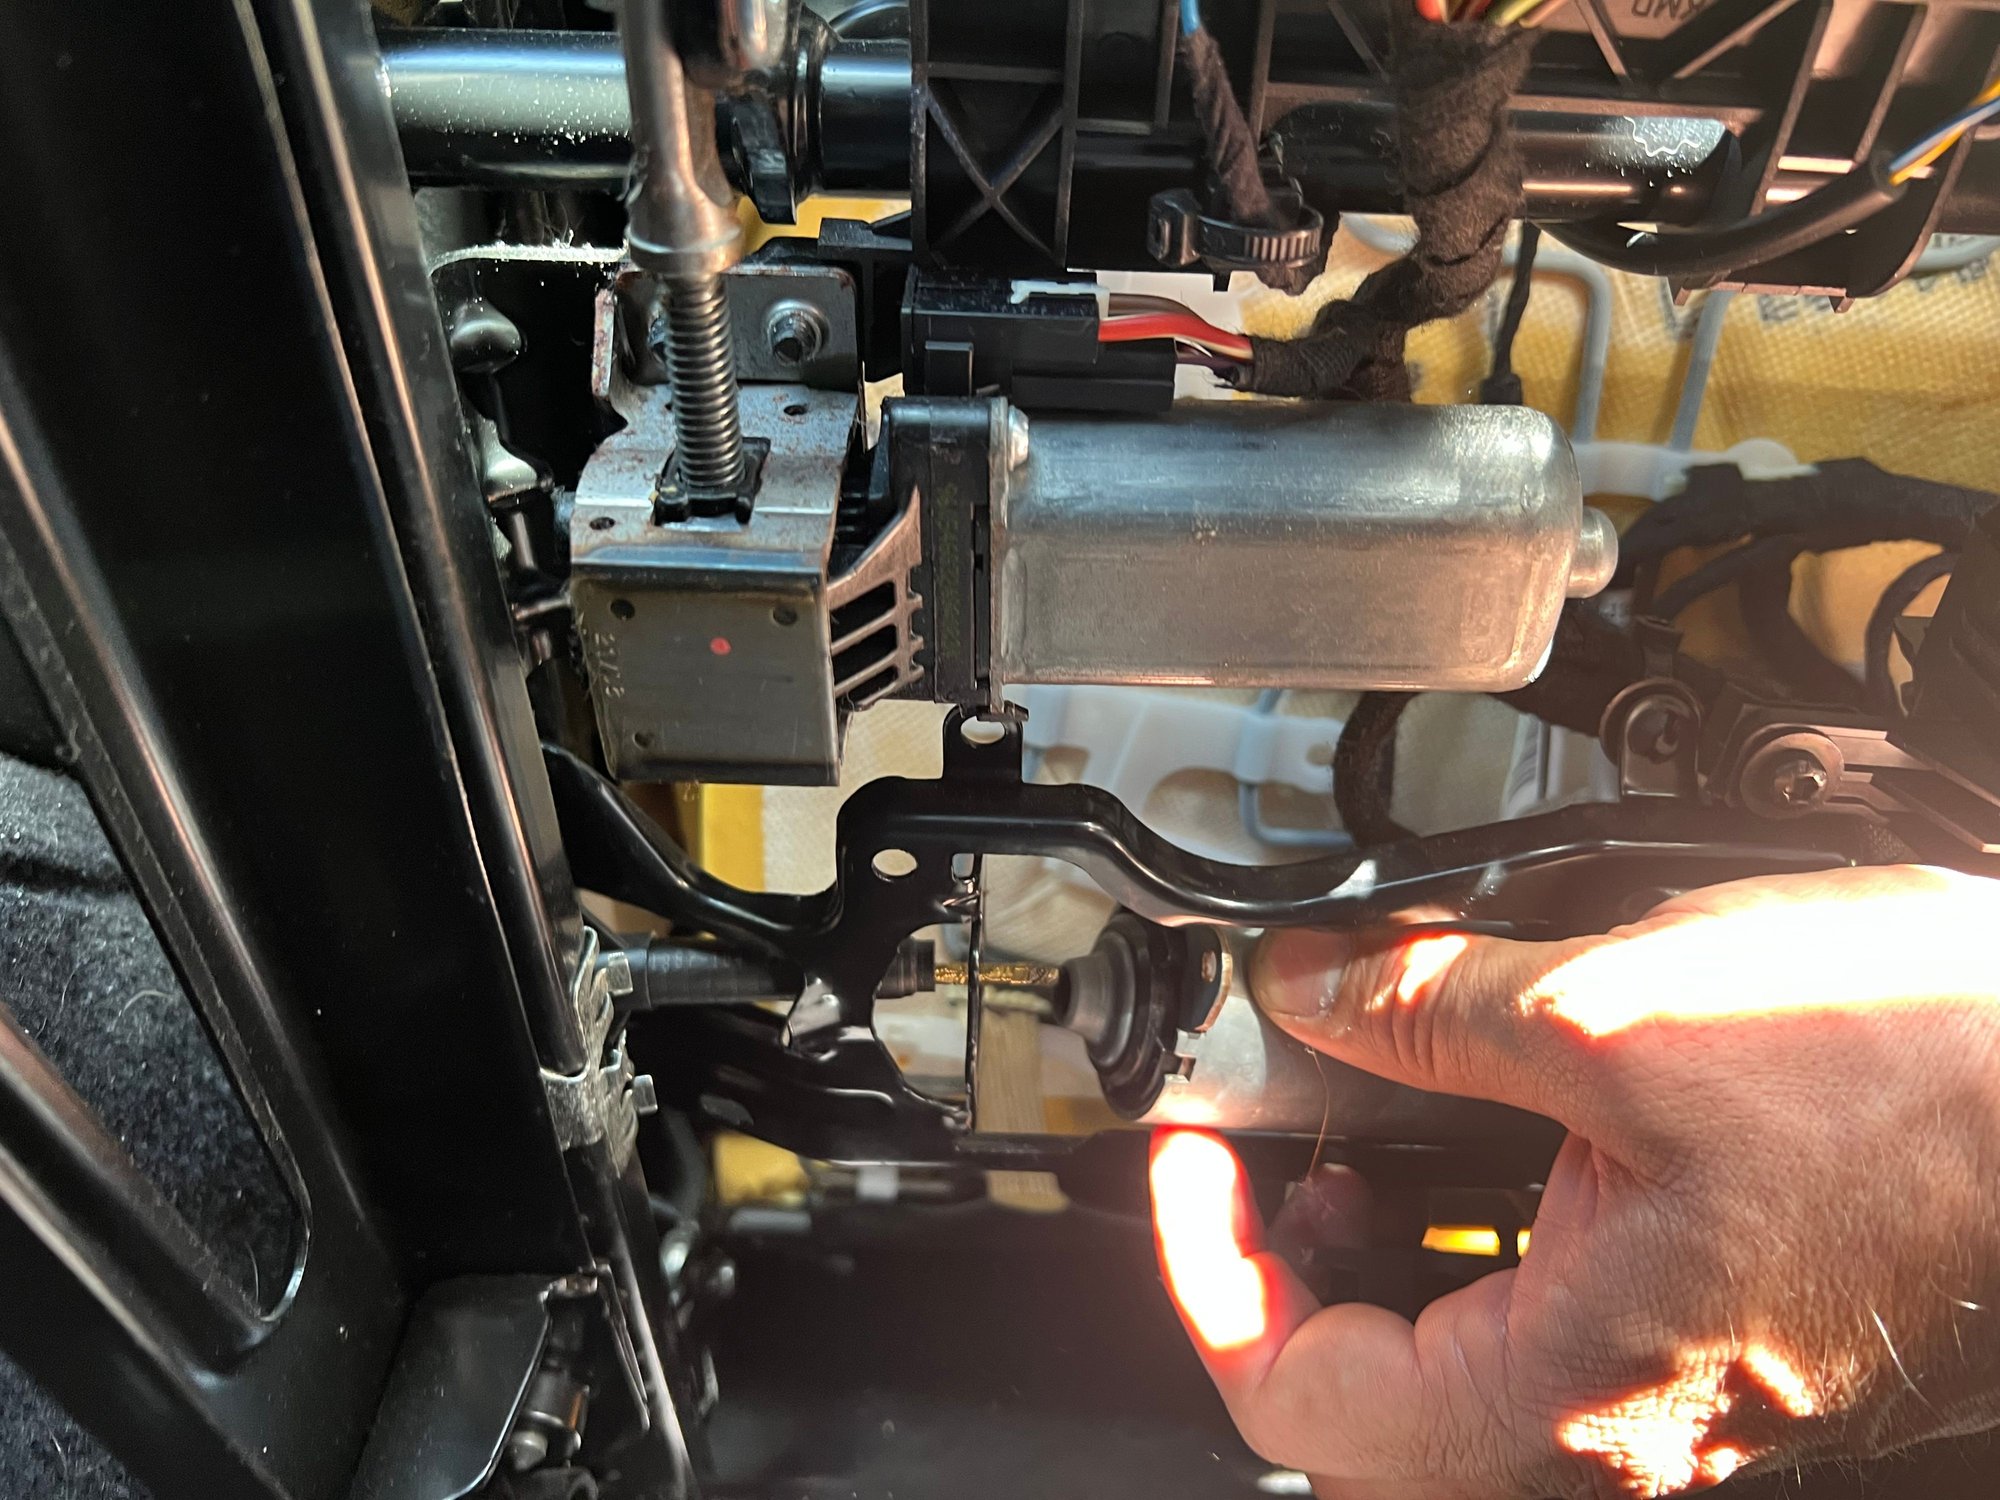
The longitudinal motor still worked, but only one side would move forwards/backwards. It turns out there is a single motor for this, and it drives gears with a flexible cable with square ends. Mine broke out of its plastic bracket under the seat, pulling away from the inboard flexible drive shaft, causing the issue.
trouble was the seat was stuck at the back, so I couldn’t get it out. Use the battery change DIY (add link later) to learn to remove the seat, if you don’t know how yet.
But I couldn’t get at those rear bolts because the seat was all the way back, and couldn’t get to the damn motor, which was broken, so I couldn’t get to those damn bolts…. Aha moment was when I figured out I could raise the seat. That gave me the room I needed to remove the rear seat bolts and make some room.
I just had to reinsert the two flexible shafts, wiggle the motor into what was left of its bracket, and zipper tie the hell out of it. My duct tape, bailing wire, and chewing gum are all on back order, because, you know, pandemic and Suez Canal and whatnot.
got it all sorted. I’m pretty sure I managed to get the seat square on the rails (fingers-crossed, since one side moved back and forth a bunch throughout the day…)
I hope you don’t have to do this, but good luck and I hope this helps if you do!
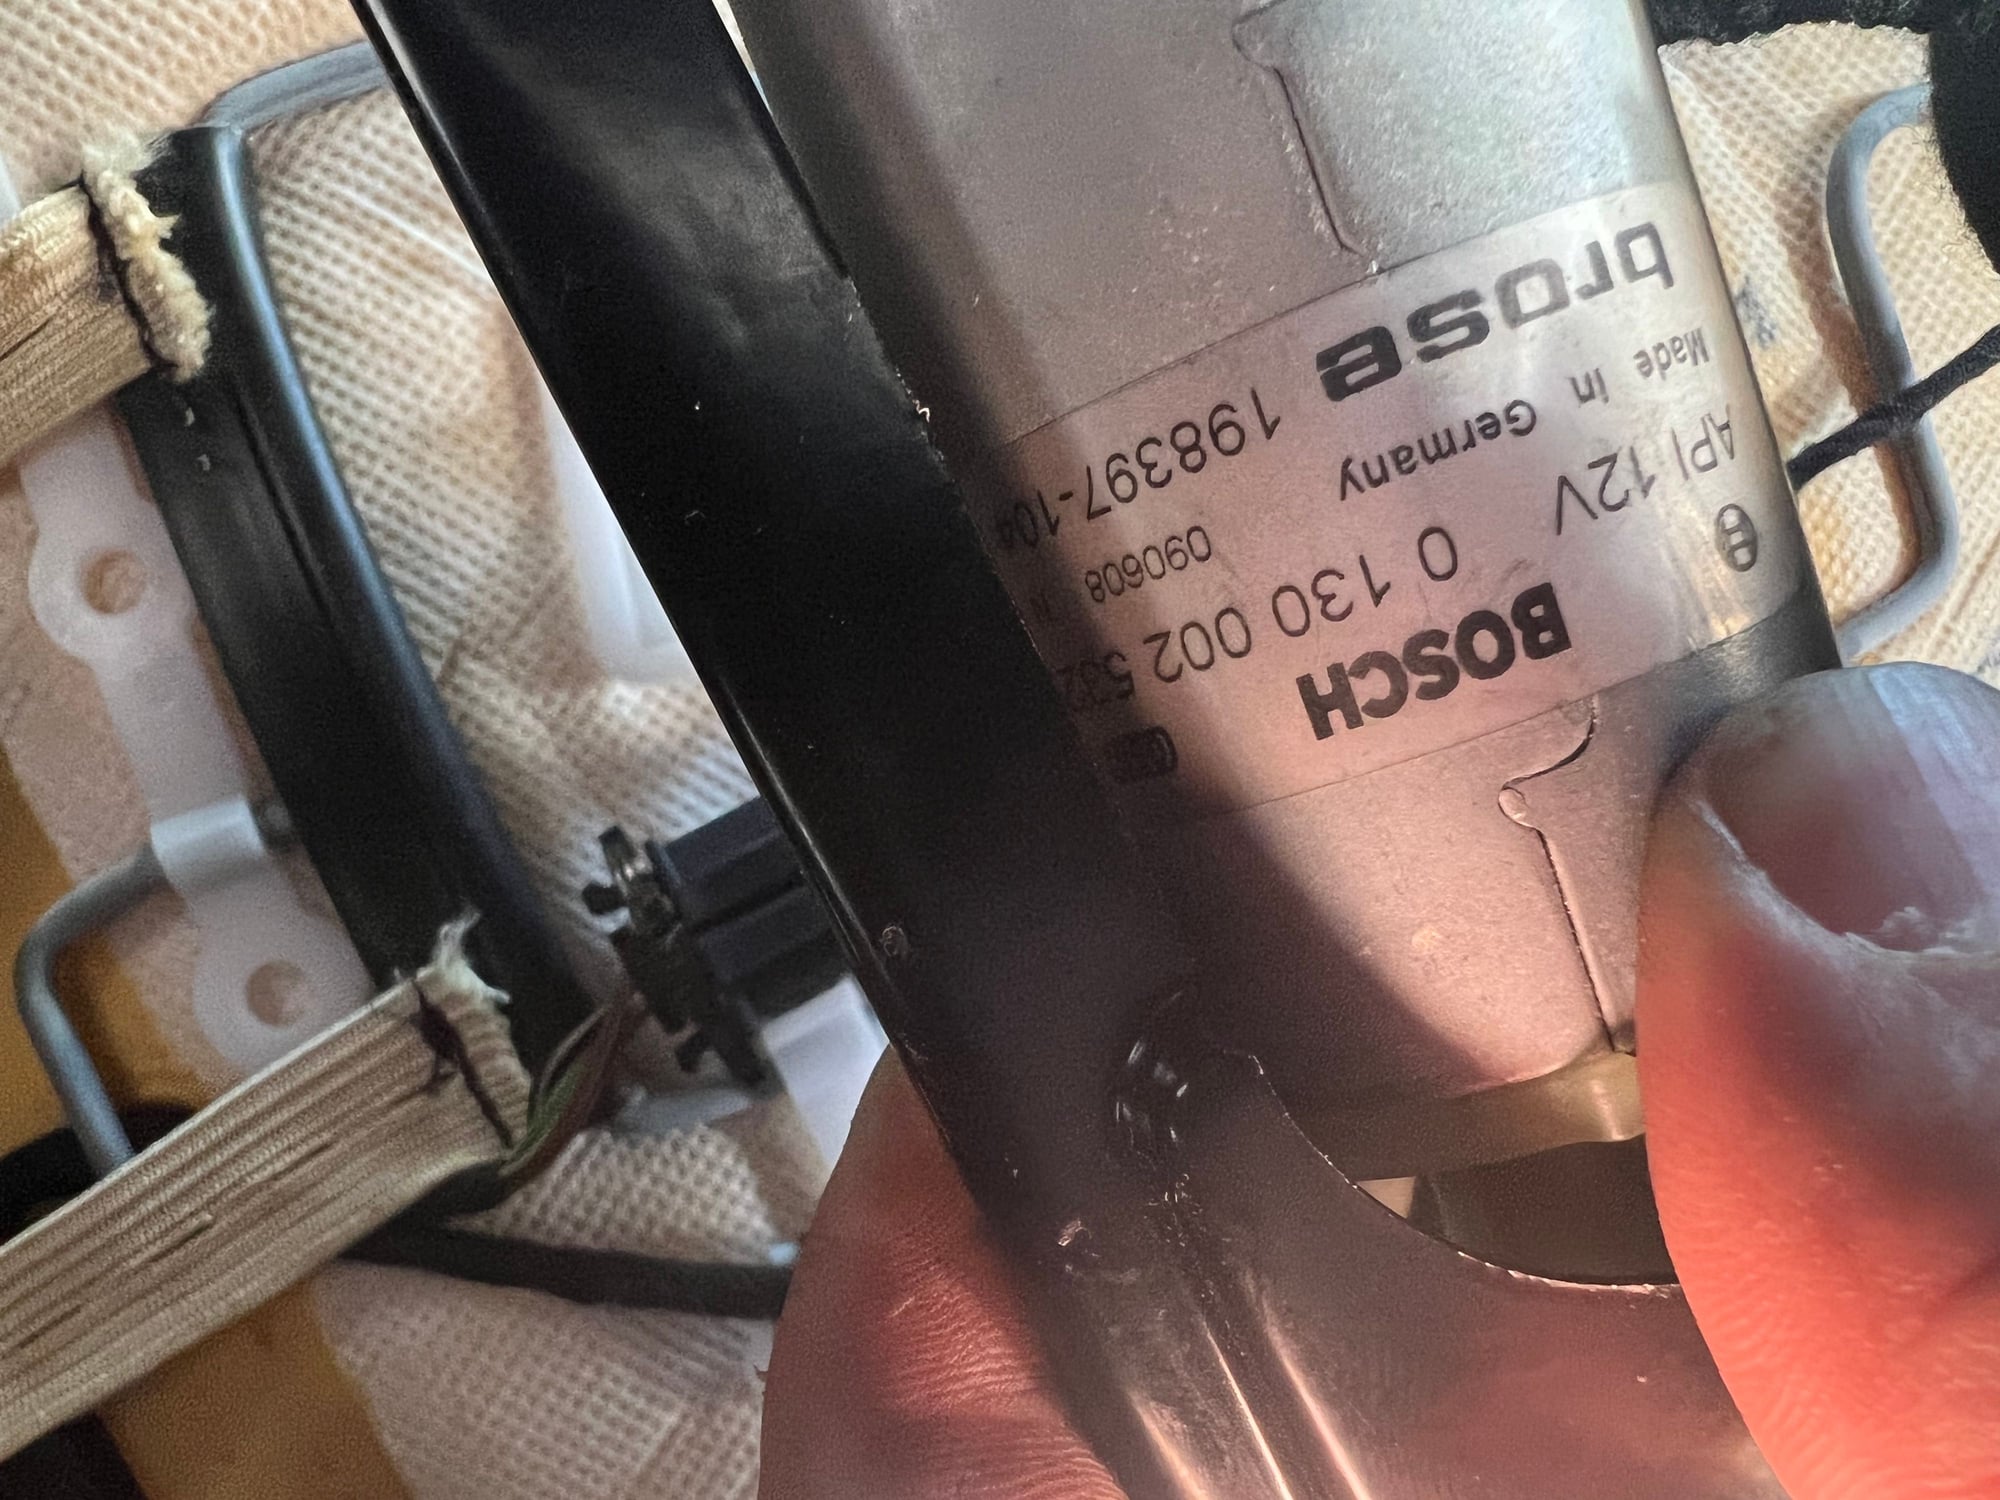
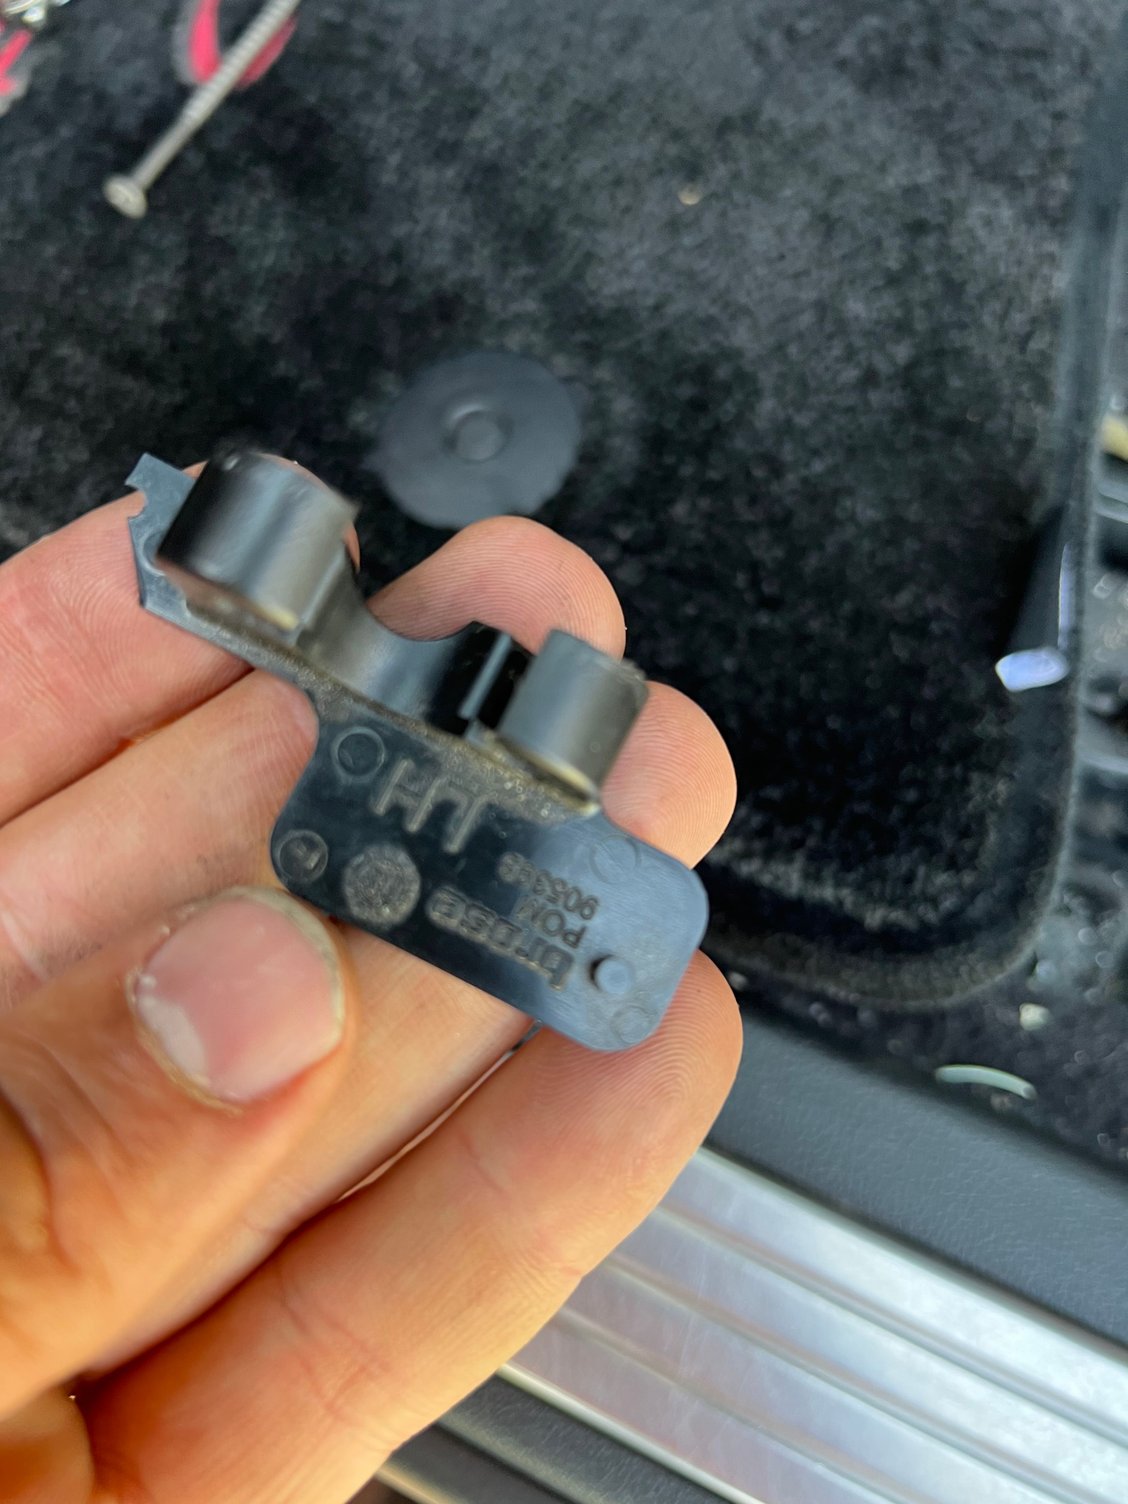
(Broken) bracket that is supposed to hold motor in place Look closely for the brass colored flexible drive shaft. This is the one that came out, the inboard one on the driver’s side. The motor, partial part number The motor, partial part number (Broken) bracket that is supposed to hold motor in place
Quick DIY help here in case anyone needs to do the same - replace a front turn signal bulb on a 957 Cayenne.
Got one of these:
Sylvania 7507 long life pair about $7 at autozone
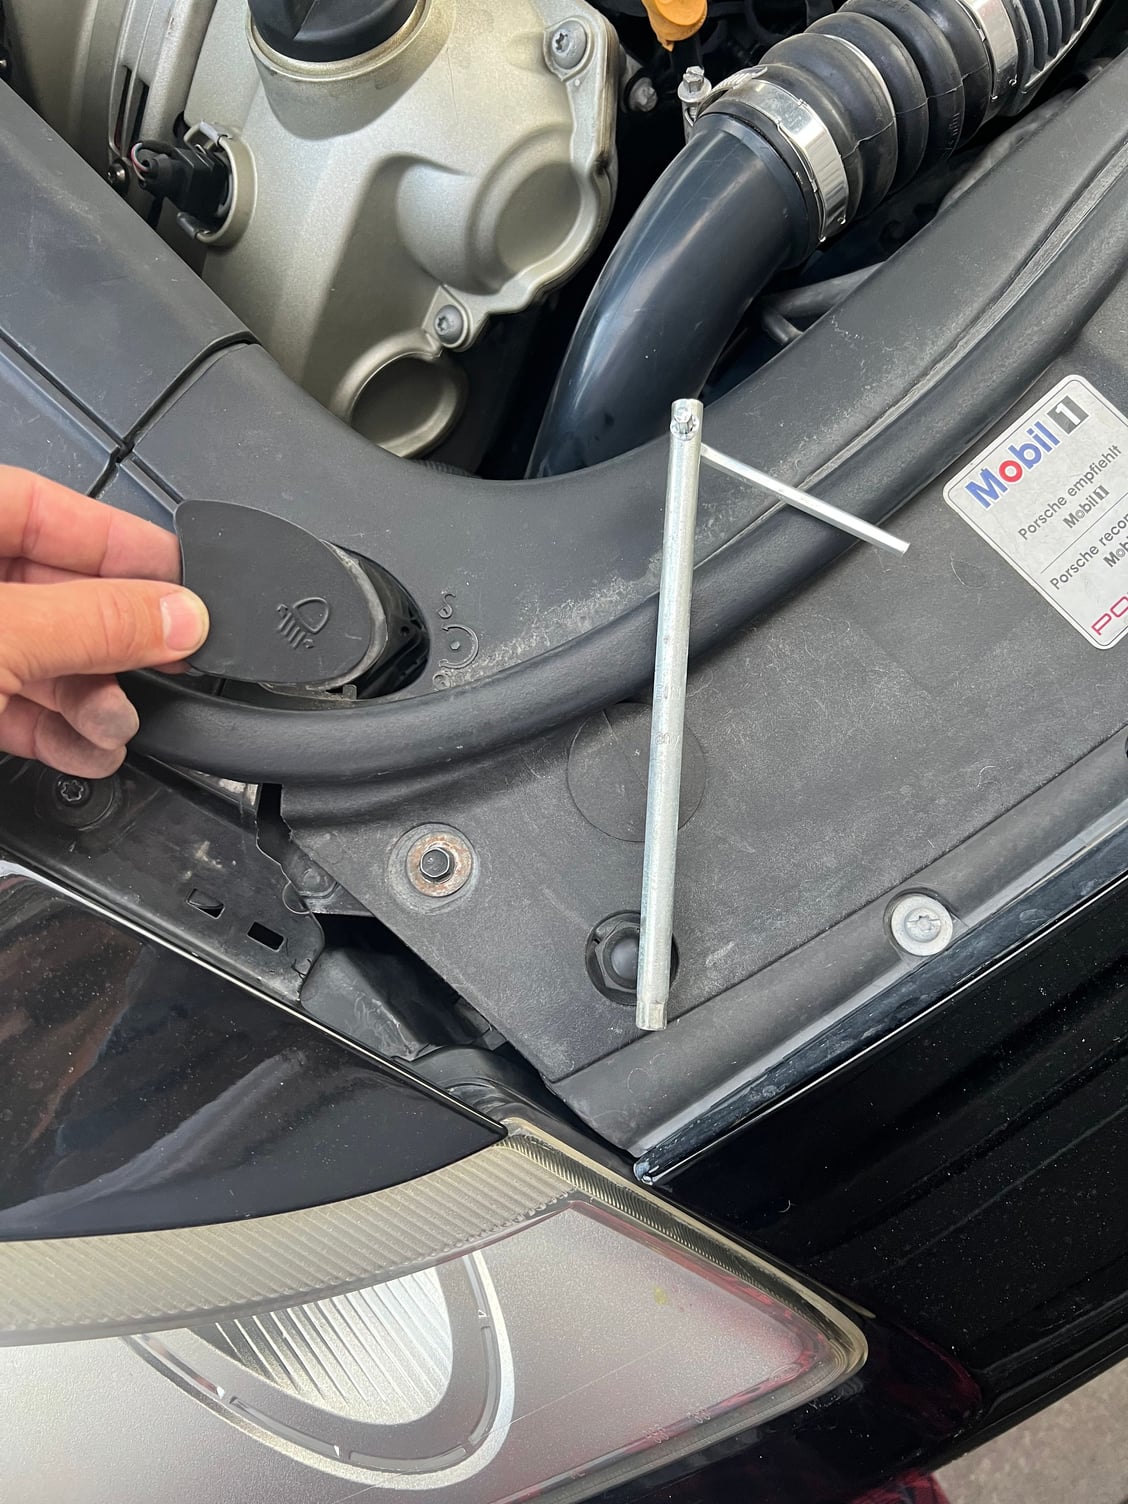
grab the headlight tool from under the floor in the cargo space.
Headlight tool under the cargo floor
pop the access panel under the hood
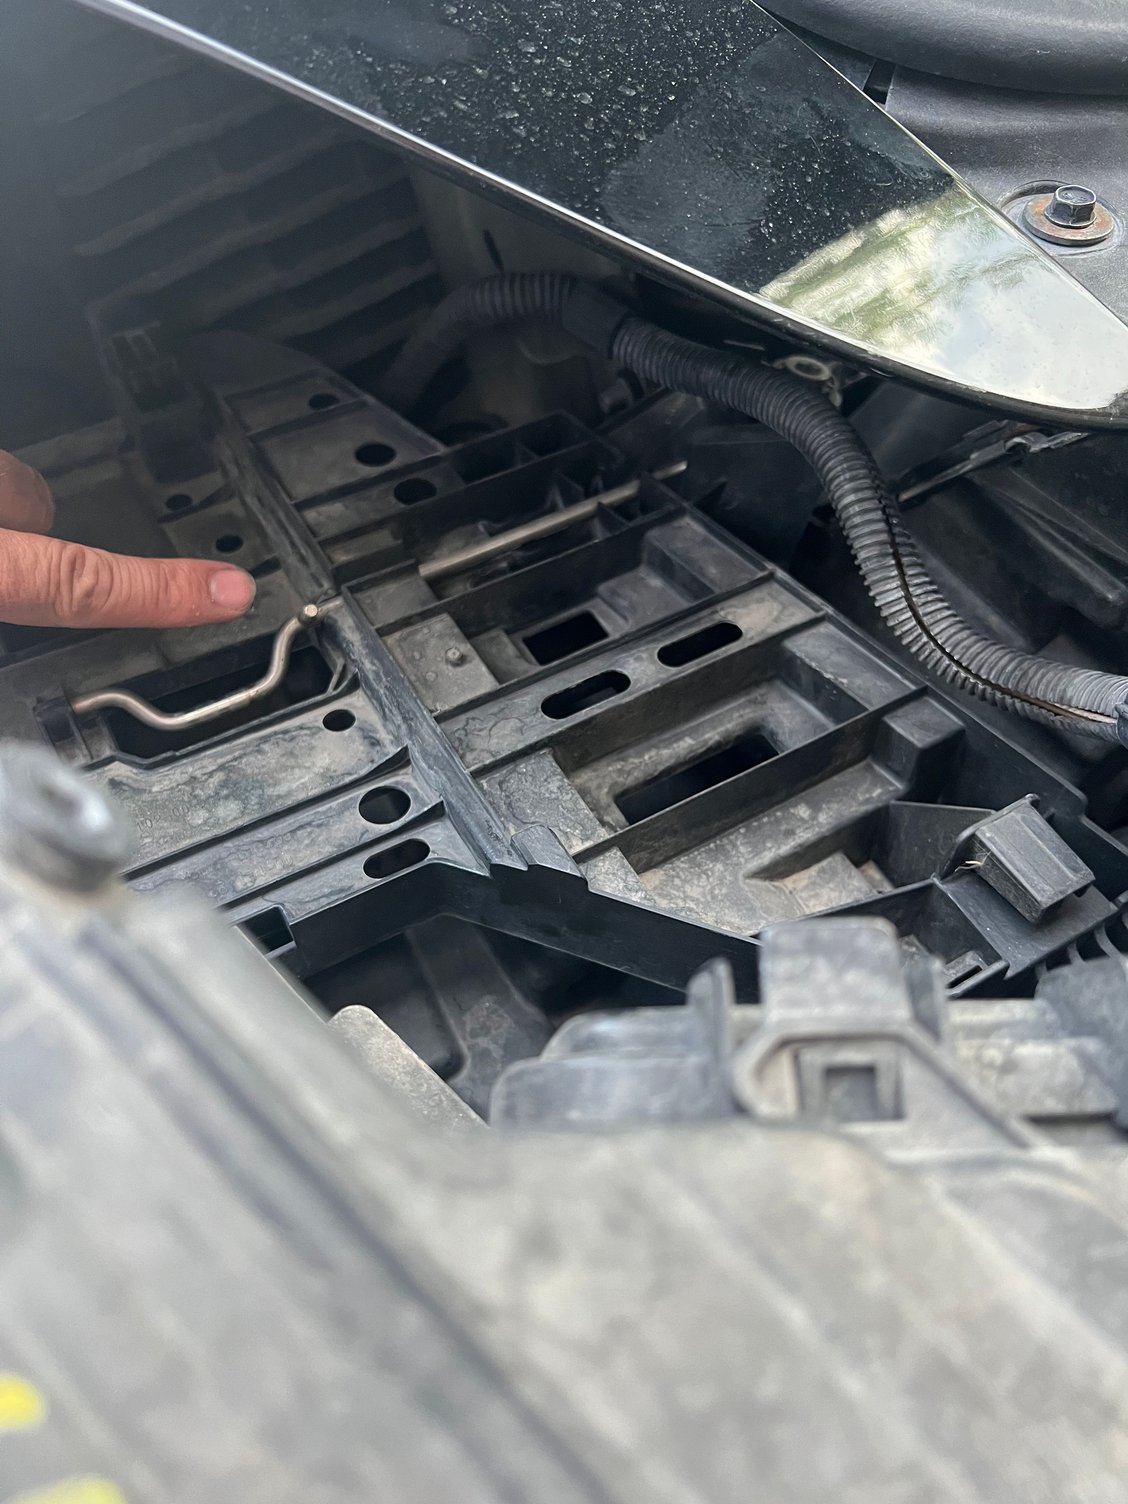
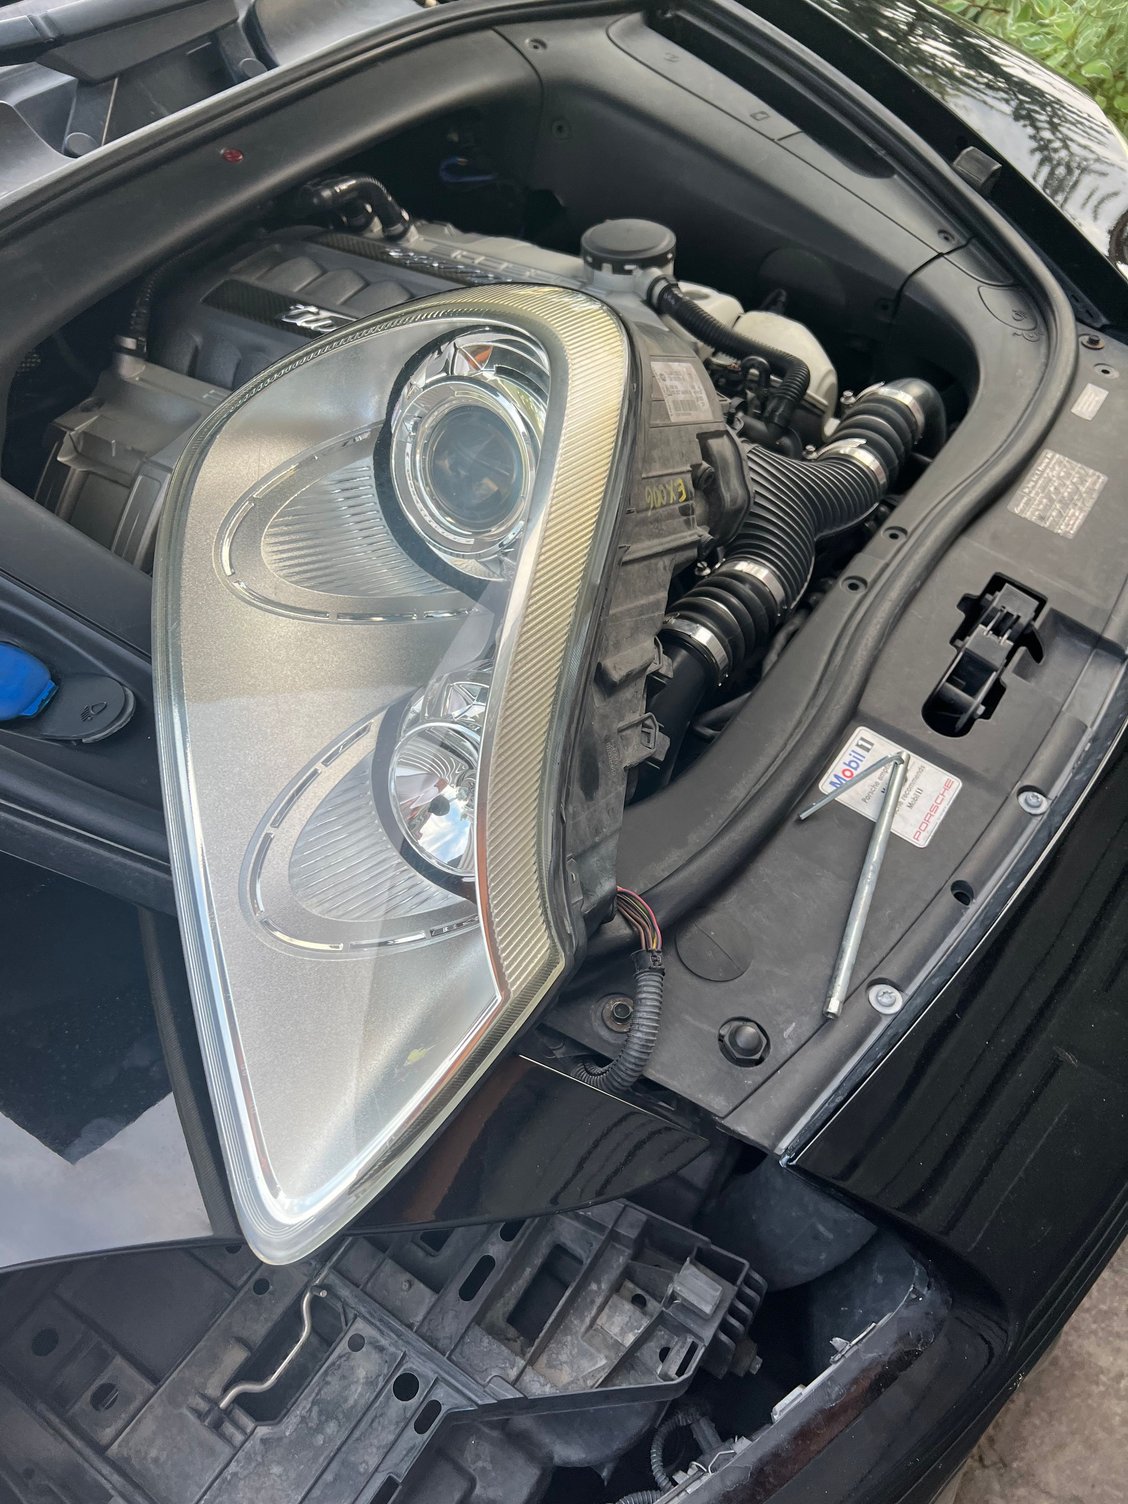
the little graphic show you which way to crank the headlight tool once you put it on the hole. That pops open kind of a cam mechanism. Then you slide the whole headlight unit out.
Headlight cam mechanism, where the tool goes Headlight cam mechanism Just slide that headlight out
Now you can get to the turn signal bulb holder (white, round). Twist and extract to get to bulb.
Turn signal bulb socket. Twist and pull out to get to bulb.
that’s it. Now people in front of me know when they m going to turn their way, the blinkers blink at normal speed, and one less error annoying my dash.
I ordered a lift kit and wheels today (researching tires next).
After some research, I am going with the eurowise 2” with new sway links and subframe centering bushings. I looked at the 3”, but it needs to be paired with a 1” subframe drop (to correct axle geometry), is more $ in parts and install labor, and makes minimal difference in the tire size we can effectively run anyways. In my eyes, the only reason to lift is to get taller tires to get more distance between ground and pumpkin… wait, do we have a “pumpkin” lol!? So one goal is the minimal lift necessary to fit the biggest tires you care to accommodate.
We know the NAs can get to 35” with some heavy chopping in the fender well (Harrison, “the guy who lives on a Cayenne” on YouTube, for example.). If I didn’t have to also relocate the intercoolers, I might be aiming there. But the 32-33” we can get with a 2” lift will be the sweet spot for me (for now).
wheels
At the time I’m doing my research, common knowledge was that if you have the turbo brakes, you have to roll 20” minimum wheels. That was going to severely limit off road options, so I was even considering downgrading the brakes to fit 18s.
But apparently the community has just now discovered that victor equipment makes an 18” designed to fit around the turbo brake caliper profile. The Berg and the Alpen specifically. These are on national backorder (at least, in matte black). I must have tried ~20 different retailers before I found a pair in an east coast distribution center. I got them ordered up and they are on their way!
So excited this is all coming together. Now if I could only find a 107 load rated all terrain tire with a speed rating well into the 100’s. Because obviously I need explore top speed at bonneville salt flats. What could go wrong!?
Well, in my first spirited drive in the canyons... Coolant decided to exit the vehicle through an unauthorized and unscheduled flush port. Presumably the turbo tees, or maybe that Glued in cooling pipe failure, but praying it is "just" the expansion reservoir. I turned around and limped to the nearest 7/11 at the bottom of Cottonwood Canyon and poured 4 gallons of distilled water into it before it finally hit max... and slowly drained back down out the bottom of the car from somewhere. Ugh, I was planning to do all this proactively in like 2 weeks (the first appointment I could find to get help from a pro for the parts I likely need help on) .
I stopped by the forum to make sure I knew the likely places to look. Wish me luck!
My recommendation, don't do what I did and fix just the one spot that sprung a leak. I had that same coolant flush done three times in little over a year as old parts failed one by one... And the previous owner had already done the aluminium pipes so that is four times in total. Do them all at the same time and never worry about it again for the next 15 years.
Well one of the times was when lower coolant hose popped off, that one is most likely my own fault. I had the front clip off and I guess the locking clip hadn't engaged fully when putting it all back together and it opened after a while.
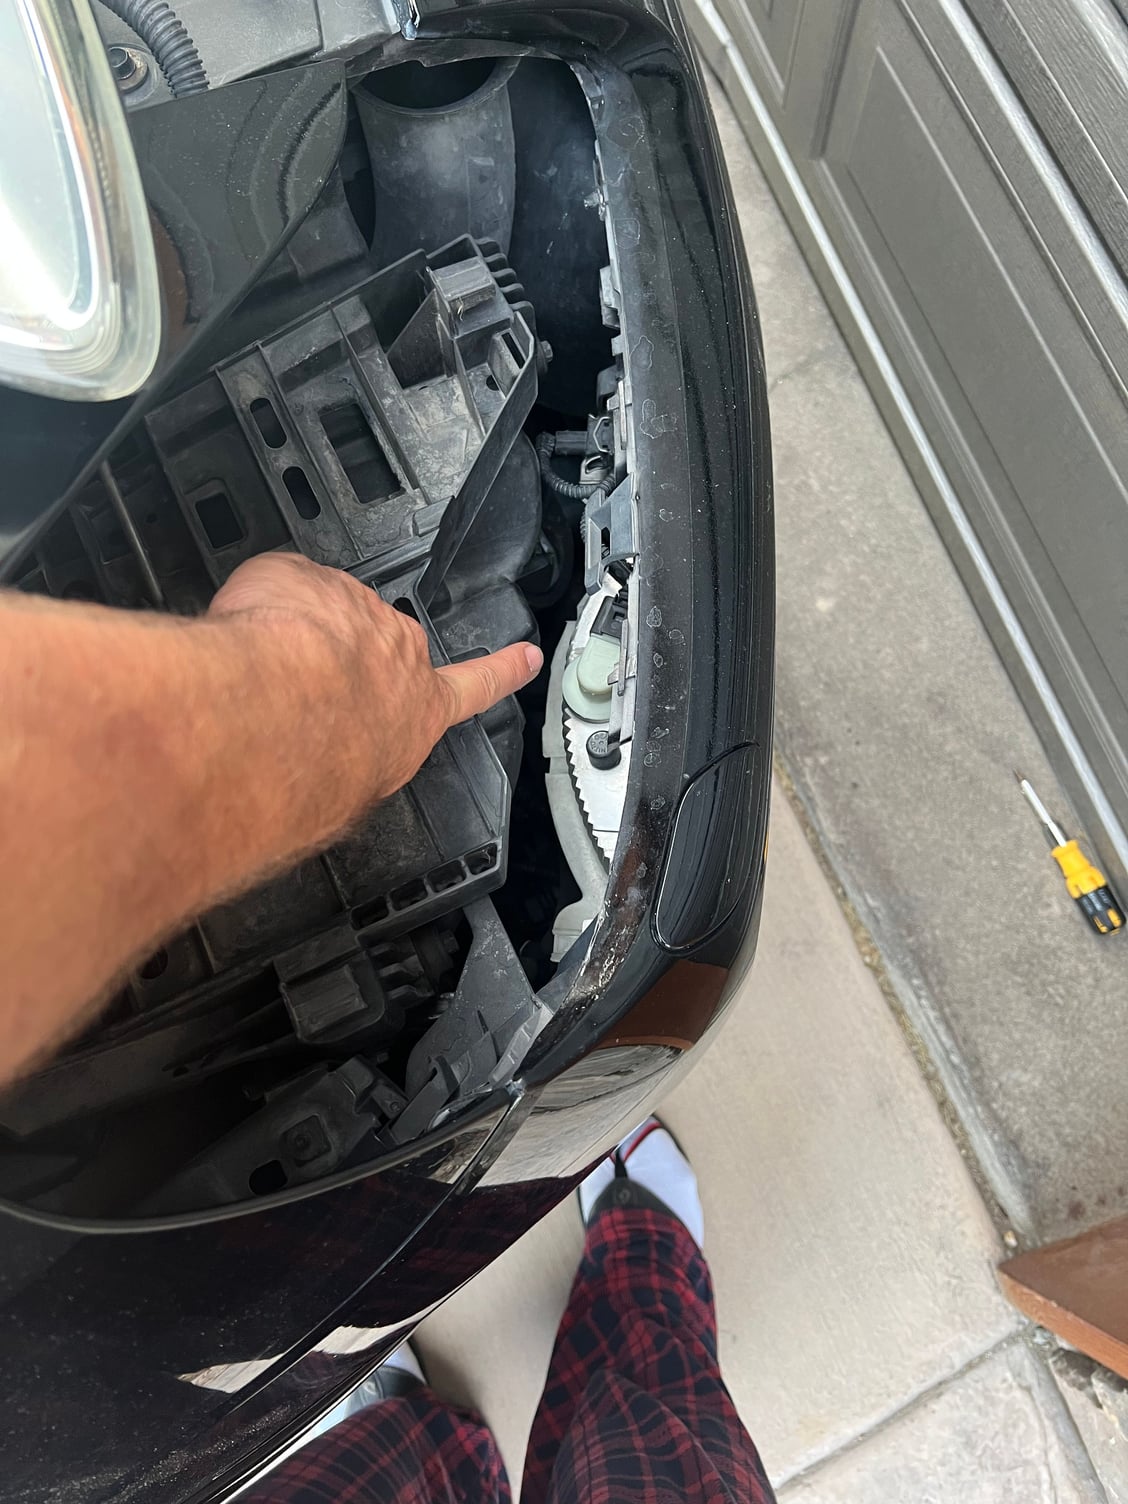
I broke down and sent the pig away on a flatbed. A local shop has diagnosed the coolant leak as coming from the water distribution manifold (the nipple that comes unglued… came unglued. They are quoting $6-800 to remove the fuel pump, gain access, and epoxy the sh*t out of it then back it up with a safety wire and finish the unscheduled coolant flush.
I’m asking them to quote out the “tees” too, likely for another day, or for me to DIY. Could be fun to rip the top end off and feel mechanically inclined for a minute.
you can actually remove that whole piece from the top or the bottom, and go with the updated part. From the top you have to remove both the hpfp and the vacuum pump.
Ask the shop if they can also add a tap, they be already right there. And that would be permanent..

 06-09-2022, 01:26 AM


 .
.

