When you click on links to various merchants on this site and make a purchase, this can result in this site earning a commission. Affiliate programs and affiliations include, but are not limited to, the eBay Partner Network.
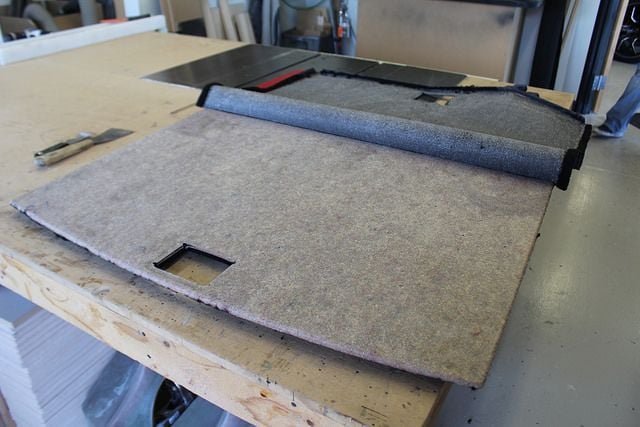
Just got the enclosure fit and bolted in place. Now we're going to start on the "stealth" cover for the cargo area.
Does this mean you are doing away with the factory cargo floor? If not, I'm curious what you come up with to stop it from rattling and killing the bass frequencies.
There seems to be no hinge and the 12" upfiring kicker I have down there doesn't sound good (moving the cargo floor enough to cancel out and sound terrible) unless there is some weight on that floor. Putting pressure from underneath to stop movement does not work because of the lack of a hinge.
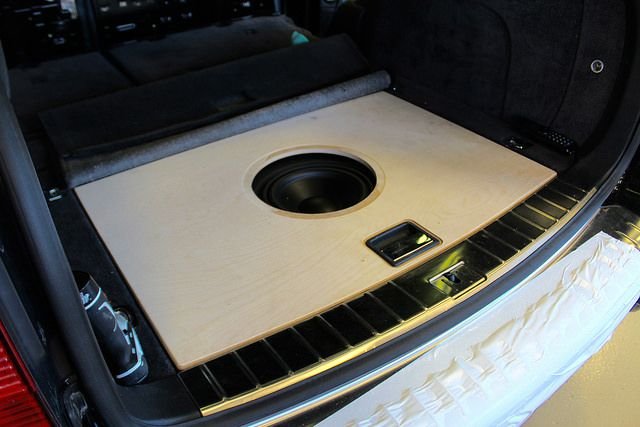
We're actually rebuilding the cargo cover completely out of baltic birch. It'll have an opening with a heavy-duty mesh grille where the subwoofer is. Once we reupholster the new panel you wont see any of it and the sub can still breathe through the panel.
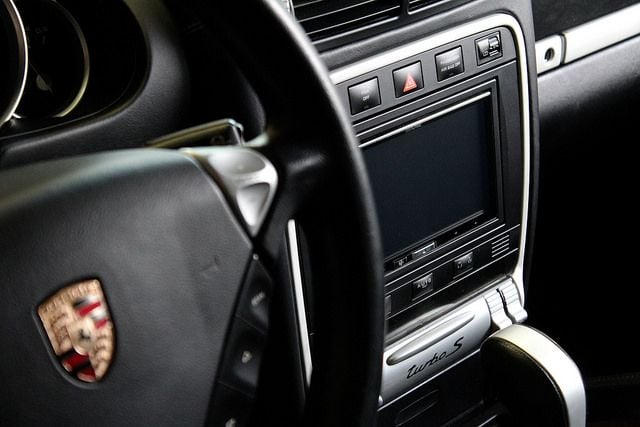
If any cayenne model has the remote potential to be a "future classic" it would be the 2006 CTTS. I can think of no other model that is as pure to the original concept.
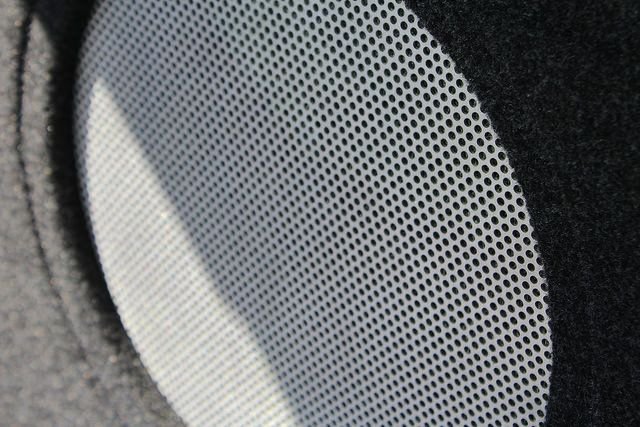
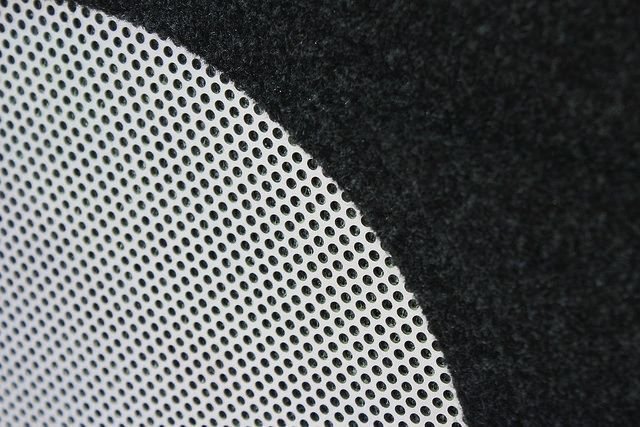
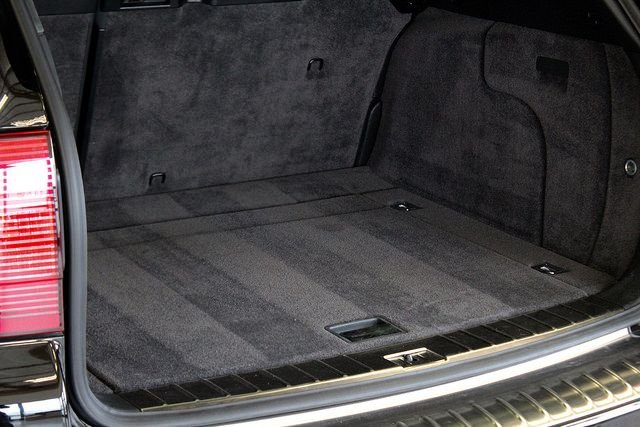
Stealth floor cover is done. We used a sturdy baltic birch construction and repurposed the factory covering to make sure we had a perfect match to the factory floor carpet.
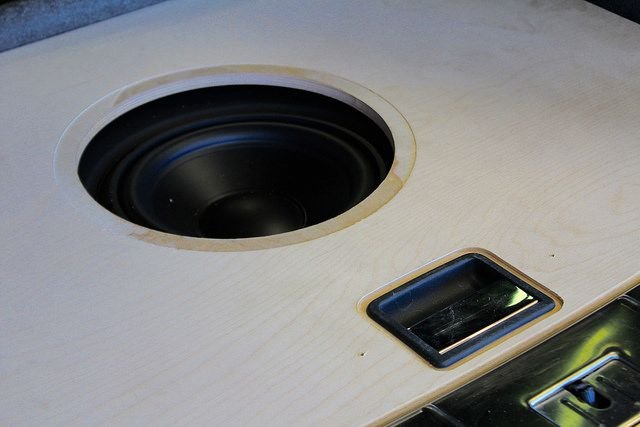
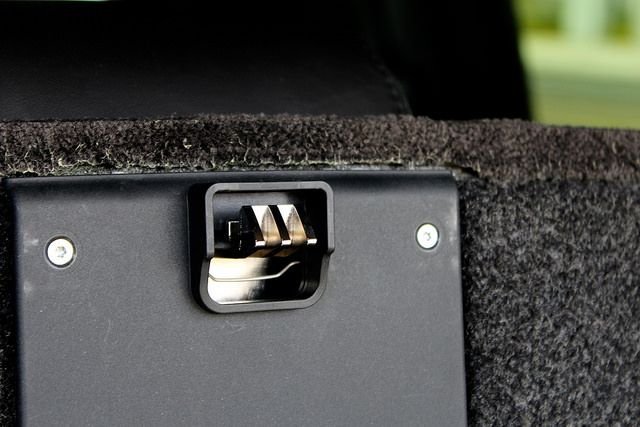
The provision for the subwoofer uses a heavy-duty perforated aluminum mesh that allows the subwoofer to "breath" while still remaining structurally sound. The factory floor latch was also retained and integrated into the new panel.
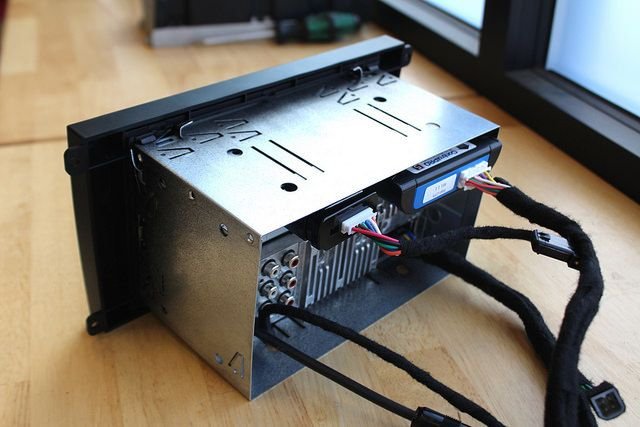
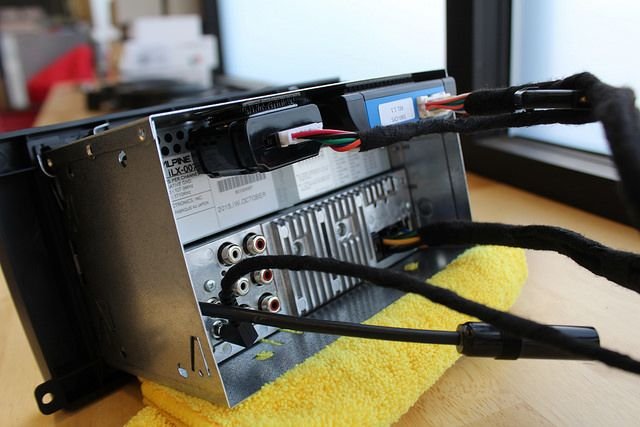
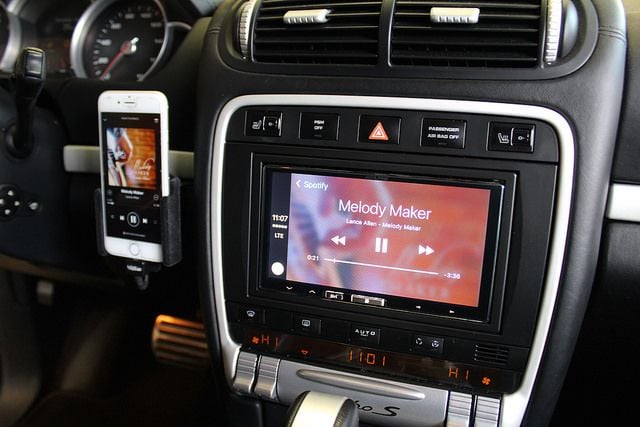
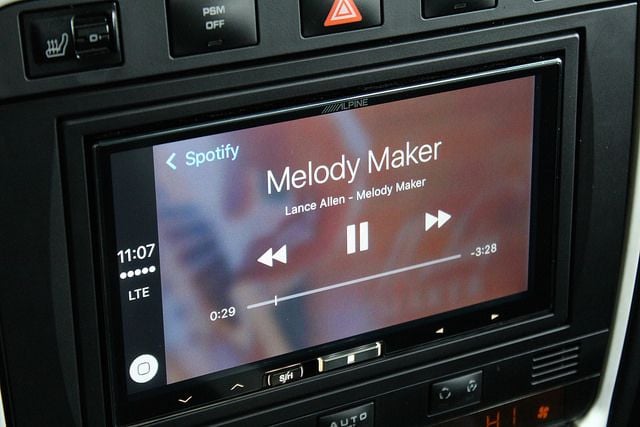
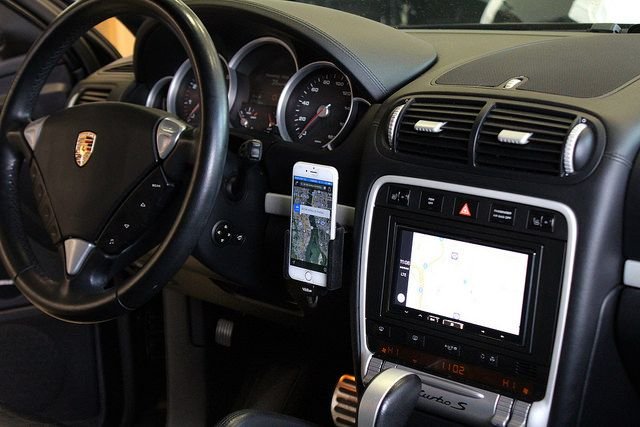
Alpine head unit mounted in the cage and fascia. The two modules wired up on the back are the steering wheel control interface and the parking brake module.
This is great, and obviously quality work. Your customer is getting every bit of value out of whatever he is paying.
But for an enthusiast and DIY-friendly site, a bit too showy and lacking useful meat. Perhaps this was never meant to be instructional, but I for one would love more details of the actual install.
ie:
1. Did you need to run new wires from the amps to the speaker locations? HU to amp route? Or were you able to repurpose the factory wire? If rewired, any headaches?
2. How is the cargo floor replacement hinged?
If you'd rather not give up your trade secrets, I won't hold it against you. Great looking install!!
No trade secrets here, just a lot of experience that amounts to a great result.
I'm happy to share the details, I just get used to sparing them for most folks so I tend to lean towards the simple side when I'm doing a build log. I'm also not the one doing the hard work. I design the systems and then Mobile Electronics installer of the year Tom Miller makes it happen.
The doors had new wiring ran in to each speaker, I couldn't comment on the complexity since that's fairly common when we're into a build like this. I'll ask tom and get his note on that since you're interested.
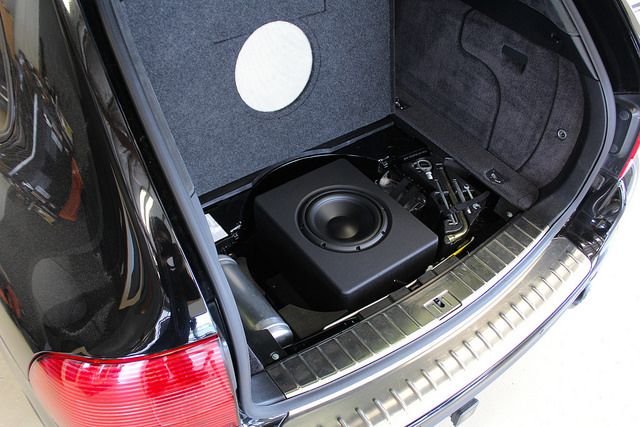
The rear cargo cover hinges on the upholstery with a solid bar at the back thats bolted down to the floor. Other than servicing, no one will need to access that compartment regularly. If it was something that would be accessed daily we would have done a more elaborate hinge.
If you have anymore questions don't hesitate to ask. Maybe I can put up a system diagram showing what we did and how the new system is set up.
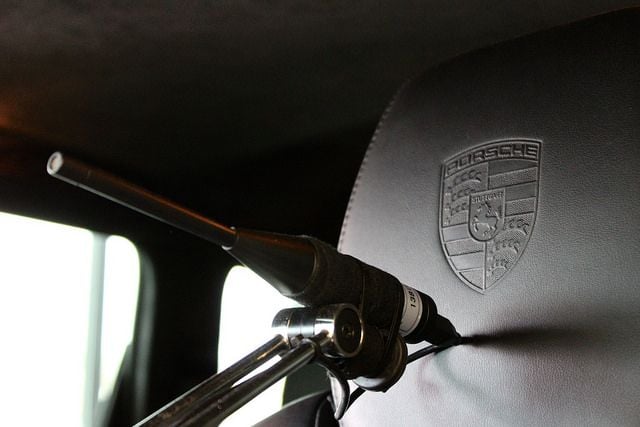
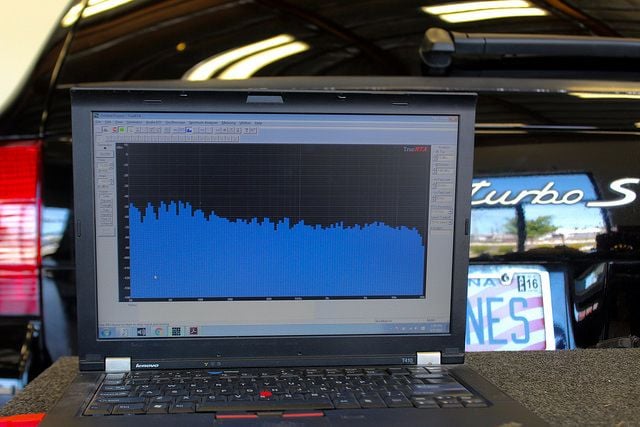
Forgot to post the final shots I took while tuning the DSP in the car. Even with high-quality equipment and a thorough integration, lots of EQ is needed to tune out the reflections and non-linearities.
A microphone is placed at the listening position to measure the acoustic response of the new system
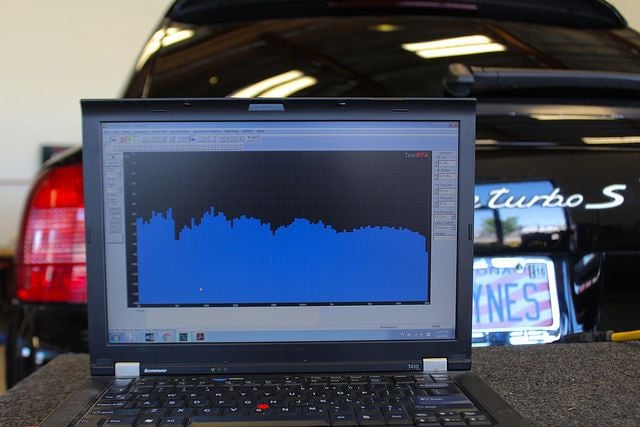
The initial measurement shows a few major dips and peaks. These equates to some notes being attenuated and other being emphasized. True accuracy in the sound is a relatively flat response.
After a couple hours of tuning the signal is looking a lot better. We'll have about 4-6 hours of tuning in this session before we have the result we're after. Then in 30-60 days after the equipment breaks in, we'll do a follow up tune to dial it in even more.
Congrats on a fantastic install, best I've ever seen in a Cayenne. But I'm betting dollars to donuts that the owner trades in the head unit for something else after living with the Carplay for a period of time. Its just too limiting for this car and system.
Congrats on a fantastic install, best I've ever seen in a Cayenne. But I'm betting dollars to donuts that the owner trades in the head unit for something else after living with the Carplay for a period of time. Its just too limiting for this car and system.

 04-06-2016, 10:34 PM