When you click on links to various merchants on this site and make a purchase, this can result in this site earning a commission. Affiliate programs and affiliations include, but are not limited to, the eBay Partner Network.
So, my HD on my PCM 3.1 was overheating causing my PCM to cycle on and off. I am working on cloning it and converting it to SDD, but can't get the original to show up on my PC, so I think it's toast. I brought it to my local computer shop to see what they can do for data recovery/cloning. In the meantime, my HD is obviously out of my PCM. I am surprised that everything is working perfectly on the PCM, minus the NAV, but I don't use that anyways (I installed the ISUDAR Carplay module).
So, my question: What am I missing not having the HD installed in the PCM, minus NAV maps and personal song storage??
Thanks to Doug, I upgraded the PCM hard drive on my 2013 GTS.
The HDD interface was IDE and my car's manufacturing date is Nov. 2012, and PCM was made in Oct. 2012.
The only concern I have is operation at below freezing temperatures. In the spec sheet of the Transcend SSD, operating temperature range is 32-158 F. So, I guess we'll see.
Many thanks to twodollardoug for the detailed post. I replaced the hard drive in my 2014 without incident.
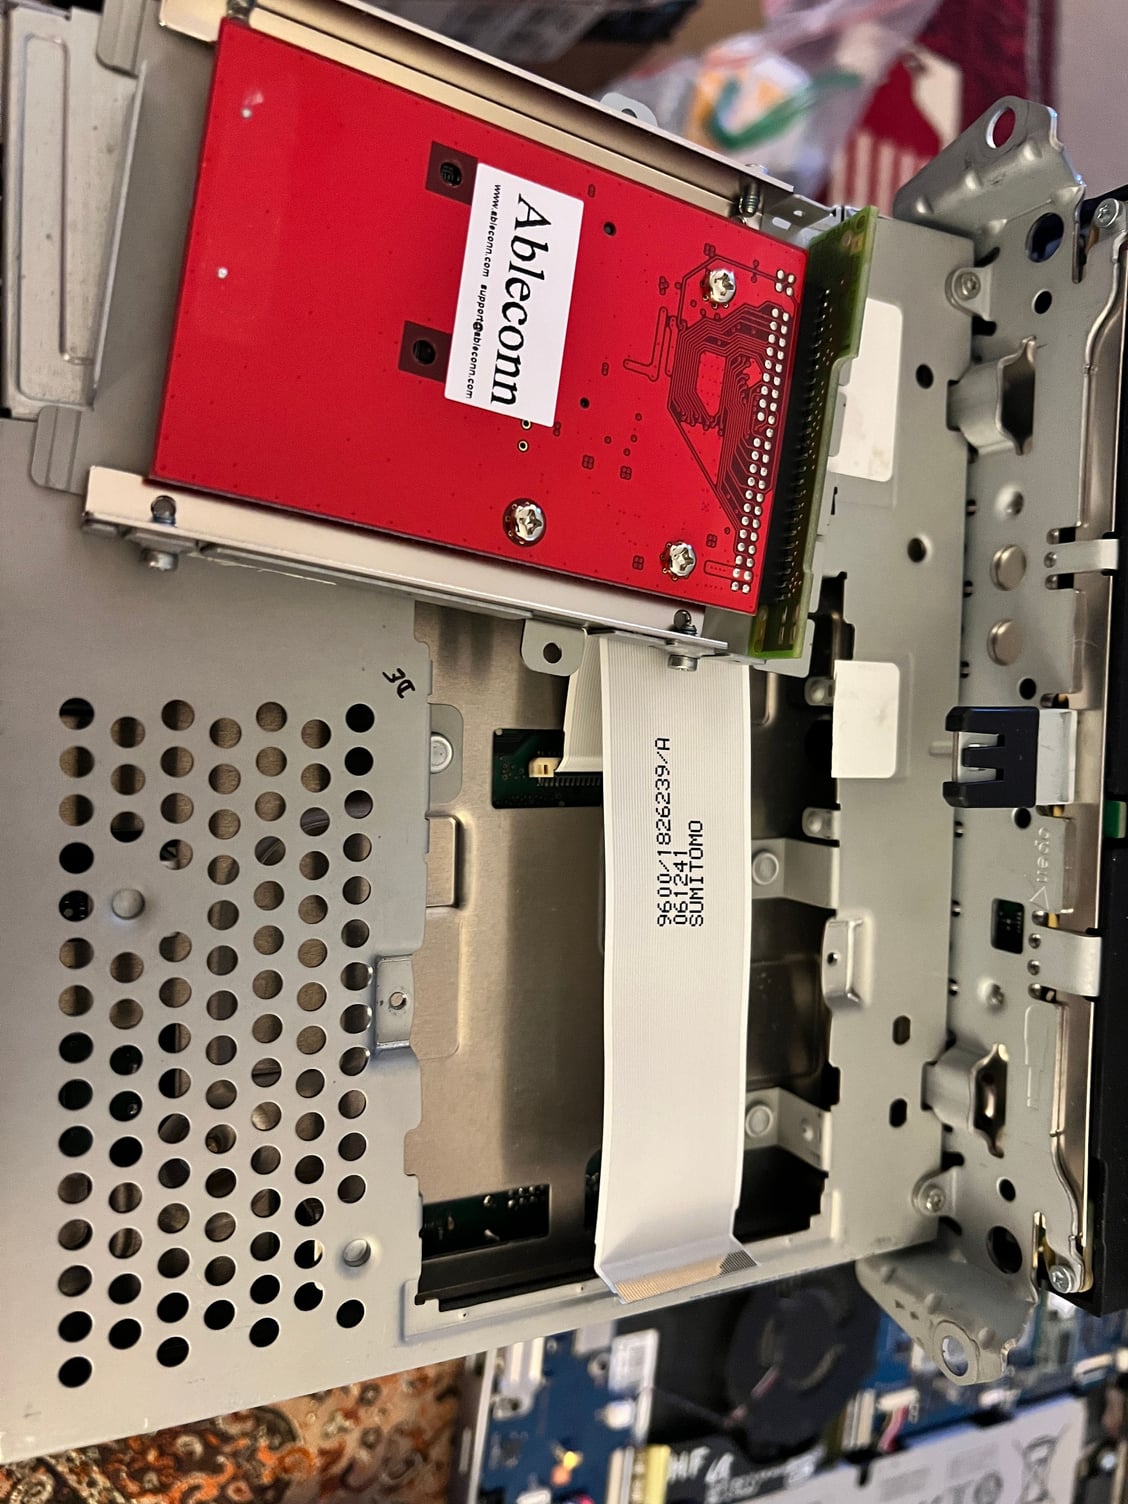
The only minor change/improvement I would suggest is to skip the step of disconnecting the ribbon cable.
With the 2 screws removed and the hard drive tilted up, you can simply remove the green adapter from the disk. Hold the edges of the board and gently pull it straight off. With 2014 (and later) using sata drives, it is easy to remove and later reattach the board to the disk. Much easier (for me) than fiddling with the ribbon connector--especially while balancing the PCM unit on the edge of the dash.
 08-03-2020, 02:22 PM