When you click on links to various merchants on this site and make a purchase, this can result in this site earning a commission. Affiliate programs and affiliations include, but are not limited to, the eBay Partner Network.
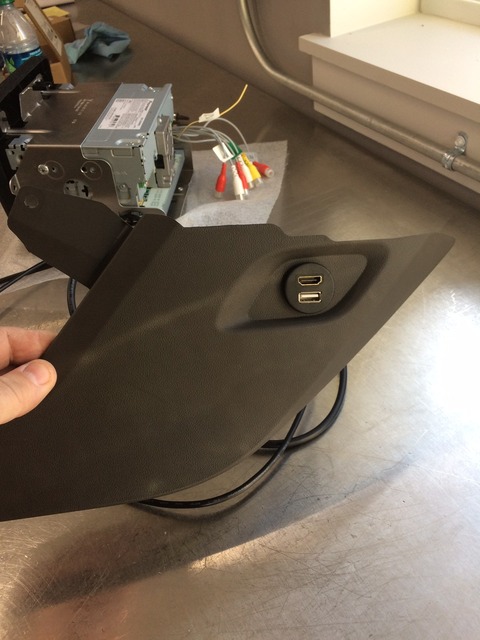
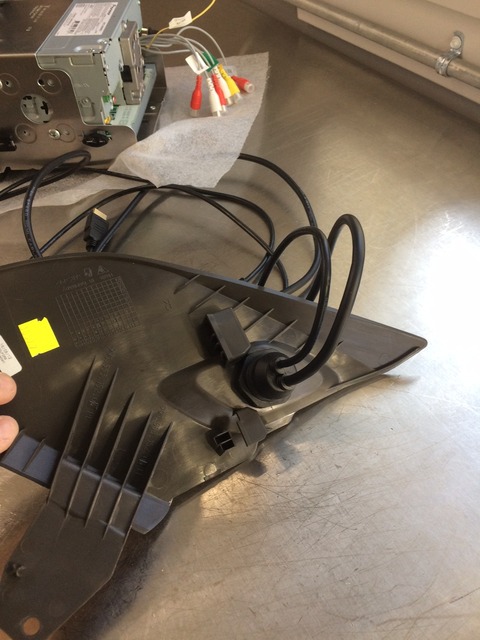
Installed a USB/HDMI extension adaptor in place of the footwell power port. It was a direct replacement with no modification of the panel needed. The radio is installed and everything hooked up except the rear backup camera and the "illumination wire". Those will have to wait till next week. What wire does this splice into?
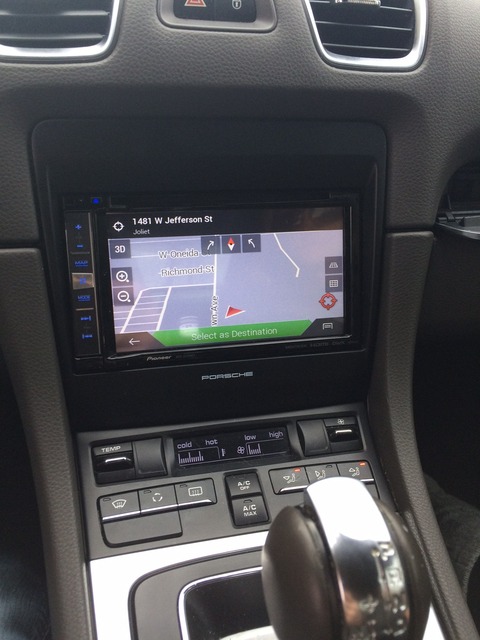
This was a relatively easy project overall. I hope my pics will add to the threads usefulness to others wanting to tackle a radio upgrade.
This thread is really helpful. I'm about to embark on replacing our 2014 Cayman S PCM. Its caught the random reboot disease, and it hasn't endeared itself in such a way that its execution will be commuted.
I'll be using the Pioneer 4200NEX, which supports Android Auto pretty well (have one in another car we have). Will also remove/replace all the speakers (Bose, which sound less than great), and will be probably use an integrated DSP/Amp (Helix P 6 DSP) or possibly a discreet DSP and Amp if I can find the room in the car to make it all invisible. Basically, it will be a complete replacement.
This is an awesome thread. I do have a question, where are you guys mounting the antennae'f for the GPS and Satellite radio so that they are hidden? Under the Dash or under the trunk panel?
Attached is a pic of the 981 Euro Motorspeed aftermarket radio harness as received today. $35 + shipping
Hi, until now all my radio swaps were pulg and play, this one isn't .
I've got the Wuro Motorspeed harness as well, but I don't know were to go with that red cable (*help)
- I had another look at the Euro Motorspeed diagram, and I think I understand it now. I have to plug the red cable in the fuse box on the left side (fuse D1), right?
- What about the radio antenna adapter, it doesn't seem to fit! The car has a double connector, and the one on the adapter doesn't fit in any of the 2 holes !
How did you solve that?
- And where did you connect the orange/white cable? @kfyler1 didn't connect it, right? So not necessary ??
Wish I could help but I had mine professionally installed. They did not seem to bring up any issues while doing it however so there must be some radio adapter that works.
By the way, I did add the Dynaudio tweeter upgrade from Musicar Northwest (thread is on the 991 forum / 12vNick) to my system and it was a definite improvement and also plug and play so I can revert to stock still.
My GPS antennae is mounted under the plastic trim at the base of the windshield. Very stealth and still works great. If you look at the FusionDock installation instructions it shows you how to route to that area since the phone antennae goes there too.
How did you run the wires for the GPS antenna from the cabin to through the firewall to the front to place the GPS antenna under the windshield? Anyway I can get the FusionDock installations? I tried their website but doesn't look like the file is still there. I'm trying to run the GPS antenna, Sirius/XM antenna and front camera wires from the cabin to the frunk area. Thanks in advance!
I had a shop do the install so not sure how it was done. I would recommend you contact FVD directly to see if they can share the install directions on this.
Is this the grommet under the glovebox on the passenger side? I just can't trace where it comes out on the frunk side since the cabin filter box is in the way.
Thanks to Last_935. I think I found it. It's not the plastic silver grommet in the picture I posted. It's the black rubber grommet to the left of it. It comes through on behind the battery in the frunk side. Will plan on removing the battery for better access.
Hello everyone, as promised here is my write up on the aftermarket radio install on my GT4.
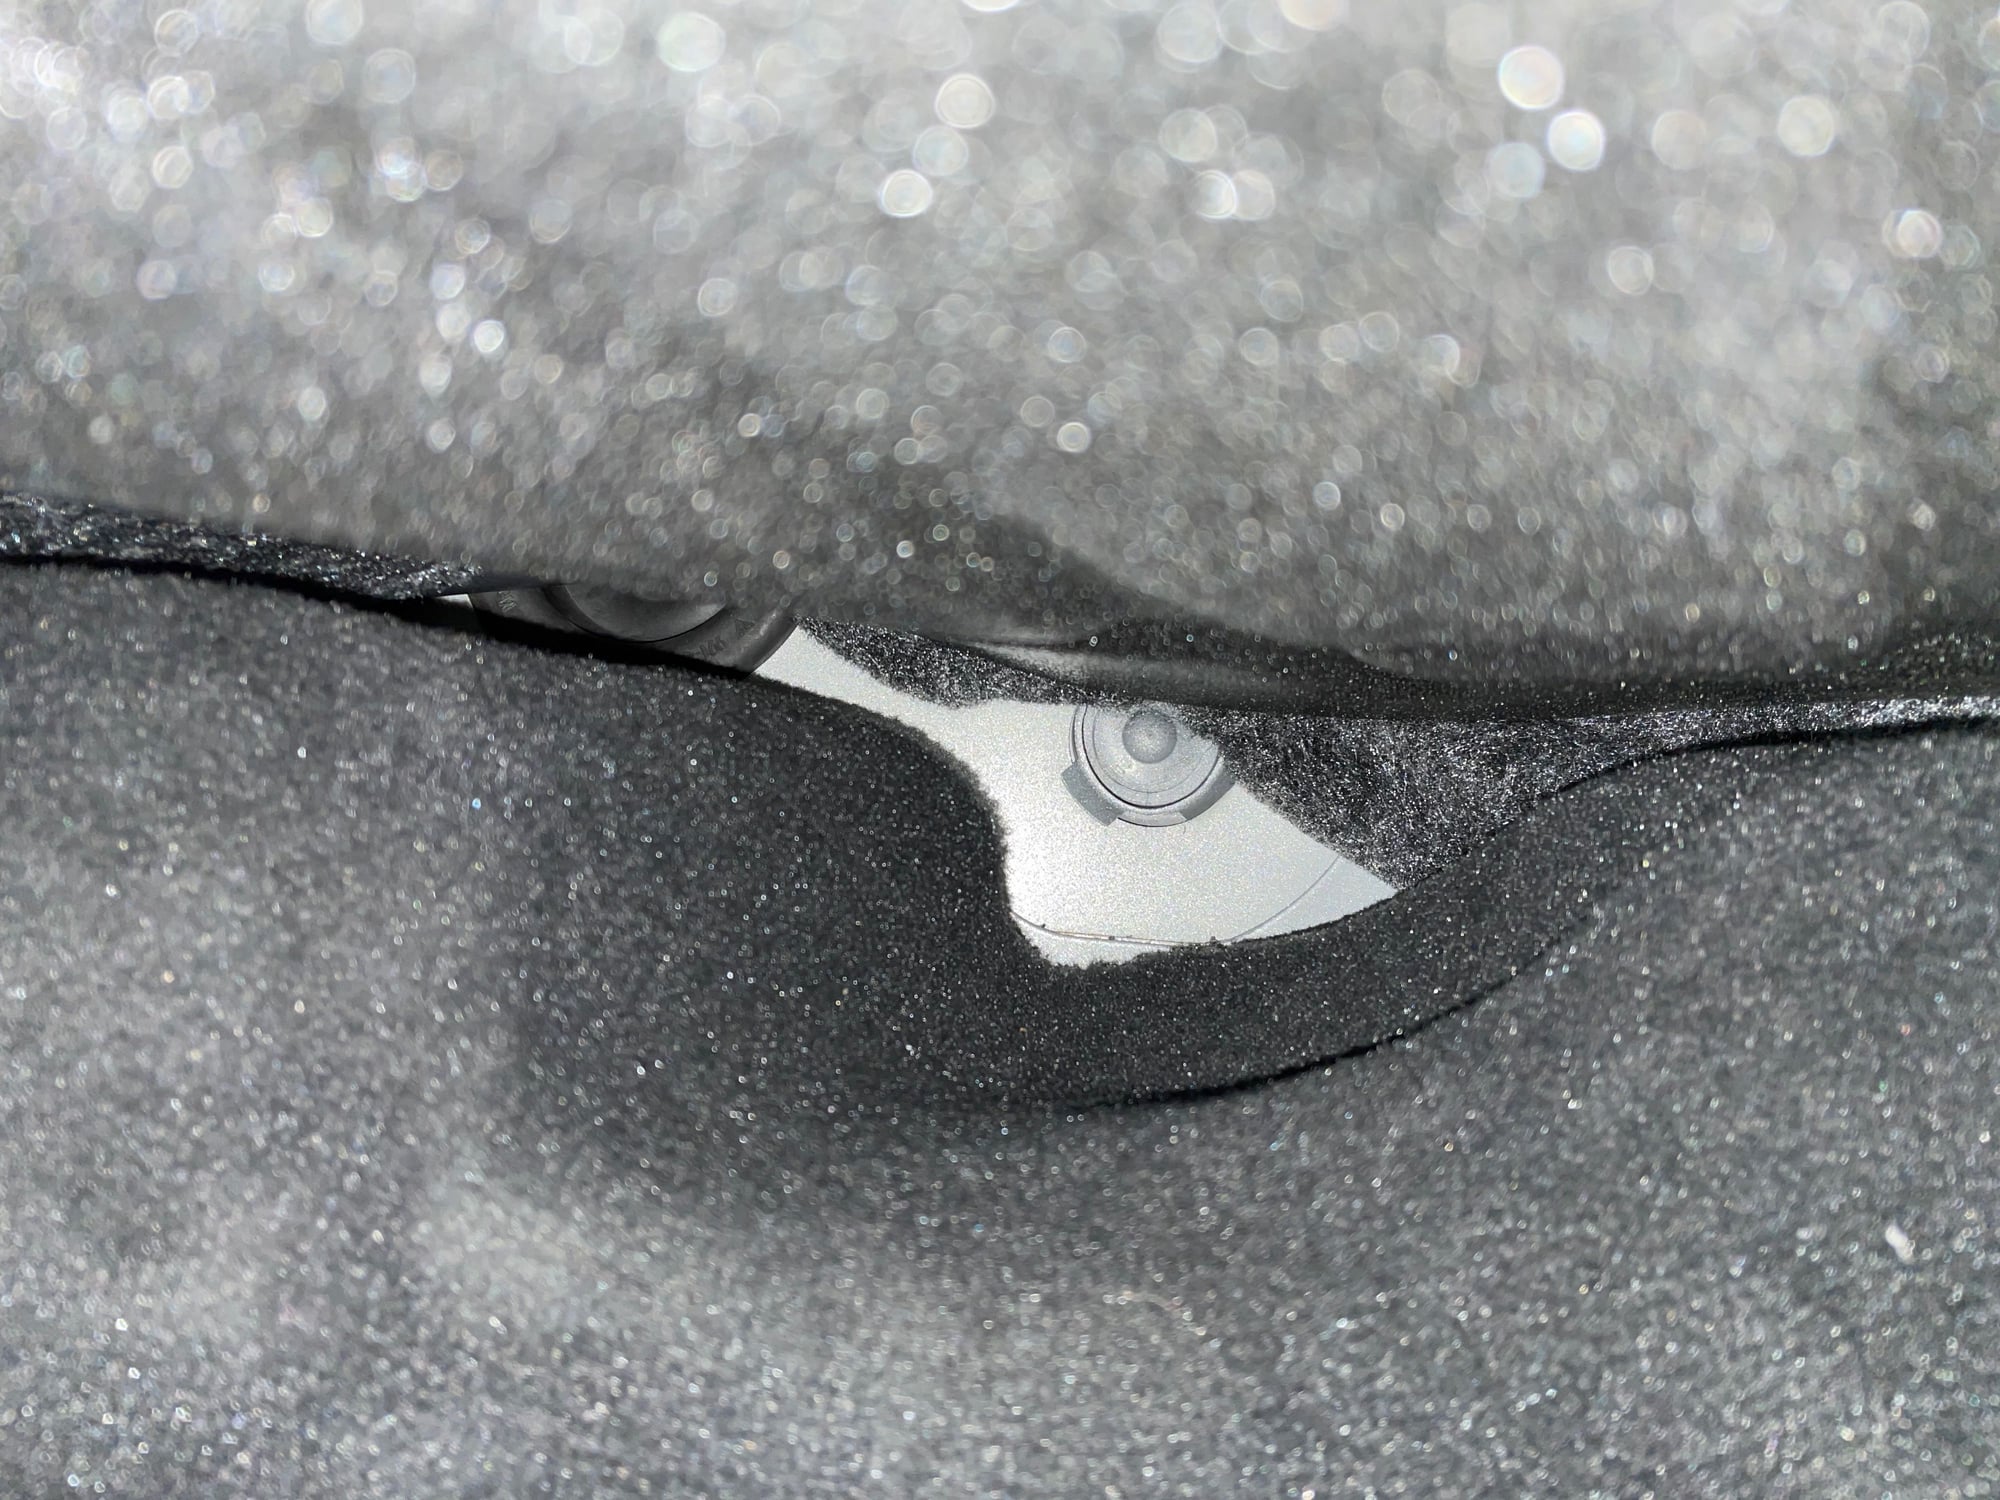
Clips for side trim on center console
Hi
OP or anyone that has done this. Is removing the side panels on the shift console just a matter of carefully prying the panels away from the console using a thin, flat plastic upholstery / trim tool?
Or are there hidden fasteners?
It loos like removing from between the "glove box" panel and the adjacent one on drivers side complicates things.
Start with the clip towards the back of the car by the ash tray - pull outwards (towards the side of the car) then move forward towards the front of the car. There's one last clip by the climate control that has to be unclipped by pulling outwards towards the side of the car until that unclips, then you can slide the whole thing backwards towards the back of the car to slide the trim back and out. I broke that clip by the climate control box.
OP or anyone that has done this. Is removing the side panels on the shift console just a matter of carefully prying the panels away from the console using a thin, flat plastic upholstery / trim tool?
Or are there hidden fasteners?
It loos like removing from between the "glove box" panel and the adjacent one on drivers side complicates things.
They snap right off with your hands, no tools needed�watch from 0:20 to 0:35 of this video and you�ll see how easy they come undone:
As mentioned, be careful around the glovebox; it actually helps to open it up when taking off the right-side trim piece to give yourself a bit more clearance.
 01-01-2017, 03:21 AM


 .
.